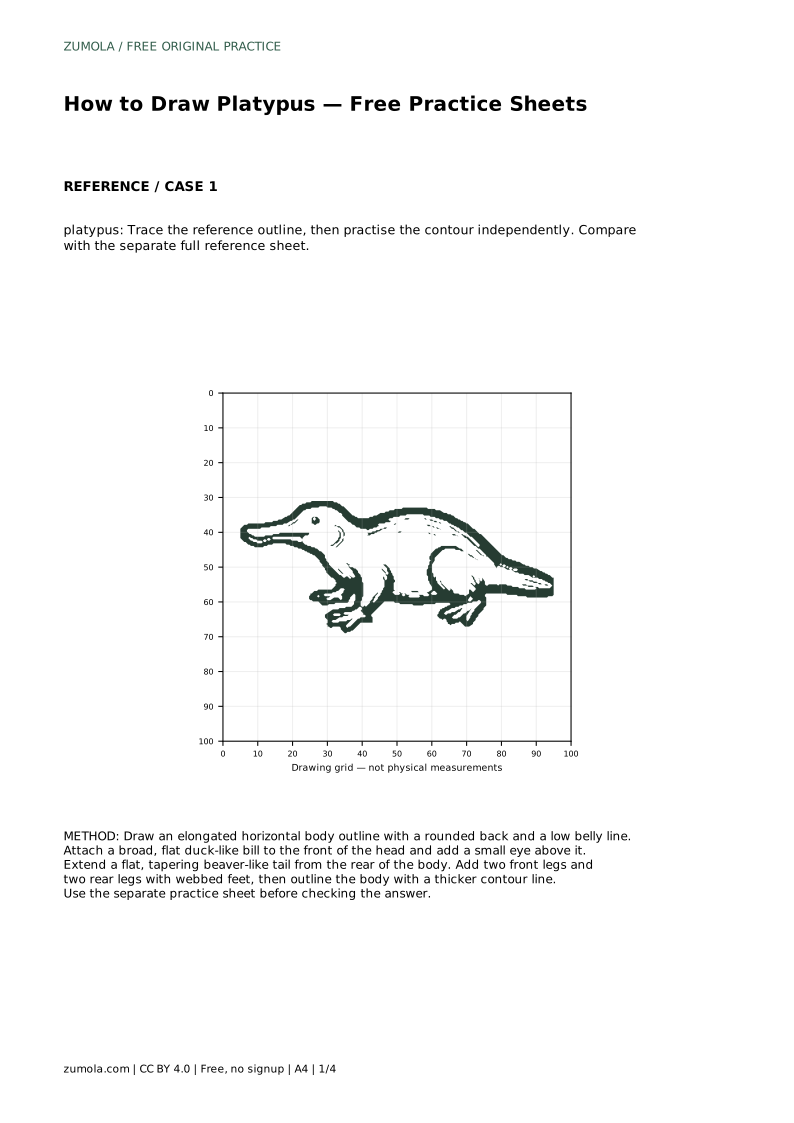
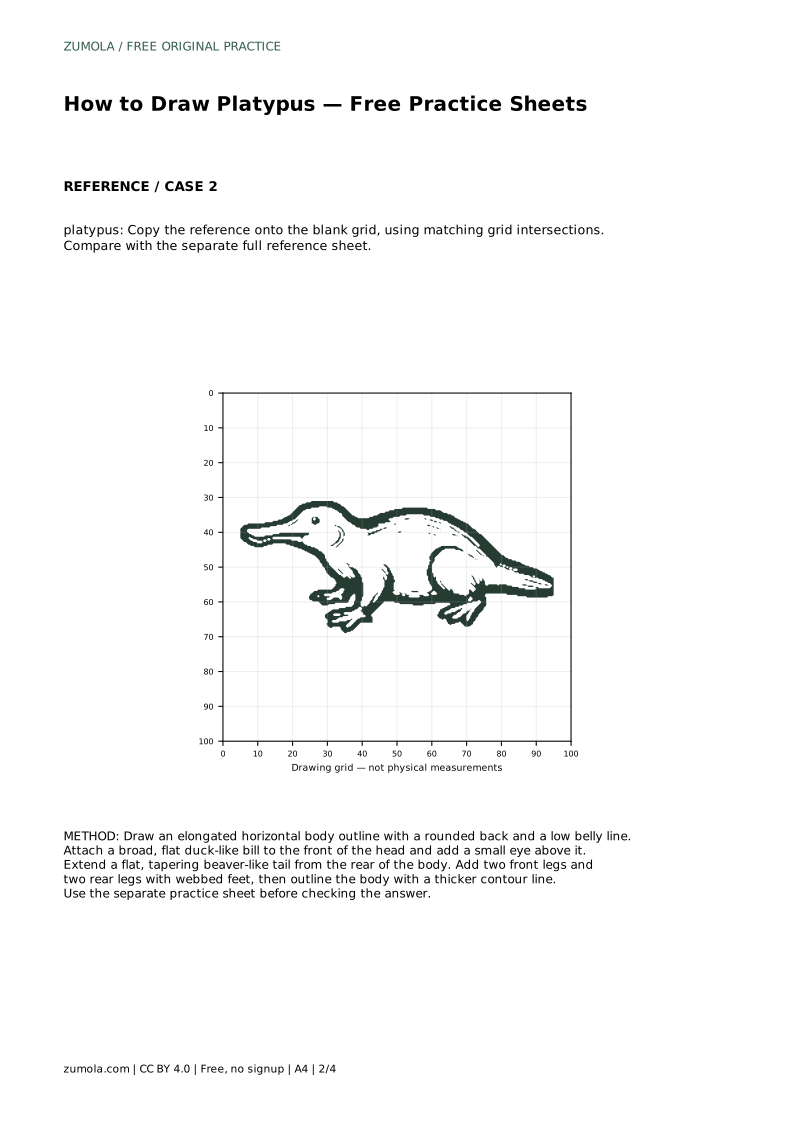
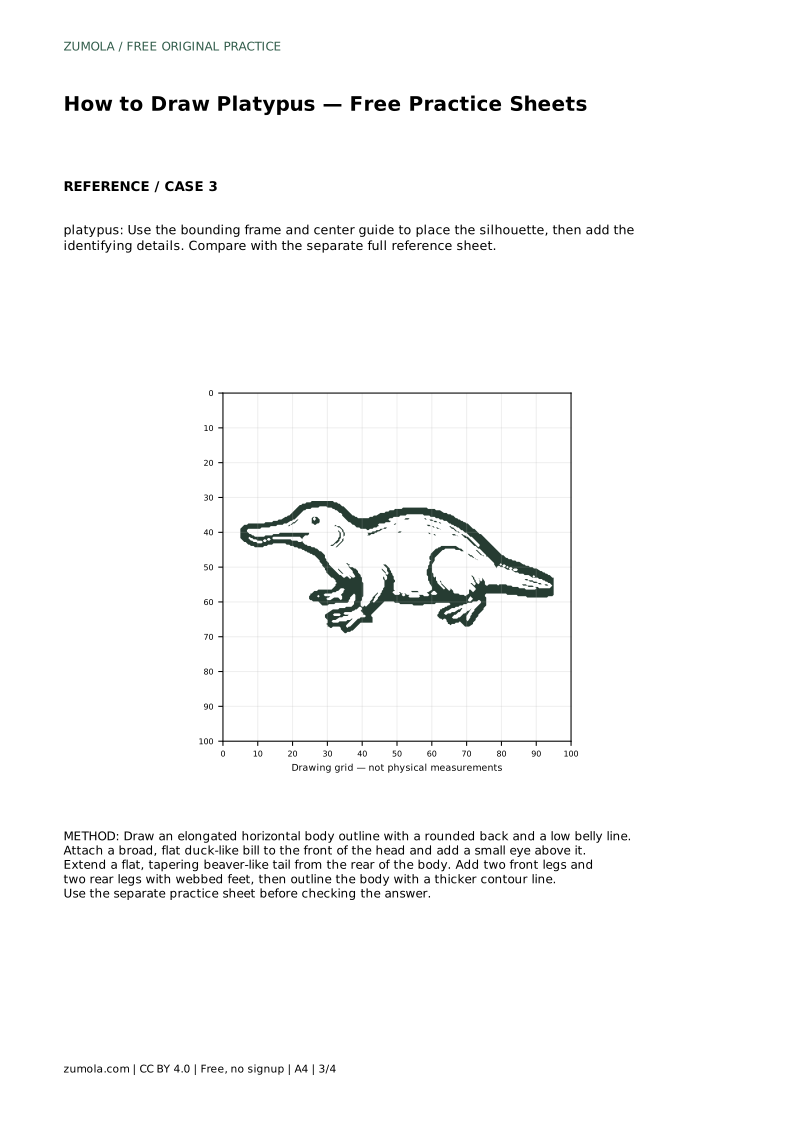
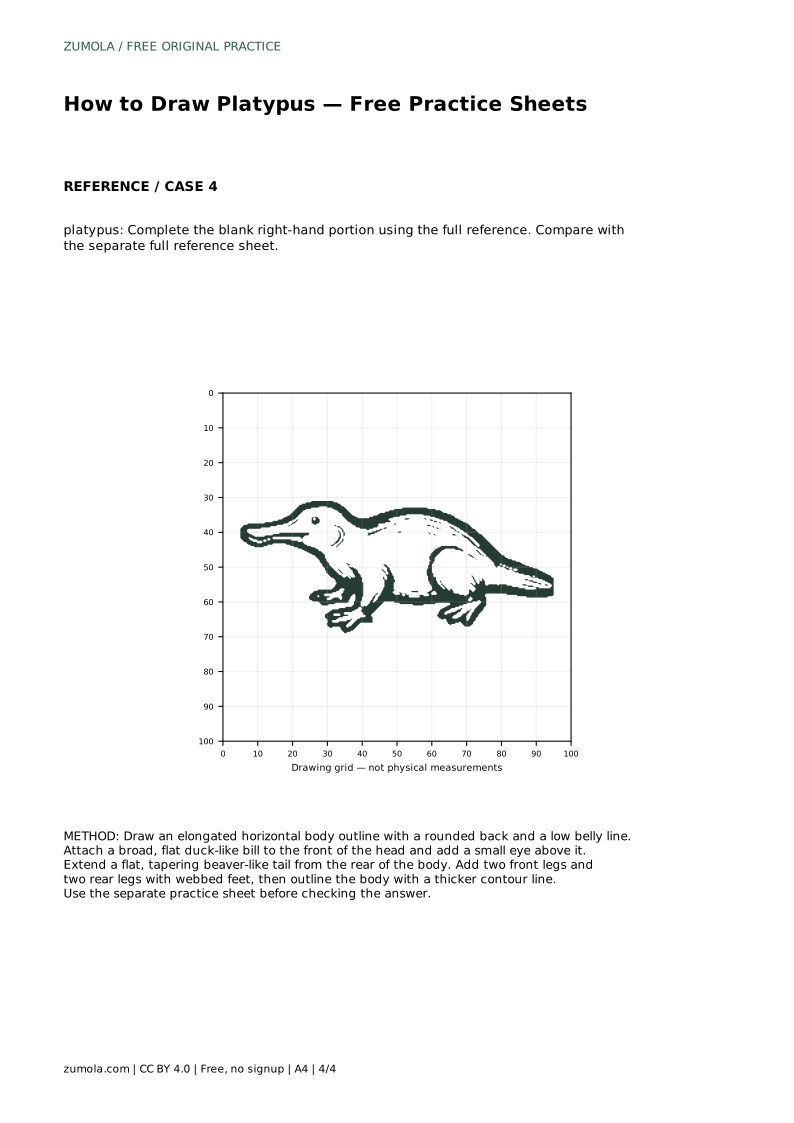
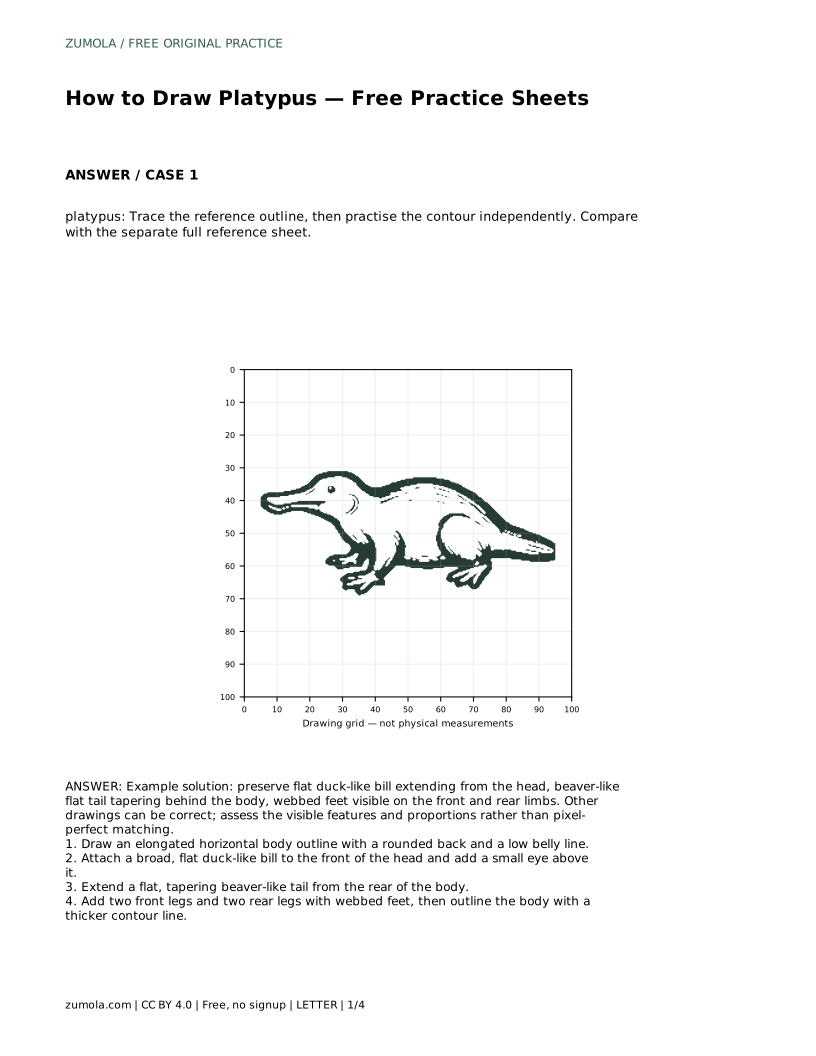
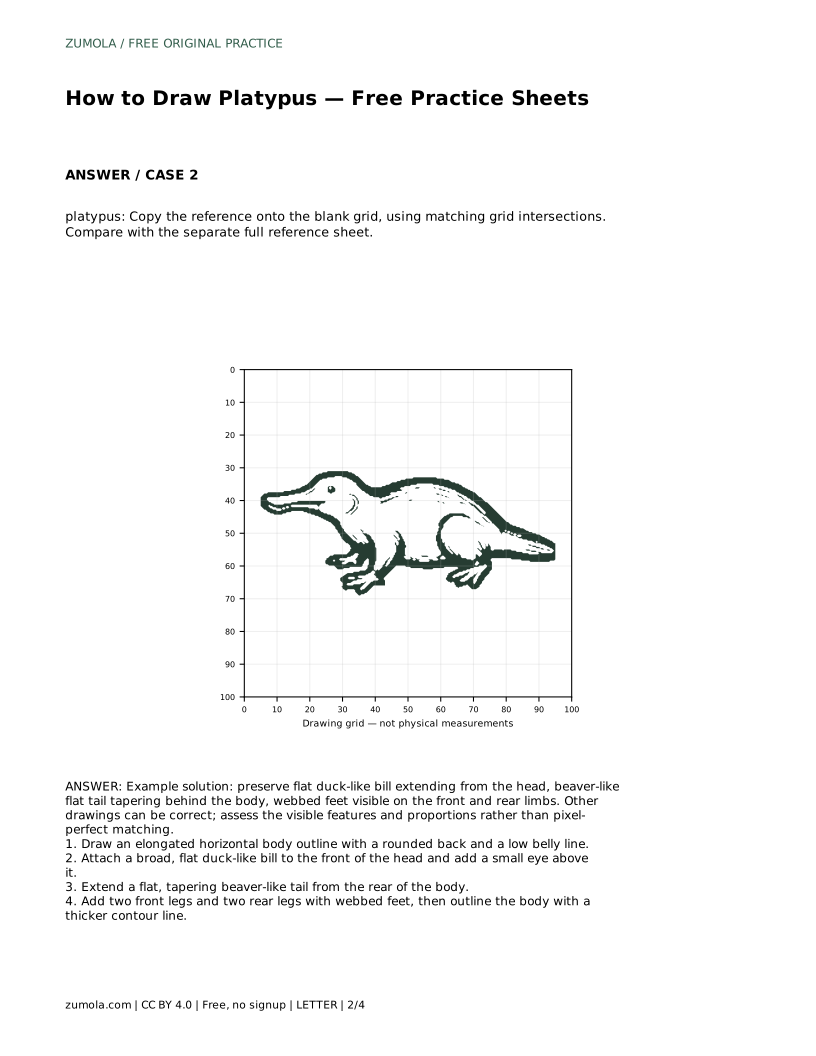
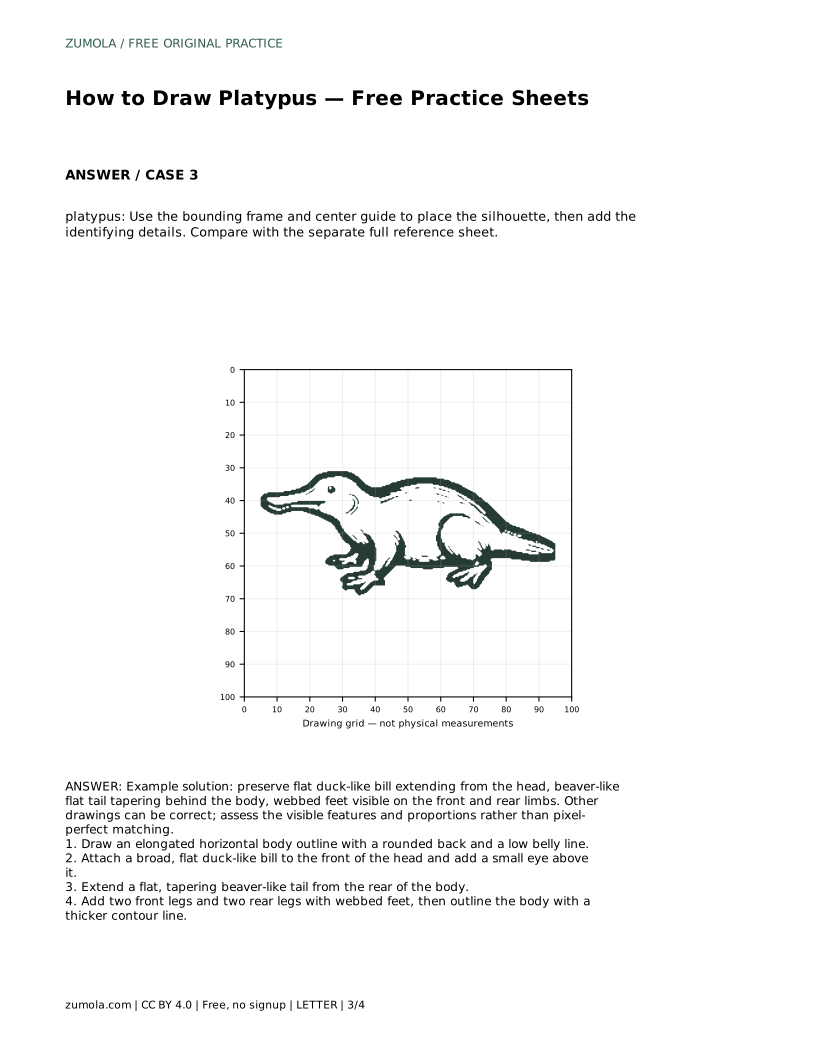
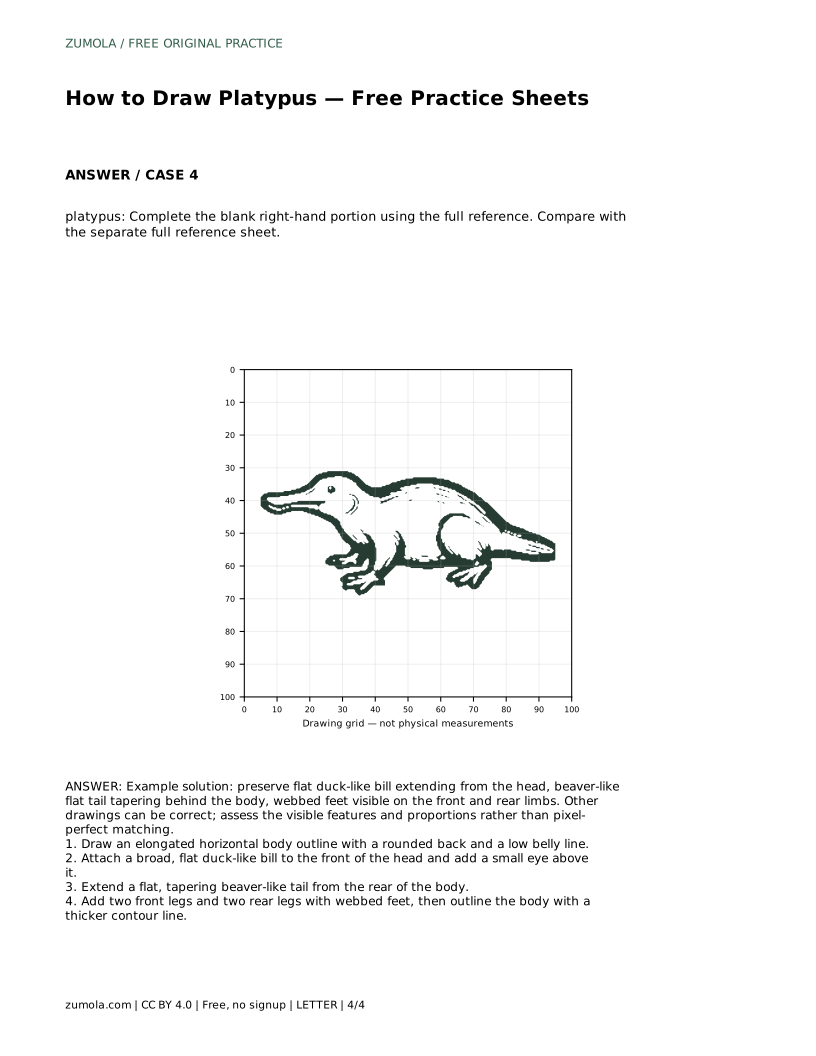
Reference diagrams
LETTER · Download PDF
A4 · Download PDF
Free original resources
Learn to draw a platypus by building its flat bill, low body, tapering tail, and webbed feet. Trace, grid, and complete-the-drawing practice included.
Four original cases, with reference diagrams, practice sheets and worked answers. Everything is free; no signup required.
LETTER · Download PDF
A4 · Download PDF
LETTER · Download PDF
A4 · Download PDF
LETTER · Download PDF
A4 · Download PDF
Use A4 or US Letter to match your printer. Use the stated values and conditions to solve each exercise; diagrams are not physical measuring rulers.
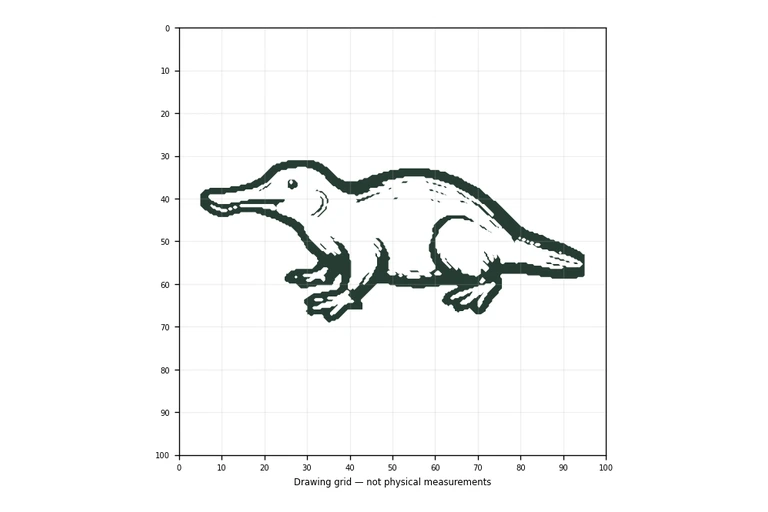
A platypus drawing depends on a few clear shapes: a long, low body, a broad flat bill, a tapering tail, and webbed feet. This page explains how to place those parts in order so the animal reads correctly at a glance. The practice sheets let you trace a reference outline, copy it onto a grid, use a bounding frame and center guide, or complete a partly drawn figure.
Begin with the largest shape rather than the smallest detail. Draw an elongated horizontal body outline with a rounded back and a low belly line. Keep the body longer than it is tall; a platypus sits close to the ground, so a tall oval will look wrong.
Attach a broad, flat duck-like bill to the front of the head. The bill should extend forward from the head rather than sit on top of it, and it should look wide and flattened, not pointed like a bird's beak. Add a small eye above the bill. Place the eye near the head's upper front area so the face does not look crowded.
Extend a flat, tapering beaver-like tail from the rear of the body. The tail should narrow as it moves away from the body and stay broad near the base. Avoid a thin, whip-like tail; the flat width is one of the platypus's identifying features.
Add two front legs and two rear legs with webbed feet. Keep the legs short and set them under the body so the animal still looks low to the ground. Webbing can be shown with simple curved lines between the toes. When the parts are placed, outline the body with a thicker contour line to separate the platypus from the background.
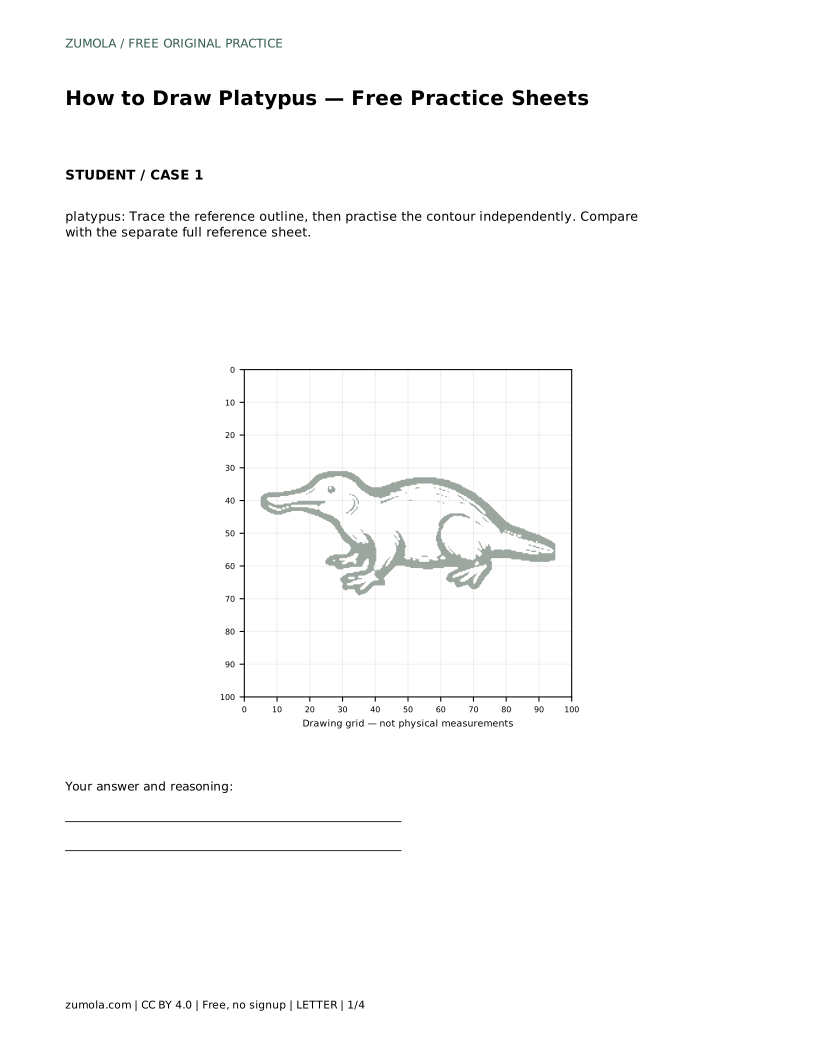
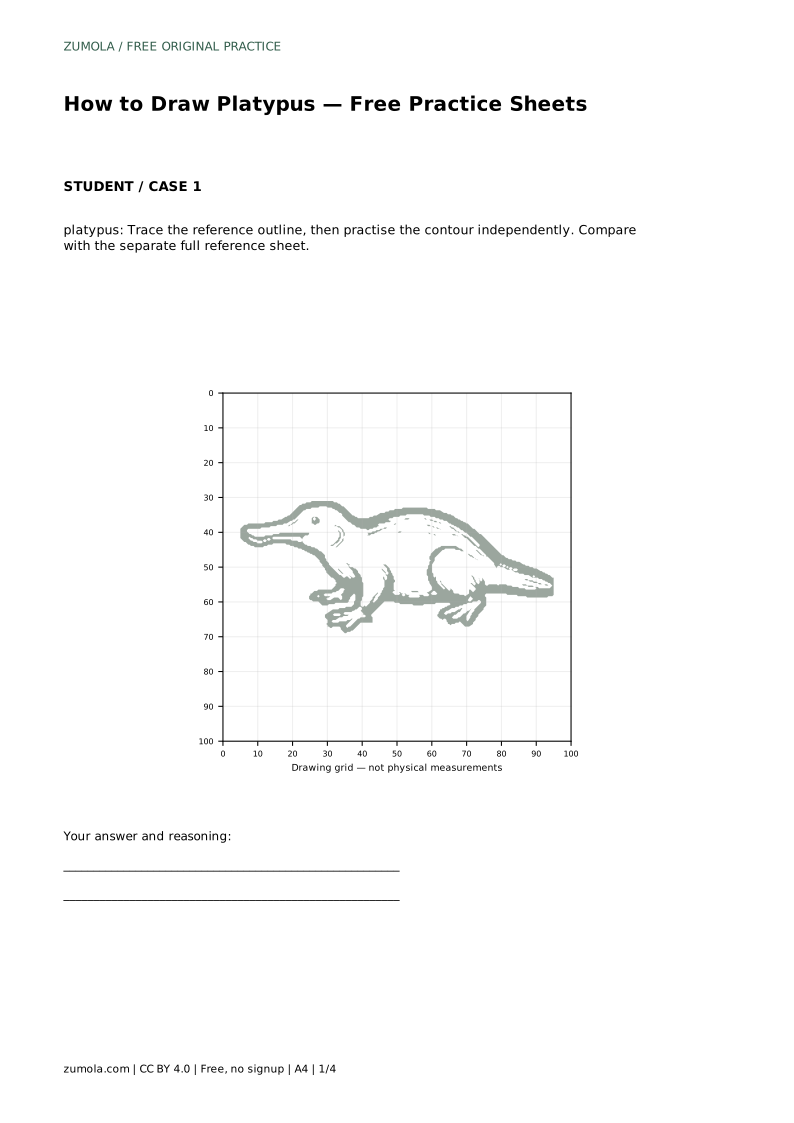
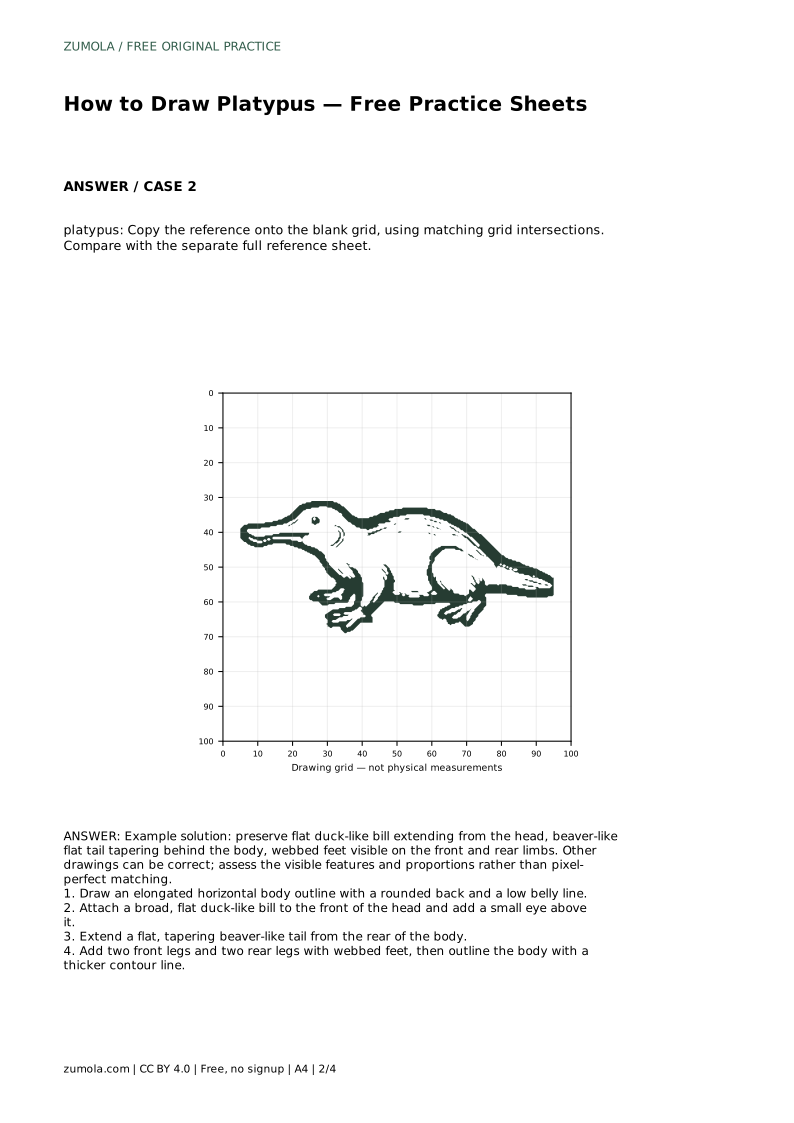
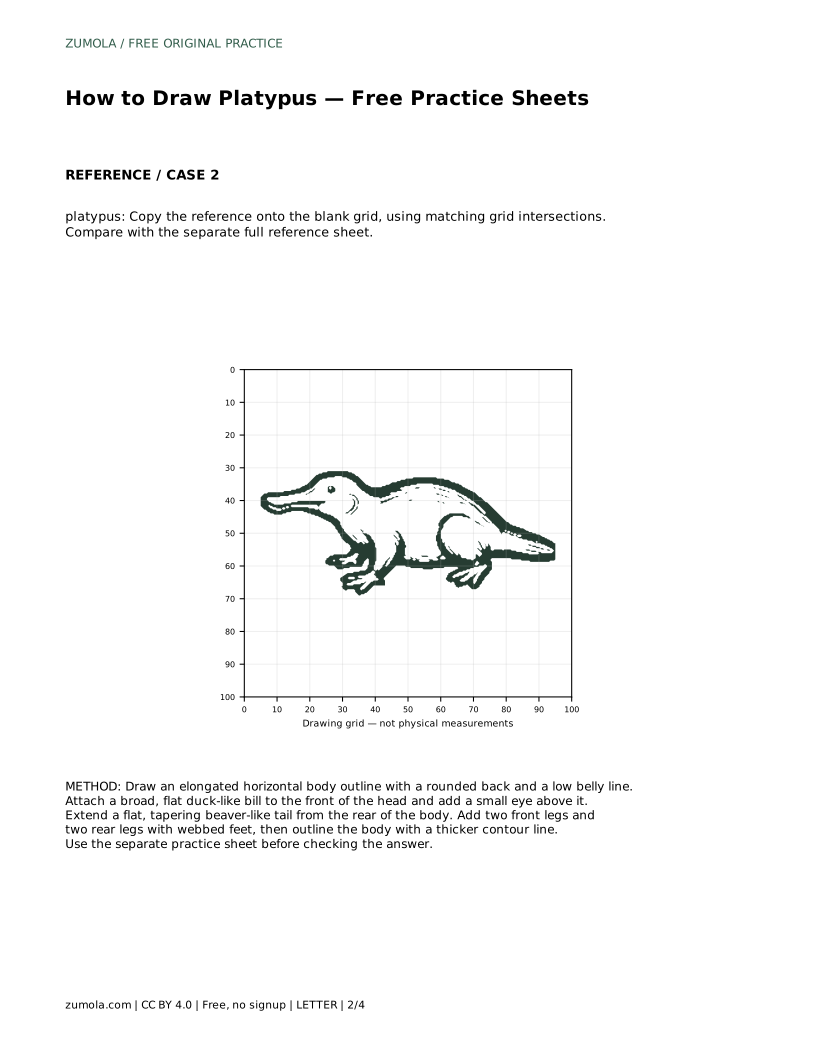
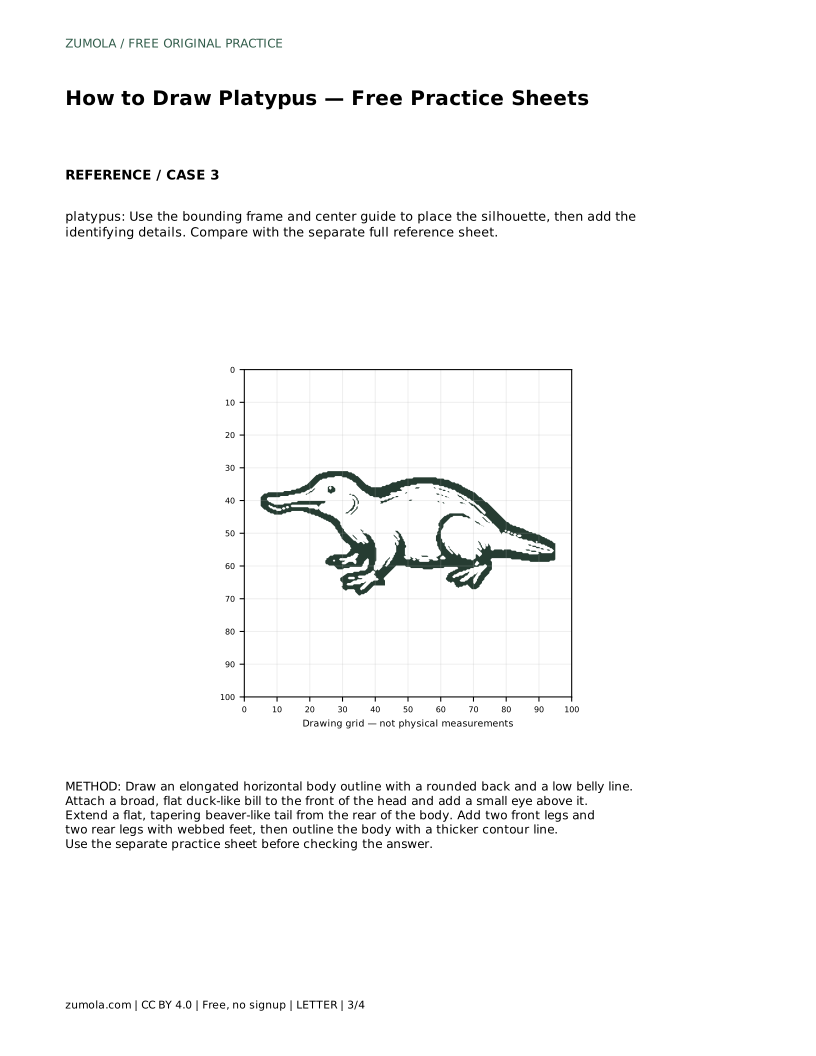
On the trace sheet, follow the reference outline first, then practise the contour independently and compare with the separate full reference sheet. On the grid sheet, copy the reference onto the blank grid using matching grid intersections; this helps you judge where the bill, tail, and feet sit relative to one another.
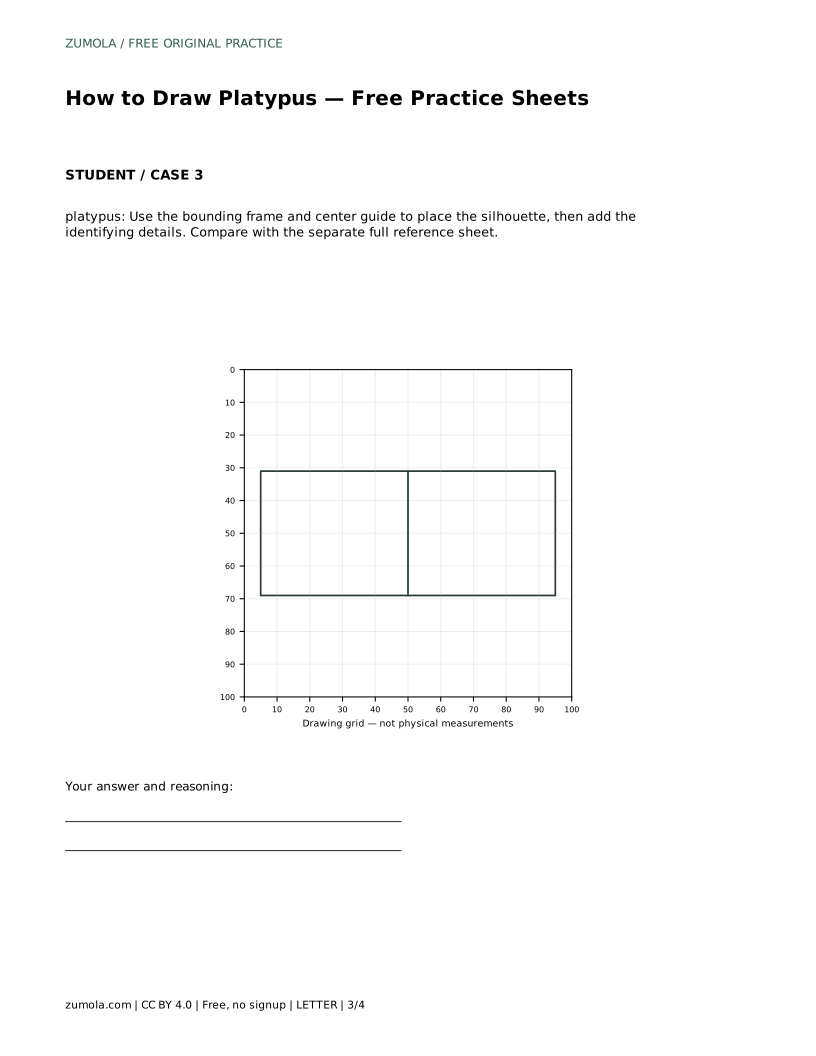
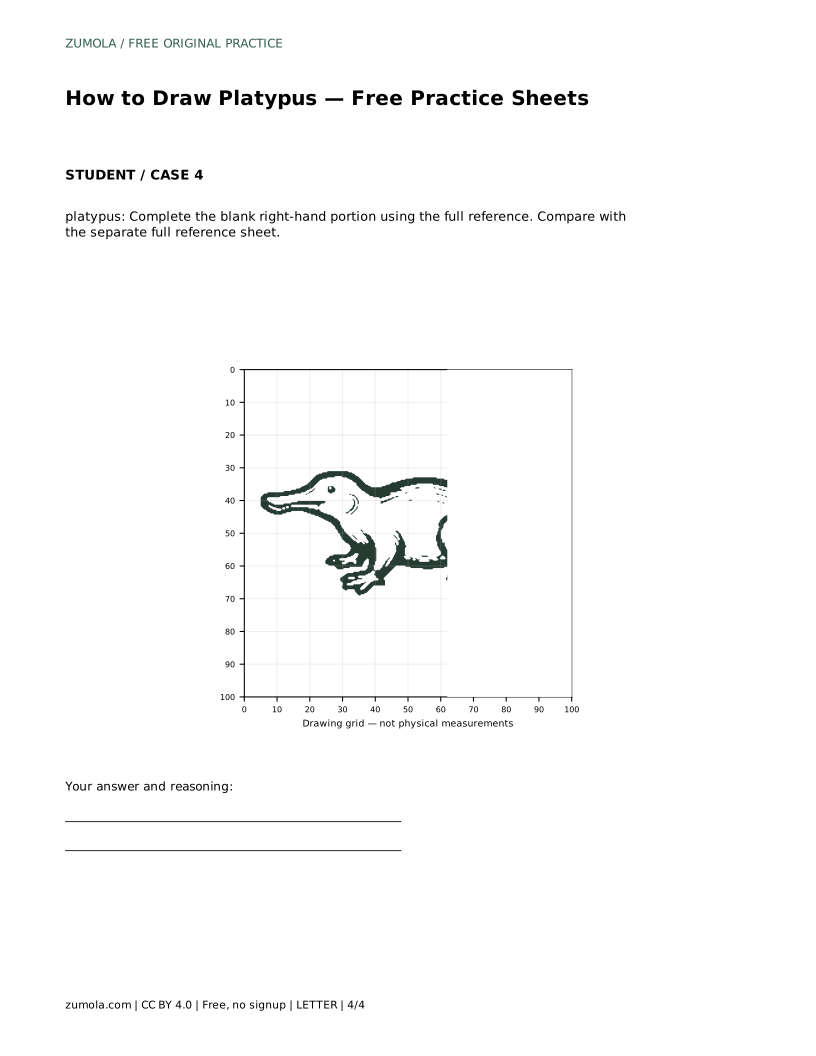
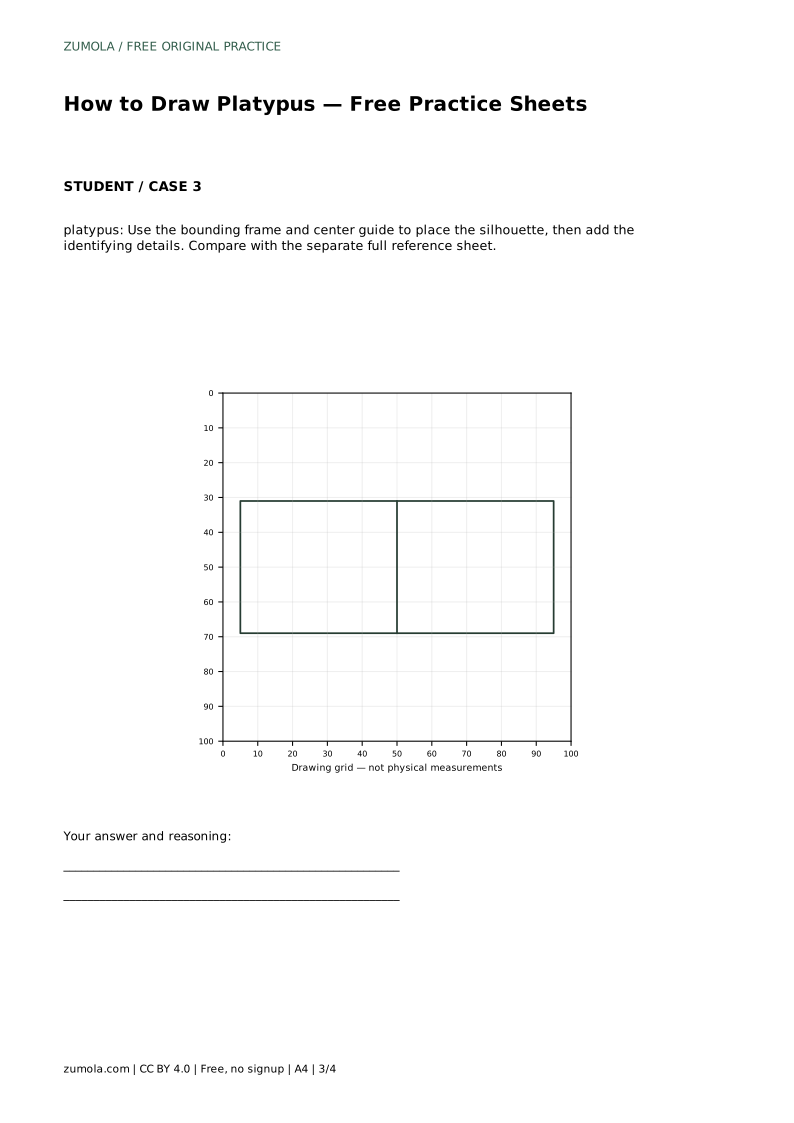
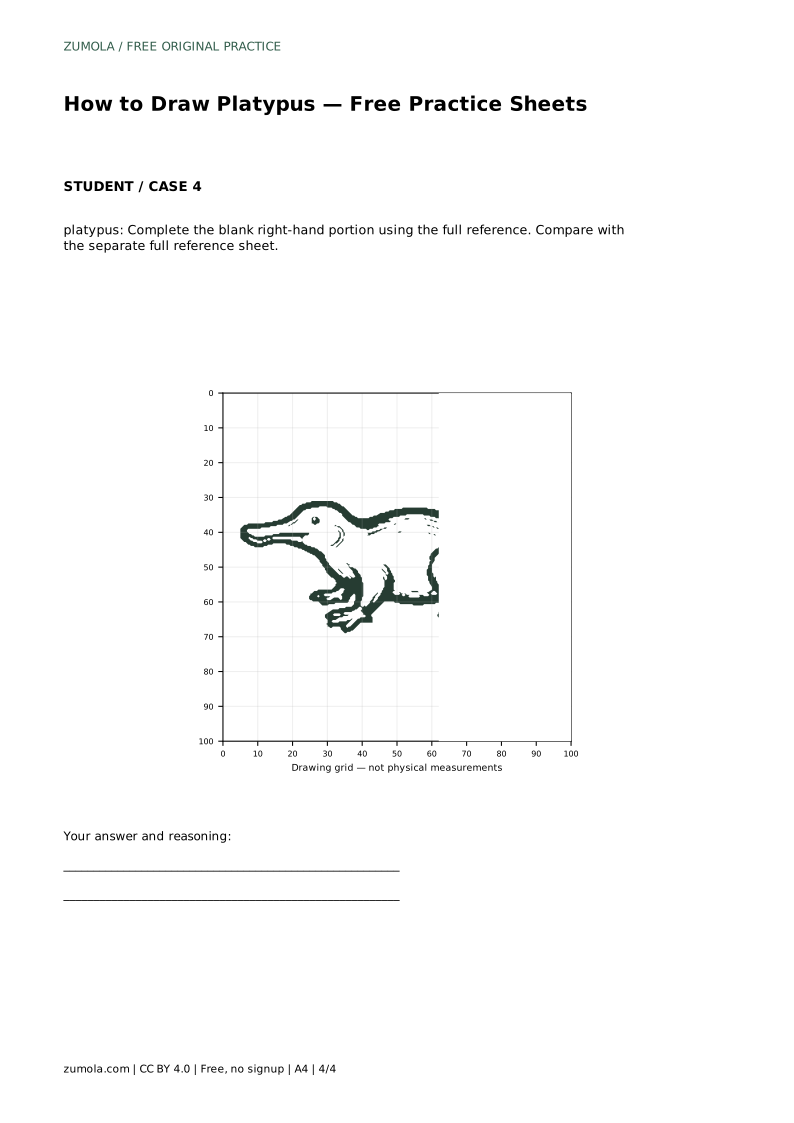
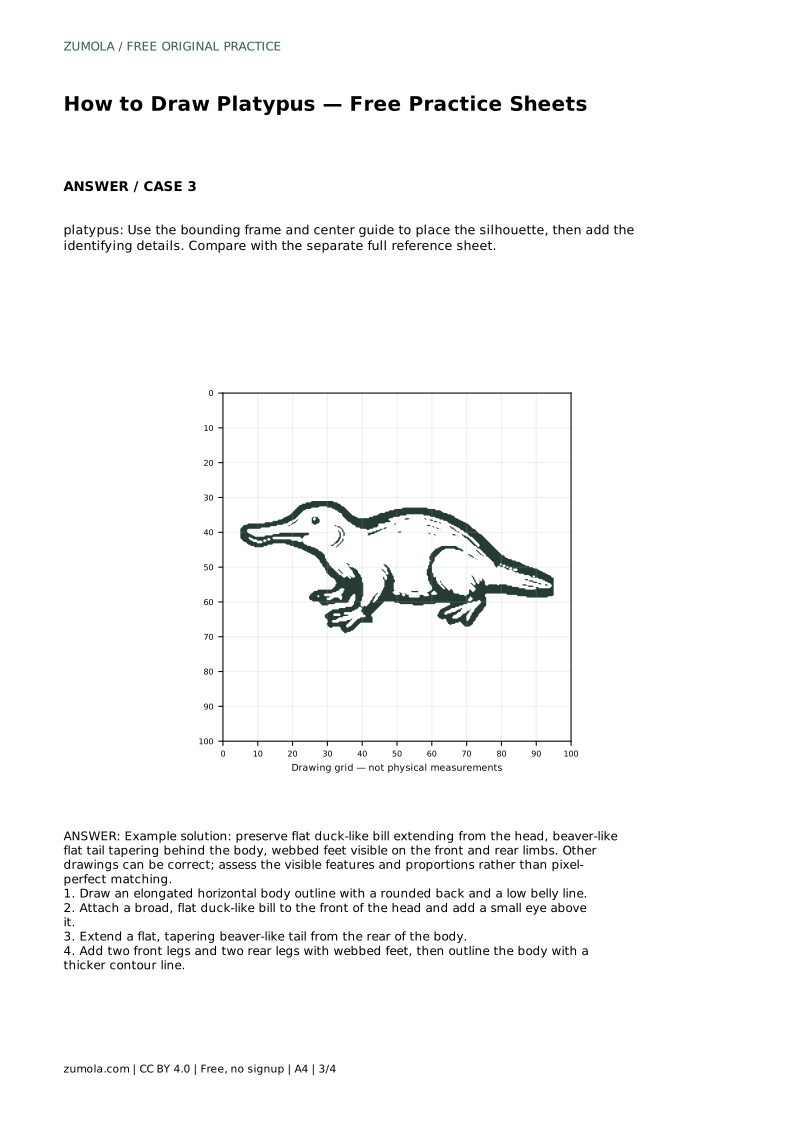
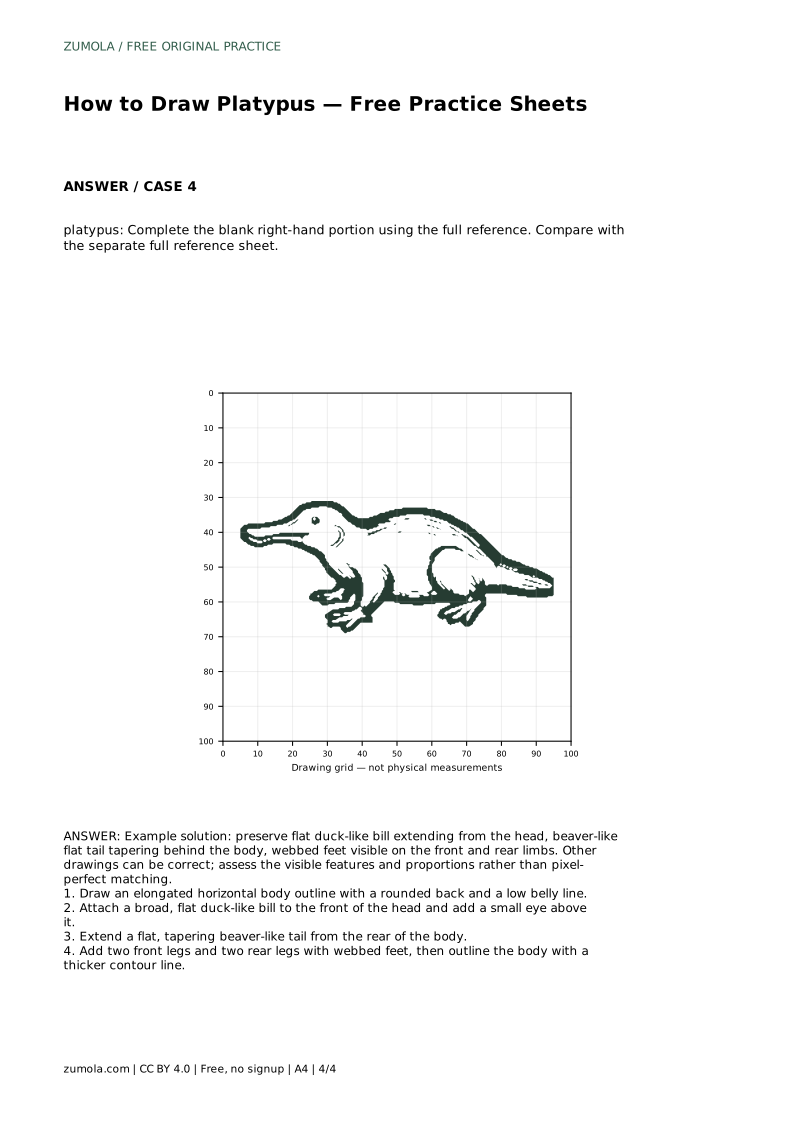
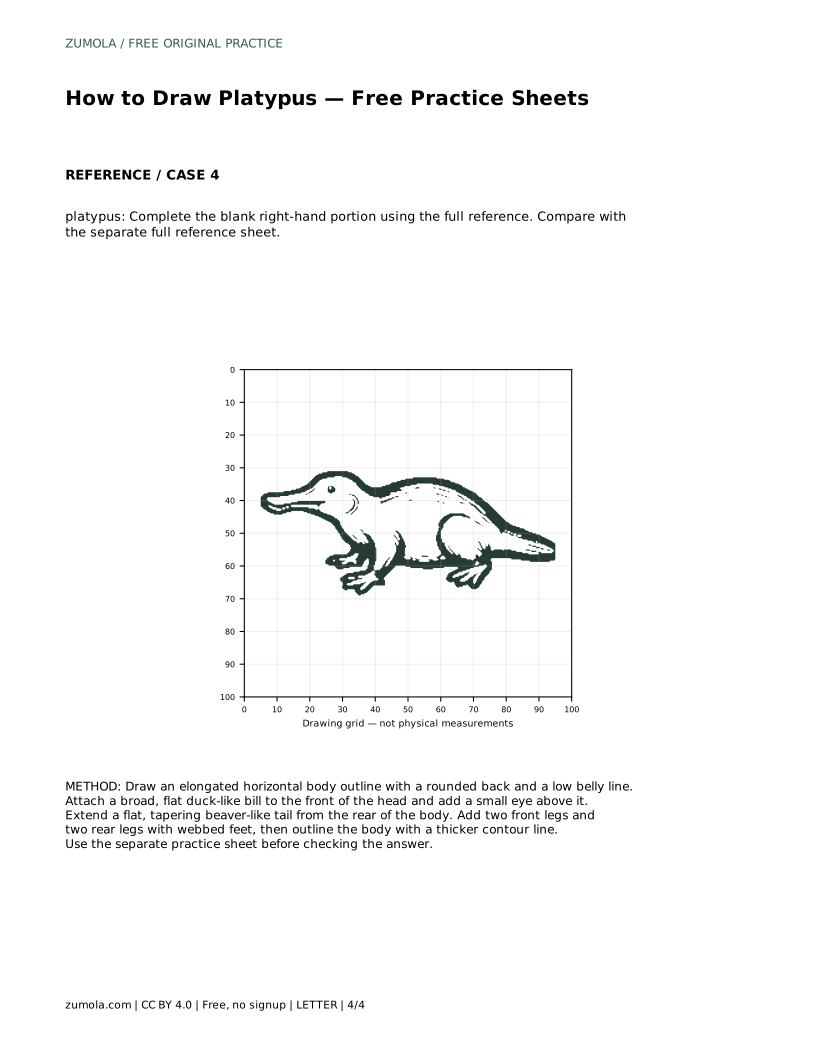
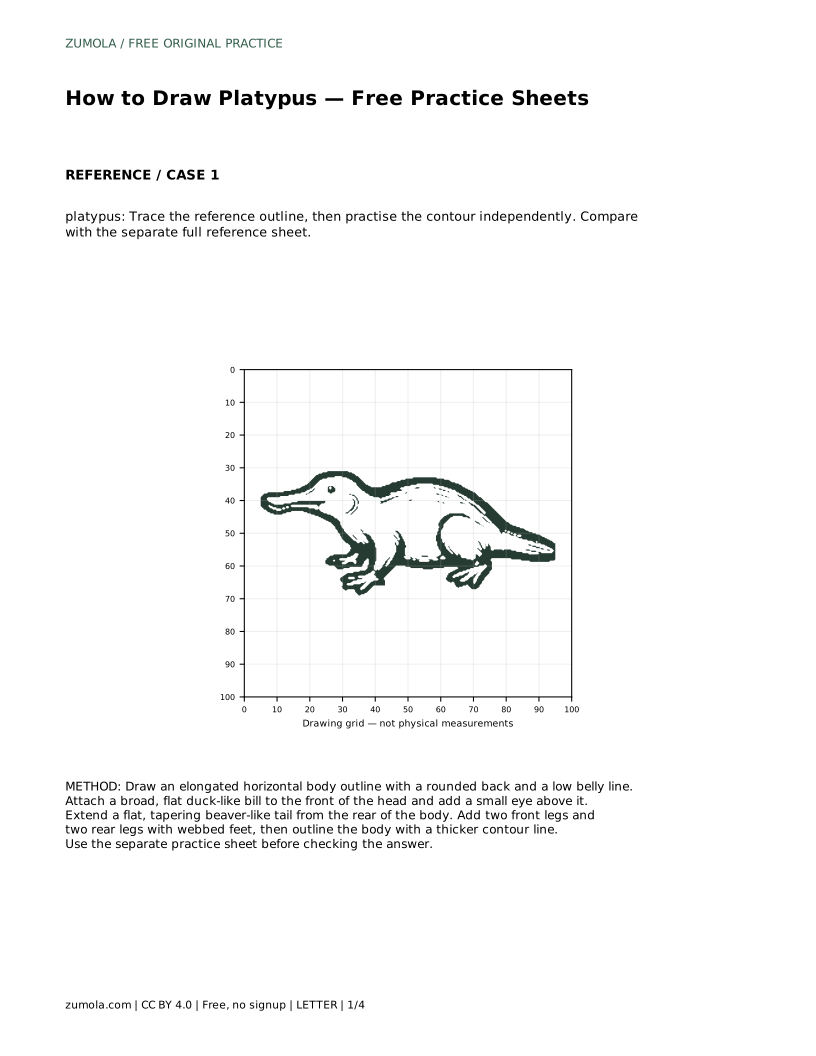
The bounding frame and center guide help you place the silhouette before adding identifying details. The complete-the-drawing sheet gives you the left portion and asks you to finish the blank right-hand portion using the full reference. In every format, compare your drawing with the reference sheet and check the visible features and proportions rather than aiming for a pixel-perfect match.
A correct platypus drawing does not have to match the reference exactly. Check that the bill is flat and extends from the head, the tail is flat and tapers behind the body, and webbed feet are visible on the front and rear limbs. Also check that the body stays elongated and low.
If one feature is missing or distorted, redraw that part rather than starting over. Small adjustments to the bill width or tail taper often make the drawing read more clearly.
Drawings of animals can vary in pose, line weight, and detail, and more than one result can be correct. Use the rubric below to assess whether the identifying features are present and clearly placed. This is an artistic construction exercise, not a study of clinical anatomy.
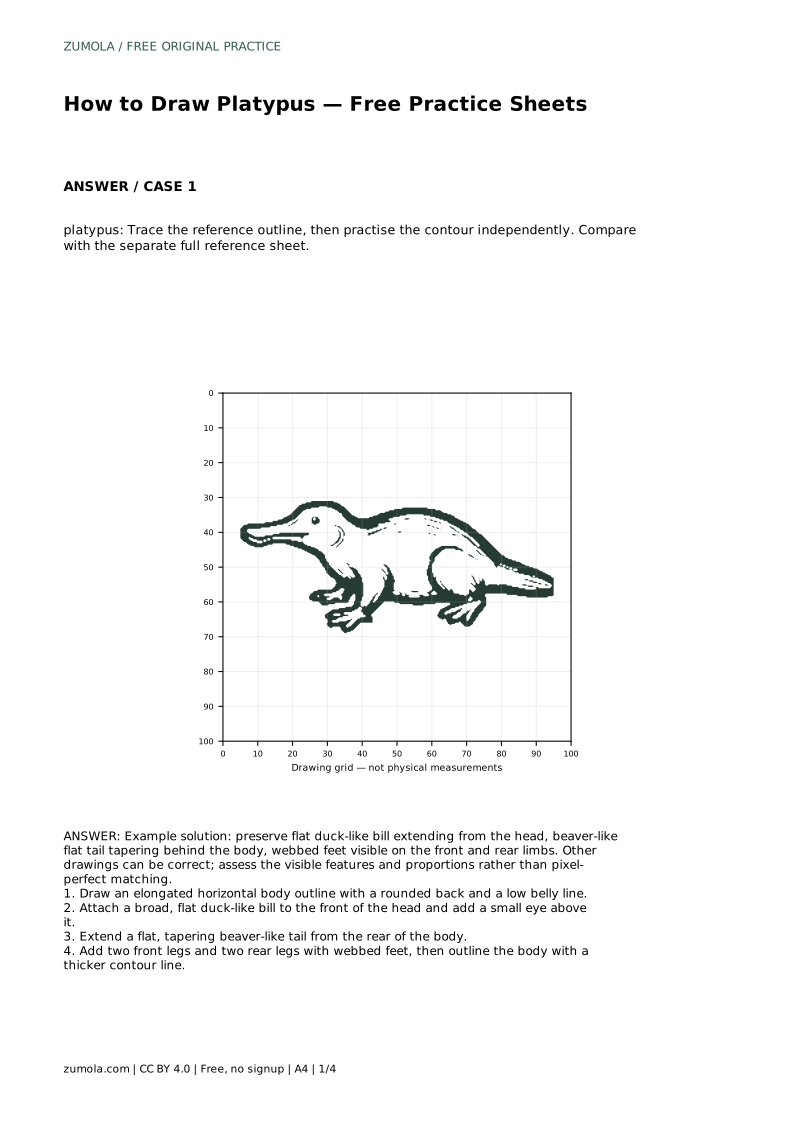
platypus: Trace the reference outline, then practise the contour independently. Compare with the separate full reference sheet.
Example solution: preserve flat duck-like bill extending from the head, beaver-like flat tail tapering behind the body, webbed feet visible on the front and rear limbs. Other drawings can be correct; assess the visible features and proportions rather than pixel-perfect matching. Draw an elongated horizontal body outline with a rounded back and a low belly line. Attach a broad, flat duck-like bill to the front of the head and add a small eye above it. Extend a flat, tapering beaver-like tail from the rear of the body. Add two front legs and two rear legs with webbed feet, then outline the body with a thicker contour line.
No. Other drawings can be correct. Assess the visible features and proportions rather than pixel-perfect matching.
Start with the elongated body outline, then add the bill, tail, and webbed feet before thickening the contour line.
Compare it with the separate full reference sheet and confirm the flat bill, tapering tail, and webbed feet are visible and in proportion.
All drawing practice · Free coordinate paper
Original resources · CC BY 4.0 · Free for personal and classroom use with attribution.