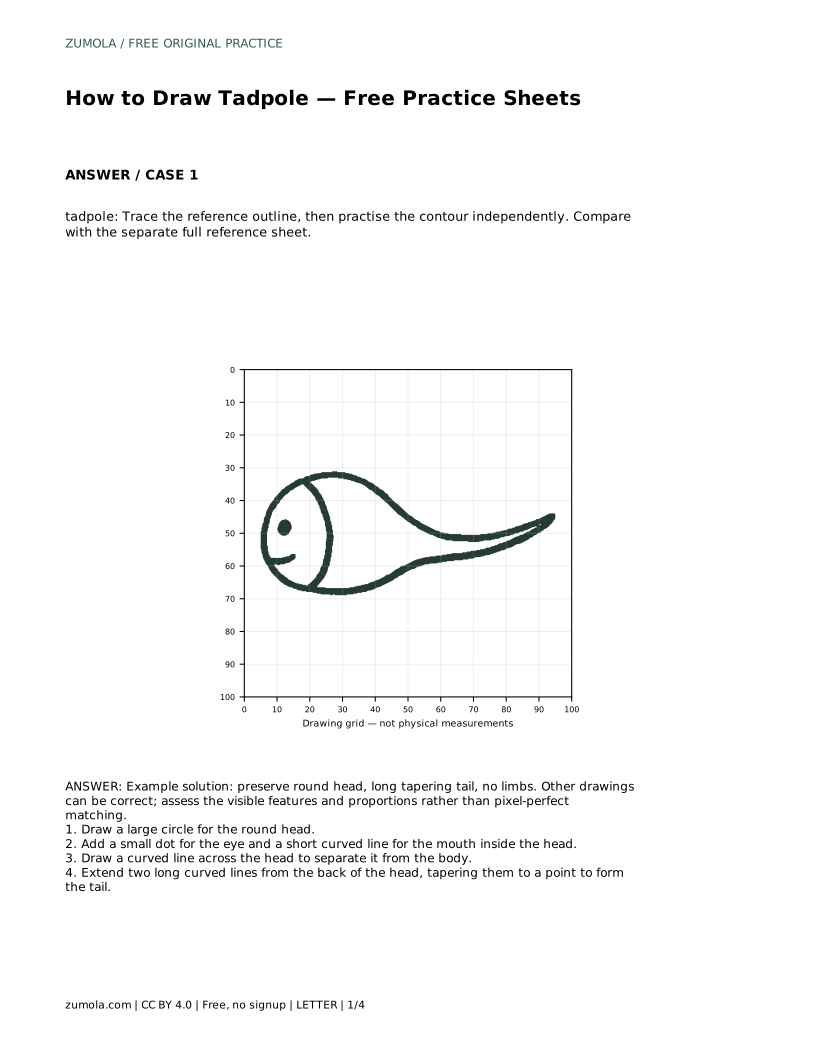
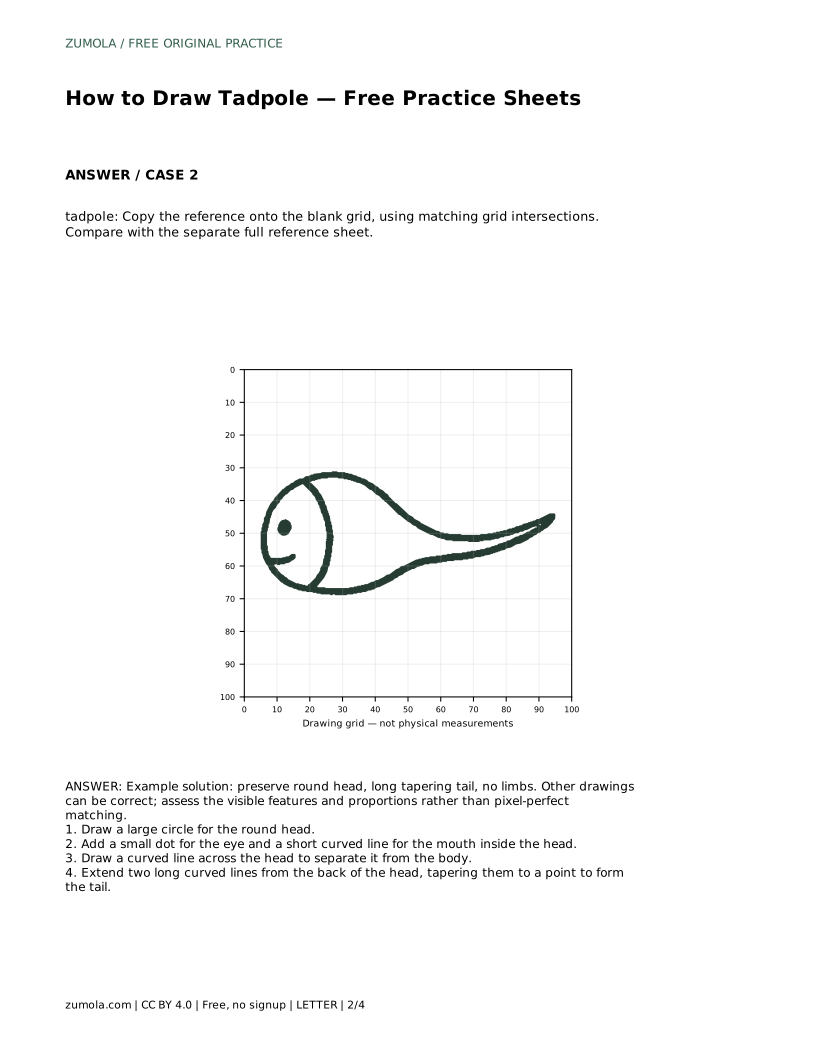
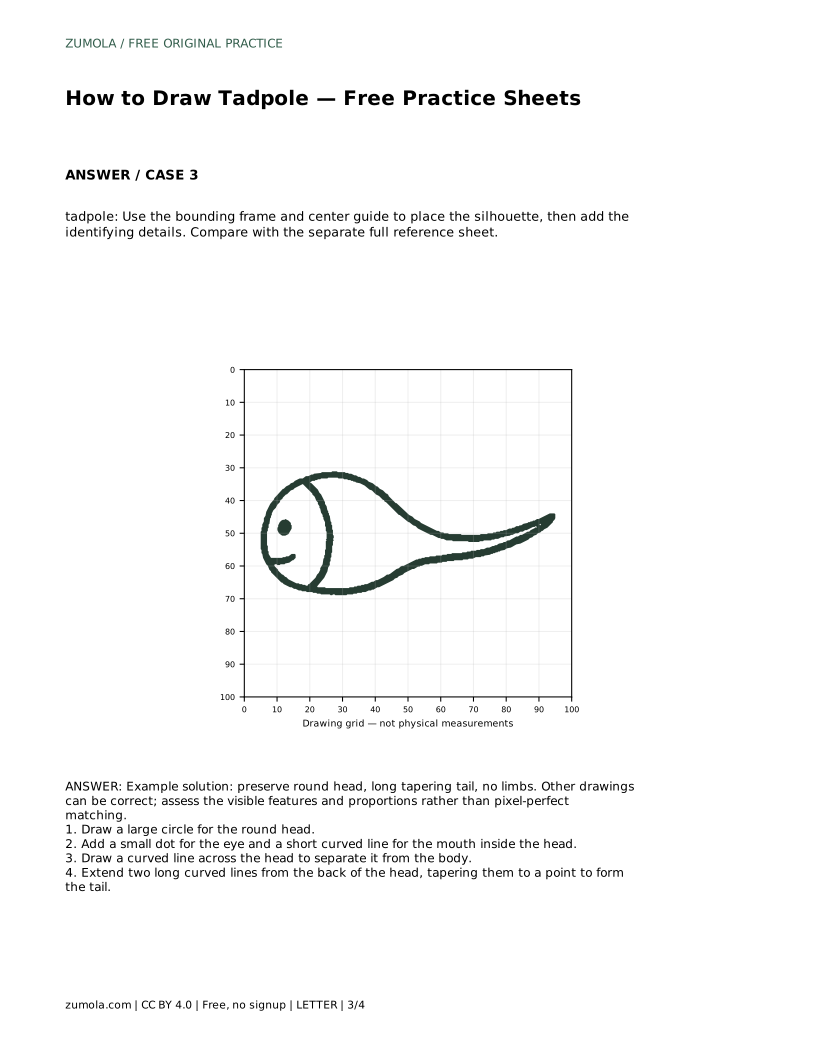
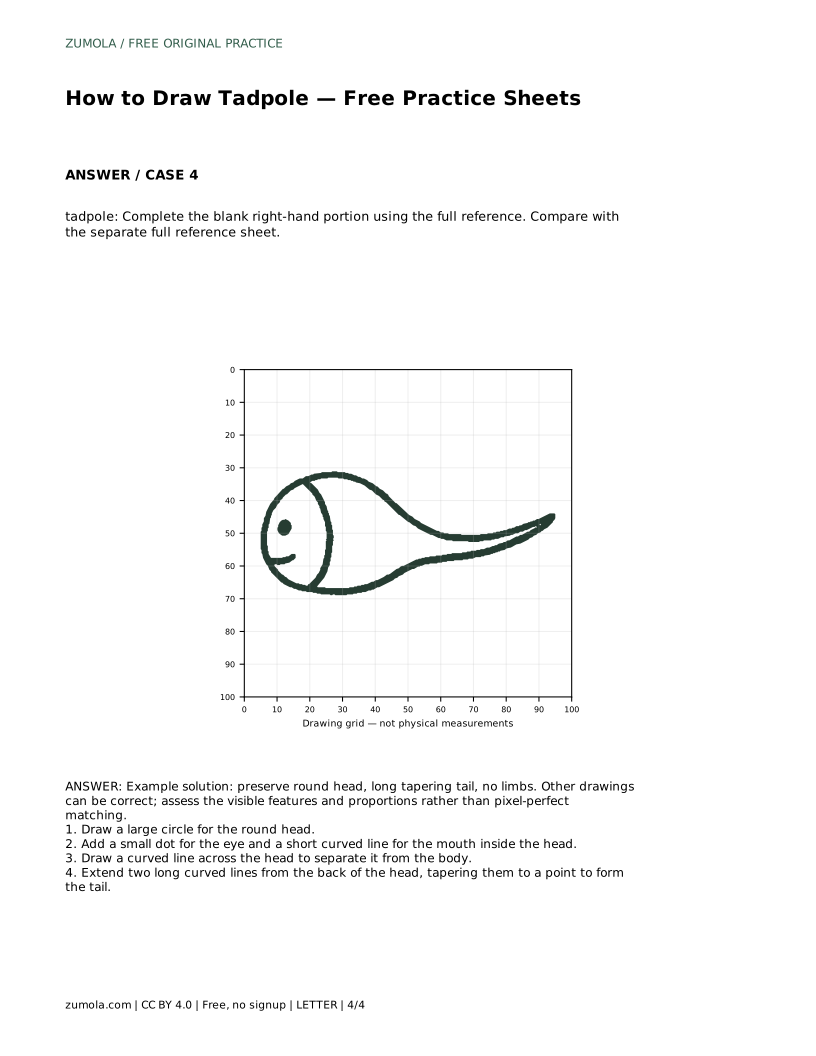
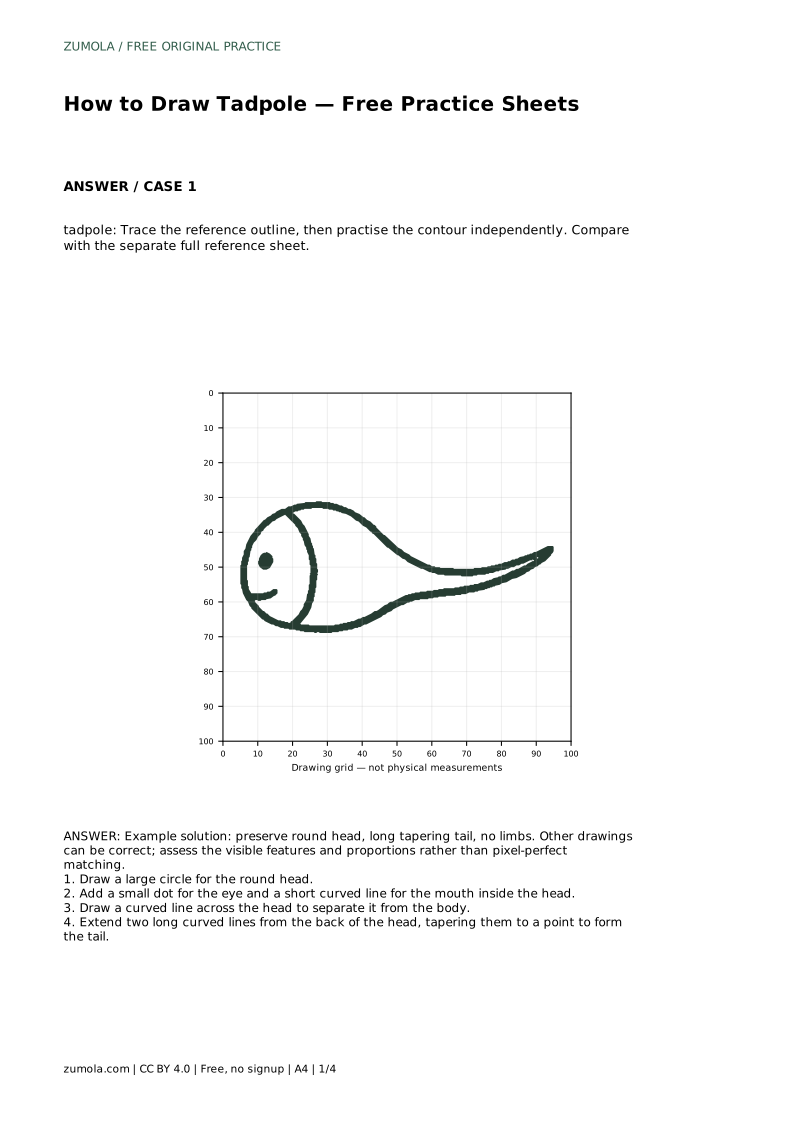
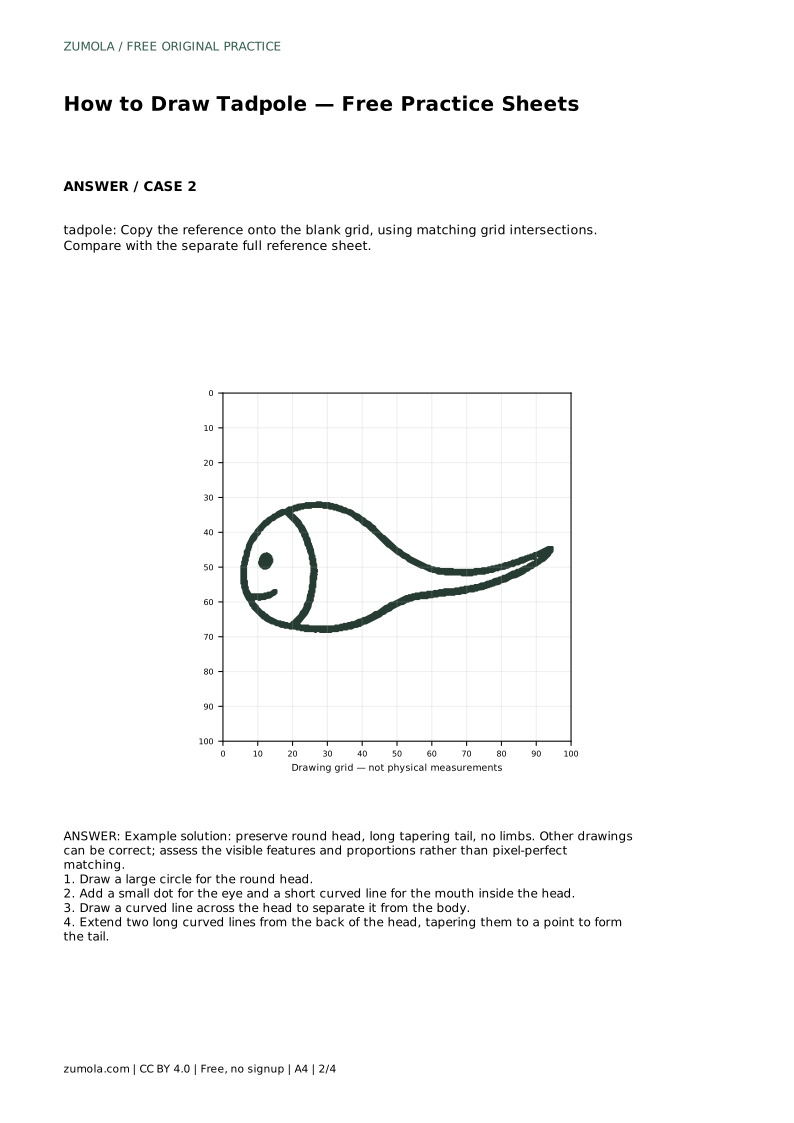
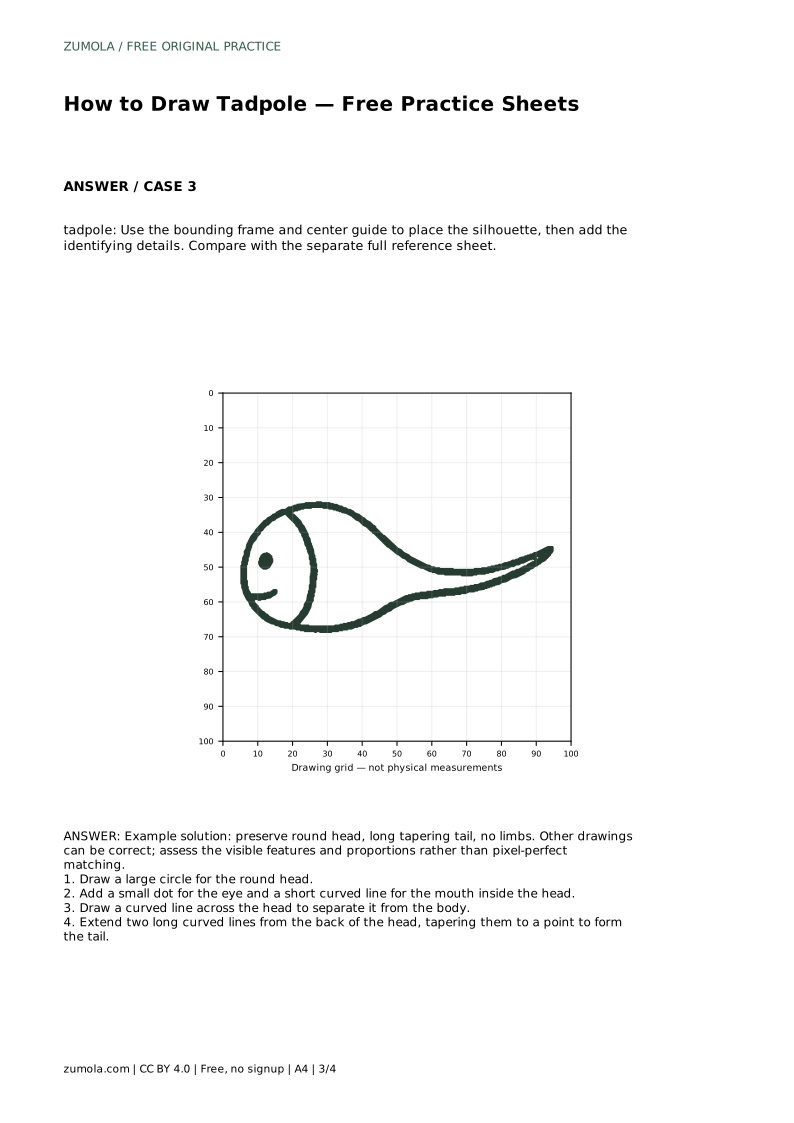
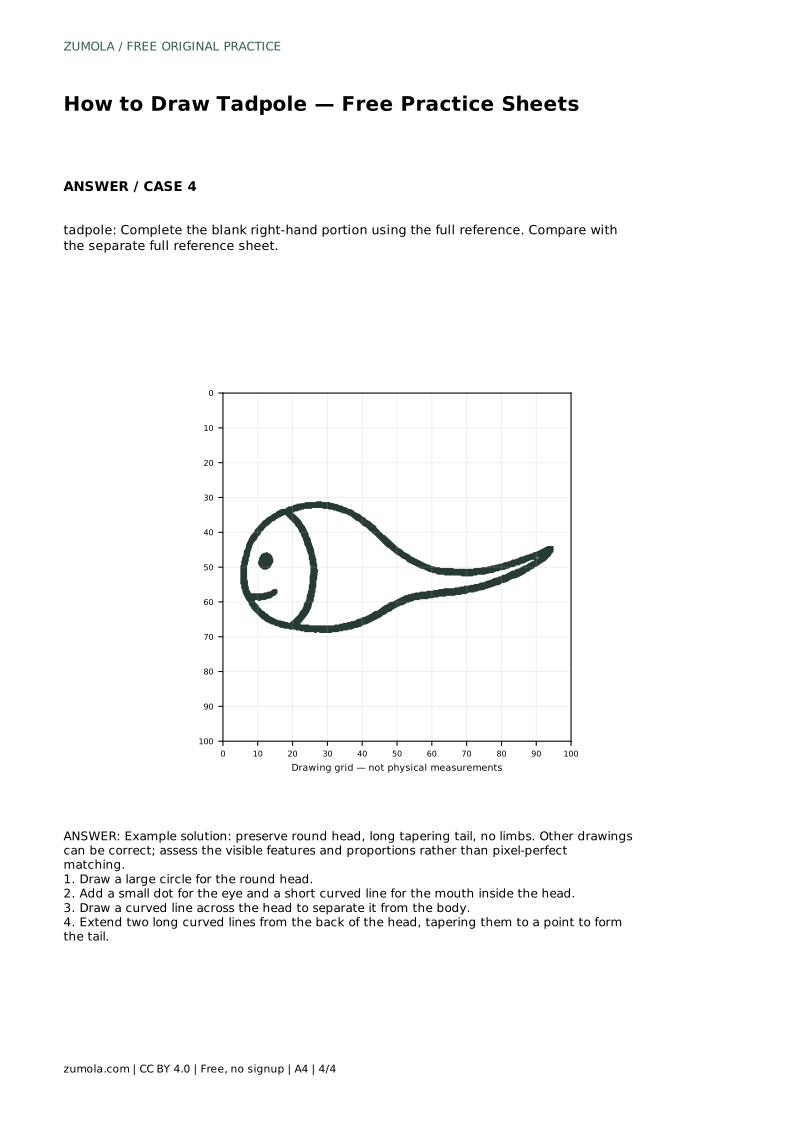
Reference diagrams
LETTER · Download PDF
A4 · Download PDF
Free original resources
Learn to draw a tadpole by building a round head and a long tapering tail. Trace, grid, and complete-the-drawing practice sheets support careful observation.
Four original cases, with reference diagrams, practice sheets and worked answers. Everything is free; no signup required.
LETTER · Download PDF
A4 · Download PDF
LETTER · Download PDF
A4 · Download PDF
LETTER · Download PDF
A4 · Download PDF
Use A4 or US Letter to match your printer. Use the stated values and conditions to solve each exercise; diagrams are not physical measuring rulers.
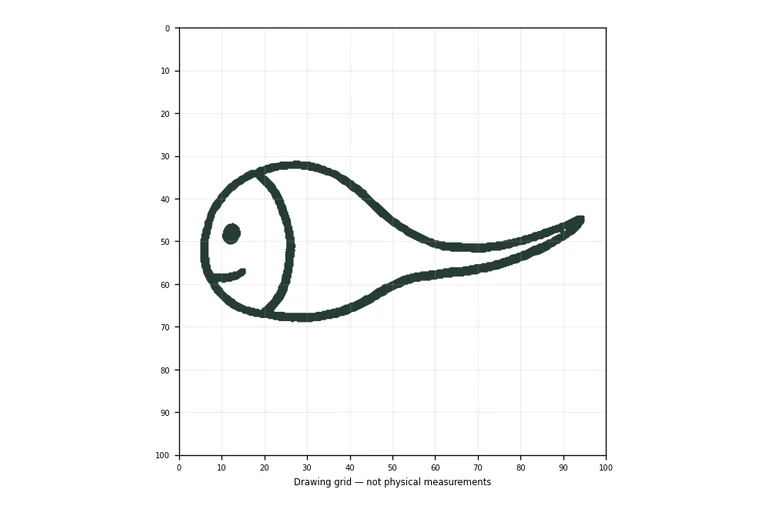
A tadpole is a simple subject with a clear visual signature: a rounded head and a long tail that narrows to a point, with no limbs. That simplicity makes it a useful drawing exercise because small changes in proportion are easy to see. These practice sheets ask you to observe the outline, place it accurately, and then add the few details that identify the animal. The goal is not a pixel-perfect copy but a drawing that preserves the visible features and their relationships.
Before adding any detail, look at the whole shape. A tadpole drawing is dominated by two parts: a large round head and a long tail that tapers to a point. The head should read as clearly round rather than oval or square, and the tail should be noticeably longer than the head is wide. Keep the tail attached at the back of the head, not underneath it.
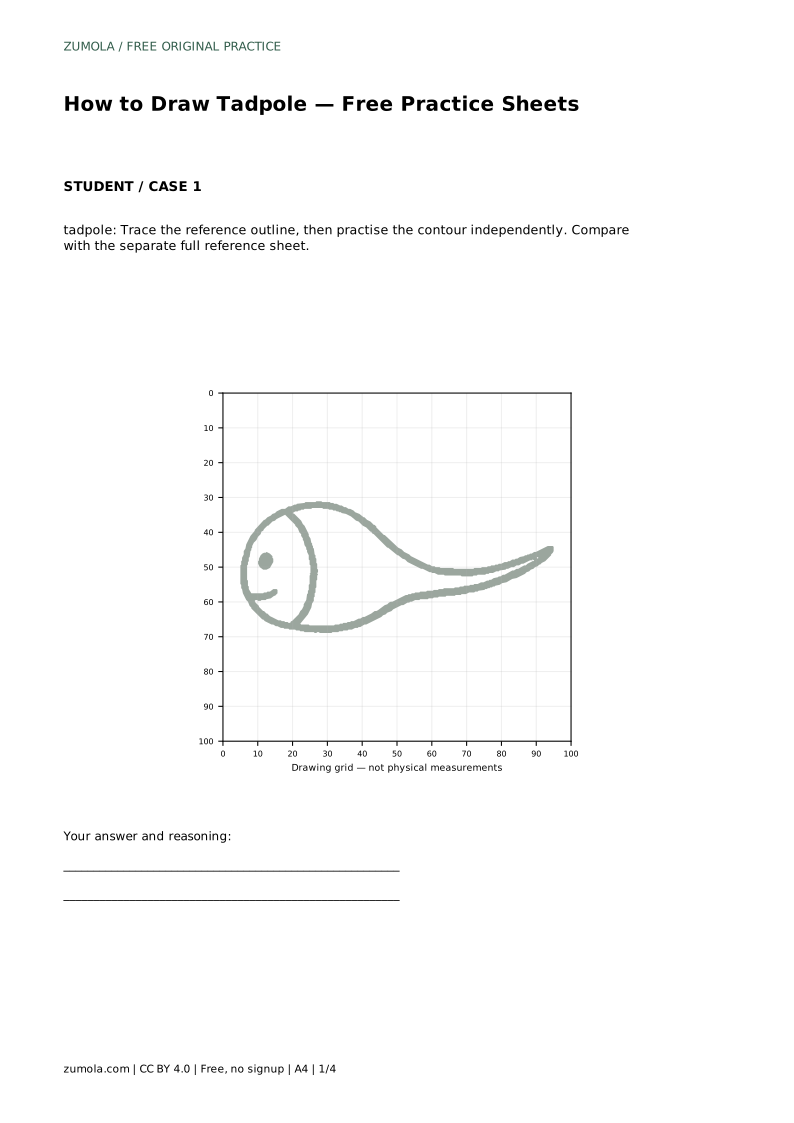
When you trace the reference outline, move slowly along the contour and notice where the curve changes direction. At the join between head and tail, the outline narrows smoothly. Avoid pinching this area into a sharp corner, which makes the drawing look like two separate shapes rather than one animal.
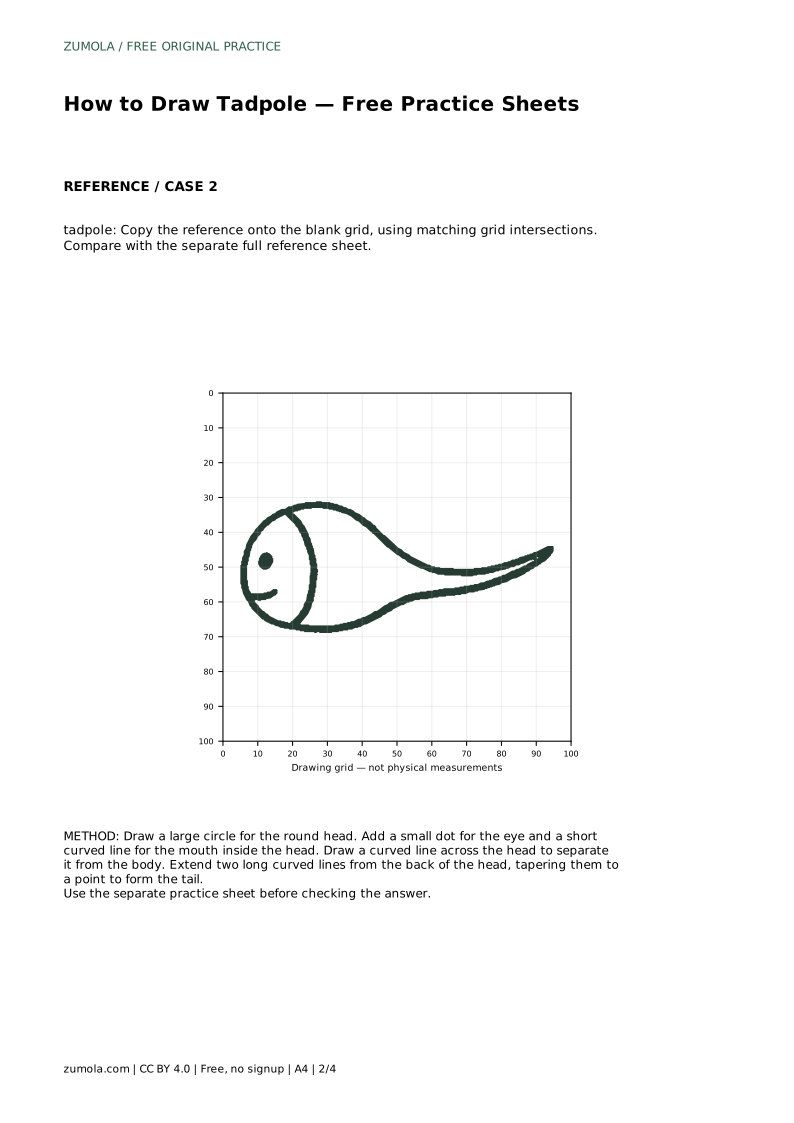
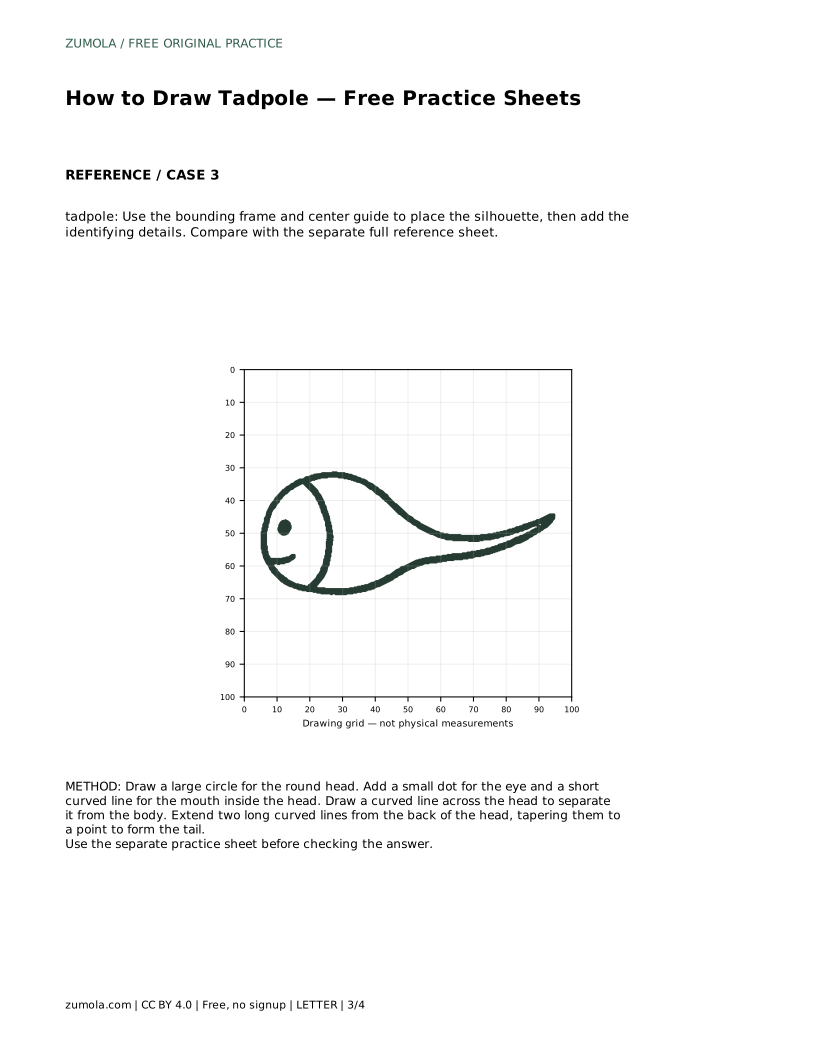
Grid and frame guides help you judge position and size before committing to detail. On a grid sheet, compare where the outline crosses each intersection with the reference. The head usually occupies one region and the tail stretches across several, so check the tail length relative to the head before drawing the taper.
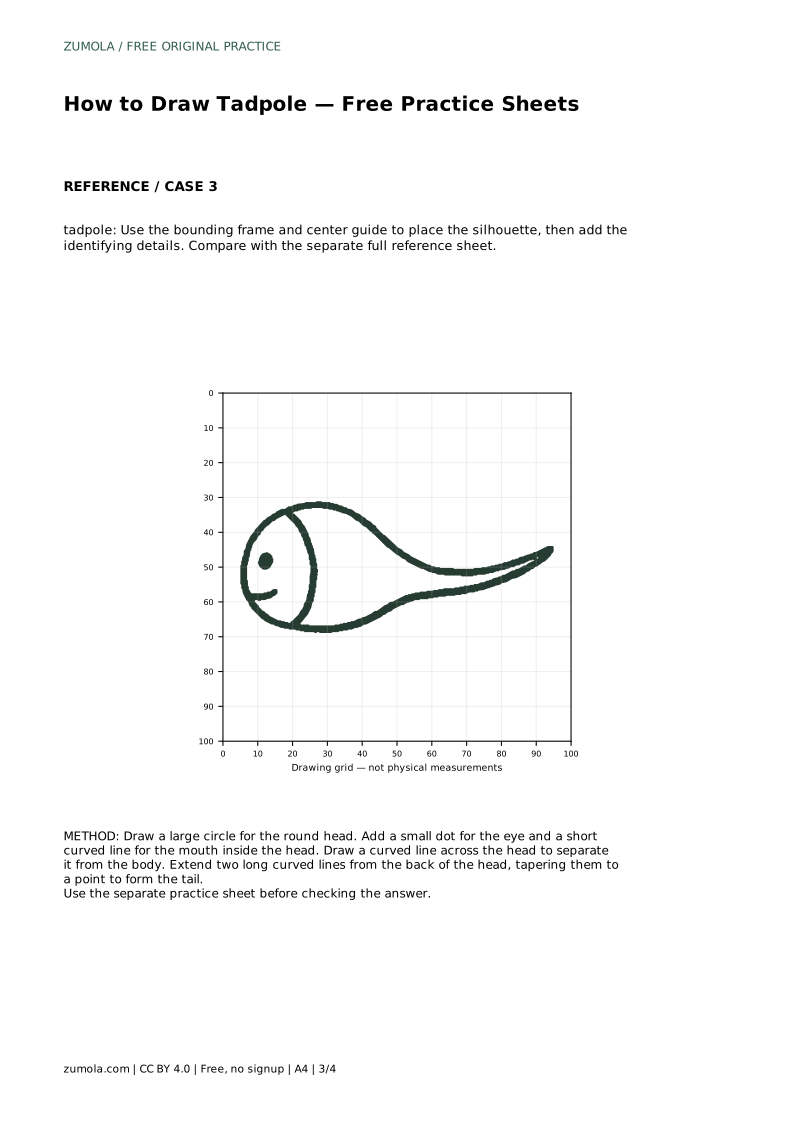
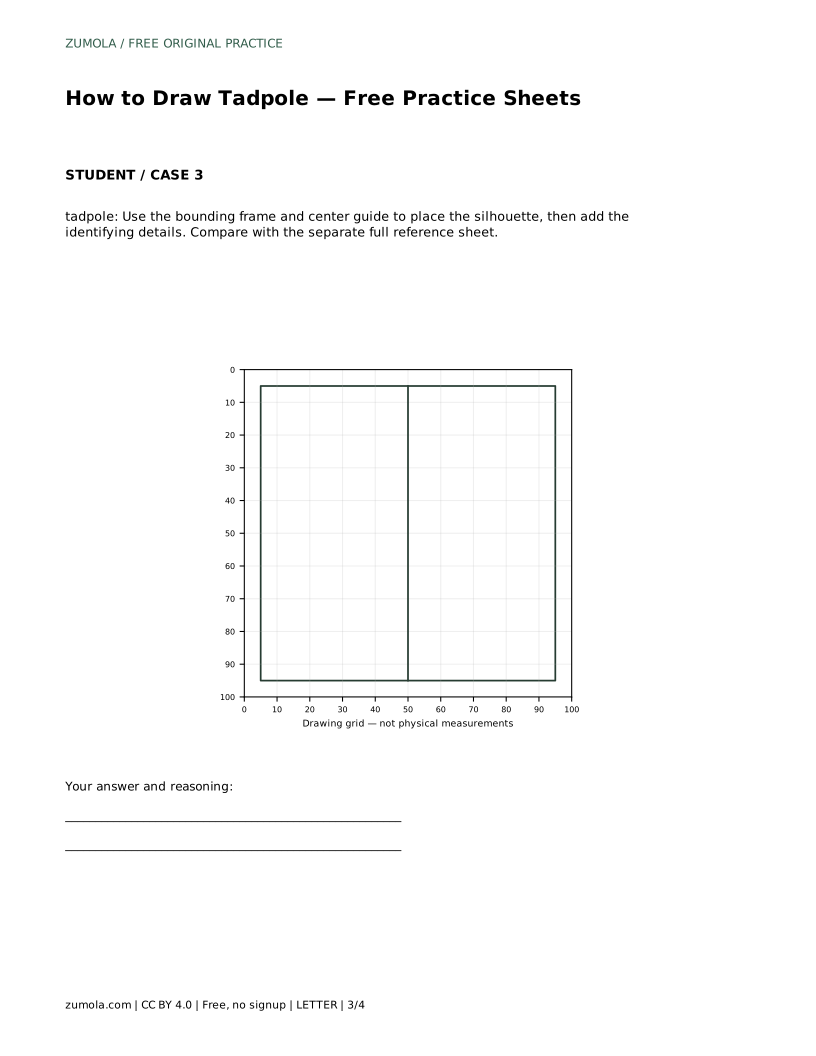
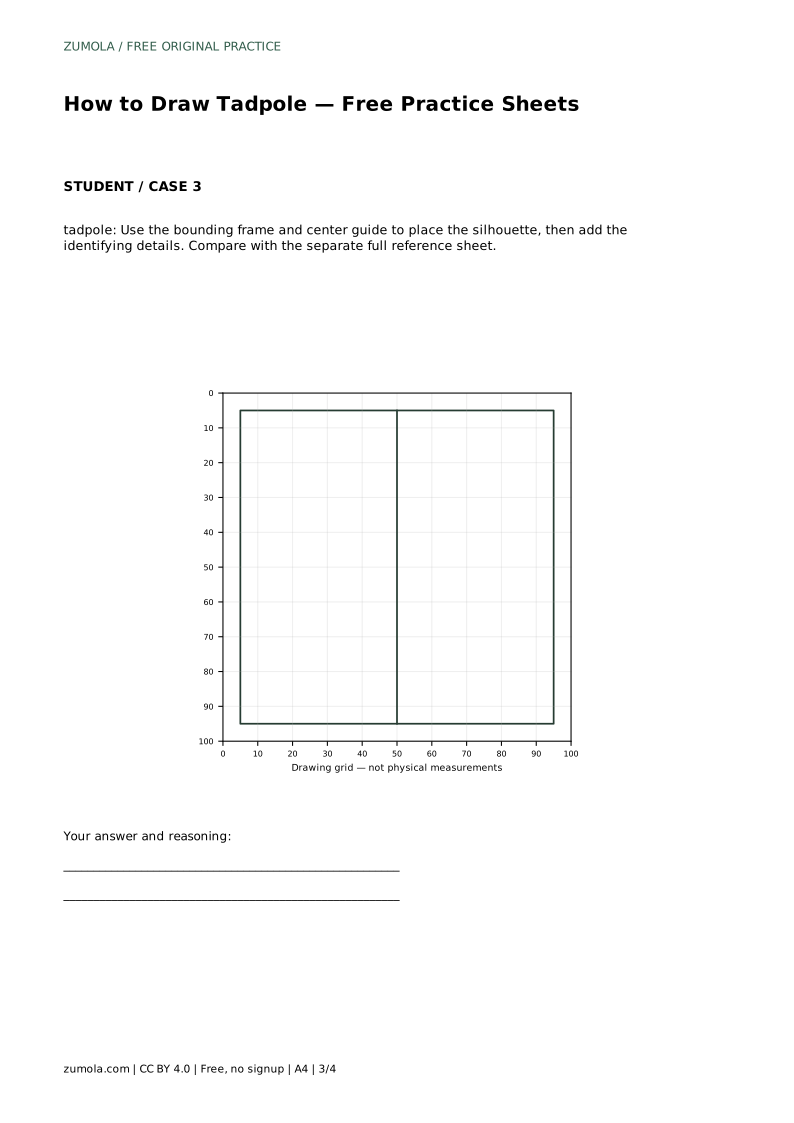
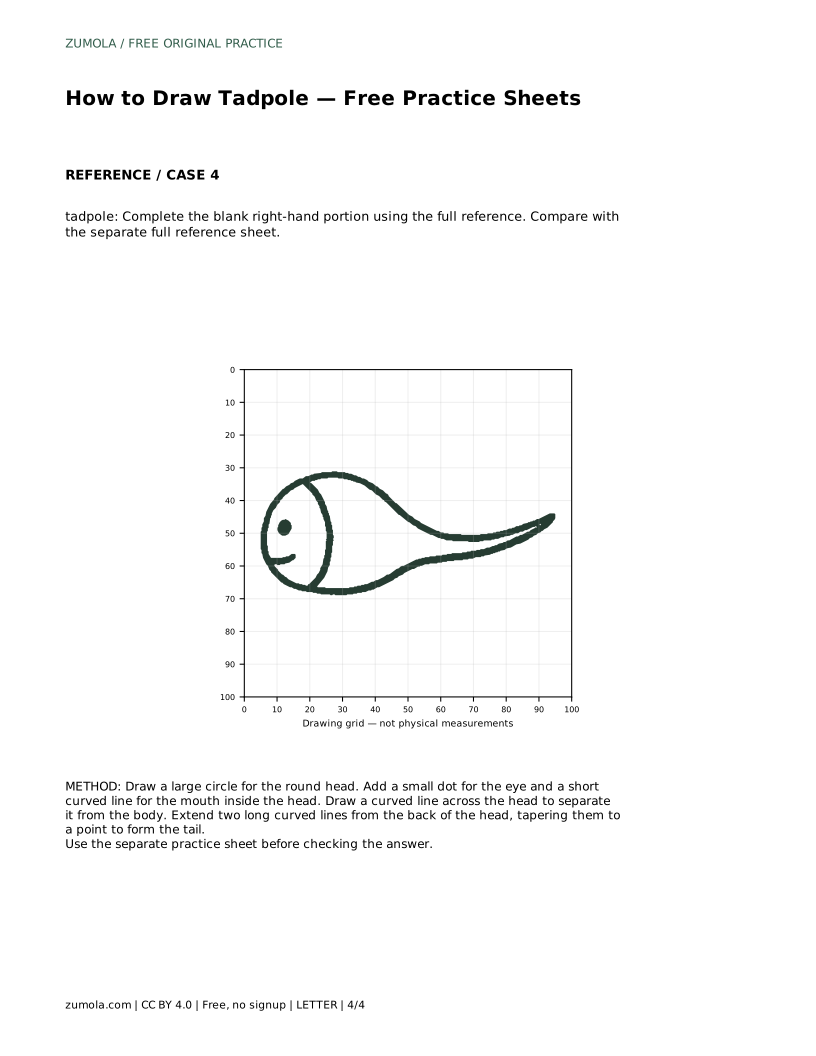
With a bounding frame and center guide, decide where the silhouette sits inside the frame. The center guide helps you keep the head and tail aligned along one axis. If the tail drifts above or below the head, the drawing looks bent rather than streamlined. Adjust the placement first, then refine the contour.
The eye and mouth are small but important. Place the eye inside the head, not on the outline, and keep it small relative to the head. The mouth is a short curved line, not a wide smile. A curved line across the head separates it from the body and helps the viewer read the shape as a tadpole rather than a balloon with a string.
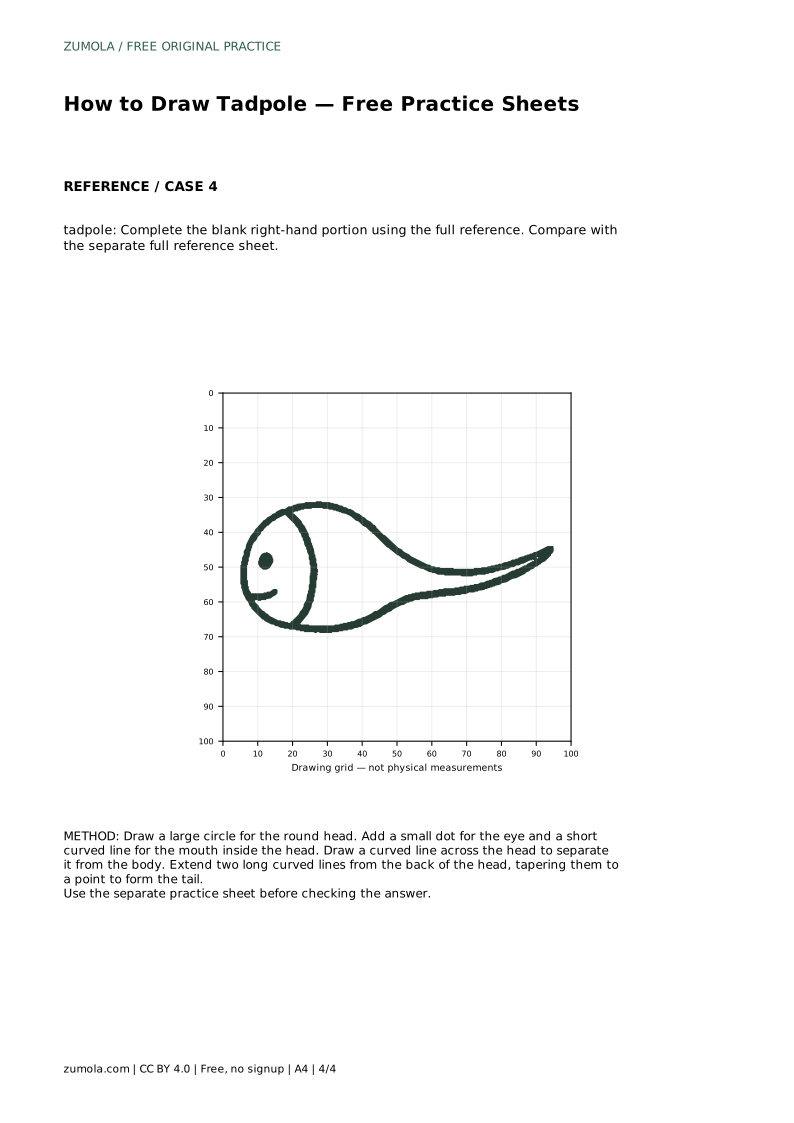
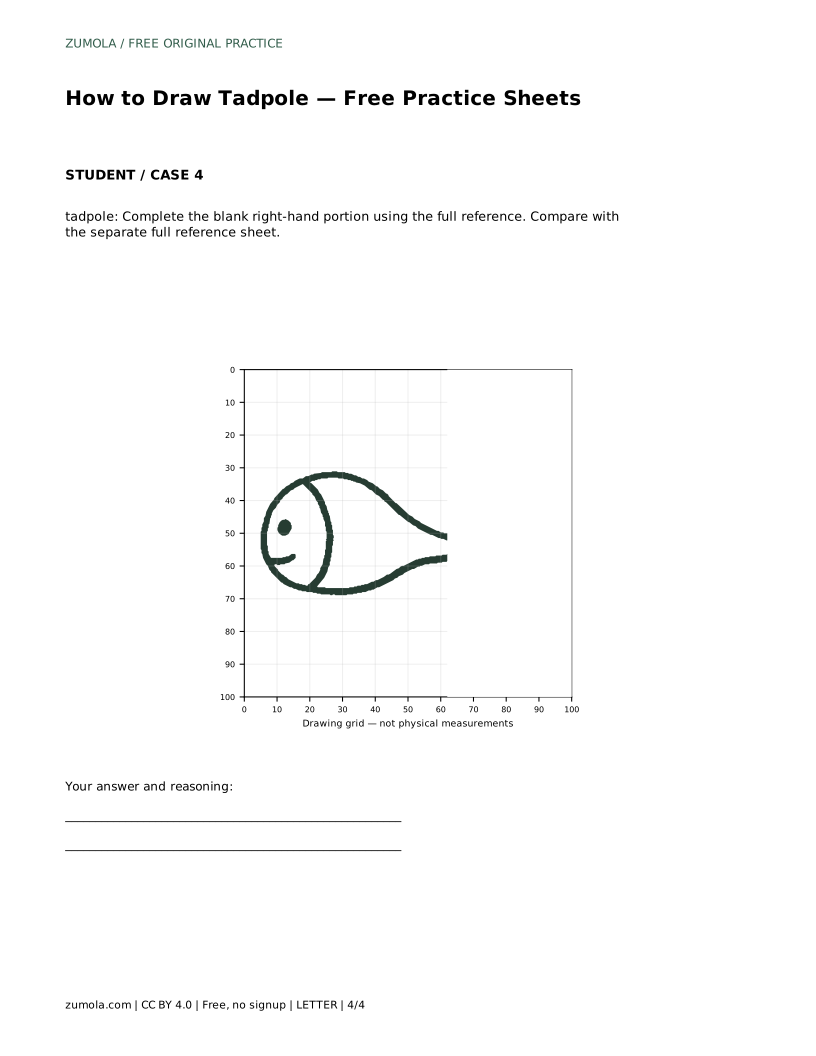
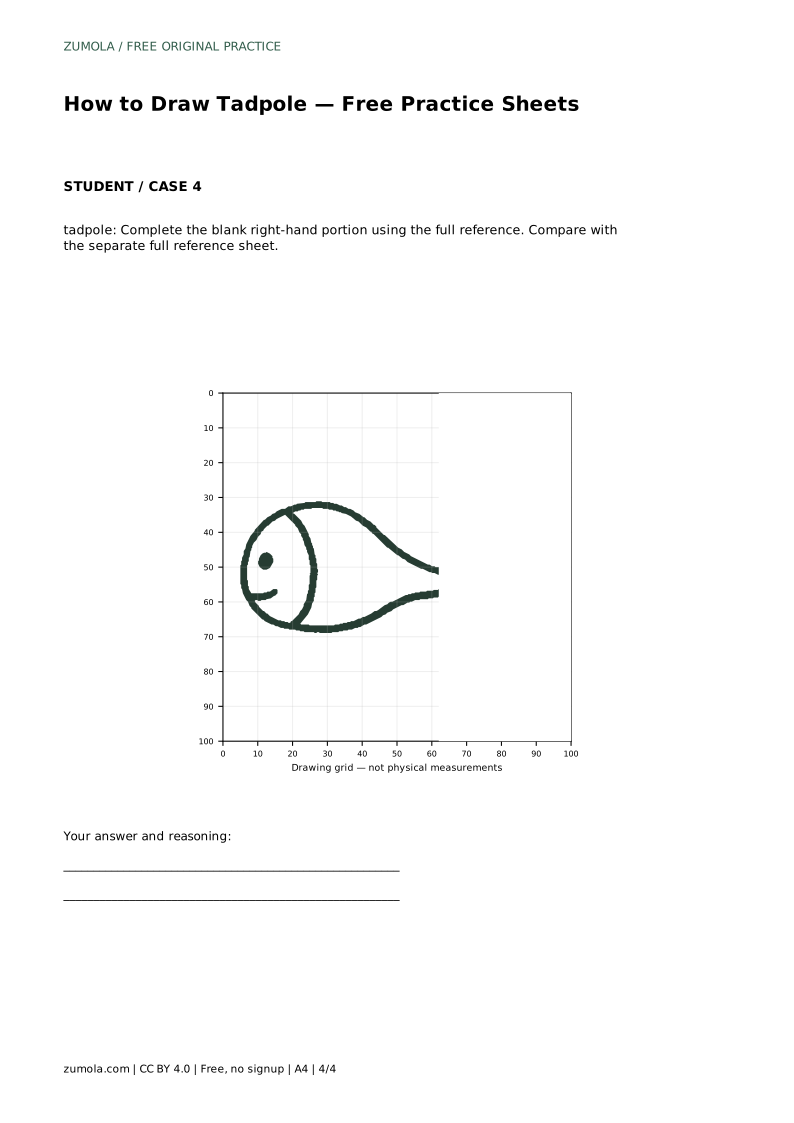
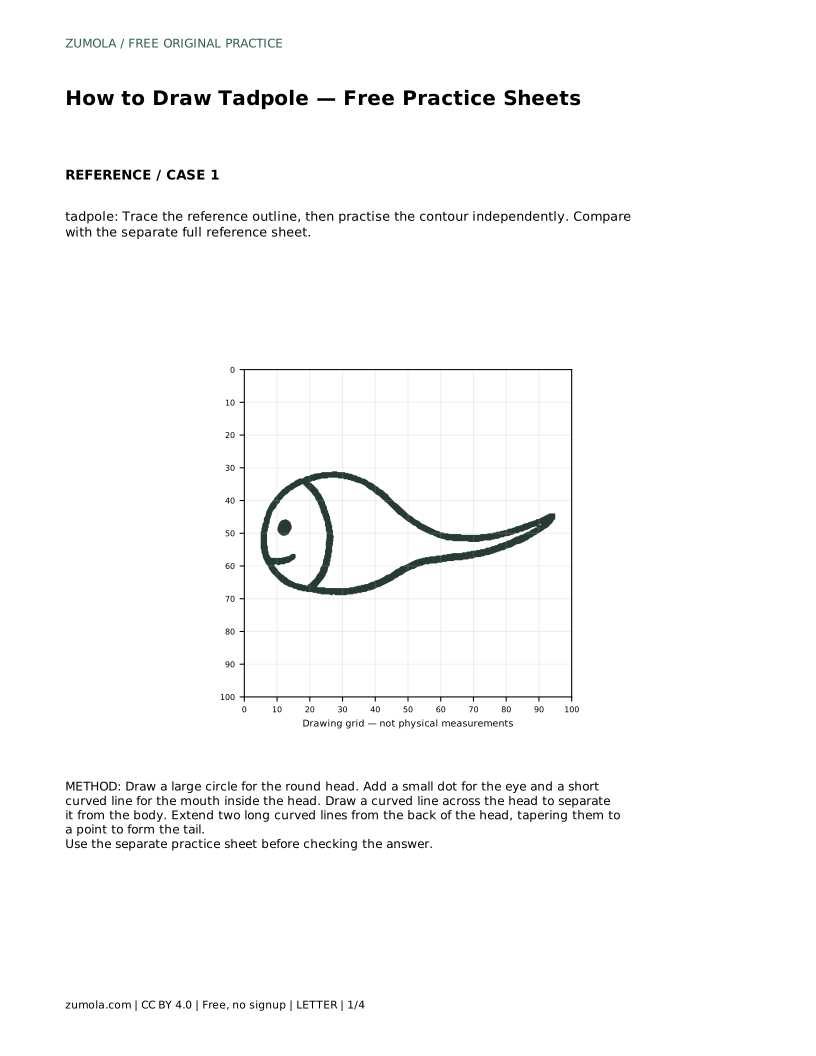
Remember that a tadpole at this stage has no limbs. Adding legs changes the subject into a froglet. If your reference shows no limbs, leave them out. When you complete a blank portion of a sheet, use the full reference to check the missing section rather than guessing from memory.
After drawing, compare your sheet with the separate full reference. Check the roundness of the head, the length of the tail, and the smoothness of the taper. Ask whether the eye and mouth sit in believable positions. Because drawings can be correct in different ways, judge the visible features and proportions rather than exact matching.
If something looks off, redraw only that part on a fresh attempt. Repeating the silhouette several times builds control faster than polishing one drawing endlessly.
These sheets teach observational drawing, not anatomy. A tadpole drawing is a simplified representation, and artistic choices such as tail curve and head size can vary while remaining recognizable. Use the rubric to assess whether the key features are present and proportioned sensibly.
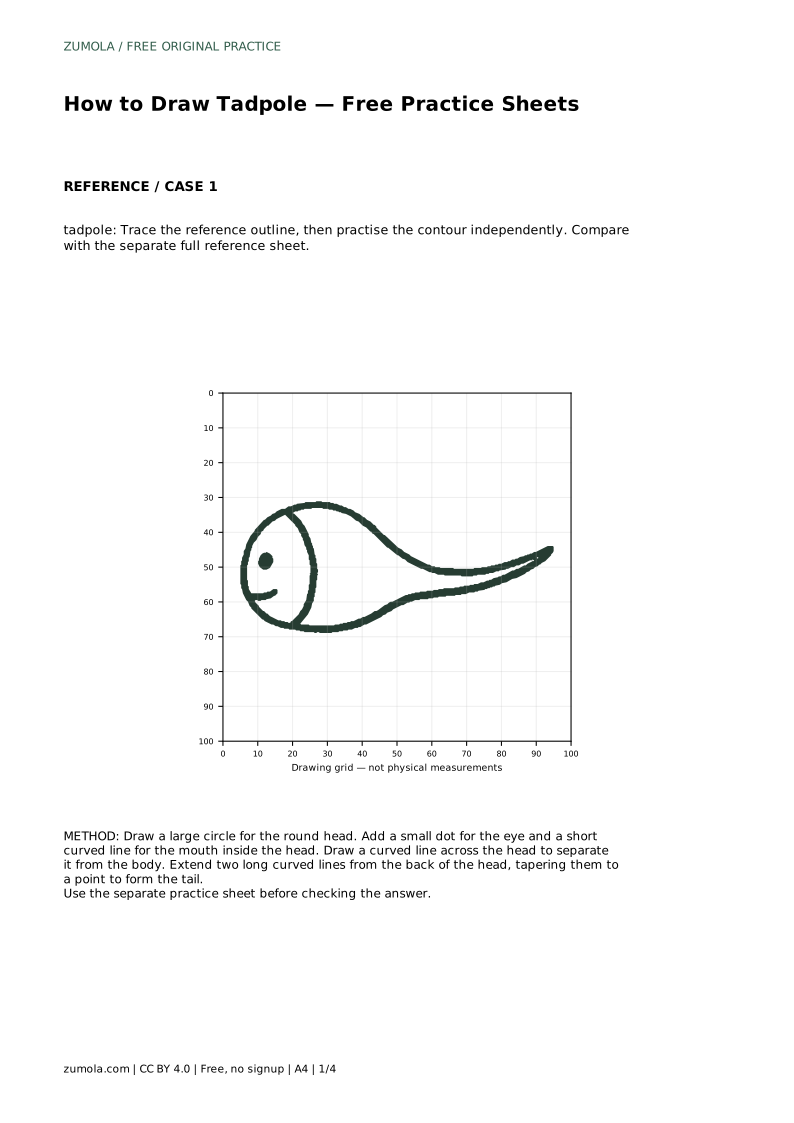
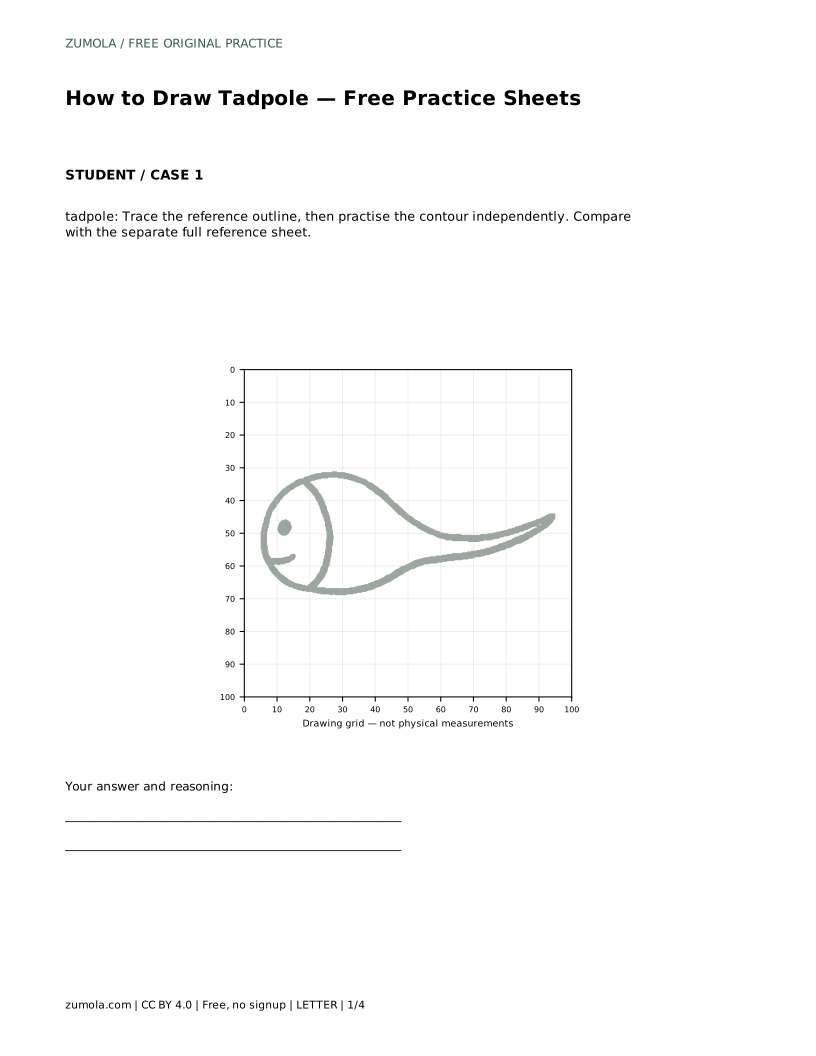
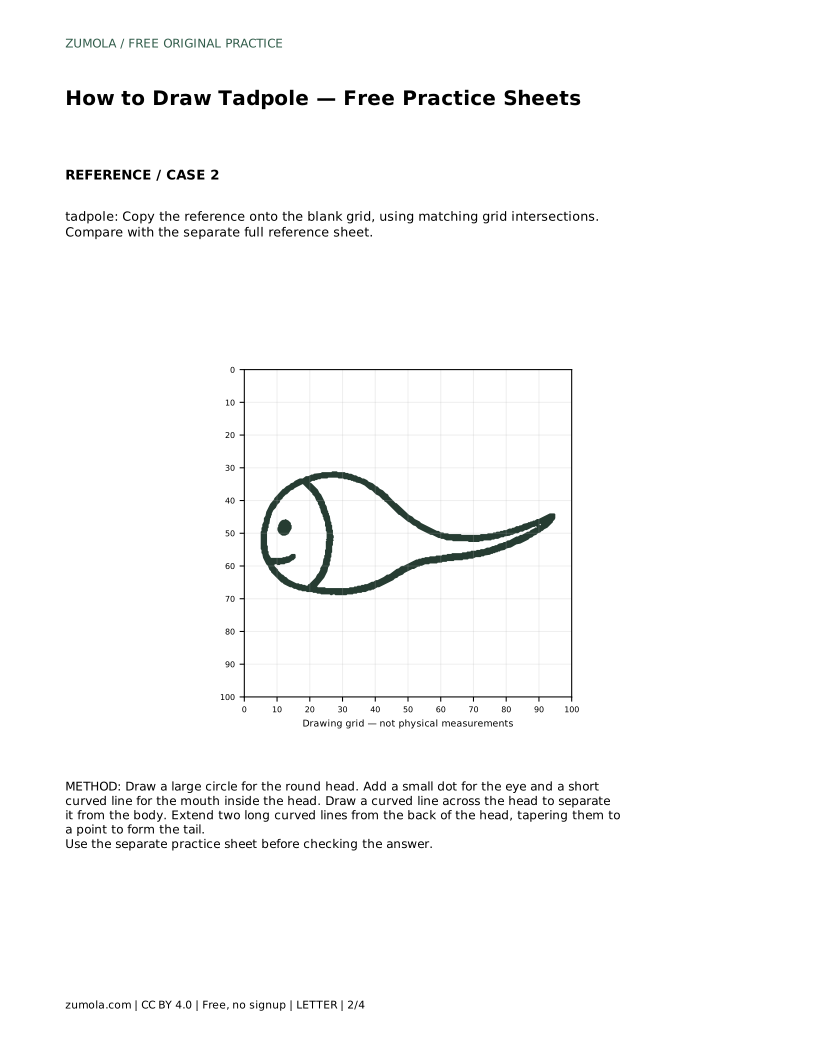
tadpole: Trace the reference outline, then practise the contour independently. Compare with the separate full reference sheet.
Example solution: preserve round head, long tapering tail, no limbs. Other drawings can be correct; assess the visible features and proportions rather than pixel-perfect matching. Draw a large circle for the round head. Add a small dot for the eye and a short curved line for the mouth inside the head. Draw a curved line across the head to separate it from the body. Extend two long curved lines from the back of the head, tapering them to a point to form the tail.
No. A tadpole at the stage shown has no limbs. Legs appear later in development, so adding them changes the subject.
Long enough to be clearly longer than the head is wide, tapering smoothly to a point at the back.
Yes. Different curves and sizes can still be correct. Assess whether the round head, long tapering tail, eye, mouth, and dividing line are present and sensibly proportioned.
All drawing practice · Free coordinate paper
Original resources · CC BY 4.0 · Free for personal and classroom use with attribution.