Reference diagrams
LETTER · Download PDF
A4 · Download PDF
Free original resources
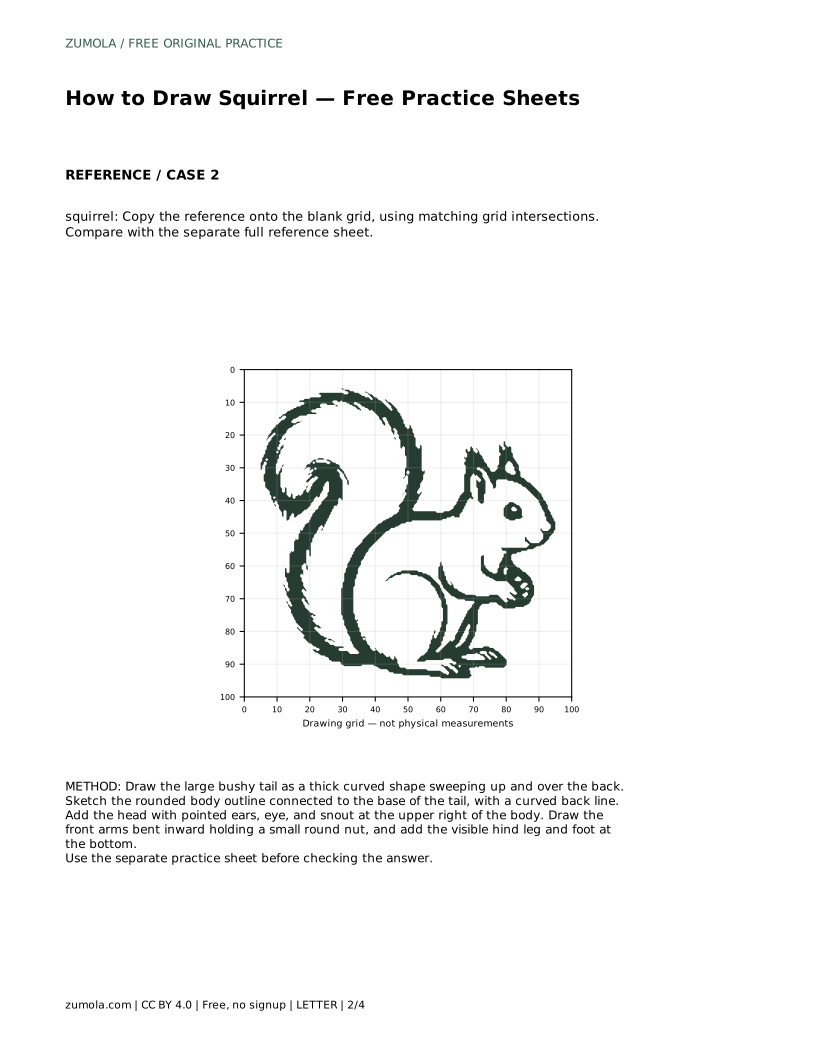
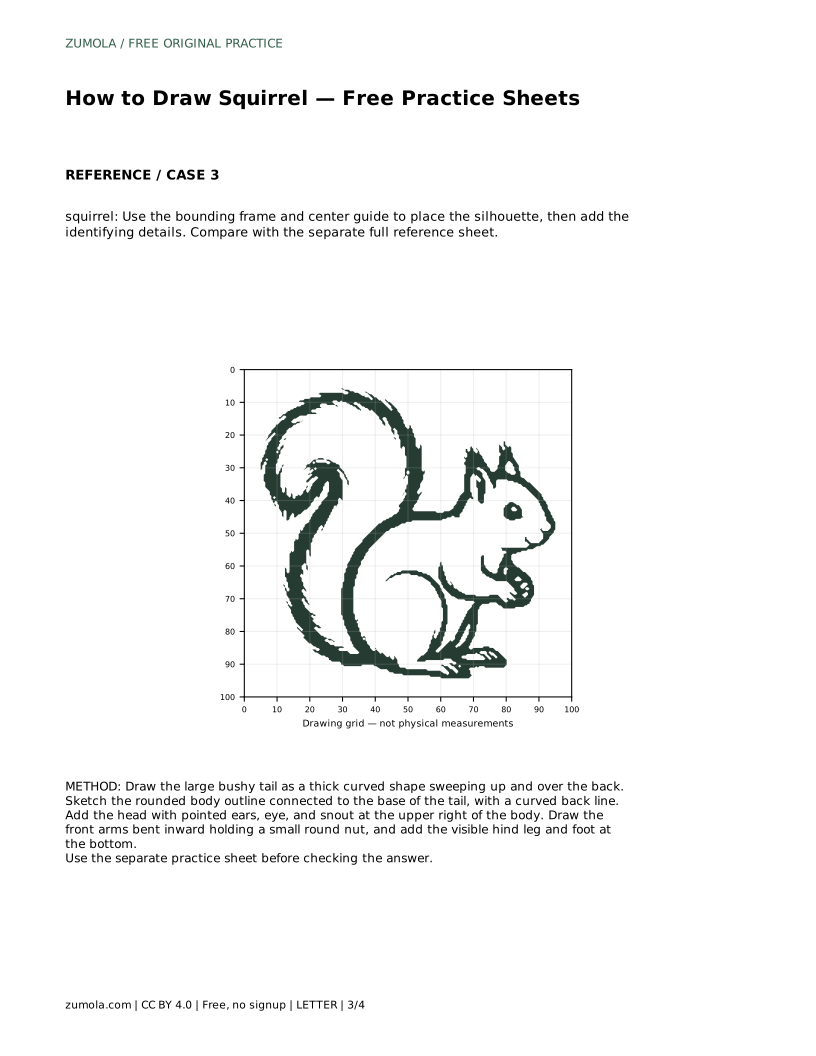
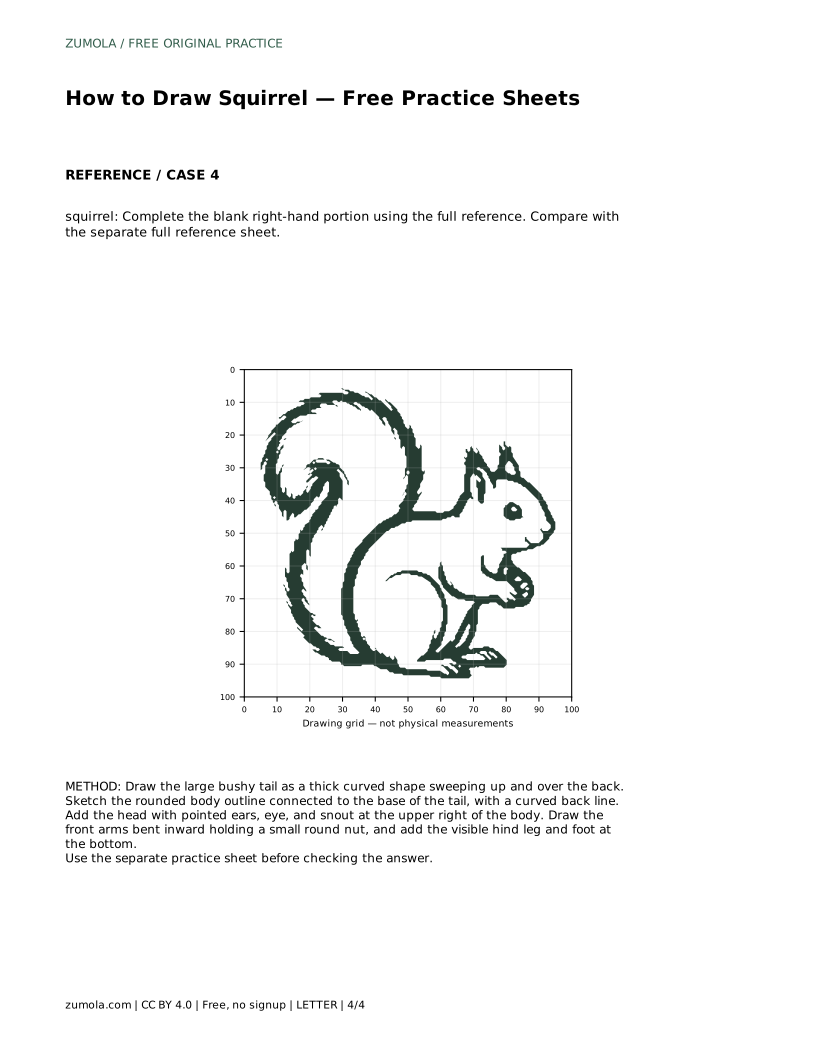
Learn to draw a squirrel by building the bushy tail, curved body, head, and paws in order. Use tracing, grid, and frame practice sheets to check proportions.
Four original cases, with reference diagrams, practice sheets and worked answers. Everything is free; no signup required.
LETTER · Download PDF
A4 · Download PDF
LETTER · Download PDF
A4 · Download PDF
LETTER · Download PDF
A4 · Download PDF
Use A4 or US Letter to match your printer. Use the stated values and conditions to solve each exercise; diagrams are not physical measuring rulers.
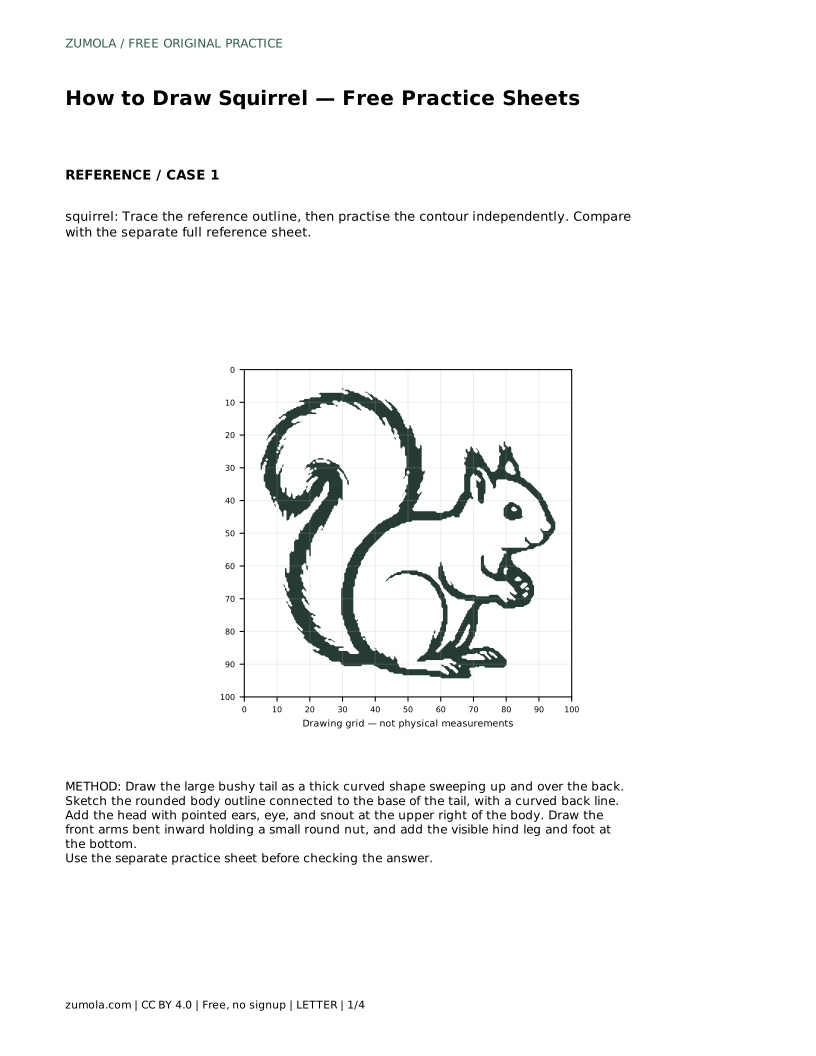
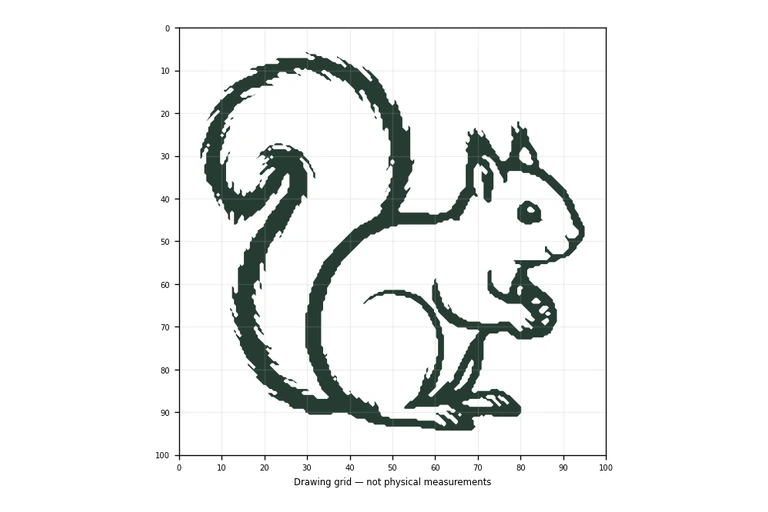
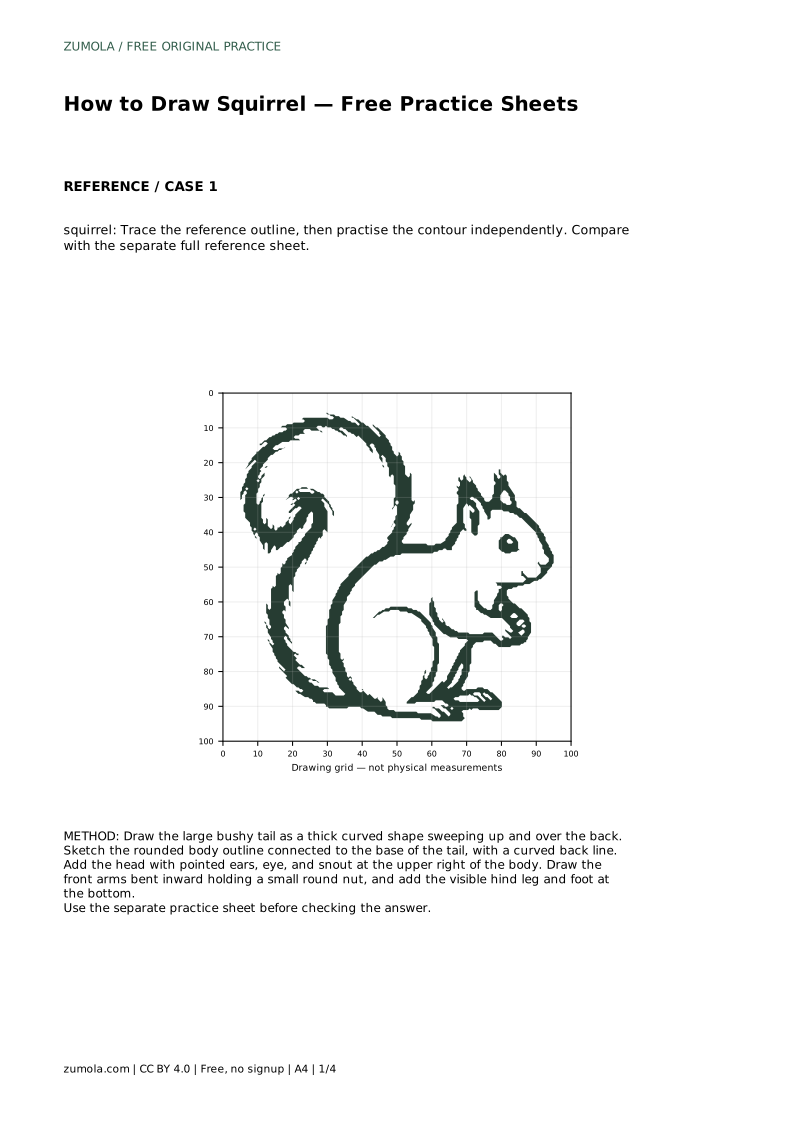
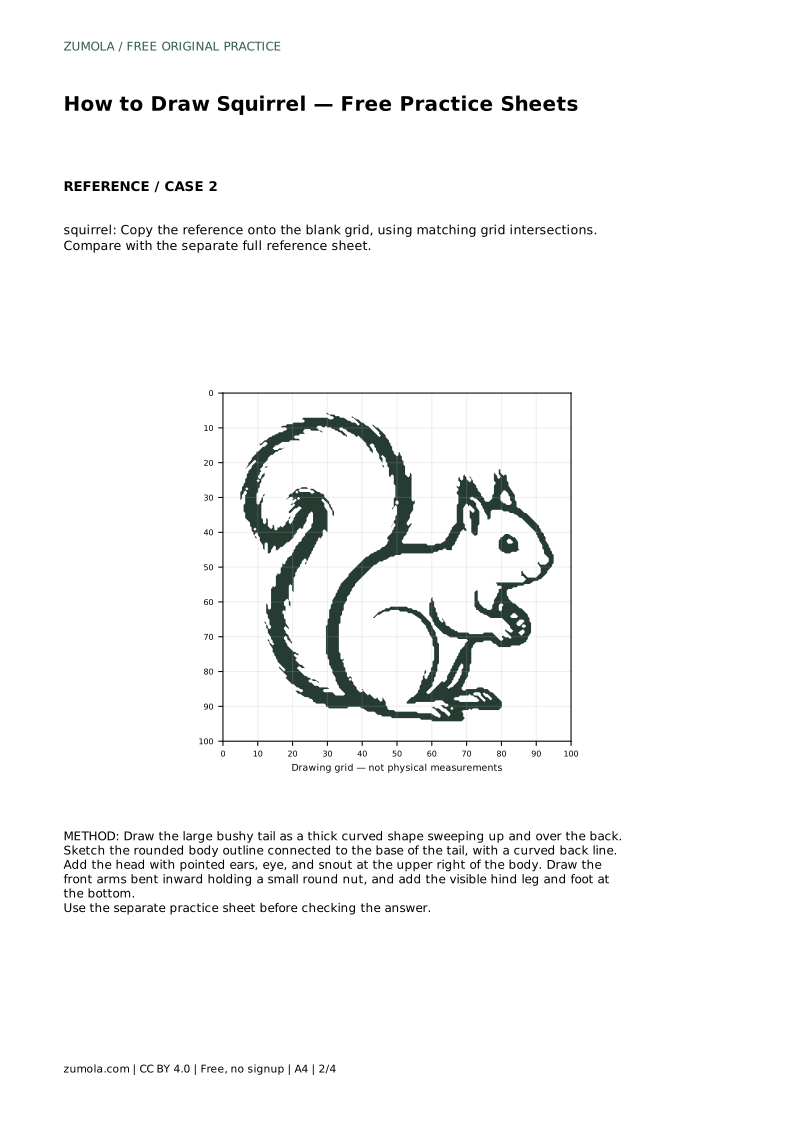
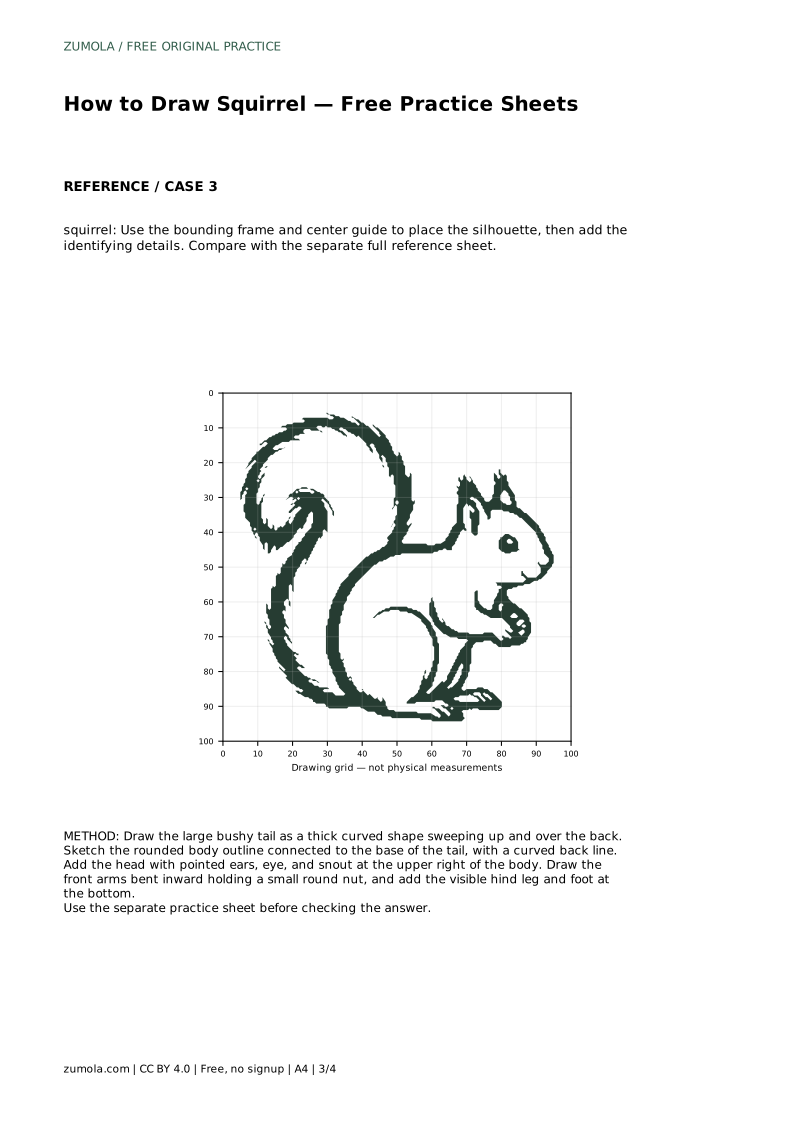
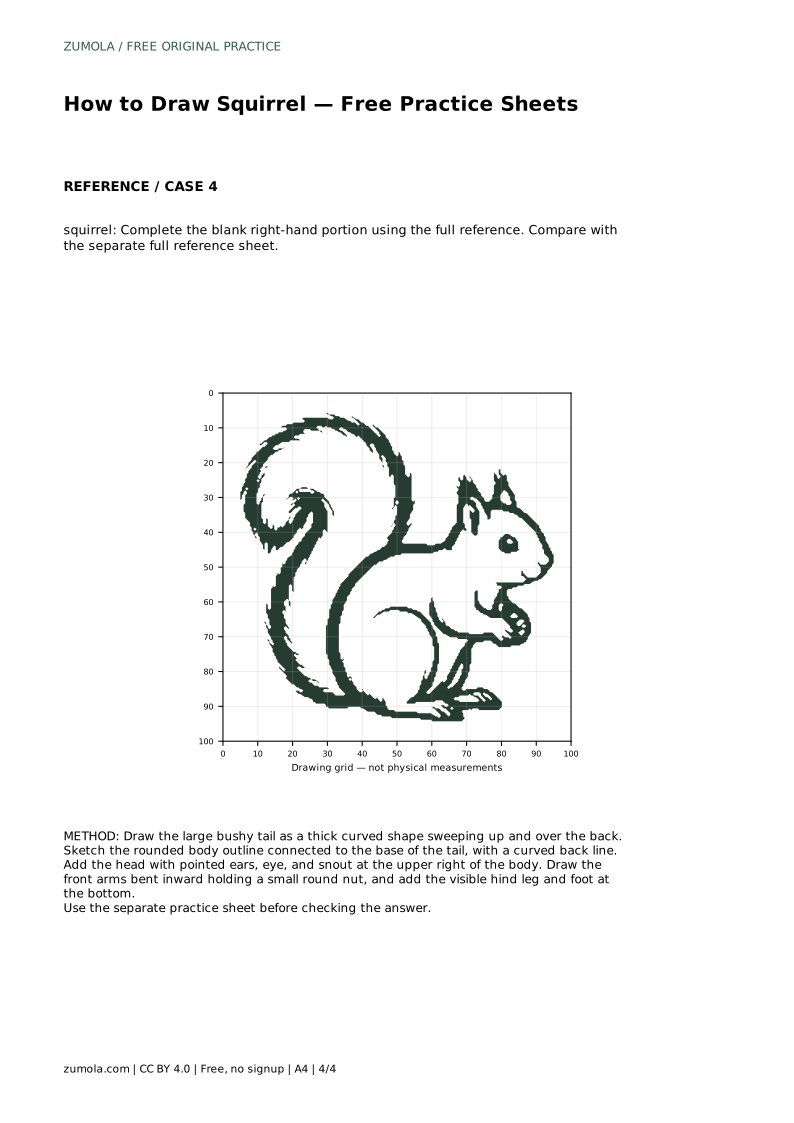
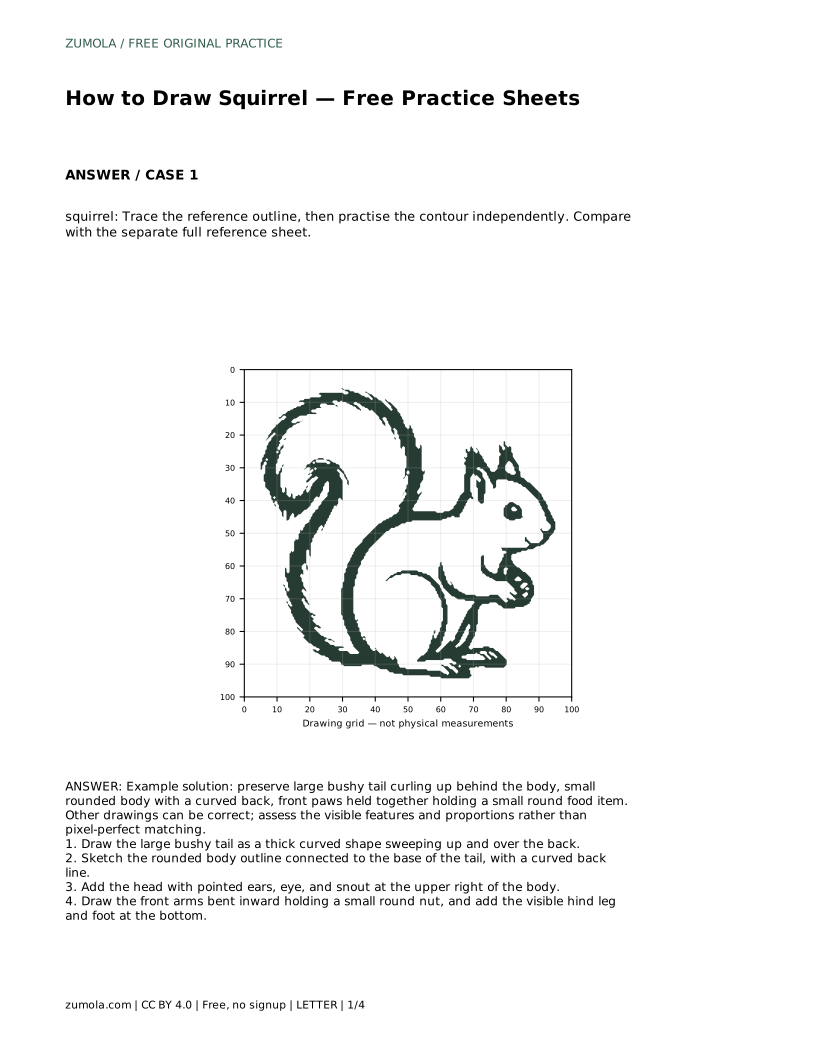
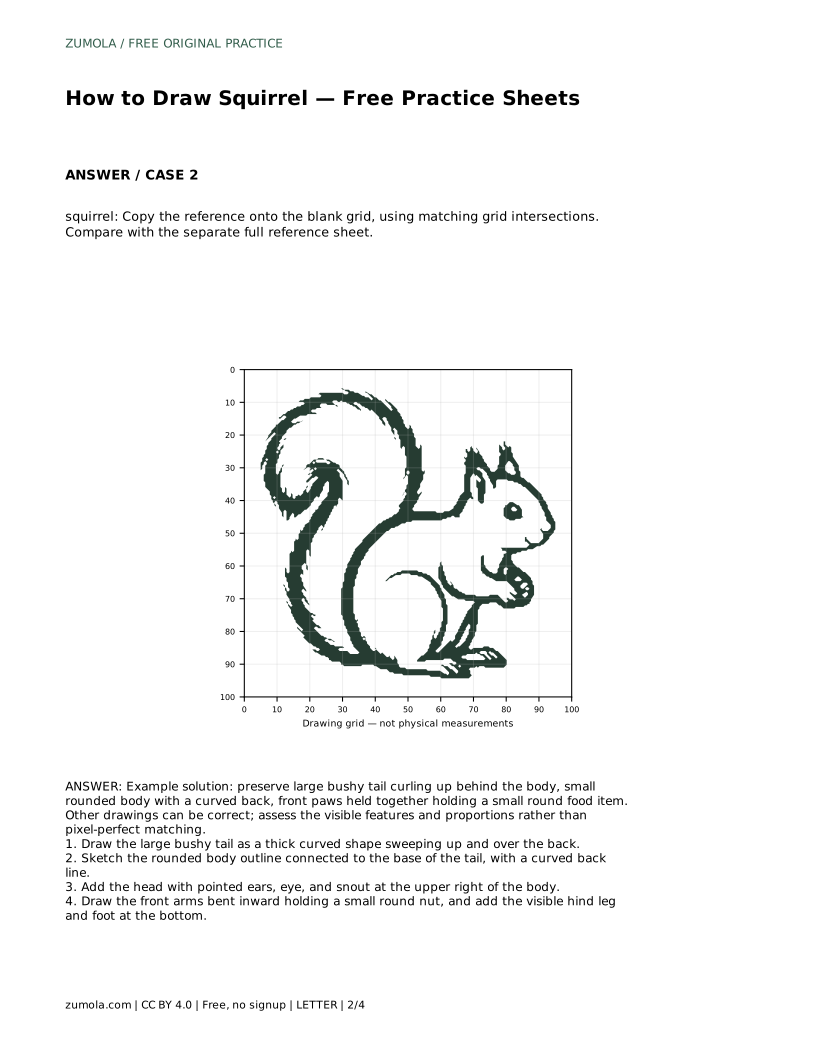
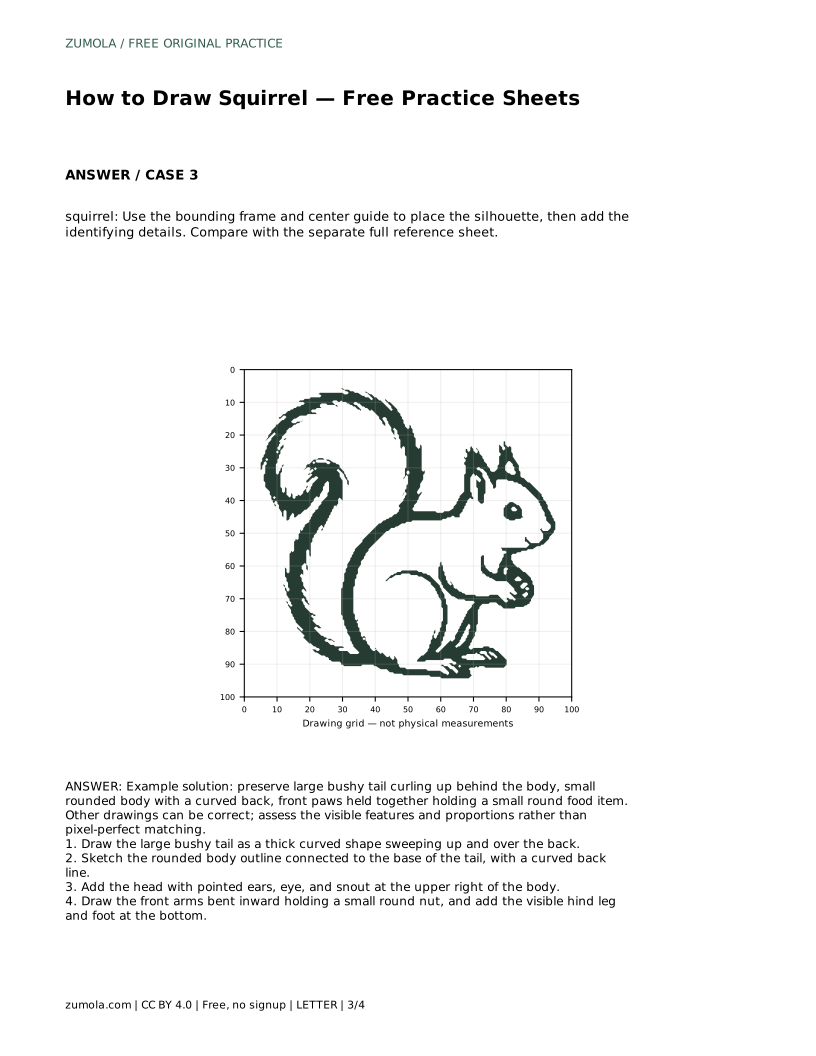
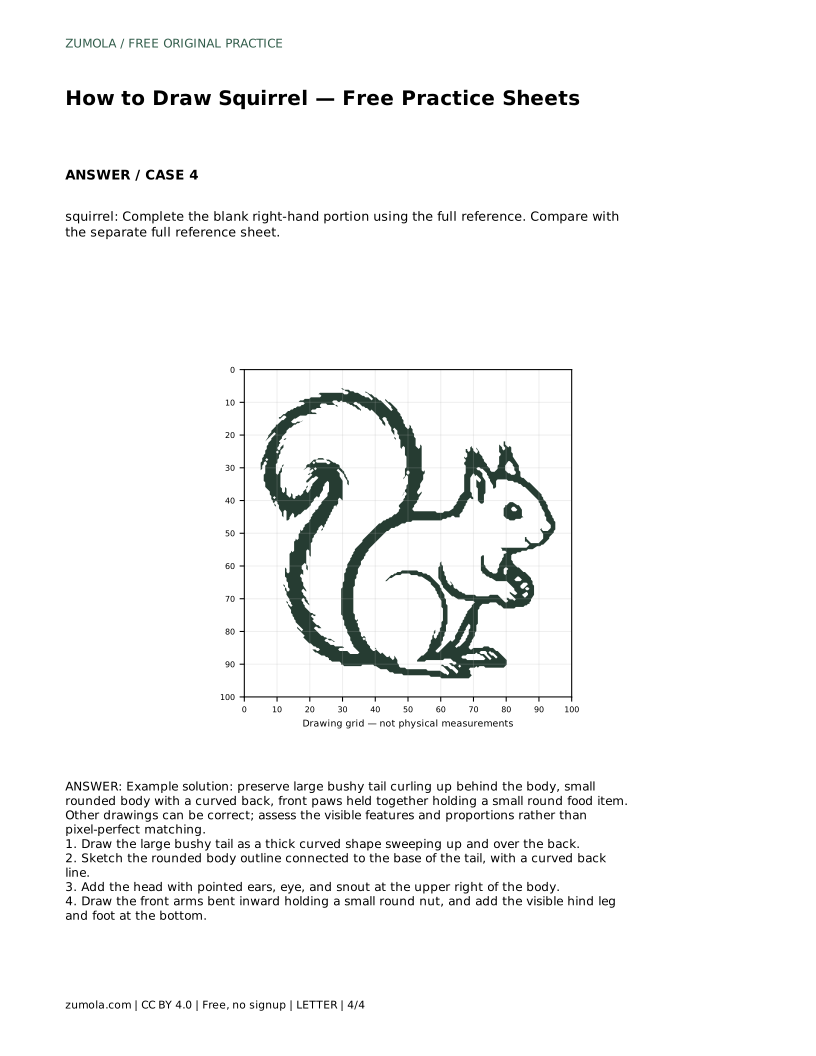
A squirrel drawing reads clearly when the big shapes are placed first and the small details come last. This guide shows a reliable order: the sweeping tail, the rounded body with a curved back, the head with pointed ears, then the paws holding a nut. Practice sheets let you trace the outline, copy it onto a grid, or place the silhouette inside a frame before drawing it independently.
The tail is the squirrel's largest and most recognizable shape, so place it before anything else. Draw a thick curved form that sweeps up behind the body and curls over the back. Keep the width generous along most of its length and taper it slightly at the tip. A thin tail makes the animal look like a different creature.
Next, connect a rounded body outline to the base of the tail. Give the back a gentle curve and keep the belly compact. The body should look small compared with the tail, because that contrast is part of what makes a squirrel recognizable. Check that the tail attaches low on the body rather than floating beside it.
Place the head at the upper right of the body, sitting on a short neck. Add pointed ears, an eye, and a small snout. Keep the ears upright and close together; wide, round ears change the silhouette. The eye sits forward on the face, and the snout points slightly outward from the body.
Draw the front arms bent inward so the paws meet in front of the chest, holding a small round nut. Then add the visible hind leg and foot at the bottom of the body. The hind foot should sit under the body and point forward. Leave the far-side limbs out or keep them minimal so the drawing stays readable.
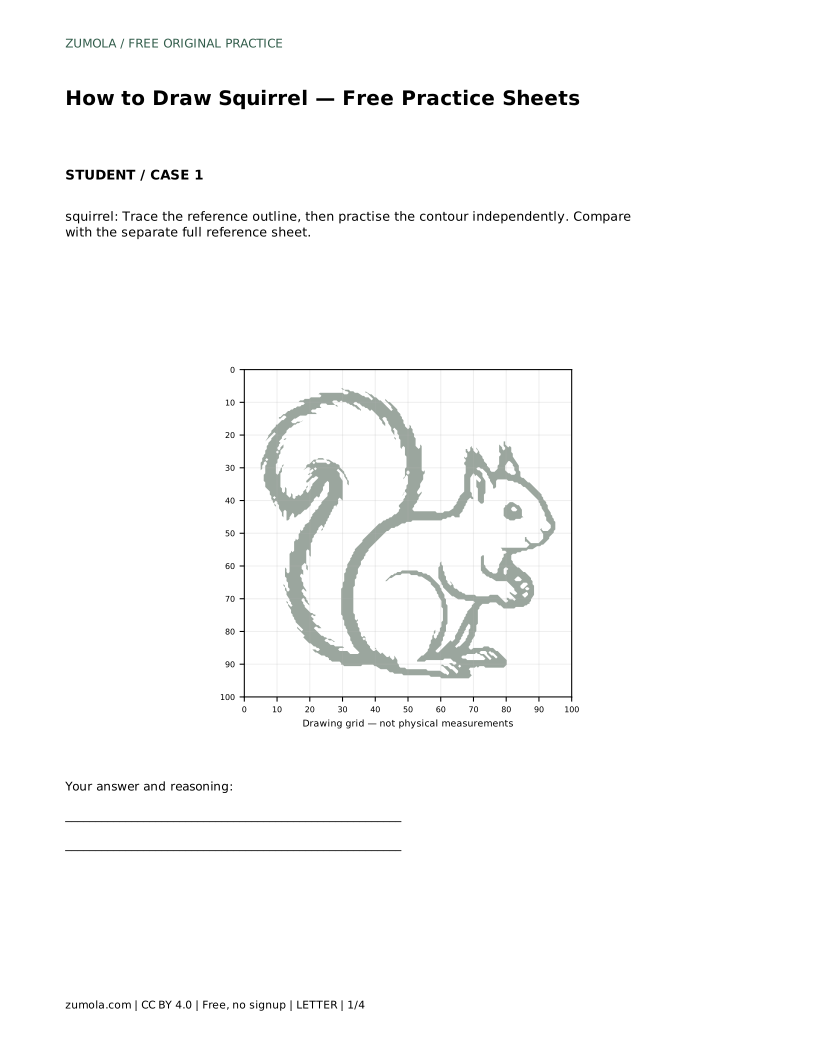
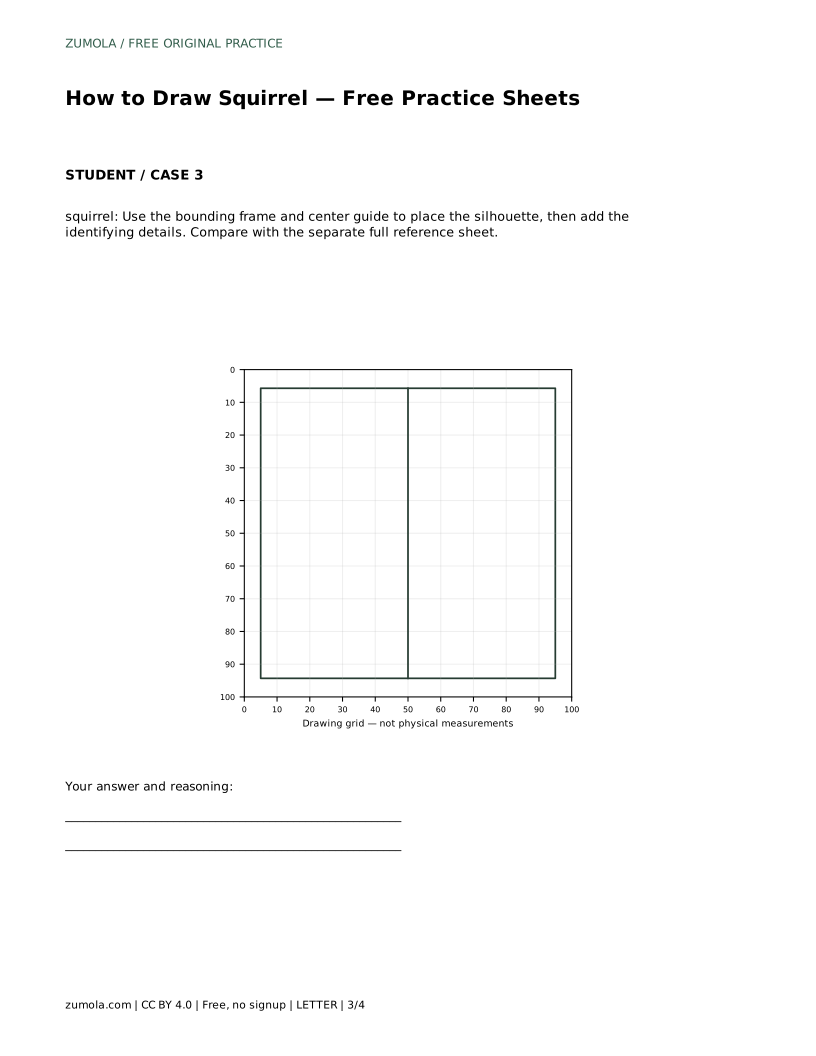
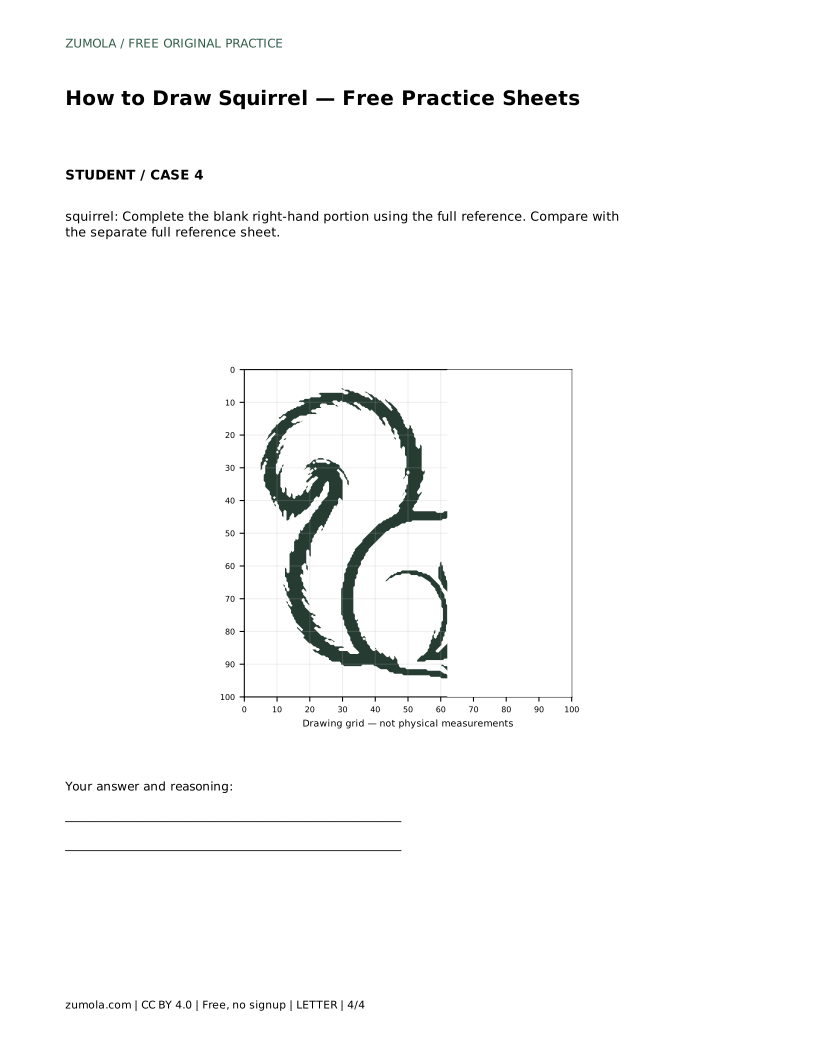
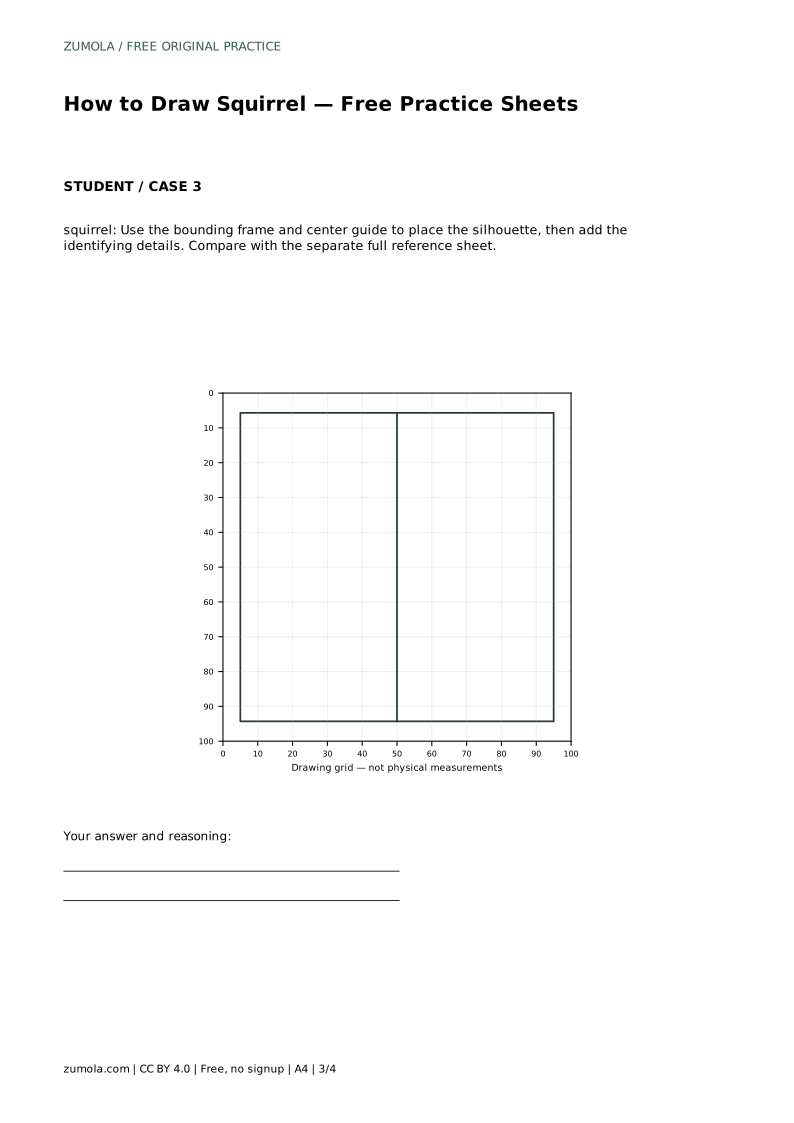
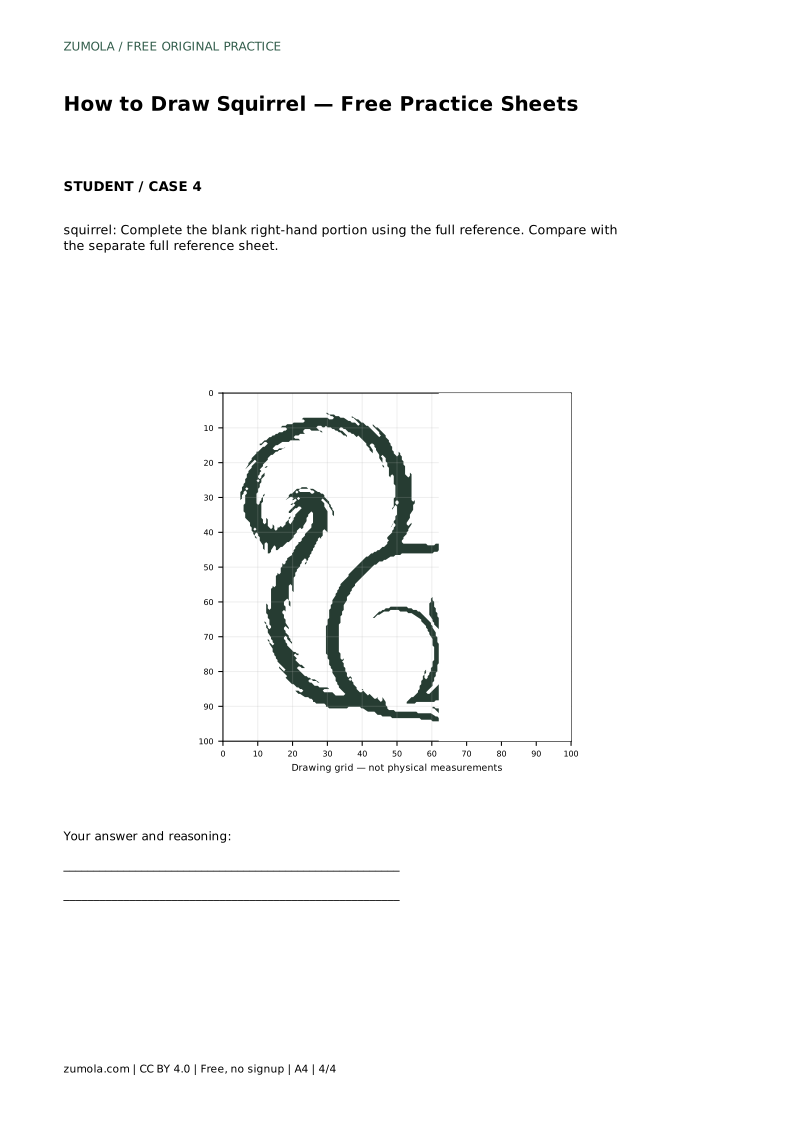
Each sheet type trains a different skill. Tracing the reference outline builds familiarity with the contour. Copying onto a blank grid trains you to judge position and size by matching grid intersections. Using a bounding frame and center guide trains you to place the whole silhouette before adding details. Completing a blank right-hand portion trains you to continue a drawing from partial information.
After any sheet, compare your drawing with the separate full reference sheet. Look at the tail's curve, the body's proportions, and the position of the paws. Small differences are fine; the goal is to preserve the visible features and their relationships, not to match every line.
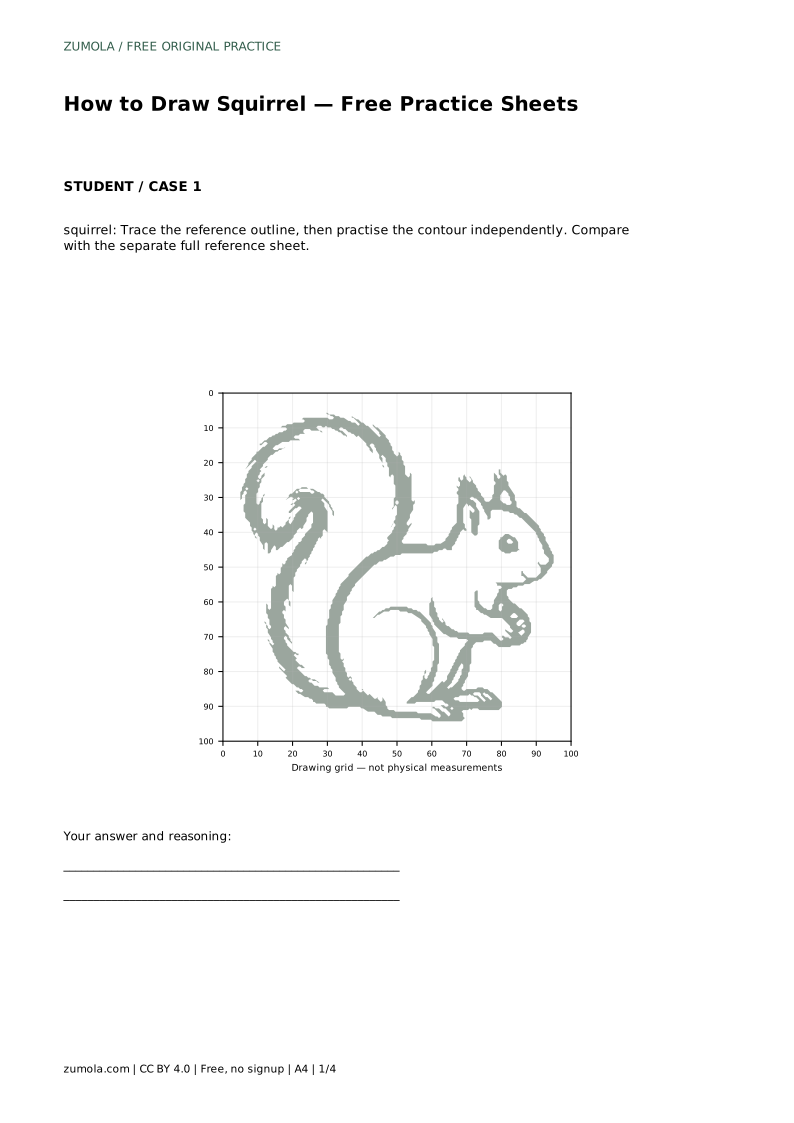
A finished squirrel should show a large bushy tail curling up behind the body, a small rounded body with a curved back, front paws held together around a small round food item, and a head with pointed ears at the upper right. If one of these is missing or misplaced, the drawing loses clarity.
Use a rubric rather than expecting one exact answer. Different line styles, tail widths, and face details can all be correct. Judge whether the main features are present, whether the proportions feel consistent, and whether the tail and body connect naturally.
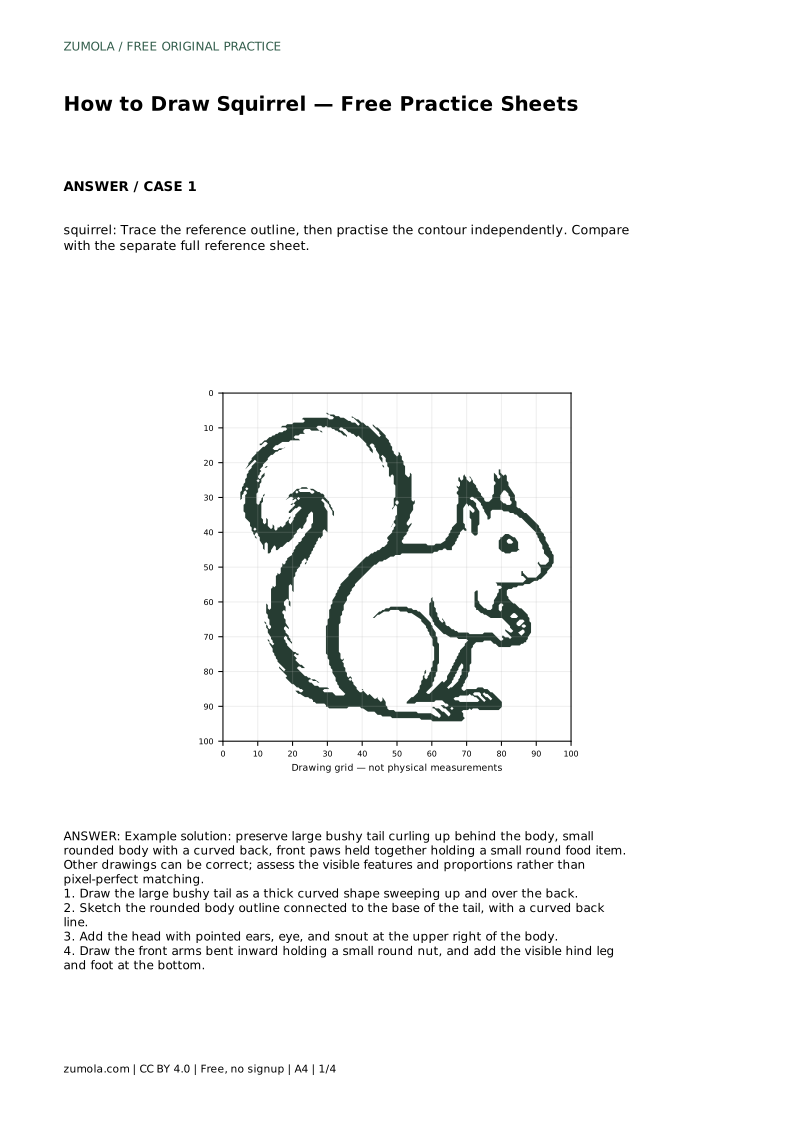
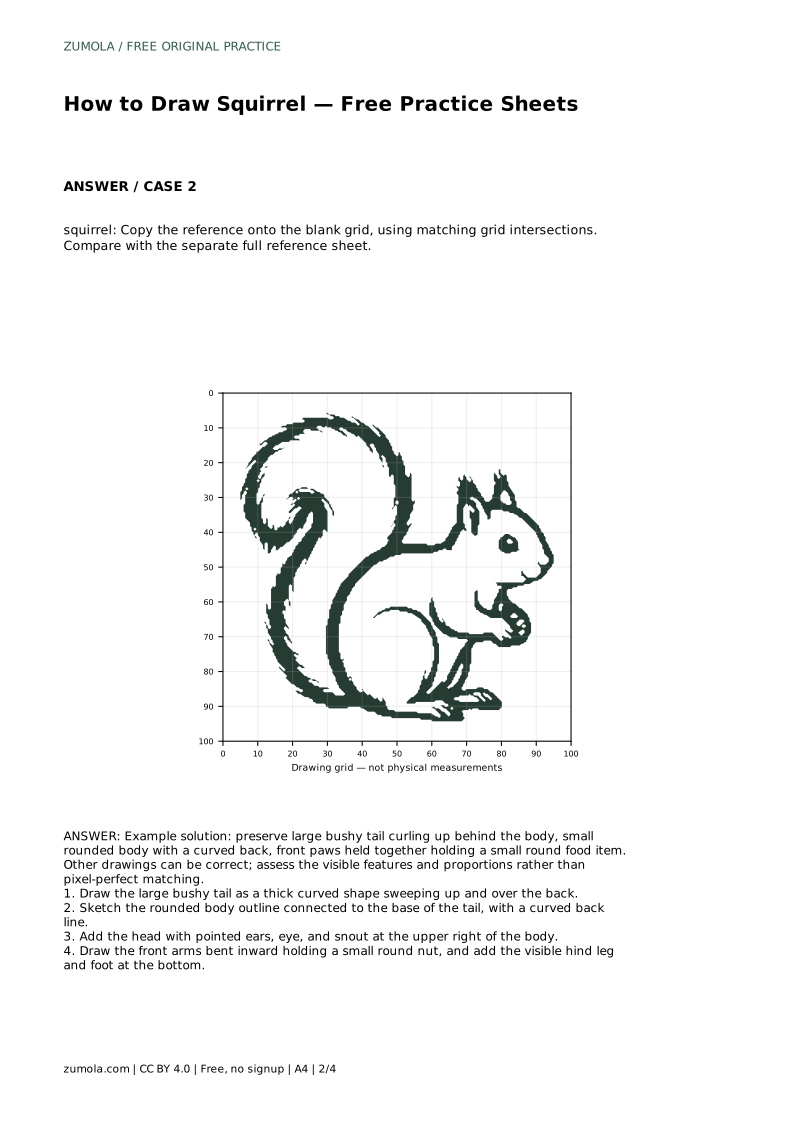
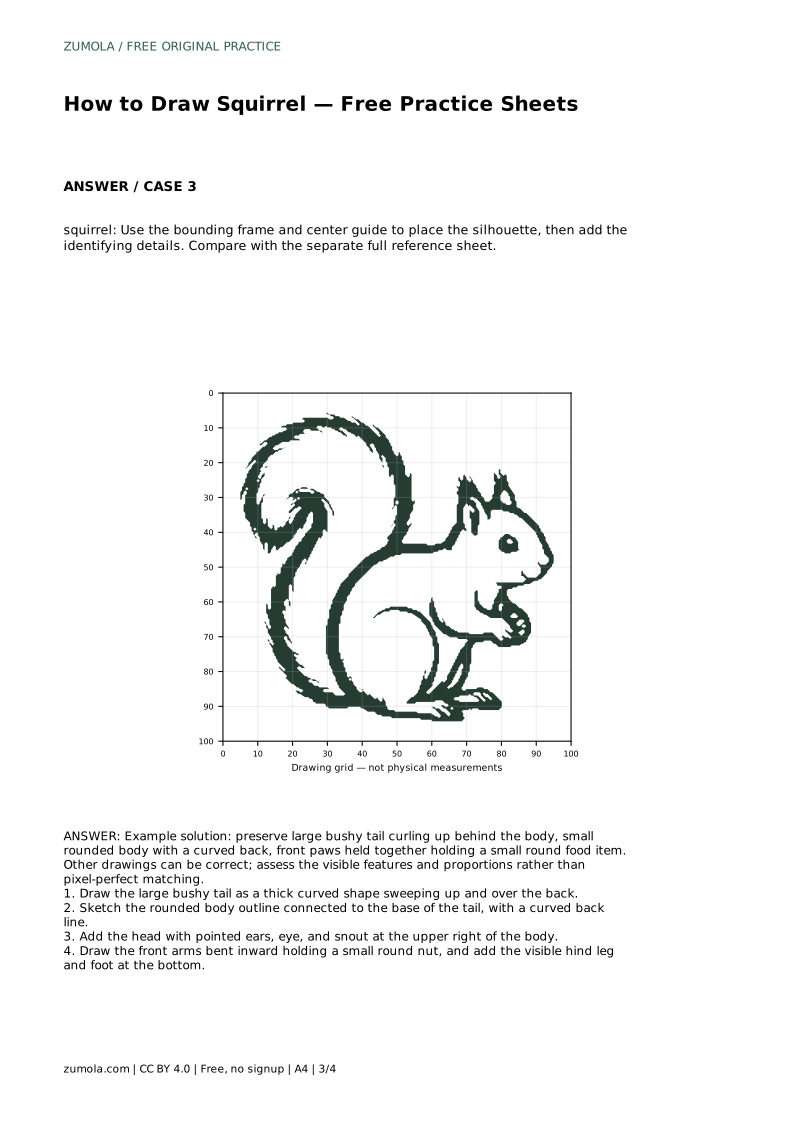
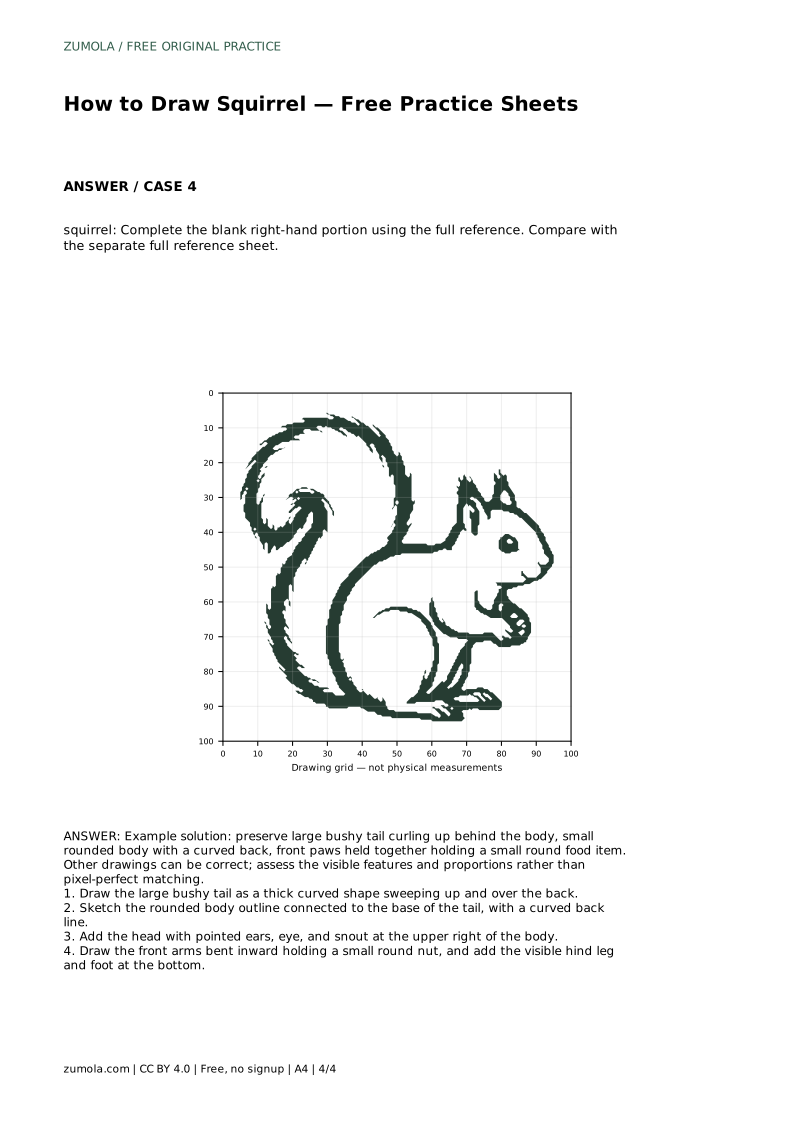
squirrel: Trace the reference outline, then practise the contour independently. Compare with the separate full reference sheet.
Example solution: preserve large bushy tail curling up behind the body, small rounded body with a curved back, front paws held together holding a small round food item. Other drawings can be correct; assess the visible features and proportions rather than pixel-perfect matching. Draw the large bushy tail as a thick curved shape sweeping up and over the back. Sketch the rounded body outline connected to the base of the tail, with a curved back line. Add the head with pointed ears, eye, and snout at the upper right of the body. Draw the front arms bent inward holding a small round nut, and add the visible hind leg and foot at the bottom.
Tracing first helps you learn the contour, but follow it with an untraced attempt so you practise judging shape and position yourself.
That is acceptable. Check that the bushy tail, compact curved body, pointed ears, and paws holding a nut are present and reasonably placed.
Start with the tracing sheet to learn the outline, then move to the grid or frame sheet to practise placement without tracing.
All drawing practice · Free coordinate paper
Original resources · CC BY 4.0 · Free for personal and classroom use with attribution.