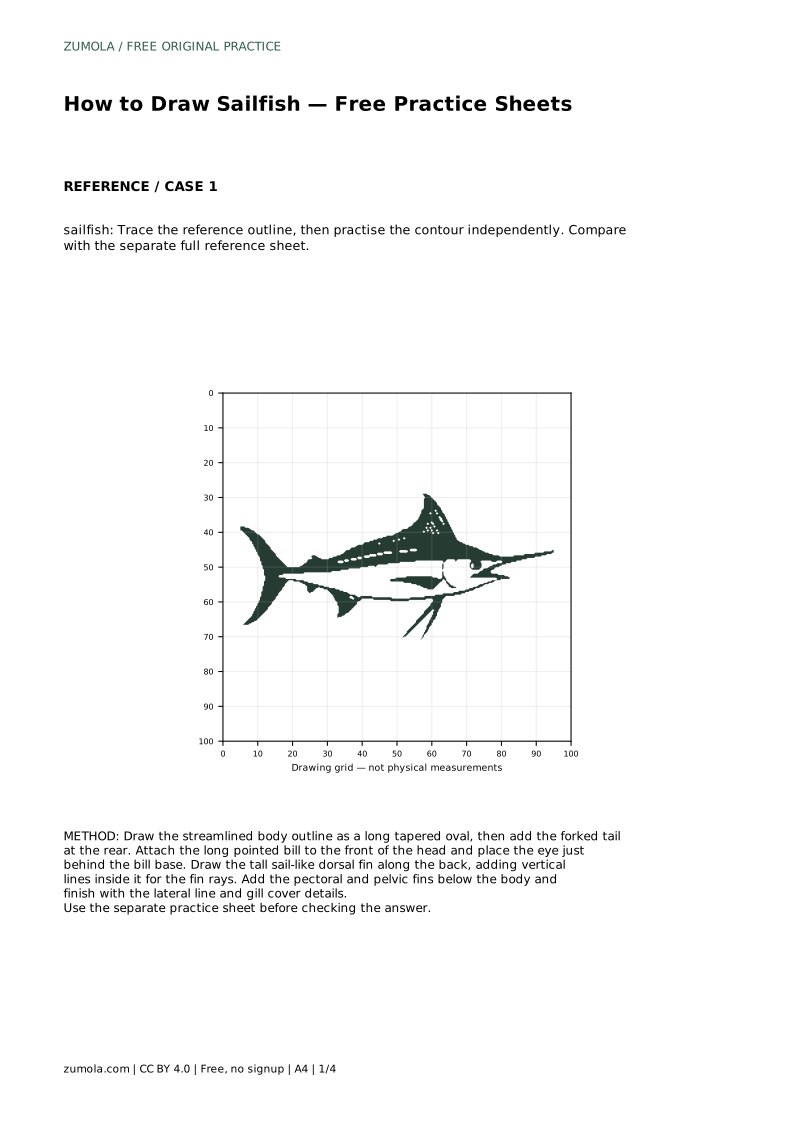
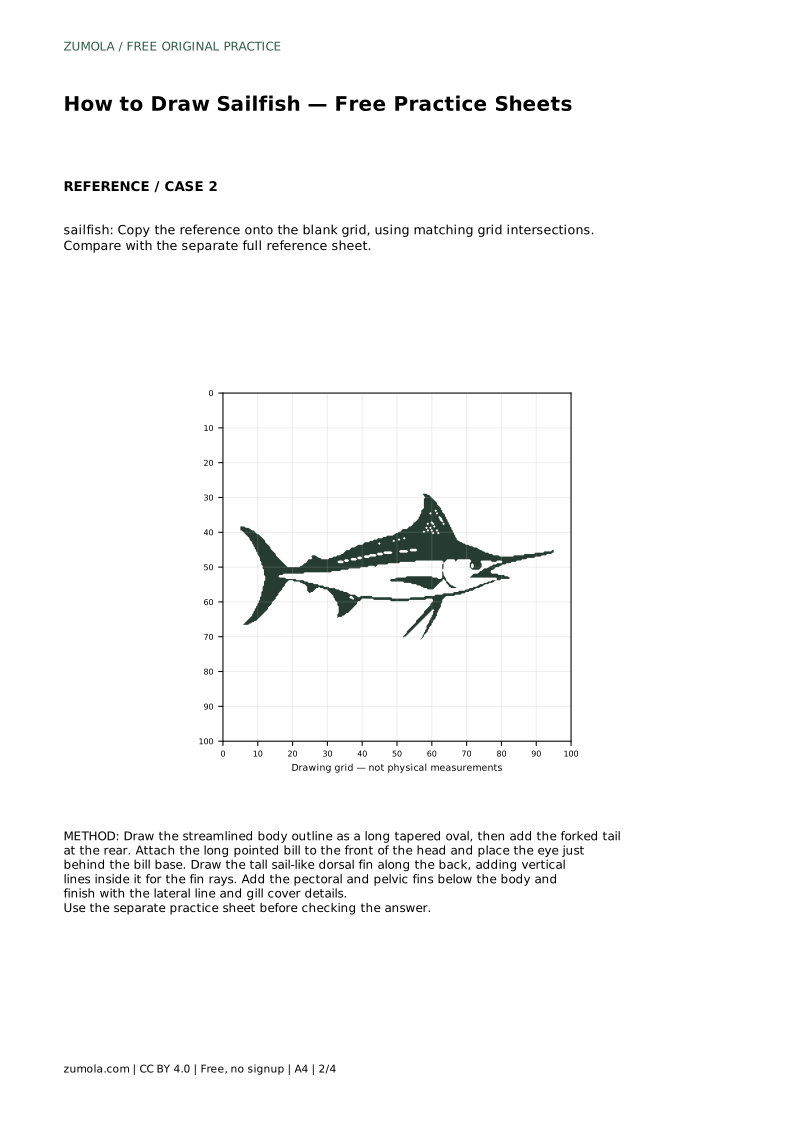
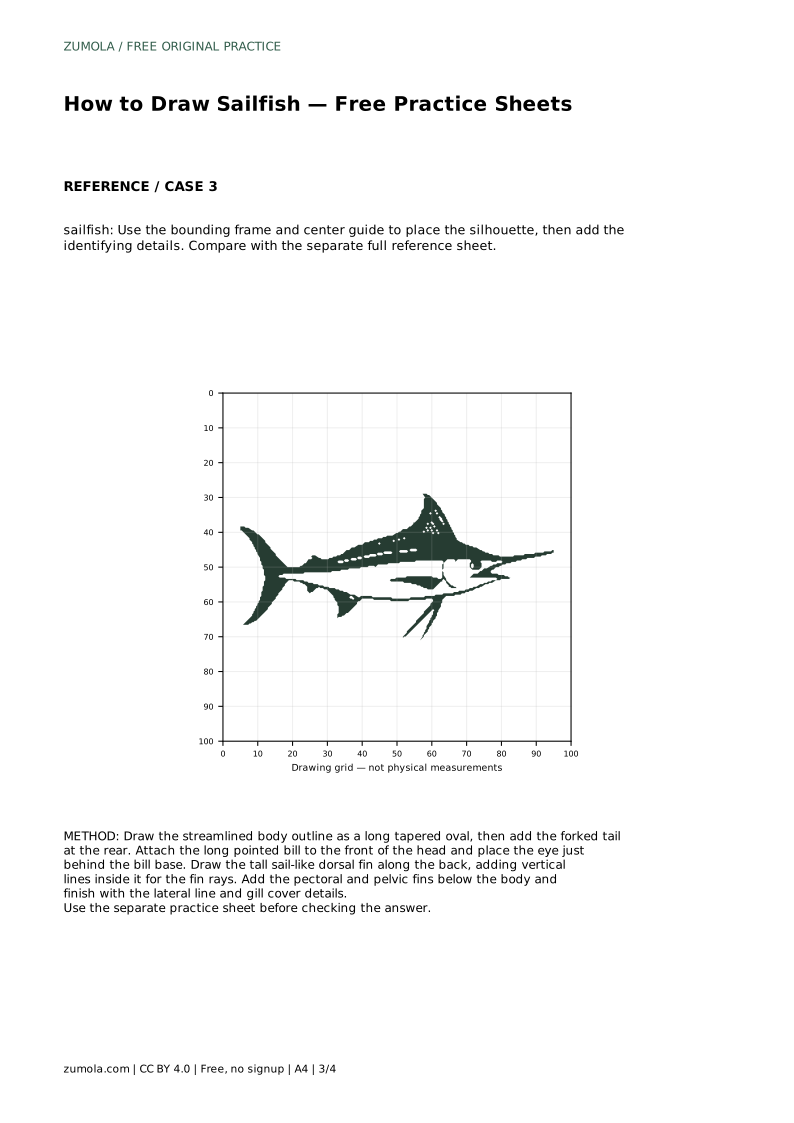
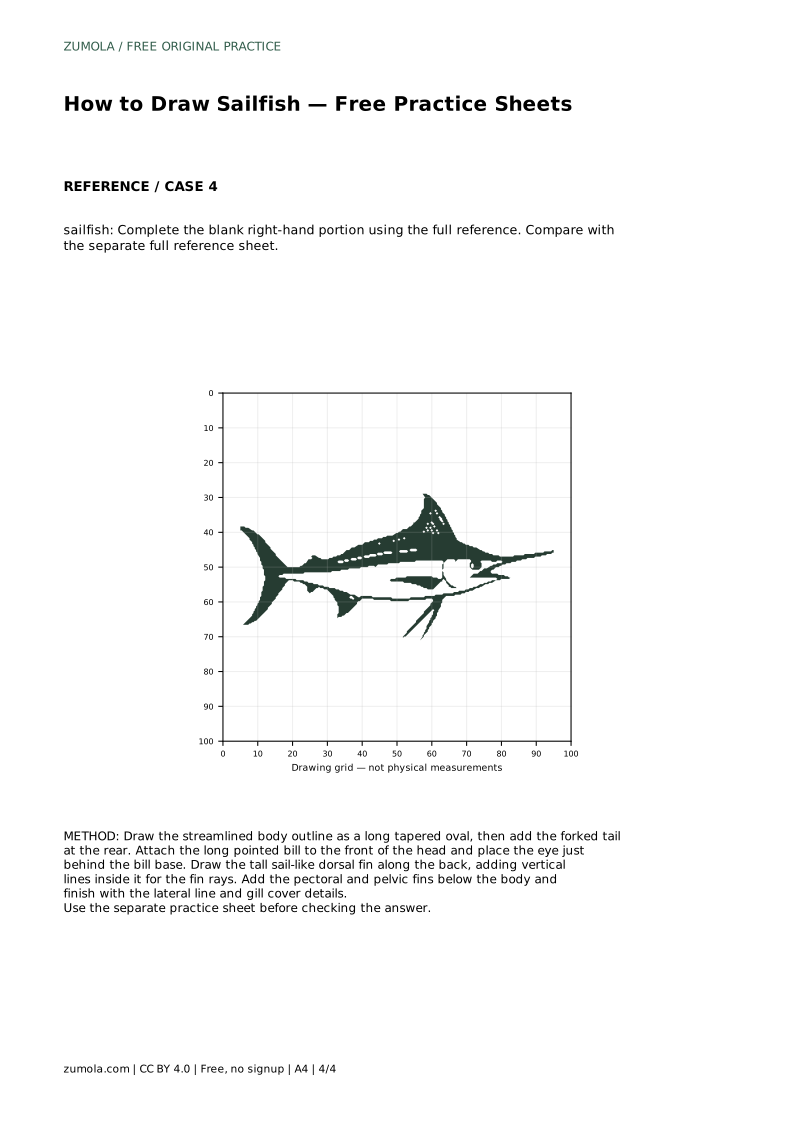
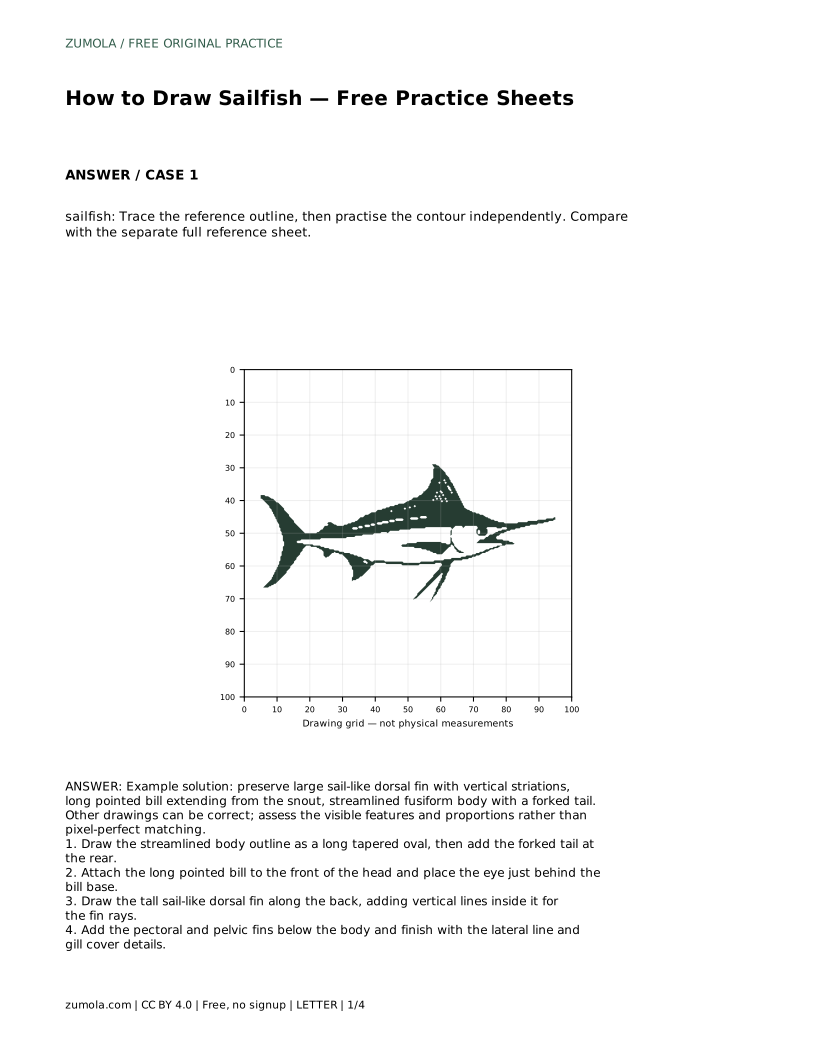
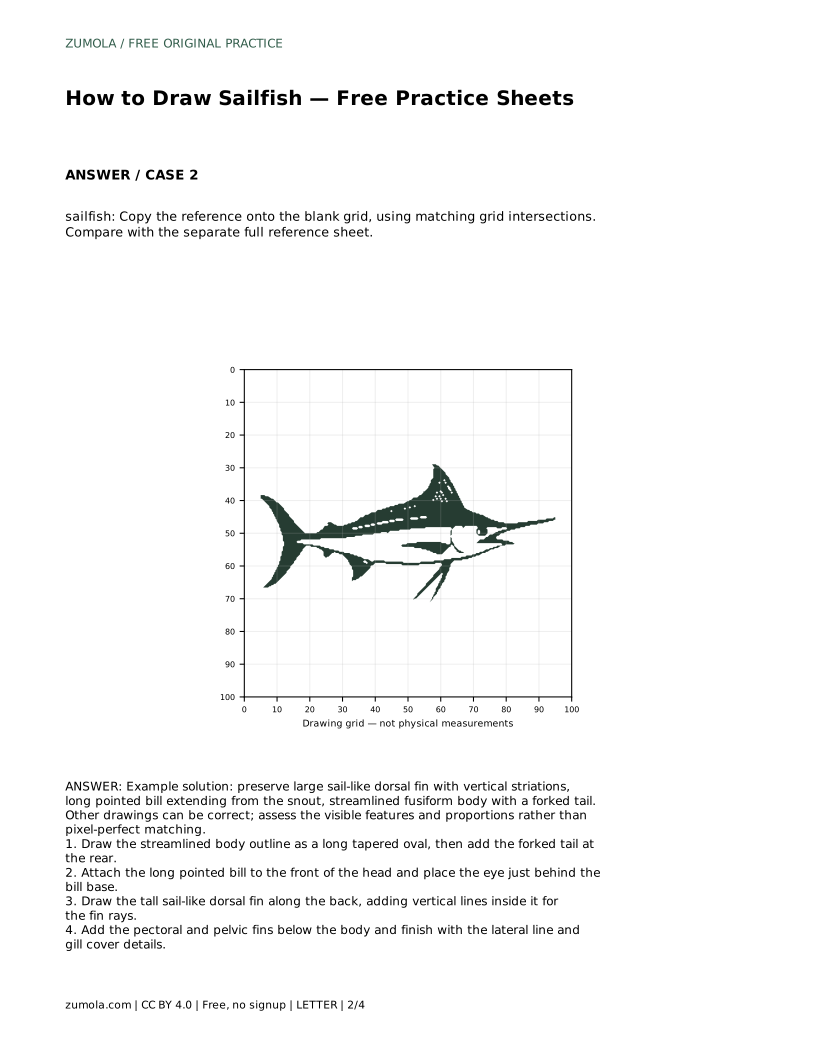
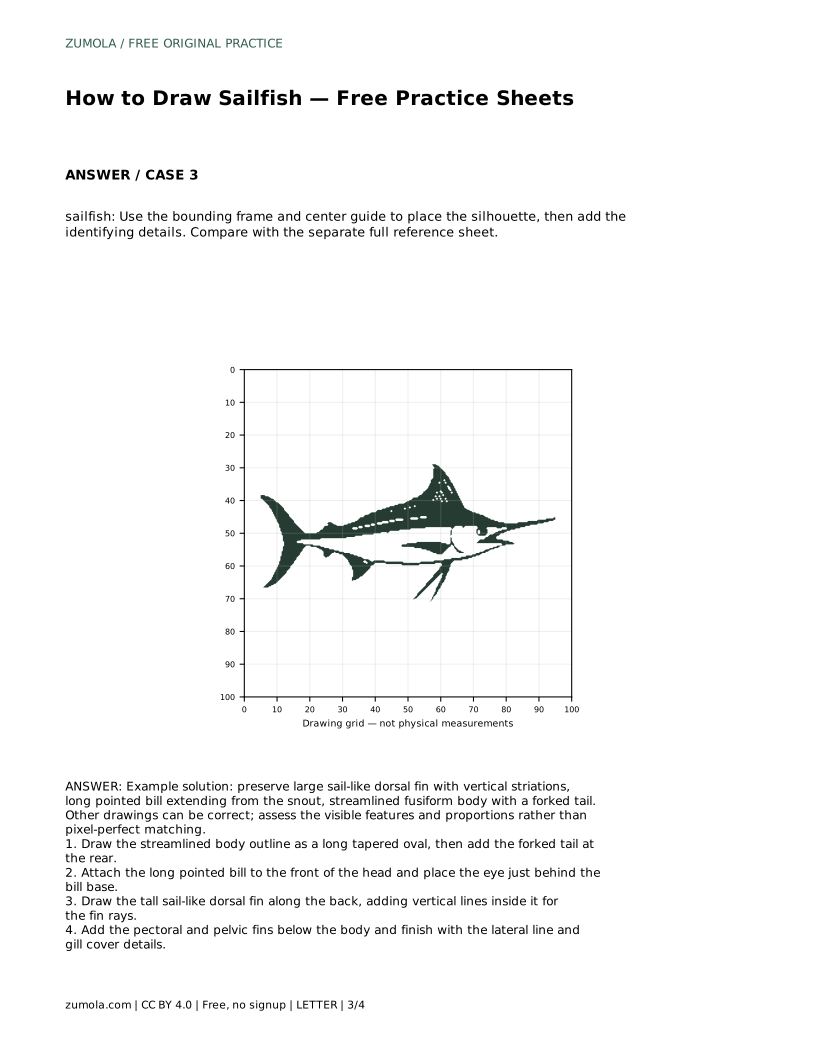
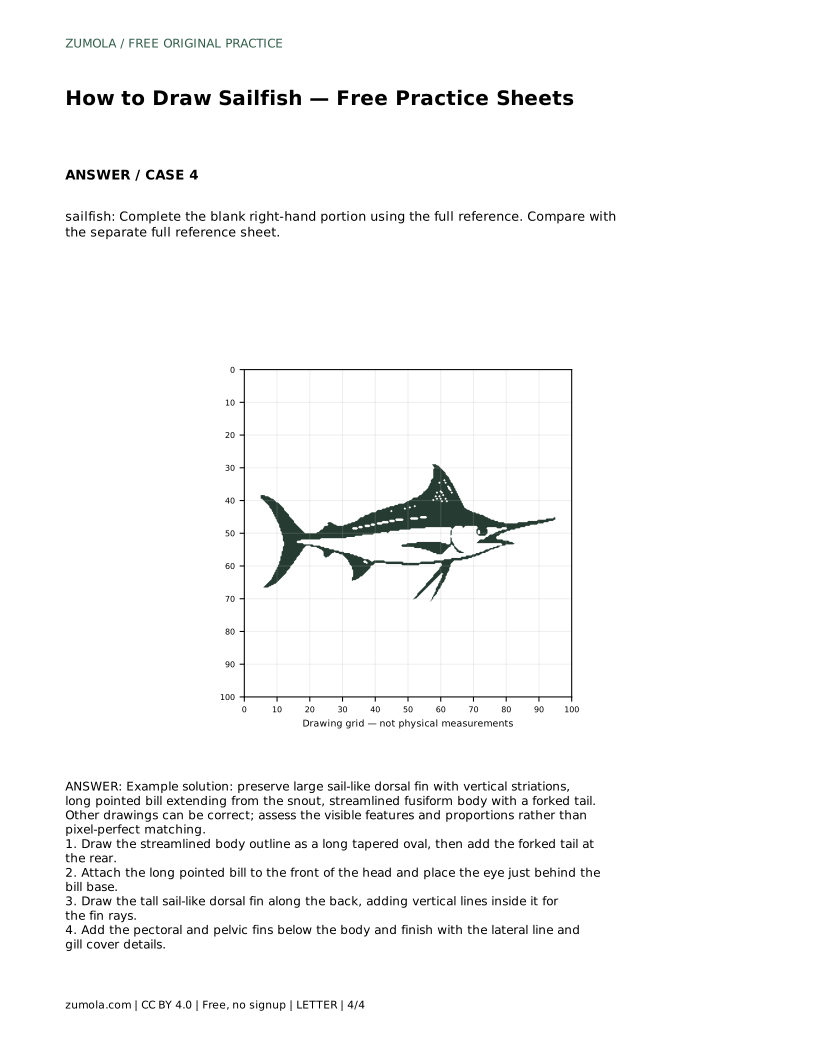
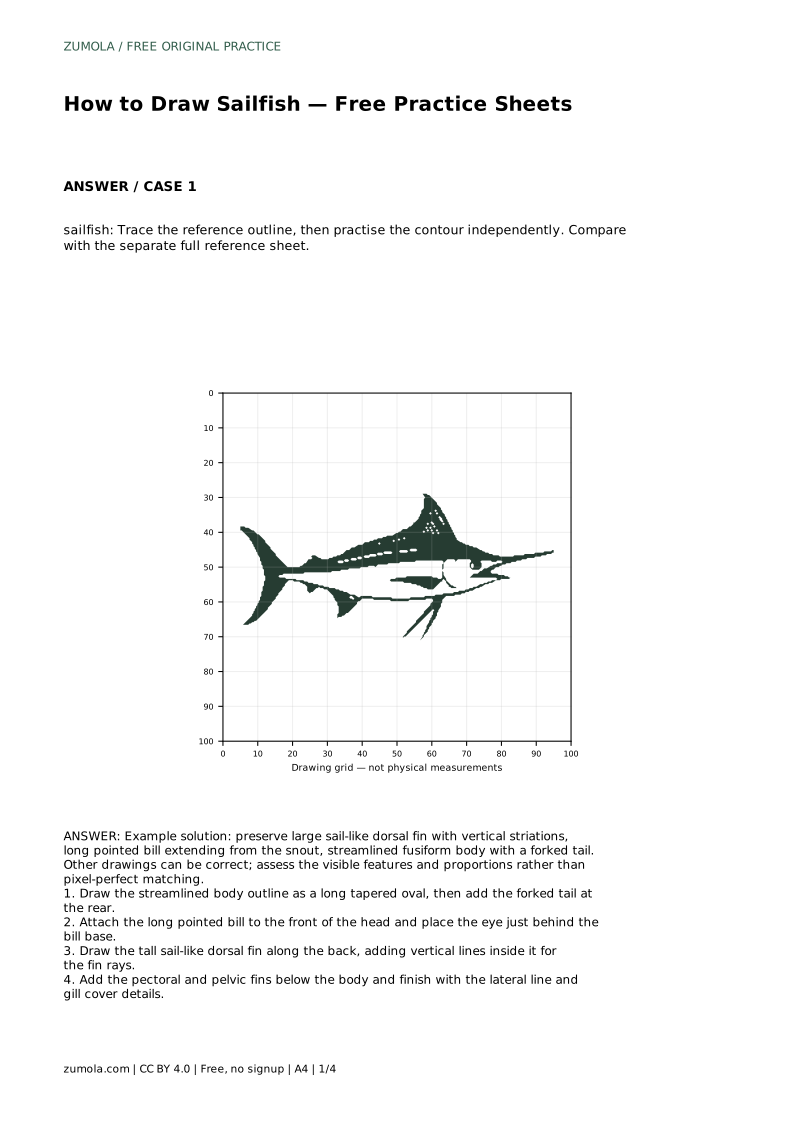
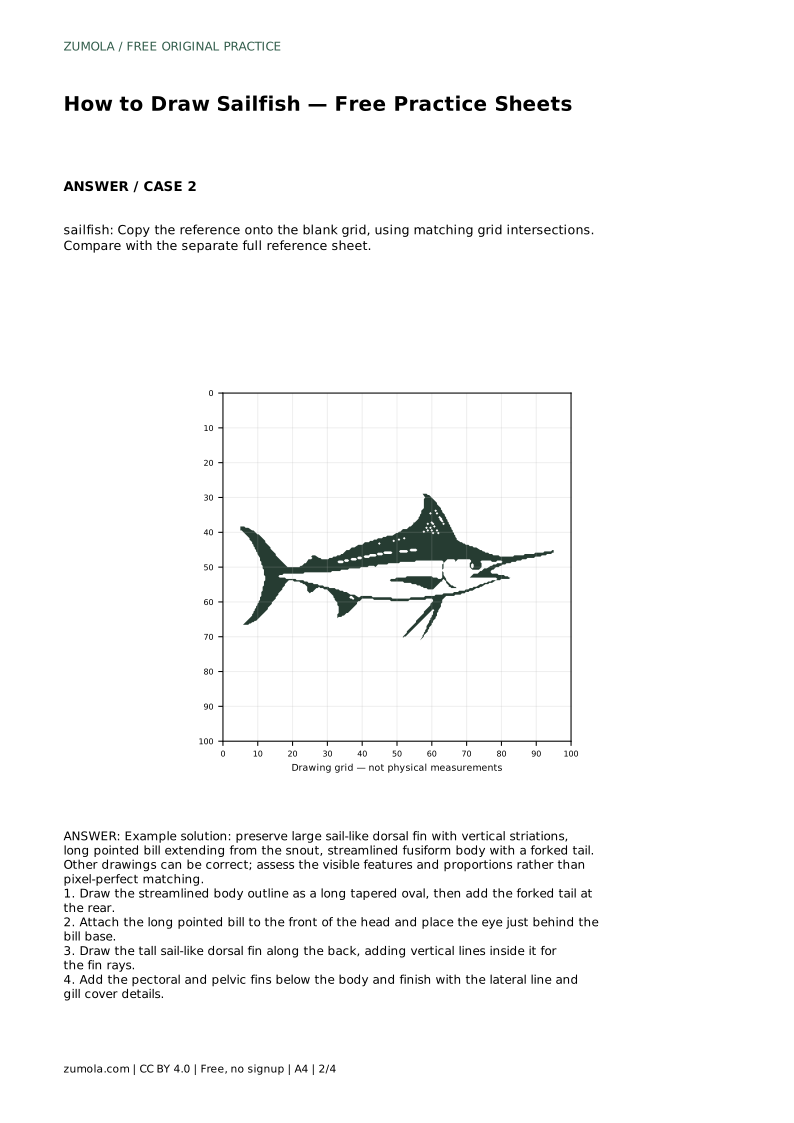
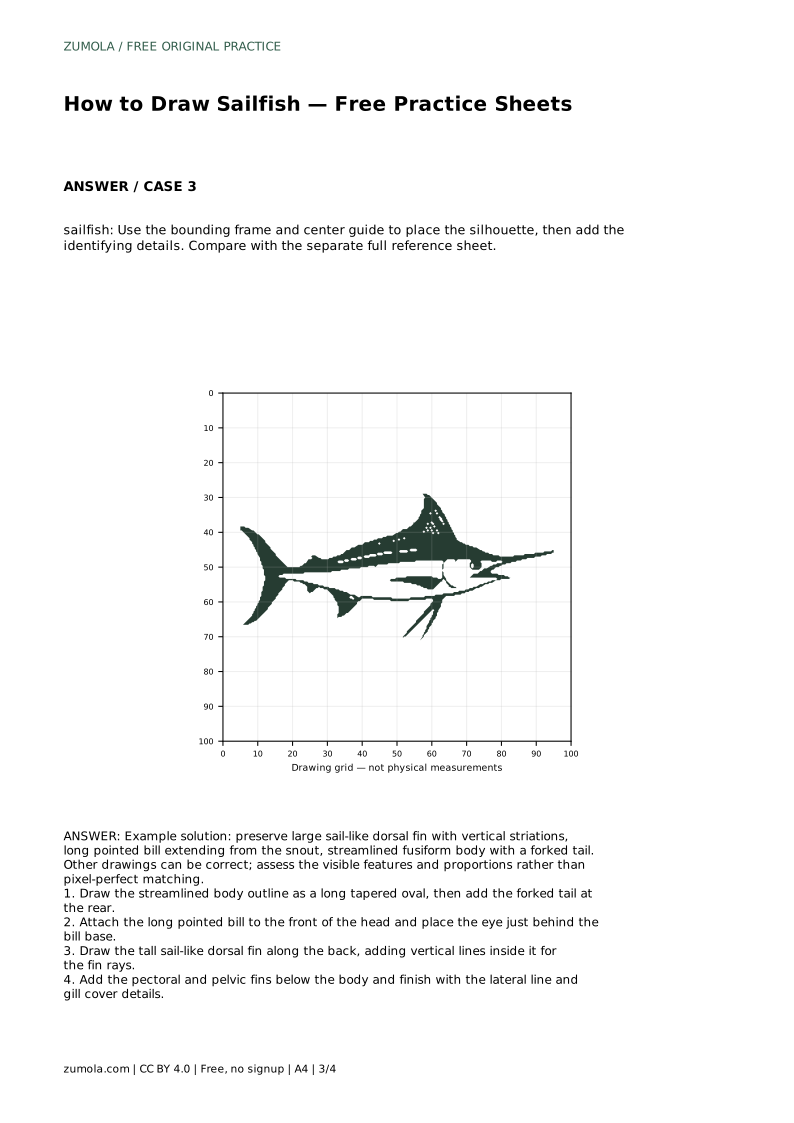
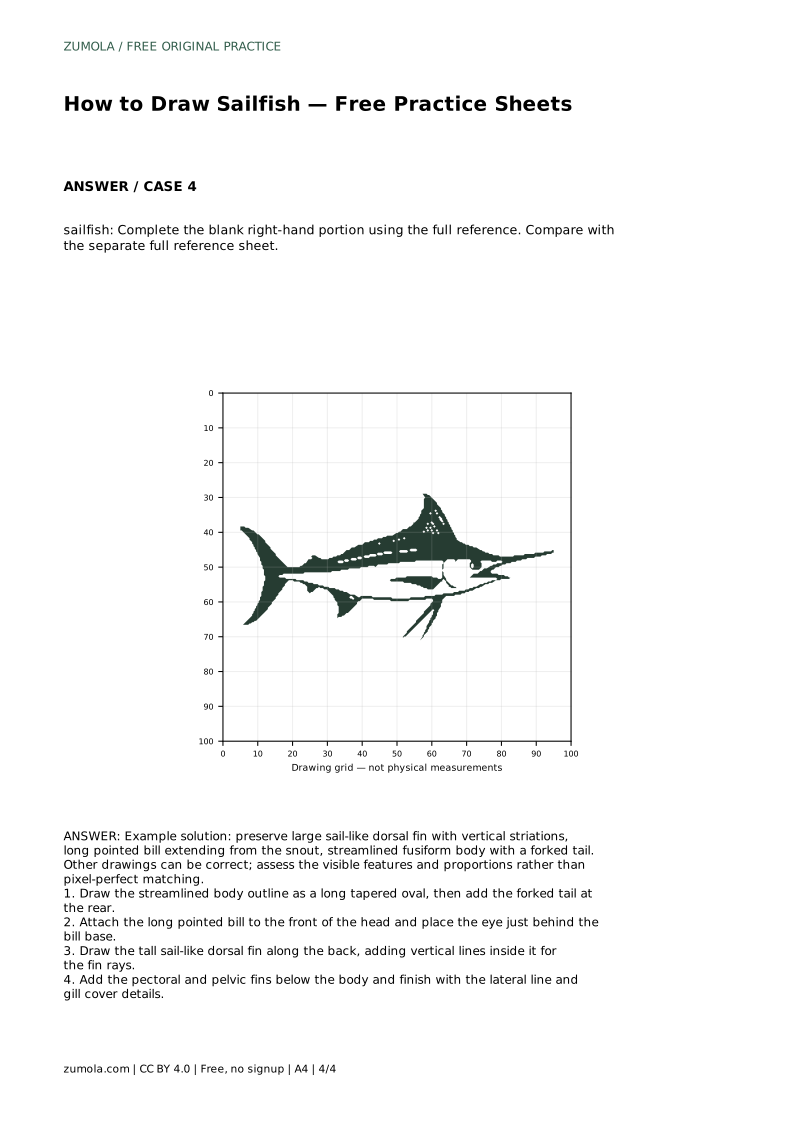
Reference diagrams
LETTER · Download PDF
A4 · Download PDF
Free original resources
Learn to draw a sailfish by building its long bill, streamlined body, forked tail, and tall sail-like dorsal fin. Includes practice-sheet guidance and a rubric.
Four original cases, with reference diagrams, practice sheets and worked answers. Everything is free; no signup required.
LETTER · Download PDF
A4 · Download PDF
LETTER · Download PDF
A4 · Download PDF
LETTER · Download PDF
A4 · Download PDF
Use A4 or US Letter to match your printer. Use the stated values and conditions to solve each exercise; diagrams are not physical measuring rulers.
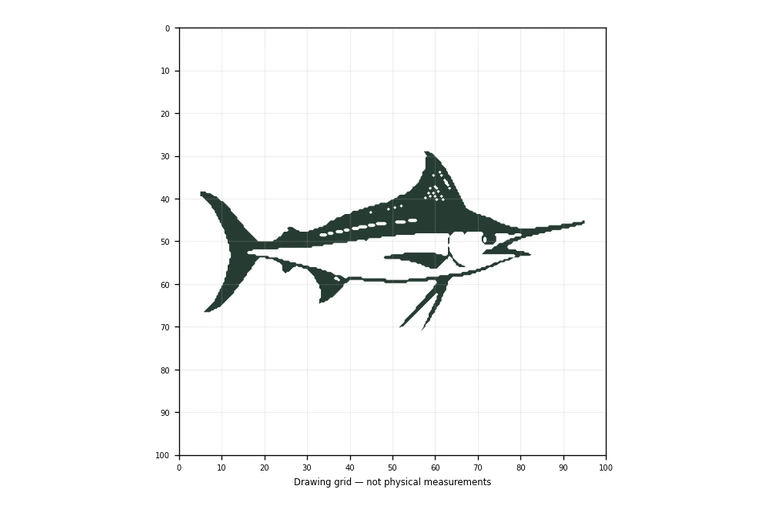
A sailfish drawing depends on a few clear shapes: a long tapered body, a pointed bill, a forked tail, and the tall dorsal fin that gives the fish its name. This guide explains how to place those parts in order, how to use tracing, grid, frame, and partial-reference practice sheets, and how to judge your drawing by visible features rather than exact matching.
Start with the body rather than the fins. A sailfish body is streamlined and fusiform, meaning it tapers toward both the head and the tail. Draw a long oval that narrows at each end, then add the forked tail at the rear. The fork should be visible as two pointed lobes with a notch between them.
Next, attach the bill. It extends forward from the snout as a long, pointed projection, roughly in line with the body axis. Place the eye just behind the base of the bill, not at the very front of the head. Then draw the tall sail-like dorsal fin along the back. Add vertical lines inside the fin to suggest fin rays or striations. Finish with the pectoral and pelvic fins below the body, the gill cover behind the head, and a lateral line running along the side.
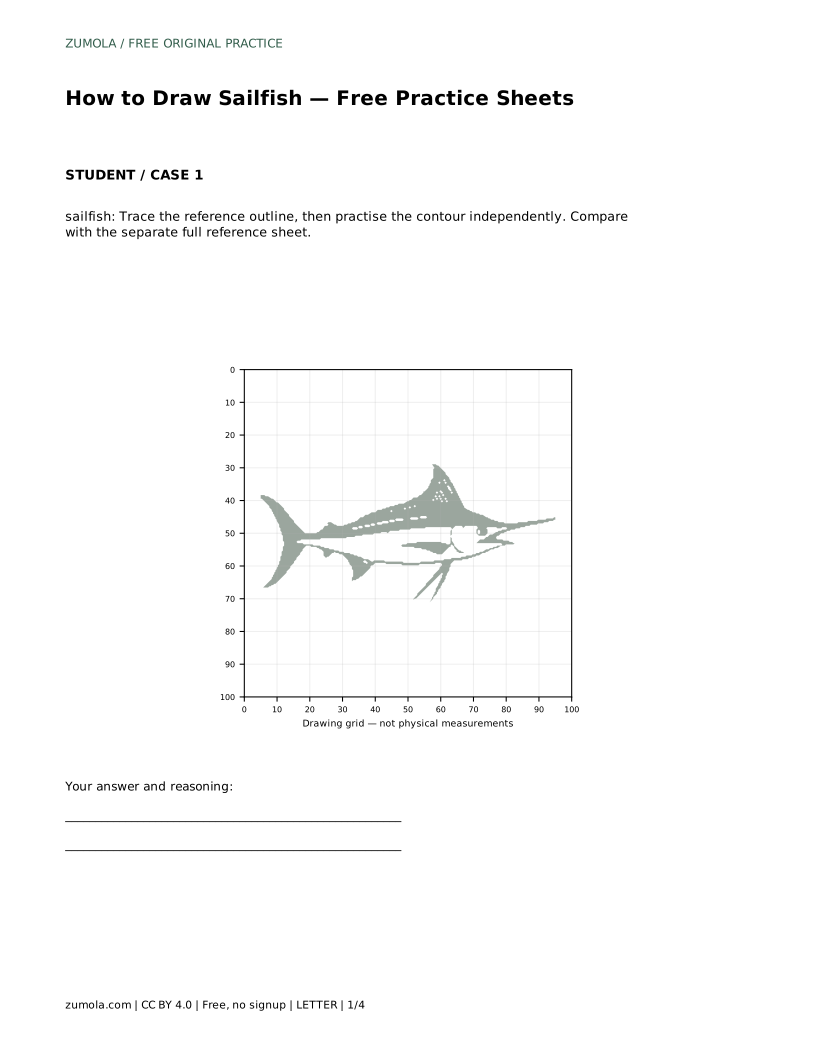
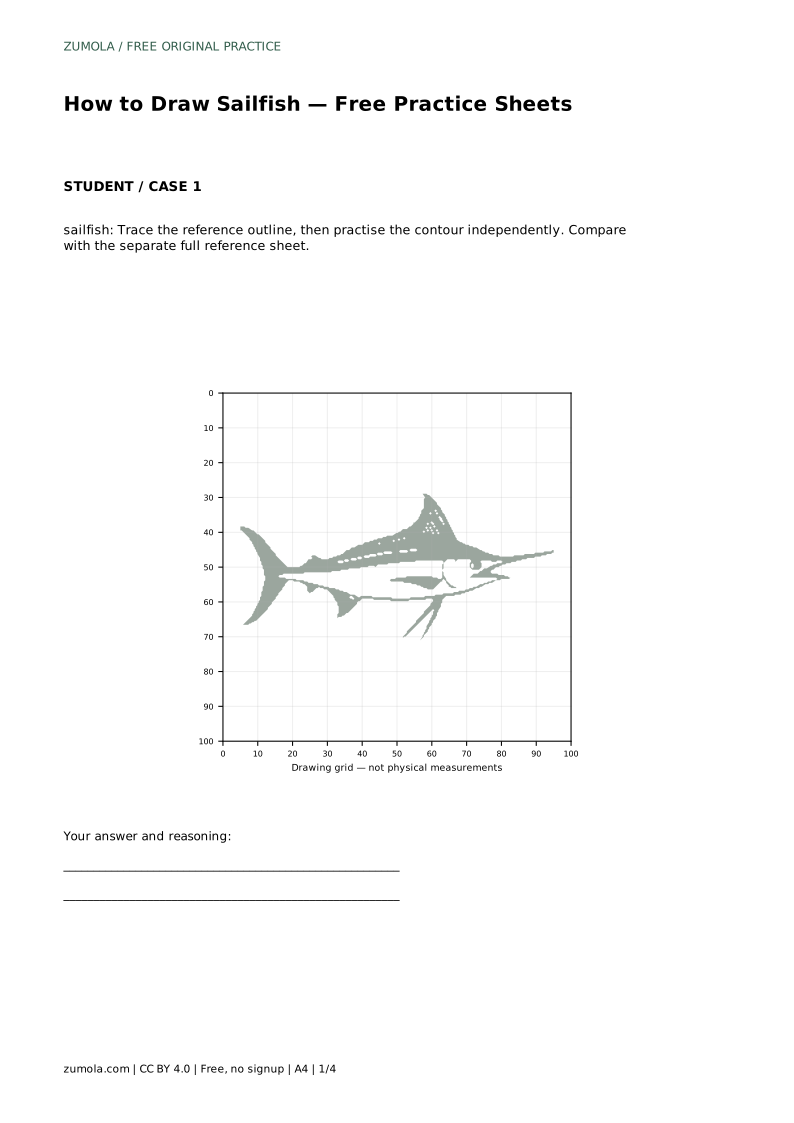
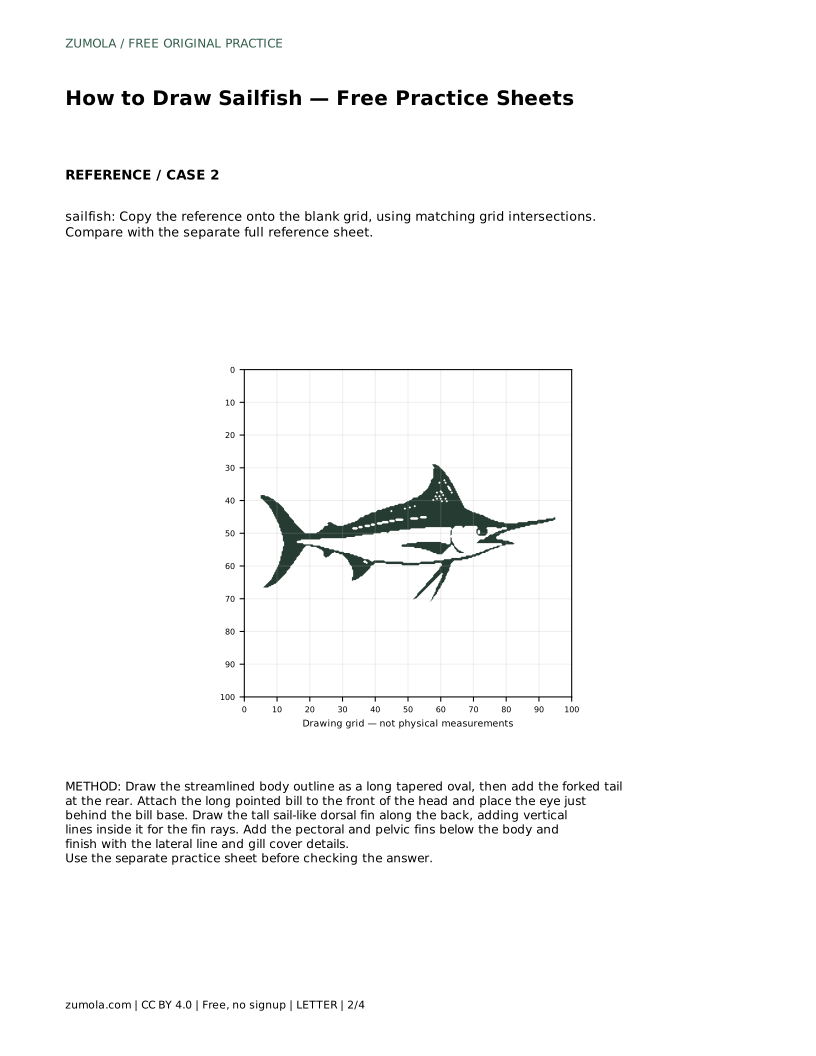
The tracing sheet asks you to follow the reference outline first, then repeat the contour on your own. Tracing builds familiarity with the sequence of shapes; the independent attempt shows whether you can reproduce the proportions without guidance. Compare your free drawing with the separate full reference sheet rather than with your traced line.
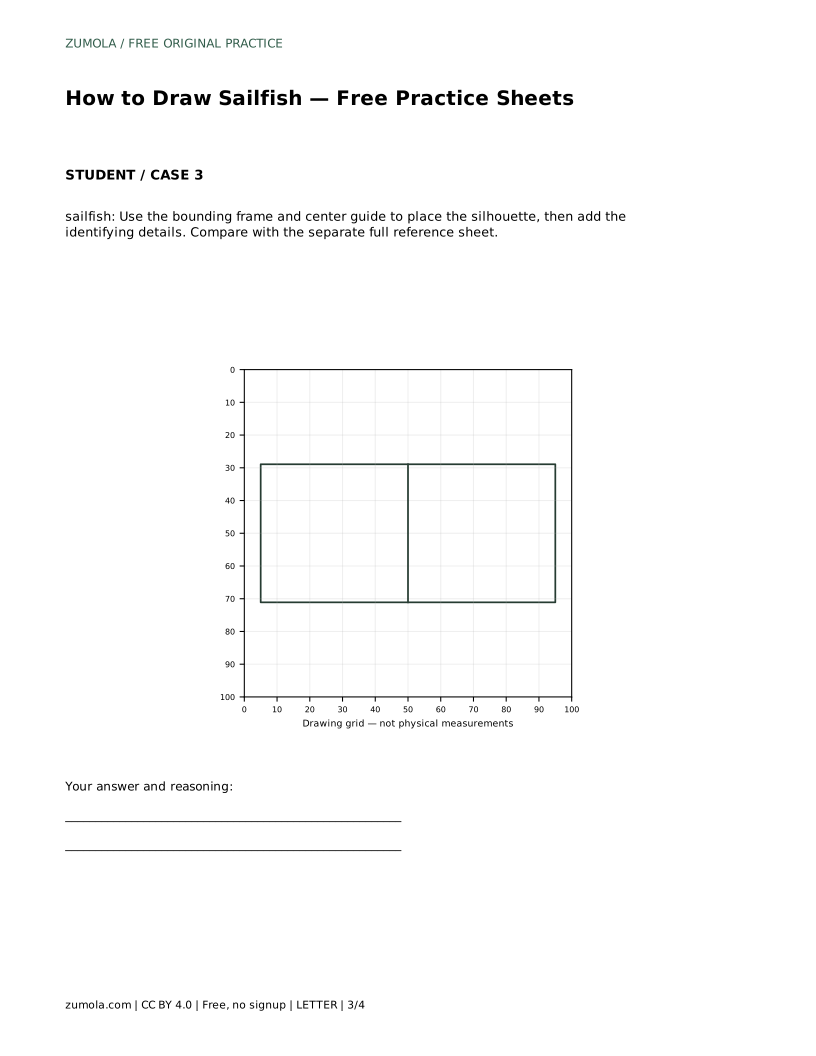
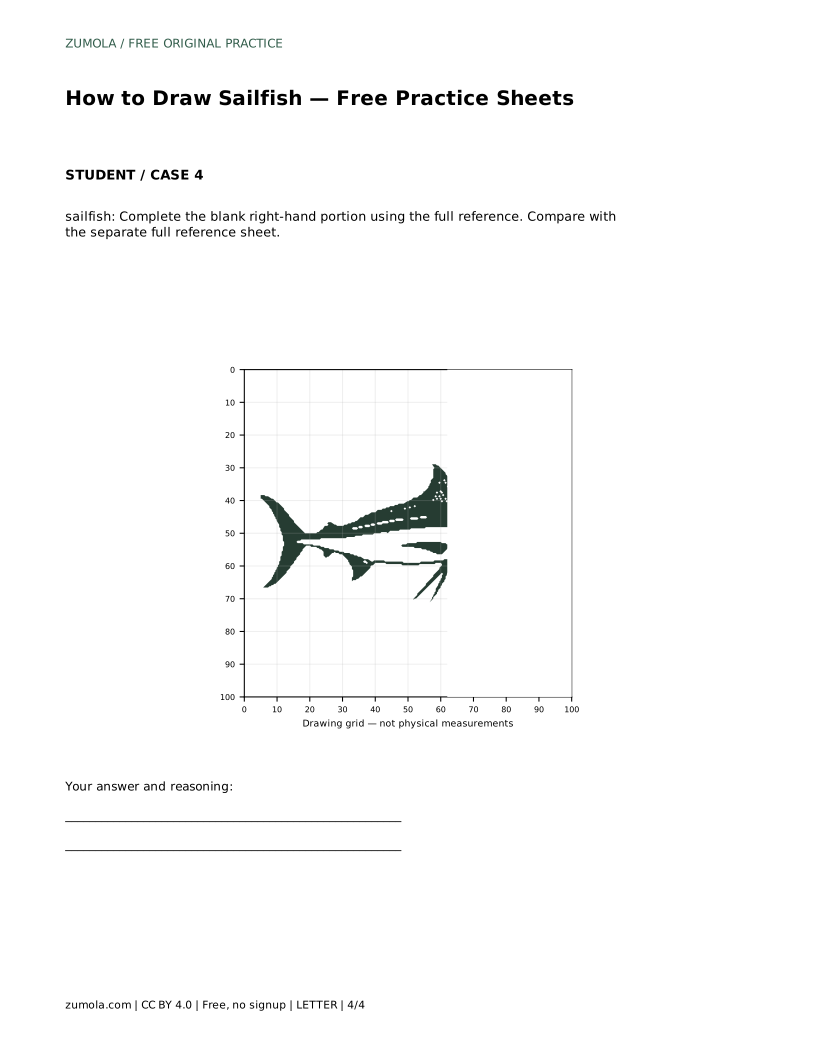
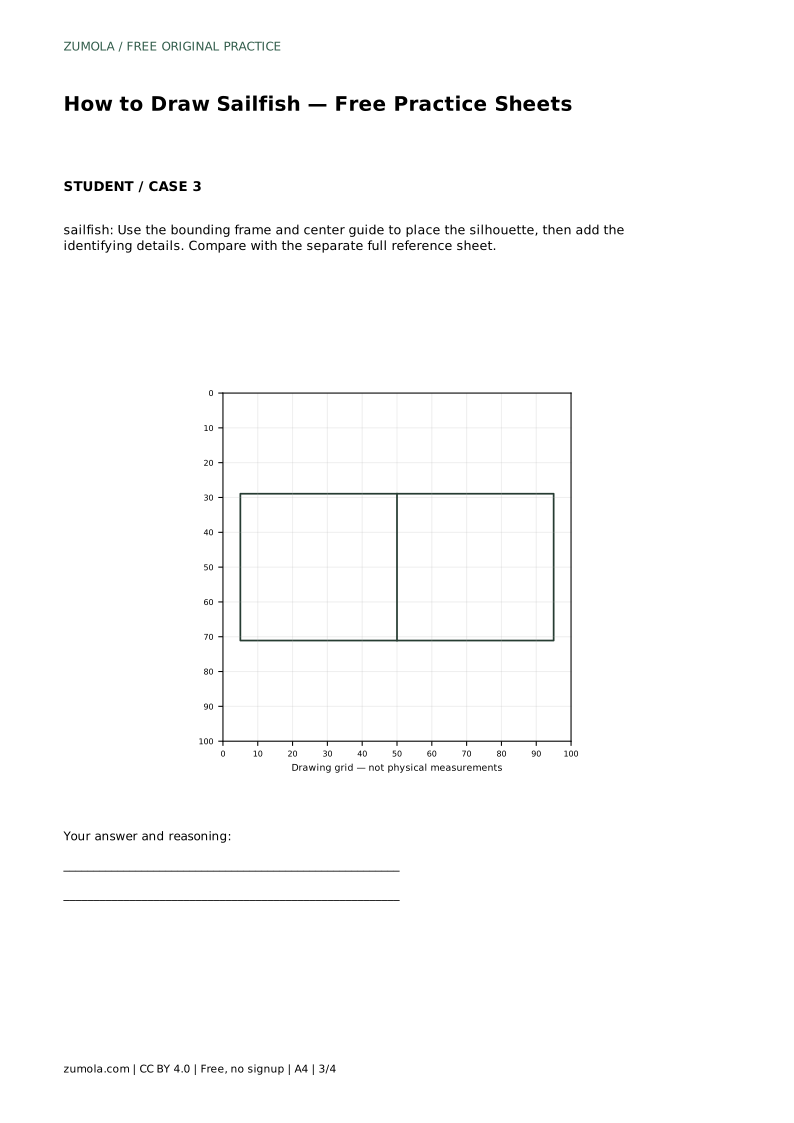
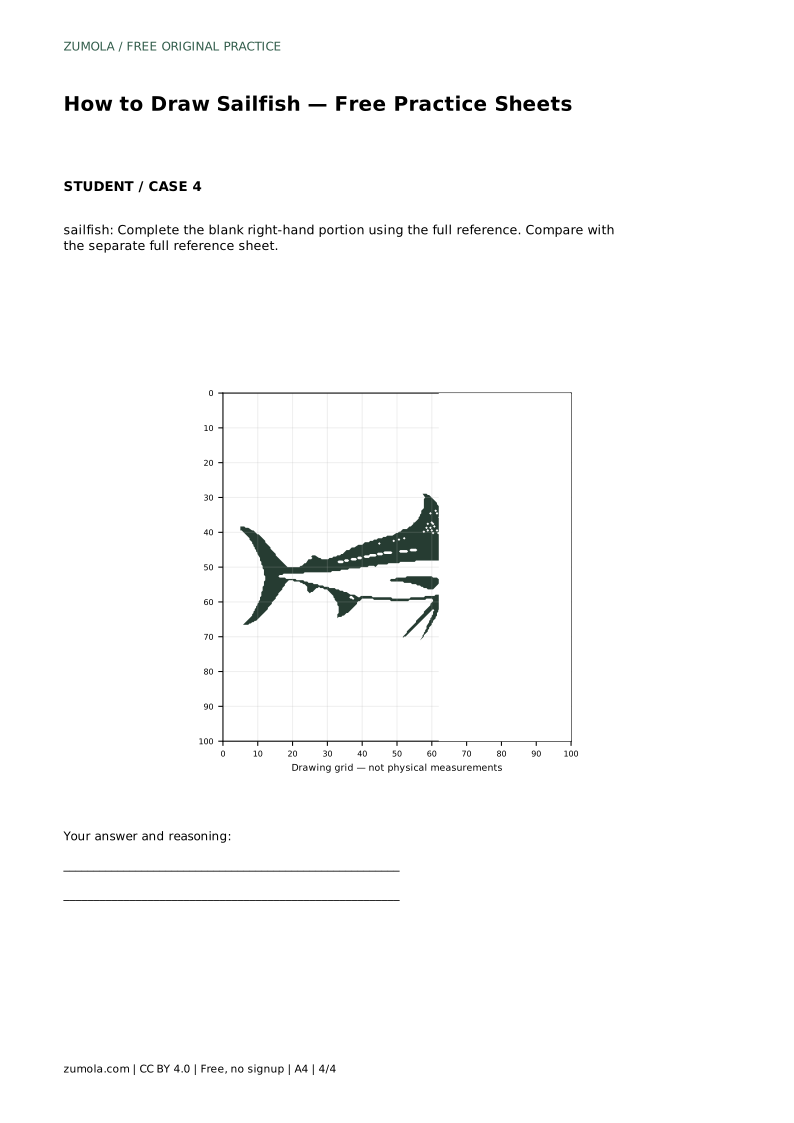
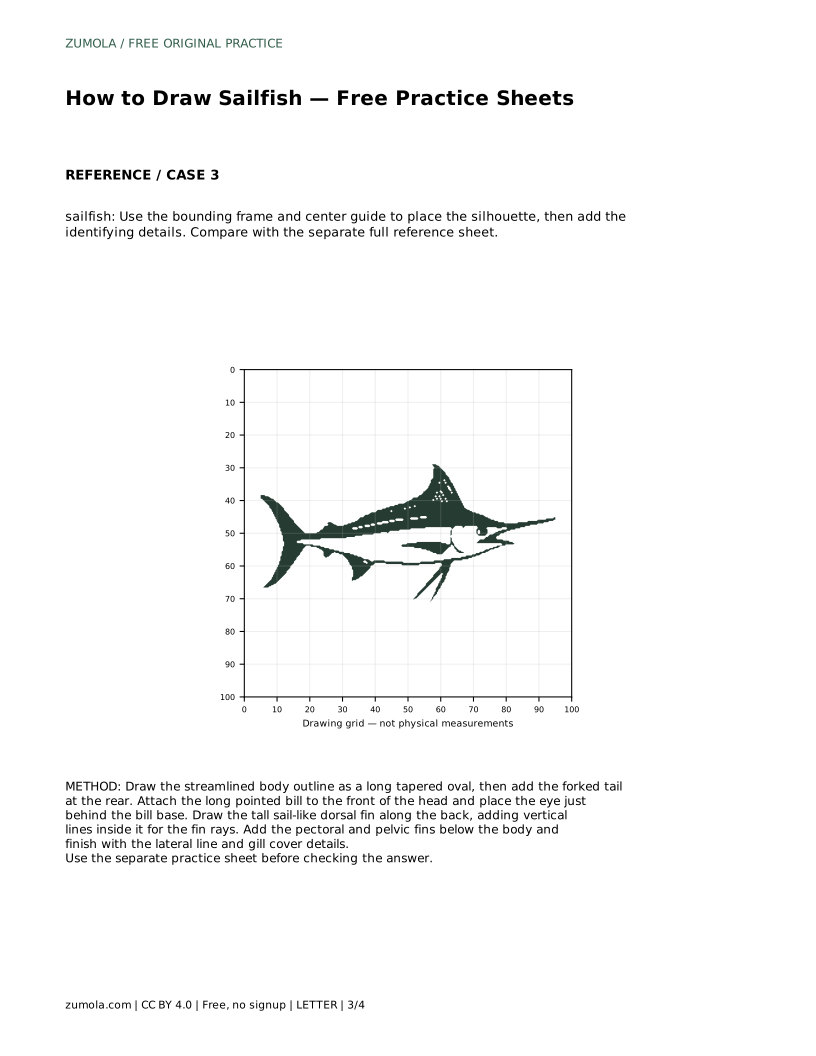
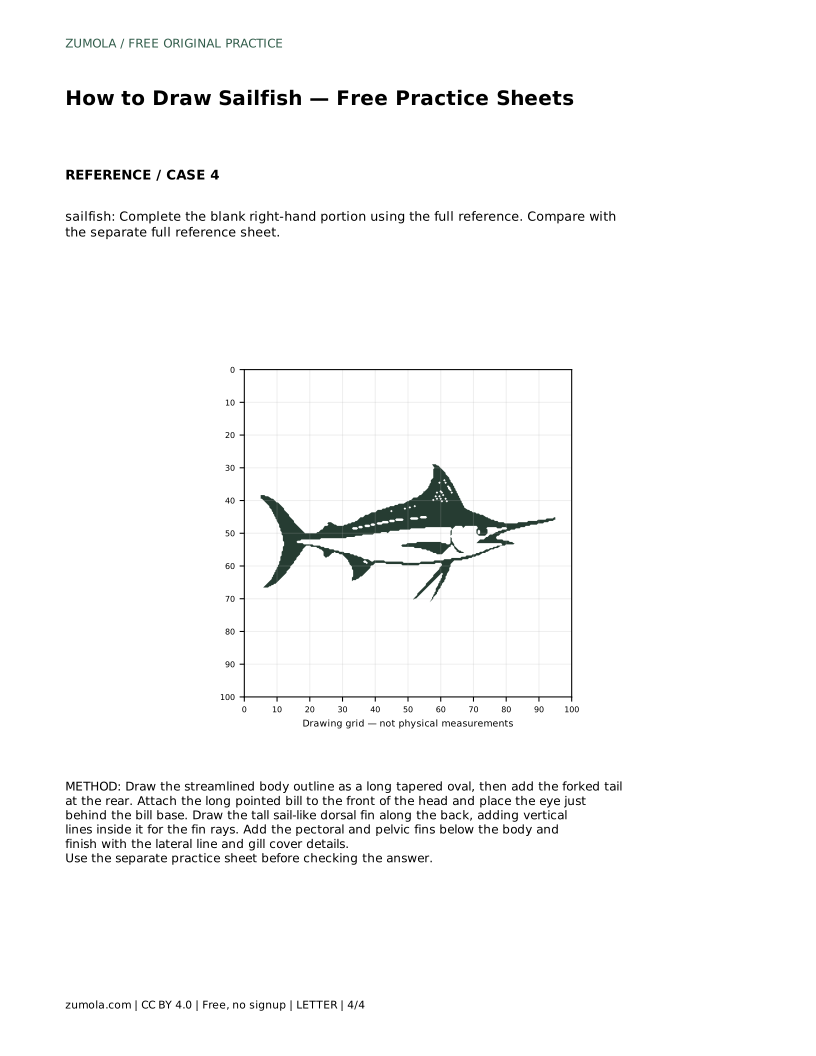
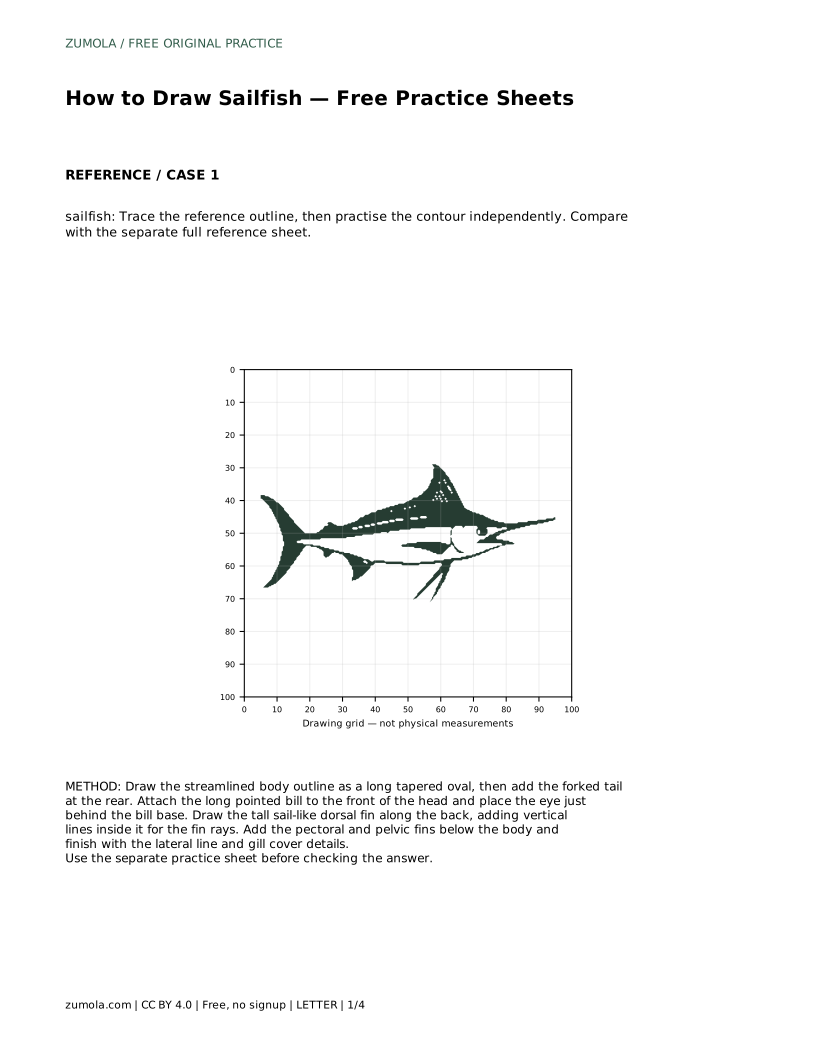
The grid sheet asks you to copy the reference onto a blank grid by matching intersections. Work one square at a time and check where the bill, tail fork, and dorsal fin cross grid lines. The bounding-frame sheet gives you an outer frame and center guide so you can place the silhouette before adding details. The partial-reference sheet shows only part of the fish; complete the blank portion by continuing the body, fin, and tail lines from the visible side.
Judge a sailfish drawing by whether the identifying features are present and in sensible relation to one another. The bill should be long and pointed, the body should taper rather than look round, the tail should show a clear fork, and the dorsal fin should be tall and sail-like with visible vertical striations. The eye belongs near the bill base, and the lower fins should sit below the body rather than on the back.
Proportion matters more than pixel-perfect matching. A drawing can be correct with a slightly different fin curve or body length, provided the overall arrangement reads as a sailfish. Check that the bill is not too short, the dorsal fin is not flattened into a low ridge, and the tail is not rounded. These are the errors that most change the silhouette.
A useful exercise is to draw the fish in the order given above, then compare your result with the reference sheet. The example below shows the expected reasoning rather than a single correct picture.
Most sailfish drawing problems come from placing details before the body shape is settled. Fixing the silhouette first makes the remaining steps easier.
These answers address the questions most likely to arise while using the practice sheets.
sailfish: Trace the reference outline, then practise the contour independently. Compare with the separate full reference sheet.
Example solution: preserve large sail-like dorsal fin with vertical striations, long pointed bill extending from the snout, streamlined fusiform body with a forked tail. Other drawings can be correct; assess the visible features and proportions rather than pixel-perfect matching. Draw the streamlined body outline as a long tapered oval, then add the forked tail at the rear. Attach the long pointed bill to the front of the head and place the eye just behind the bill base. Draw the tall sail-like dorsal fin along the back, adding vertical lines inside it for the fin rays. Add the pectoral and pelvic fins below the body and finish with the lateral line and gill cover details.
No. Other drawings can be correct. Assess the visible features and proportions rather than pixel-perfect matching.
Draw the body and forked tail first, then the bill and eye, then the tall dorsal fin with striations, and finally the lower fins, gill cover, and lateral line.
Complete the blank portion by continuing the visible body, fin, and tail lines, matching their height and angle before adding details.
All drawing practice · Free coordinate paper
Original resources · CC BY 4.0 · Free for personal and classroom use with attribution.