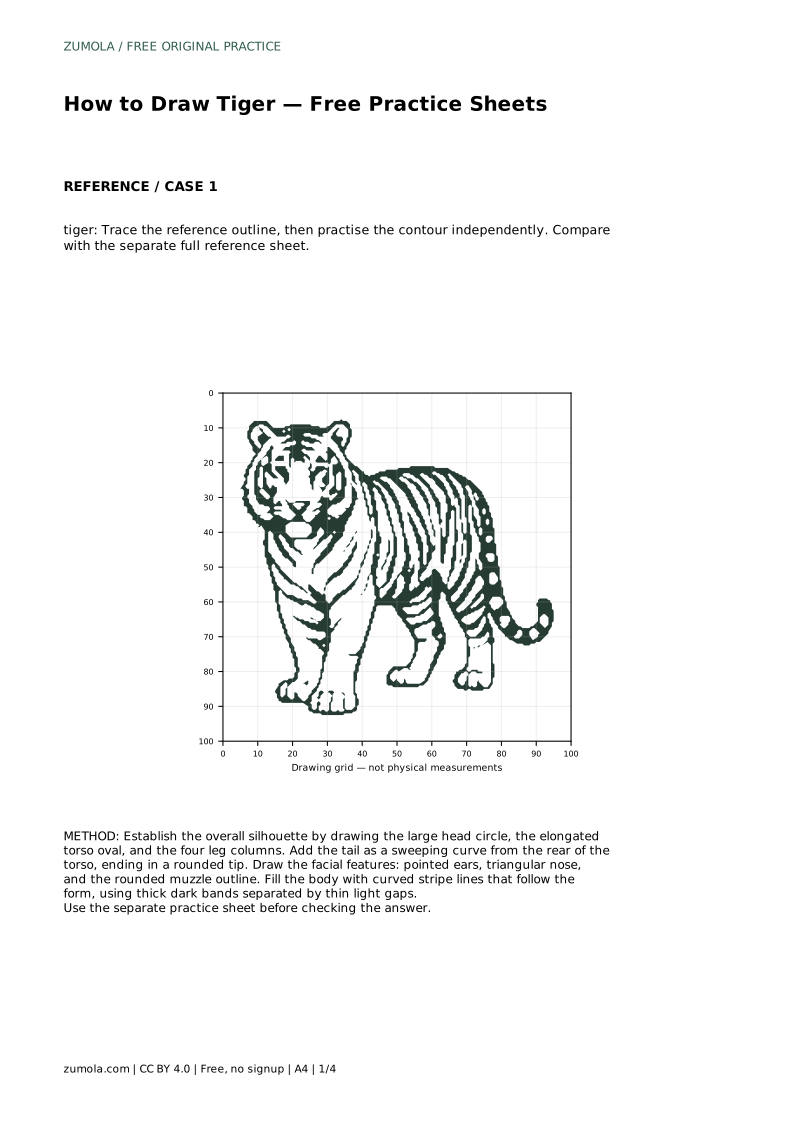
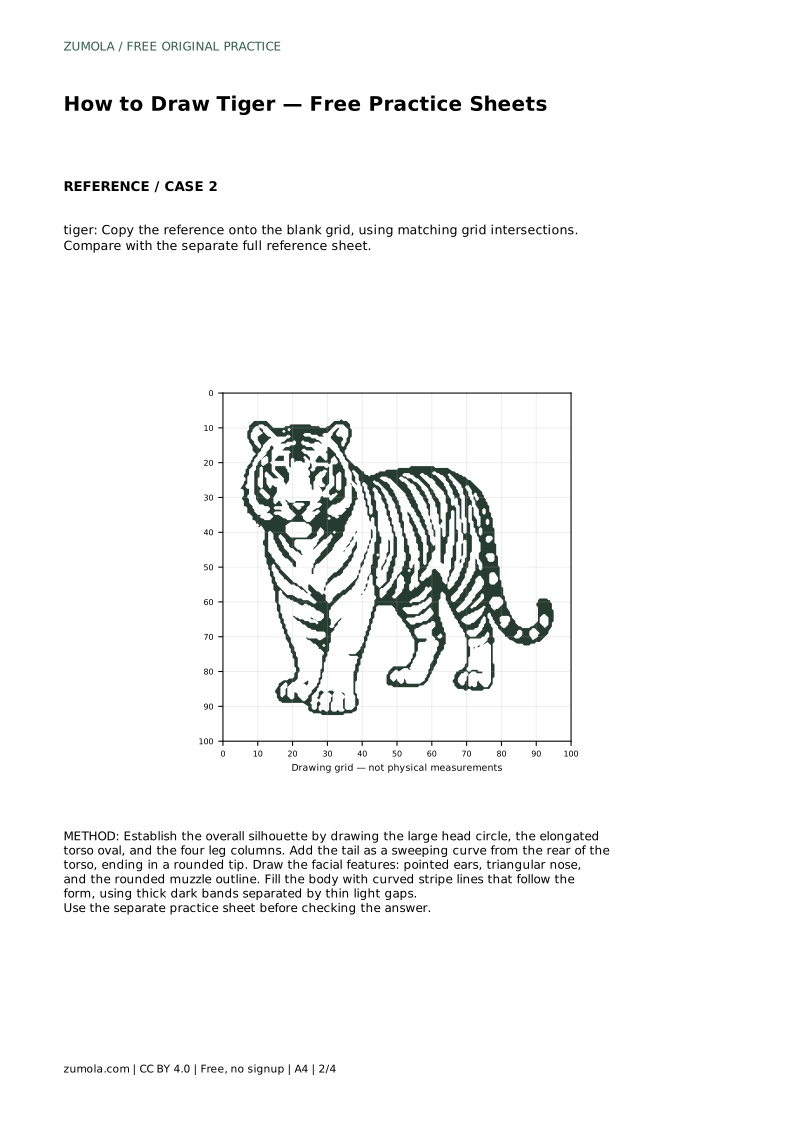
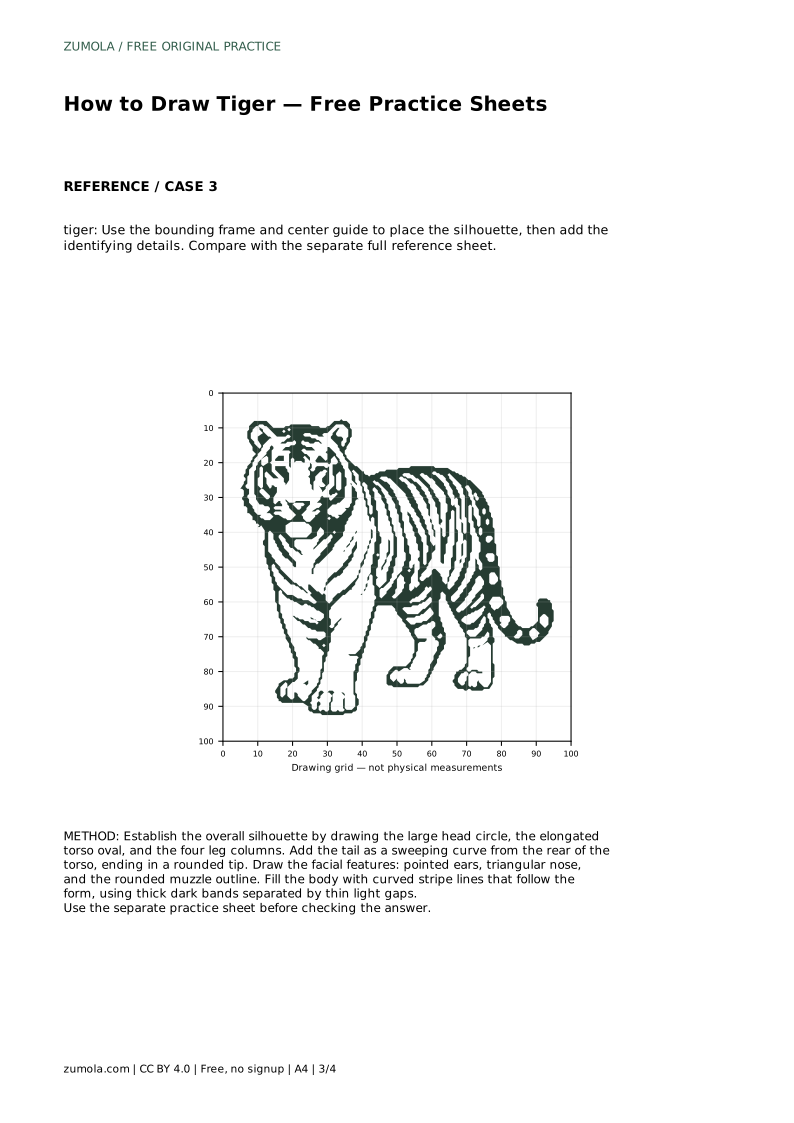
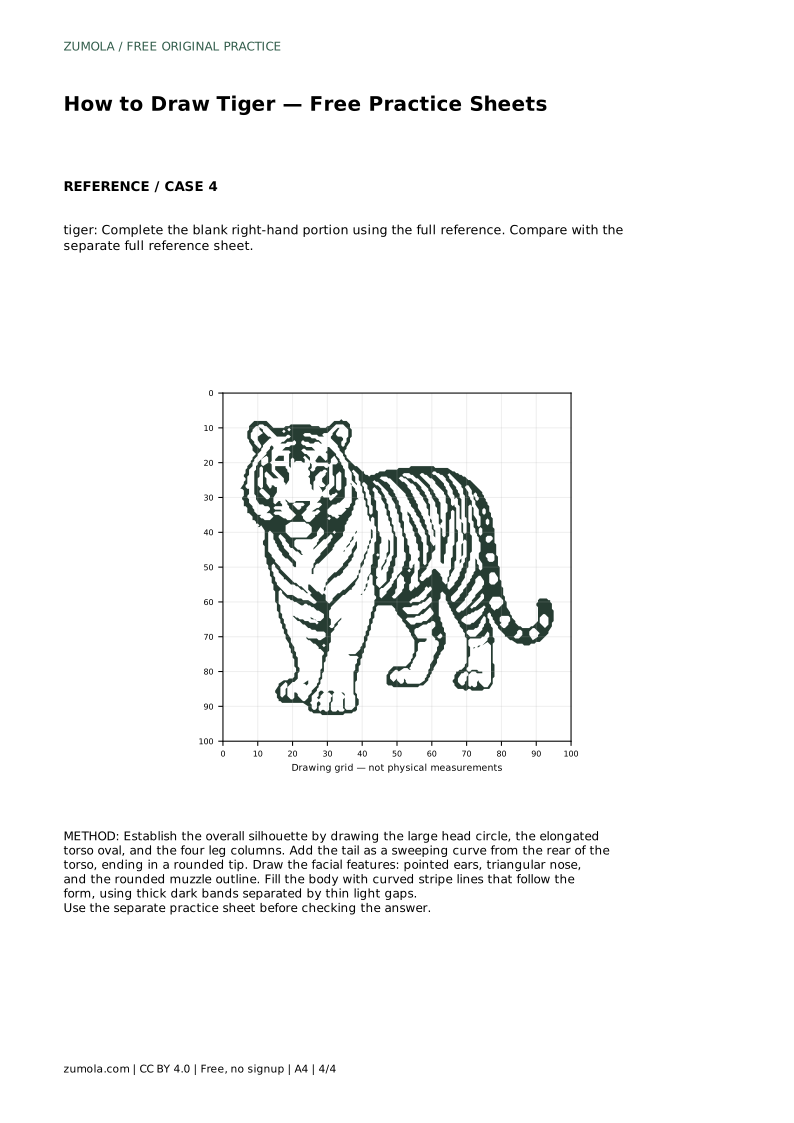
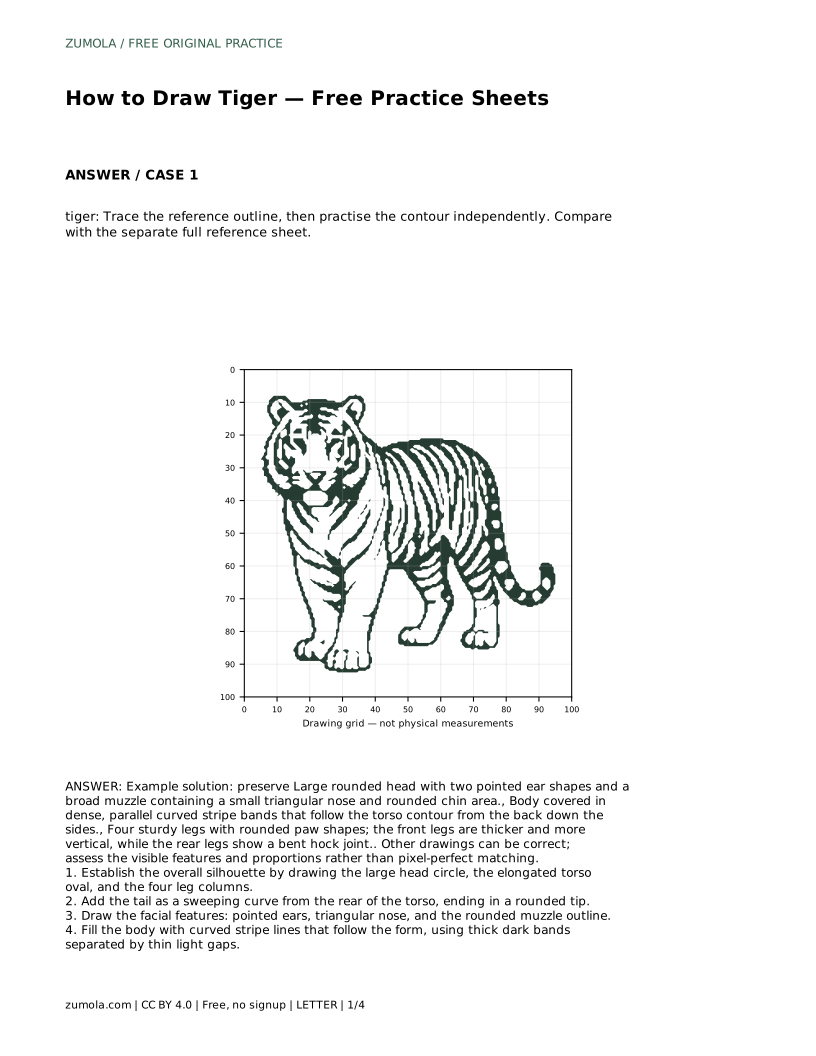
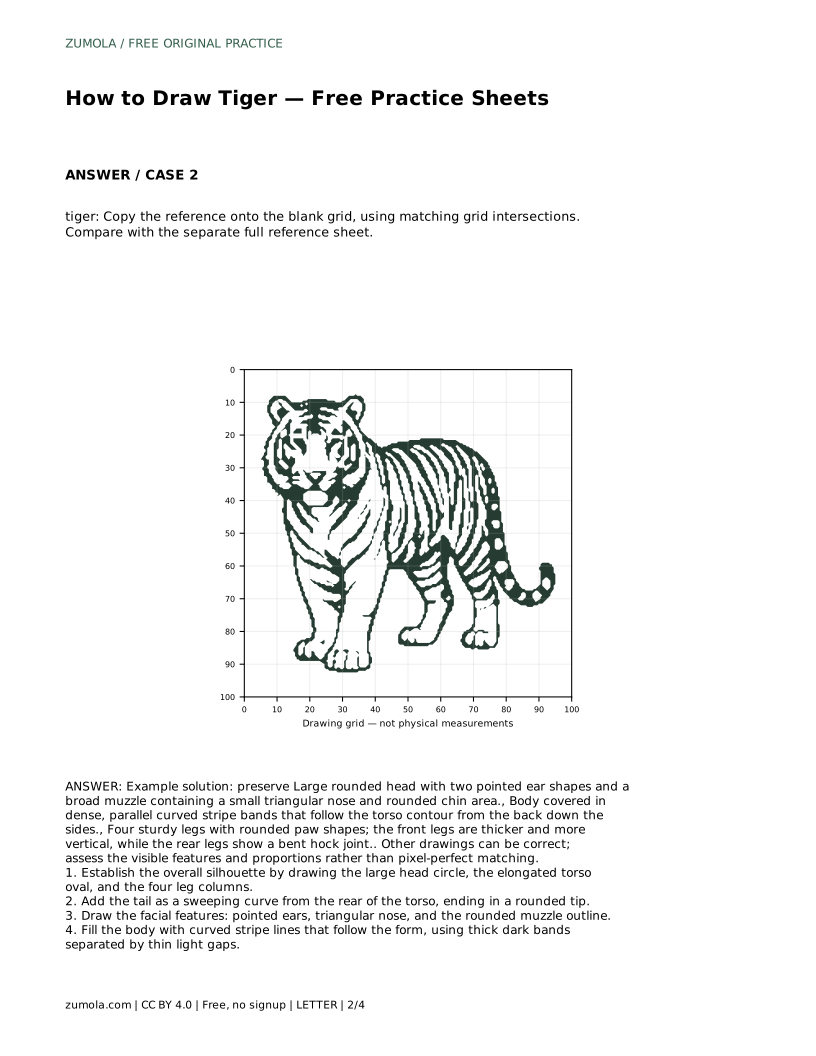
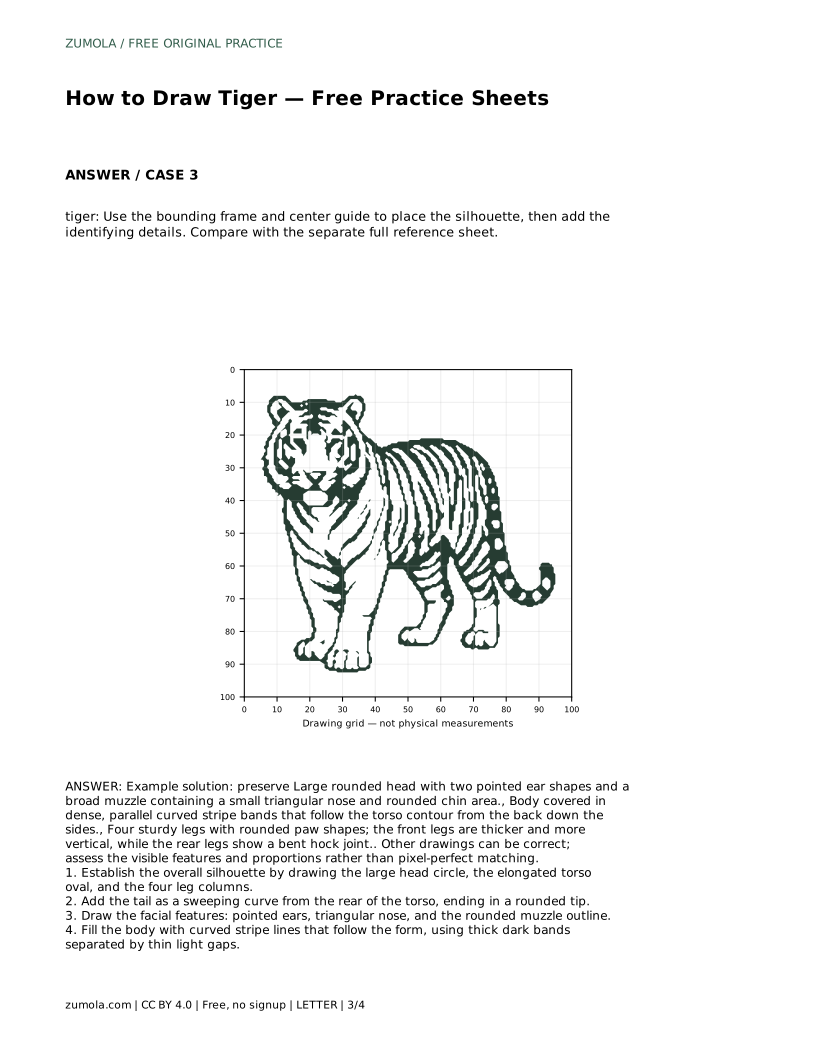
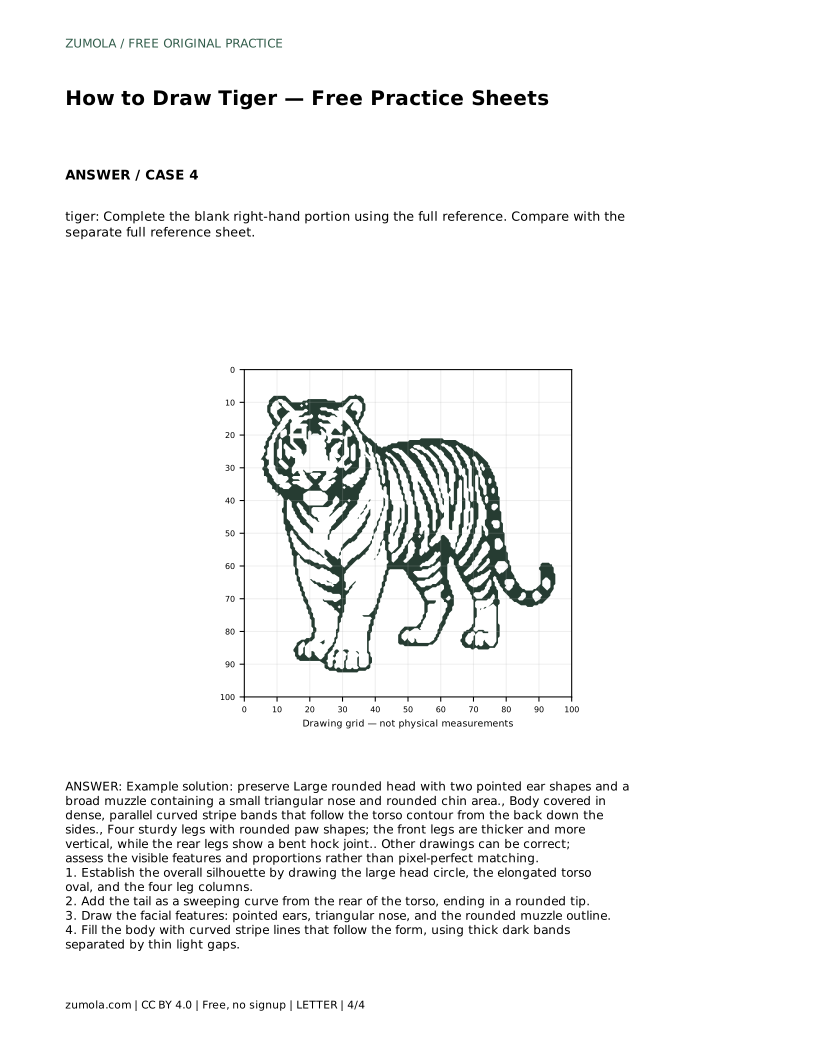
Reference diagrams
LETTER · Download PDF
A4 · Download PDF
Free original resources
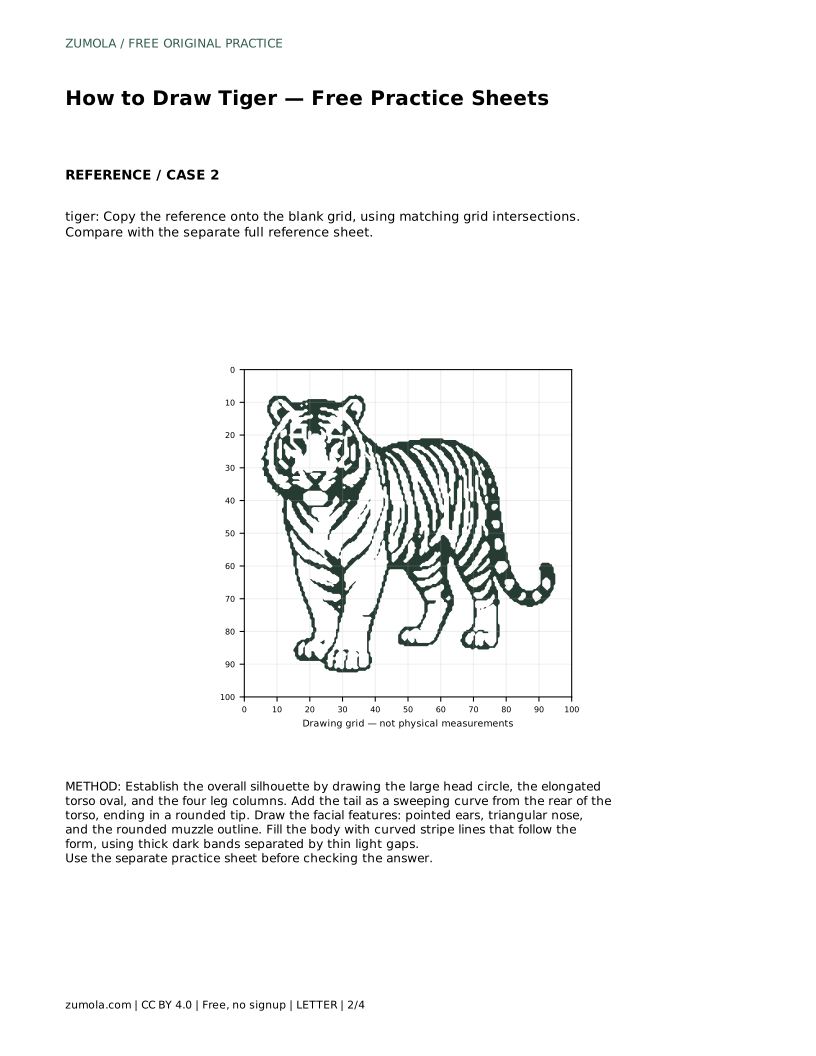
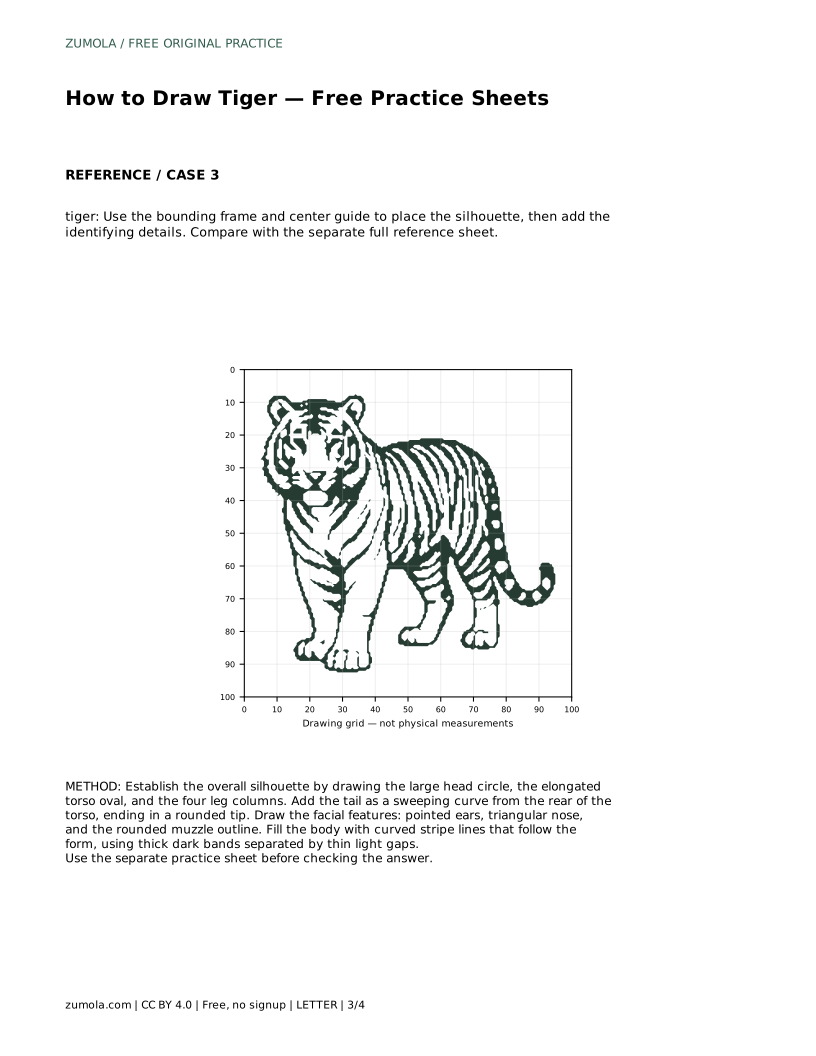
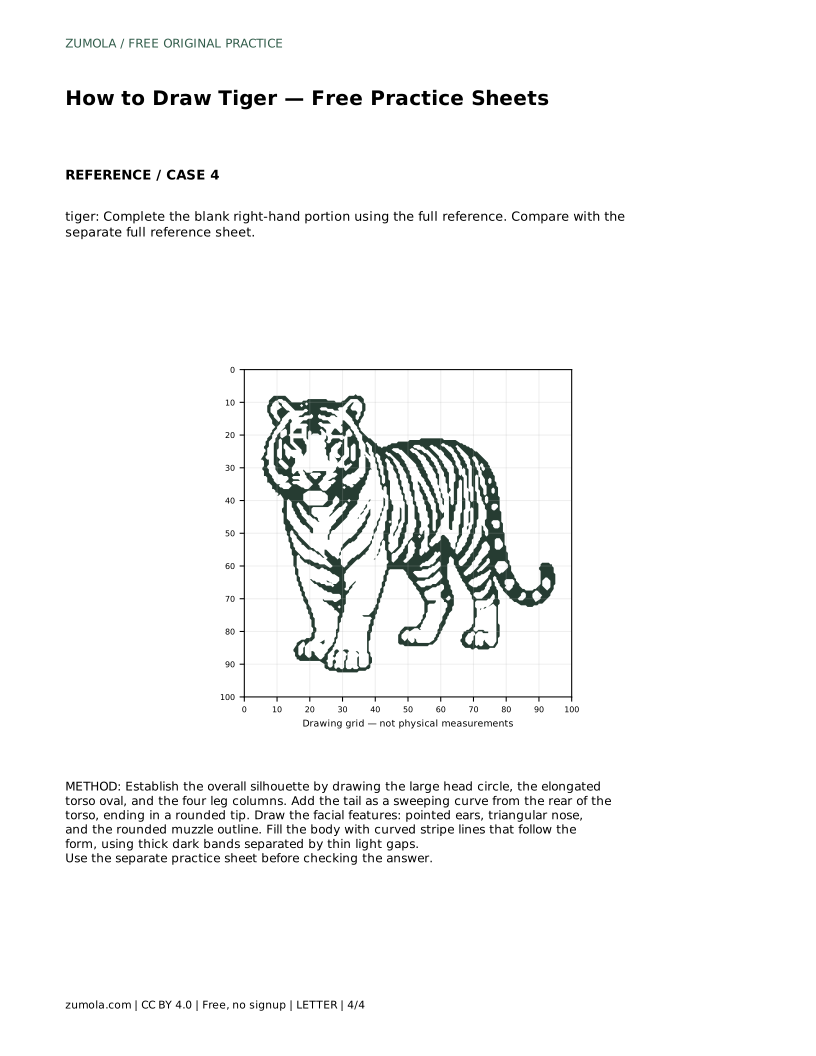
Learn to draw a tiger by building the silhouette first, then adding ears, muzzle, legs, tail, and contour-following stripes. Includes a worked example and rubric.
Four original cases, with reference diagrams, practice sheets and worked answers. Everything is free; no signup required.
LETTER · Download PDF
A4 · Download PDF
LETTER · Download PDF
A4 · Download PDF
LETTER · Download PDF
A4 · Download PDF
Use A4 or US Letter to match your printer. Use the stated values and conditions to solve each exercise; diagrams are not physical measuring rulers.
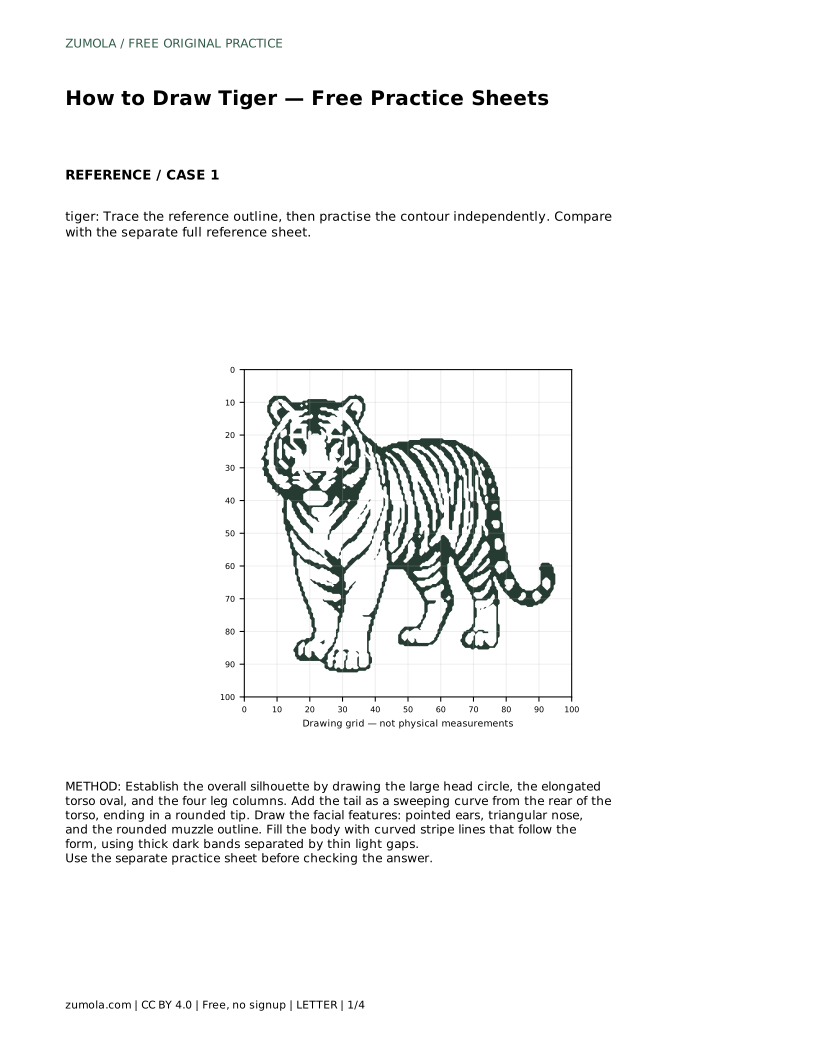
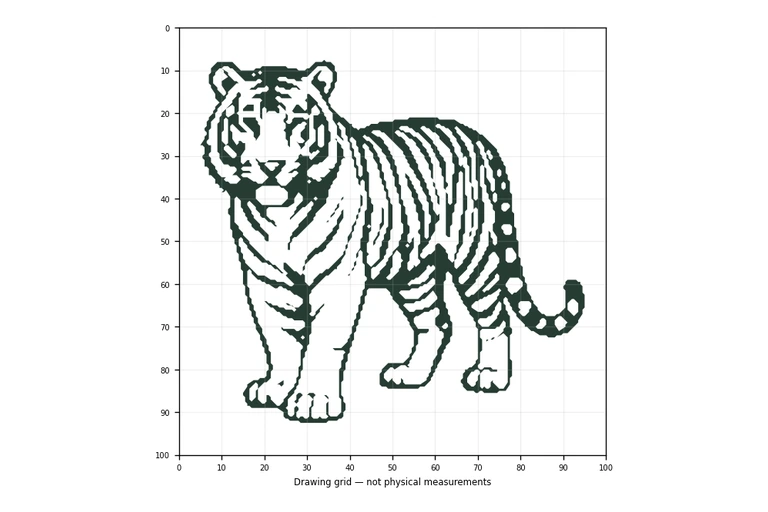
Drawing a tiger becomes manageable when you separate shape from detail. Start with a large rounded head, an elongated torso, and four sturdy legs, then place the tail and facial features before adding stripes. The practice sheets let you trace an outline, copy onto a grid, use a bounding frame and center guide, or complete a blank half. Each approach trains the same core skill: seeing the whole animal before decorating it.
Treat the tiger as a set of simple masses before you draw any fur. The head is a large rounded shape, the torso is an elongated oval, and the legs are four columns. Keep the front legs thicker and more vertical; let the rear legs show a bent hock joint. This order prevents a common problem: drawing a detailed face on a body that is too small or too long.
Once the silhouette holds together, add the sweeping tail from the rear of the torso, ending in a rounded tip. Then place the pointed ears, the broad muzzle, the small triangular nose, and the rounded chin area. Only after these landmarks are in place should you add stripe bands.
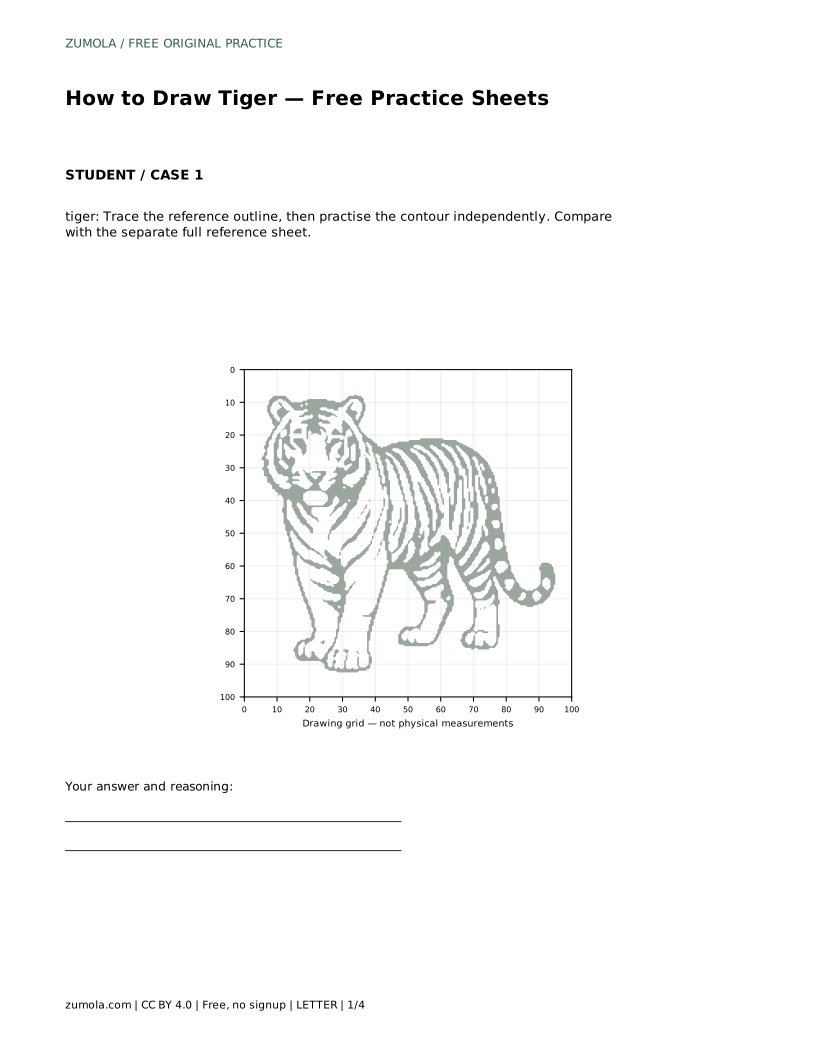
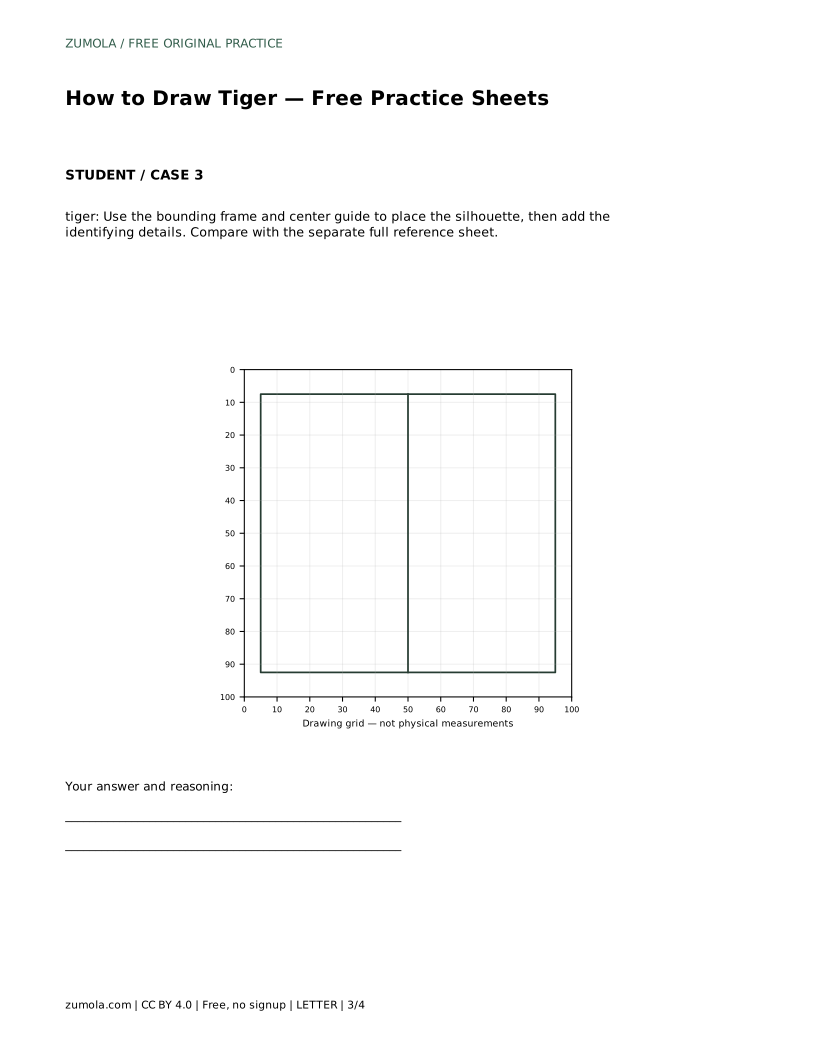
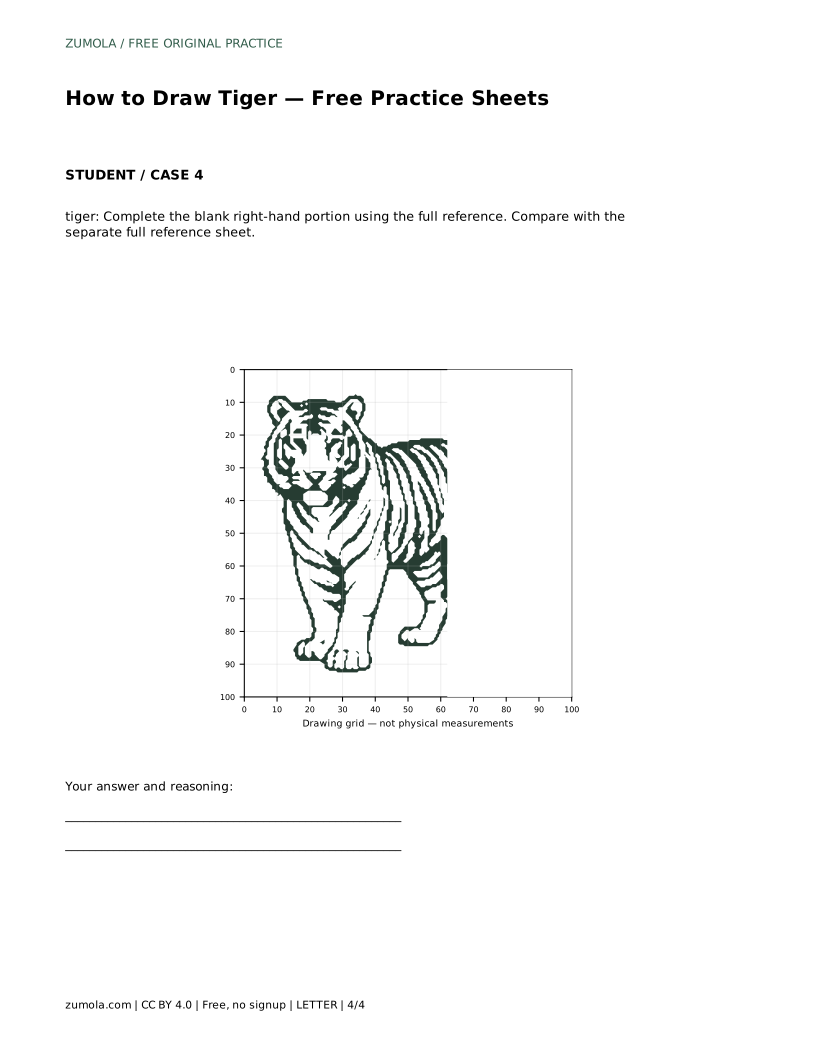
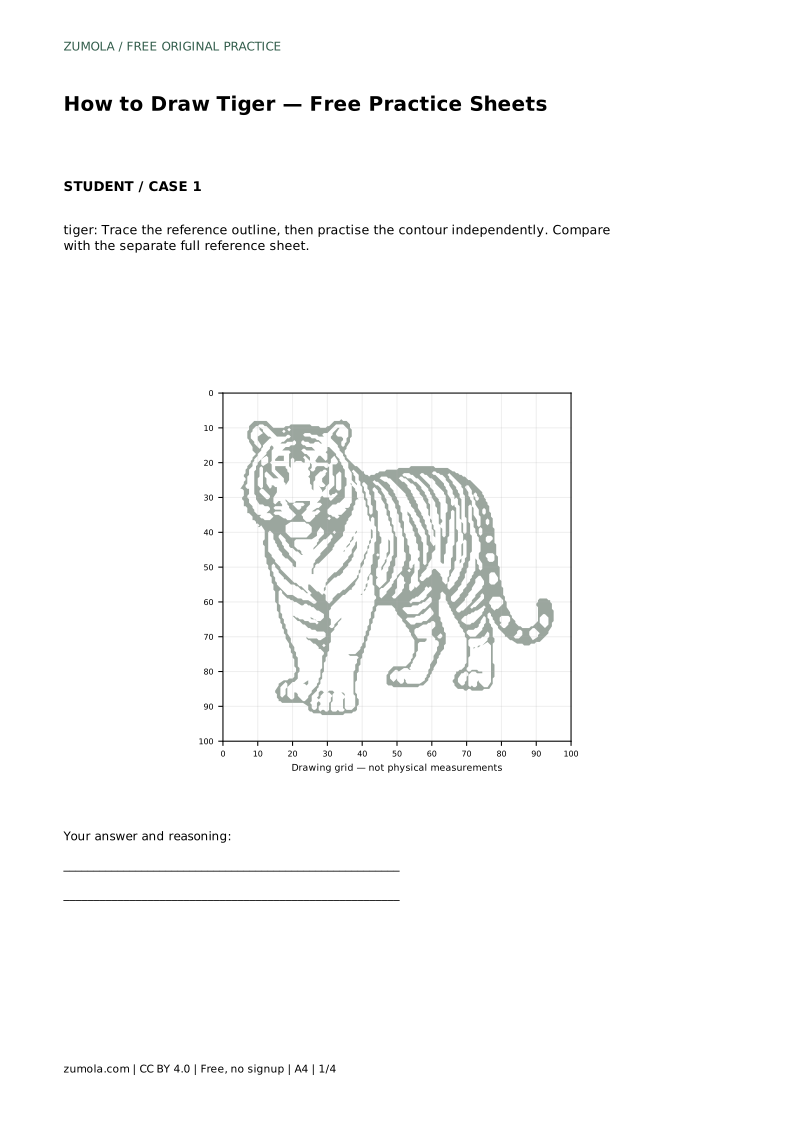
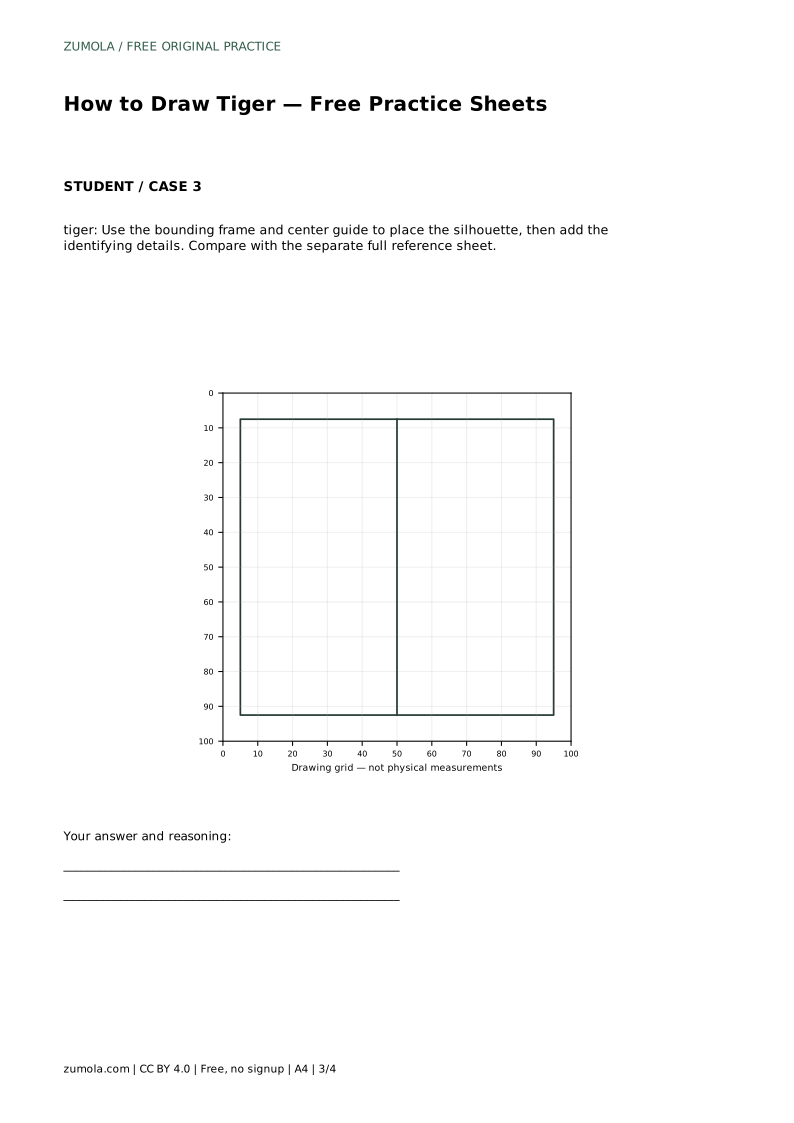
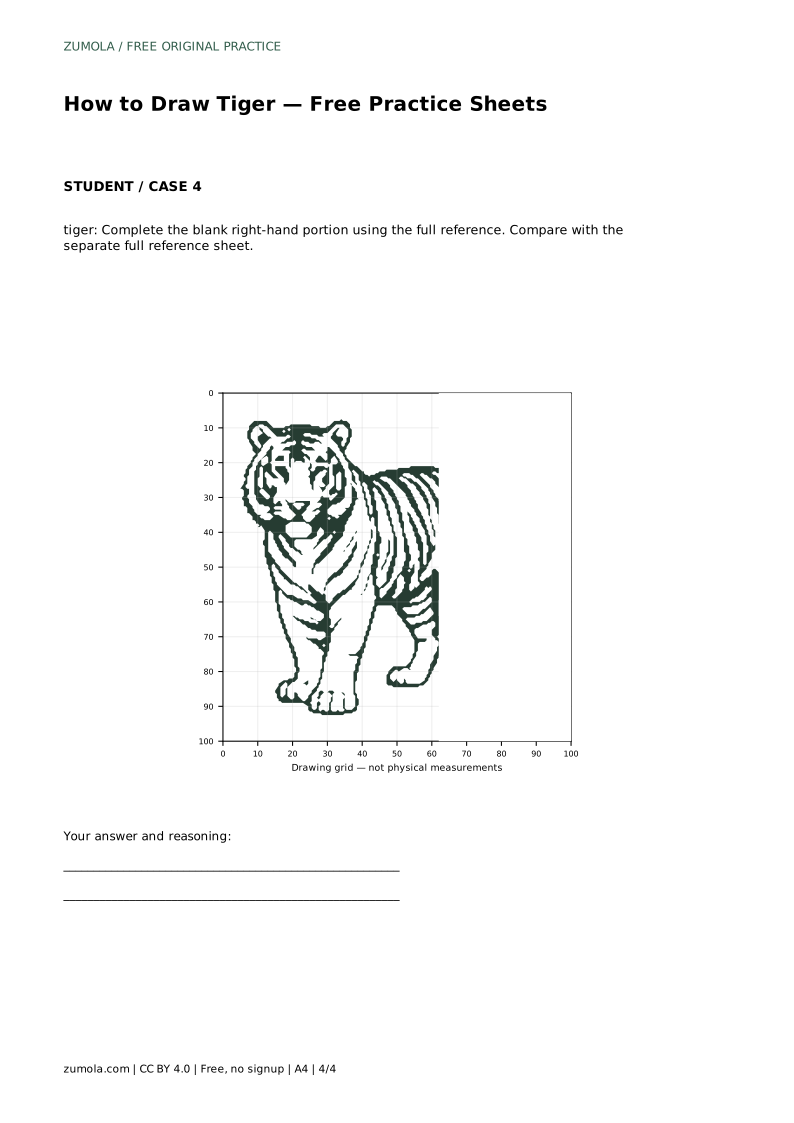
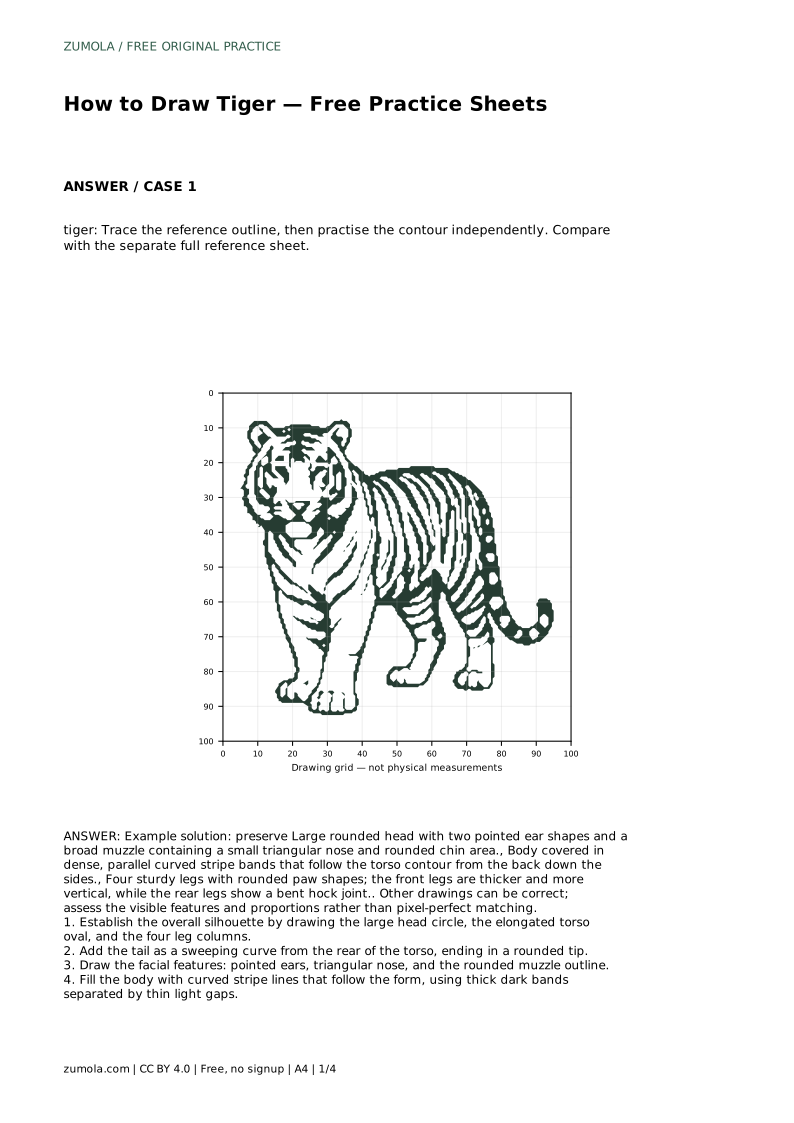
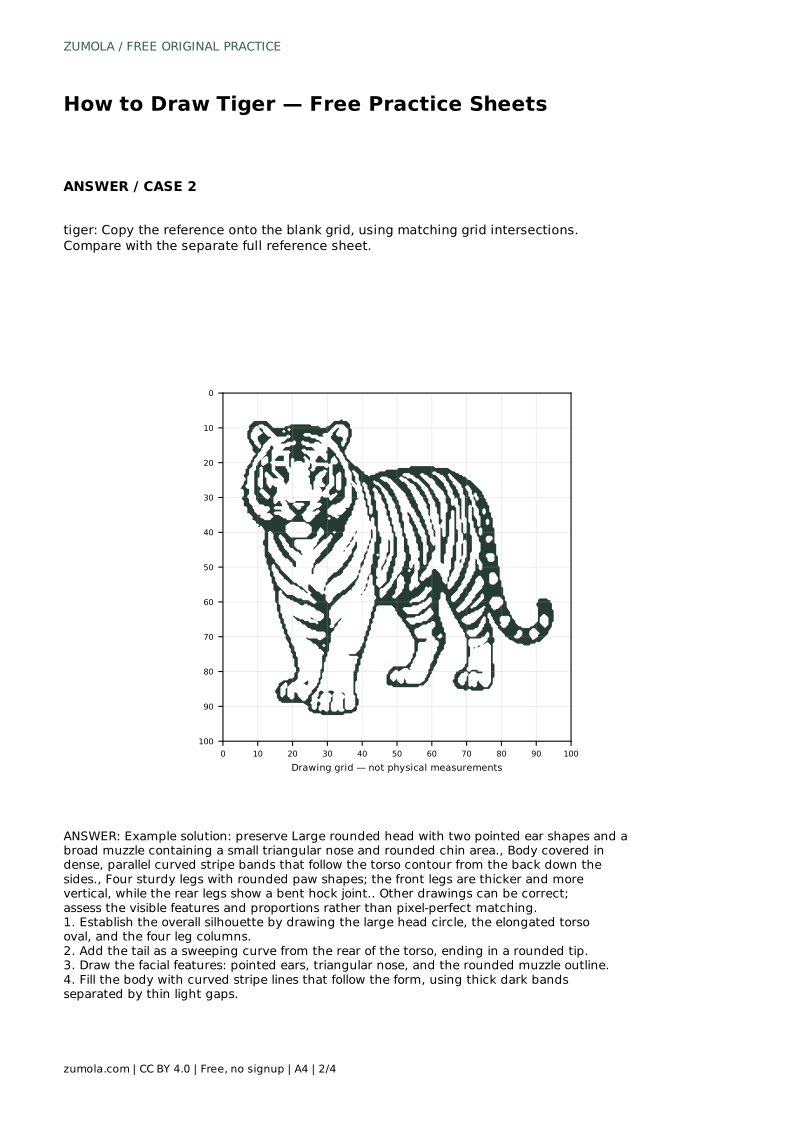
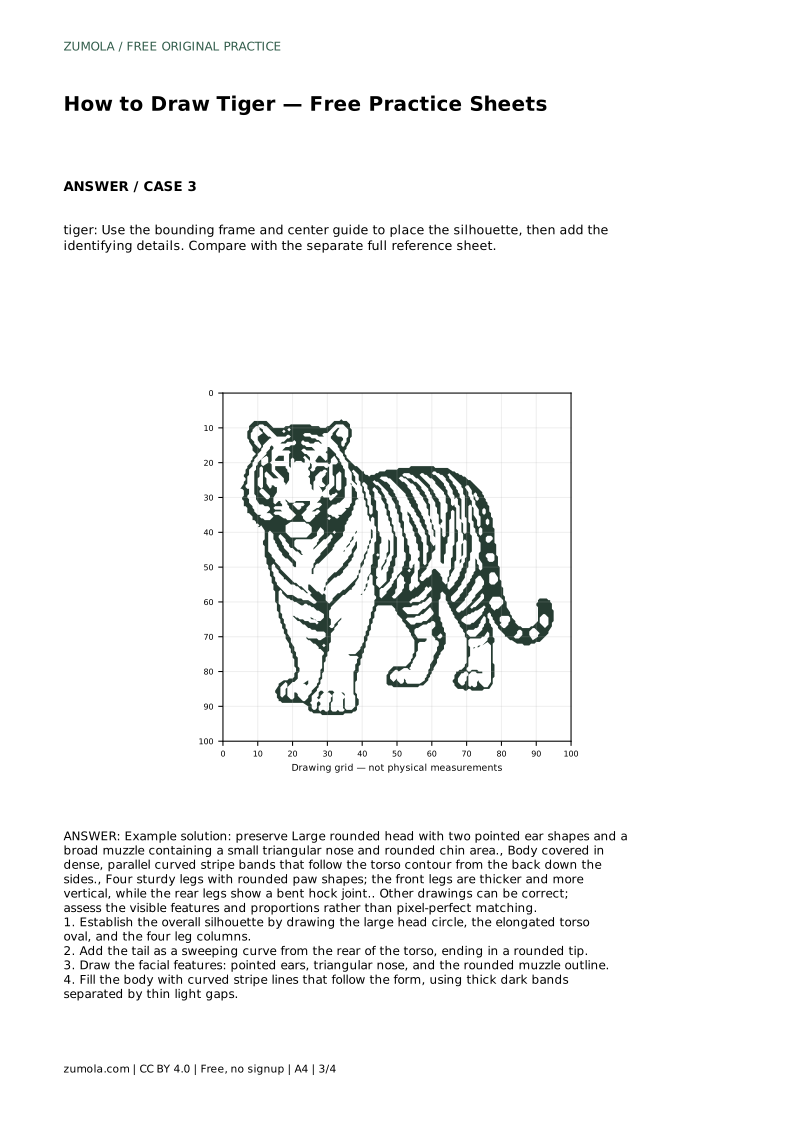
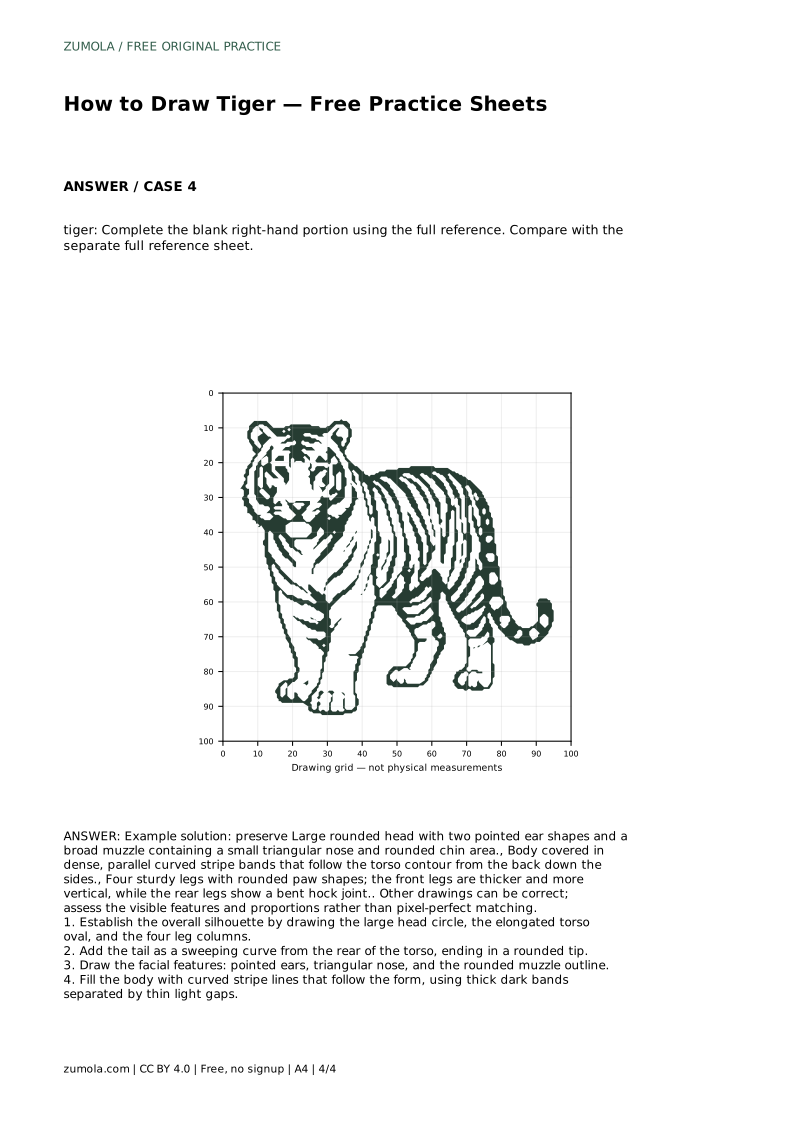
Tracing the reference outline helps you feel the proportions, but tracing alone can become copying without understanding. After one traced pass, cover the reference and redraw the contour independently, then compare with the separate full reference sheet. The grid version asks you to match intersections, which trains placement and scale. The bounding frame and center guide version asks you to position the silhouette before adding identifying details. The blank right-hand portion asks you to infer the missing side from the full reference.
Choose one sheet per session rather than rushing through all of them. The goal is not a pixel-perfect match. A correct tiger can vary in stance, stripe pattern, and head angle as long as the visible features and proportions read clearly.
Stripes are not decoration applied after the fact; they describe the tiger's body. Draw curved bands that run from the back down the sides, roughly parallel to one another, with thick dark bands separated by thin light gaps. On the head, keep stripes shorter and radiating from the muzzle and forehead. On the legs, let bands wrap around the columns rather than sitting flat.
If a stripe looks wrong, check whether it follows the curve of the torso or leg beneath it. A stripe that crosses the body like a straight line usually flattens the drawing.
Use a rubric rather than hunting for one exact answer. Ask whether the head is large and rounded with two pointed ears, whether the muzzle is broad with a small triangular nose and rounded chin, whether the torso is elongated, and whether four sturdy legs are present with thicker front legs and bent rear hocks. Then check the tail, the stripe direction, and the overall balance.
A drawing can be correct with different stripe counts or a slightly different stance. What matters is that the tiger's identifying features and proportions remain readable.
tiger: Trace the reference outline, then practise the contour independently. Compare with the separate full reference sheet.
Example solution: preserve Large rounded head with two pointed ear shapes and a broad muzzle containing a small triangular nose and rounded chin area., Body covered in dense, parallel curved stripe bands that follow the torso contour from the back down the sides., Four sturdy legs with rounded paw shapes; the front legs are thicker and more vertical, while the rear legs show a bent hock joint.. Other drawings can be correct; assess the visible features and proportions rather than pixel-perfect matching. Establish the overall silhouette by drawing the large head circle, the elongated torso oval, and the four leg columns. Add the tail as a sweeping curve from the rear of the torso, ending in a rounded tip. Draw the facial features: pointed ears, triangular nose, and the rounded muzzle outline. Fill the body with curved stripe lines that follow the form, using thick dark bands separated by thin light gaps.
Tracing once can help you feel the proportions, but follow it with an untraced attempt and compare against the full reference sheet.
There is no fixed count for a practice drawing. Aim for dense, parallel curved bands that follow the body form.
That is acceptable. Judge the visible features and proportions, such as the rounded head, pointed ears, broad muzzle, four legs, and contour-following stripes.
All drawing practice · Free coordinate paper
Original resources · CC BY 4.0 · Free for personal and classroom use with attribution.