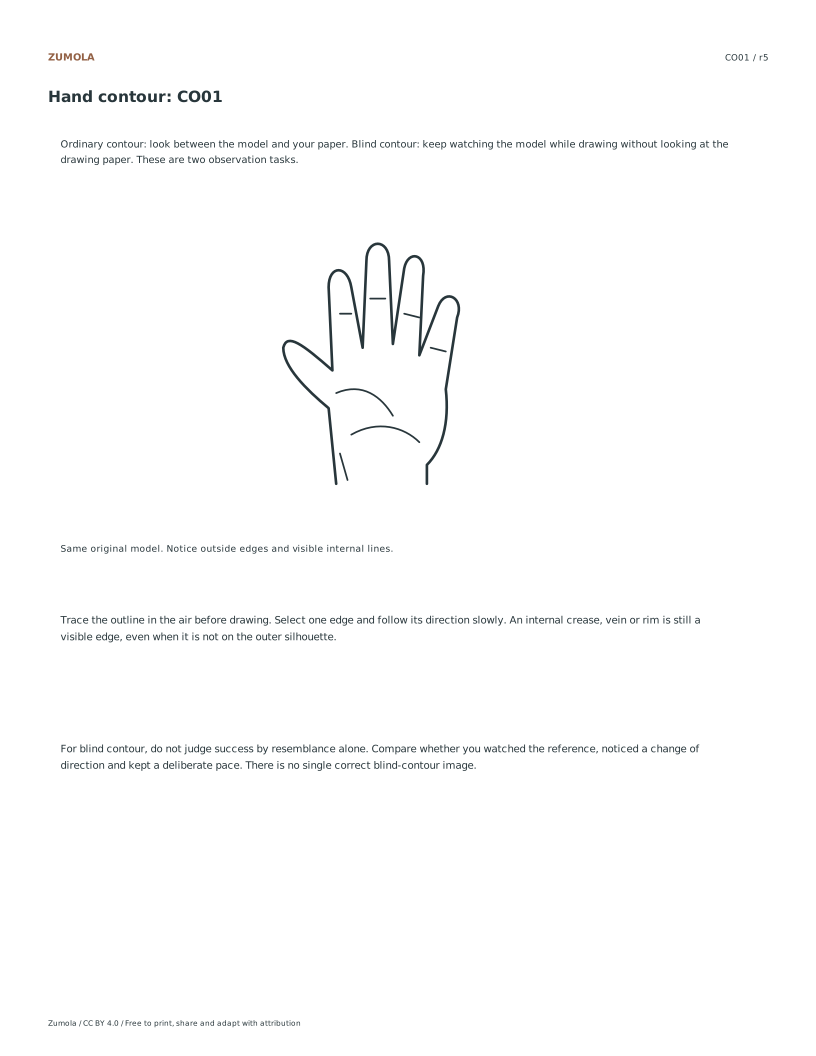
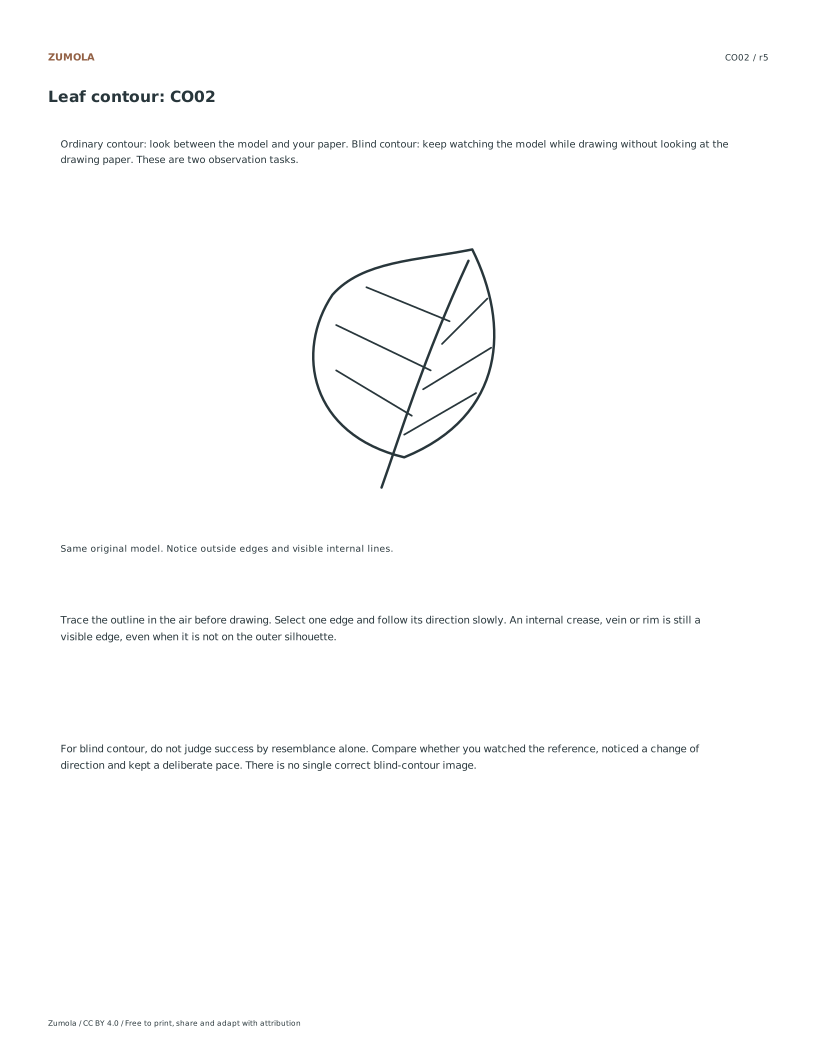
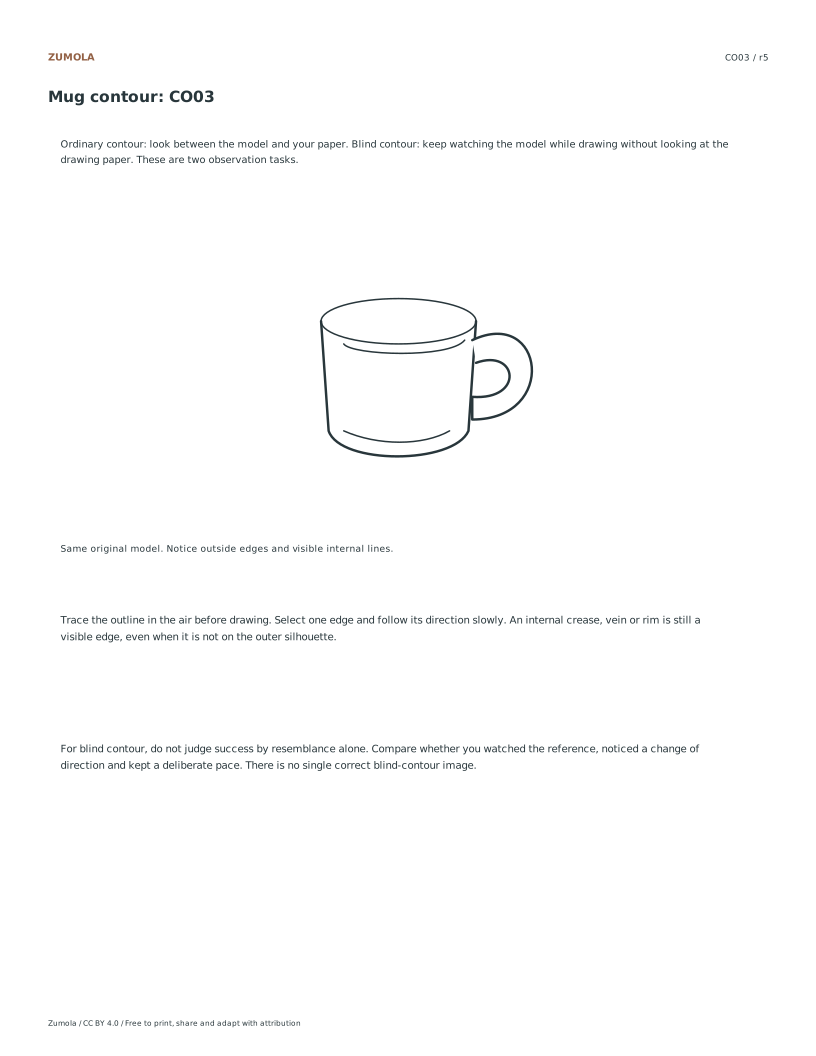
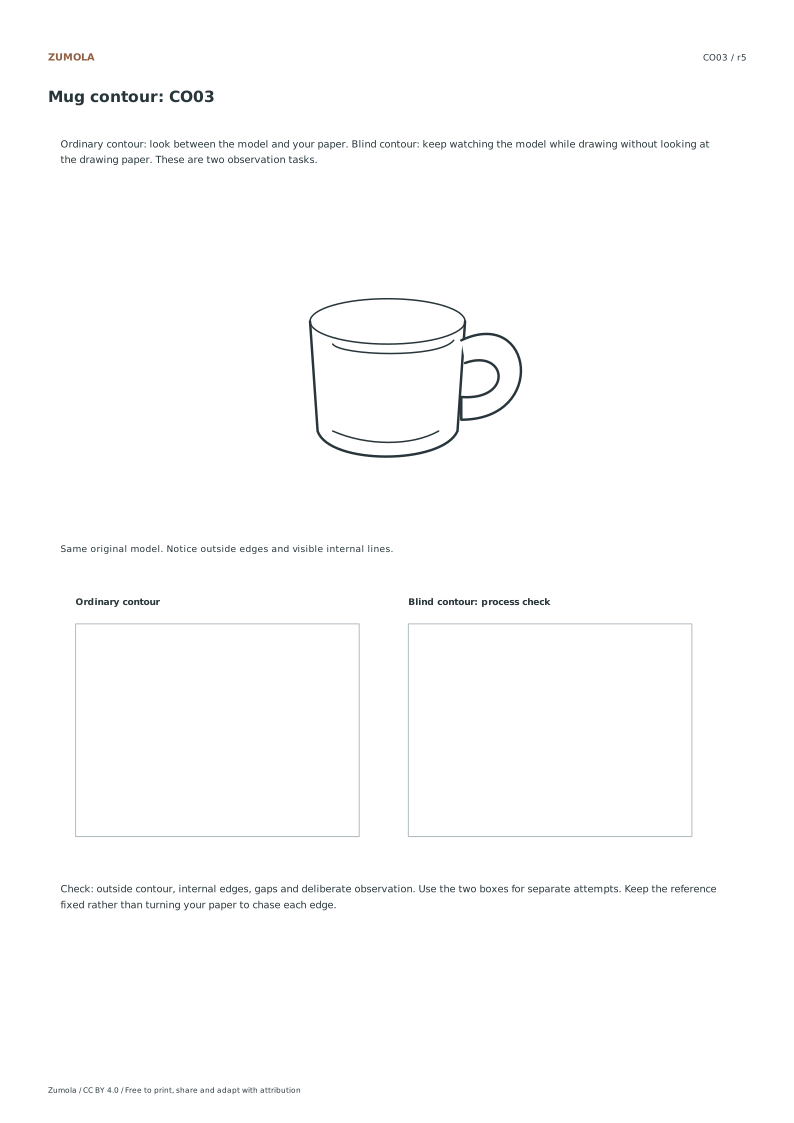
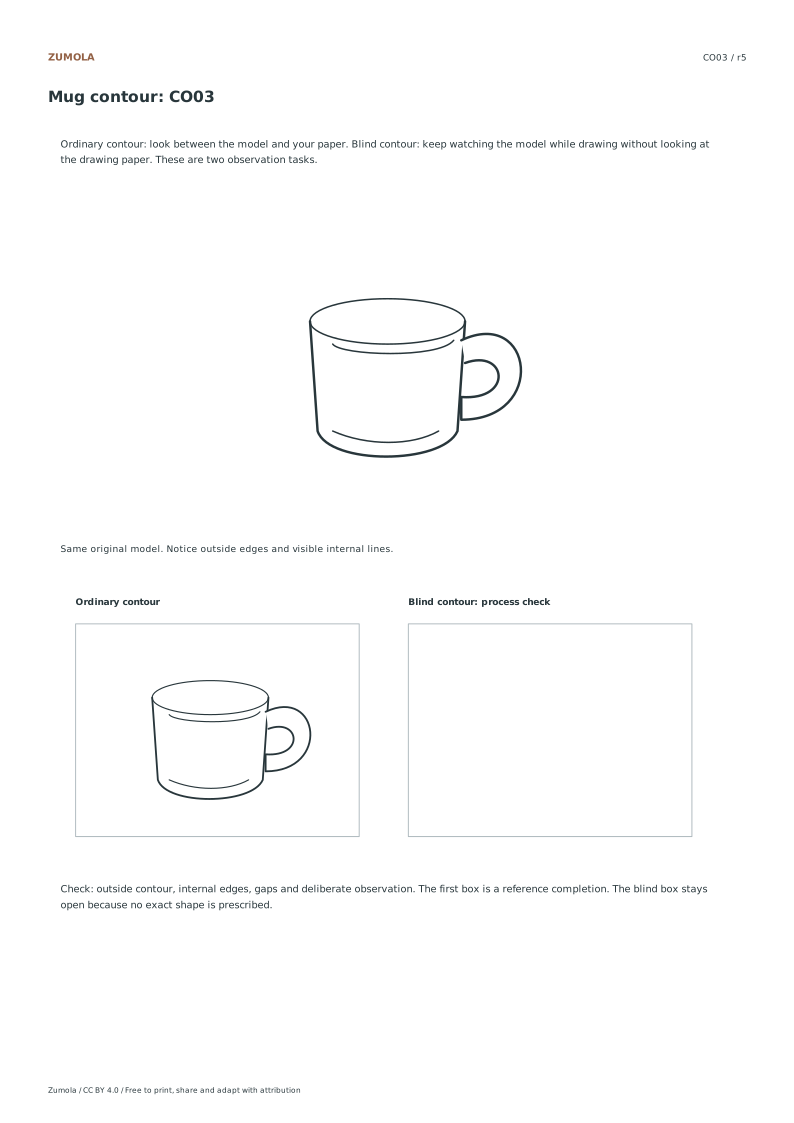
3 original line references. Ordinary + blind contour.
A reference, a task and a way to check it
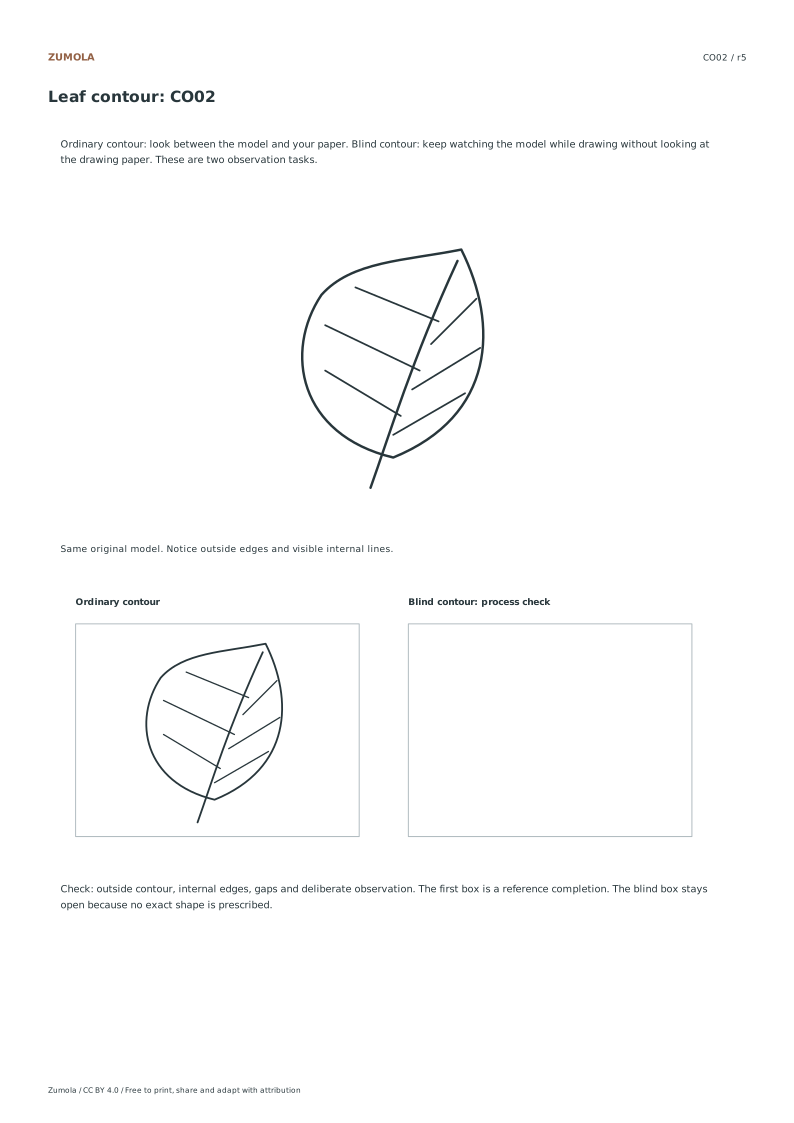
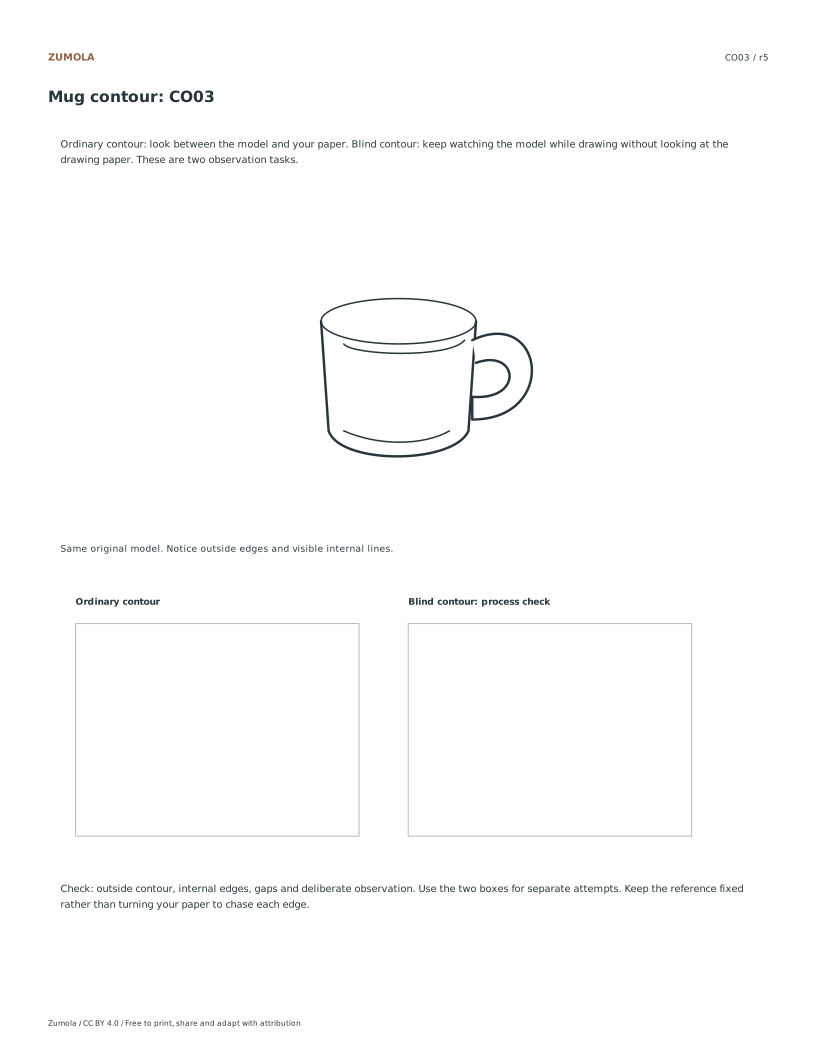
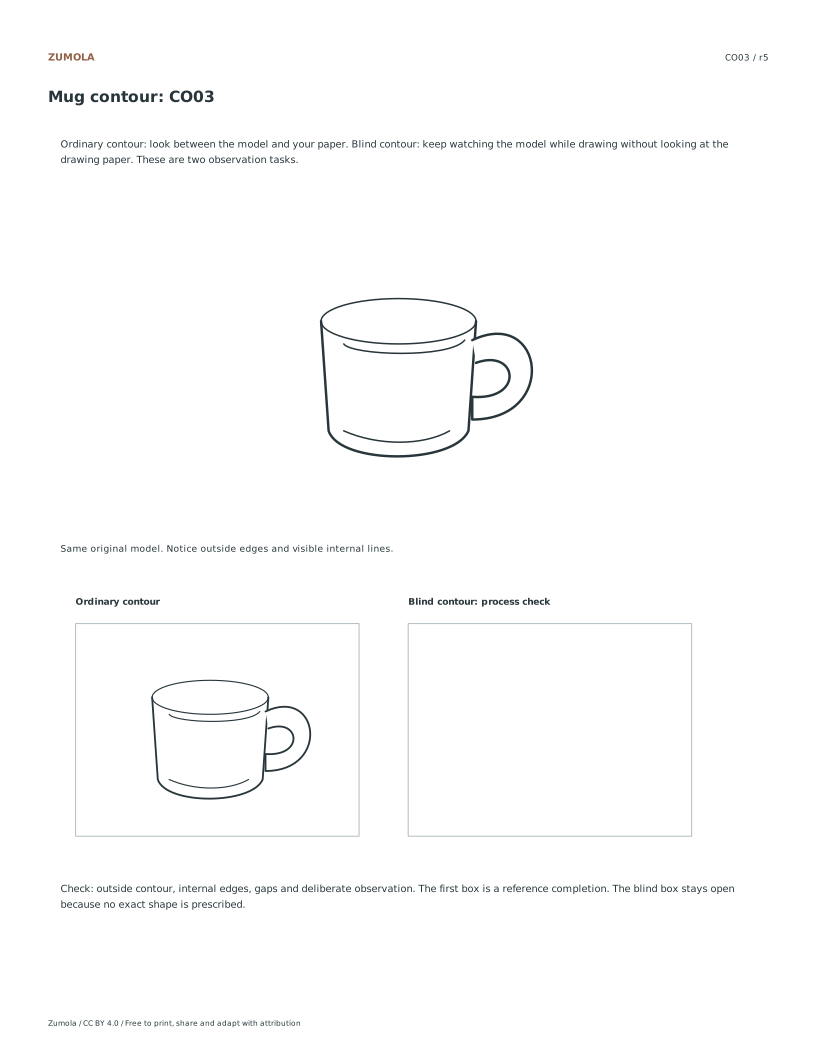
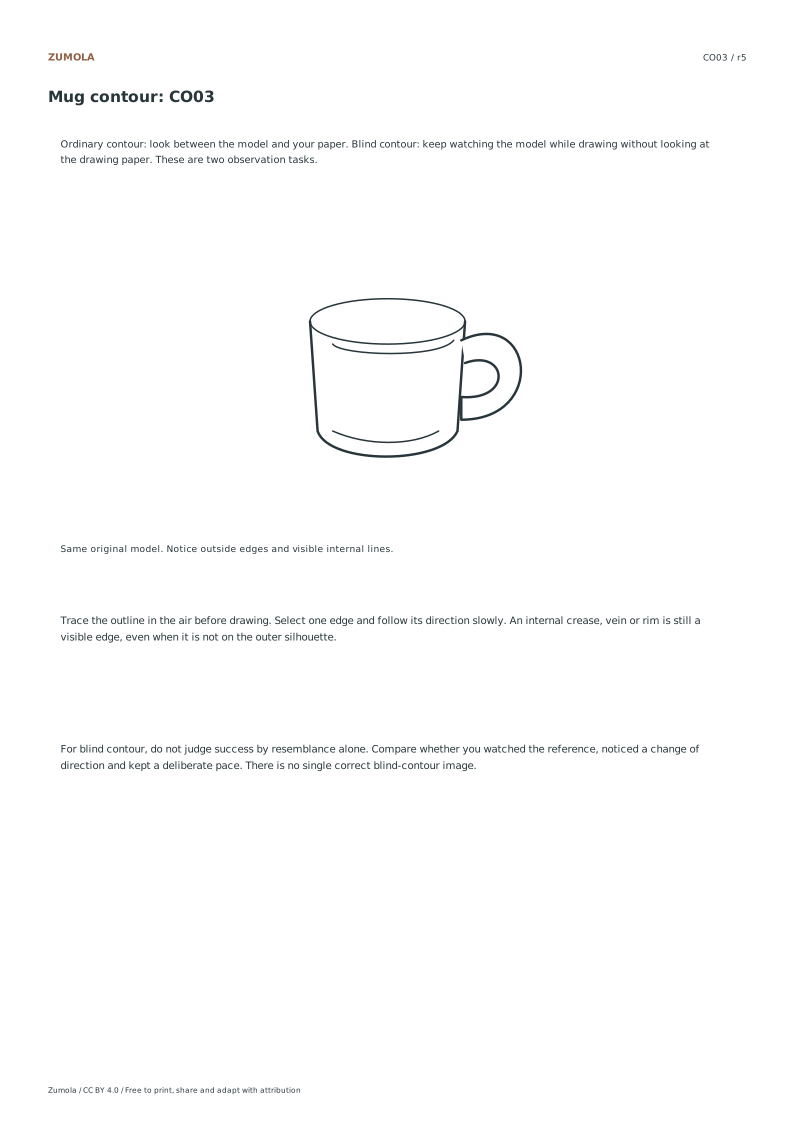
Compare ordinary and blind contour using three stable line illustrations. Observe outside edges, internal details and the process of looking.
Choose US Letter or A4 for prepared downloads. Original PDF and SVG files, worksheets and reference answers are free without signup. Collection packs contain the same individual pages in order.
Choose your paper and download
Download paper size
Every worksheet and answer is free. No signup.
The complete collection
Keep practice and answers separate.
Use the student pack first, then compare the reference or answer. Packs are PDFs; individual sheets below also include editable SVG files. The paper choice applies to every download.
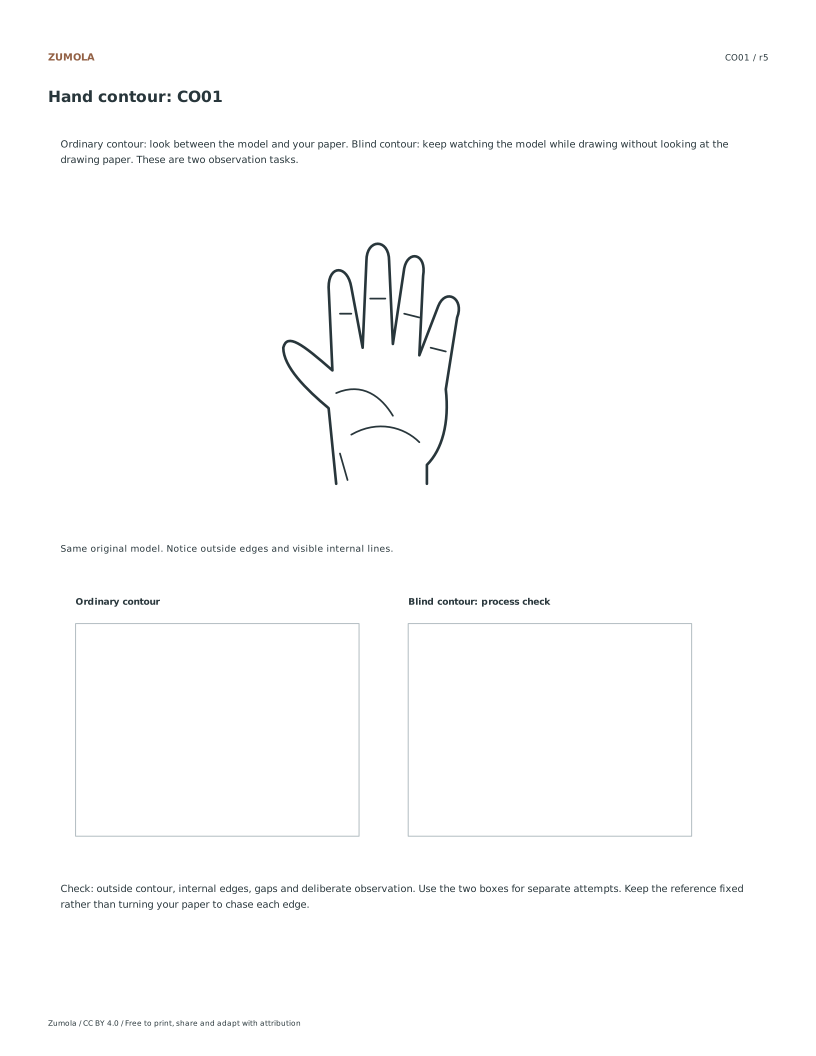
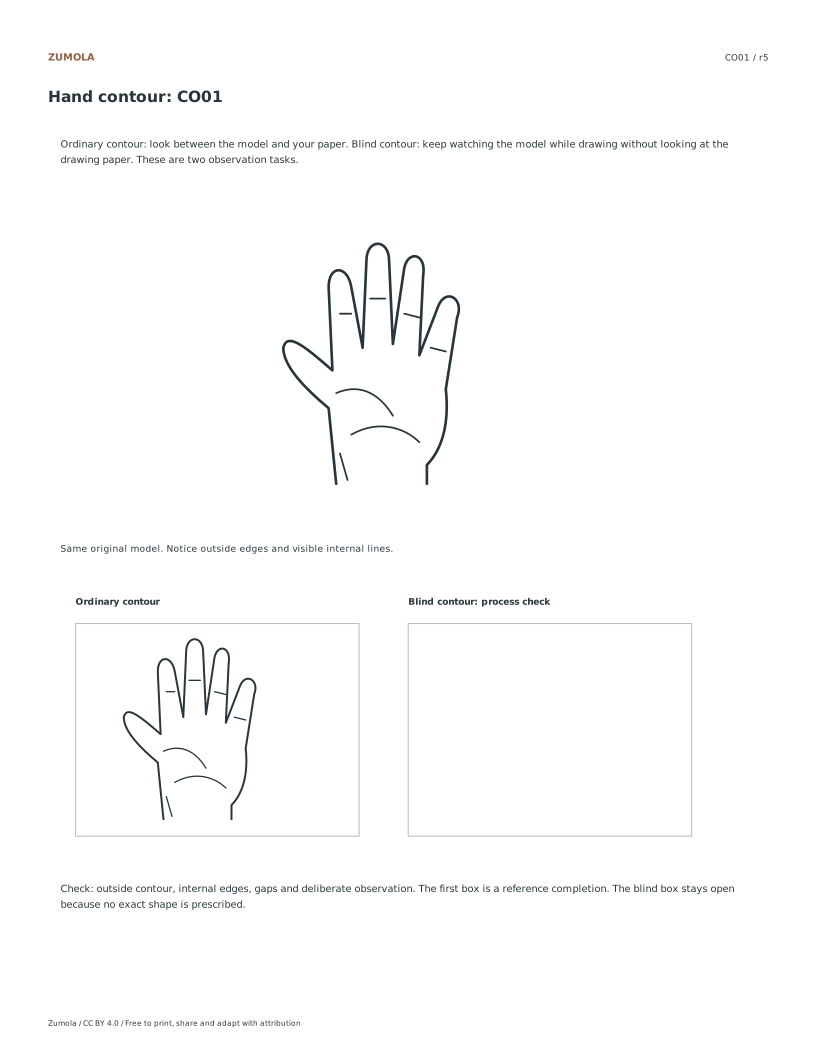
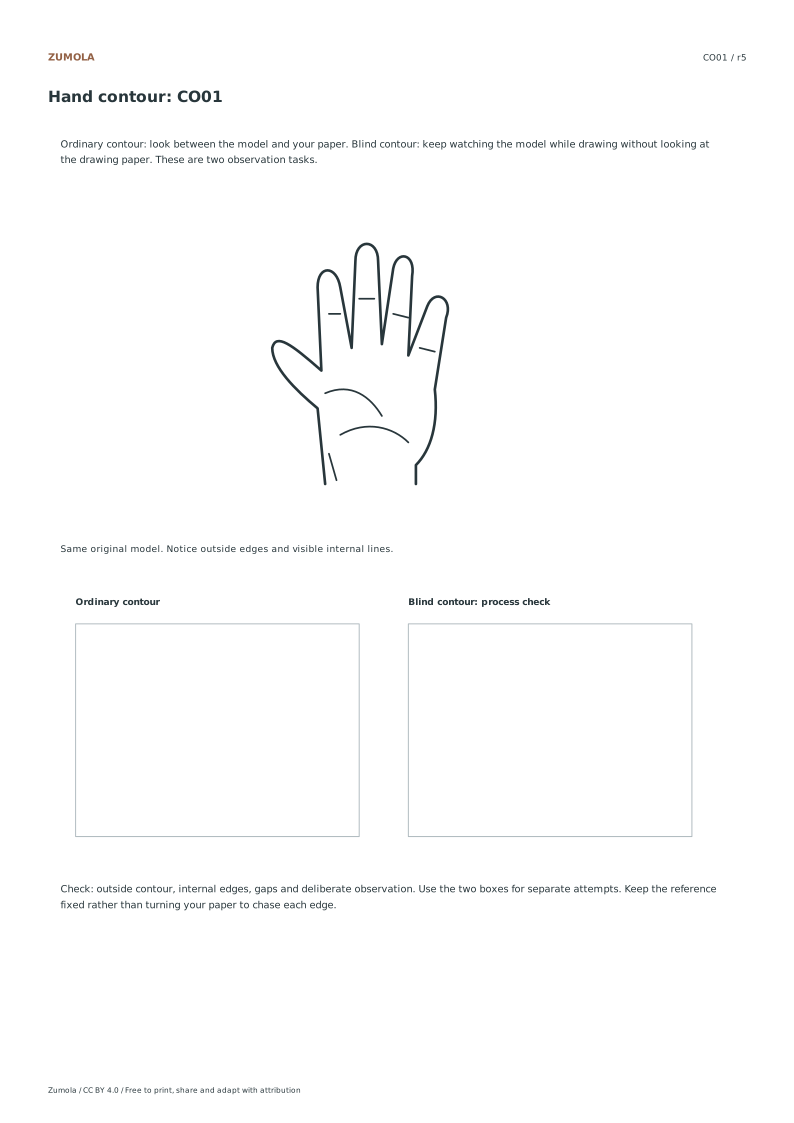
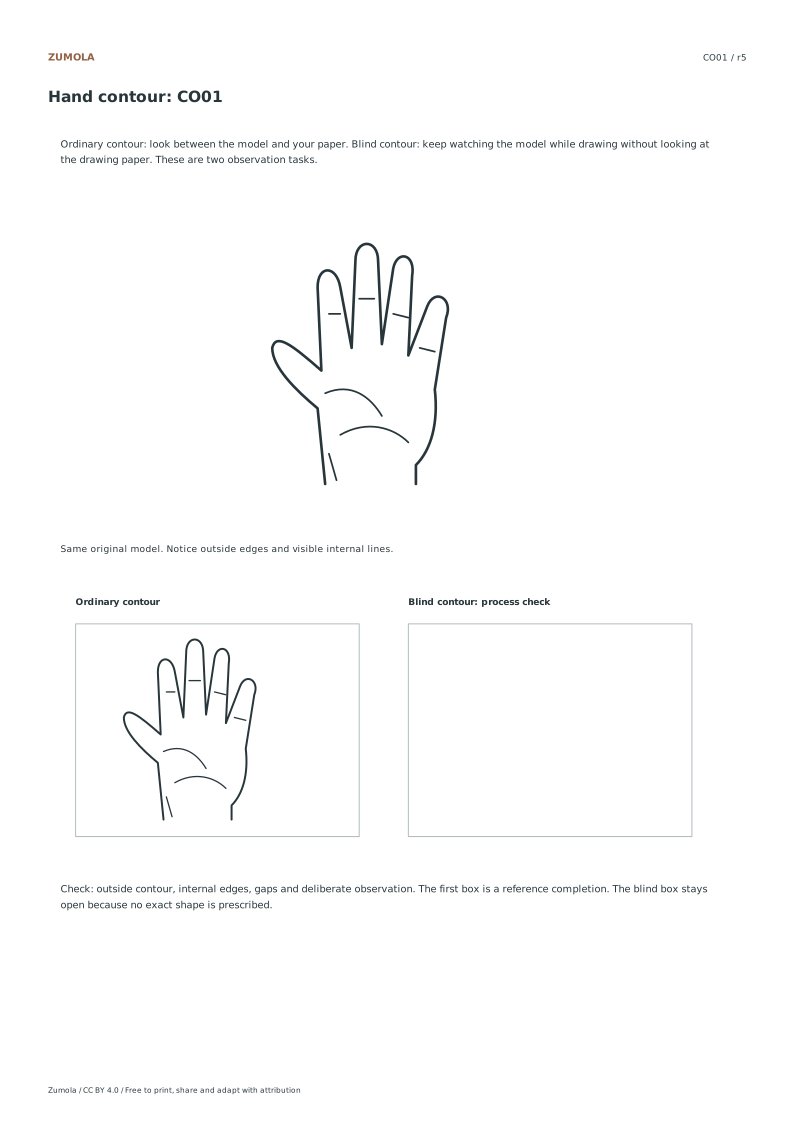
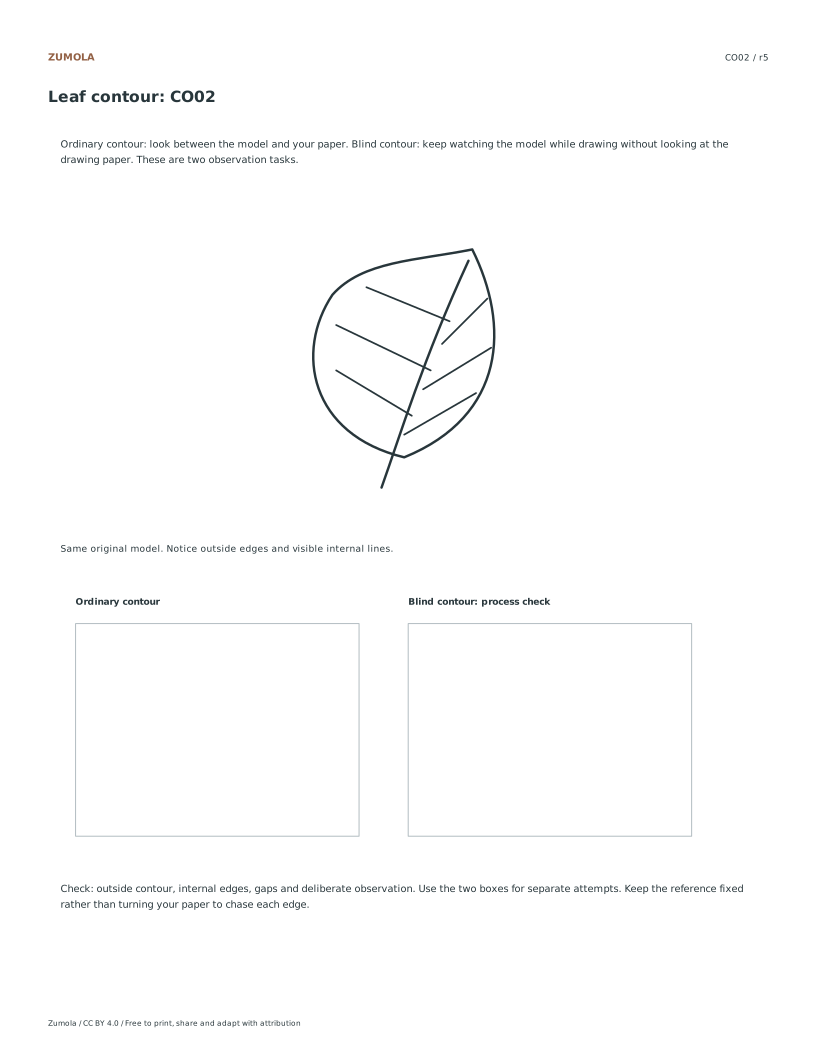
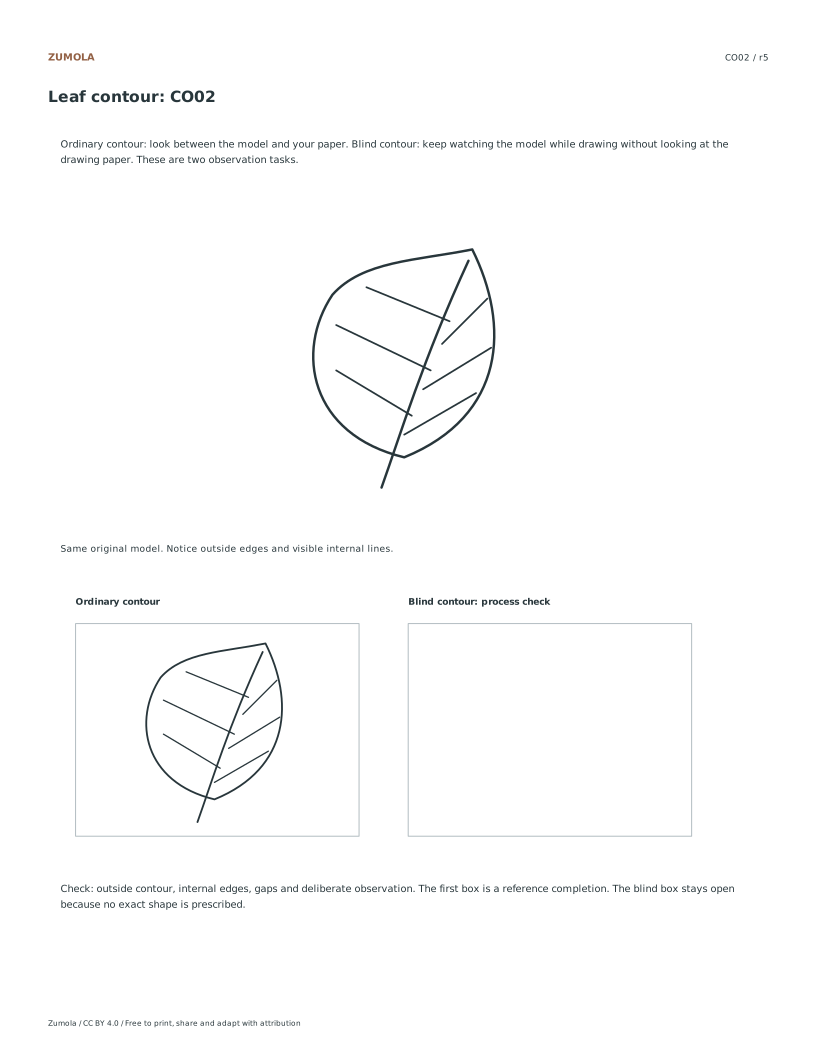
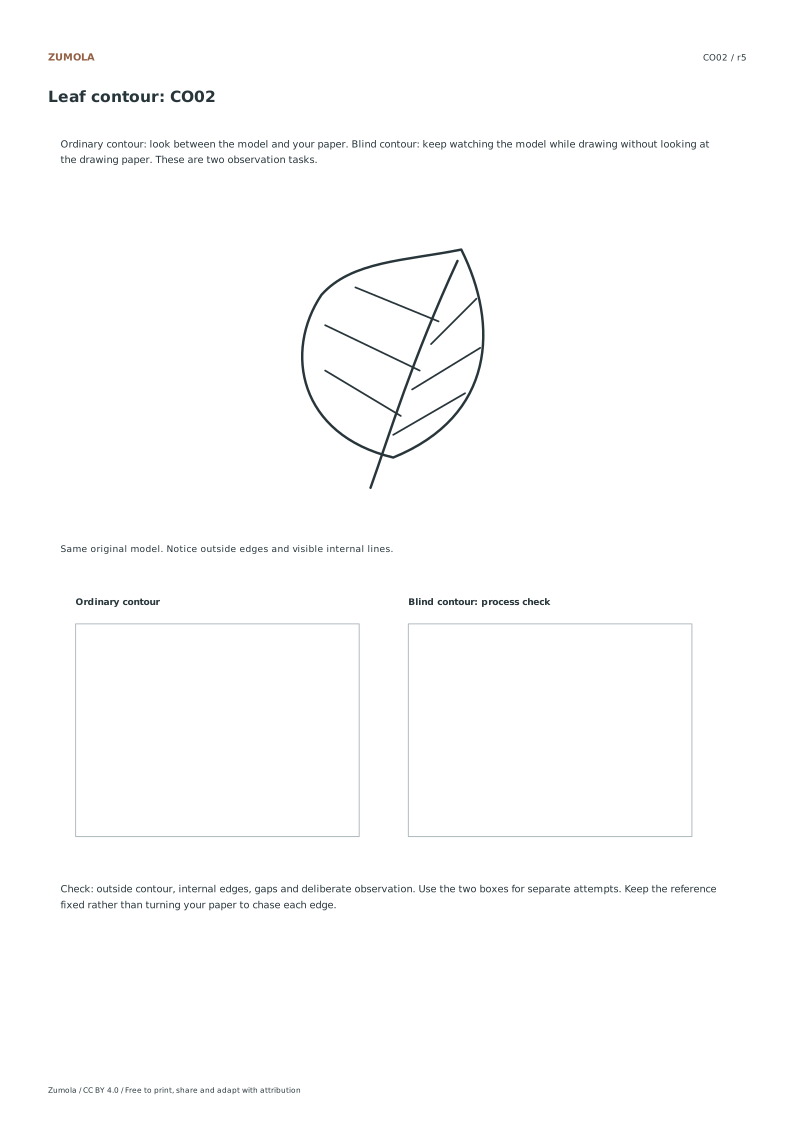
The student sheet places the same model above two empty frames. Use the first for ordinary contour and the second for blind contour. The answer completes the ordinary frame with a reference outline, while the blind frame stays open. A process checklist is more appropriate for that second attempt than an exact tracing target.
Separate an observation decision from a stroke-quality decision. Missing the handle hole changes which space is background; a slightly uneven line can still describe the right edge. If you want to repeat the exercise, use a still object or your own permitted photograph. The supplied line references provide a consistent starting view, rather than a requirement that every later contour practice use the same three objects.
Work through the page
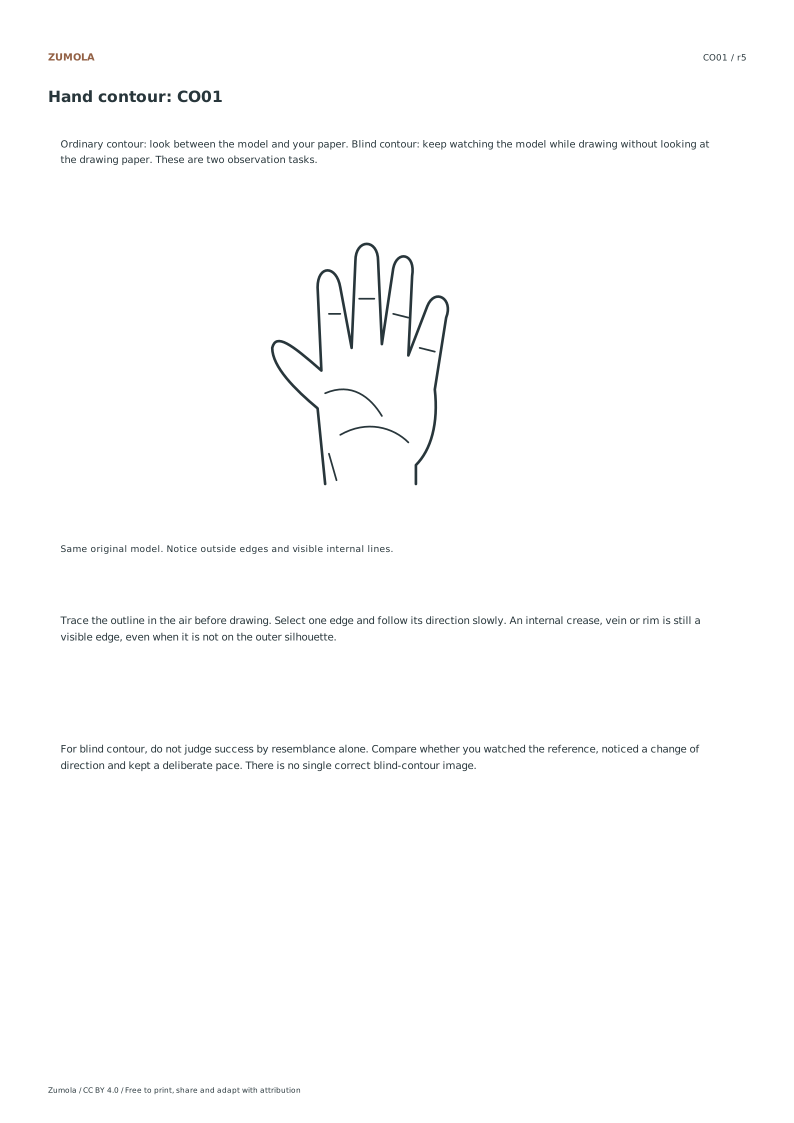
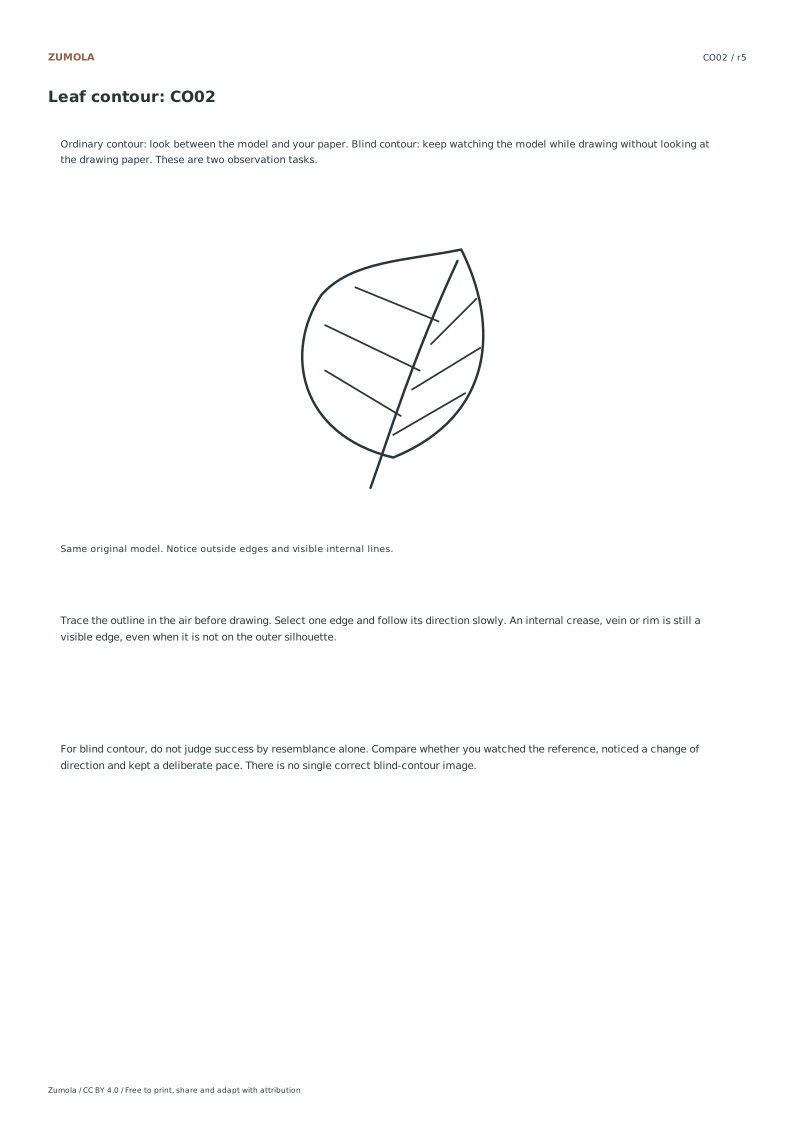
Setting Up Your Reference Begin by selecting one of the three stylized line references provided on the sheet: a hand with four fingers and thumb, a leaf, or a mug. These are not photographs but simplified visual guides. Place your chosen reference in a stable position where you can see it clearly without moving your body. Ensure your drawing paper is flat and secure. Before starting, take a moment to observe the overall shape and proportion of the selected object. This initial setup helps establish a clear visual target for your observation attempts, ensuring you focus on the specific lines and forms presented in the stylized reference rather than imagining a real-world object.
Executing Ordinary Contour For the first attempt, use ordinary contour drawing. This method requires you to observe both the outside and internal visible edges of your chosen reference while checking your paper. Look at the reference, then look at your paper to place the line, then look back at the reference. This back-and-forth process allows you to verify the placement of lines as you draw. Focus on capturing the specific edges and internal details visible in the stylized line reference. Do not worry about perfect accuracy; instead, concentrate on the relationship between what you see in the reference and what appears on your paper during this observational exercise.
Practicing Blind Contour Try the second box as a separate blind-contour attempt. Keep your attention on the selected reference rather than checking the paper after every movement. Follow an edge slowly and notice where it bends, ends or meets another visible line. You can pause or lift the pencil when moving to an internal feature; this sheet does not prescribe a continuous-line-only rule. After finishing, look at the result and record one change of direction you noticed. The open blind-contour answer box is intentional: the check concerns your observation process, rather than a single target outline.
Checks that catch common errors
Watch for
Check instead
Looking at the paper during blind contour
Keep your eyes fixed on the reference object. If you look at the paper, you break the blind contour rule. Focus entirely on the lines and edges of the stylized reference, letting your hand move without visual confirmation from the drawing surface.
Assuming there is one correct answer
There is no unique correct blind contour or exact artistic answer. The exercise is about process, not perfection. Use the provided ordinary reference completion as a guide for comparison, but accept that your blind contour will differ due to the method's nature.
Treating references as photographs
Remember these are stylized line references, not photographs. Do not expect realistic depth or texture. Focus on the specific lines and shapes provided in the hand, leaf, or mug images, observing their simplified forms rather than imagining real-world details.
Match the file before printing
Print the PDF matching the paper in your printer at Actual size / 100% if you want to retain the millimeter dimensions defined in the file. Turn off Fit and Shrink when those dimensions matter. Uniform resizing preserves relative image proportions and angles but changes physical lengths. Unequal resizing can distort both. SVG editors and browser print dialogs can also change scale, so measure a physical calibration span when the task relies on size.
These files have digital geometry and layout checks. Physical printer testing has not been completed. Complete a student page before comparing the worked answer or reference illustration. A geometric or counting result can be exact, while a hand drawing can vary in its marks and interpretation. The original resources use CC BY 4.0: credit Zumola, link the license and indicate changes.
Useful answers
Do I need special paper?
No special paper is required. Use standard drawing paper or printer paper. The focus is on the observation process using the stylized line references, not on the material. Ensure your paper is flat and stable to allow for smooth pencil movement during both ordinary and blind contour attempts.
What if my blind contour looks messy?
Messy results are normal and expected. Blind contour intentionally avoids looking at the paper, so lines may not align perfectly. This is part of the process-based self-check. Compare your blind contour with the ordinary contour attempt to observe how attention affects line placement, rather than judging the final image as good or bad.
Can I try a real object afterwards?
Yes. The hand, leaf and mug line illustrations provide stable references for these sheets. Afterwards, try an everyday object you can keep still, or your own permitted image. Compare the observation process rather than expecting every object to fit the same outline.
Are the answers and editable files free too?
Yes. Every linked original worksheet, answer, PDF and SVG is free without signup. Individual SVG sheets stay editable; collection packs are PDF files. Analytics consent is not required to use the resources.
Optional Google Analytics helps us understand which free resources are useful. It is off until you allow it. Drawing tools and downloads work with either choice. Privacy details