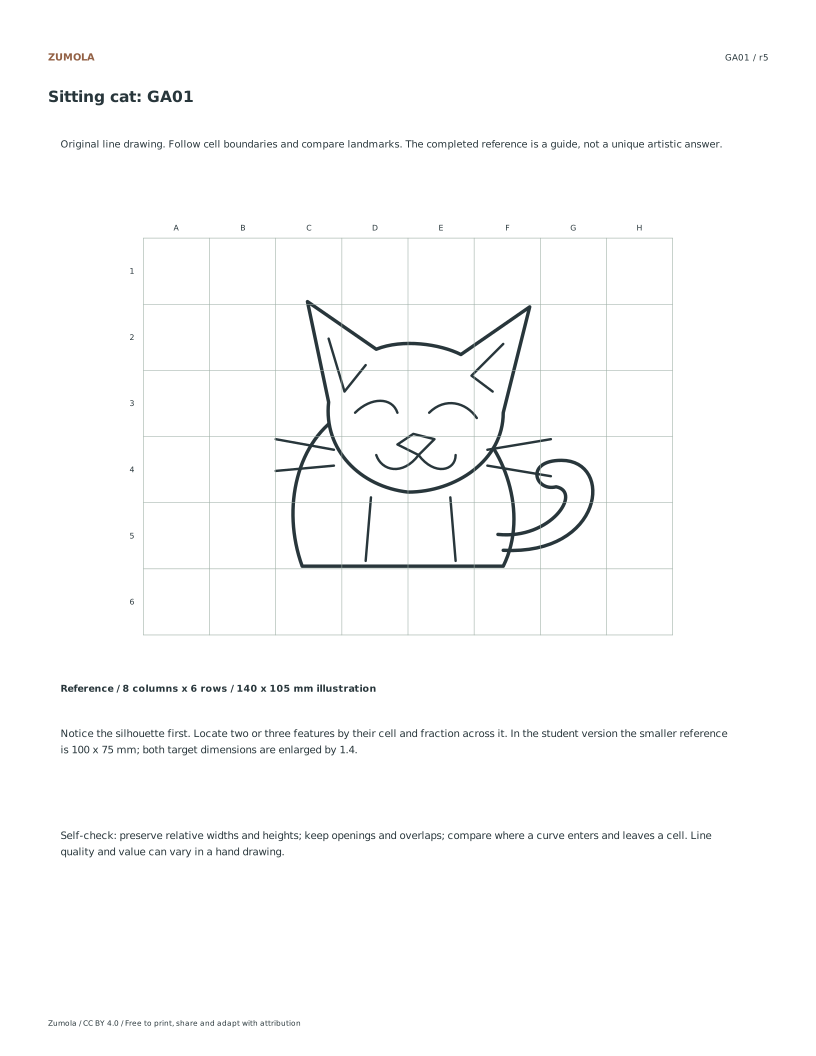
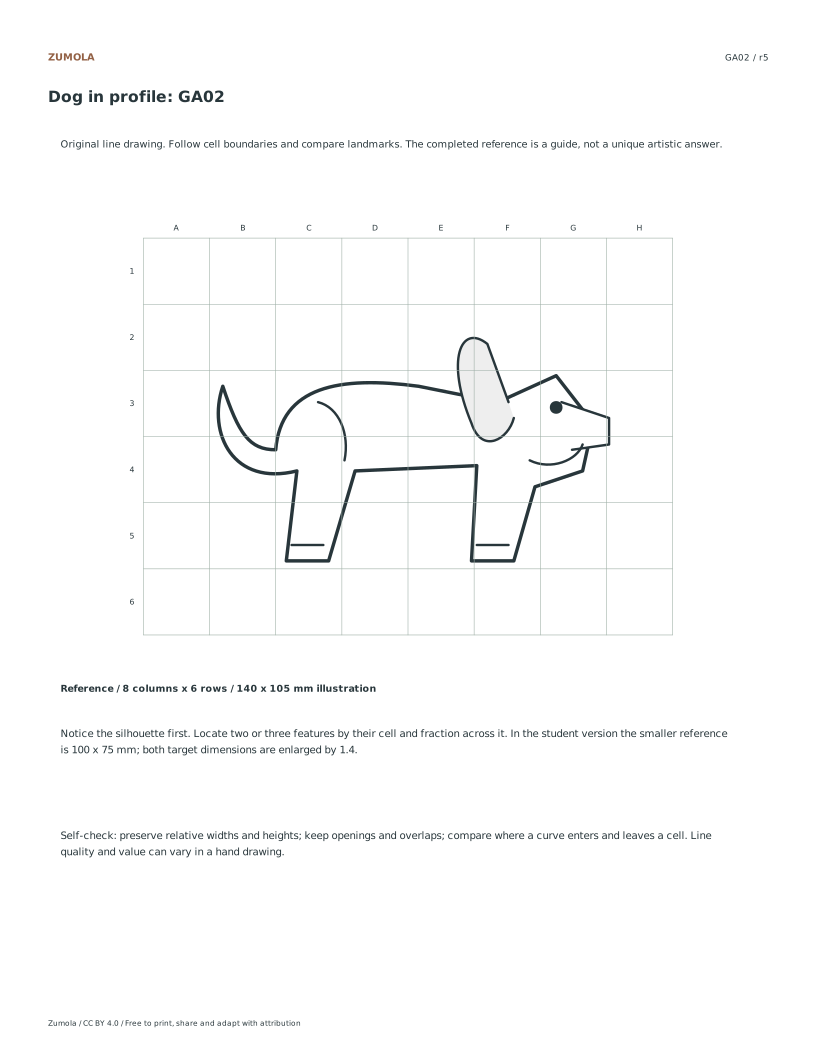
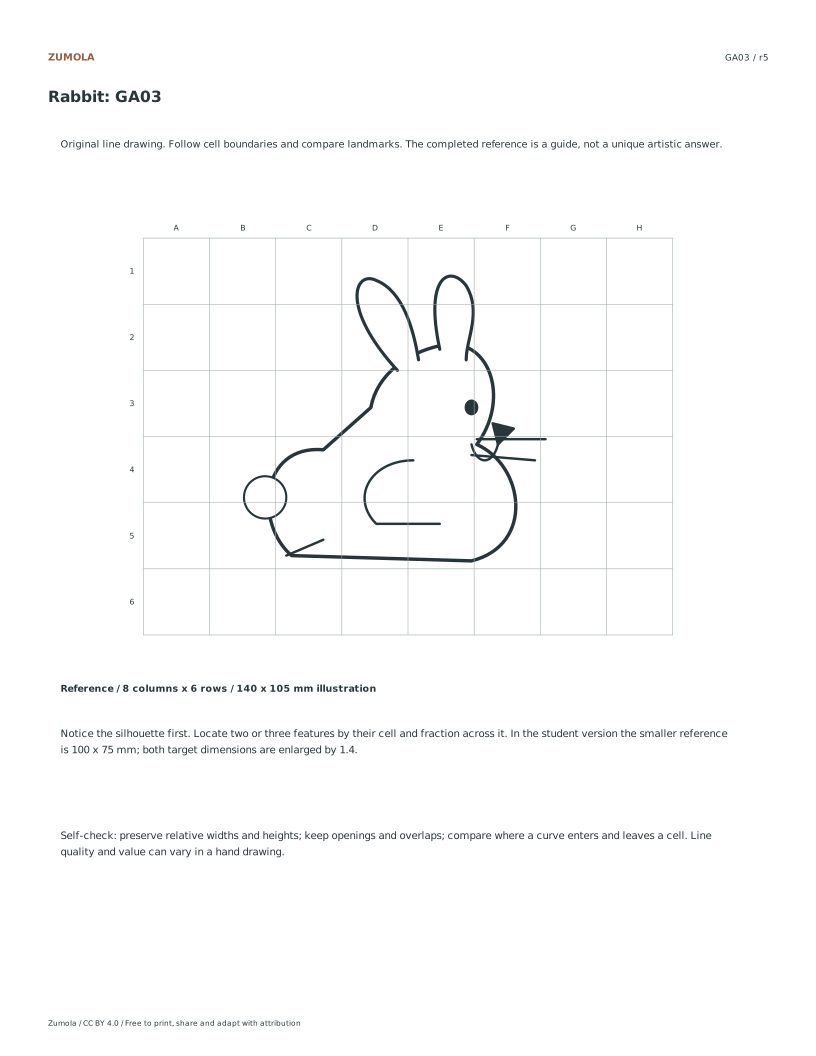
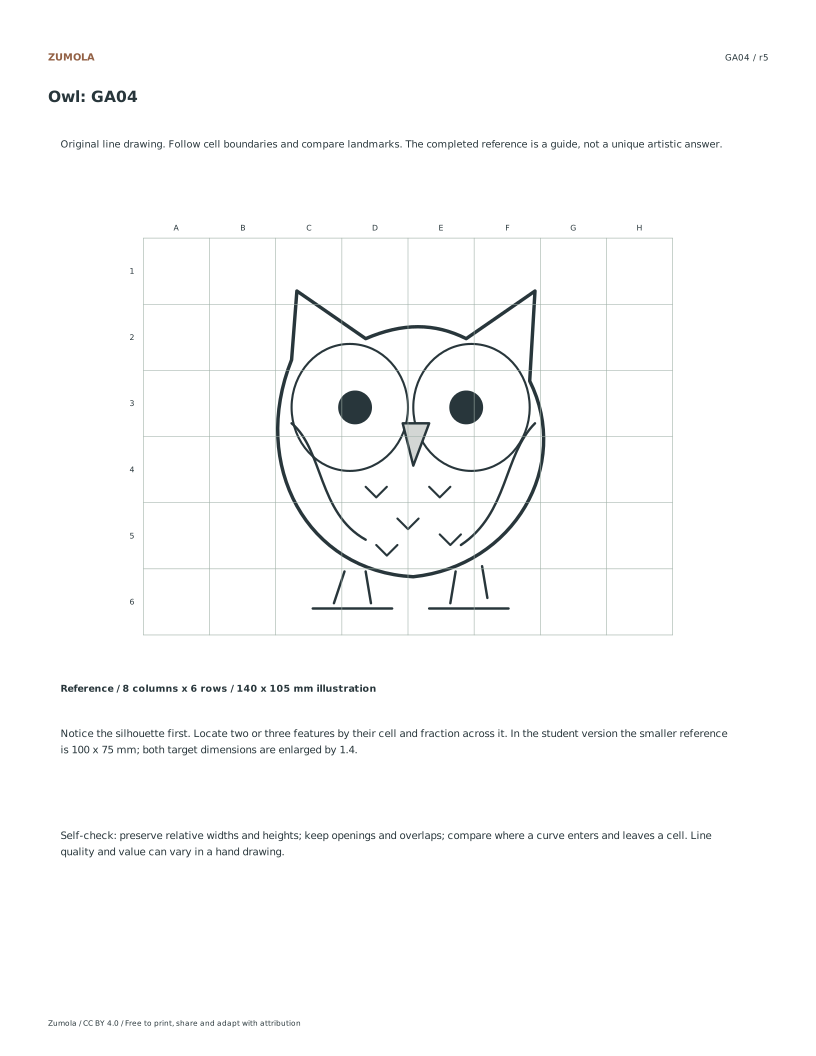
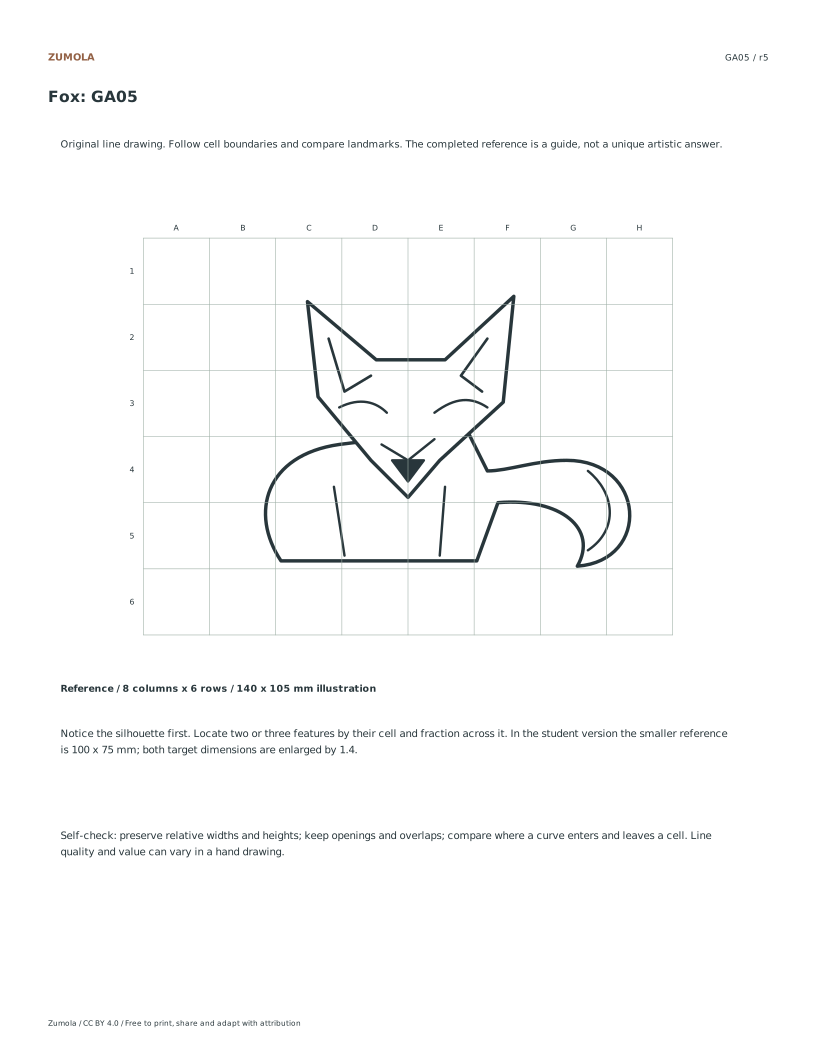
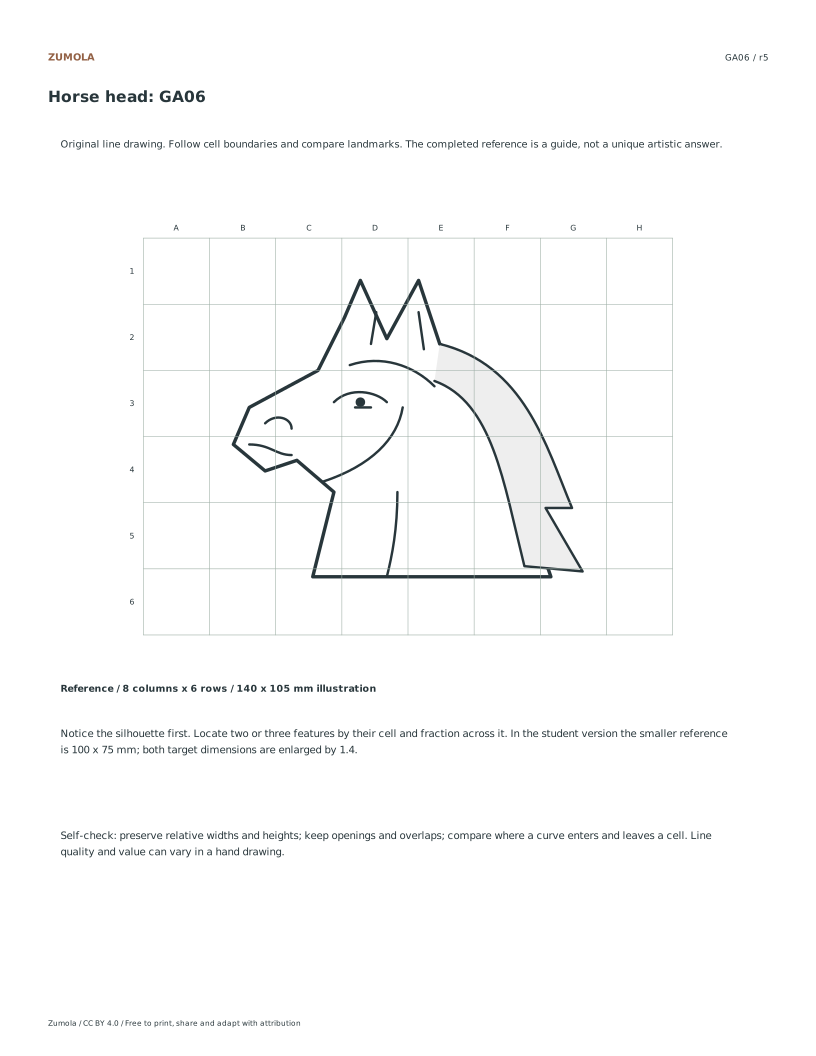
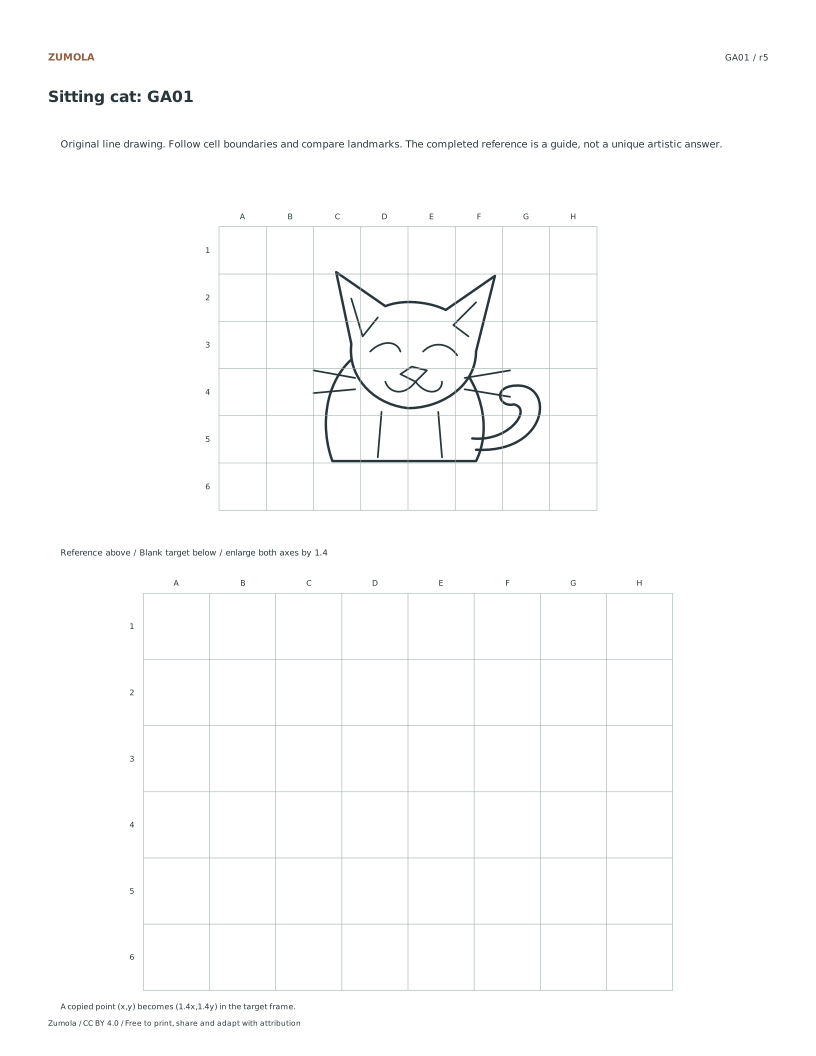
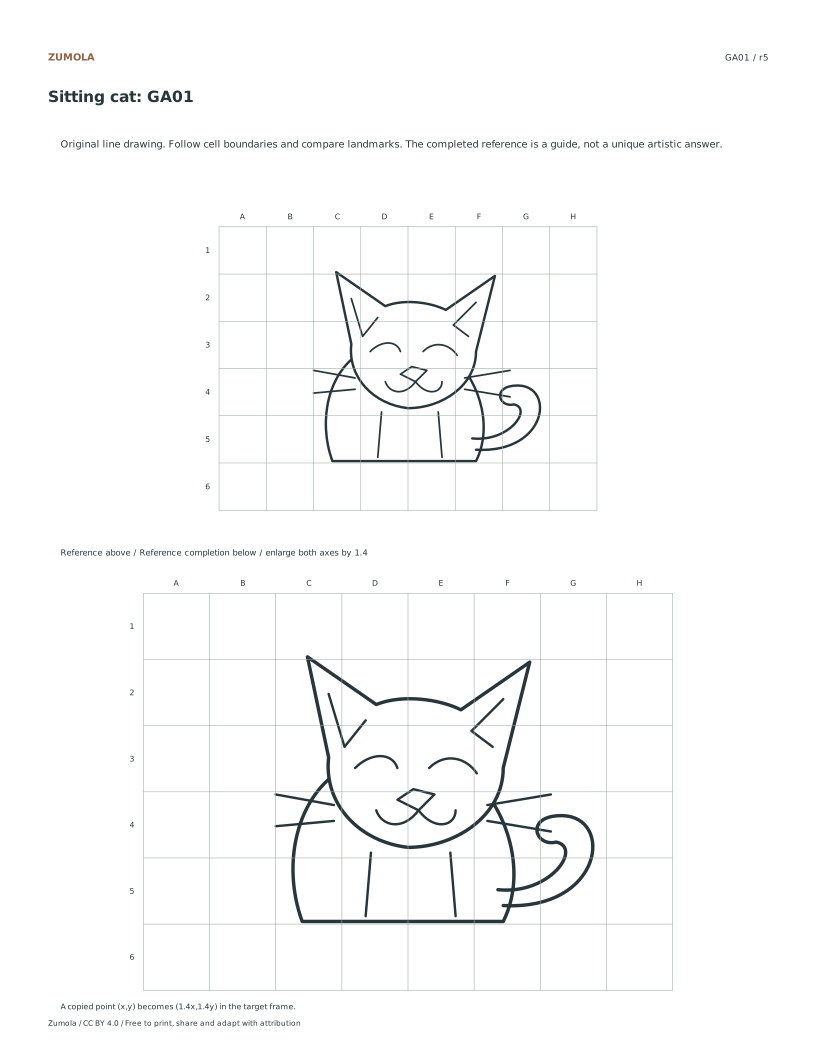
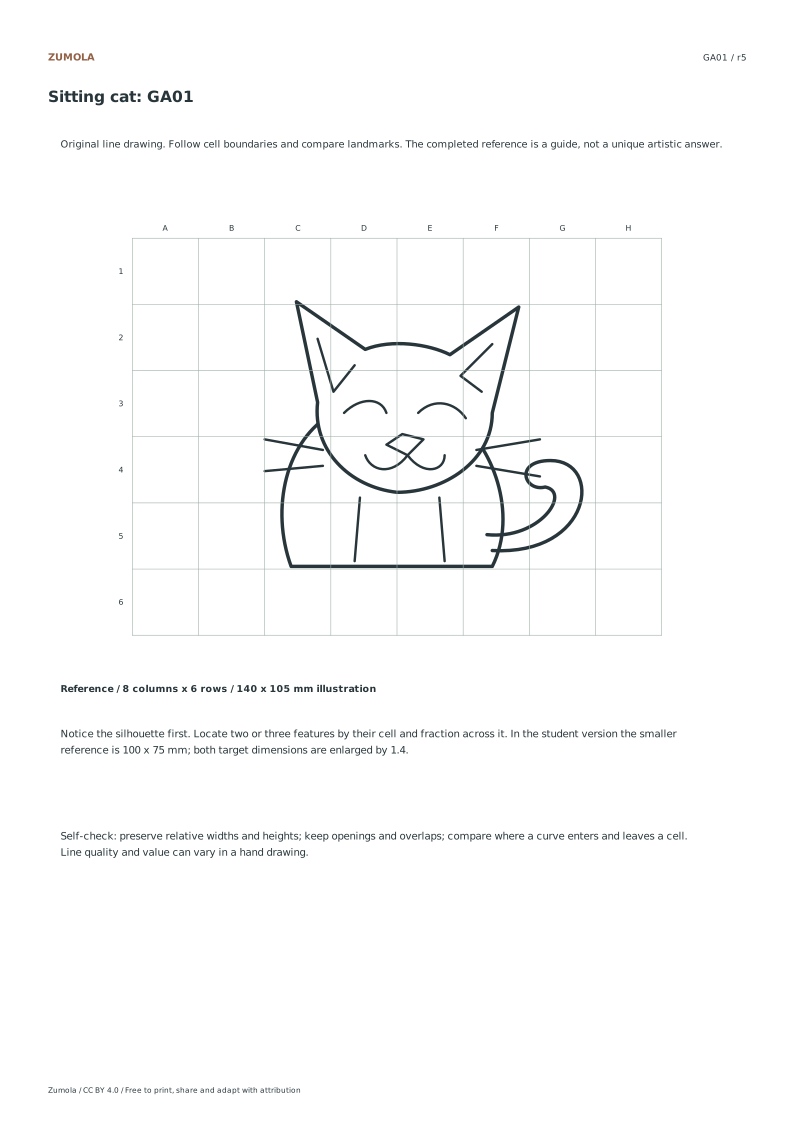
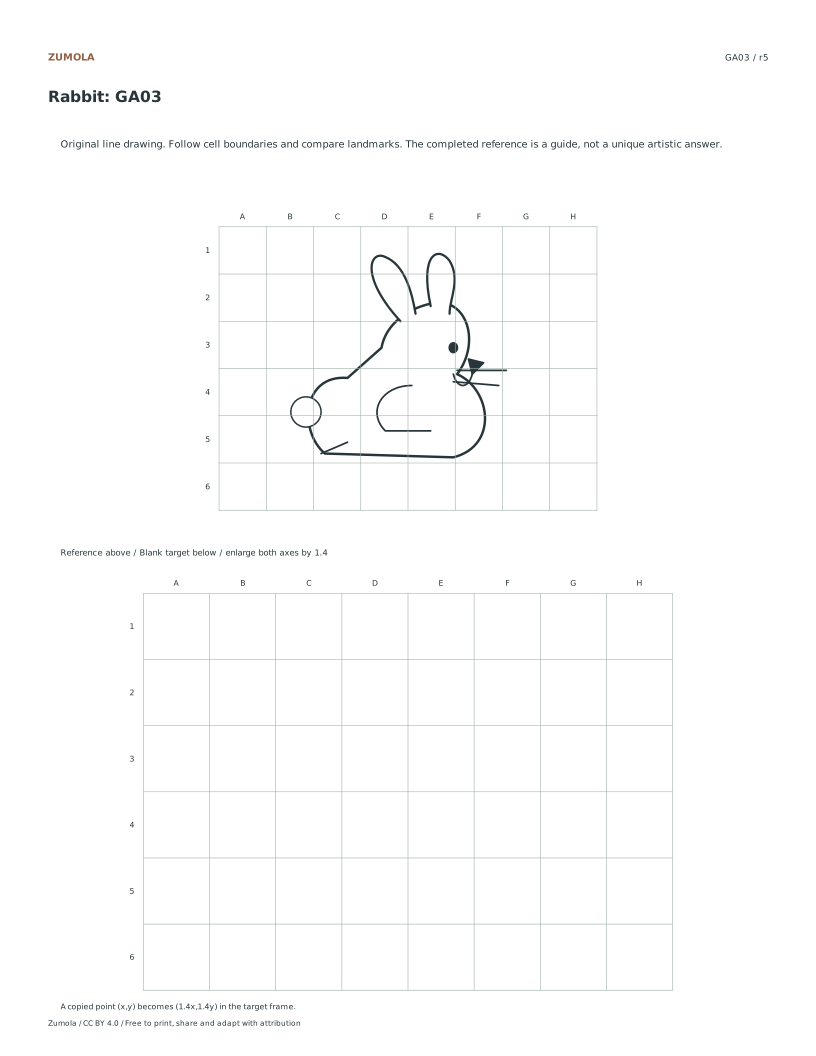
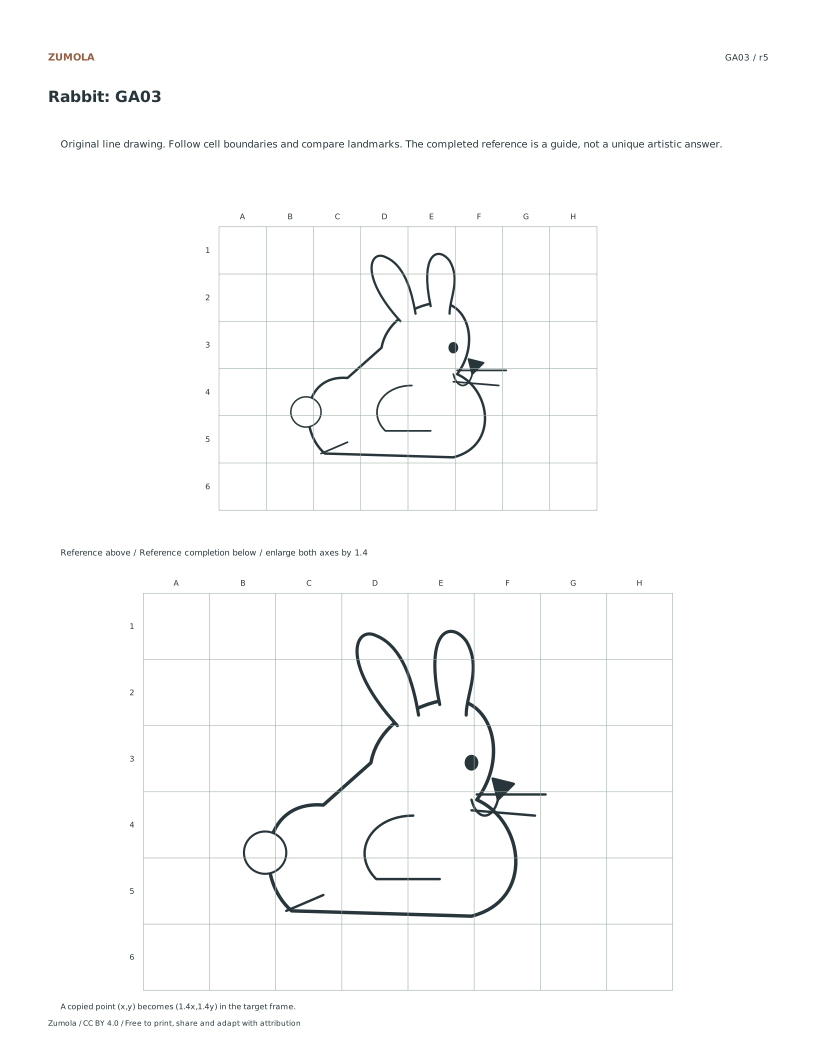
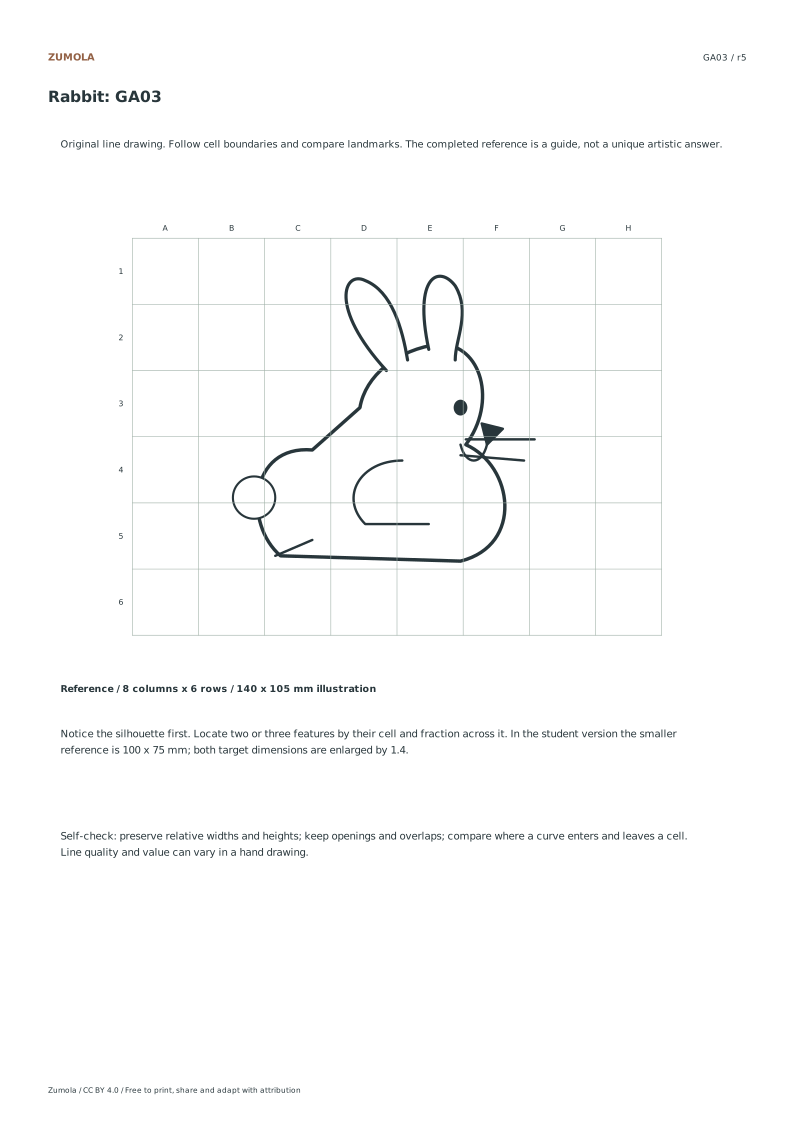
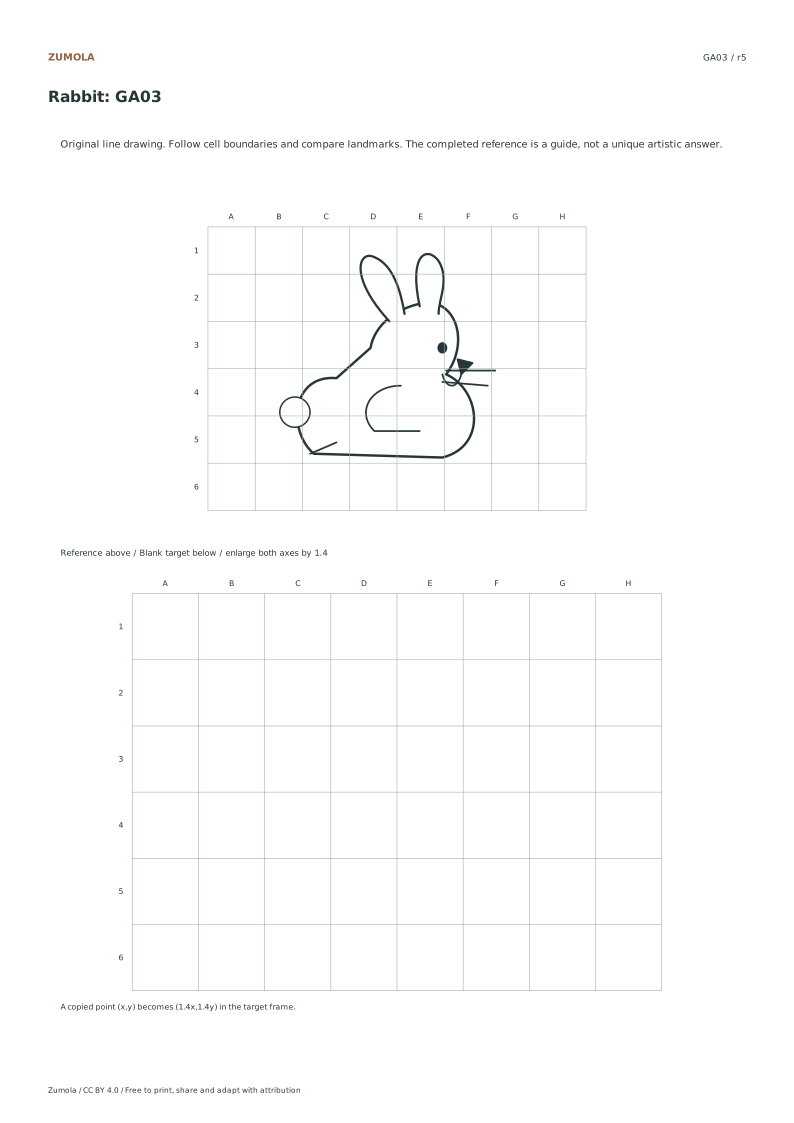
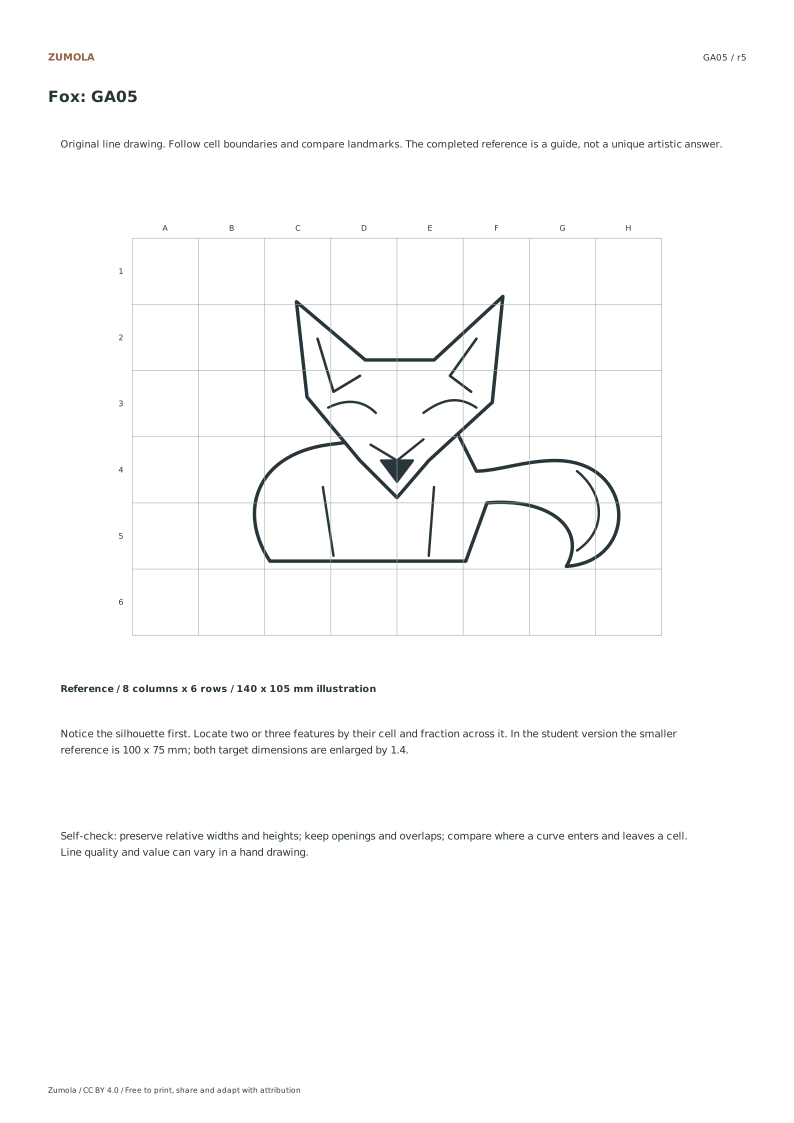
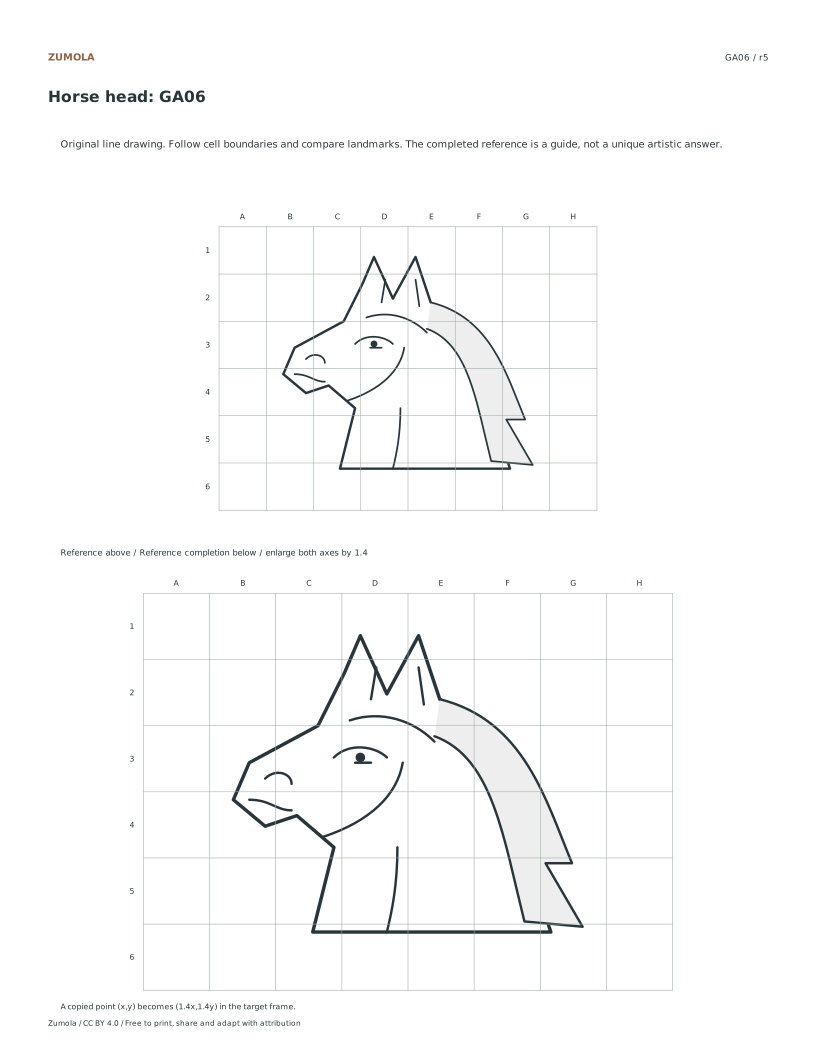
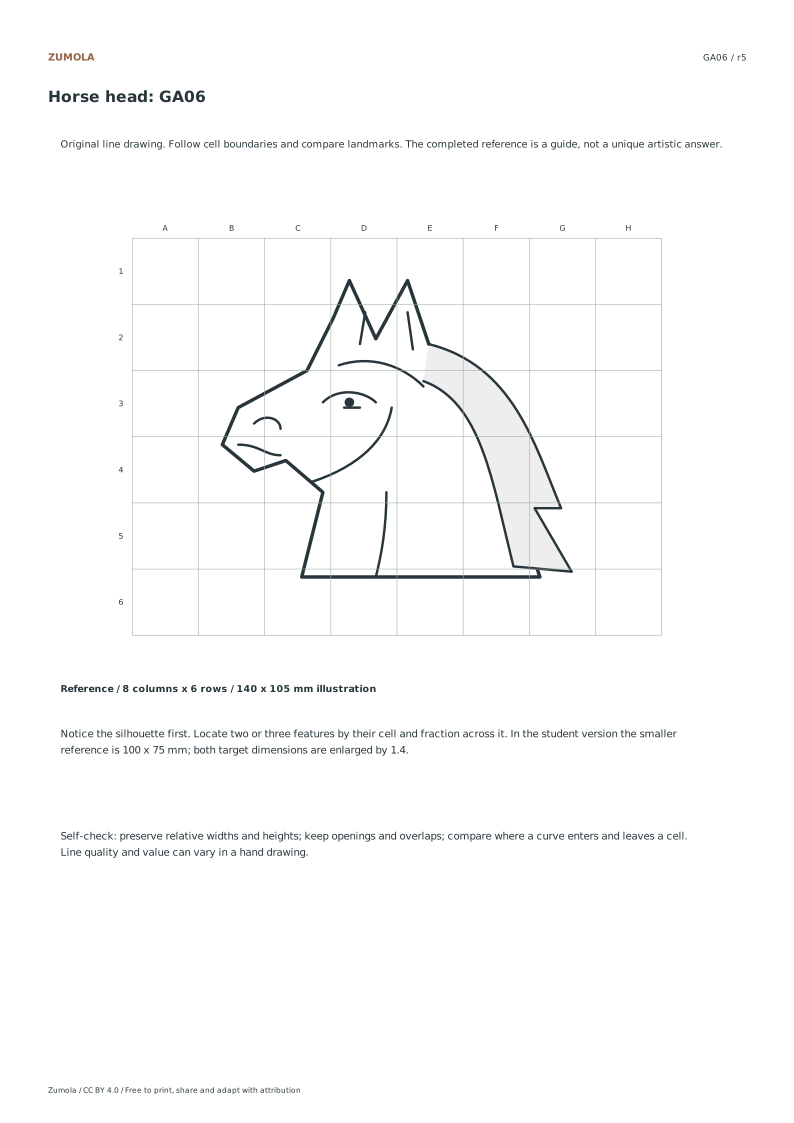
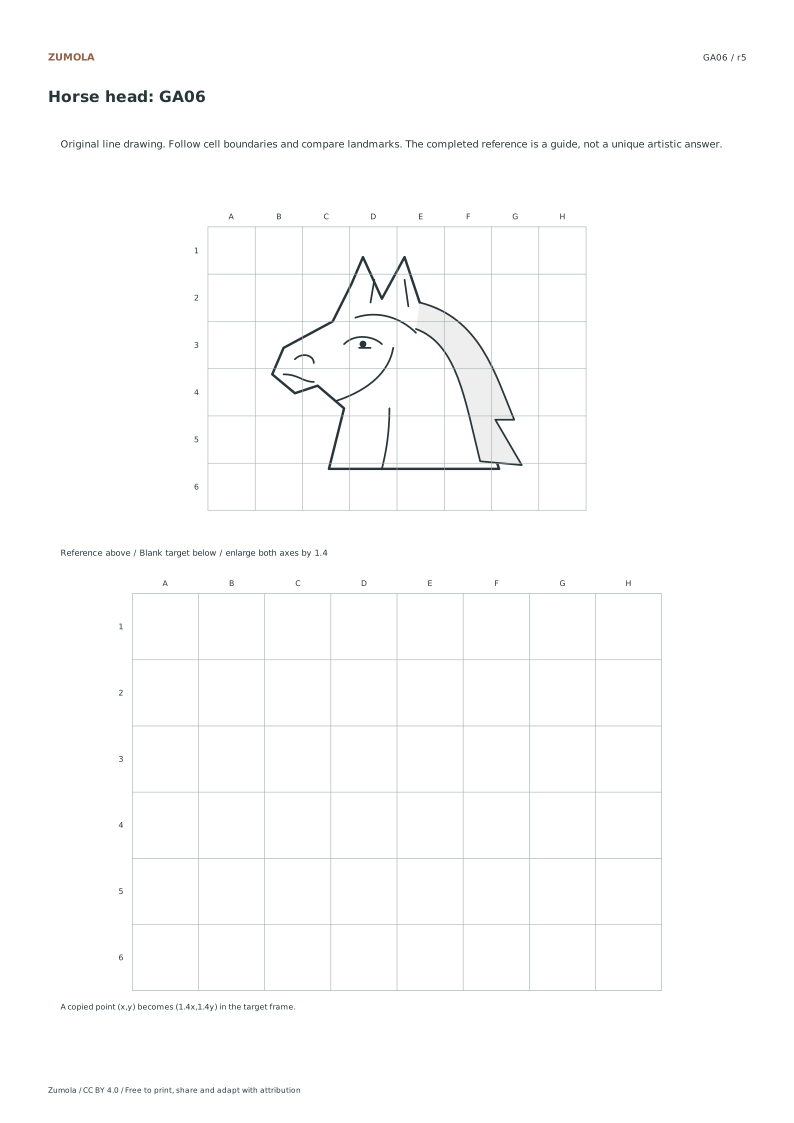
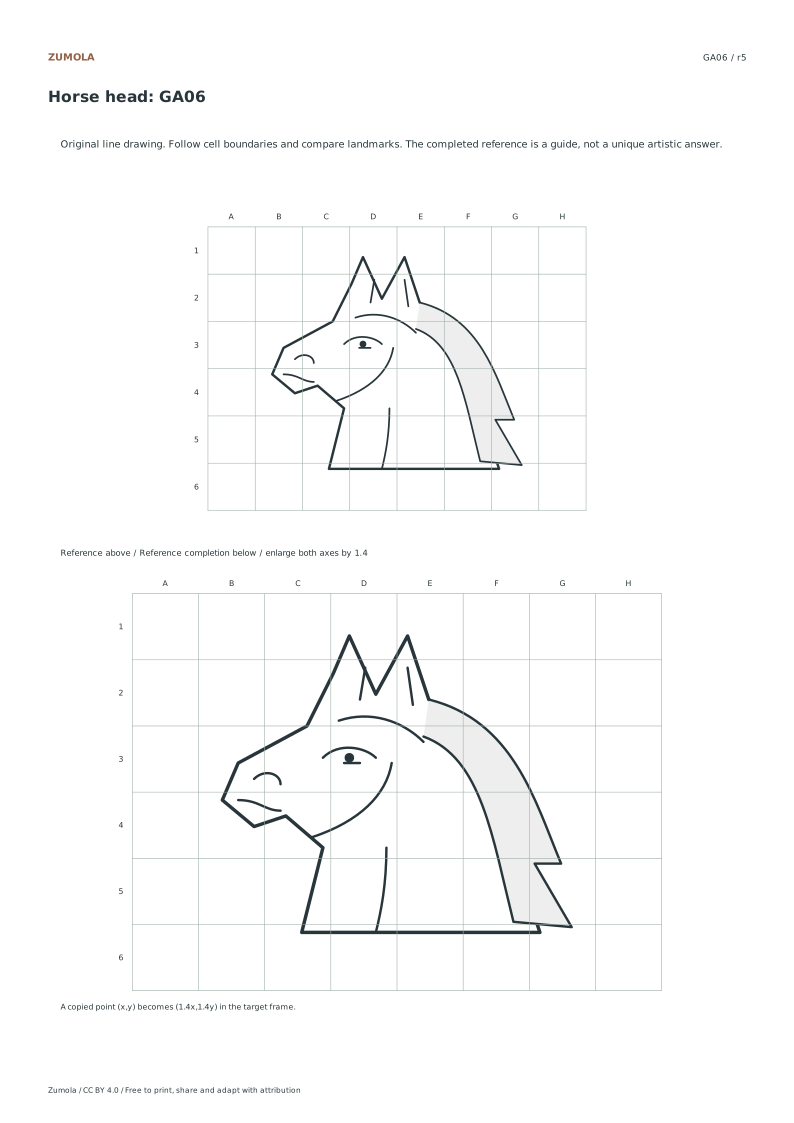
Animal grid drawing. Keep the silhouette together.
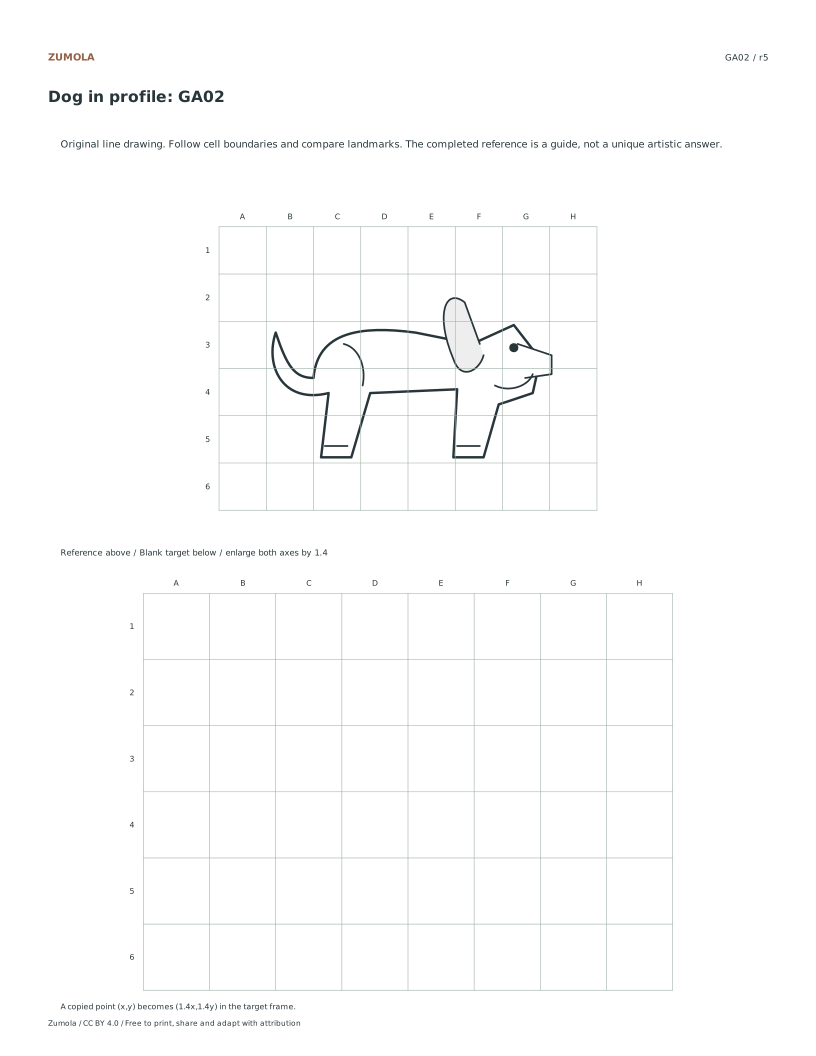
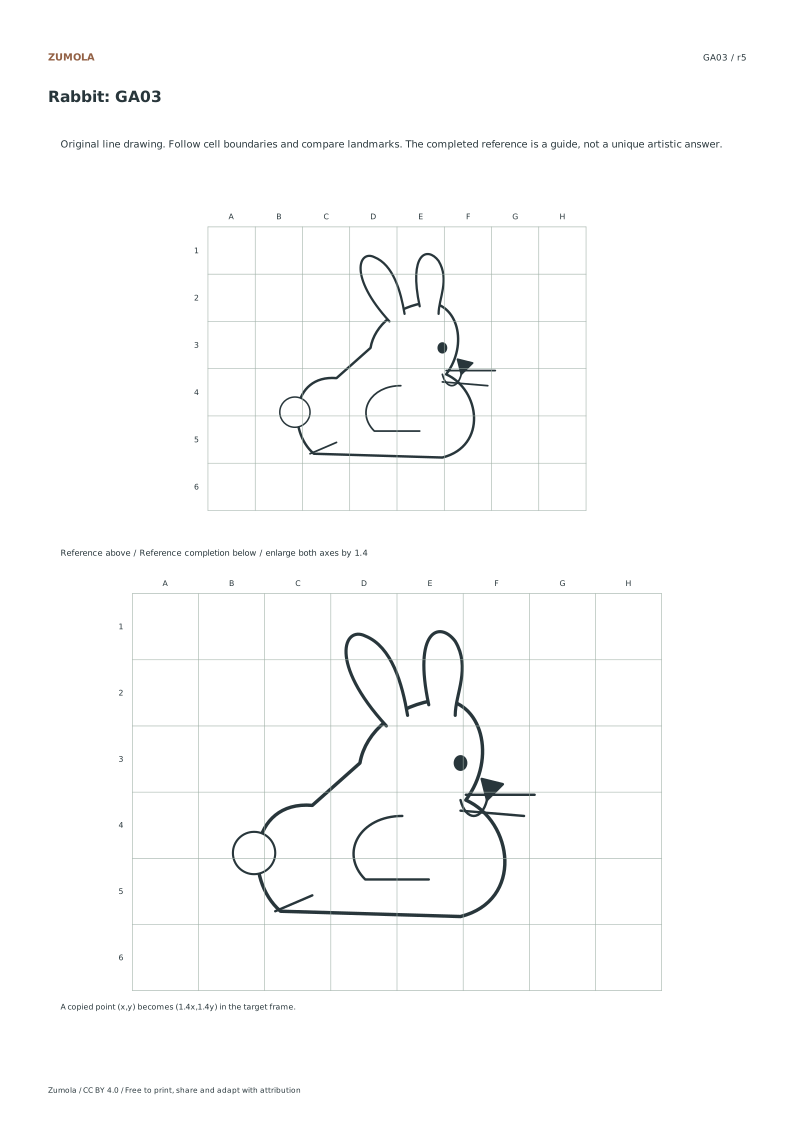
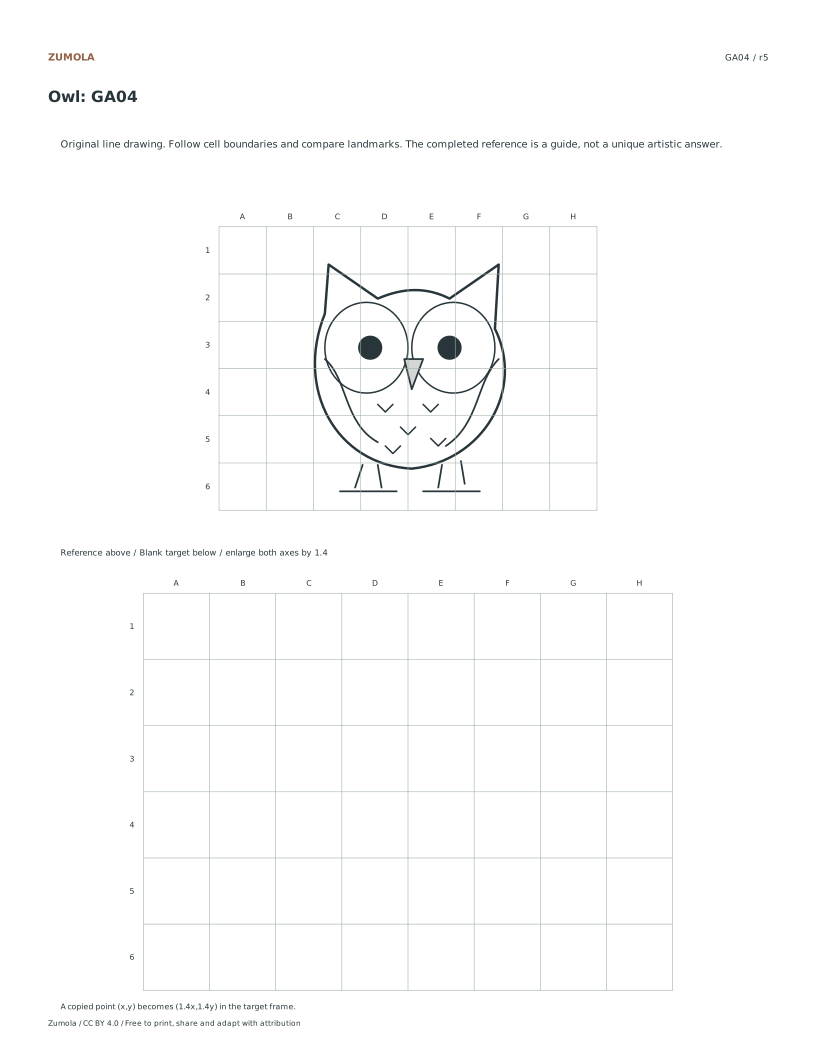
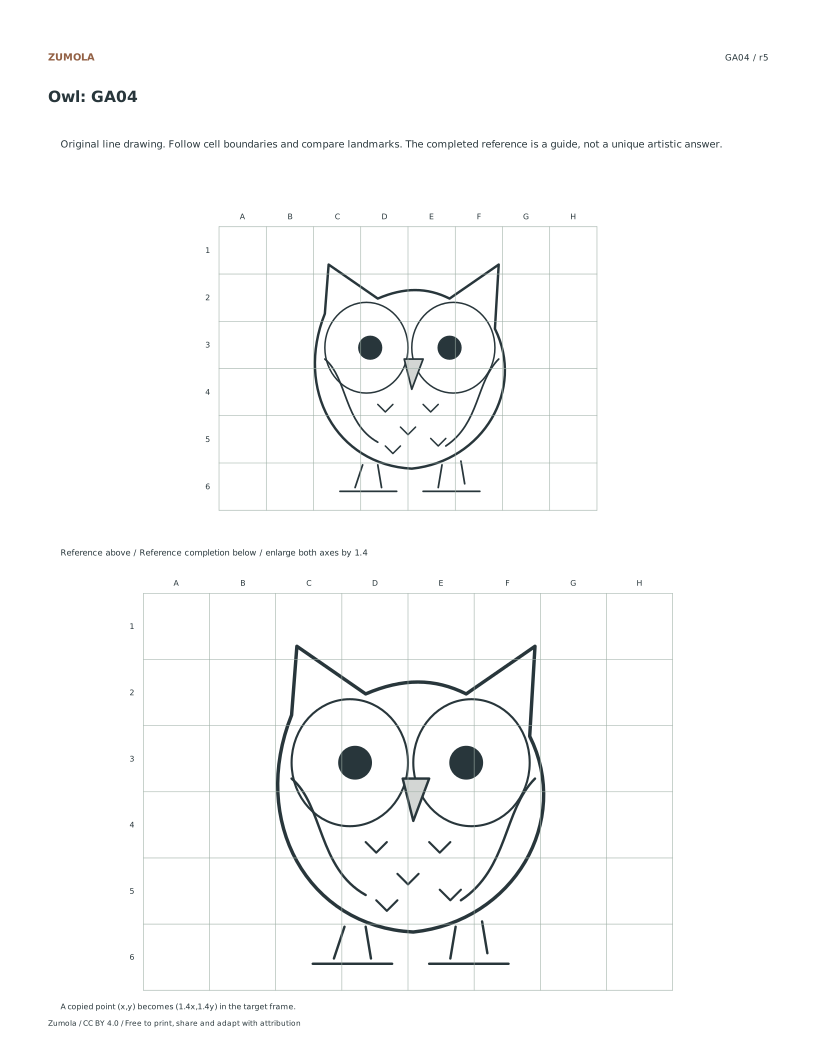
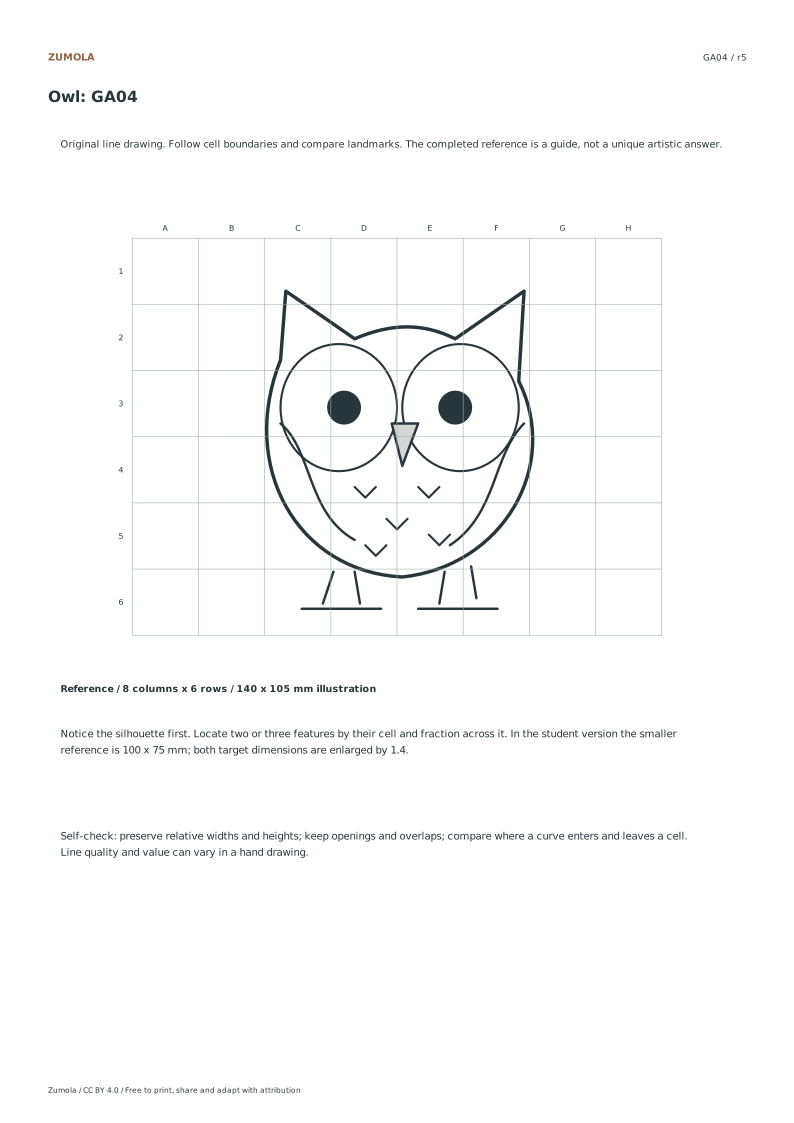
Observe six animal silhouettes, from a sitting cat to a horse head. Transfer relative positions, then compare ears, tails and the gaps between features.
6 distinct animal studies. Practice + reference completions.
A reference, a task and a way to check it
Observe six animal silhouettes, from a sitting cat to a horse head. Transfer relative positions, then compare ears, tails and the gaps between features.
Choose US Letter or A4 for prepared downloads. Original PDF and SVG files, worksheets and reference answers are free without signup. Collection packs contain the same individual pages in order.
Choose your paper and download
Download paper size
Every worksheet and answer is free. No signup.
The complete collection
Keep practice and answers separate.
Use the student pack first, then compare the reference or answer. Packs are PDFs; individual sheets below also include editable SVG files. The paper choice applies to every download.
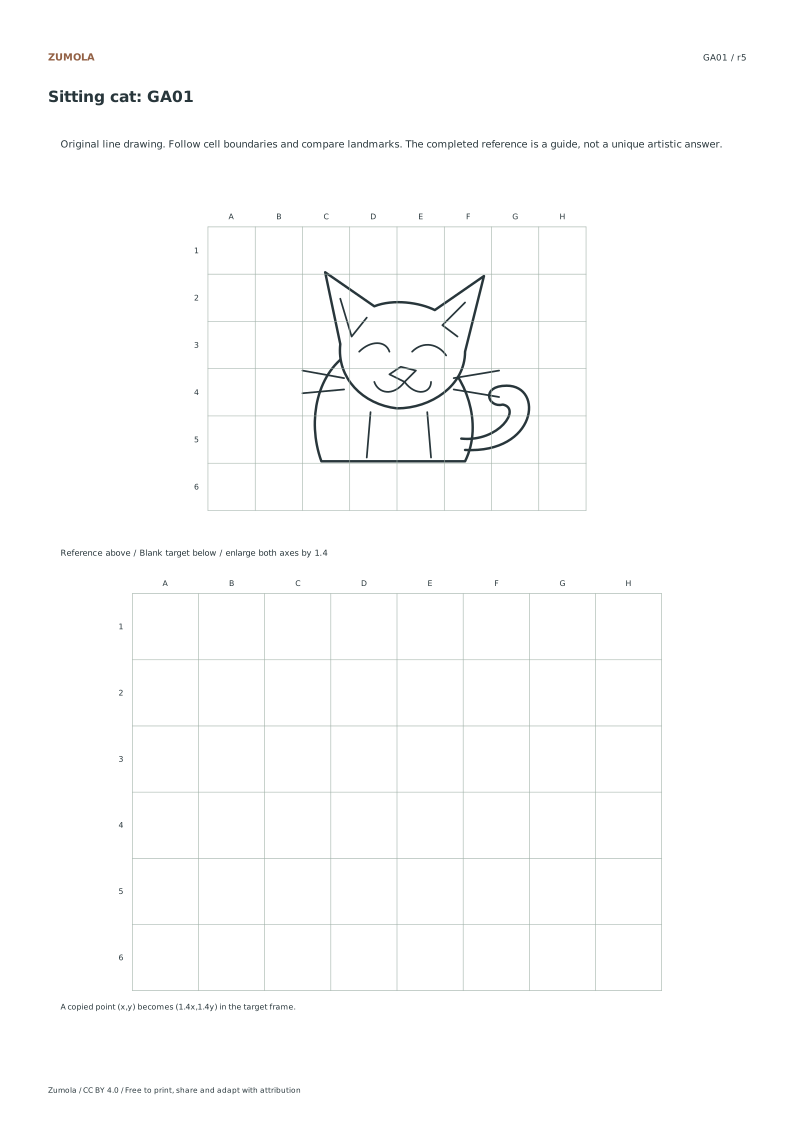
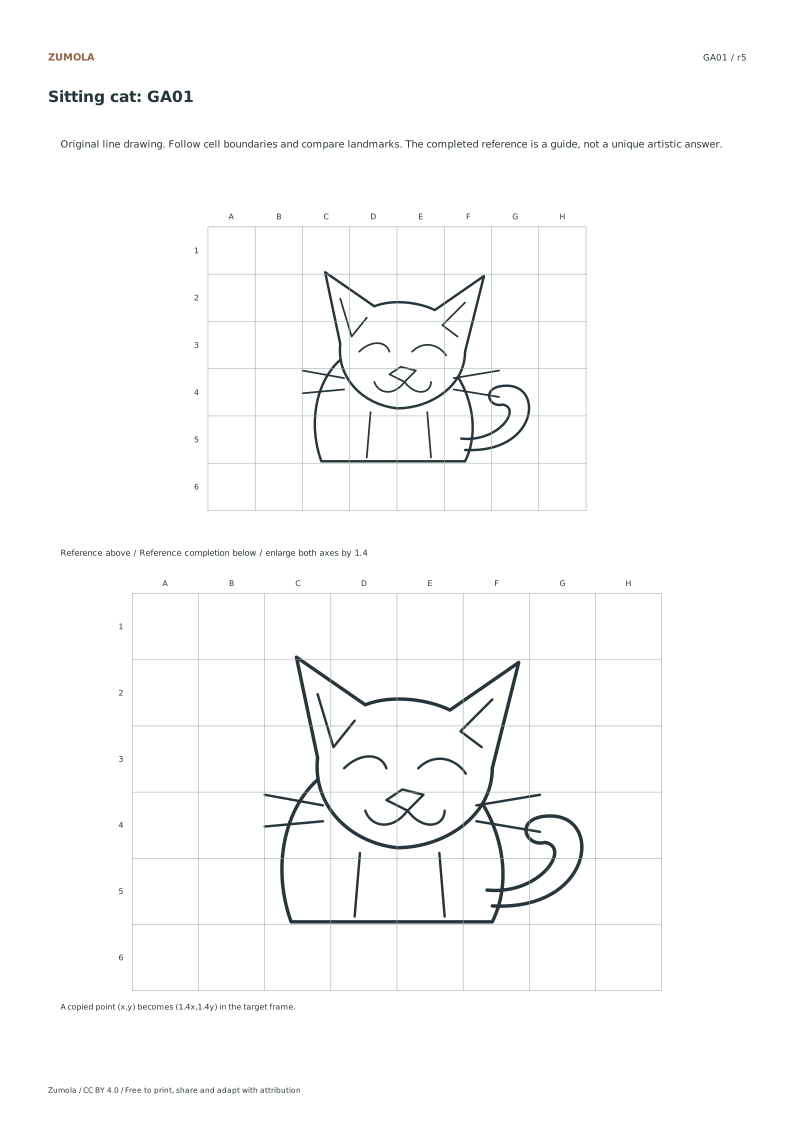
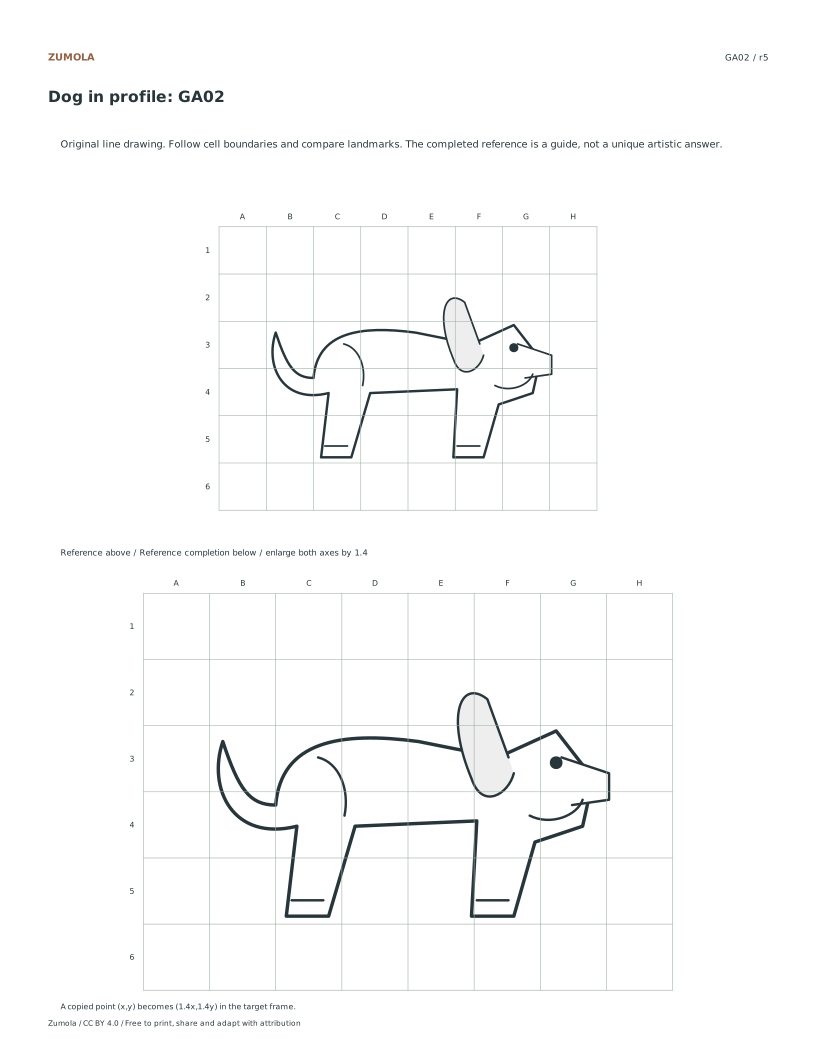
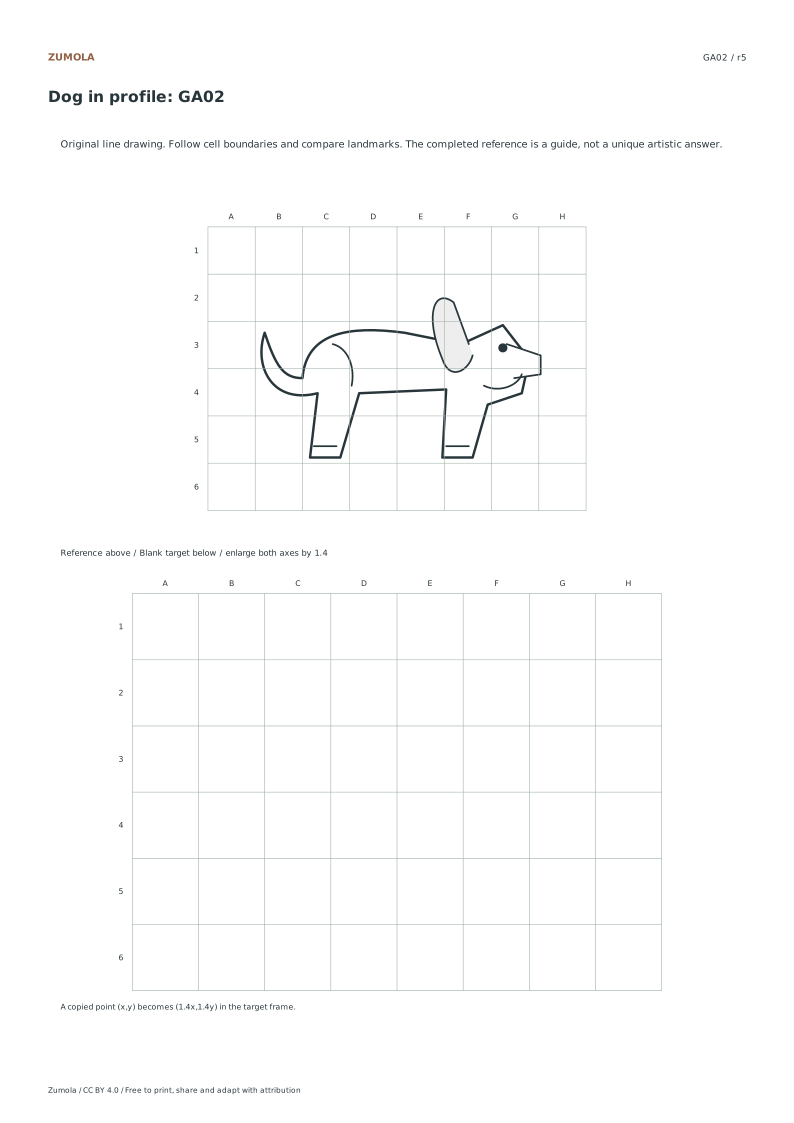
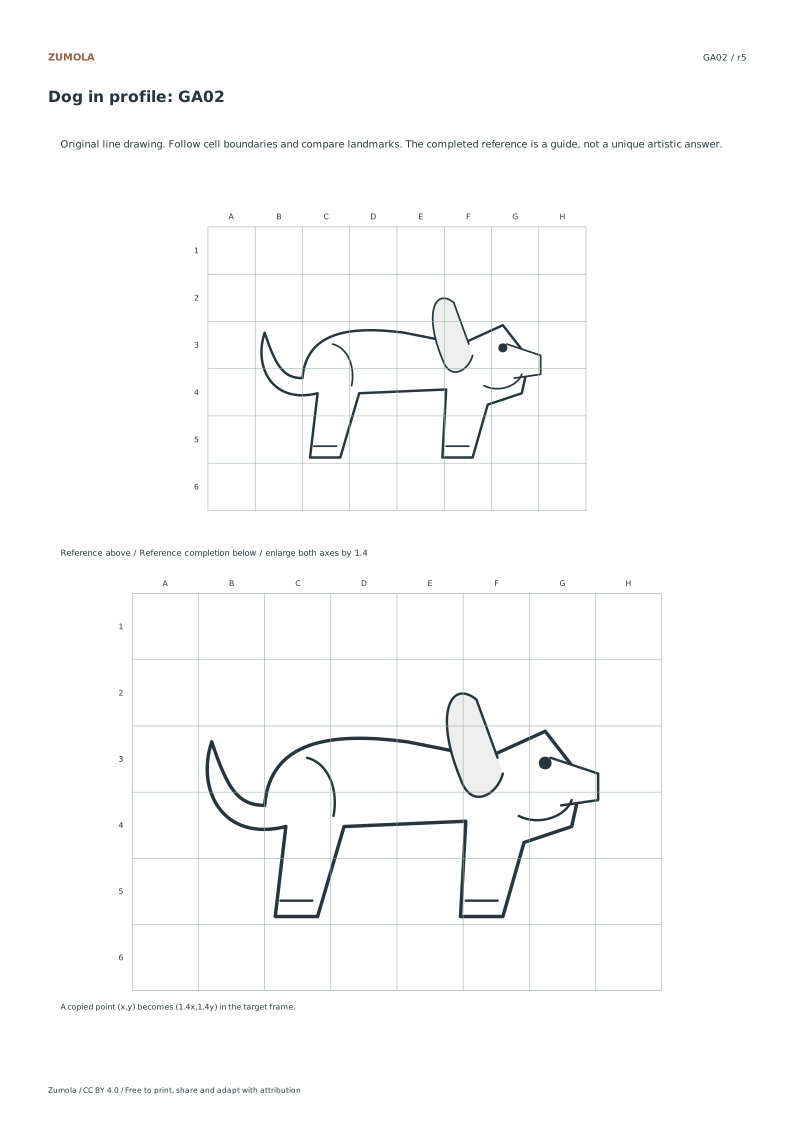
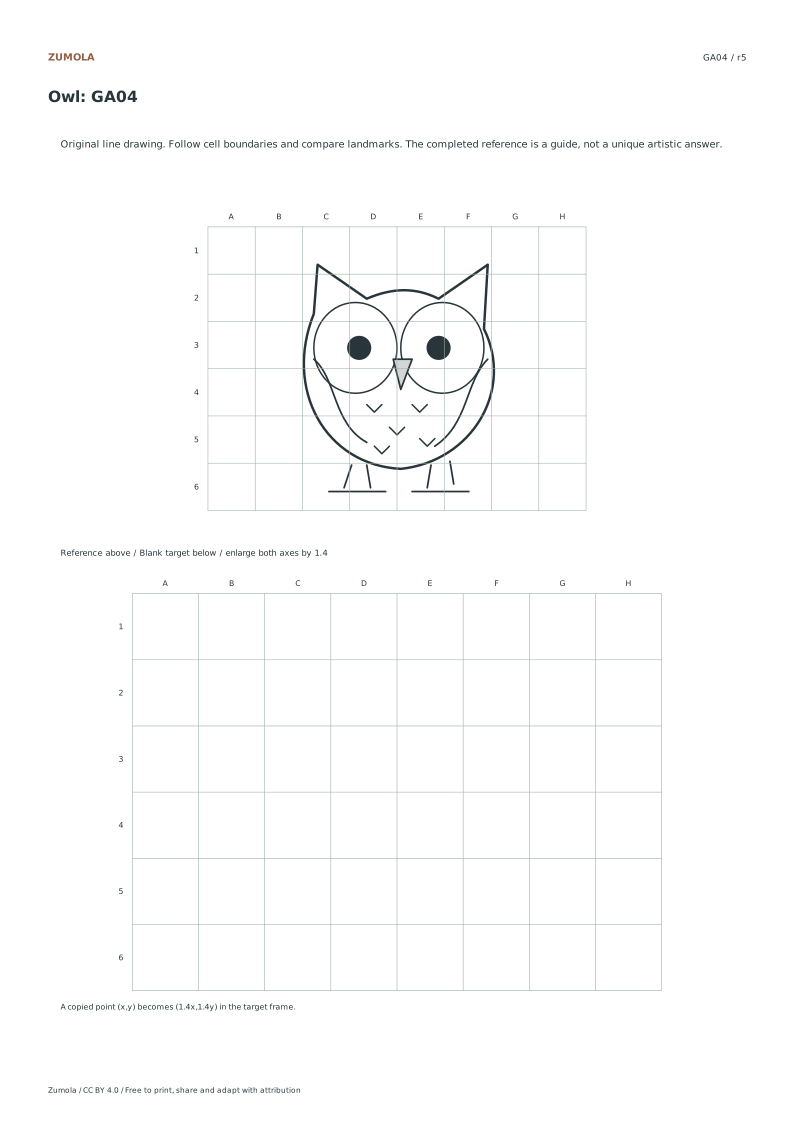
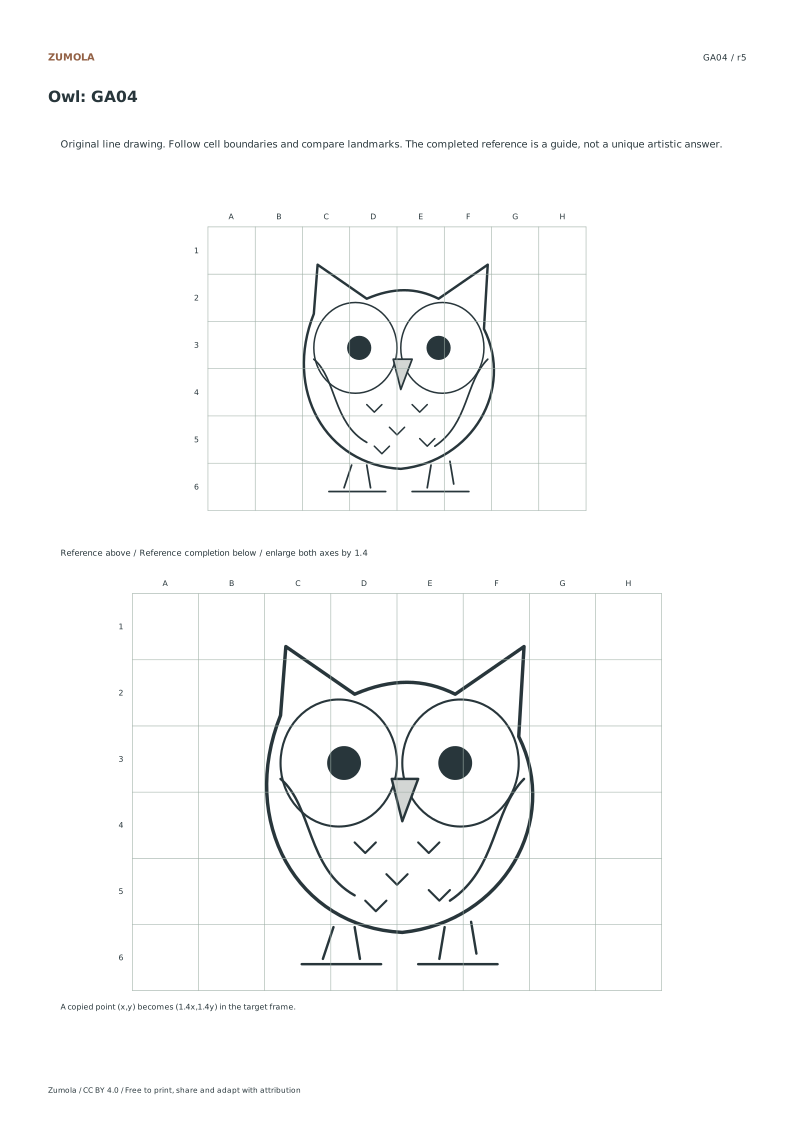
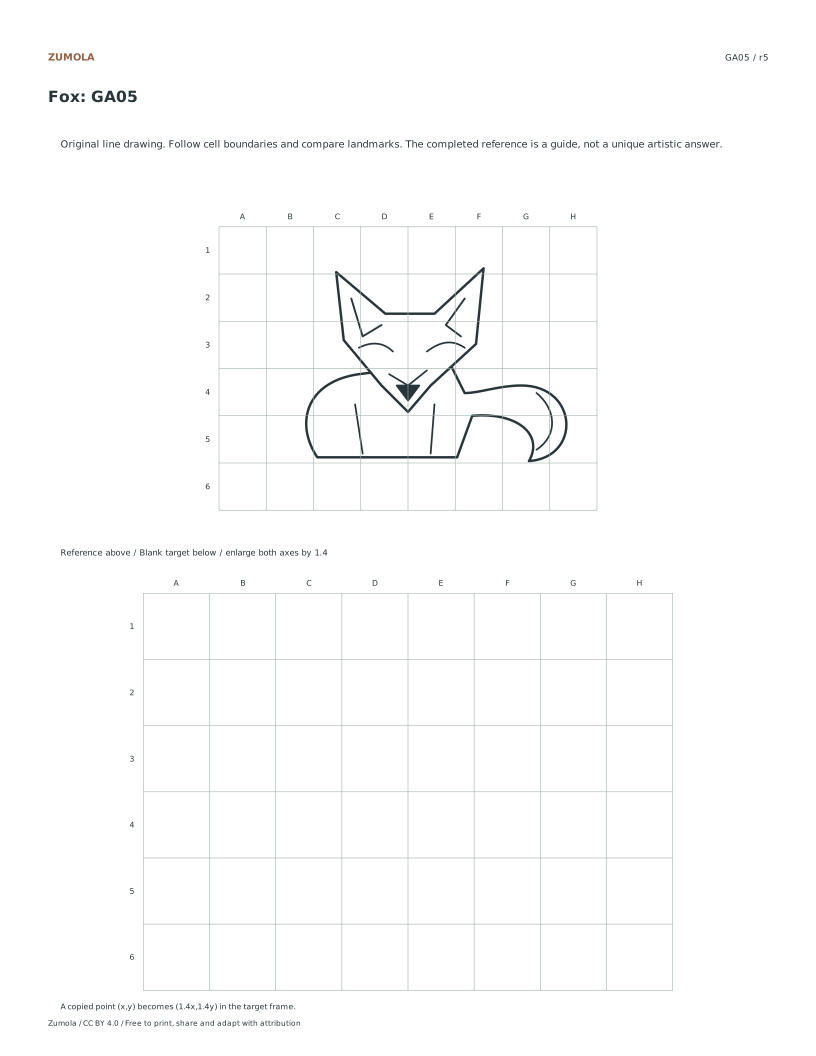
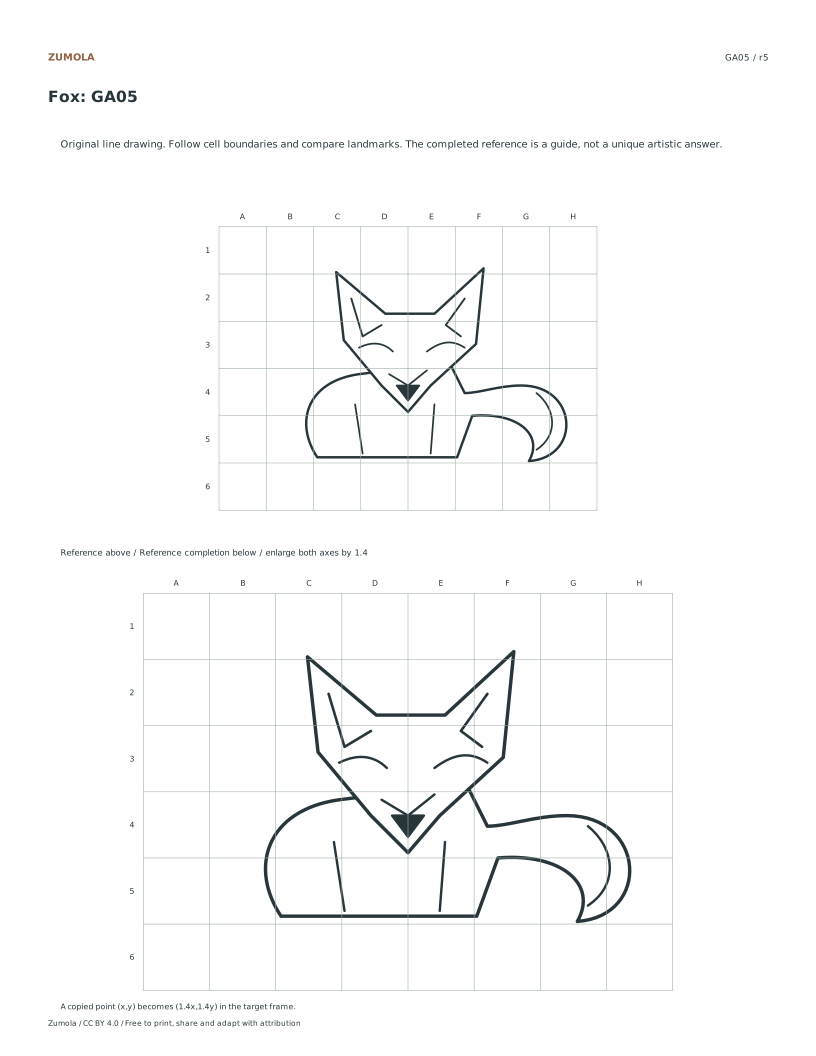
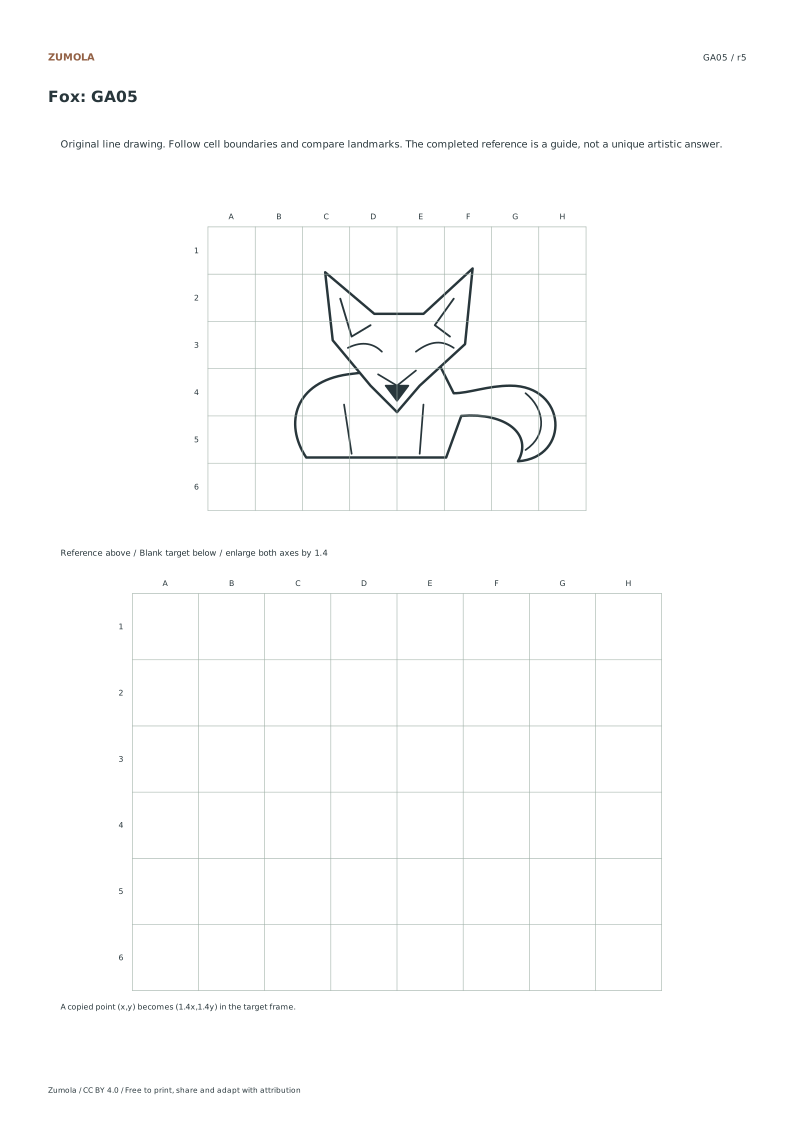
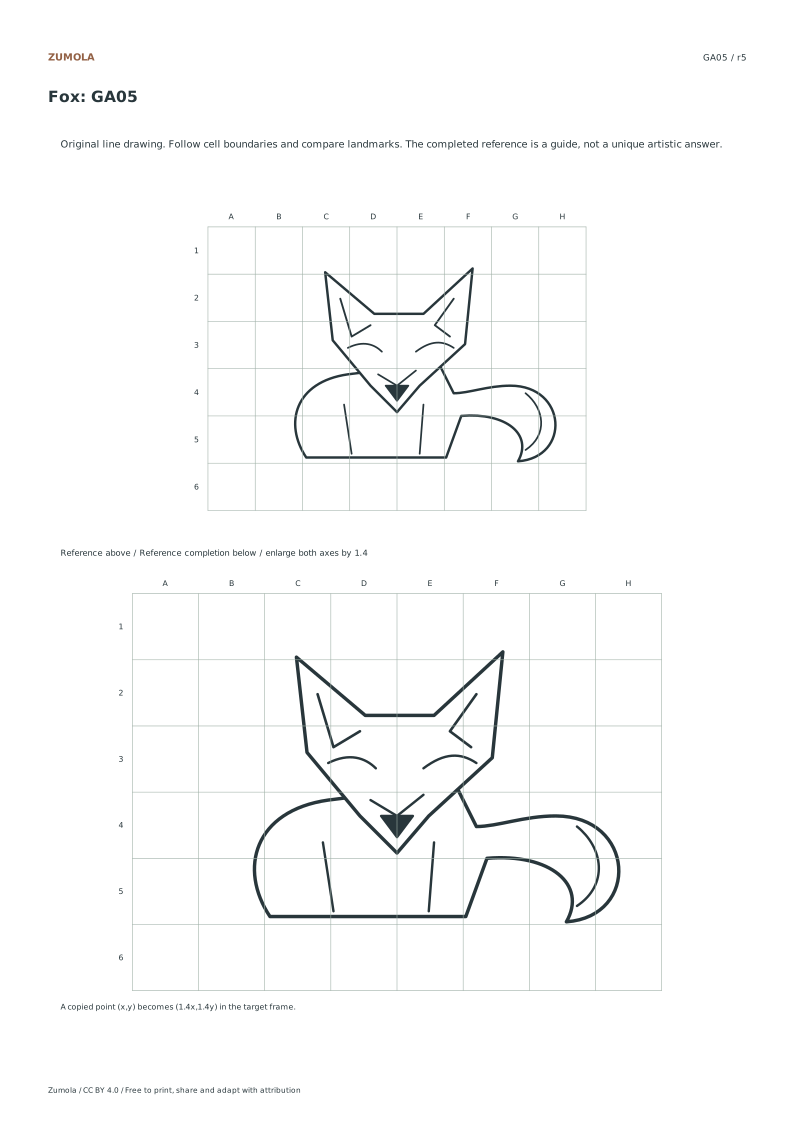
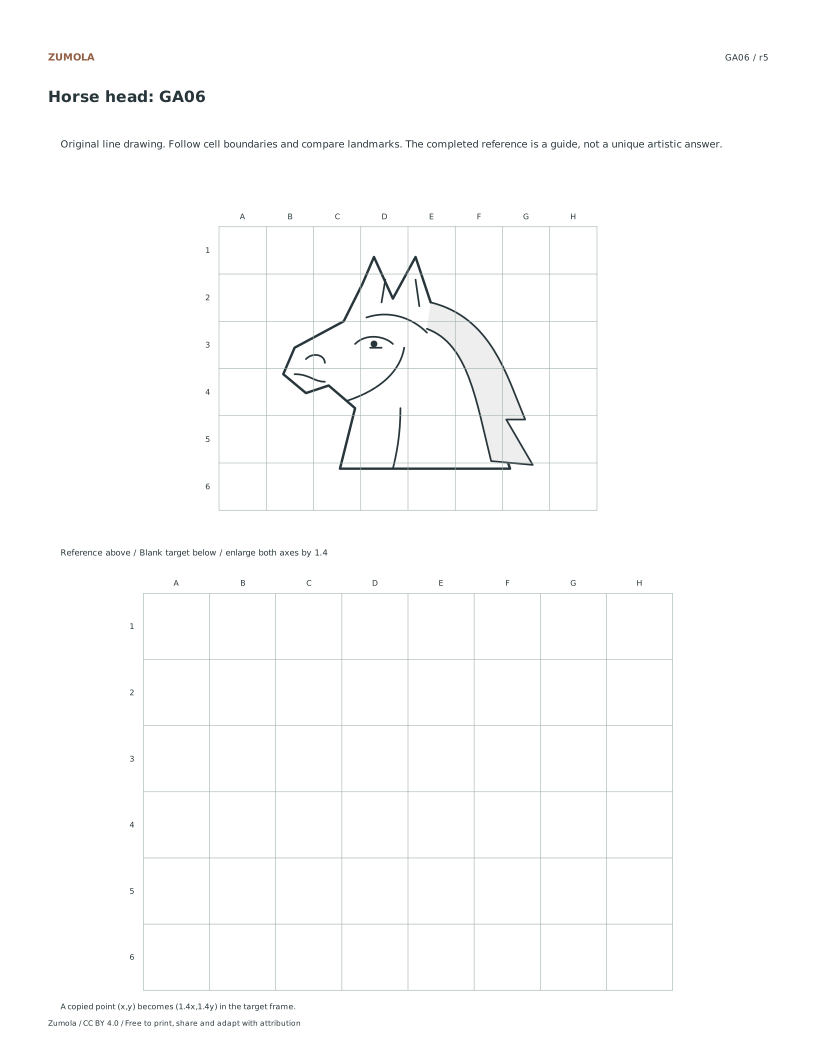
On every student page, the top reference uses 8 × 6 cells at 12.5 mm per cell, for a 100 × 75 mm illustration. The lower target uses the same number of cells at 17.5 mm, giving 140 × 105 mm. Both length ratios equal 1.4. A point halfway across a reference cell belongs halfway across its matching target cell; row and column locations do not change.
Use the student pack for attempts and keep the completed-reference pack separately. Each pack repeats its individual pages rather than adding more subjects. Compare the outer silhouette first, then two or three internal landmarks and the gaps between them. A hand rendering can differ in line quality while retaining the mapped relationships. The supplied drawings are original stylized studies, with no photographs, identified portrait subjects or copied character art.
Work through the page
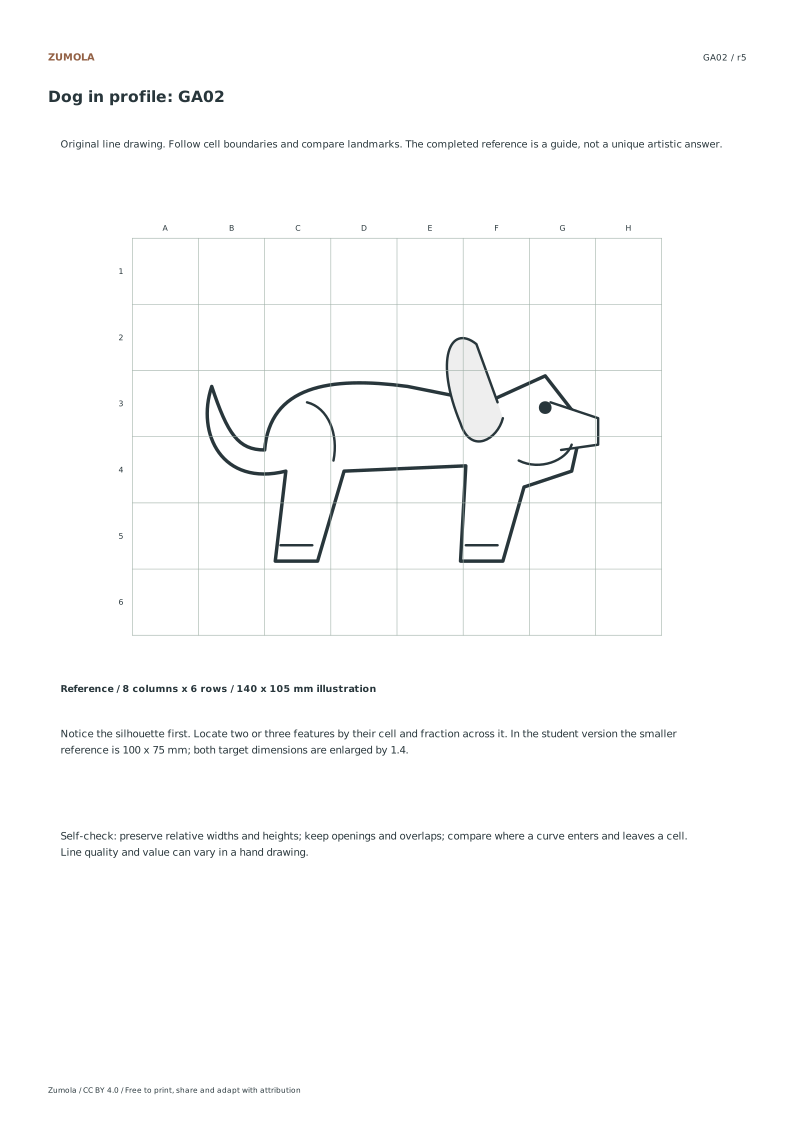
Grid Alignment Setup Open a student page for one animal. The smaller reference is 100 × 75 mm and the lower target is 140 × 105 mm, both divided into eight columns and six rows. The standalone reference file instead shows a larger completed model. Start with two widely separated points on the silhouette, then check the space between them before adding eyes, whiskers or feather marks. Keep the row and column addressing consistent from top left to bottom right. A reference cell and its target cell correspond by position, even though the target cell is larger. Avoid turning individual fragments to make them look familiar.
Feature Preservation Technique Focus on maintaining the distinct silhouettes and inner features of each animal model. The six original line drawings, including the sitting cat and owl, rely on specific negative gaps to define shape. When copying, observe how the fox tail curves against the body and how the horse head maintains its profile. Avoid rotating individual grid cells, as this breaks the spatial relationship between features. Instead, copy each cell exactly as it appears in the reference. This method ensures that the illustrative observation models remain true to their original design, allowing you to practice accurate visual translation without altering the intended artistic structure or losing critical detail.
File Format Selection Use a PDF matching the paper in your printer to keep the file dimensions predictable. Individual SVGs remain useful when editing vector lines or grid placement; the collection packs are PDFs containing the same single pages. Actual size retains the stated 12.5 mm and 17.5 mm cells. A uniform Fit operation may retain their relative ratio while reducing both physical sizes. Cropping can hide a boundary, and unequal scaling can change the silhouette. These are stylized observation references for a cat, dog, rabbit, owl, fox and horse head; they are not a guide to animal anatomy or species identification.
Checks that catch common errors
Watch for
Check instead
Rotating individual grid cells to fit the drawing space.
Copy each grid cell exactly as it appears in the reference without rotation to maintain spatial accuracy.
Using different scale factors for the x and y axes.
Apply a uniform 1.4 enlargement ratio to both axes to preserve the correct proportions of the animal silhouettes.
Ignoring negative gaps between animal features.
Pay close attention to the empty spaces around ears and tails, as these define the shape and silhouette integrity.
Match the file before printing
Print the PDF matching the paper in your printer at Actual size / 100% if you want to retain the millimeter dimensions defined in the file. Turn off Fit and Shrink when those dimensions matter. Uniform resizing preserves relative image proportions and angles but changes physical lengths. Unequal resizing can distort both. SVG editors and browser print dialogs can also change scale, so measure a physical calibration span when the task relies on size.
These files have digital geometry and layout checks. Physical printer testing has not been completed. Complete a student page before comparing the worked answer or reference illustration. A geometric or counting result can be exact, while a hand drawing can vary in its marks and interpretation. The original resources use CC BY 4.0: credit Zumola, link the license and indicate changes.
Useful answers
Are these drawings suitable for veterinary study?
No, these are illustrative observation models designed for drawing practice, not species anatomy or veterinary lessons.
Can I use these images in commercial projects?
Yes, all resources are licensed under CC BY4.0, allowing for broad usage provided attribution is given.
Do the files include copyrighted characters?
No, the six original line drawings are distinct and free from any copyrighted character designs.
Are the answers and editable files free too?
Yes. Every linked original worksheet, answer, PDF and SVG is free without signup. Individual SVG sheets stay editable; collection packs are PDF files. Analytics consent is not required to use the resources.
Further reading: Getty: shape and space. The downloadable illustrations and exercise data are original Zumola work.
More ways to practice
A matched-grid bird task
Use a square grid on both the reference and the drawing paper. The two grids must have the same number of squares in each direction, even if the drawing squares are larger. If the reference is 6 squares wide and 8 squares tall, the drawing grid is also 6 by 8; only the square size changes. This keeps every position comparable by square coordinates rather than by absolute distance.
Place the bird so its body sits mostly in the middle rows, with the tail crossing into a lower row and the head near an upper row. Mark the square containing the beak tip, the square containing the highest point of the head, and the square containing the lowest tail feather. These three anchors fix the bird's overall span before any curve is drawn.
Draw a 6 by 8 square grid on the reference and a matching 6 by 8 grid on the drawing paper.
Mark the beak tip, head top, and lowest tail feather in their squares on both grids.
Transfer the body outline one square at a time, checking where the line crosses each grid edge.
Add the wing curve and eye last, using neighbouring squares to judge spacing.
Compare the finished drawing to the reference by counting squares between features.
Diagnostic checks before correcting
Check the bird's width and height in squares, not in centimetres. If the reference bird spans 4 squares across the body and your drawing spans 5, the body is too wide even if the outline looks bird-like. Count the squares between the beak and the eye, and between the eye and the top of the head; these small gaps reveal drift that large shapes hide.
Check line crossings at grid edges. A curve that enters a square at the top-left corner in the reference should enter near the same corner in your drawing. If it enters at the middle of the edge instead, the curve has shifted. Correct the crossing point first, then redraw the curve between crossings.
Count body width and height in squares on both images.
Compare the square gaps between beak, eye, and head top.
Check each curve where it crosses a grid edge and note mismatched entry points.
Redraw only the affected segment between two correct crossings.
A practical variation: partial grid
For a second attempt, cover or ignore every other grid line so only a coarser grid remains. This forces you to estimate positions inside larger squares rather than relying on many small guides. Keep the same anchors and compare the coarse result with the full-grid result.
A partial grid is useful when the full grid becomes a crutch. If the coarse drawing keeps the bird's span and feature gaps close to the reference, your observation is improving. If it drifts badly, return to the full grid and repeat the crossing checks.
Use a grid with half as many lines in each direction.
Keep the same three anchor points.
Draw the bird using only the coarse squares.
Compare span and feature gaps with the full-grid attempt.
Try this example
A reference bird on a 6 by 8 grid has its beak tip in column 5, row 2, its eye in column 4, row 2, and its lowest tail feather in column 2, row 7. The body spans 4 squares wide. Transfer these anchors to a matching 6 by 8 drawing grid and check the result.
Show the worked explanation
Mark the beak tip, eye, and tail feather in the same columns and rows on the drawing grid. The beak and eye share row 2 and sit one column apart, so the gap between them is one square. The tail feather is five rows below the eye and two columns left. The body should span 4 squares wide. If the drawing shows a two-square gap between beak and eye, or a body spanning 5 squares, adjust those features before refining curves.
Common mistakes
Using grids with different square counts on reference and paper. Count squares in both directions and make the drawing grid match the reference count exactly.
Correcting a whole curve after one bad crossing. Fix the crossing point at the grid edge first, then redraw only the segment between two correct crossings.
Judging proportions by overall appearance instead of square counts. Measure body width, height, and feature gaps in squares and compare those numbers directly.
Check your work
Grid square counts match between reference and drawing in both directions.
Beak tip, head top, and tail feather occupy the correct squares.
Body width and height match the reference when counted in squares.
Curves cross grid edges at comparable points.
Feature gaps such as beak to eye are within one square of the reference.
Line style is consistent and intentional, even if simplified.
Questions before you start
Does the drawing grid have to be the same physical size as the reference grid?
No. The square counts must match, but drawing squares can be larger. Positions stay comparable because each feature is located by square coordinates.
What if my bird looks right but the square counts differ?
Trust the counts. A pleasing outline can still be too wide or too tall; adjust the span until the square measurements match the reference.
Can I use a coarser grid from the start?
Yes, but keep the anchor points and compare feature gaps. A coarse grid is harder to check, so use it after one full-grid attempt.
Optional Google Analytics helps us understand which free resources are useful. It is off until you allow it. Drawing tools and downloads work with either choice. Privacy details