Free printable resources · Original practice
Still life grid drawing.
Contour first. Then value.
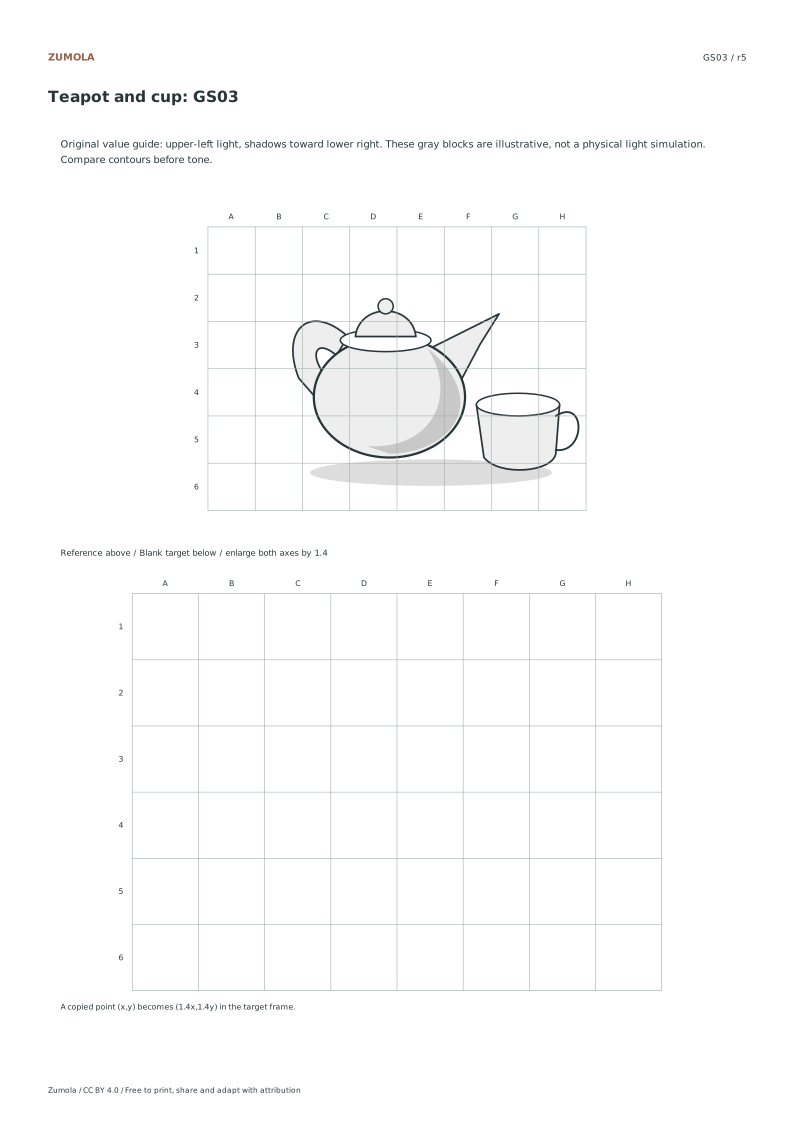
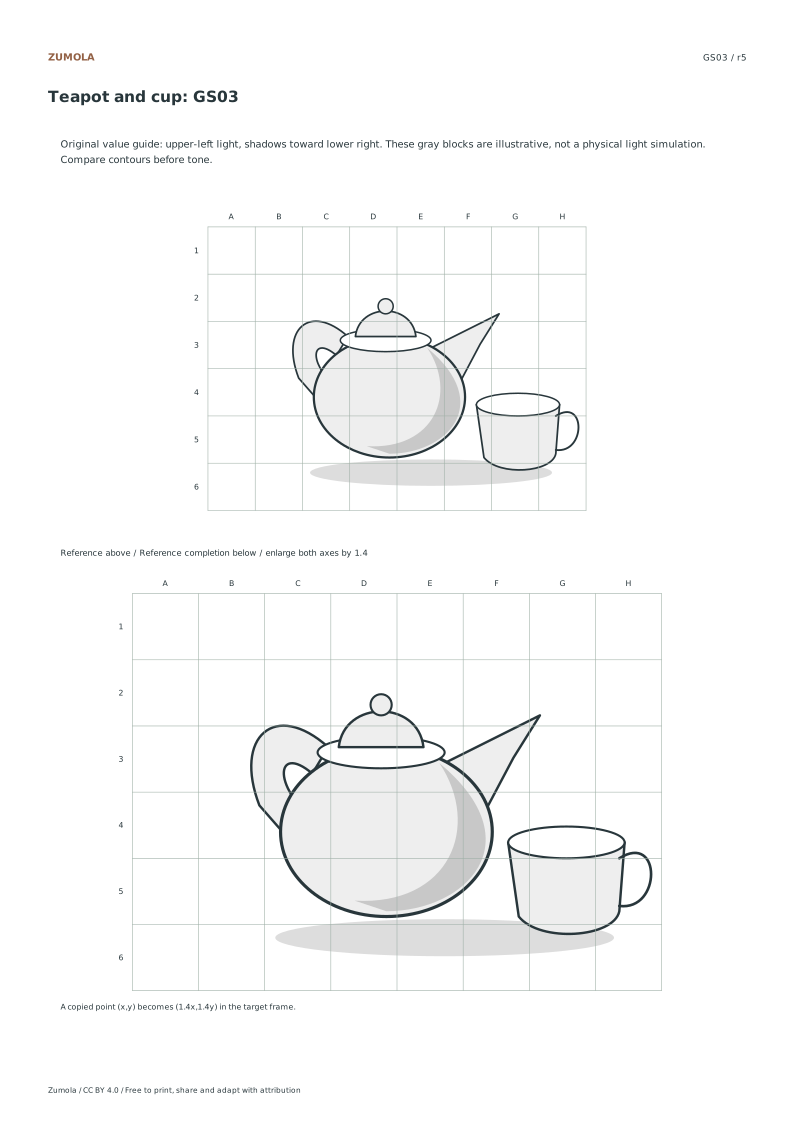
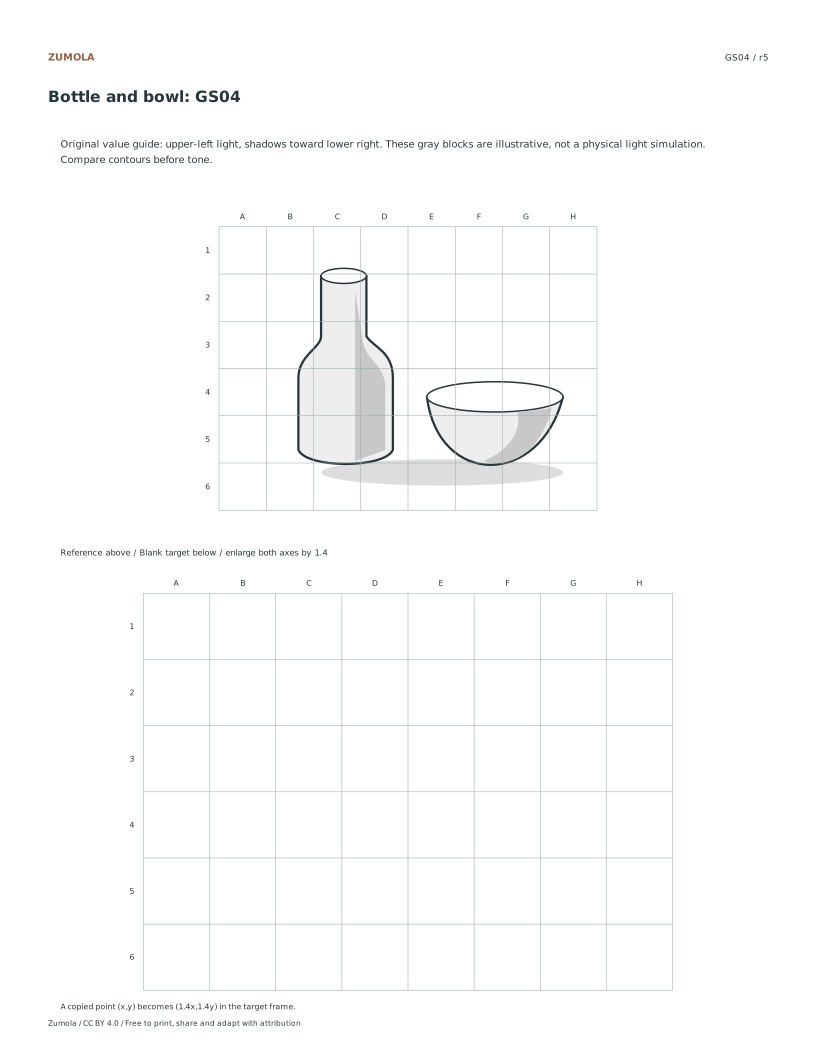
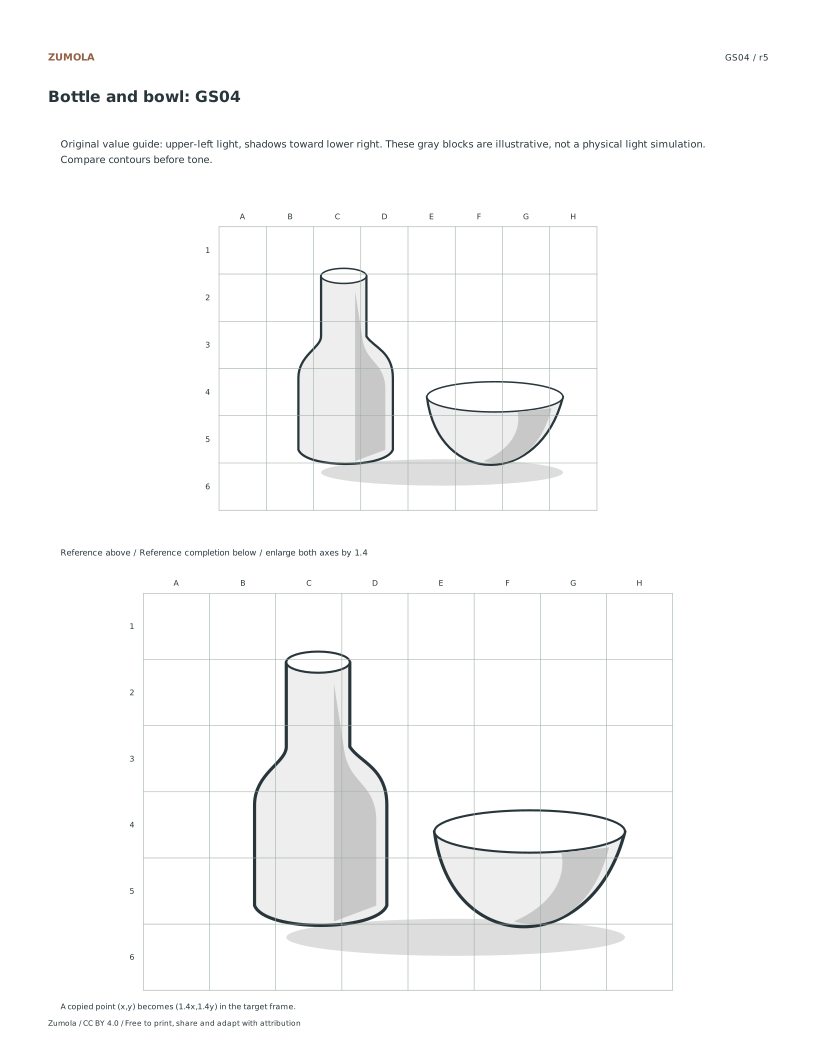
Compare line and illustrative value references from six arrangements. Place contours and open gaps before applying the same enlargement to tone shapes.
6 original still lifes.
Line + value + practice + answers.
Six references with different things to notice
| Study | Original subject | Look for |
|---|
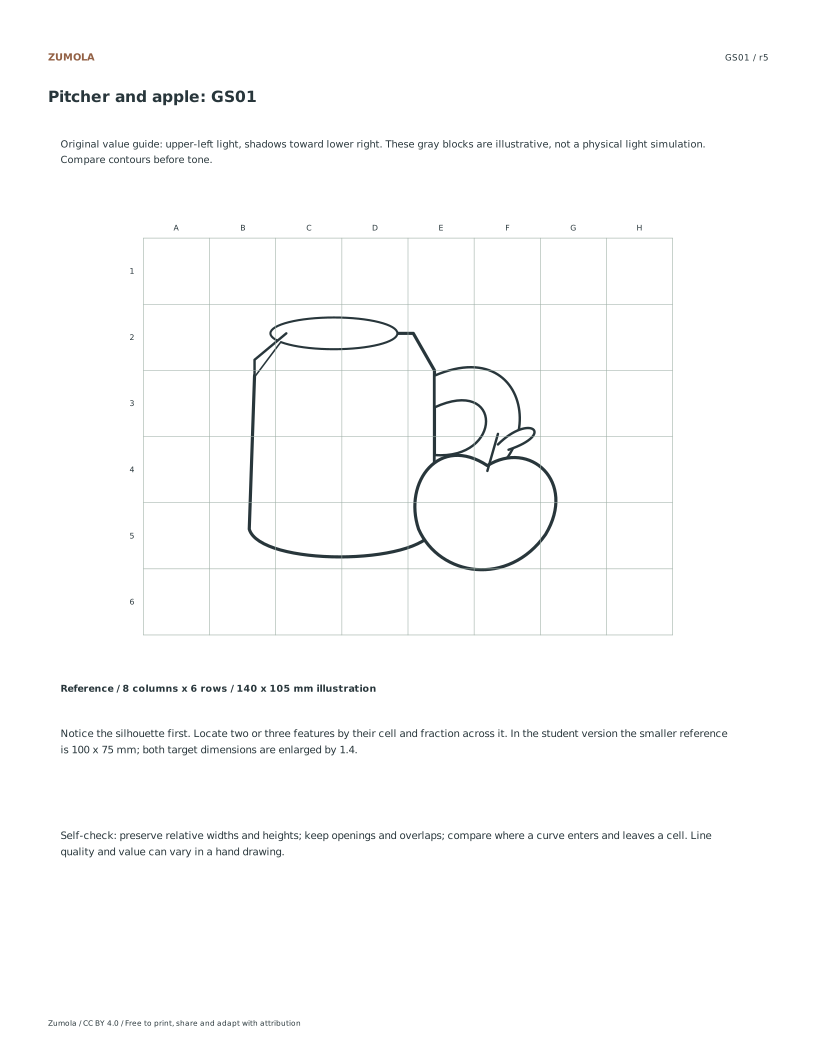
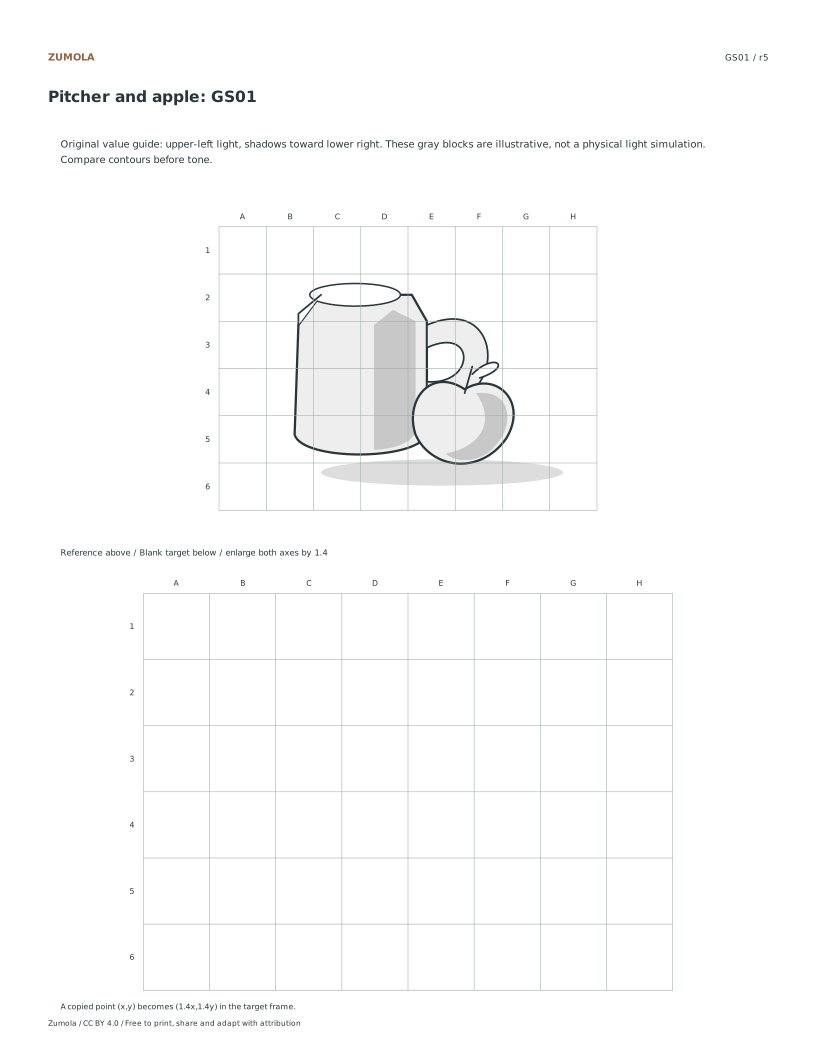
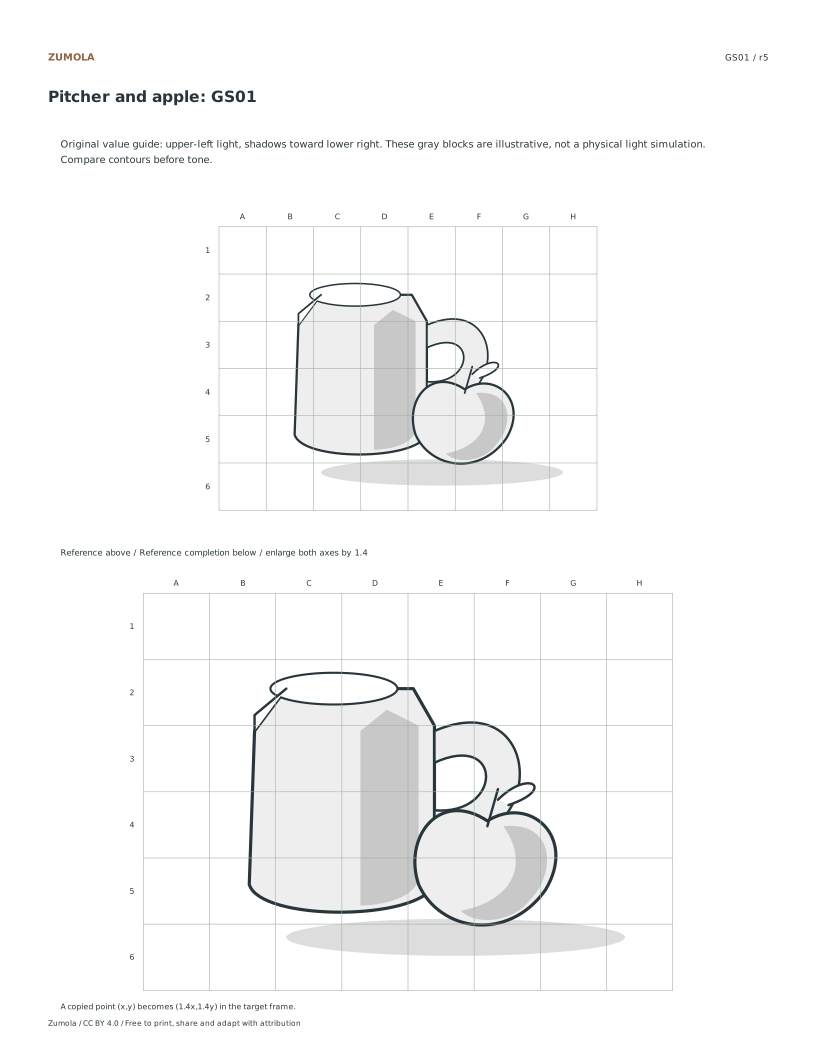
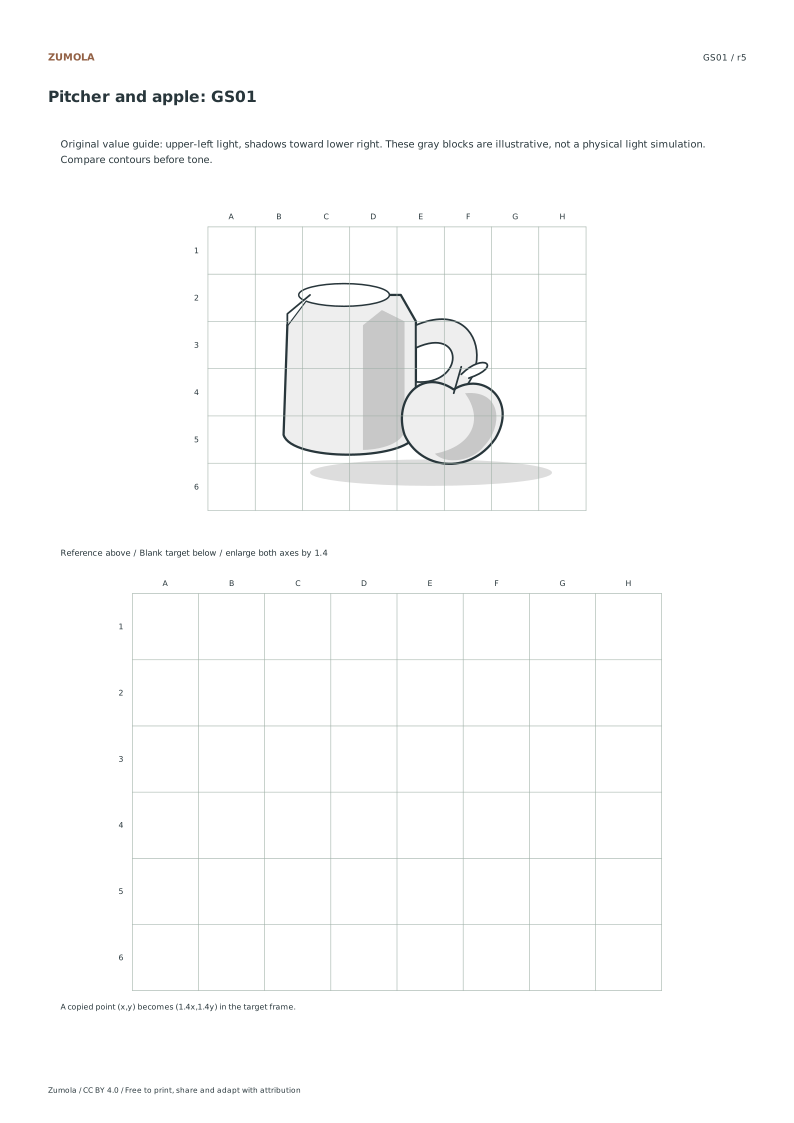
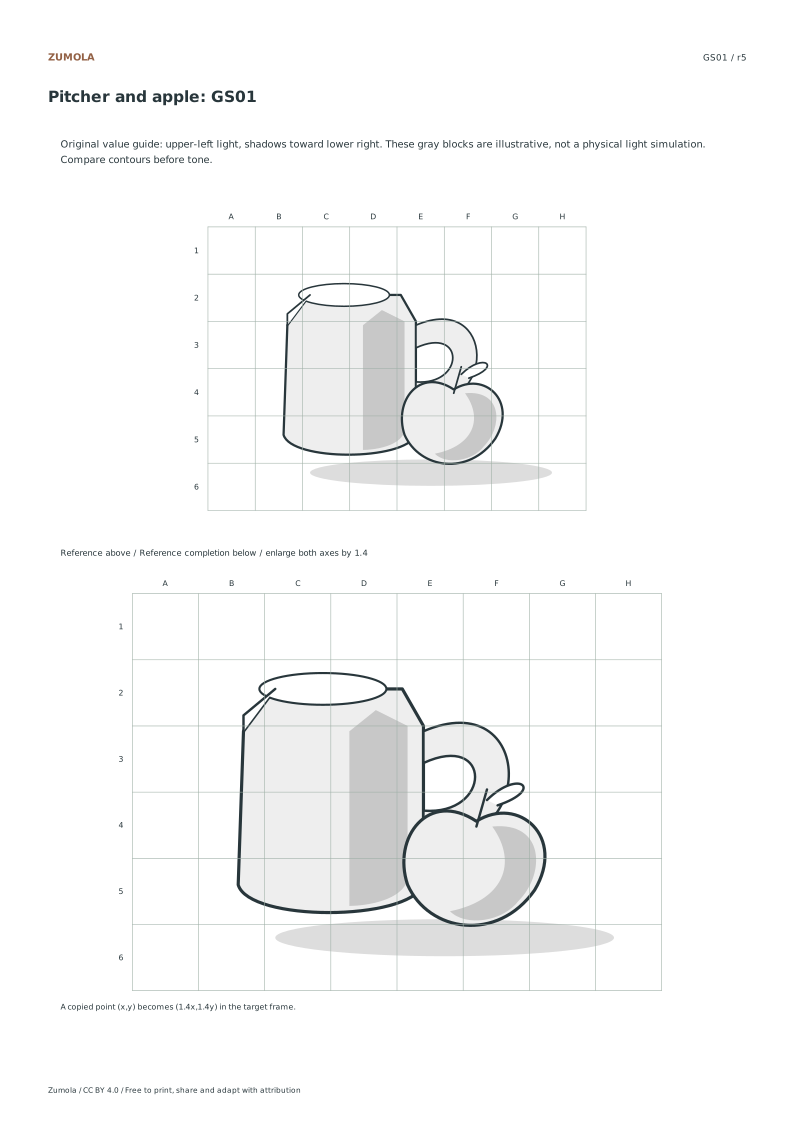
| GS01 | Pitcher and apple | Handle gap and overlapping fruit |
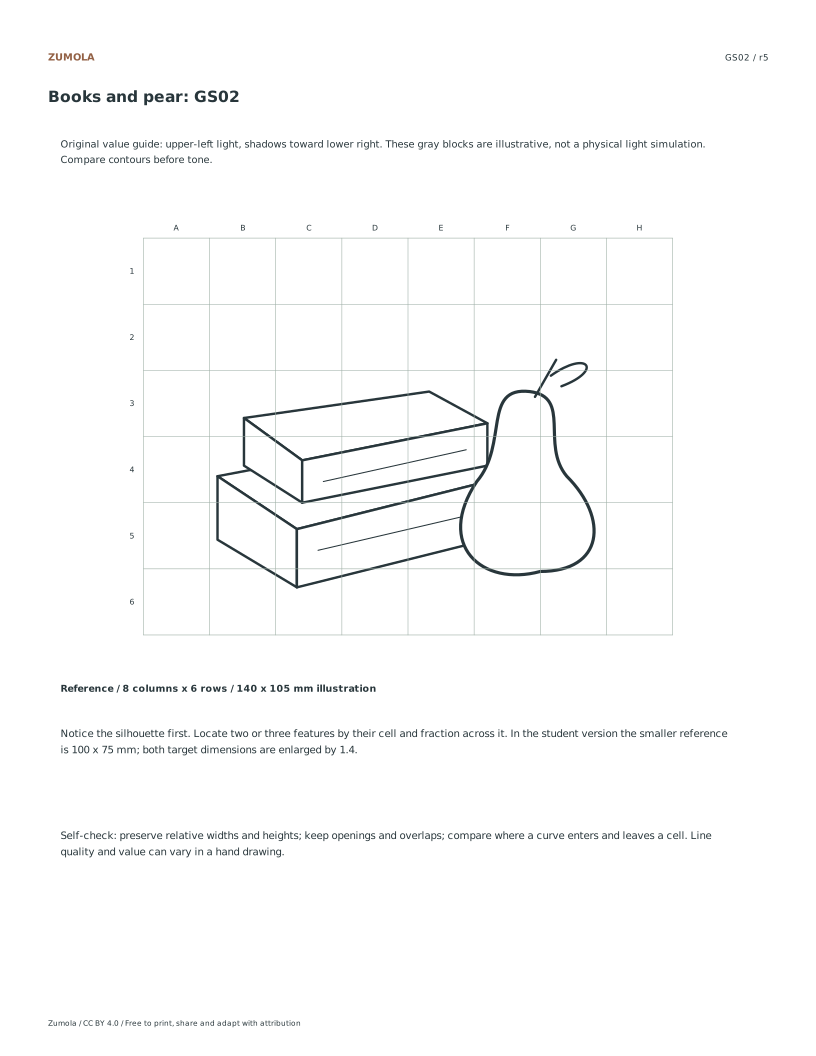
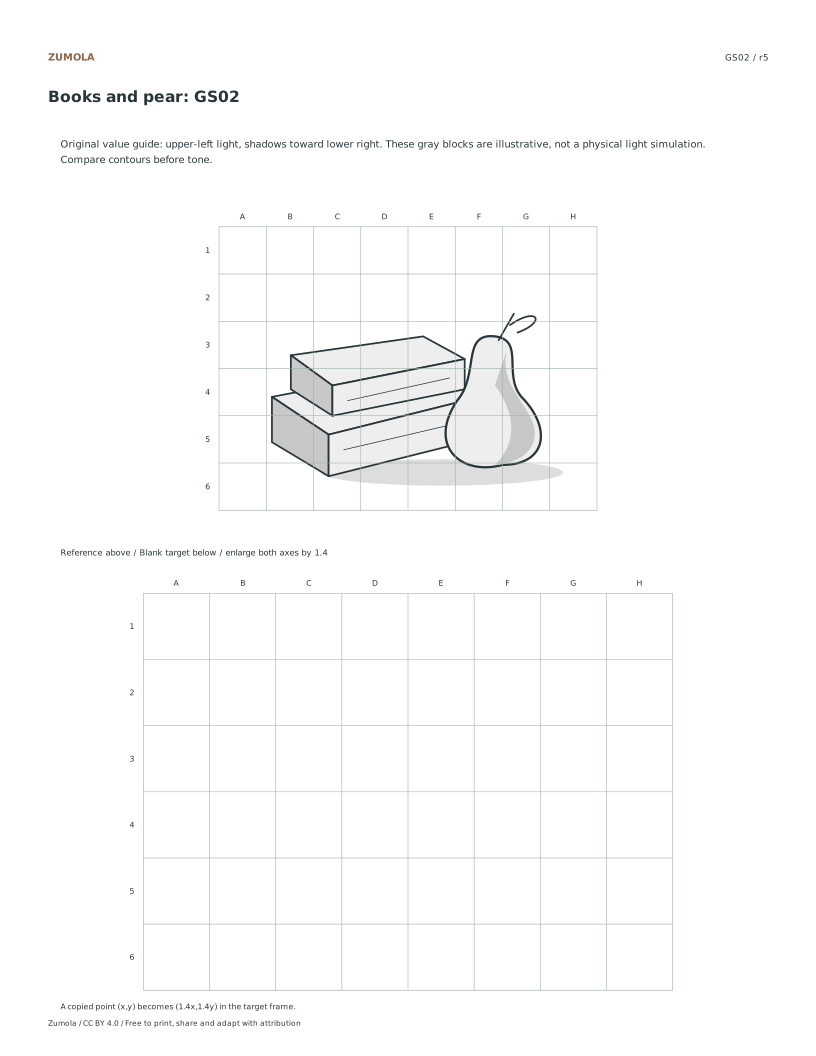
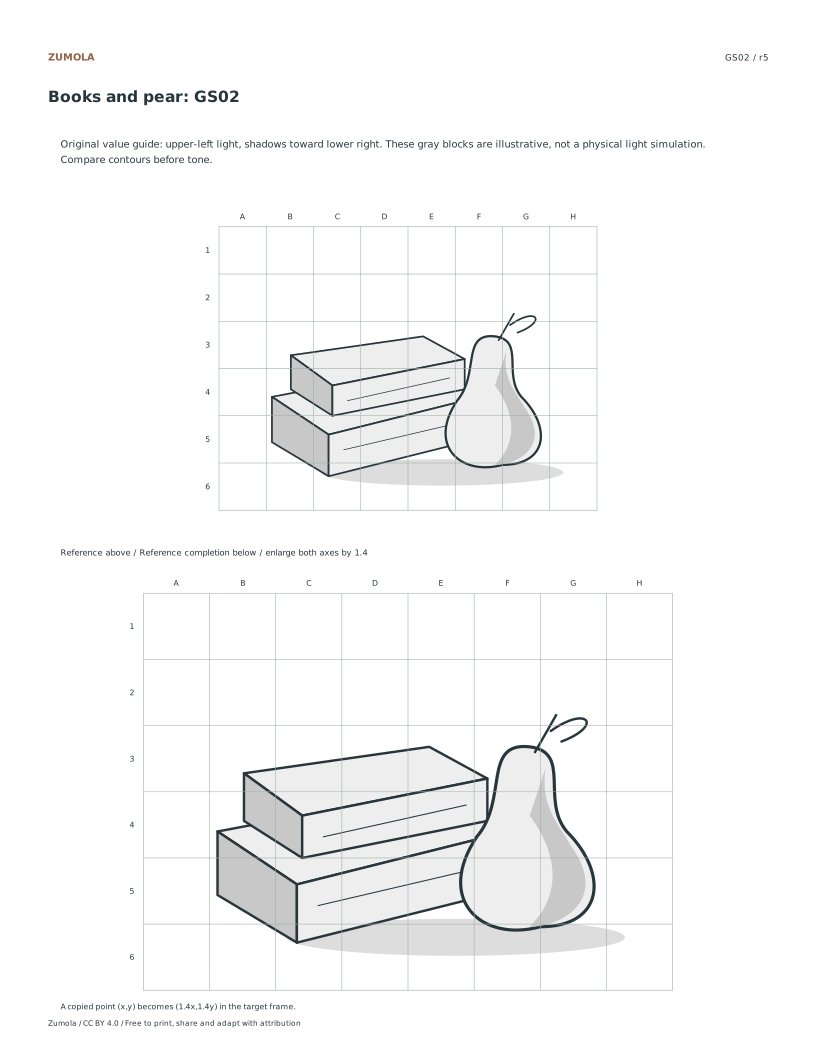
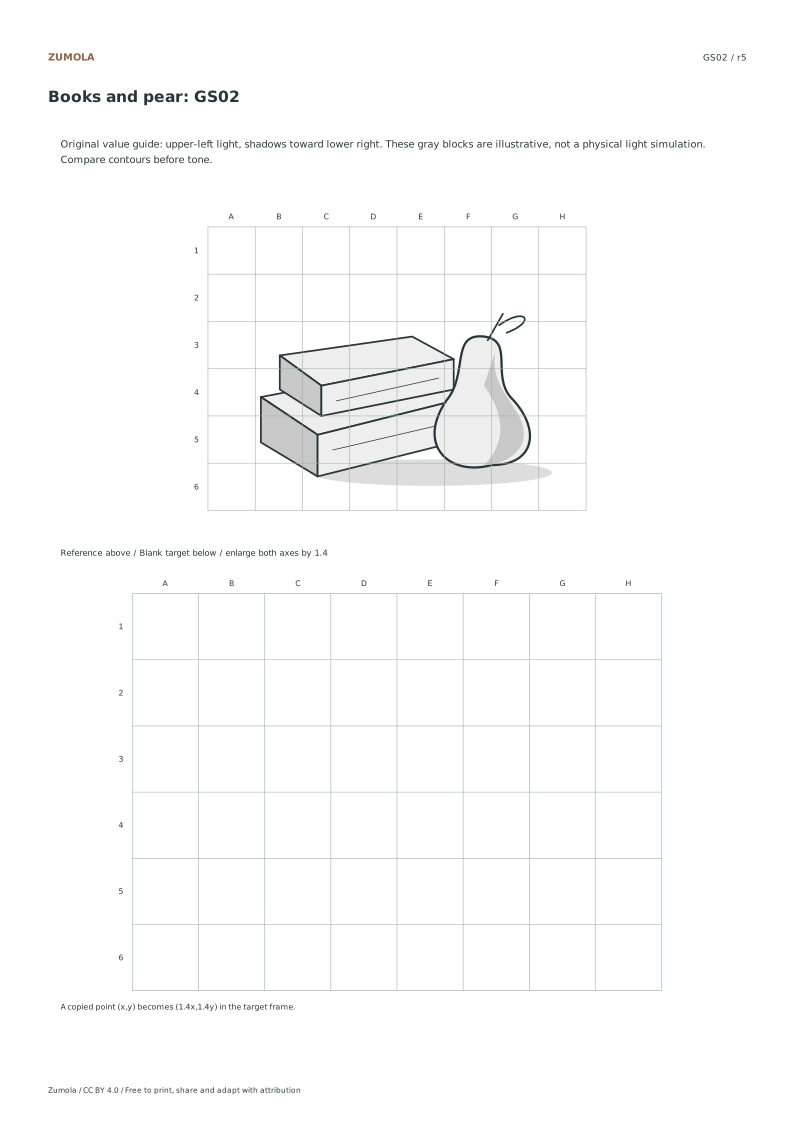
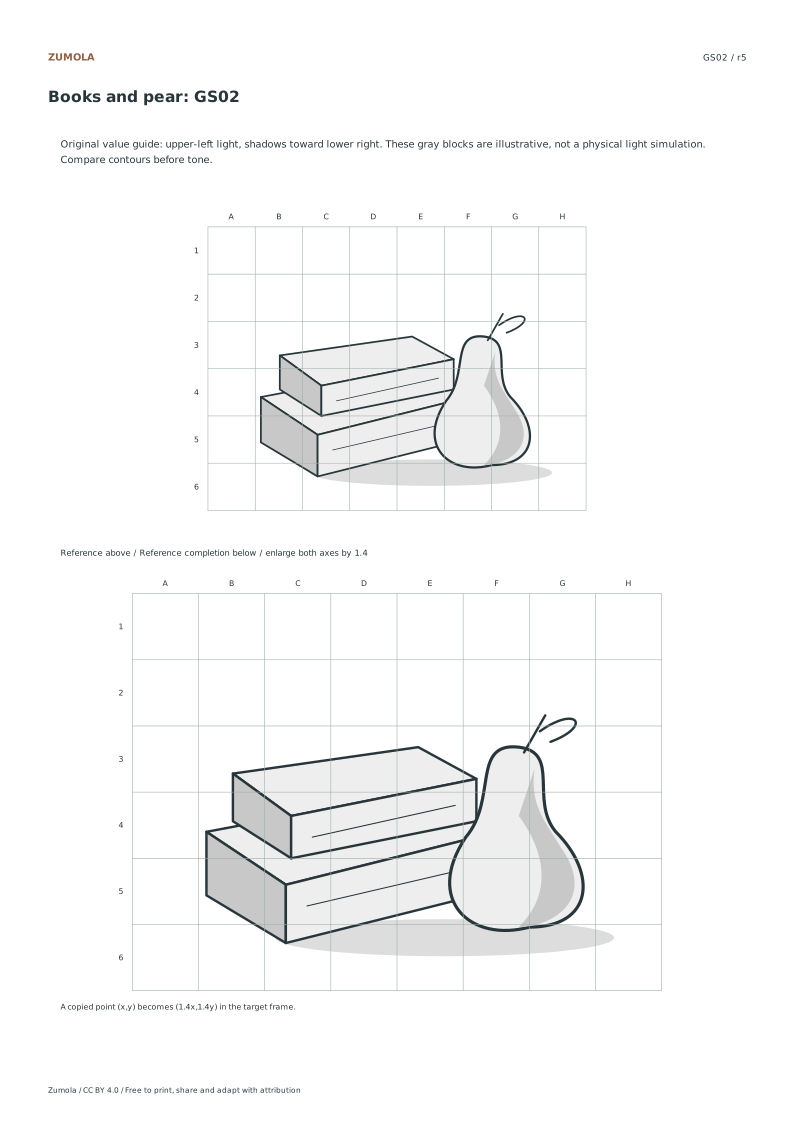
| GS02 | Books and pear | Stacked corners and organic outline |
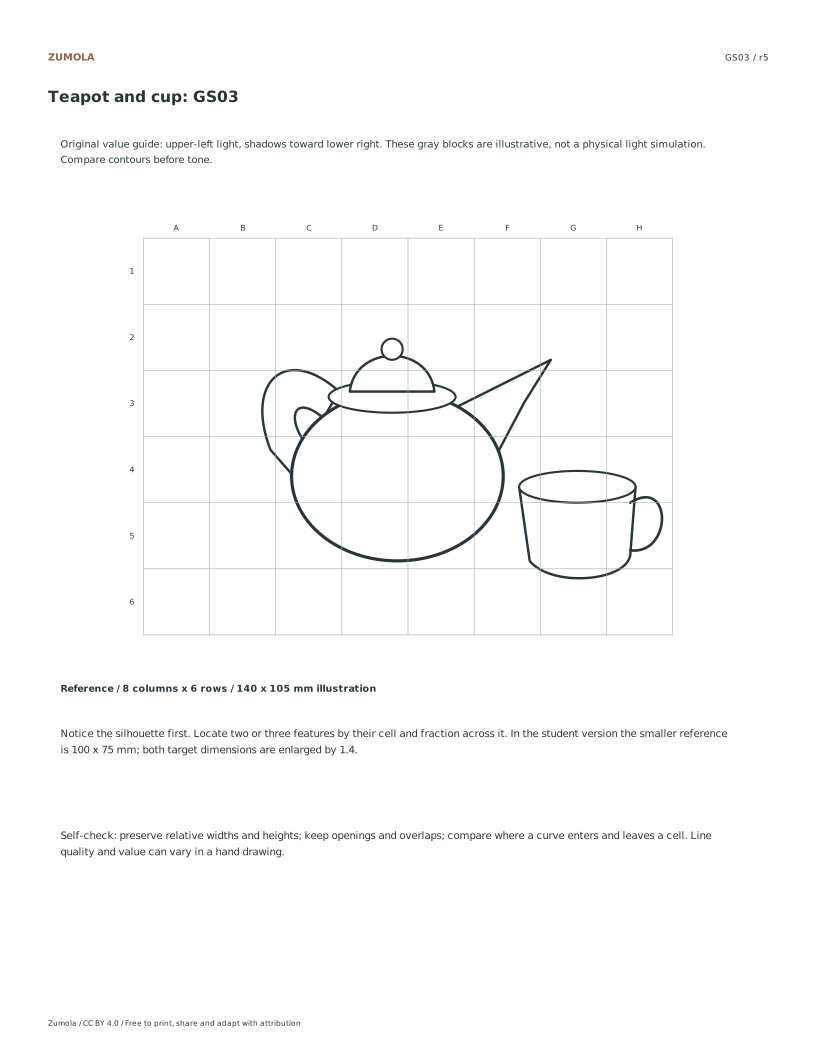
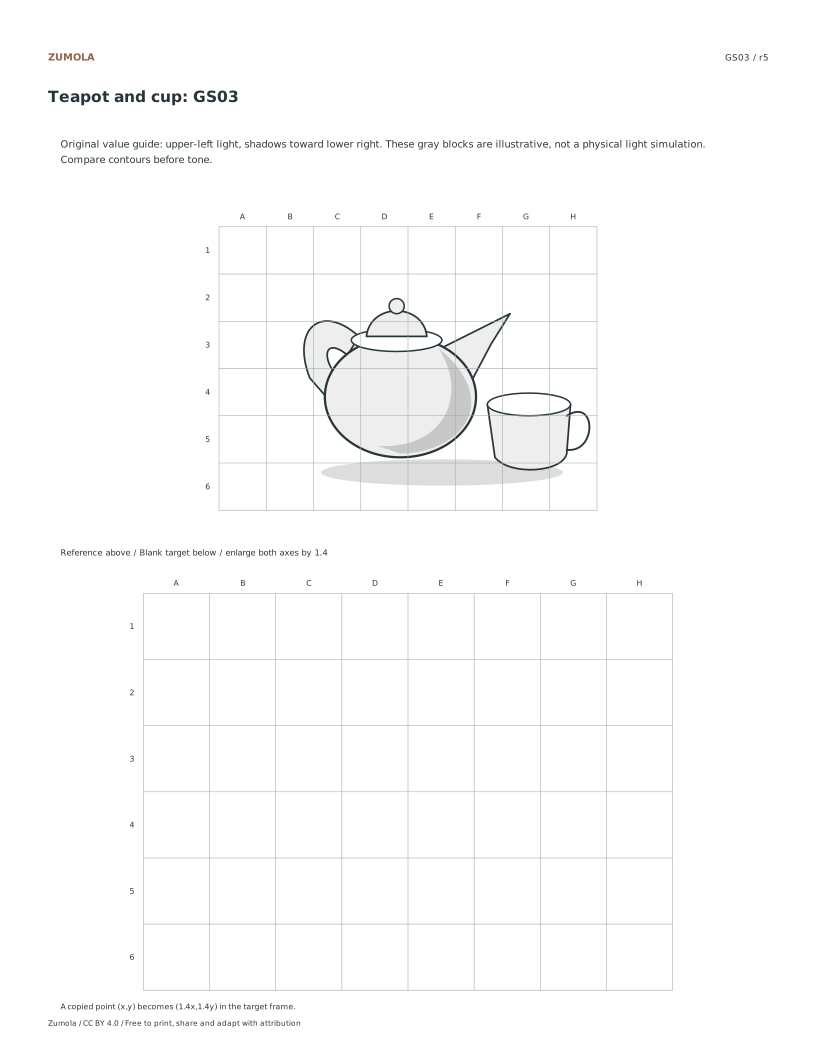
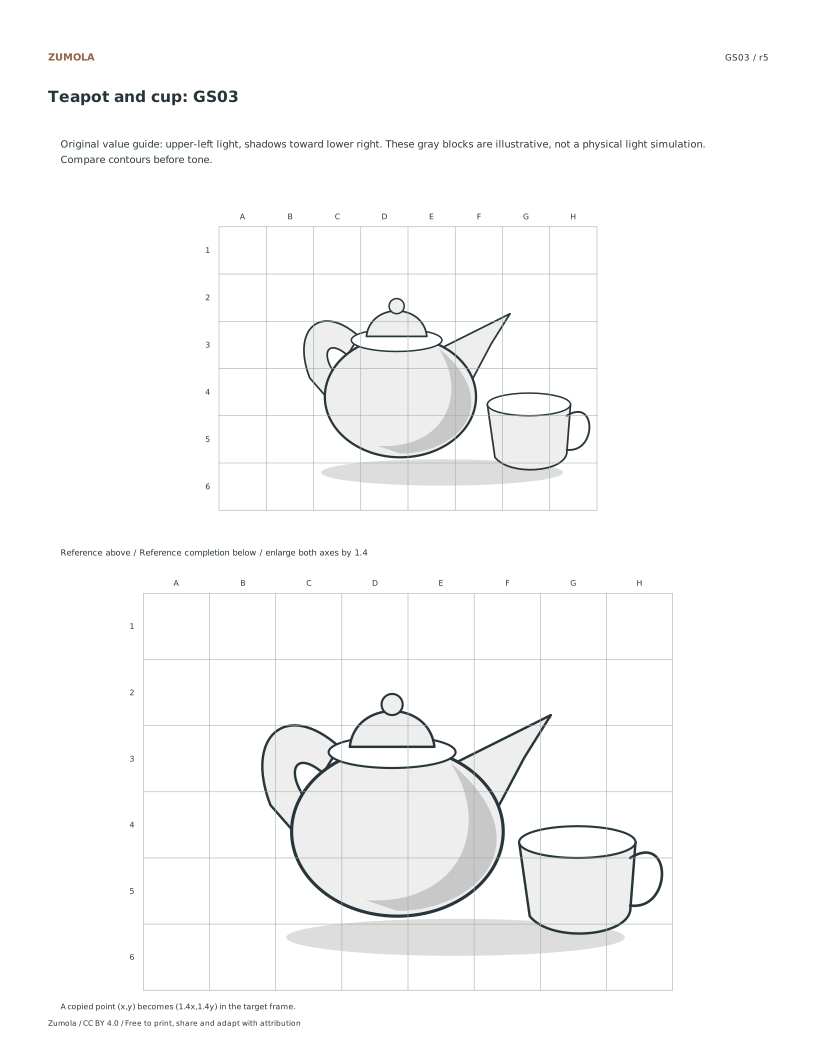
| GS03 | Teapot and cup | Spout, handle and repeated ellipses |
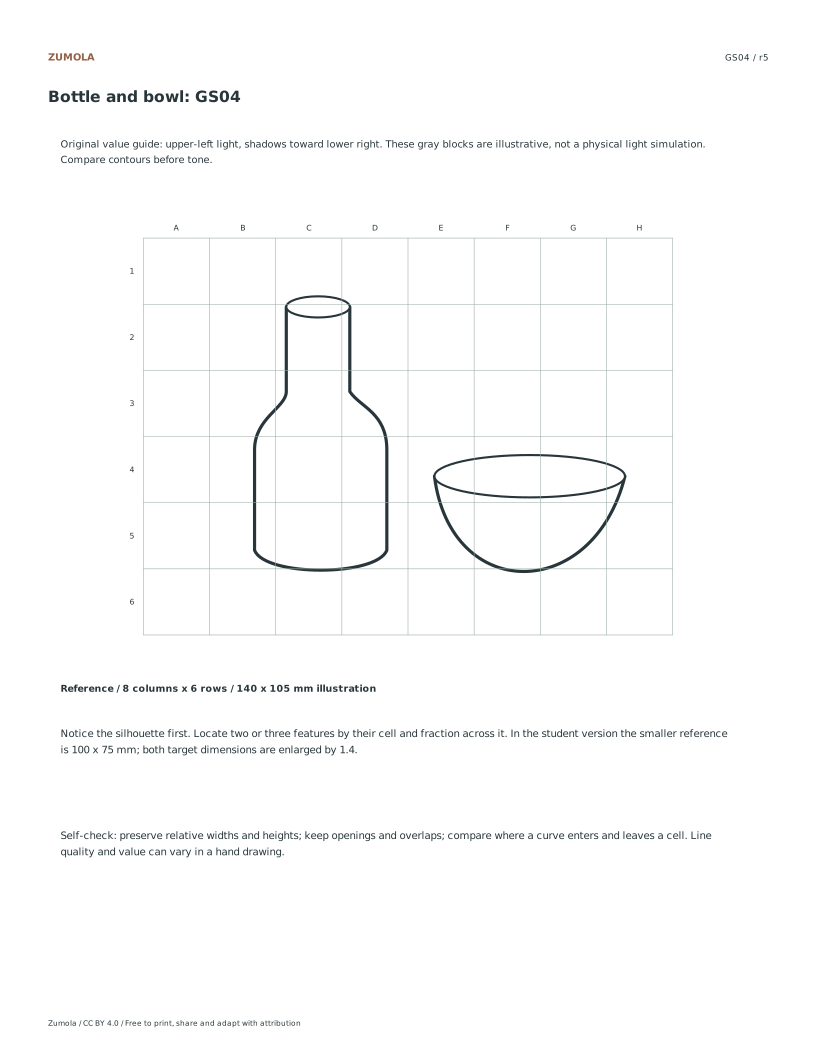
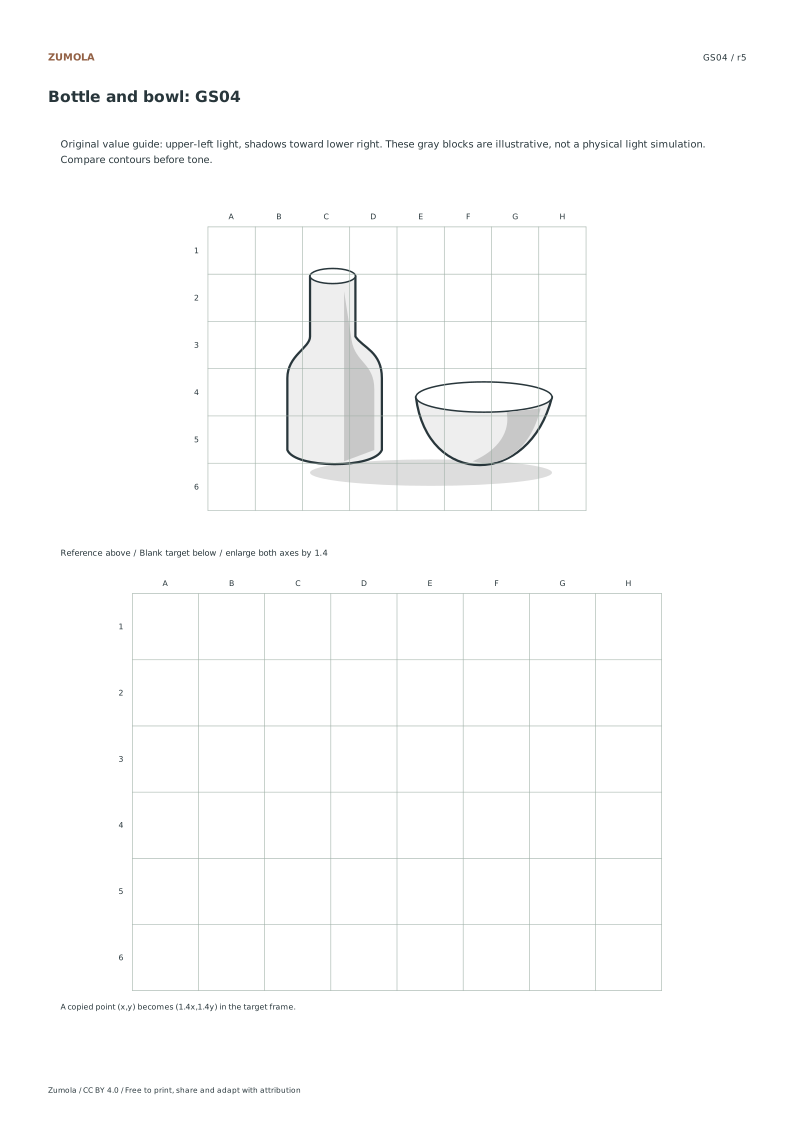
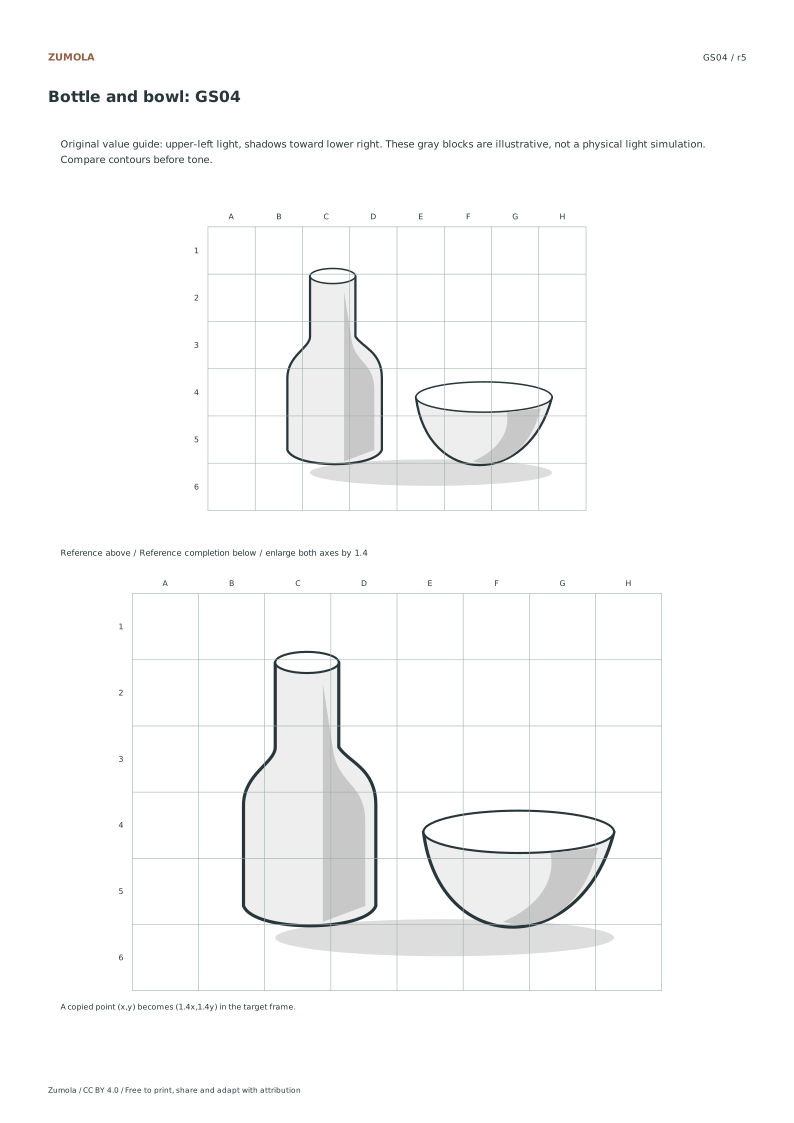
| GS04 | Bottle and bowl | Tall narrow form beside a wide low form |
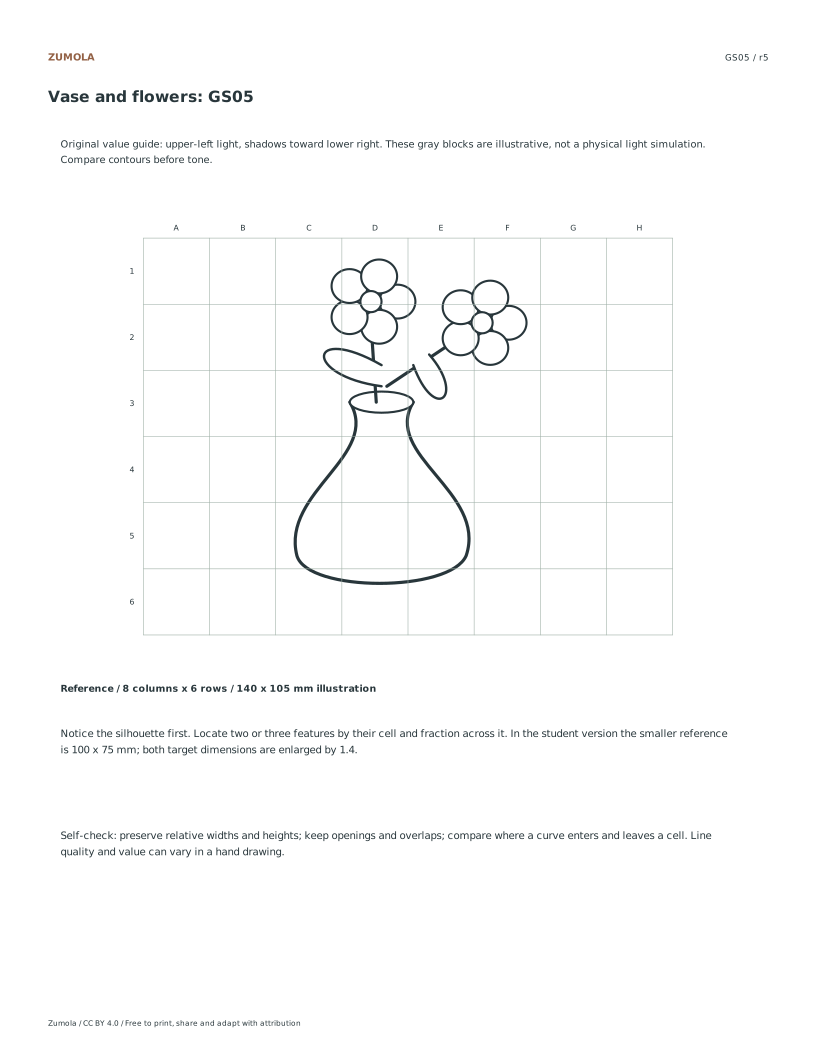
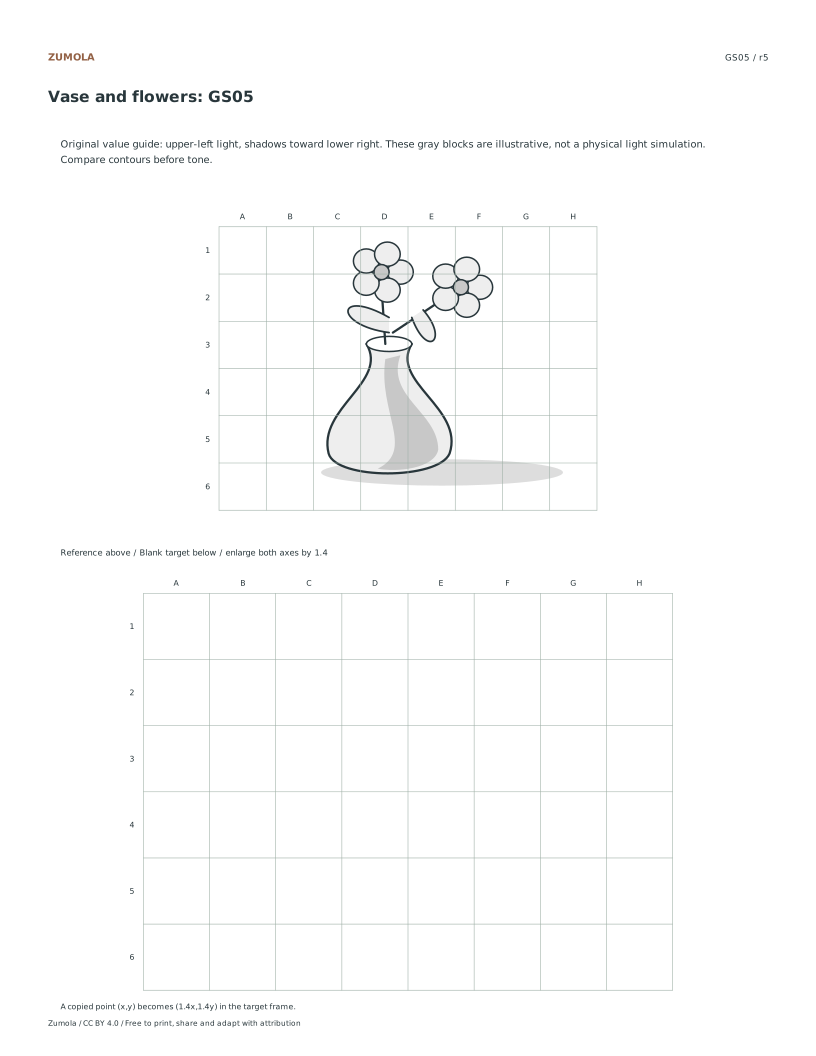
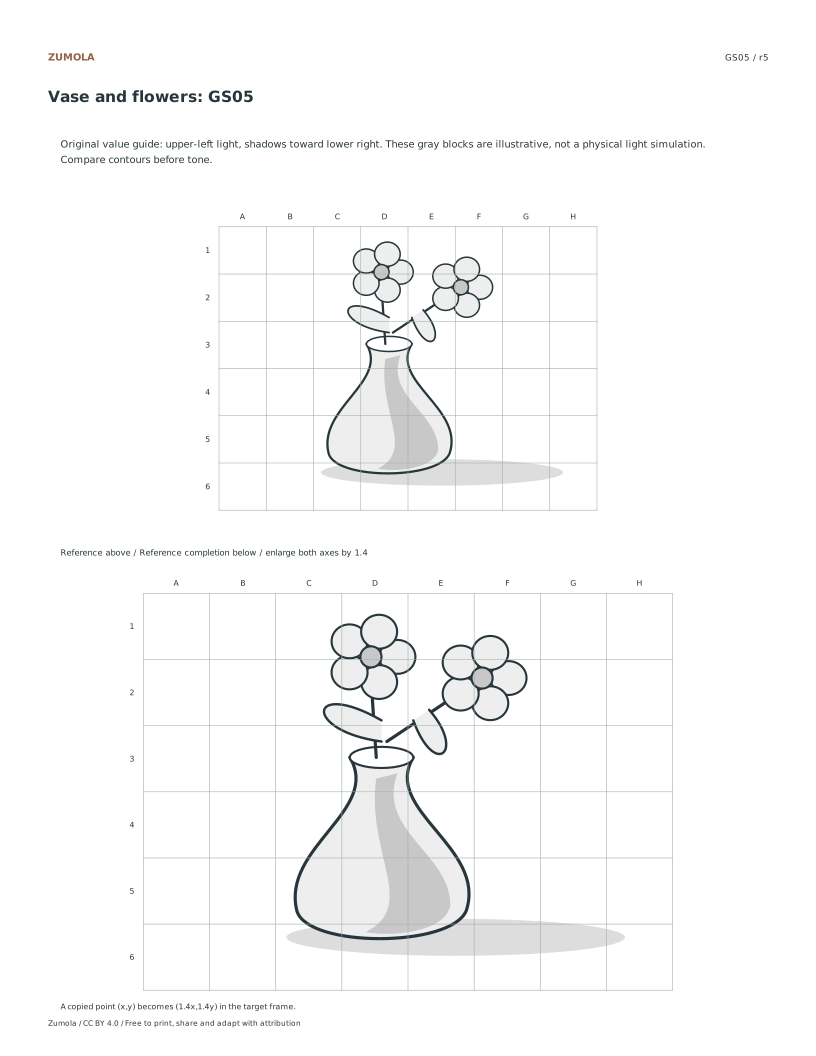
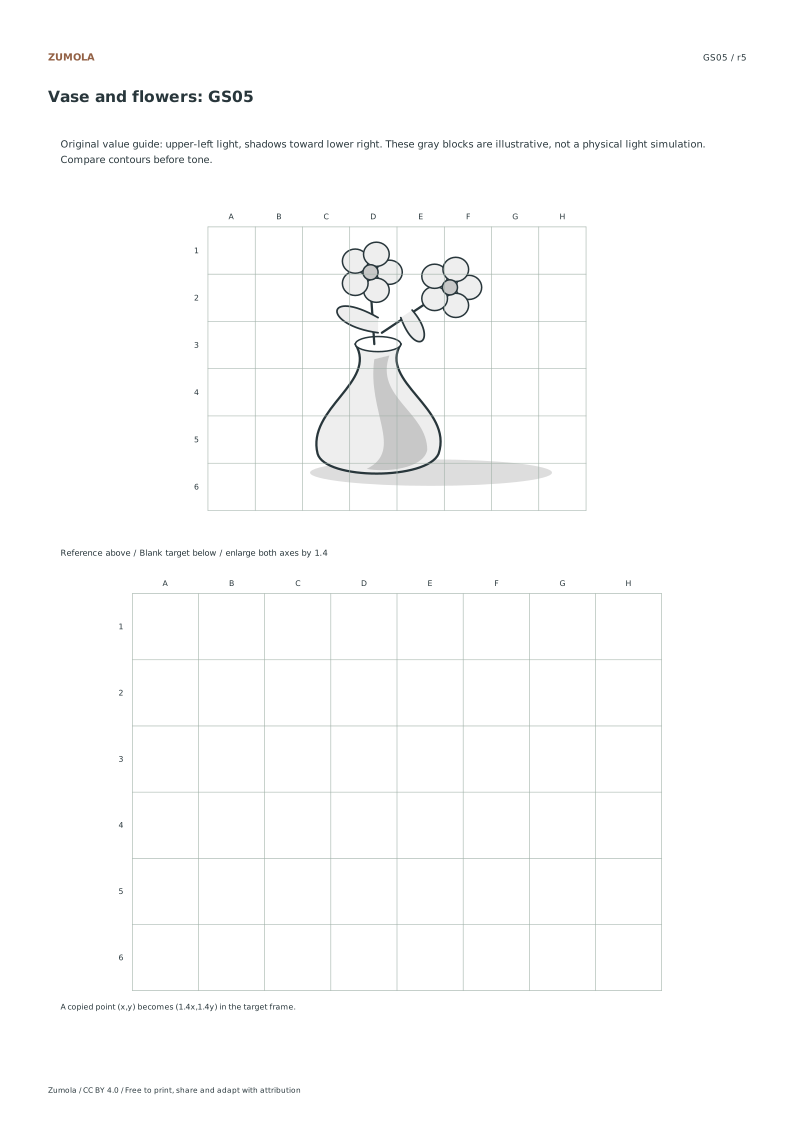
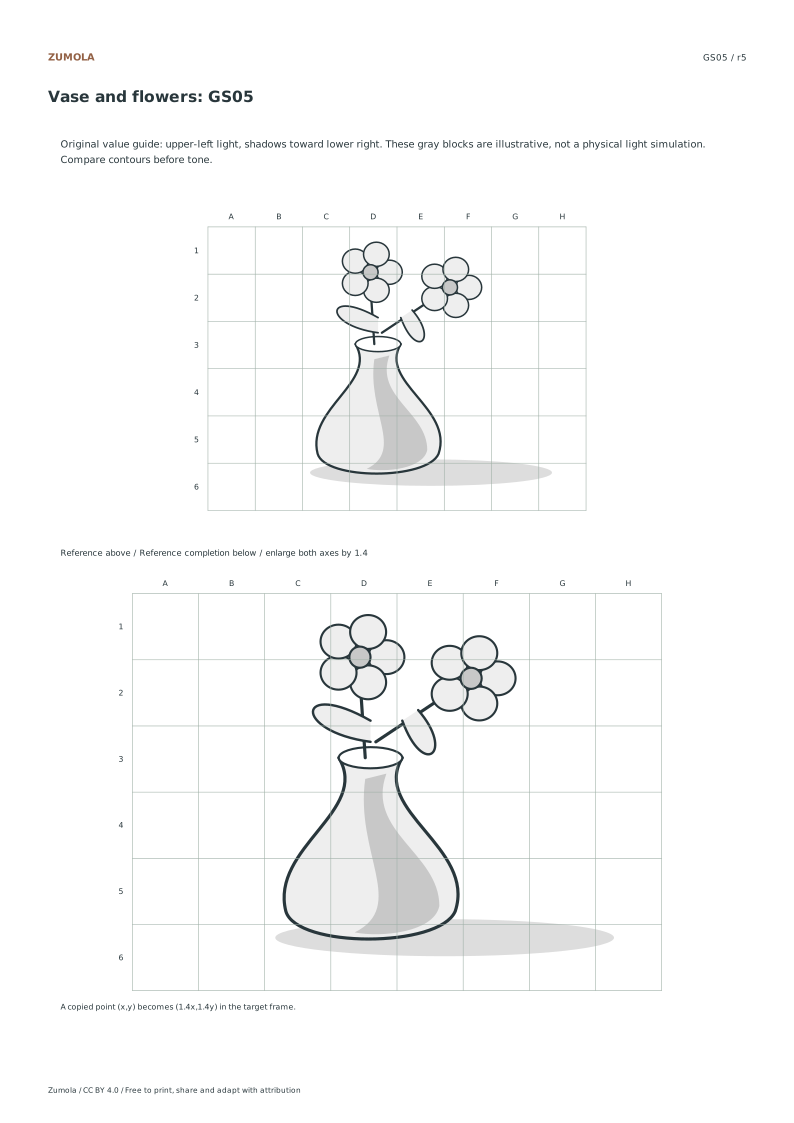
| GS05 | Vase and flowers | Thin stems beside a closed vessel |
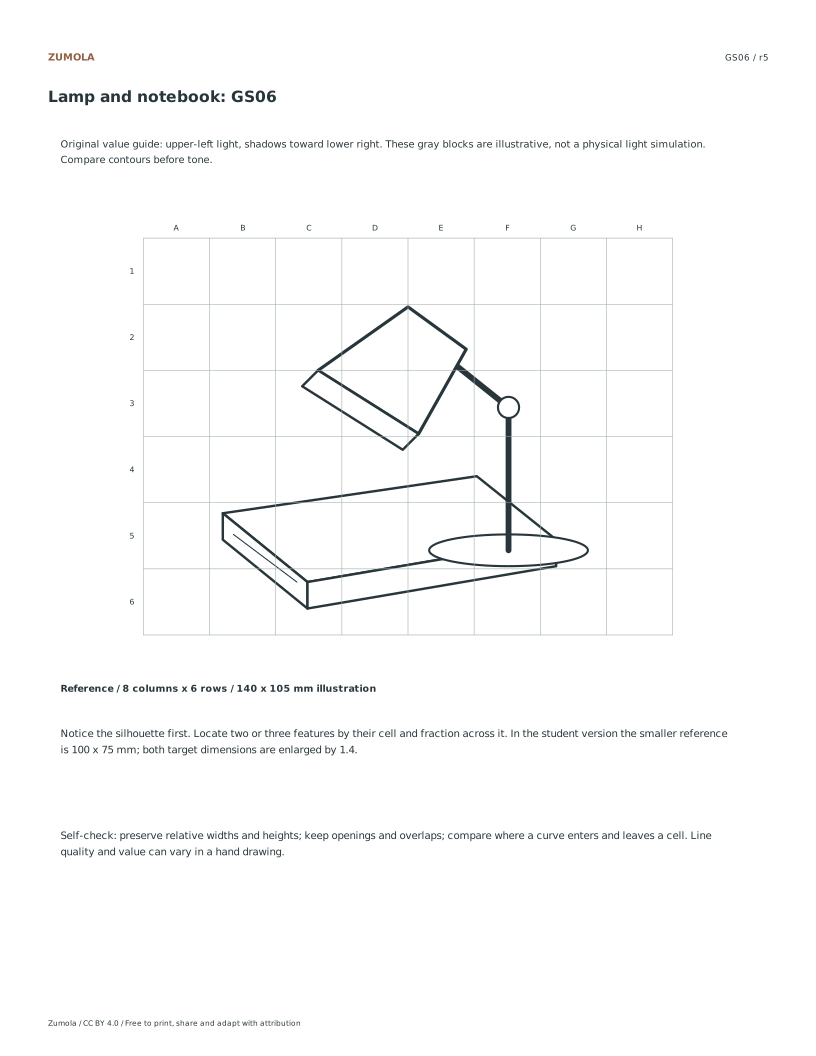
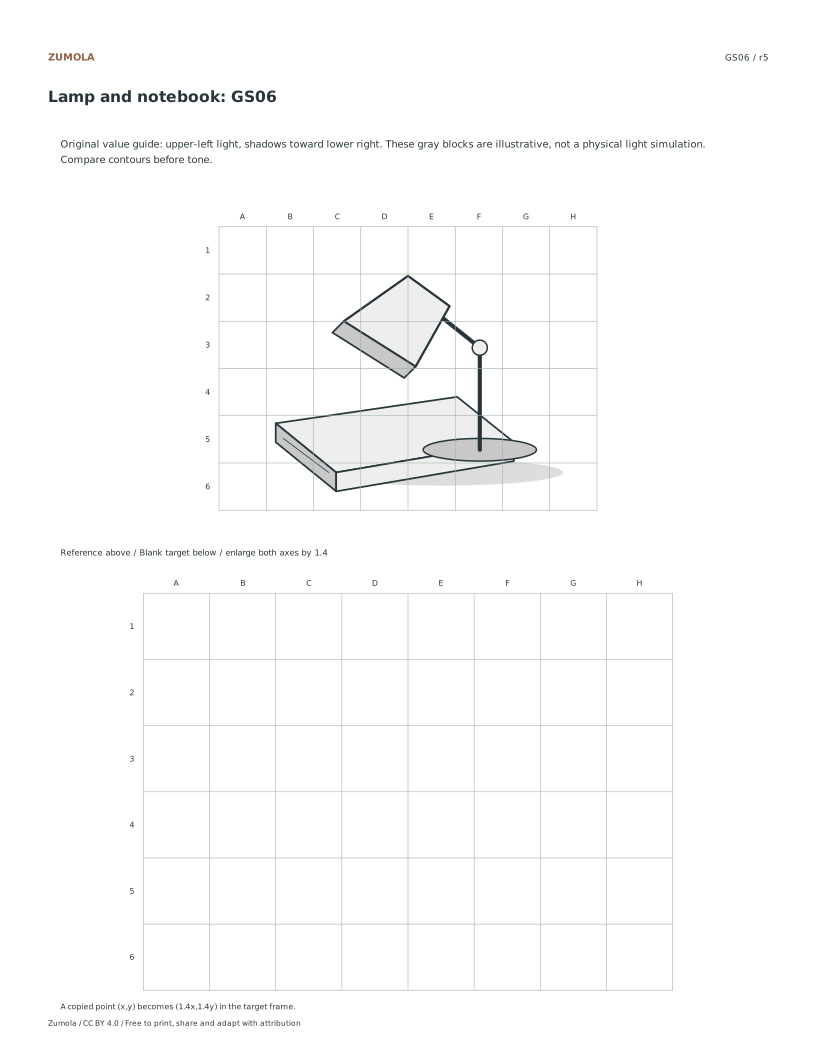
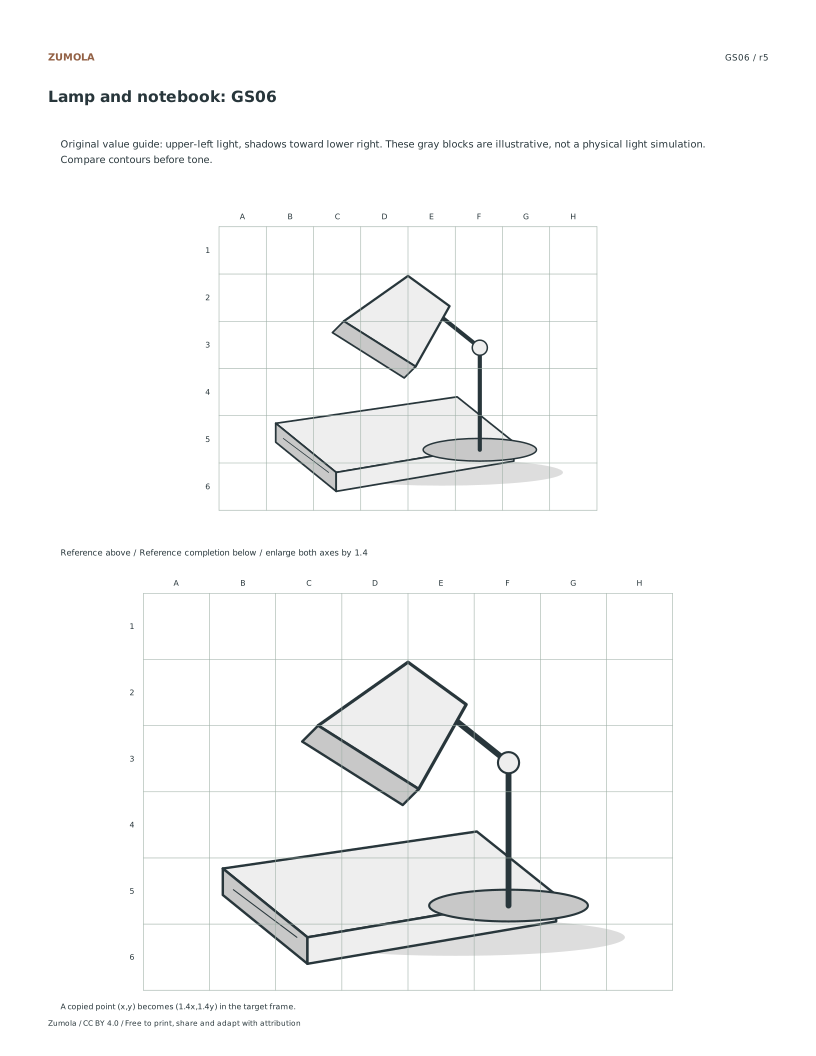
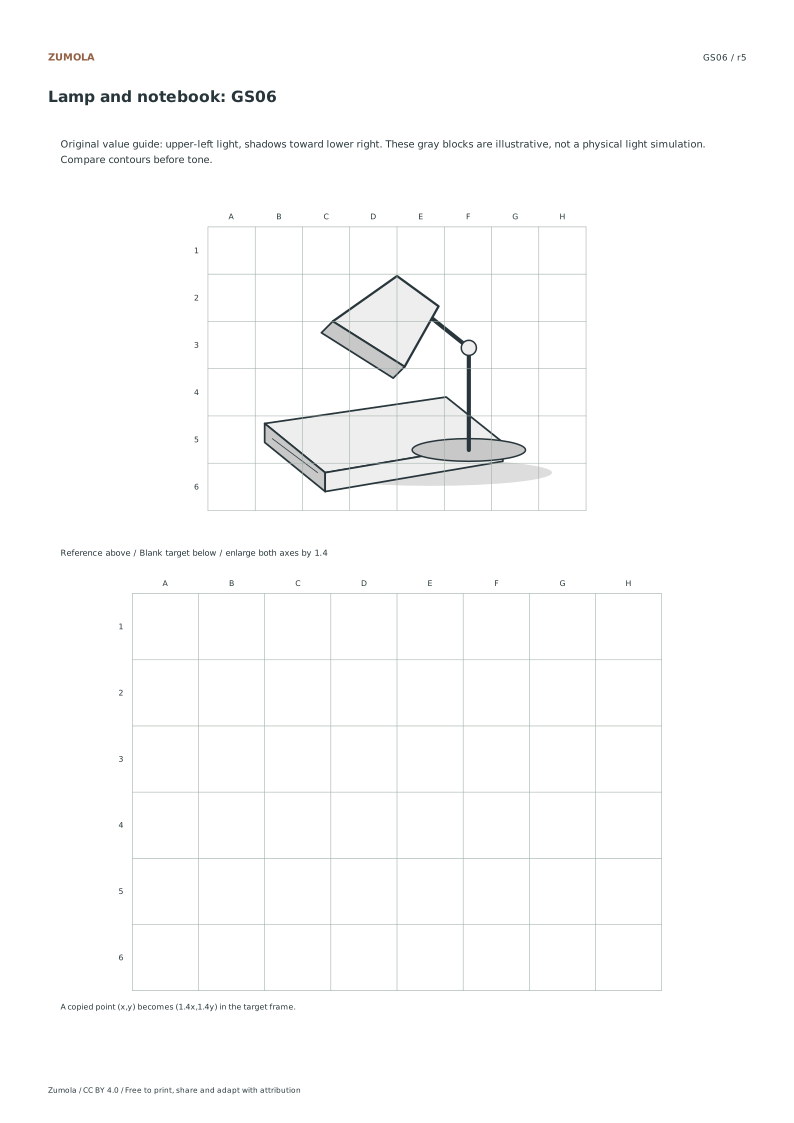
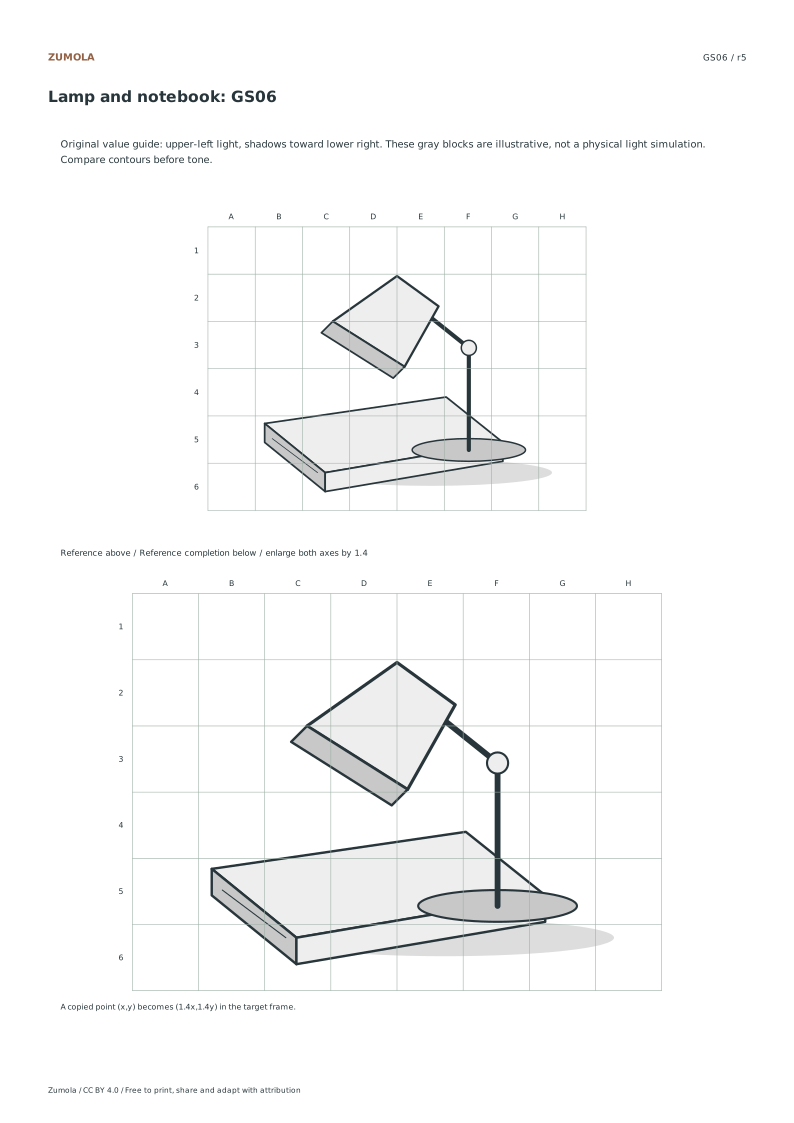
| GS06 | Lamp and notebook | Joined straight edges and a tilted shade |
On every student page, the top reference uses 8 × 6 cells at 12.5 mm per cell, for a 100 × 75 mm illustration. The lower target uses the same number of cells at 17.5 mm, giving 140 × 105 mm. Both length ratios equal 1.4. A point halfway across a reference cell belongs halfway across its matching target cell; row and column locations do not change.
Use the student pack for attempts and keep the completed-reference pack separately. Each pack repeats its individual pages rather than adding more subjects. Compare the outer silhouette first, then two or three internal landmarks and the gaps between them. A hand rendering can differ in line quality while retaining the mapped relationships. The supplied drawings are original stylized studies, with no photographs, identified portrait subjects or copied character art.
More ways to practice
Use negative space as a second measuring system
A grid divides the reference into cells, but each cell still contains two kinds of shape: the object and the space around it. Negative-space drawing asks you to copy the enclosed gaps first. For example, the triangular gap between a bottle and a bowl, or the curved sliver inside a pitcher handle, has a definite width and direction. If that gap matches the reference, the surrounding edges usually land in the right place.
Treat the grid as a coordinate frame, not a set of boxes to fill independently. Count cells from a fixed edge, such as the left and top borders, so every measurement has one origin. Keep the same cell proportions on your paper: if the reference cell is square, your drawn cell must be square. A stretched cell changes every angle and gap even when your line quality is good.
Negative space also separates contour work from tone work. Draw the gap outlines first, then add value only after the contours are stable. This prevents shading from hiding a misplaced edge.
- Mark the grid origin at the top-left corner of both reference and paper.
- Choose one enclosed gap, such as the space under a handle or between two objects.
- Locate its widest point by cell row and column, then mark that point on your paper.
- Draw the gap boundary as a closed shape before drawing the object edge beside it.
- Compare the gap width at its narrowest and widest points against the reference.
- Repeat for two or three gaps, then connect the object contours they define.
- Add tone last, keeping value shapes inside the confirmed contours.
A worked enlargement with explicit proportions
Suppose an original reference shows a cup and saucer inside a grid of 4 columns by 3 rows. The reference is 8 cm wide and 6 cm tall, so each cell is 2 cm by 2 cm. You want a drawing 16 cm wide and 12 cm tall. The scale factor is 2, so each drawn cell must be 4 cm by 4 cm. The grid stays 4 by 3; only cell size changes.
Now measure a gap: the space between the cup base and the saucer rim is 1 cm wide at its narrowest in the reference. At scale factor 2, that gap should be 2 cm on your paper. If your drawn gap measures 3 cm, the cup base is probably too high or the saucer rim too low. Check the cell row of each edge before adjusting the curve.
This example is deliberately simple so you can verify it with a ruler. The same reasoning applies to any uniform enlargement: multiply every distance by the same factor, and keep the grid count unchanged.
- Record reference width, height, and cell size before drawing.
- Divide your target width by the reference width to get the scale factor.
- Multiply the reference cell size by that factor to set your drawn cell size.
- Measure one narrow gap and one wide gap in the reference, then multiply both by the factor.
- Compare your drawn gaps to those calculated values before refining contours.
Diagnostic checks for grid and negative-space work
A useful check is to compare the number of cells an edge crosses. If a contour crosses three cell boundaries in the reference, it should cross three in your drawing when the grid count is unchanged. A contour that crosses four boundaries signals a shifted start point or a changed angle.
Another check is gap closure. Enclosed negative spaces should close cleanly; open spaces, such as the area above a vase, should remain open. If a gap that is closed in the reference appears open in your drawing, an edge has drifted. Mark the drift with a light line rather than erasing repeatedly, so you can see the pattern of error.
Finally, check tone separately. Value shapes can be correct even when a contour is slightly off, and a dark tone can make a small gap look larger. Compare the gap outline before and after shading; if the shape changes, the tone has crossed an edge.
- Count cell crossings for two long contours and compare with the reference.
- List which negative spaces are enclosed and which are open.
- Check each enclosed gap closes and each open gap stays open.
- Compare gap outlines before and after adding tone.
- Mark drift lightly and correct the start point before redrawing the curve.
Try this example
A reference grid is 5 columns by 4 rows, 10 cm wide and 8 cm tall, so each cell is 2 cm by 2 cm. You enlarge to 15 cm wide and 12 cm tall. A gap between a bowl rim and a book edge measures 1.5 cm in the reference. What cell size and gap width should the drawing have?
Show the worked explanation
The scale factor is 15 divided by 10, which equals 1.5. Each drawn cell is 2 cm times 1.5, or 3 cm by 3 cm. The grid remains 5 by 4. The gap should be 1.5 cm times 1.5, or 2.25 cm. If the drawn gap measures about 3 cm, check whether the bowl rim or book edge sits in the wrong cell row before changing the curve.
Common mistakes
- Changing the number of grid cells while enlarging the drawing. Keep the same column and row count and multiply only the cell size by the scale factor.
- Drawing object outlines first and treating negative spaces as leftover areas. Draw two or three enclosed gaps as closed shapes first, then build the adjacent object edges from them.
- Judging a gap after shading has darkened nearby areas. Measure and compare the gap outline before adding tone, then recheck it after shading.
Check your work
- Grid column and row counts match the reference.
- Drawn cell width and height equal the reference cell size multiplied by one consistent scale factor.
- At least two enclosed negative spaces are drawn as closed shapes before adjacent object contours.
- Measured gap widths at narrow and wide points match the calculated scaled values within a stated tolerance.
- Enclosed gaps remain closed and open gaps remain open after contour work.
- Tone shapes stay inside confirmed contours and do not alter gap outlines.
Questions before you start
How do I know my grid cells are the right proportion?
Measure one cell width and height on your paper. They should match the scale factor applied to the reference cell. Square reference cells must produce square drawn cells.
What if a negative space is open rather than enclosed?
Treat it as a region bounded by the paper edge or by an imaginary line. Measure its width at fixed rows or columns instead of trying to close it.
Can I use negative space with a value reference?
Yes, but confirm contours first. Use the gap outlines to check placement, then apply tone shapes inside the confirmed boundaries.