Free printable resources · Original practice

Coordinate graphing pictures.
Plot the reveal.

Plot ordered pairs to reveal 12 original pictures. Start in the first quadrant, then use signed coordinates. Separate stroke lists tell you exactly when to lift your pencil.

12 different pictures.
Two coordinate ranges.
Separate named answer keys.

Choose your paper and download

Download paper size

Every worksheet and answer is free. No signup.

The complete collection

One pack for each version.

Download the student pack for practice and the separate answer pack to compare. Individual editable sheets appear below. The paper-size choice applies to every download button.

12 pages per file · free · CC BY 4.0

All paper sizes & editable formats
US Letter
A4

Read the stroke breaks before you draw

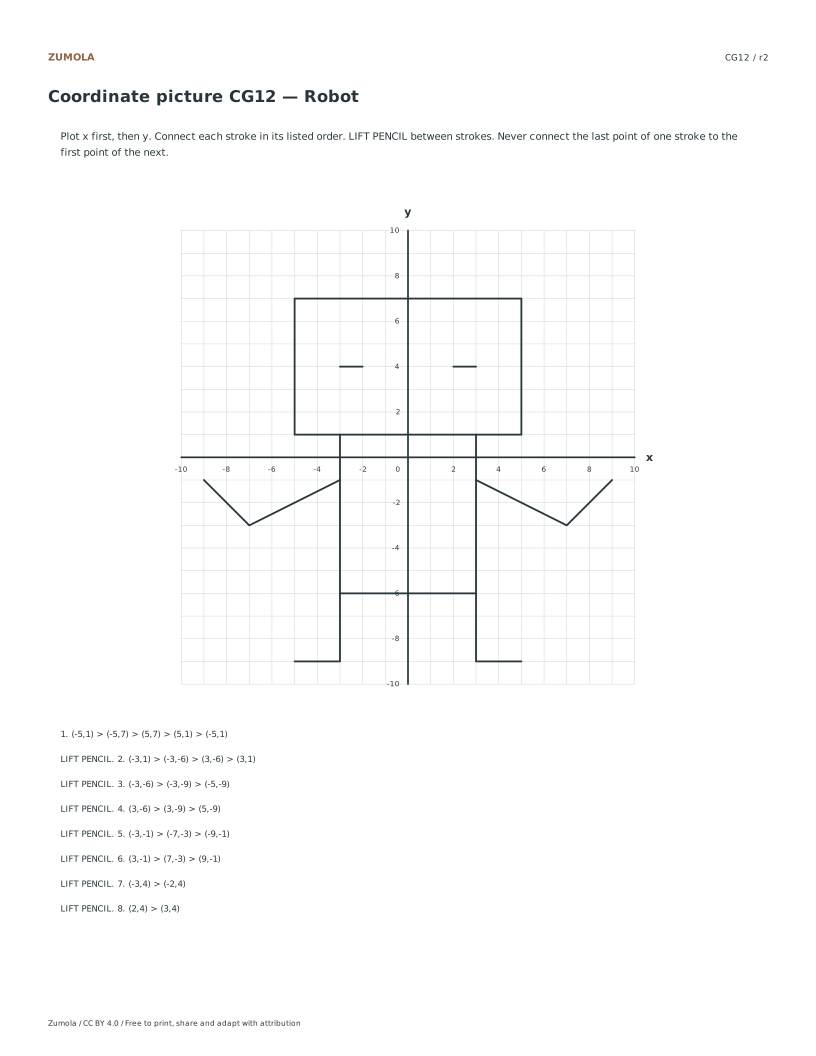
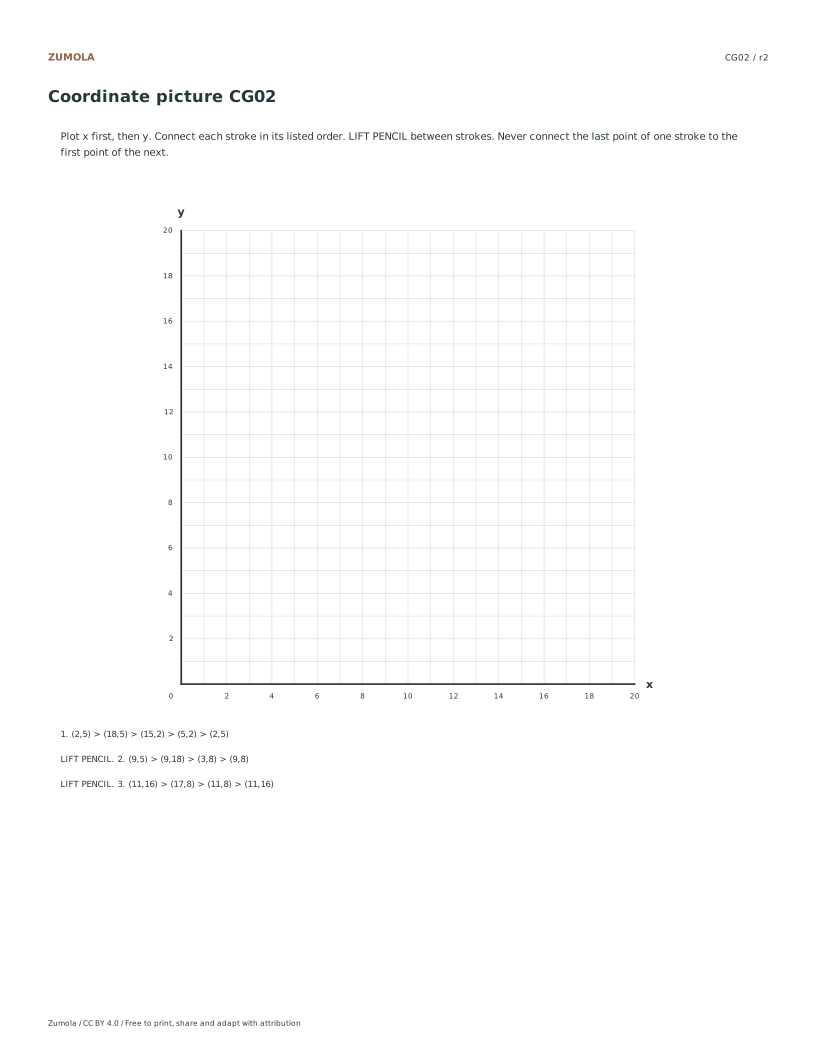
A short sample is (2,3) → (8,3) → (8,7) → (2,3). It makes one closed triangle. A second list begins a new stroke: lift your pencil before its first point. Do not create an extra joining line between the two lists.

Worksheet IDsCoordinate rangeDistinct picture subjects
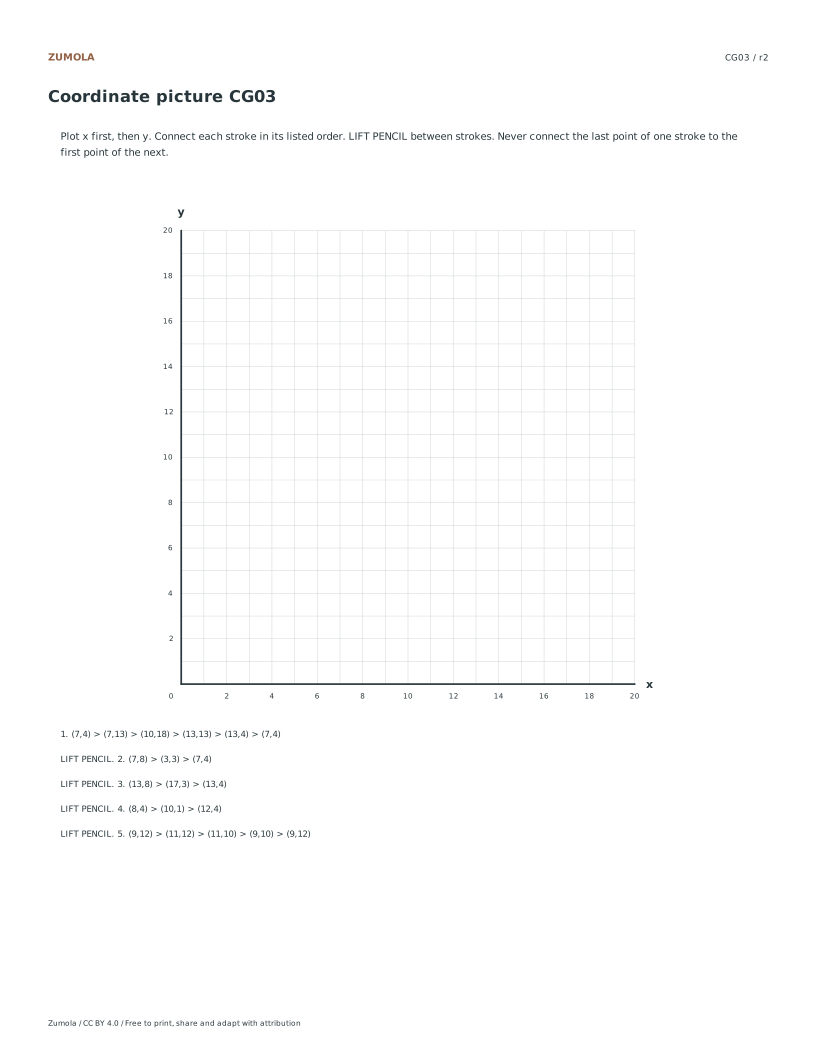
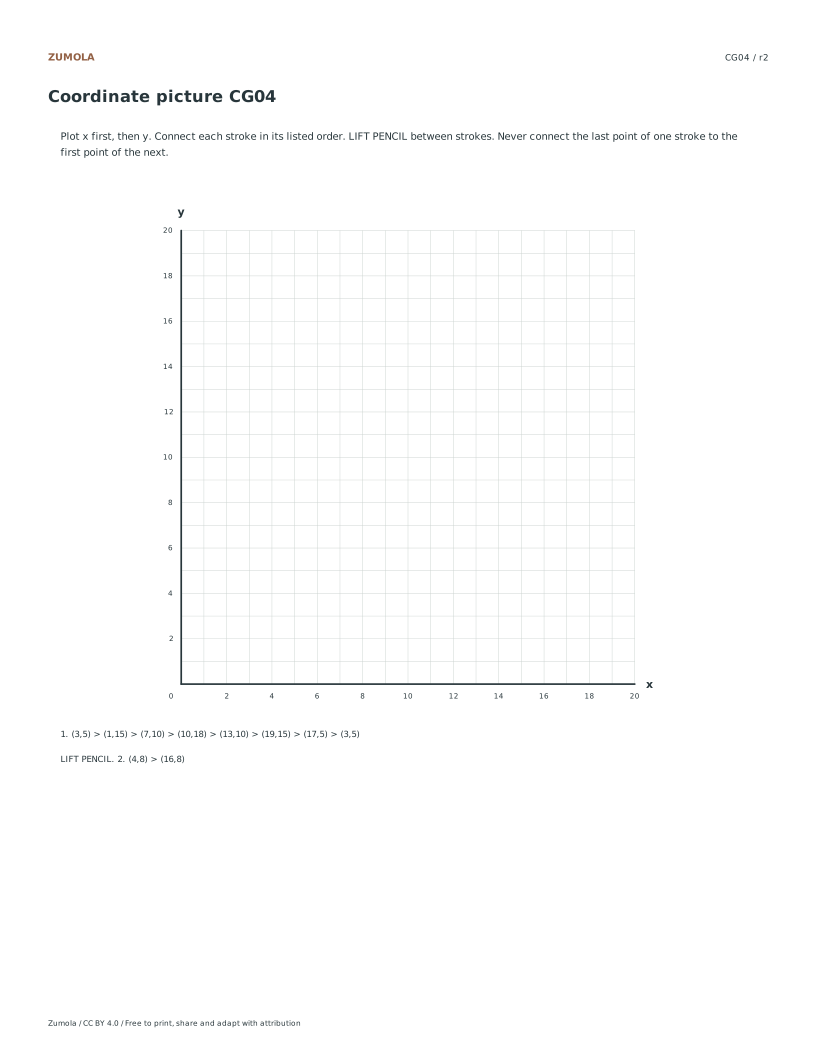
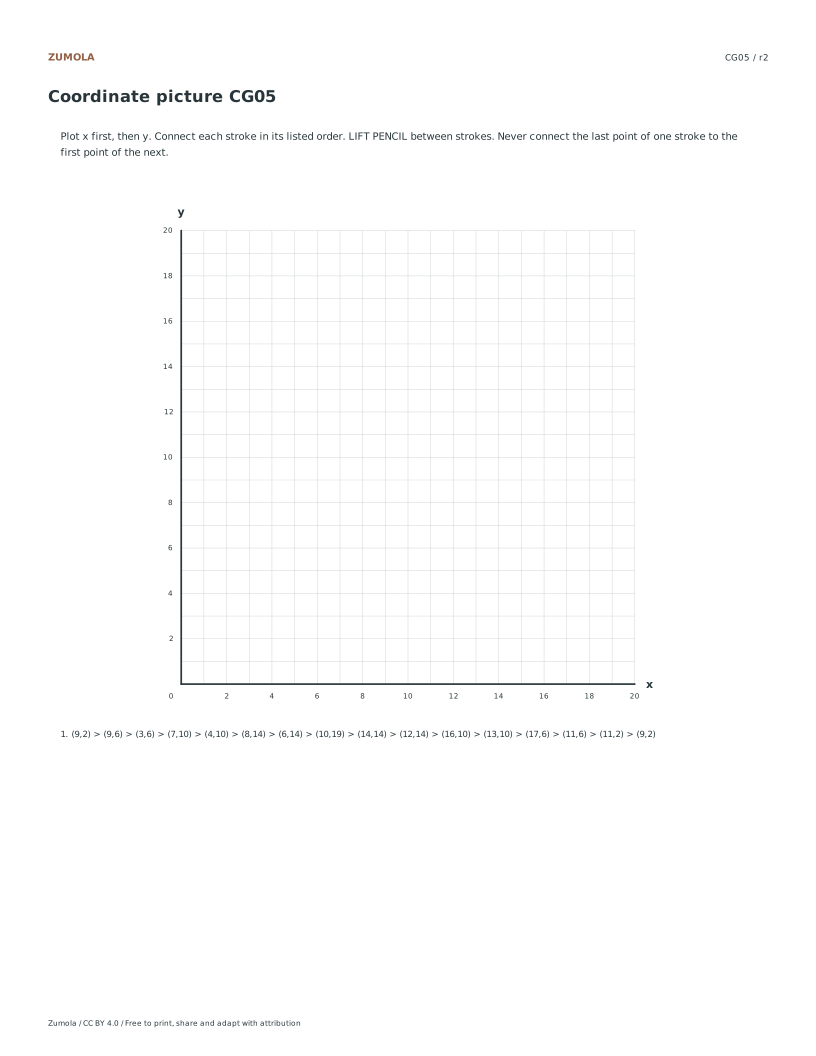
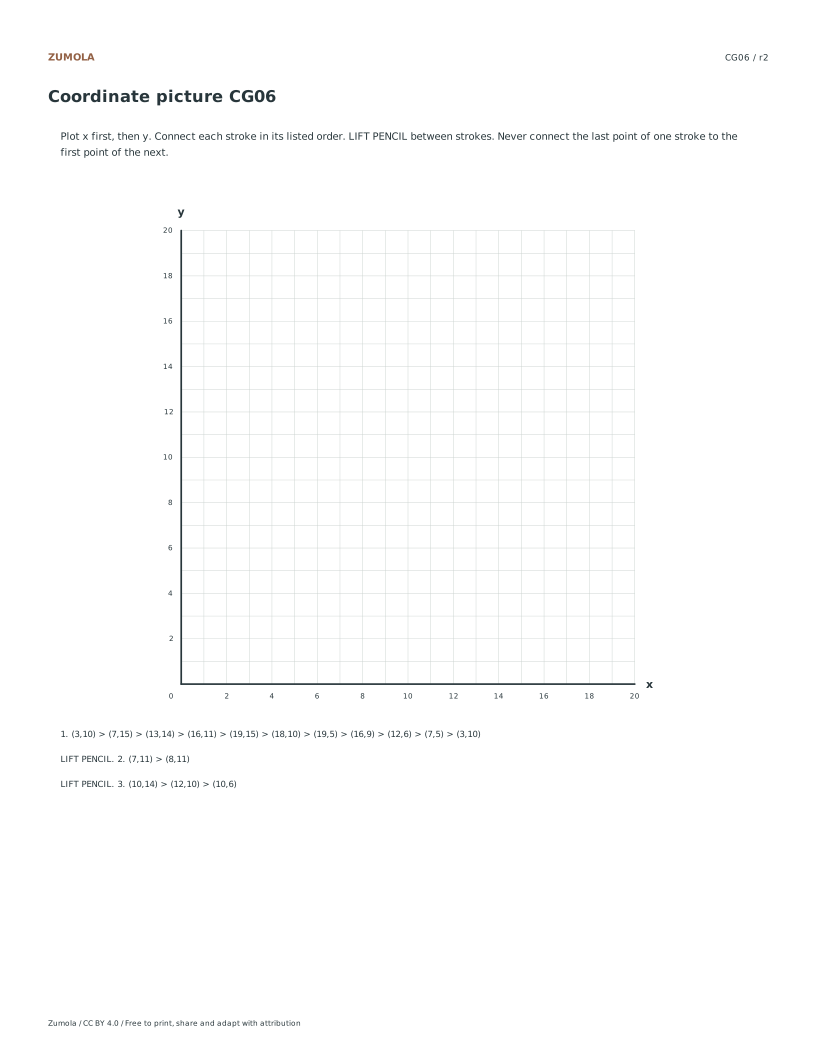
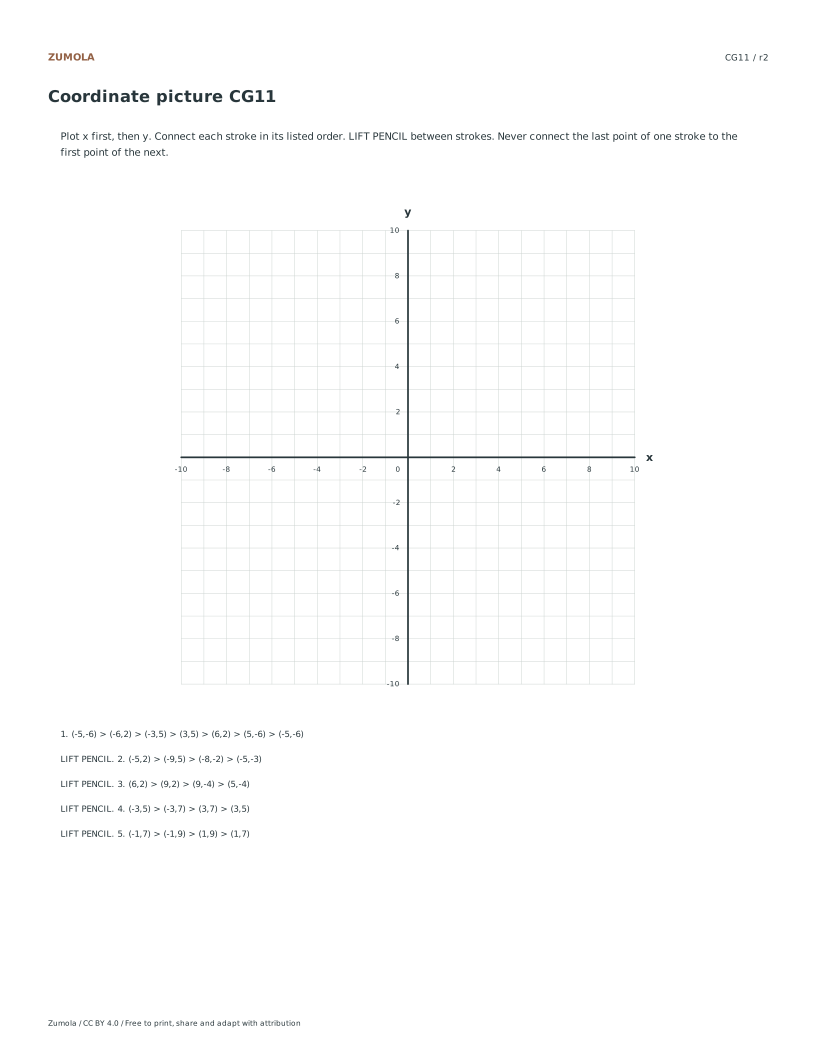
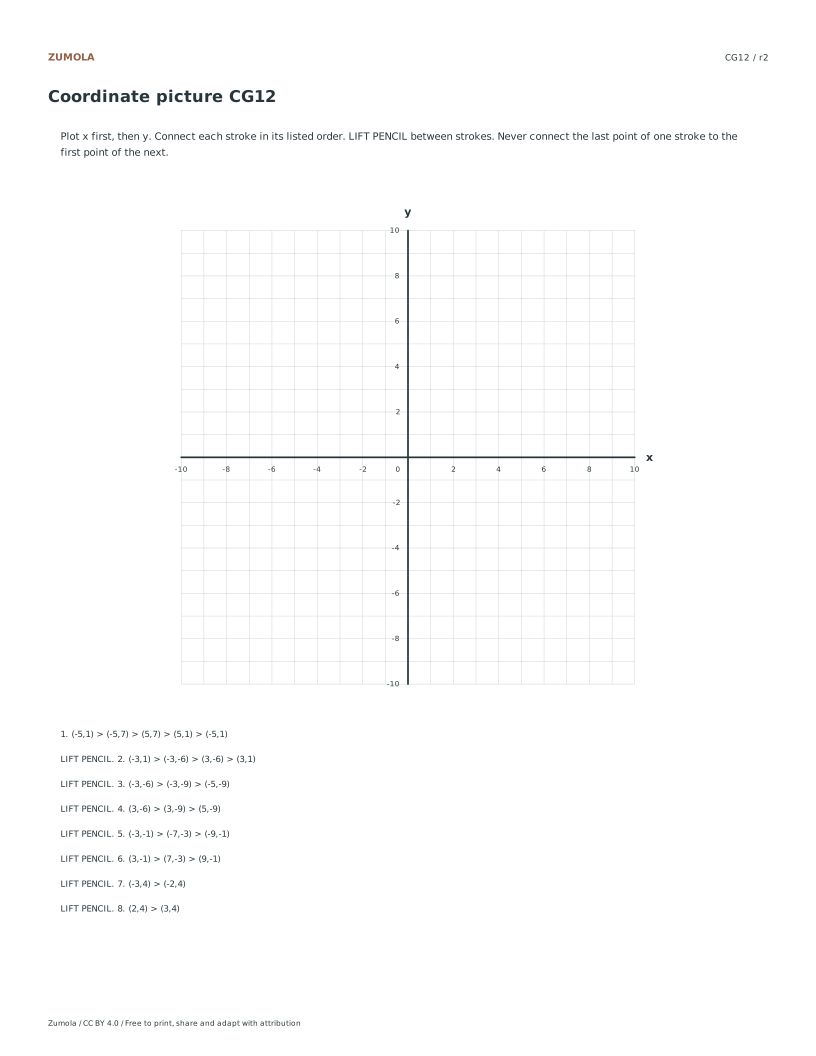
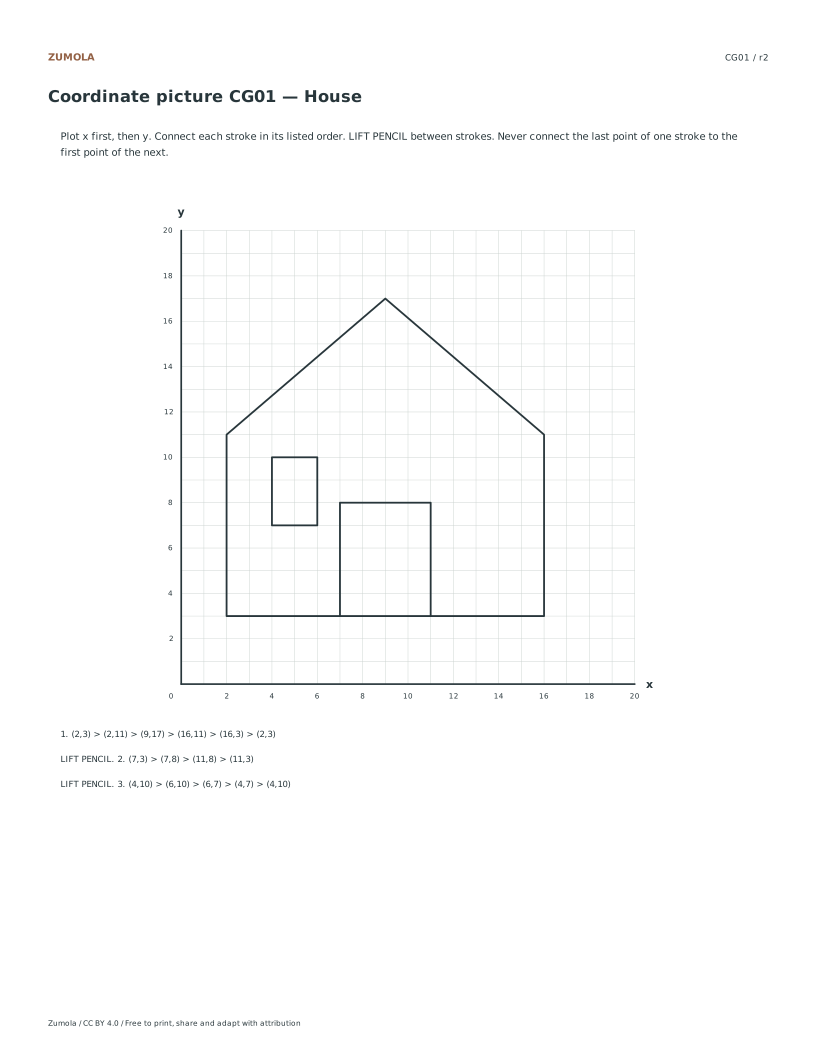
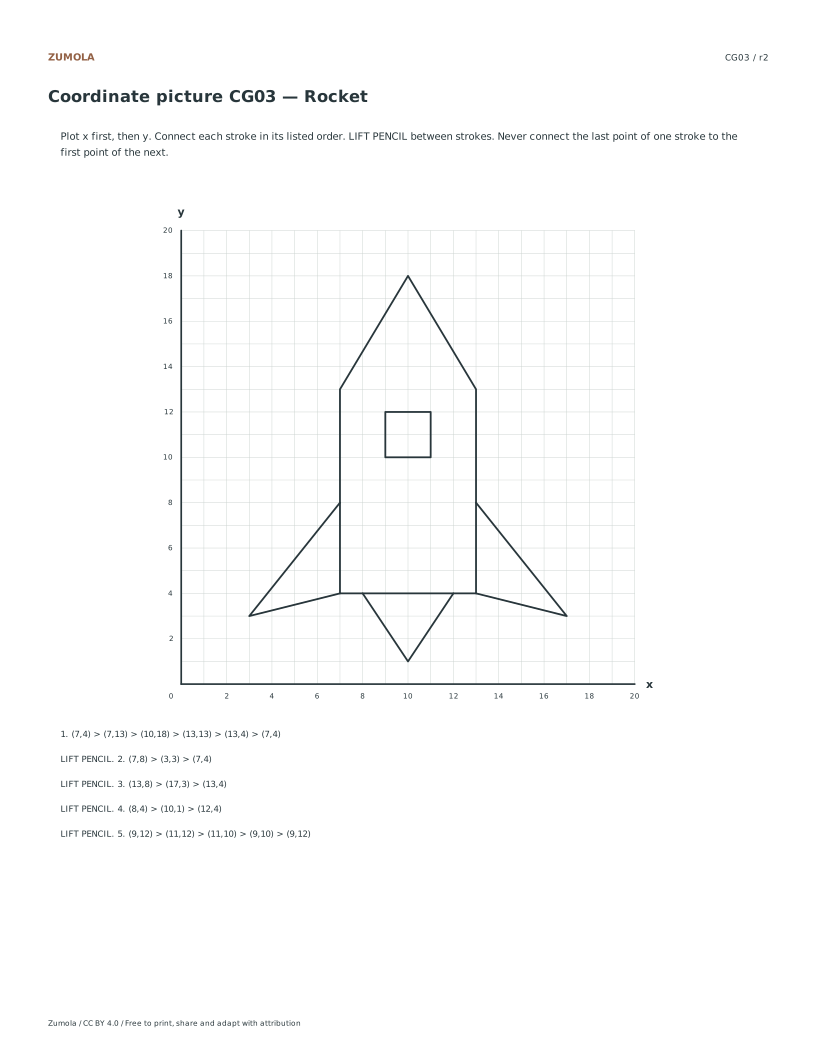
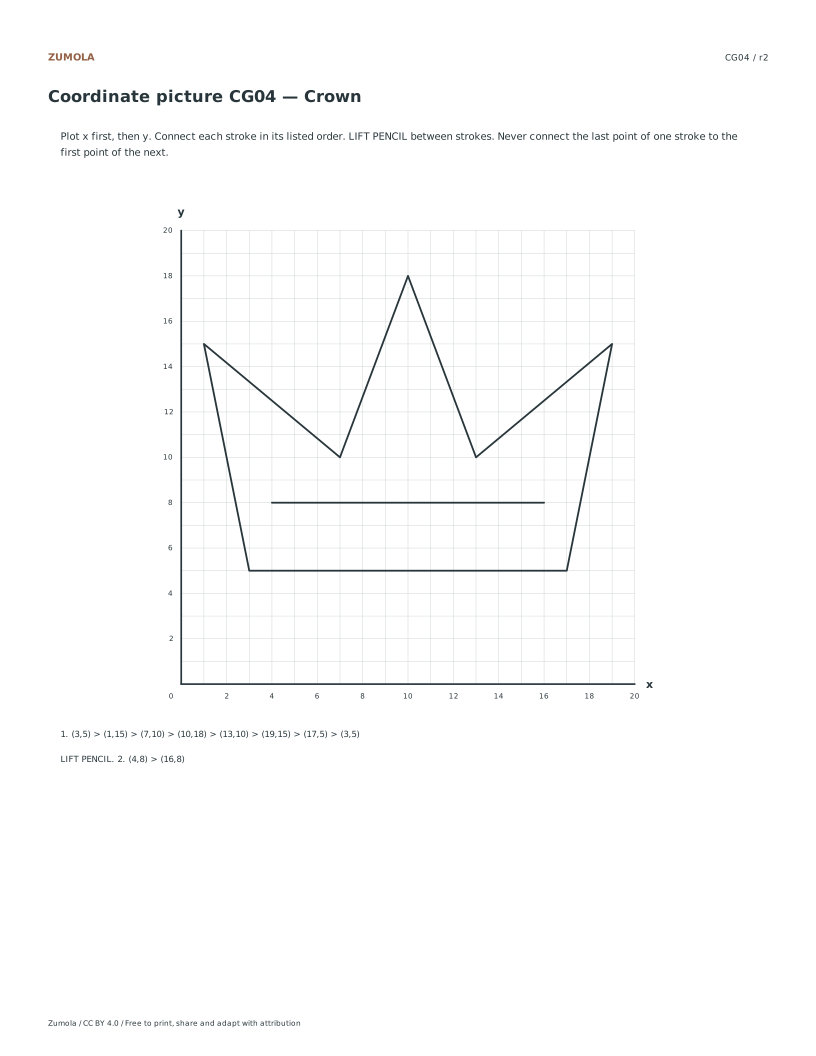
CG01–CG060 to 20 on x and yHouse, sailboat, rocket, crown, tree, fish
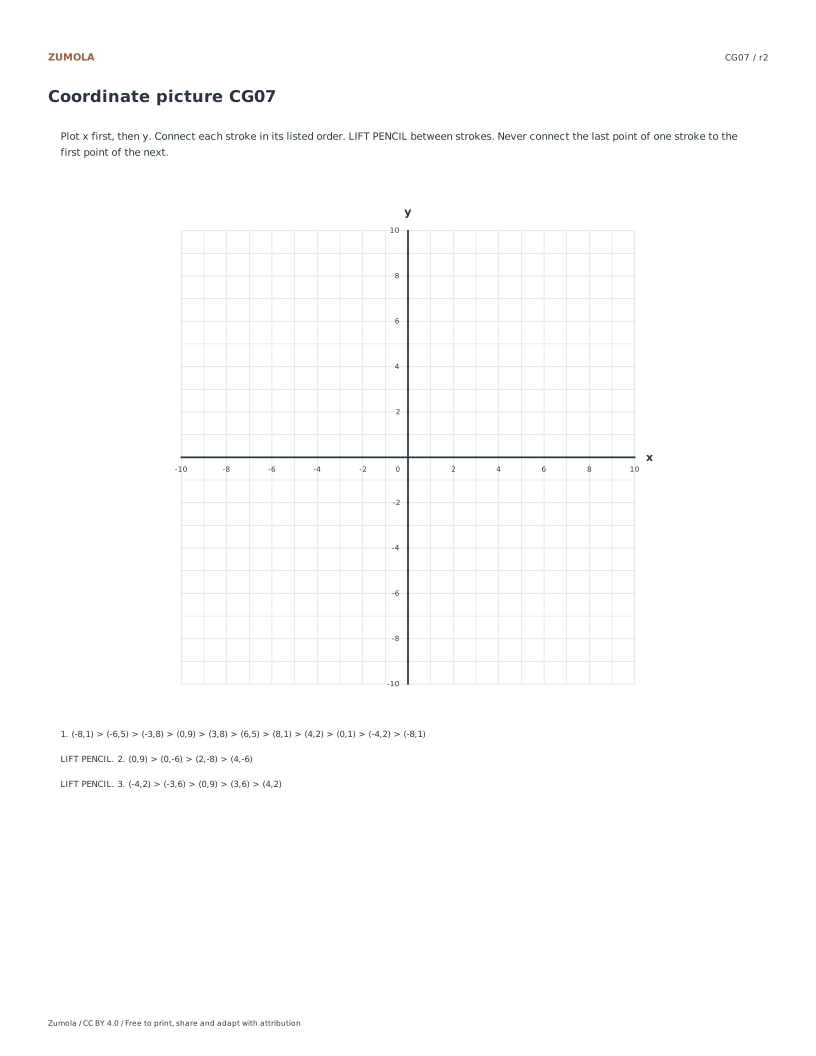
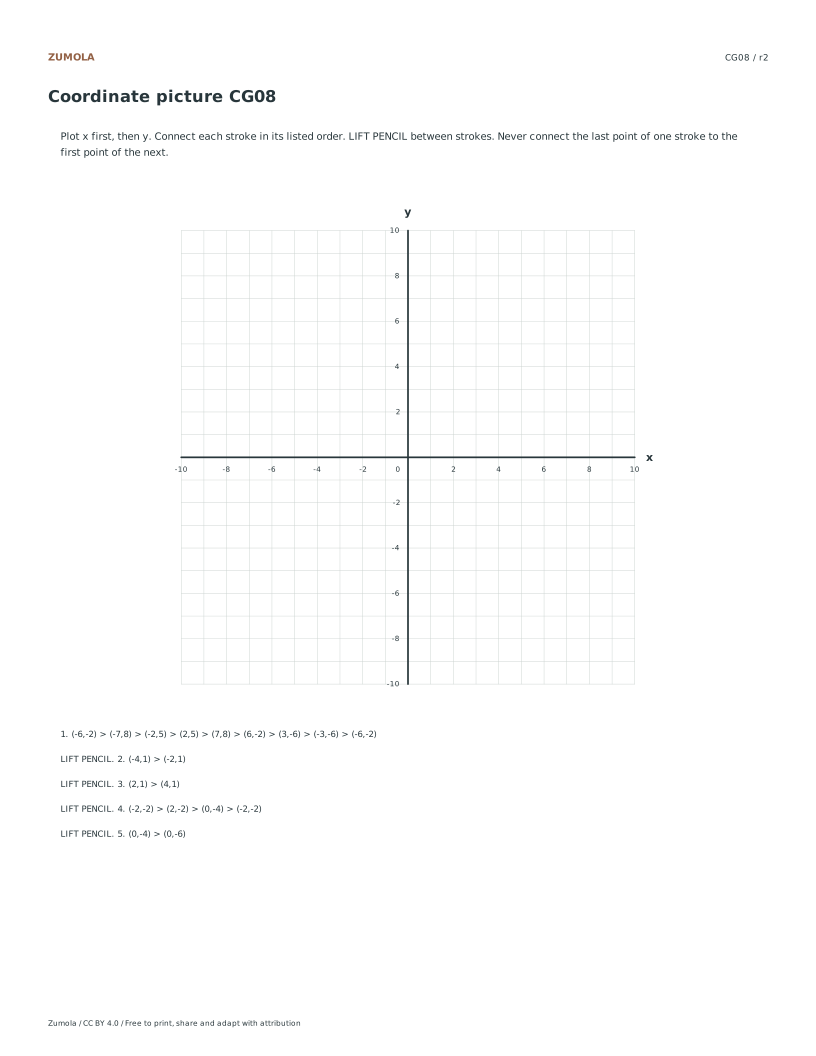
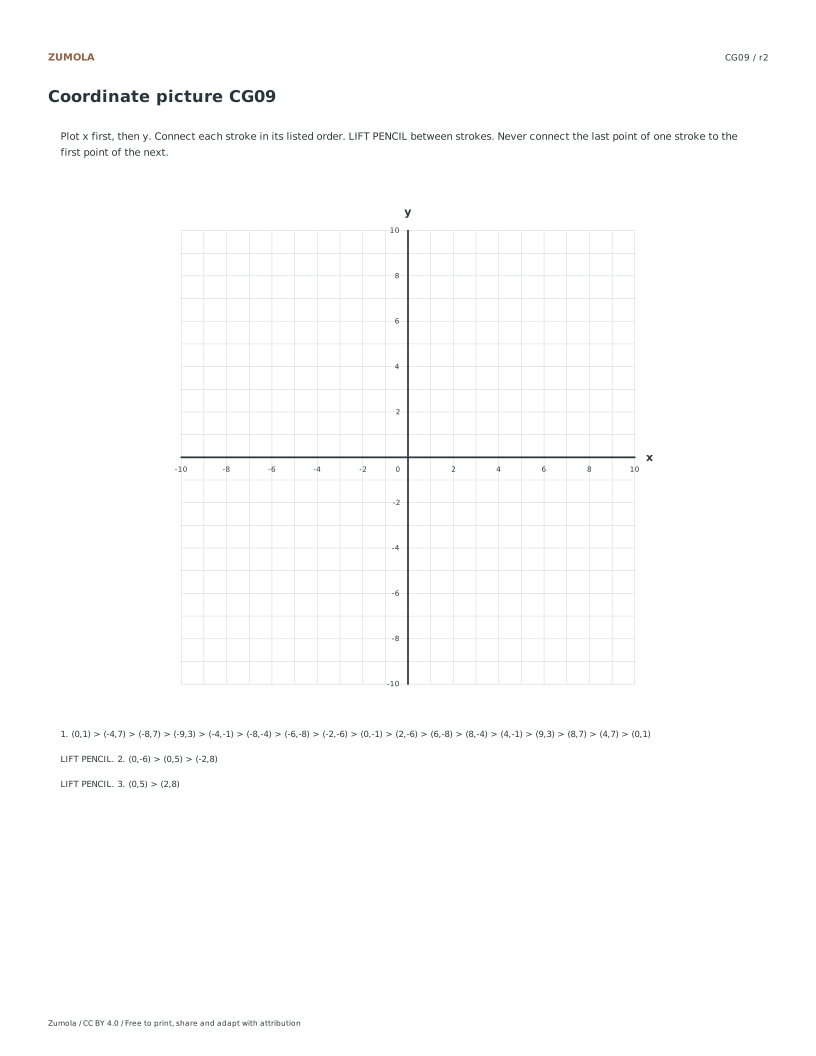
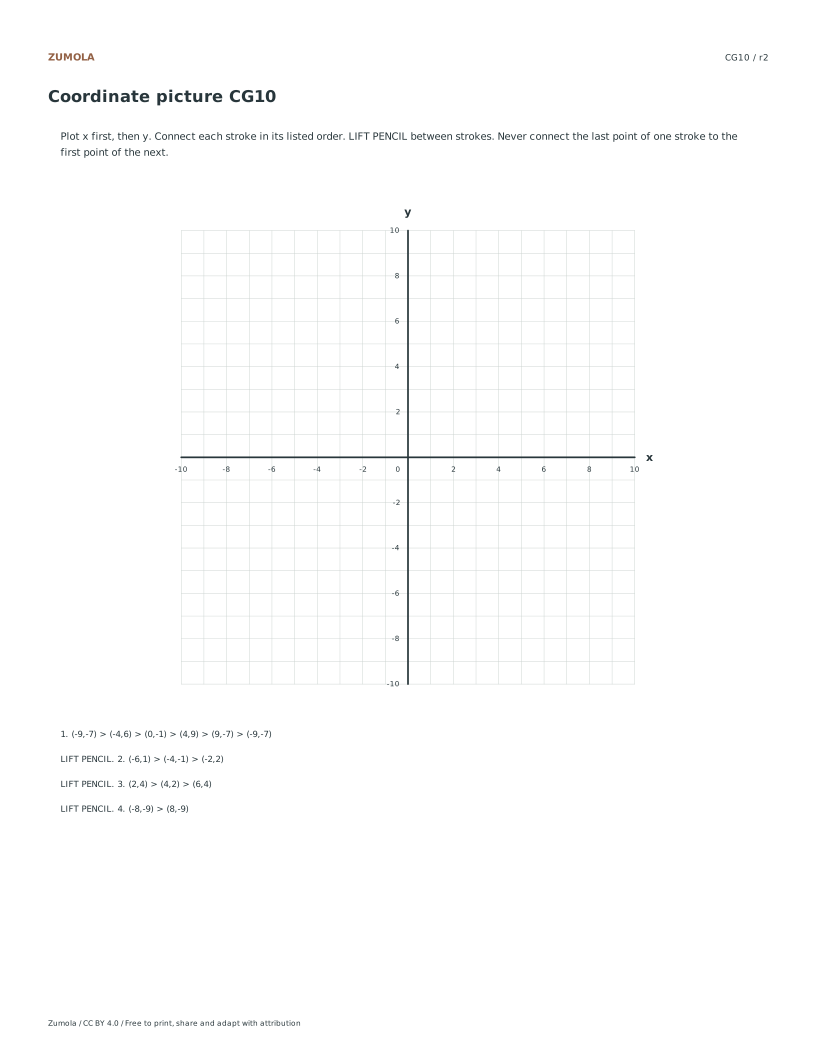
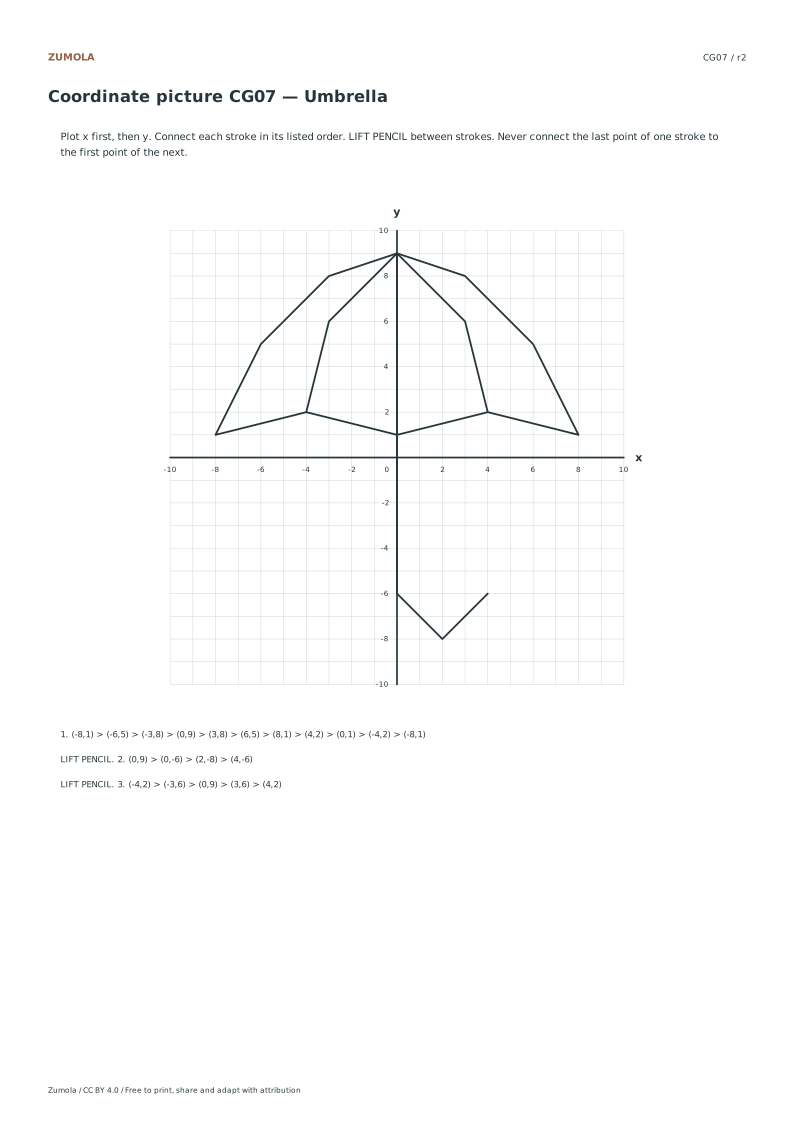
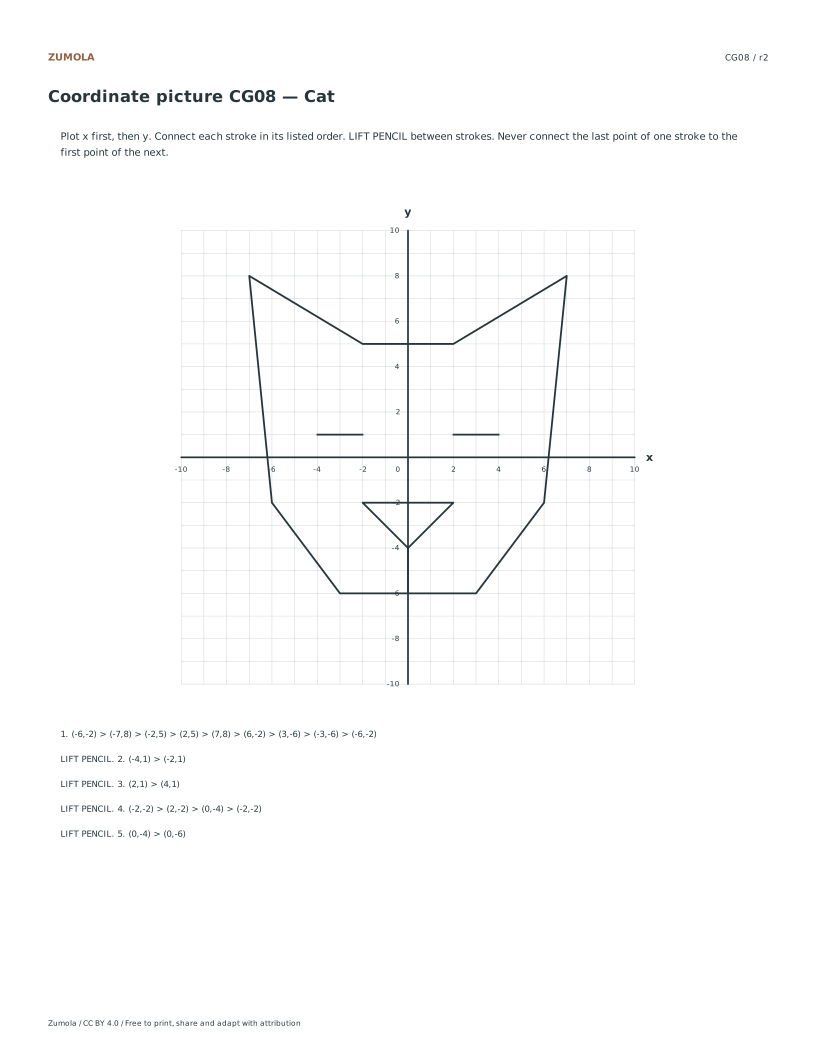
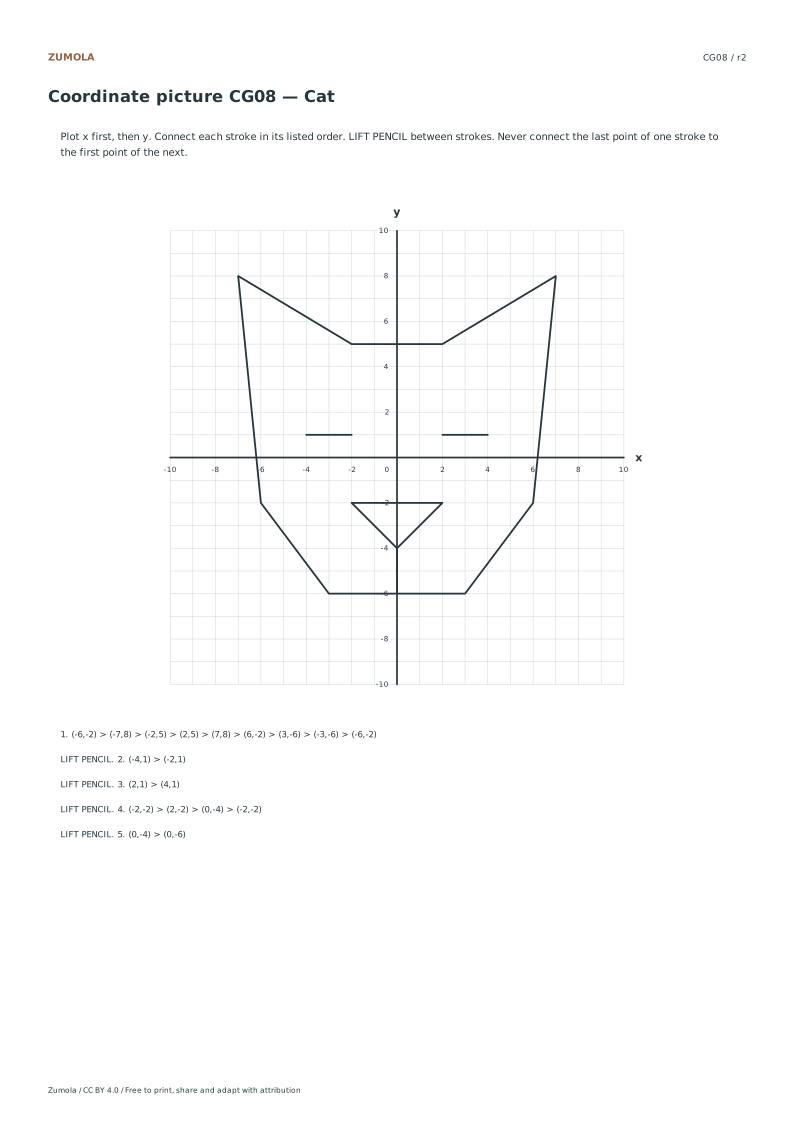
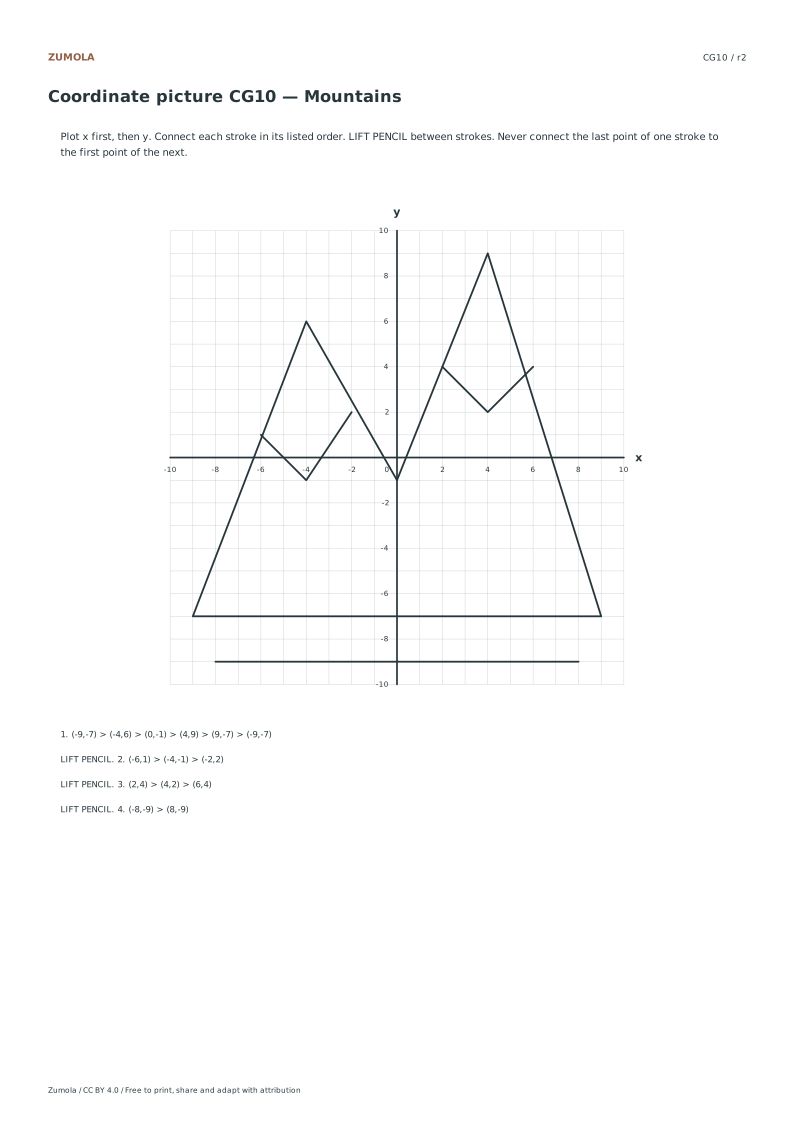
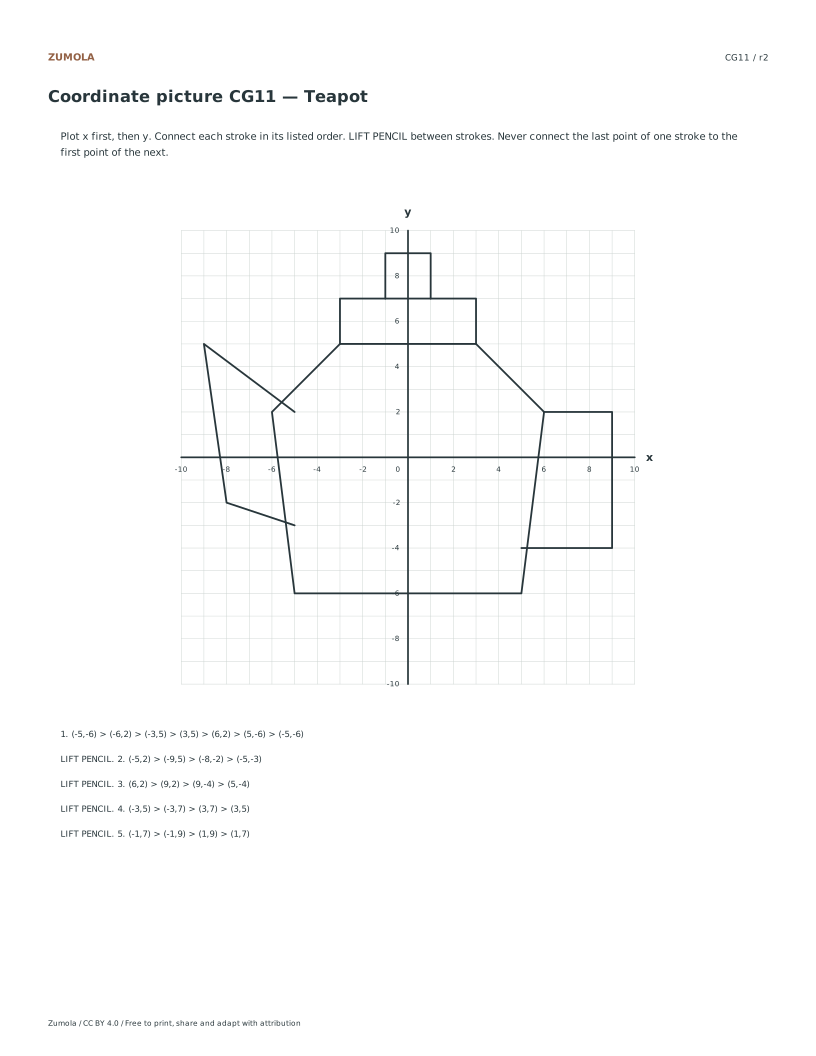
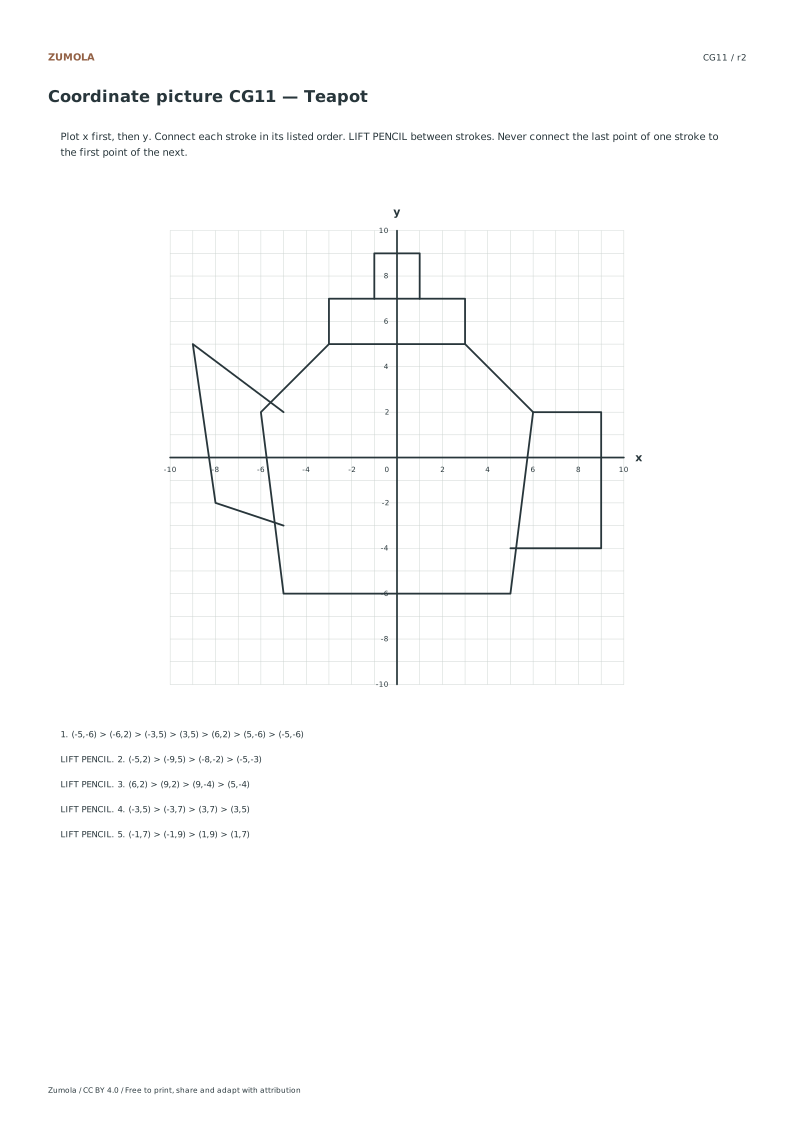
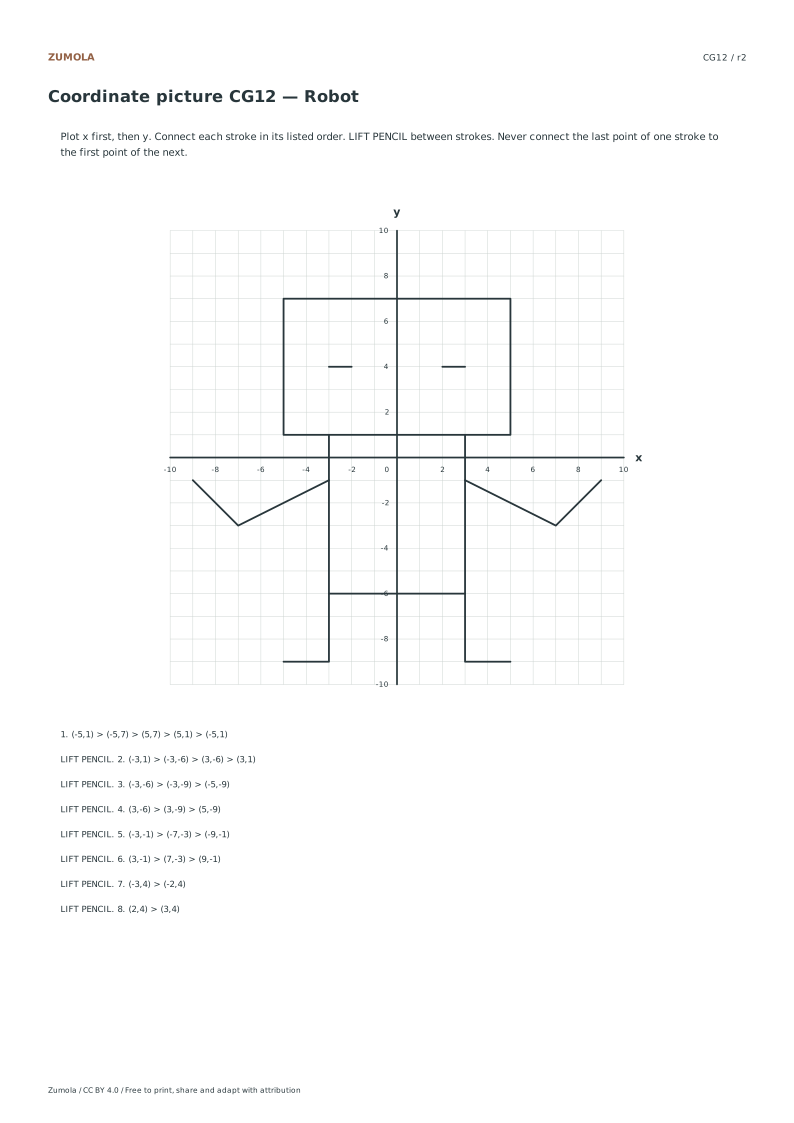
CG07–CG12−10 to 10 on x and yUmbrella, cat, butterfly, mountains, teapot, robot

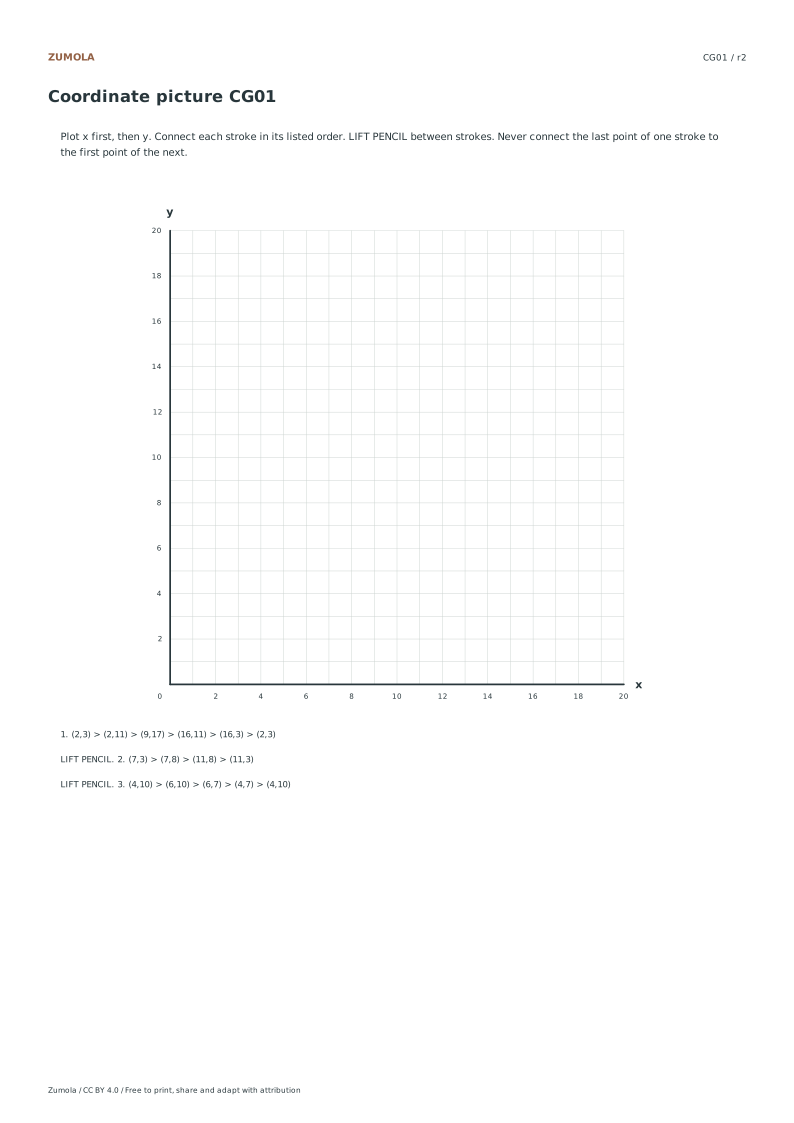
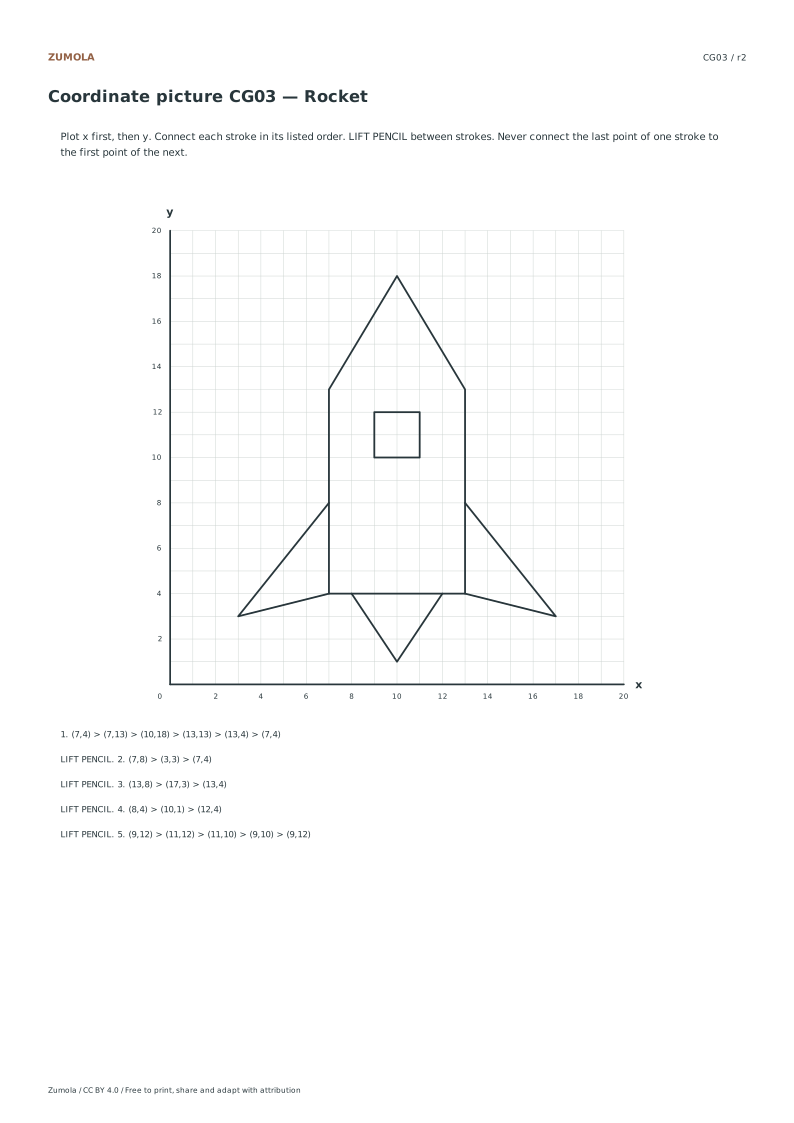
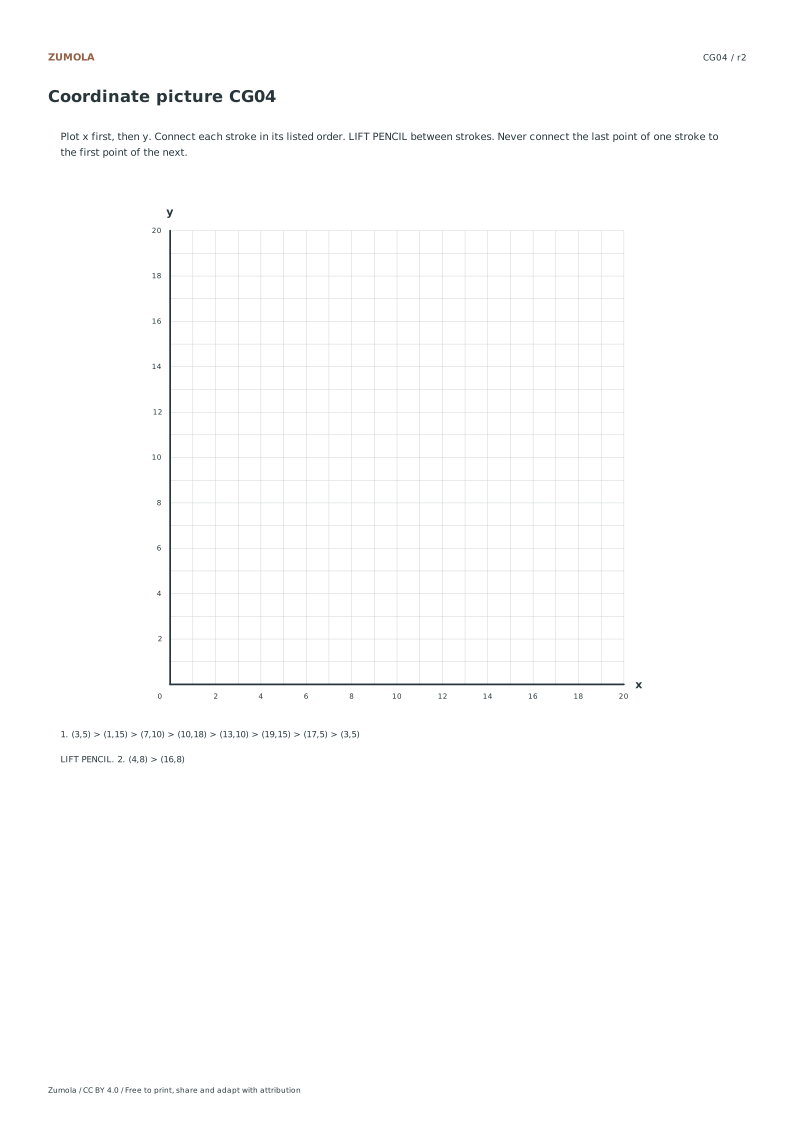
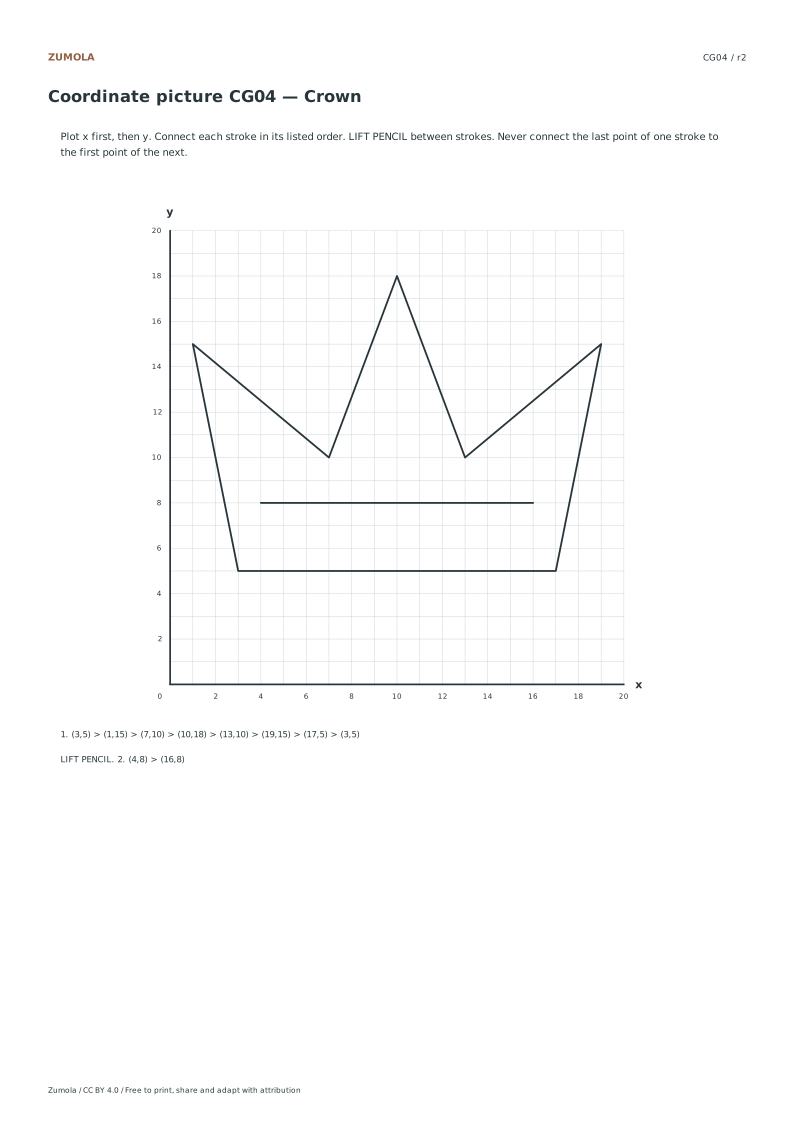
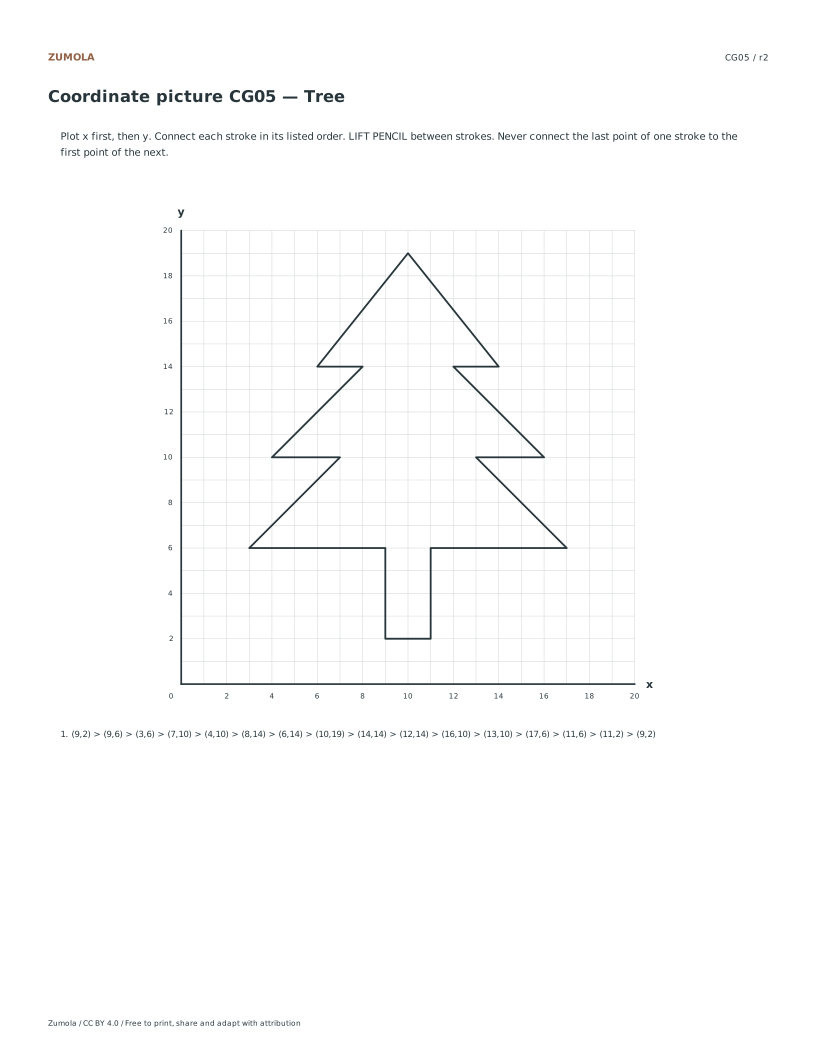
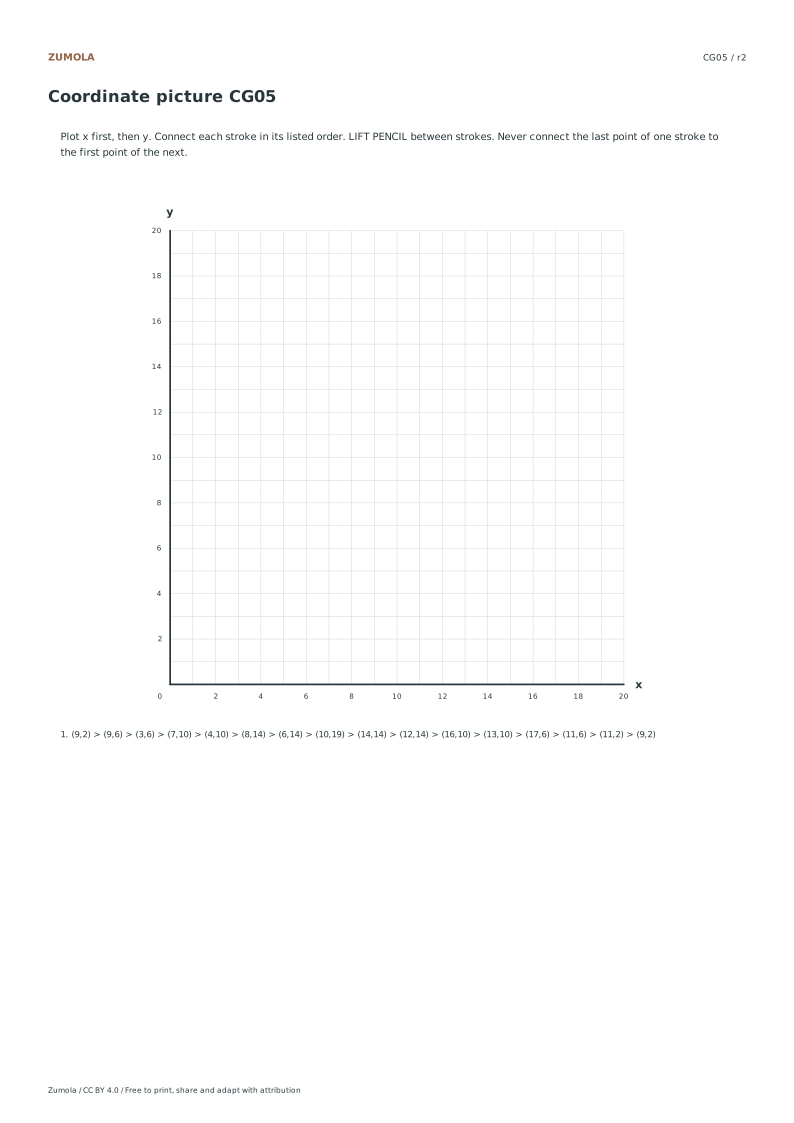
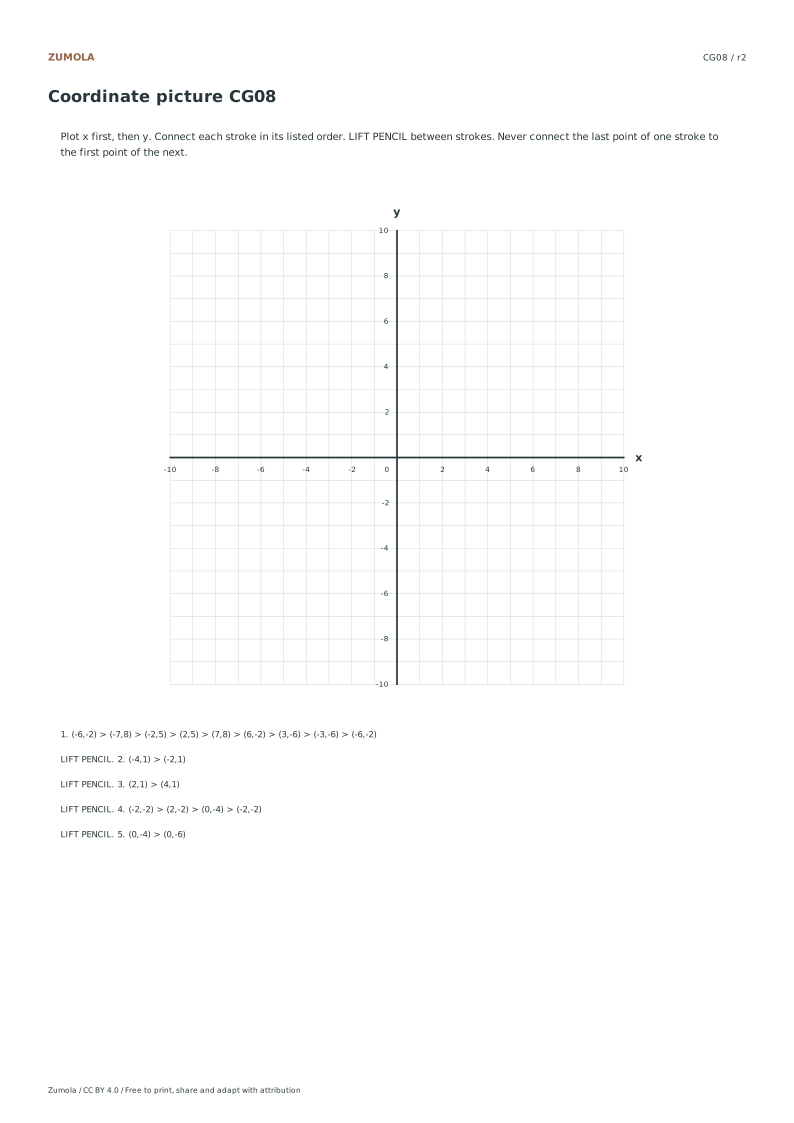
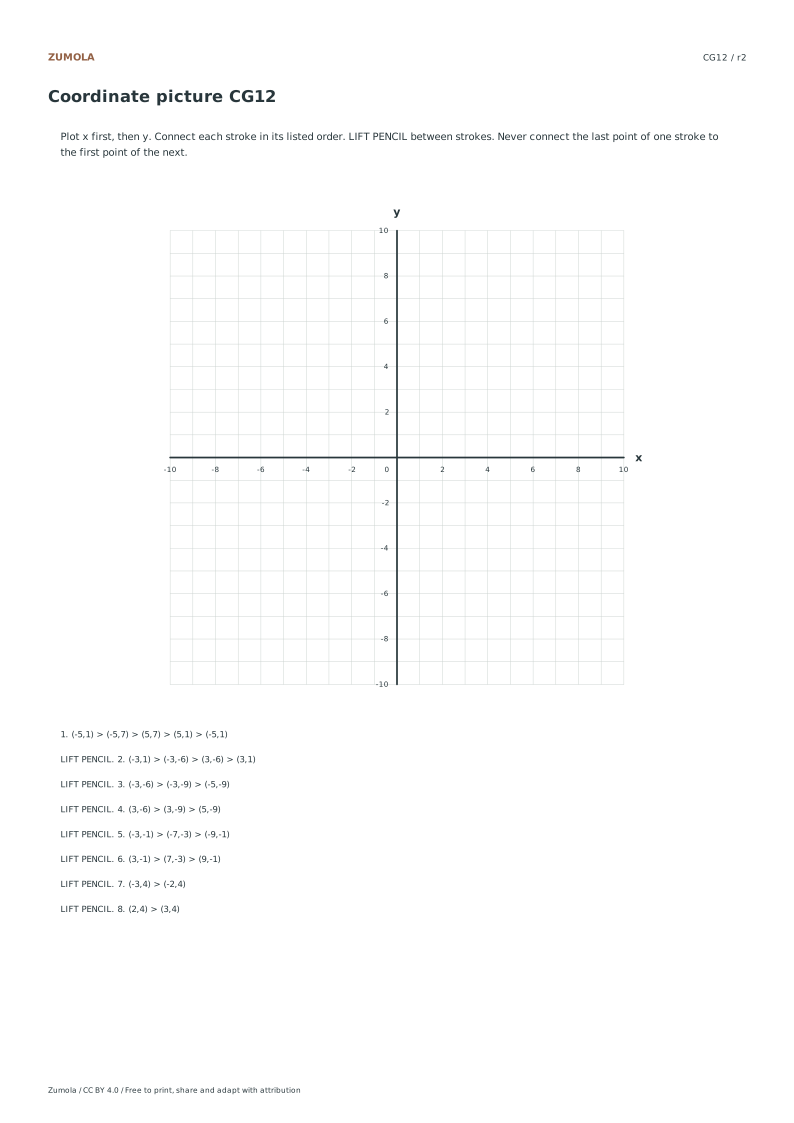
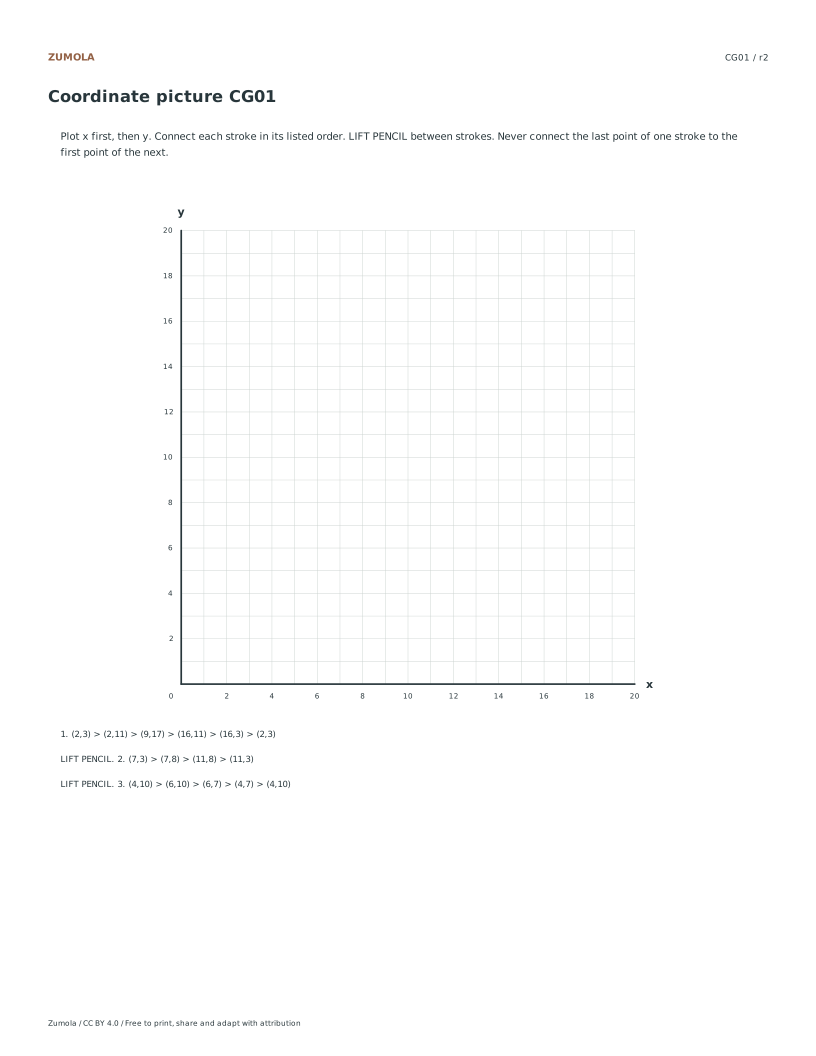
All listed coordinates are integers within the worksheet range. The arrow/order in a list tells you what to connect, while LIFT PENCIL separates independent details. The student preview does not reveal the finished line drawing; the answer page uses exactly the same coordinates.
Work through the page

  1. Preparing Your Workspace

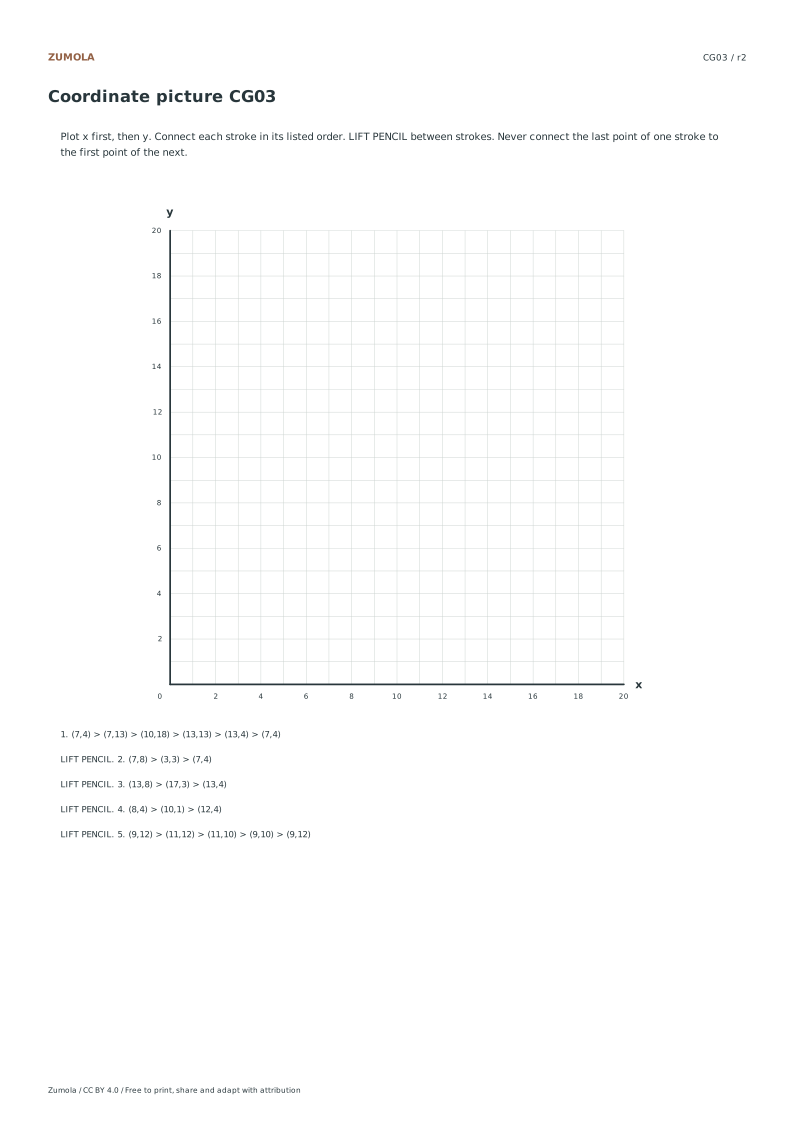
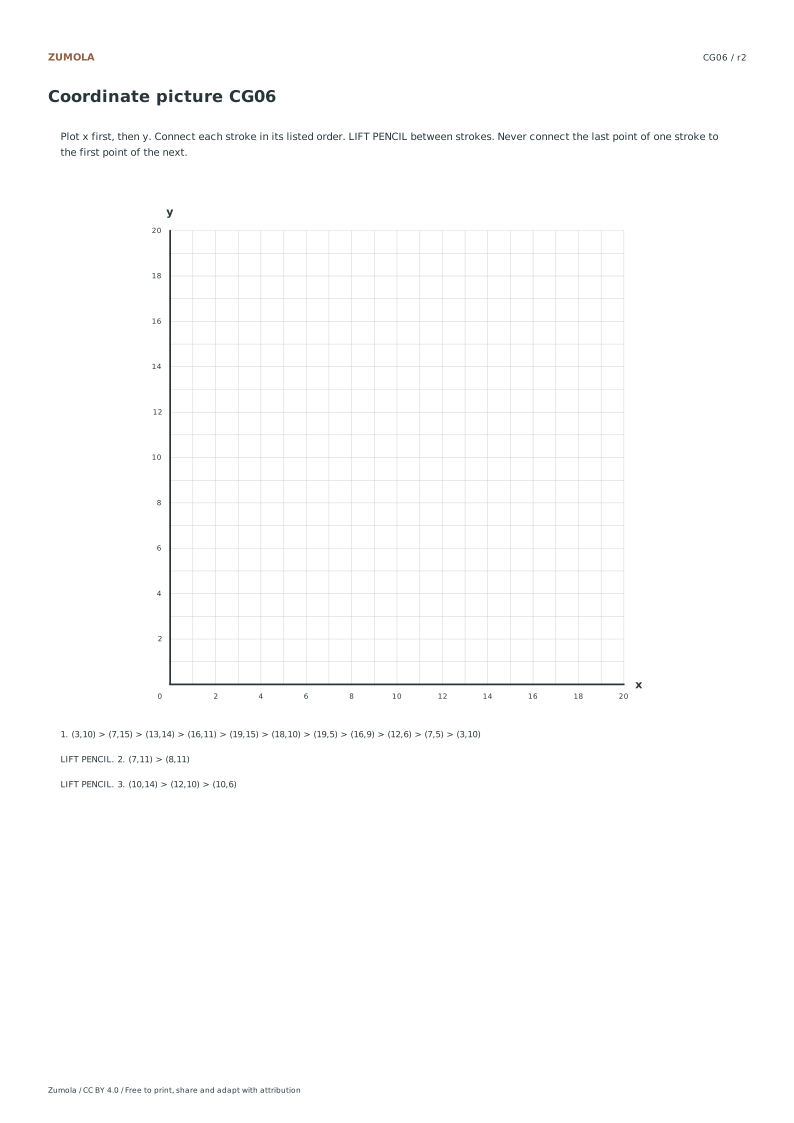
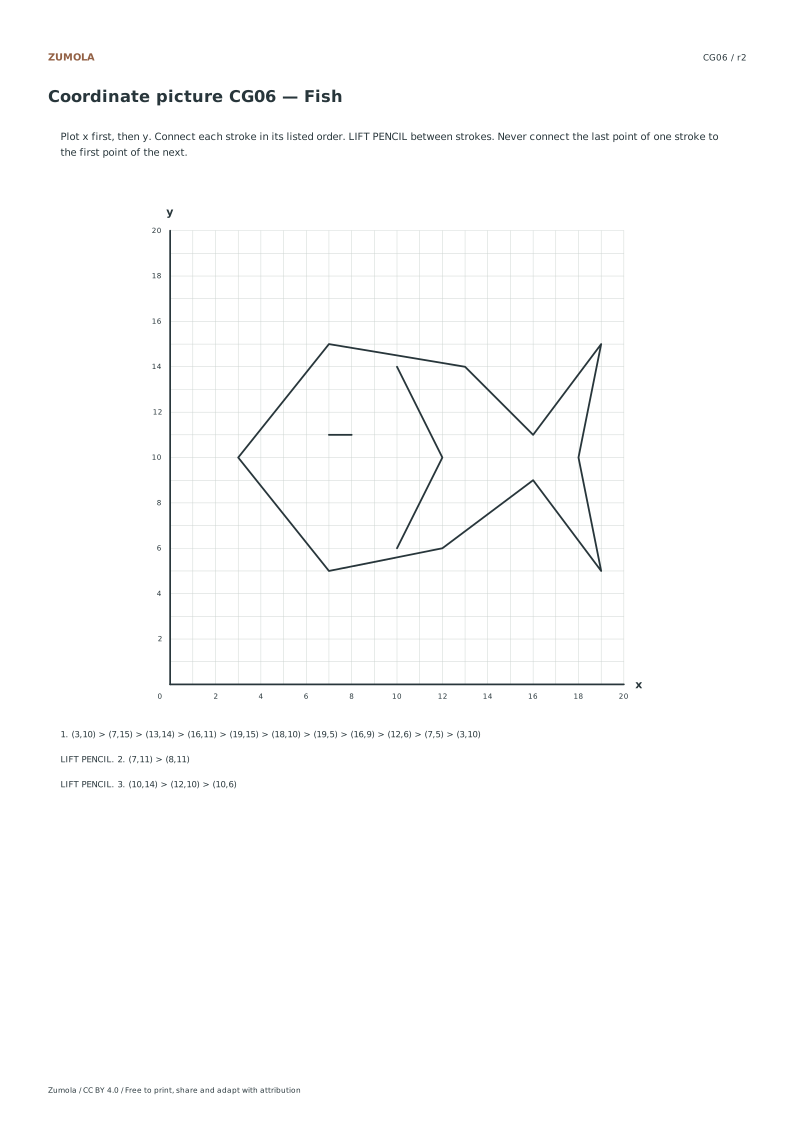
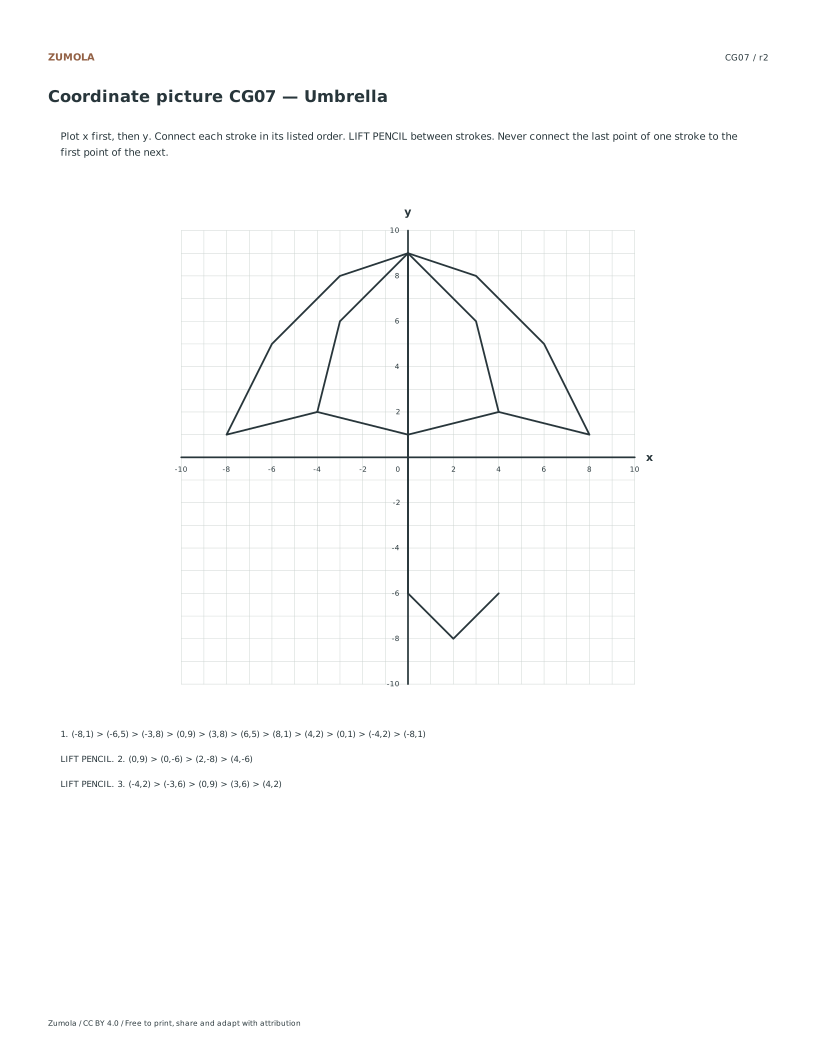
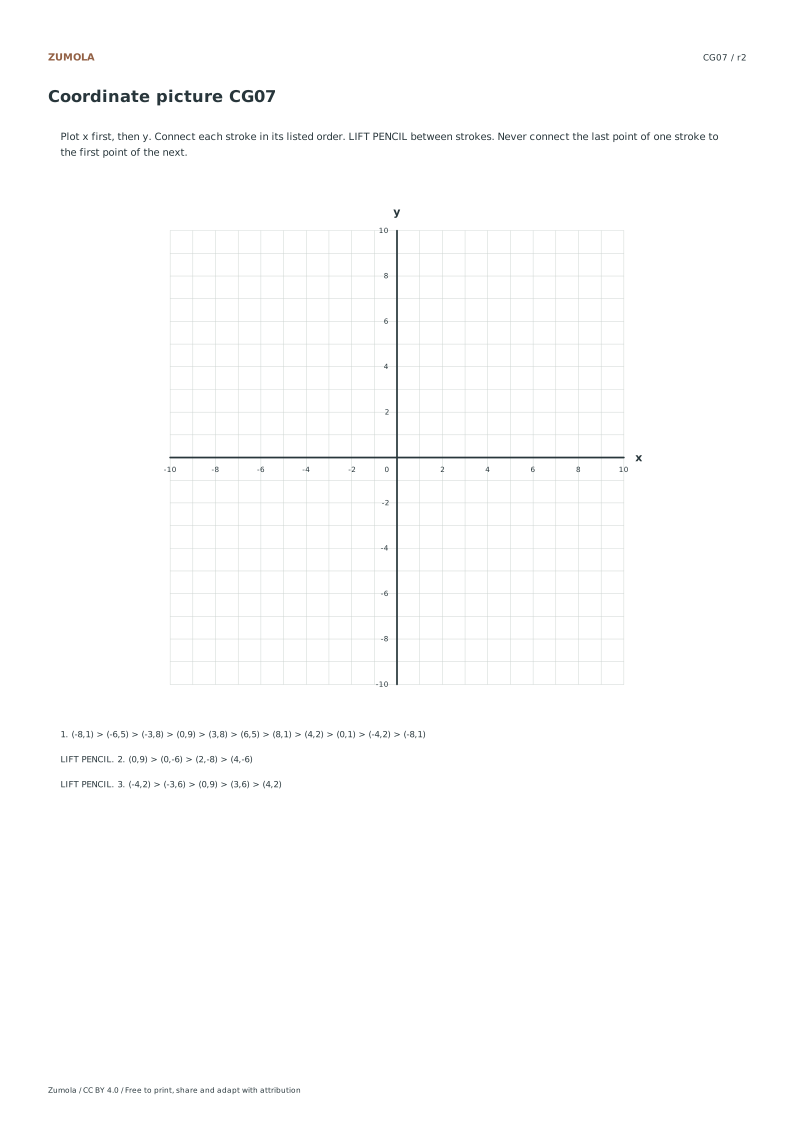
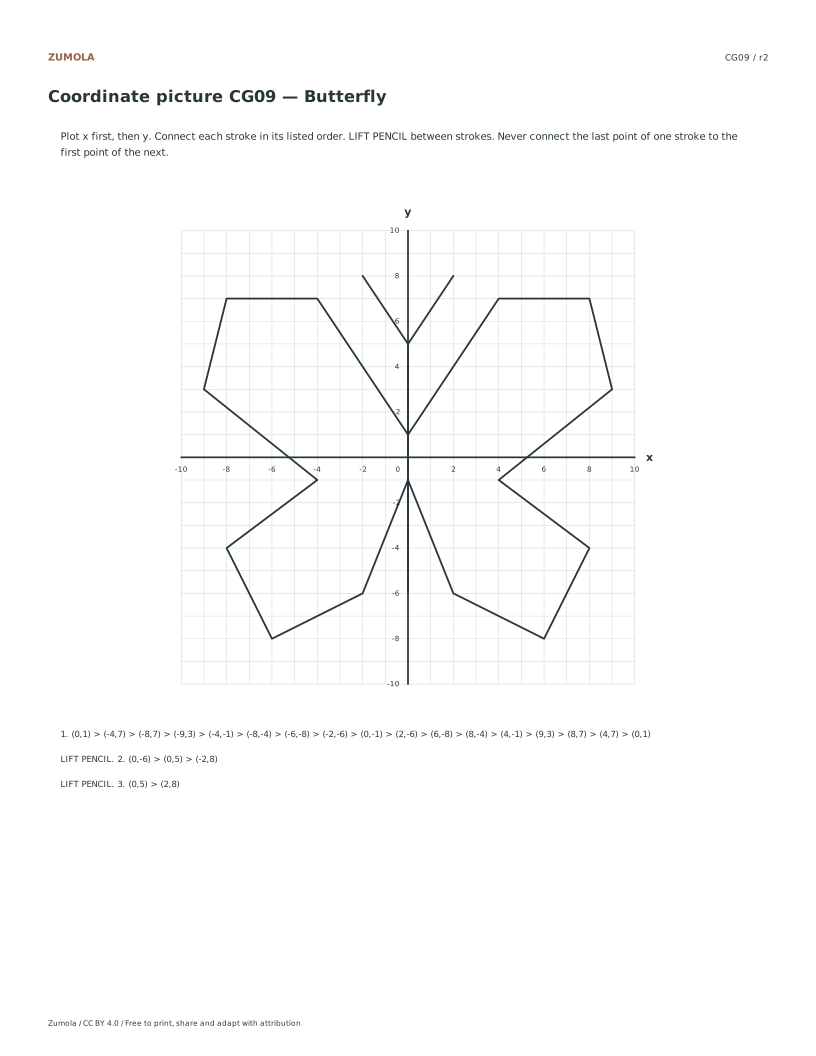
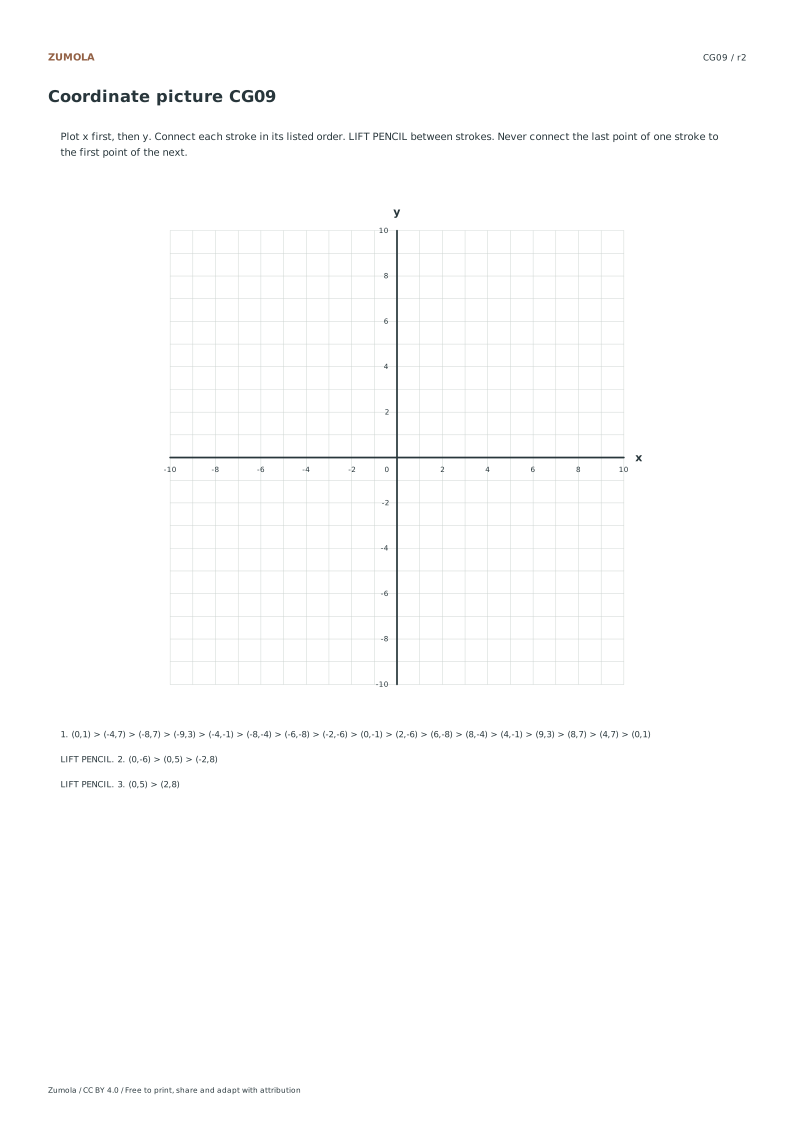
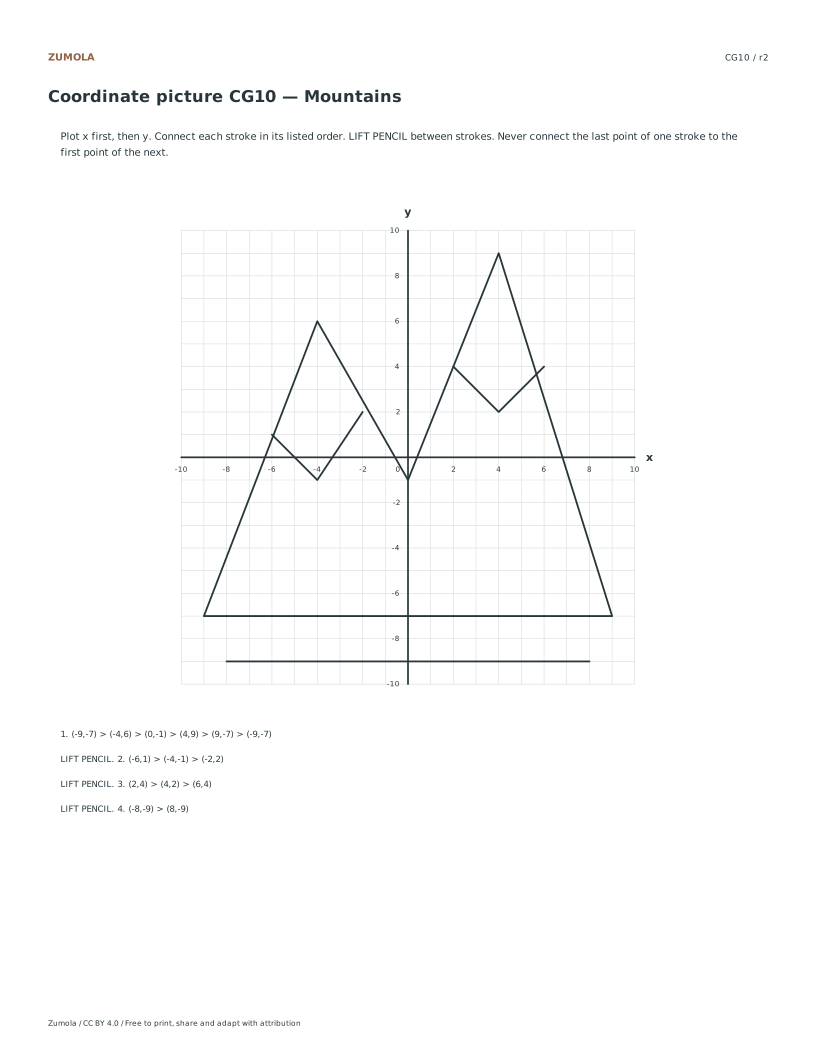
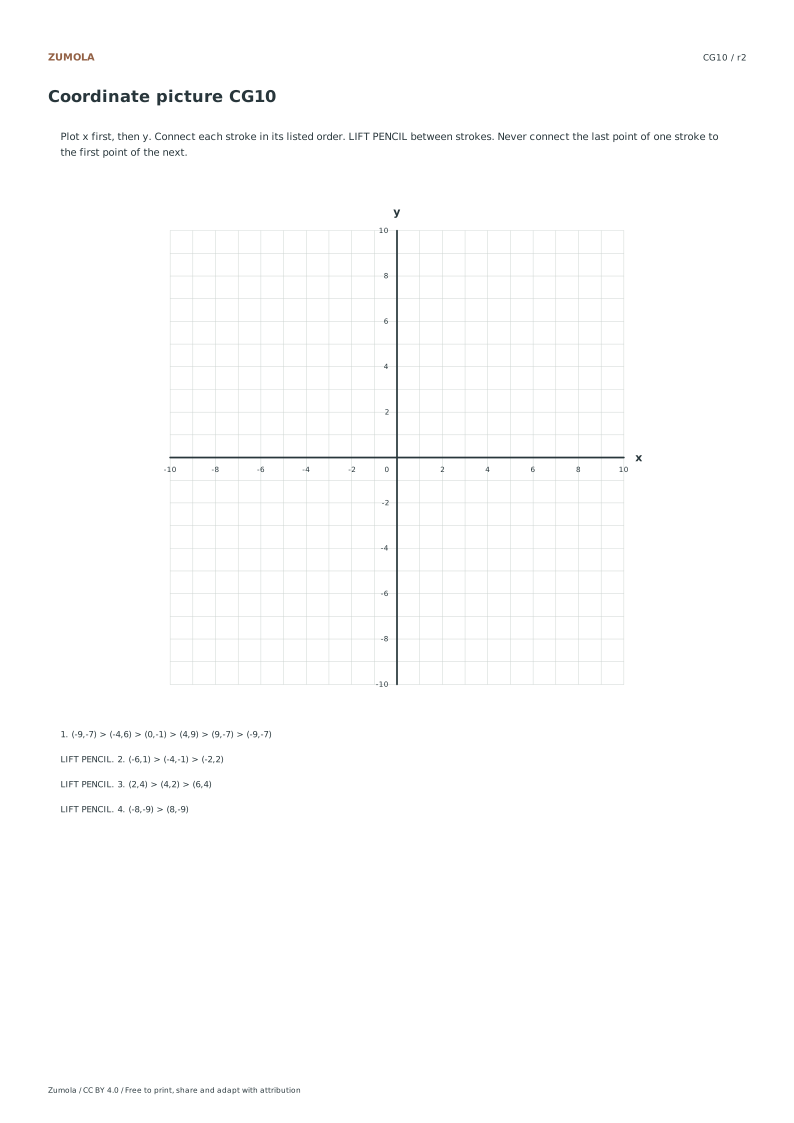
    Choose CG01–CG06 to practice positive coordinates on a 0 to 20 first-quadrant plane. Choose CG07–CG12 for signed coordinates on a -10 to 10 four-quadrant plane. Each worksheet contains its own coordinate lists and blank plane, so no separate graph paper is required. The 12 pictures are distinct original outlines. Keep the student file for plotting and the separate answer file for comparison; the answer reveals the picture name and the completed strokes. Start with one stroke, check its endpoints, then move to the next.

  2. Plotting Ordered Pairs

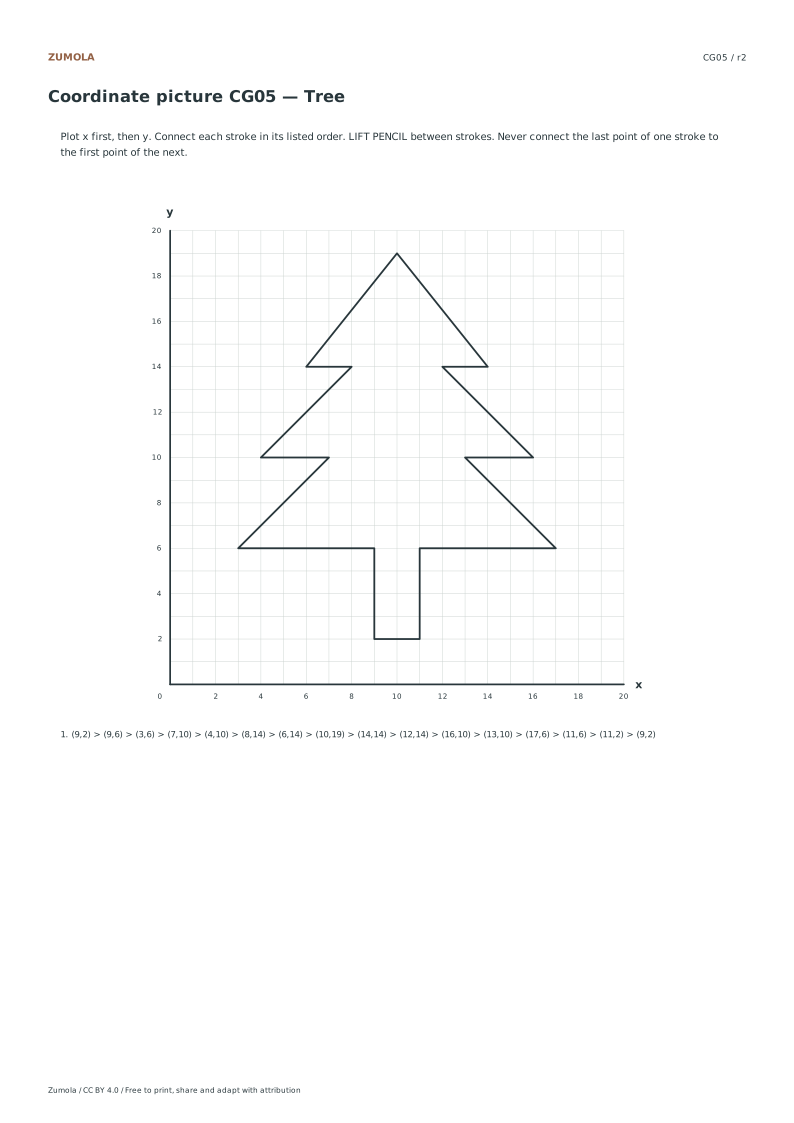
    Read the ordered-pair list carefully, noting that the x-coordinate always comes first followed by the y-coordinate. Plot each point individually on the blank plane using the integer values provided. Follow the numbered sequence strictly to maintain the correct shape. Do not attempt to connect points across separate strokes. Each stroke is distinct and requires careful attention. Use a ruler to draw straight lines between consecutive points within the same stroke. Avoid guessing positions; rely solely on the listed coordinates. This method ensures the outline matches the intended design. Precision in plotting each pair is critical for the final image to appear correctly. Take your time to verify each point before moving to the next one in the sequence.
  3. Managing Stroke Transitions

    Pay close attention to the explicit LIFT PENCIL instructions between separate strokes. When you reach the end of a stroke, lift your pencil completely before starting the next numbered sequence. This prevents unwanted lines connecting distinct parts of the picture. The outlines include deliberate corners rather than smooth curves, so sharp angles are expected. Do not try to smooth out these corners. Each stroke is independent, and joining them incorrectly will distort the final image. Check the answer page if unsure about the connection points. The answer pages reveal the picture names, helping you verify the shape. Consistent adherence to lift instructions ensures clean, accurate outlines that match the provided solutions exactly.

Small checks that catch common errors

Watch forCheck instead
Connecting points across different numbered strokes without lifting the pencil.Lift the pencil completely between each separate stroke as indicated by the explicit instructions on the worksheet.
Plotting the y-coordinate before the x-coordinate when reading ordered pairs.Always plot the x-coordinate first, followed by the y-coordinate, to ensure the point is placed in the correct location.
Expecting smooth curves instead of the deliberate corners present in the outlines.Draw straight lines between points to form sharp corners, as the designs rely on angular connections rather than curved paths.

Before you begin

Useful answers

How do I know which picture I am drawing?

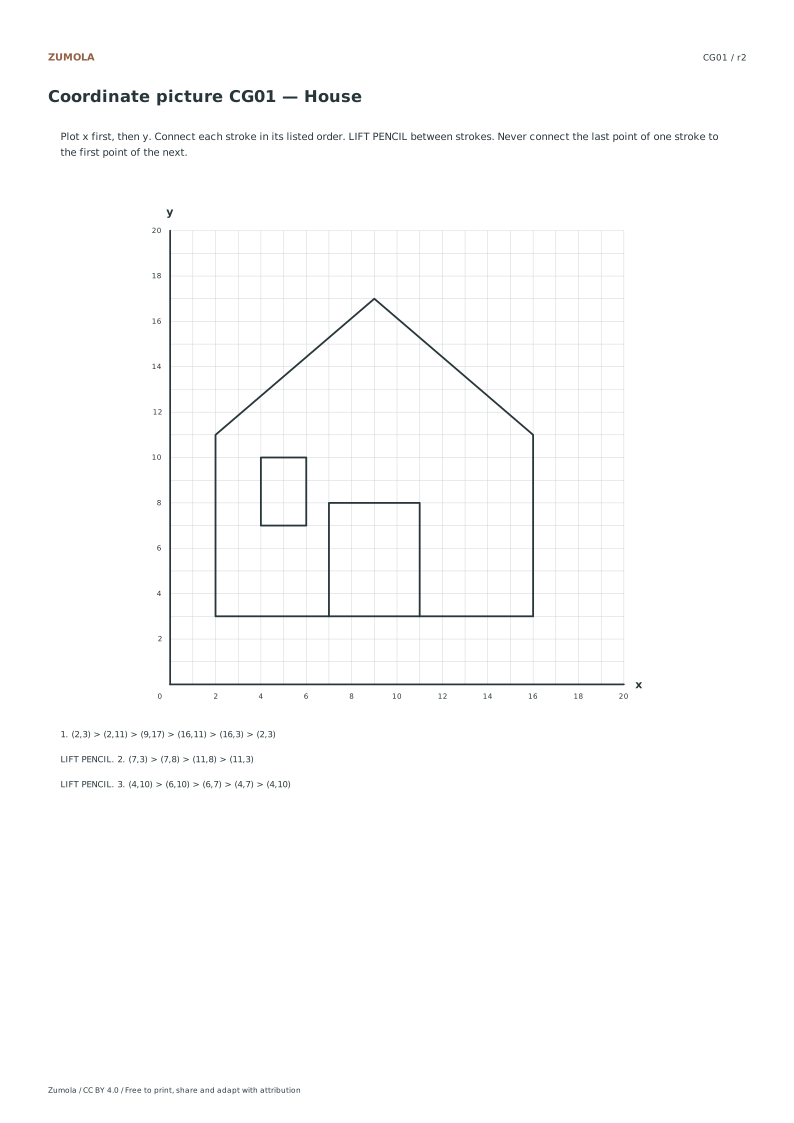
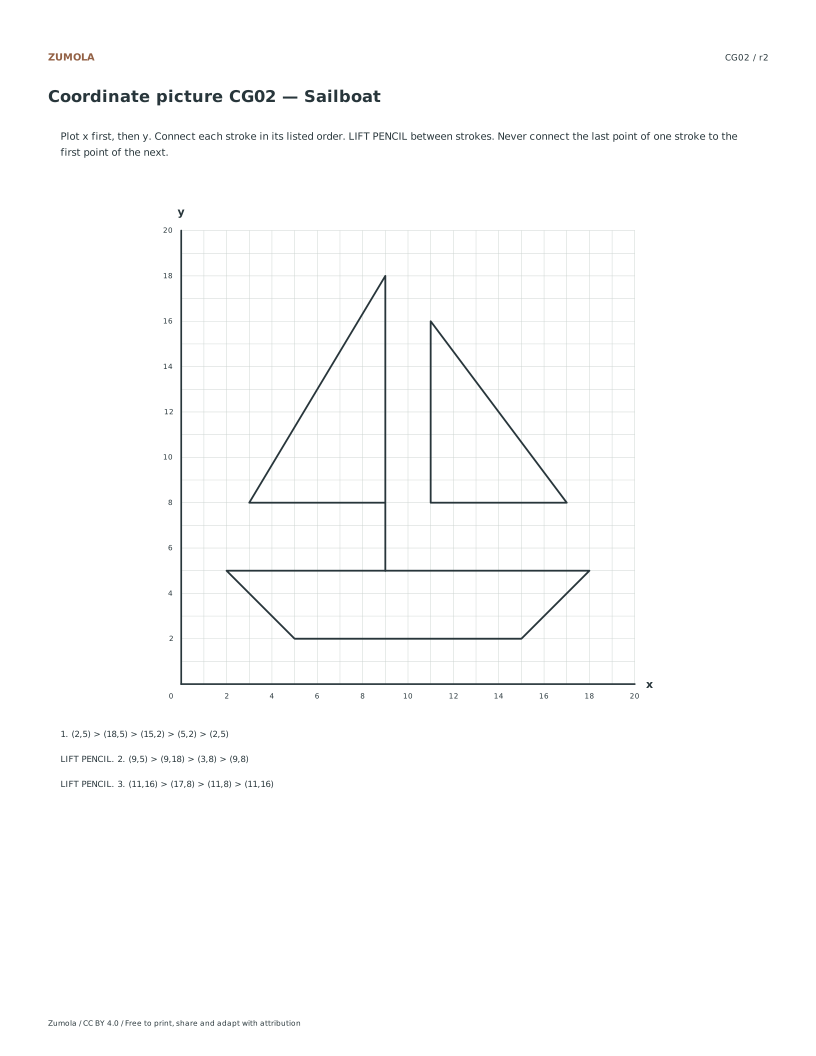
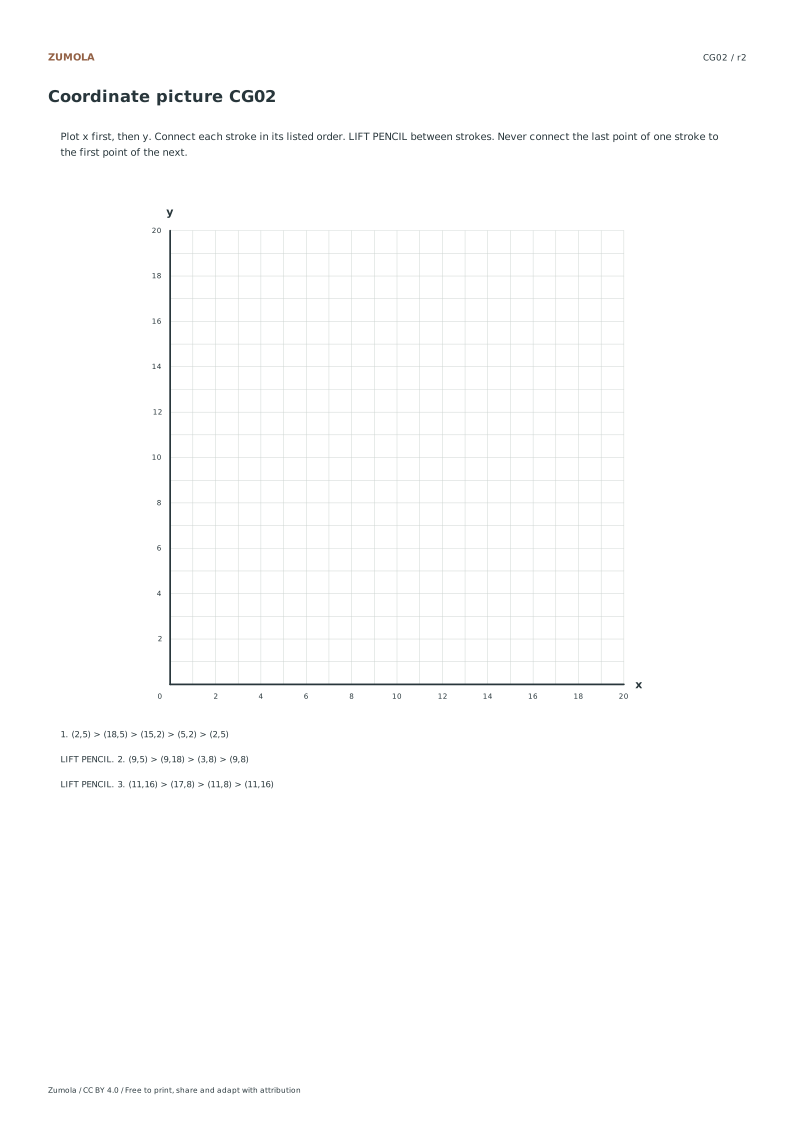
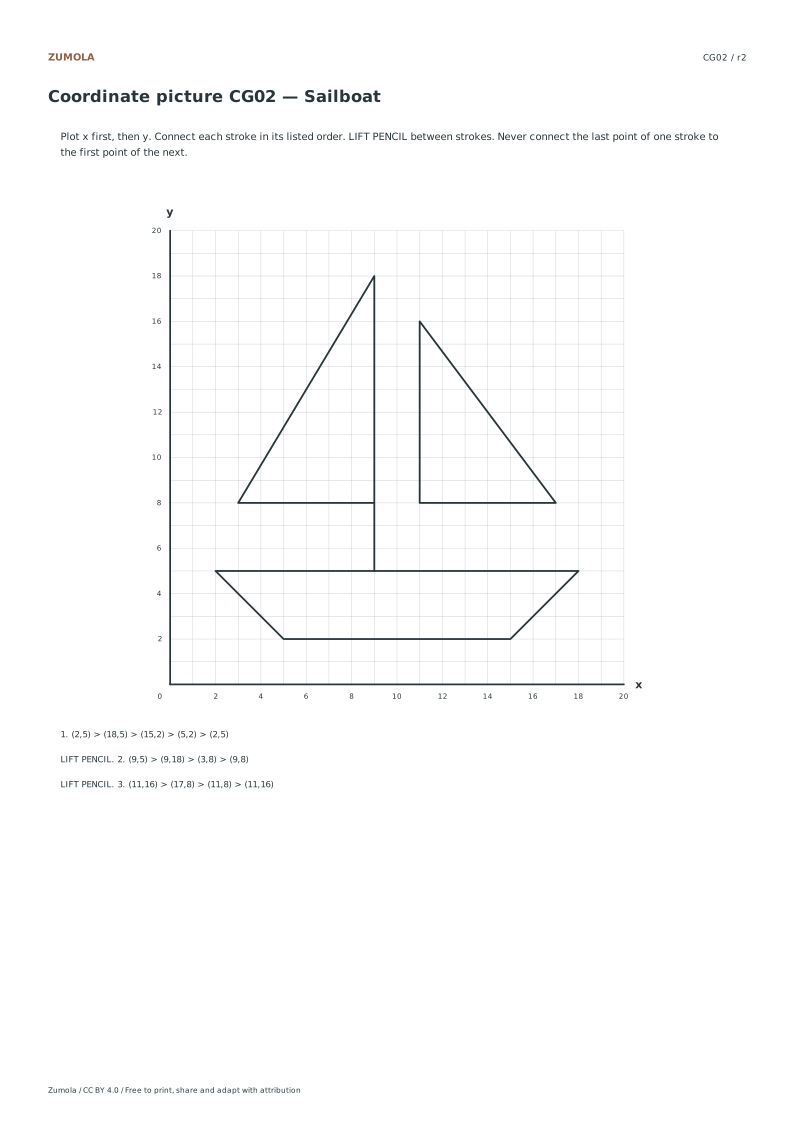
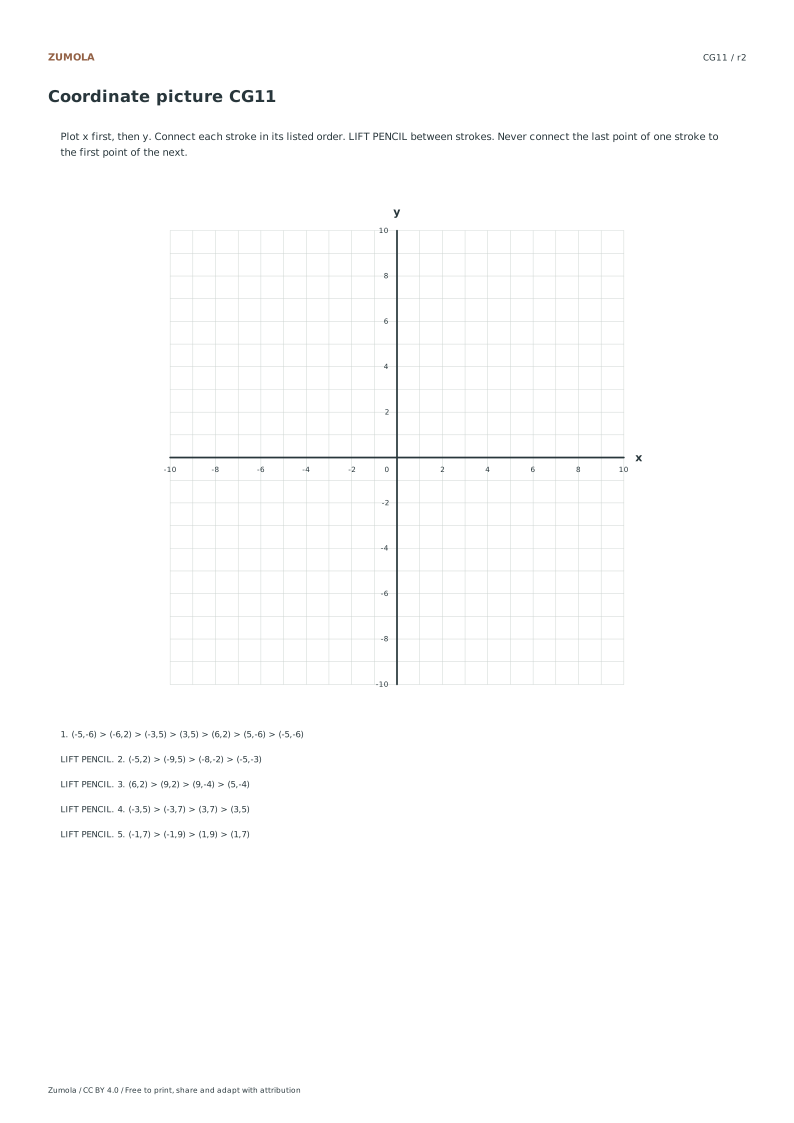
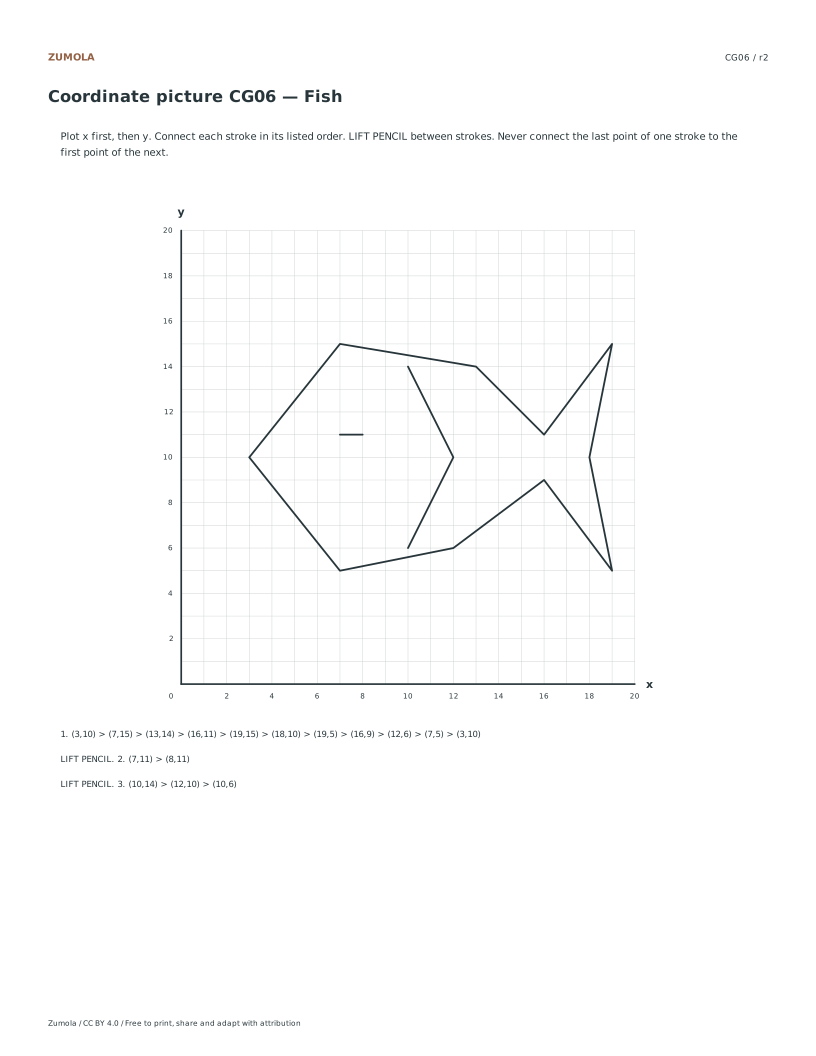
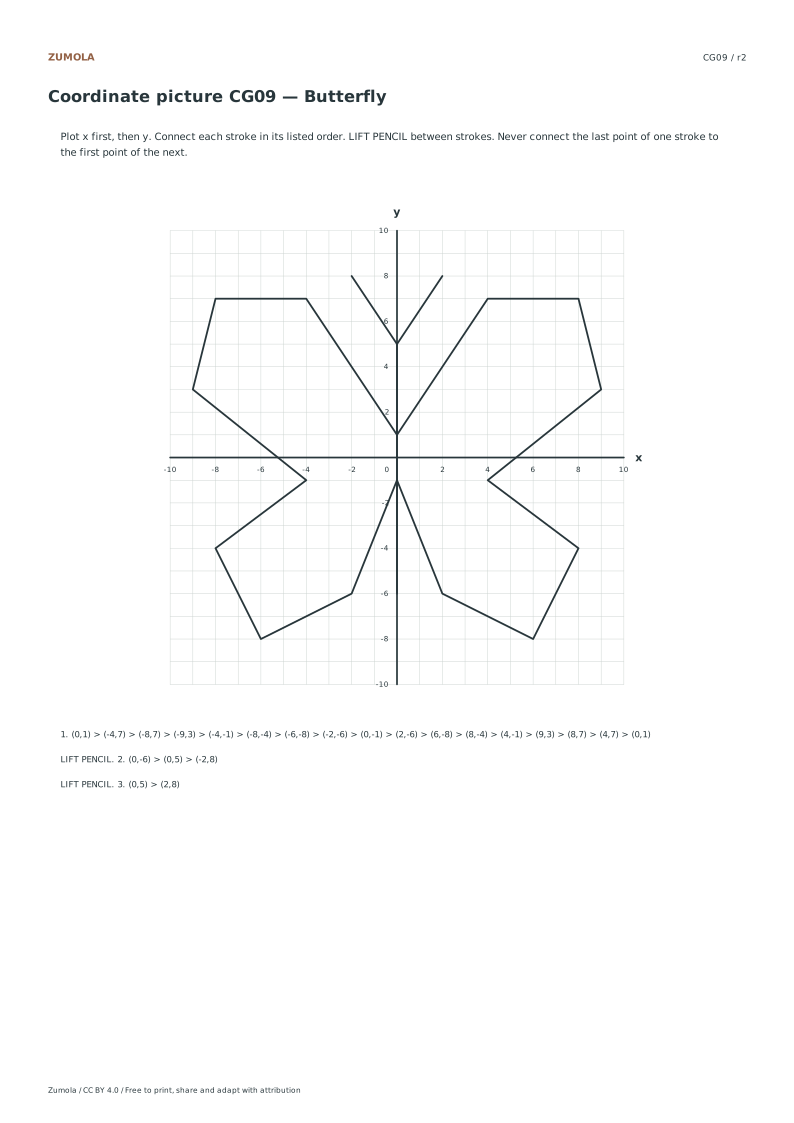
Student titles use picture IDs. The answer reveals the house, sailboat, rocket, crown, tree, fish, umbrella, cat, butterfly, mountains, teapot or robot. The gallery previews use the unrevealed student sheet.

Are the coordinates always whole numbers?

Yes, all coordinates are integers. The first-quadrant pictures range from zero to twenty, while the four-quadrant pictures range from negative ten to positive ten.

Are the twelve pictures different?

Yes. CG01–CG06 use six original first-quadrant pictures; CG07–CG12 use six different four-quadrant pictures. Every answer is generated from the same stroke list as its student worksheet.

Are the answers and editable files free too?

Yes. Every linked PDF, SVG, worksheet and answer is free without signup. The original resources use CC BY 4.0: credit Zumola, link the license and indicate changes. Analytics consent is not required to download or use the resources.

Keep practicing

Further reading: OpenStax: rectangular coordinates. The downloadable geometry and exercises on this page are original Zumola work.
Worksheet preview

Full printable sheet preview

Fit-to-screen preview. Download the PDF to print at actual size.