Free grid drawing worksheets
Look closely.
Draw one cell at a time.
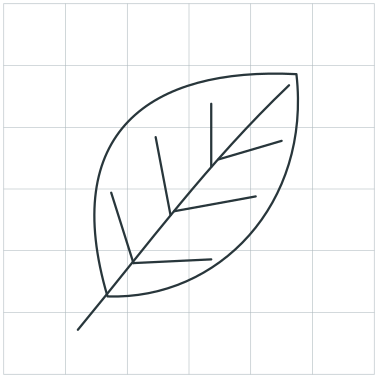
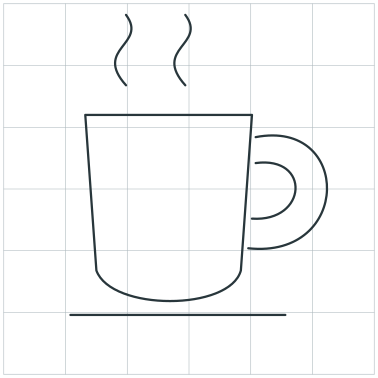
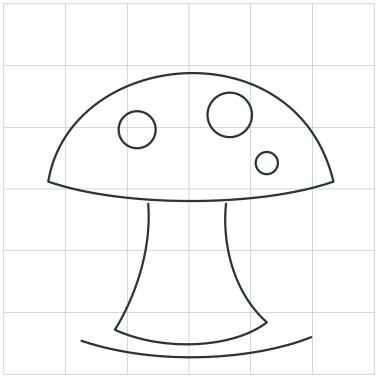
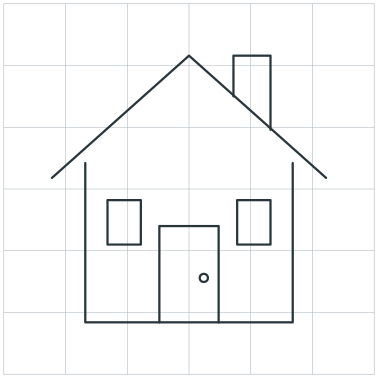
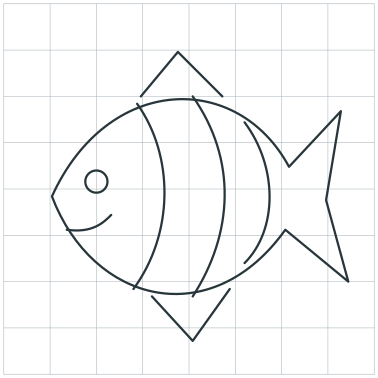
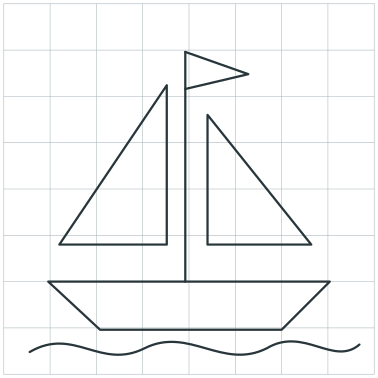
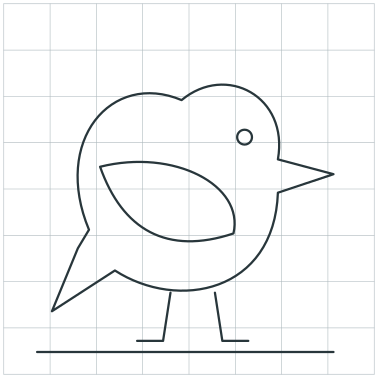
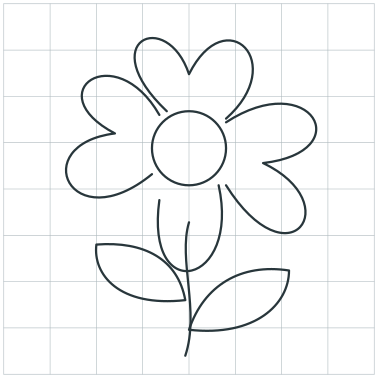
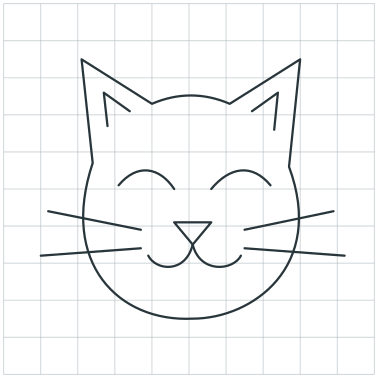
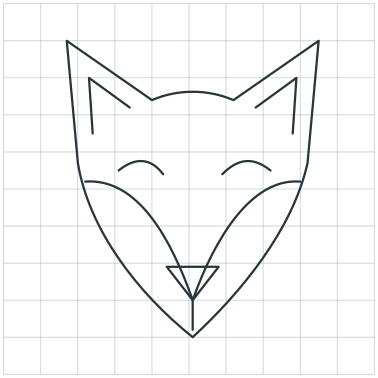
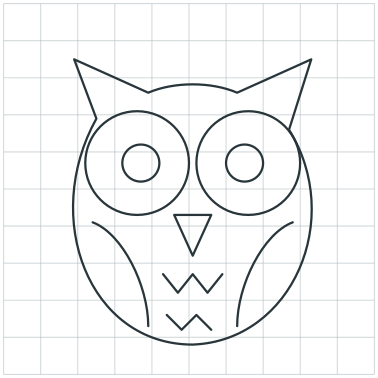
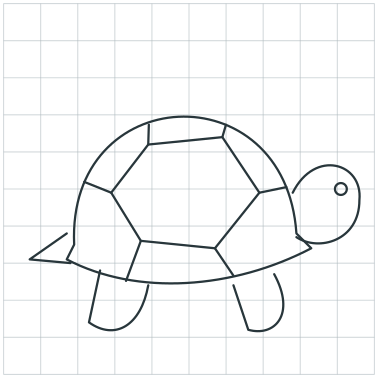
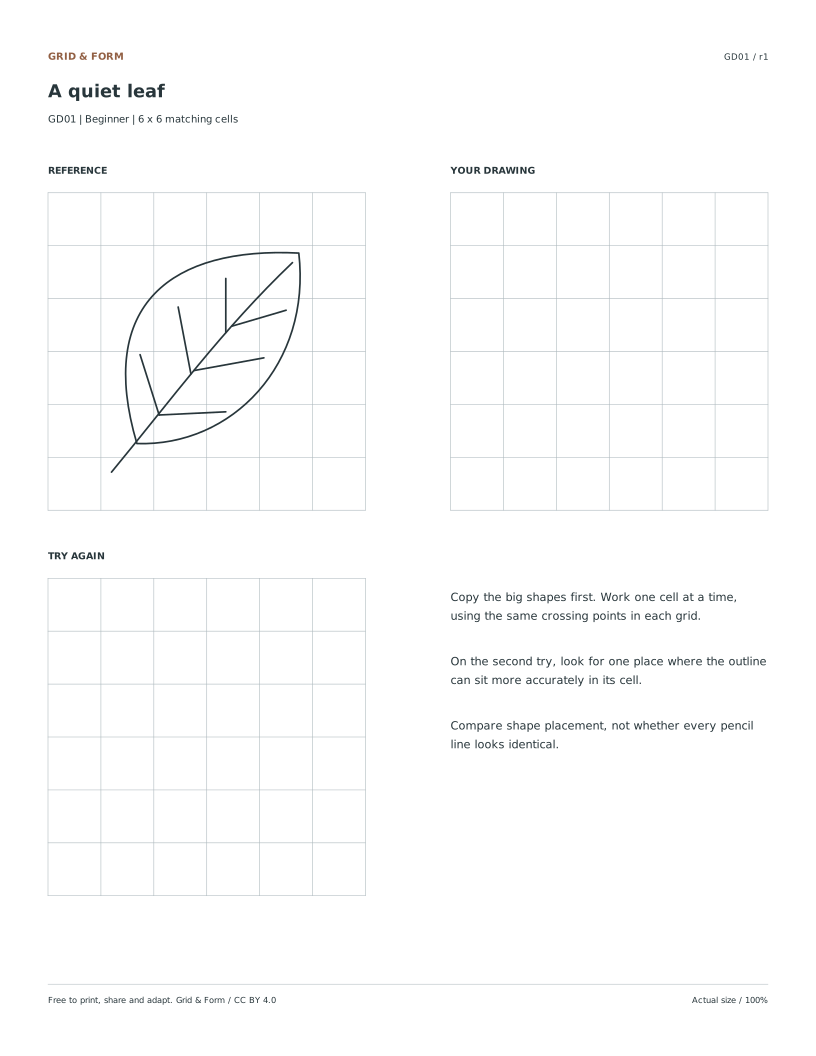
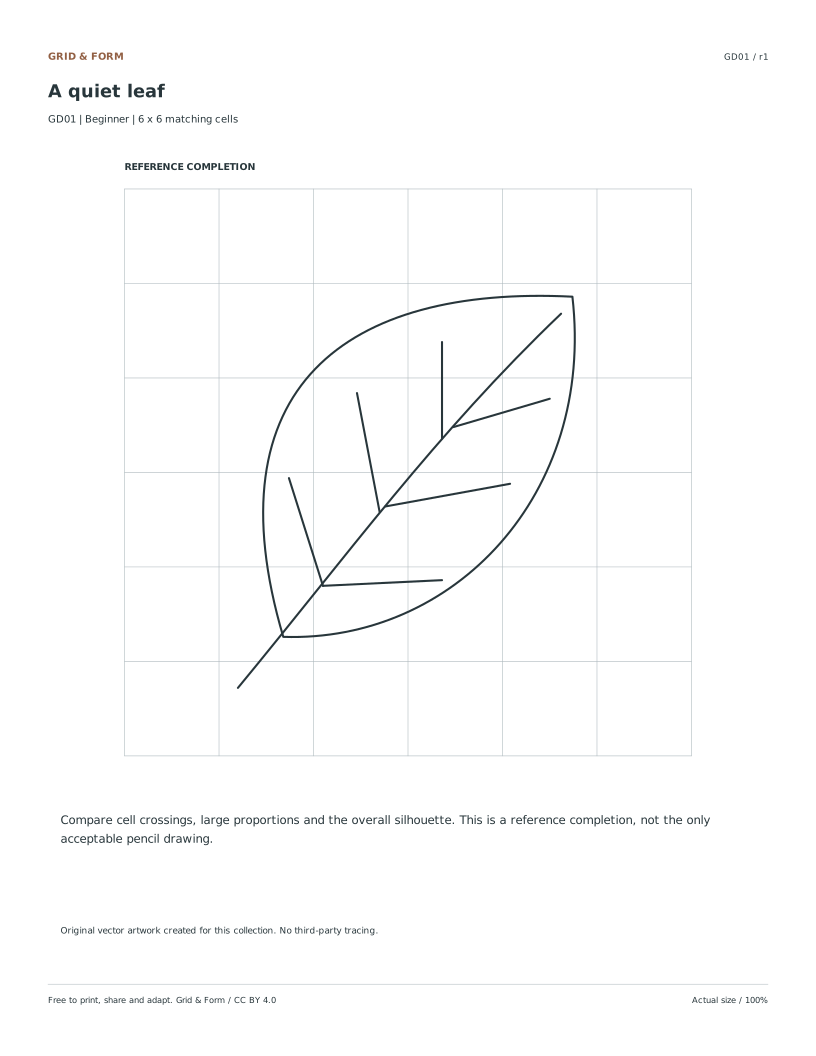
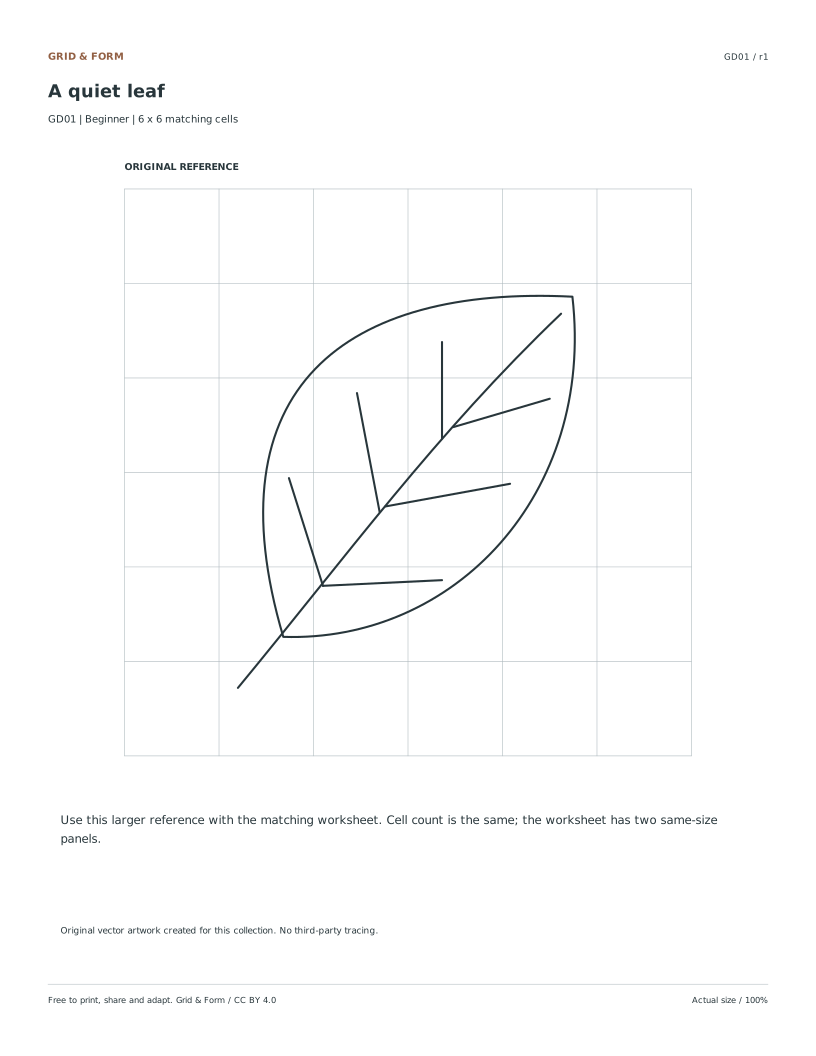
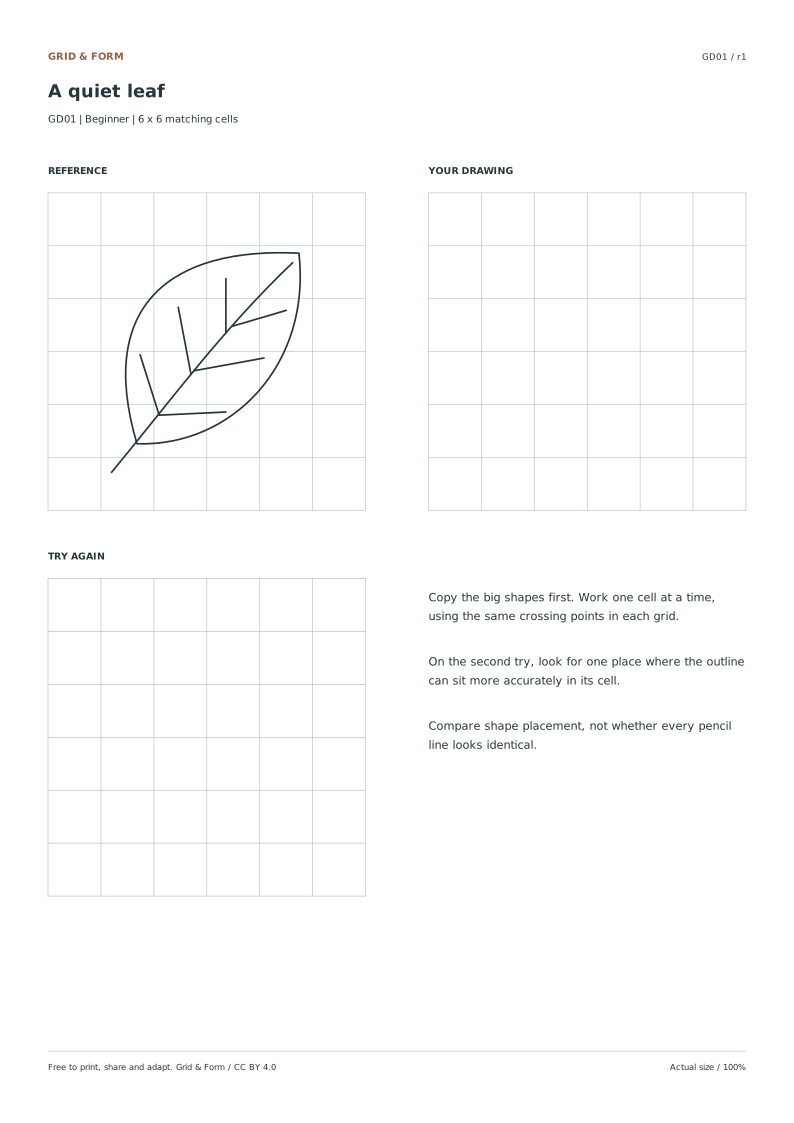
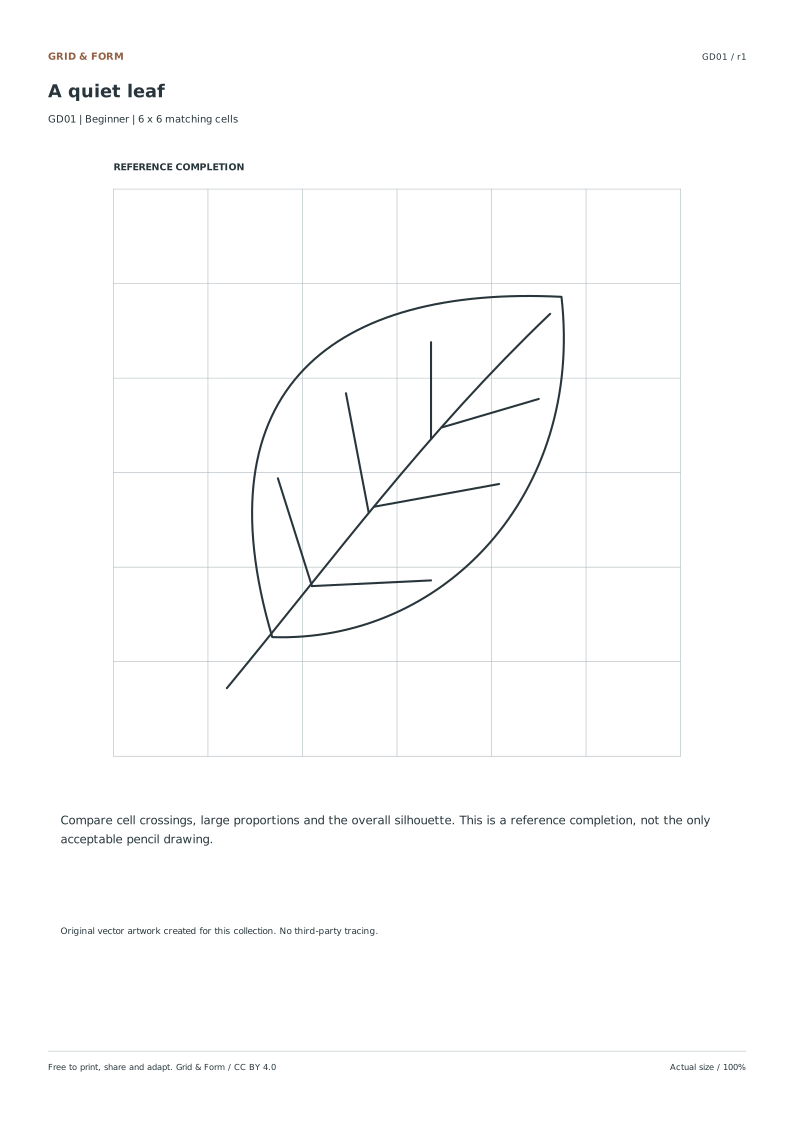
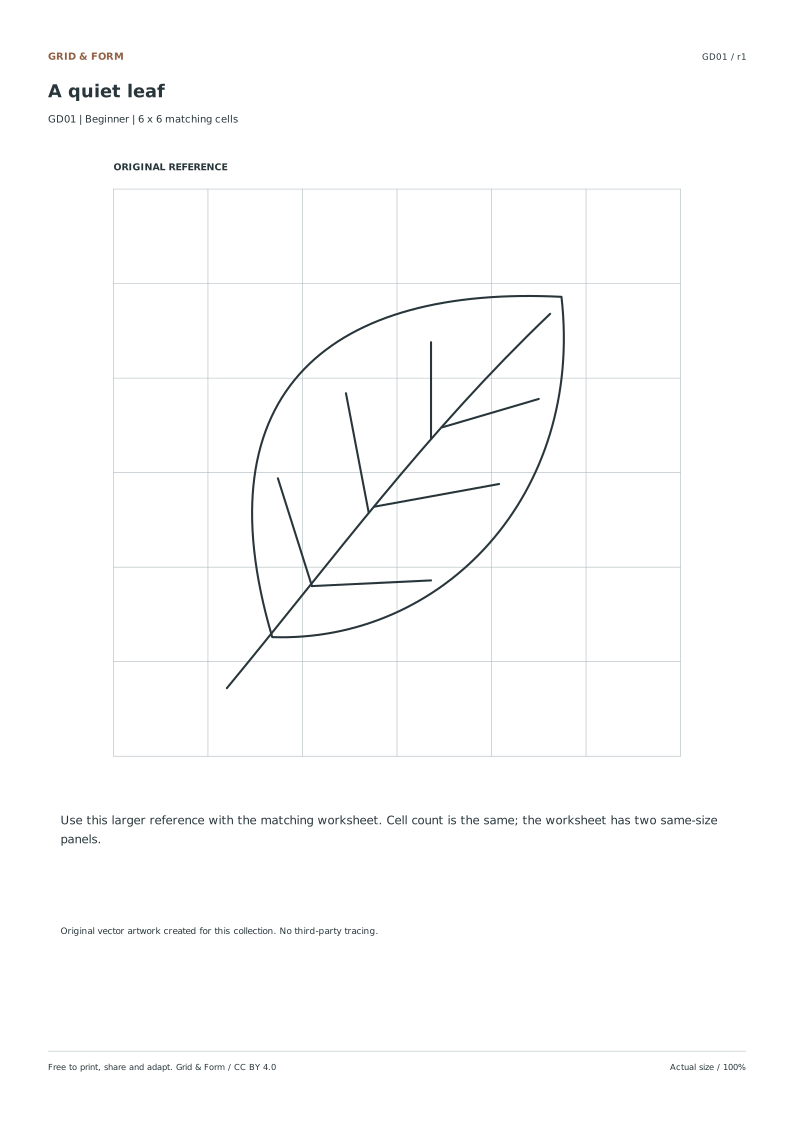
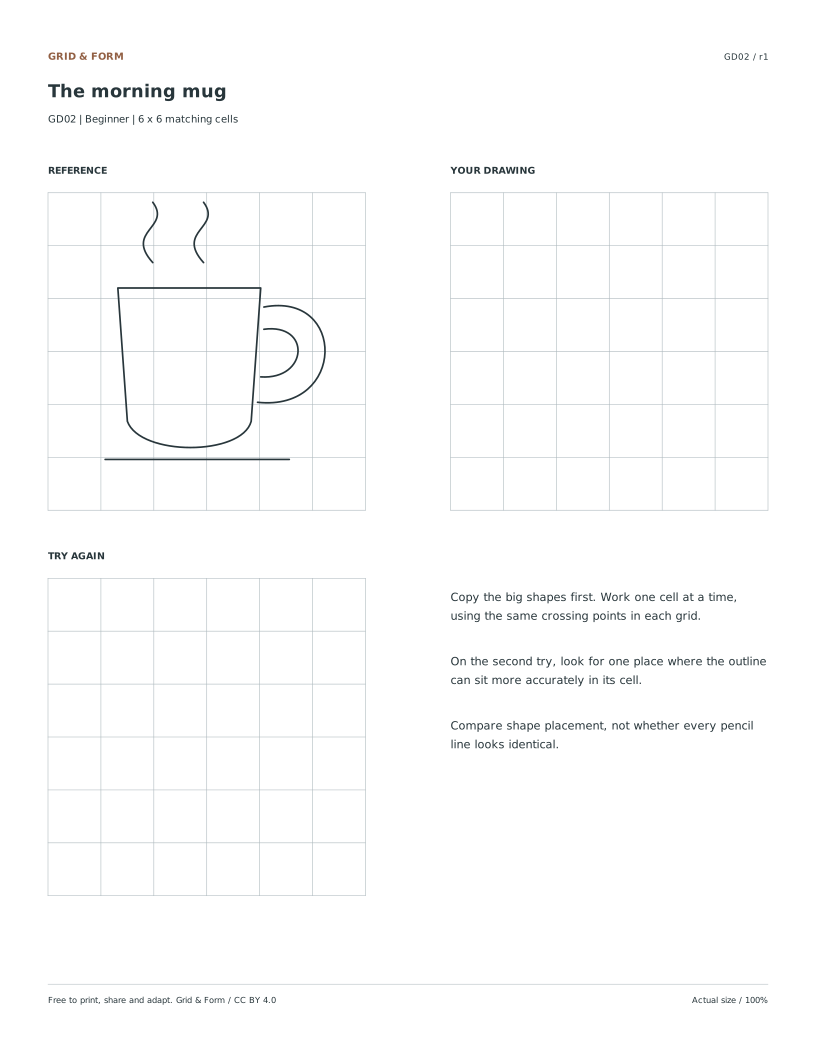
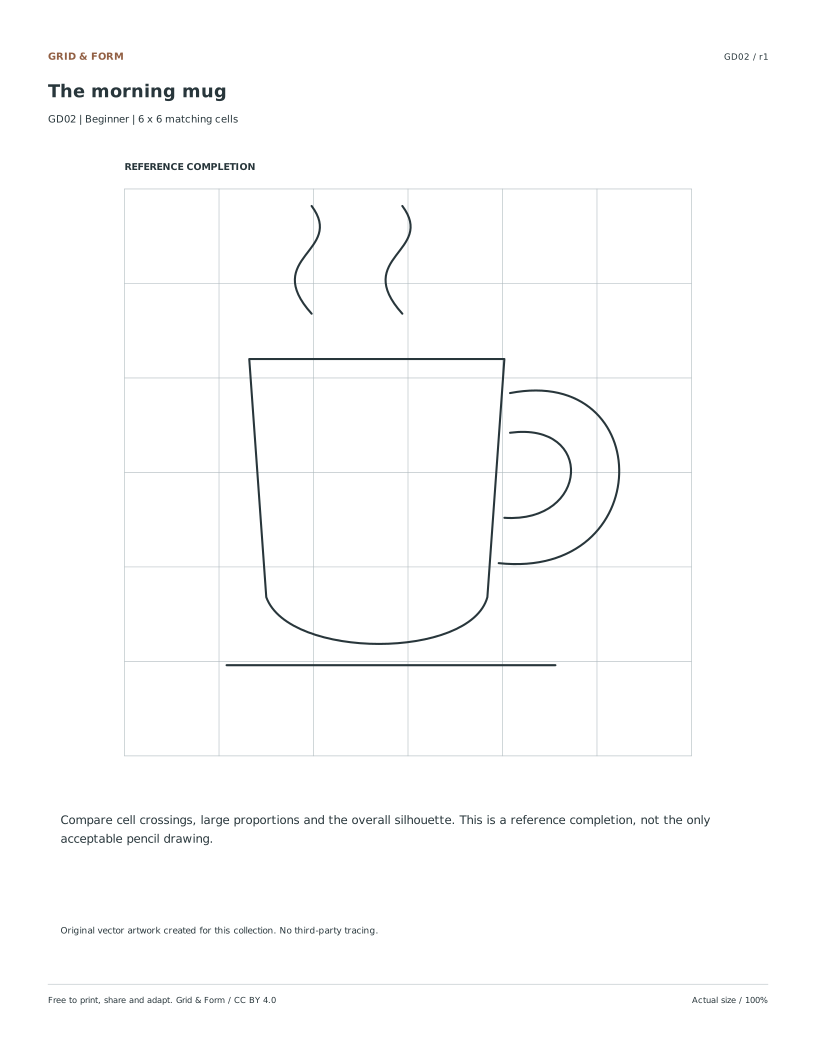
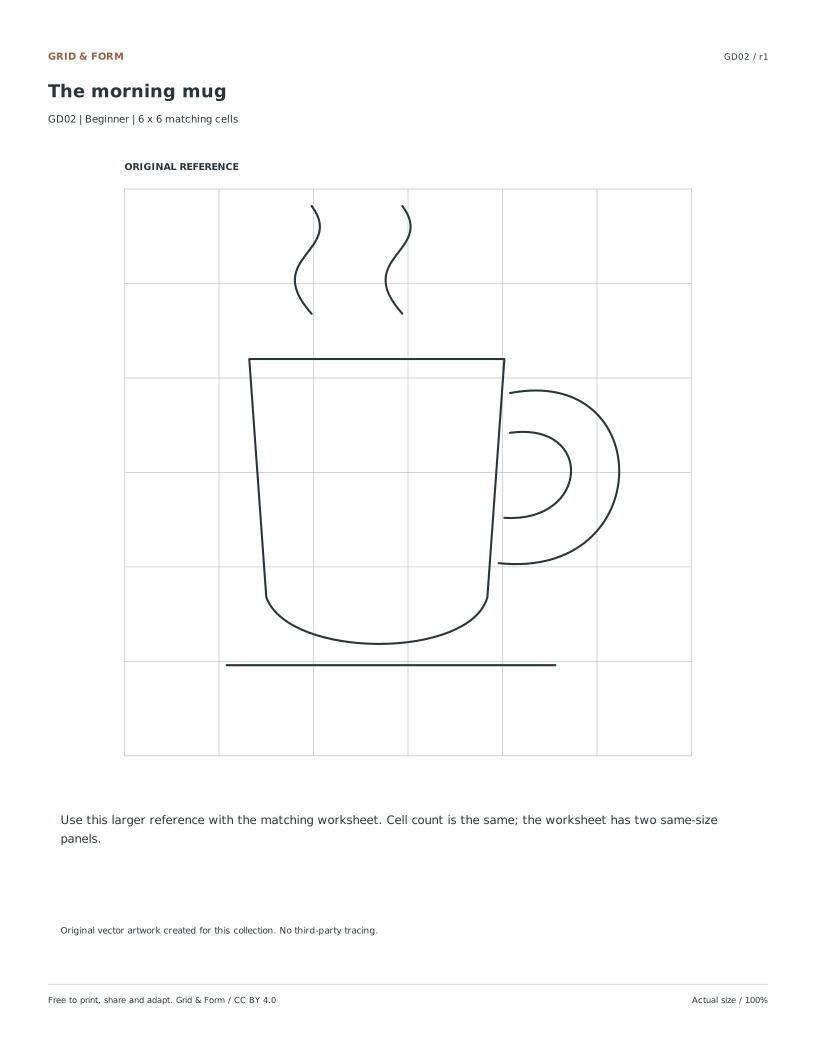
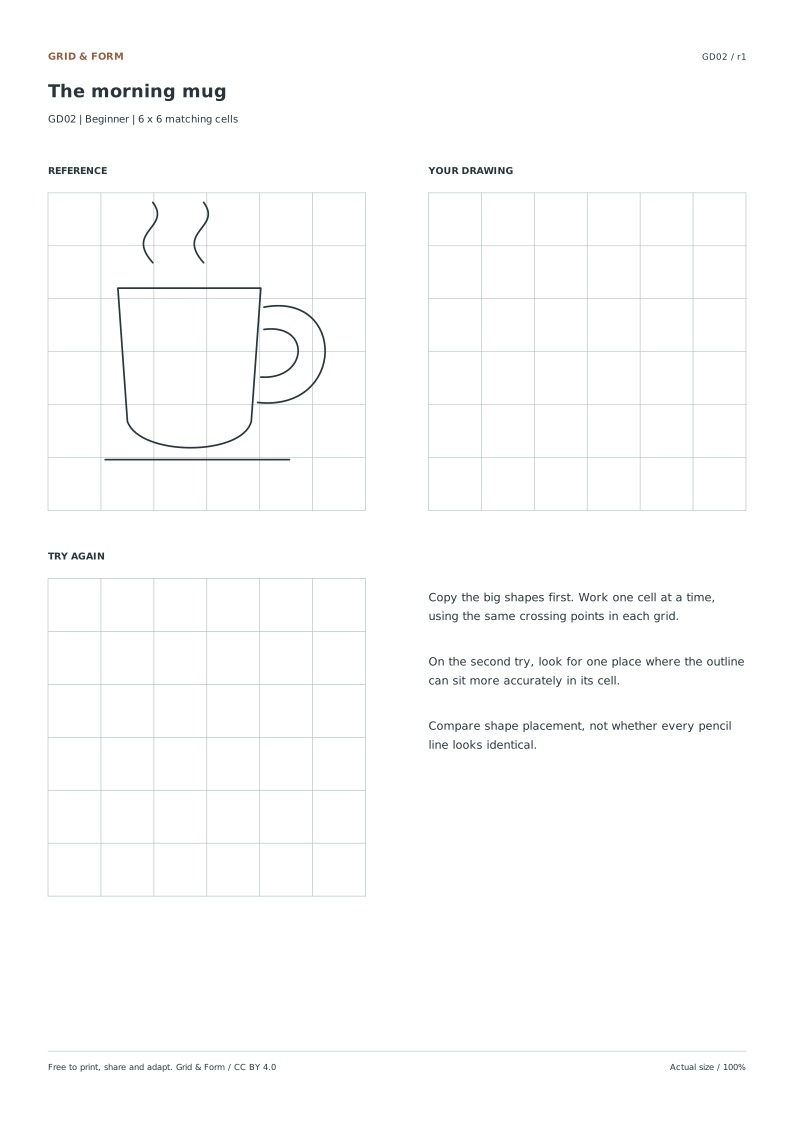
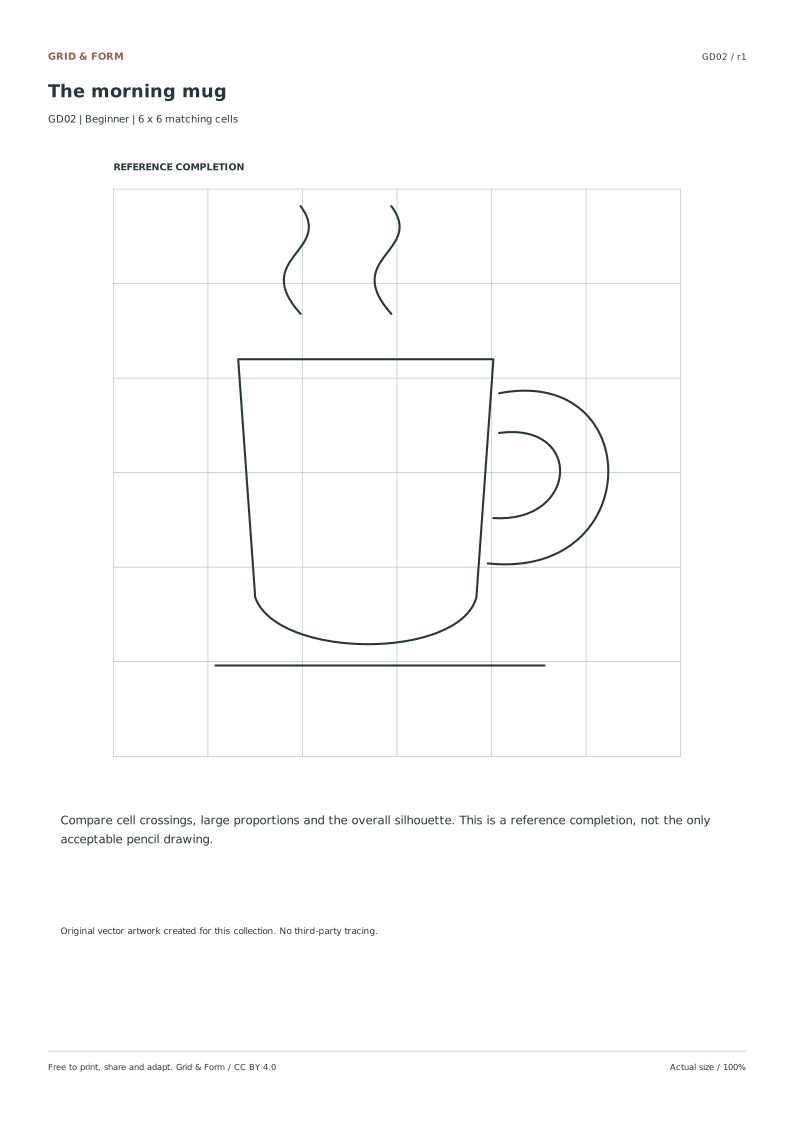
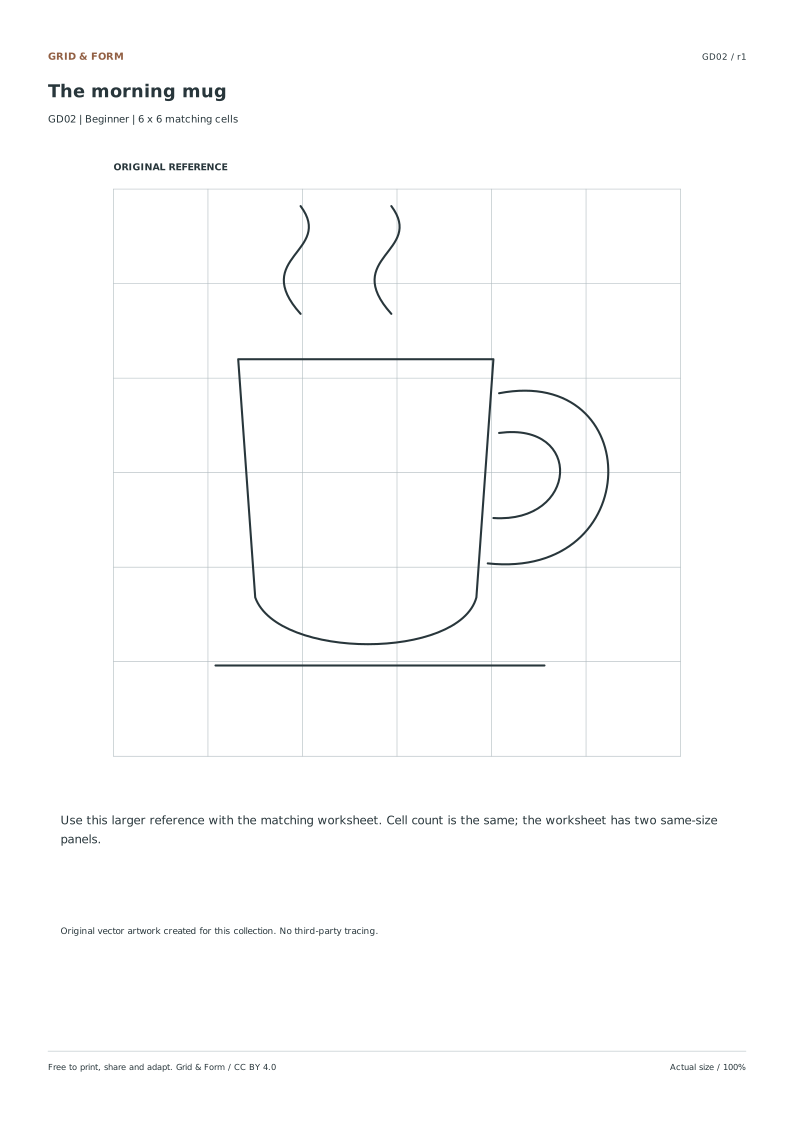
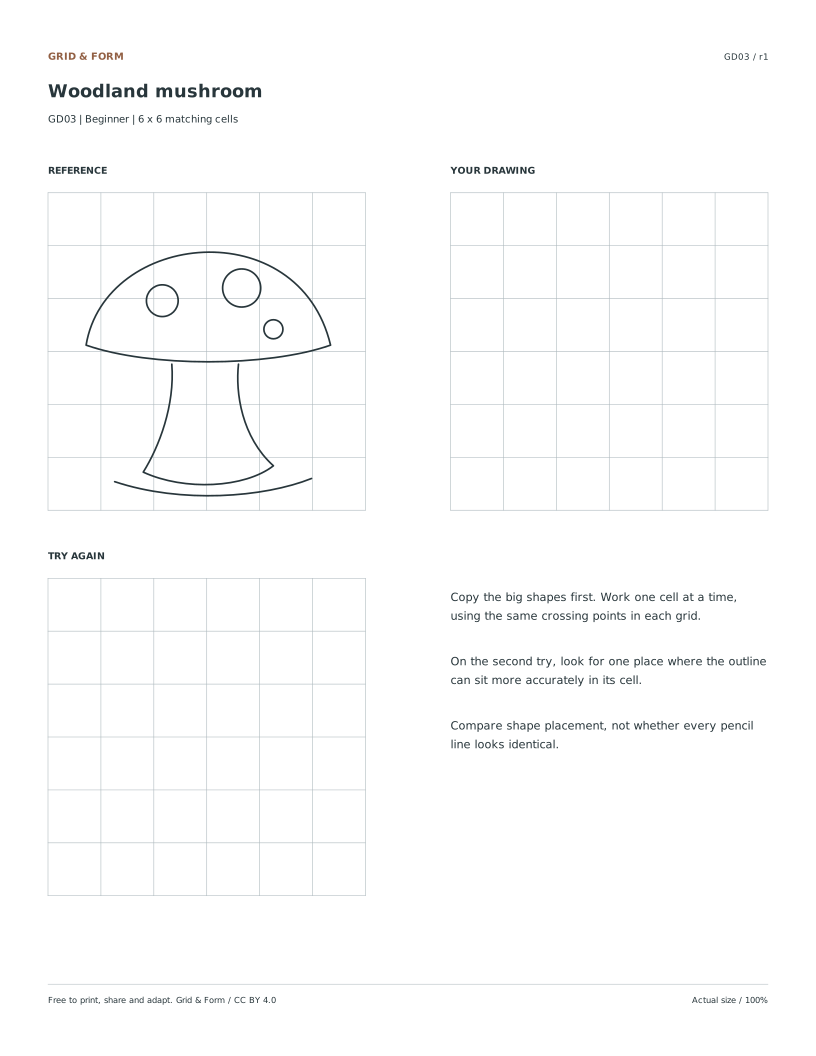
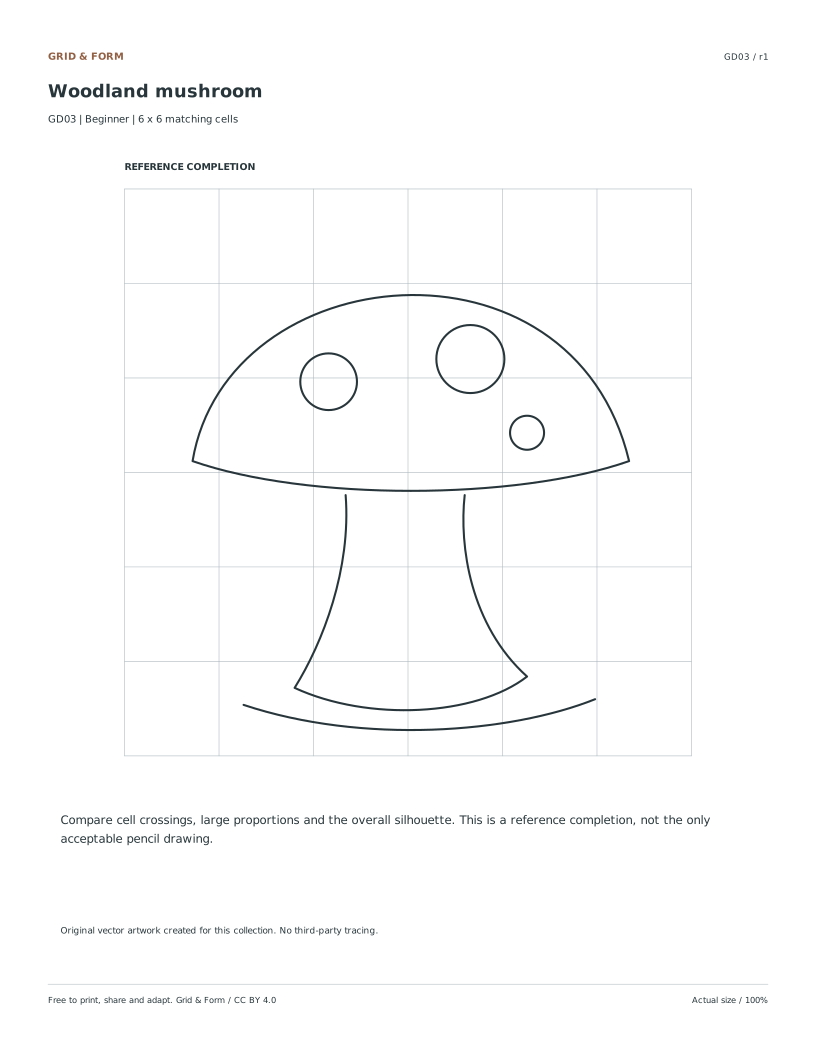
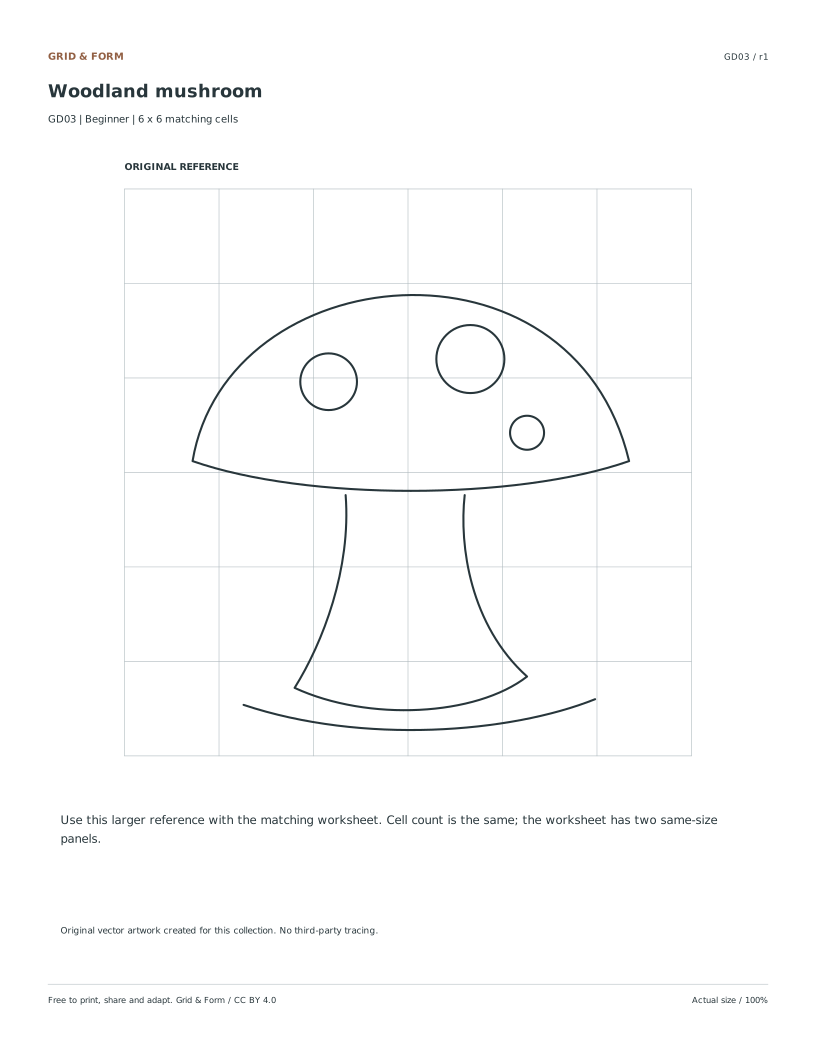
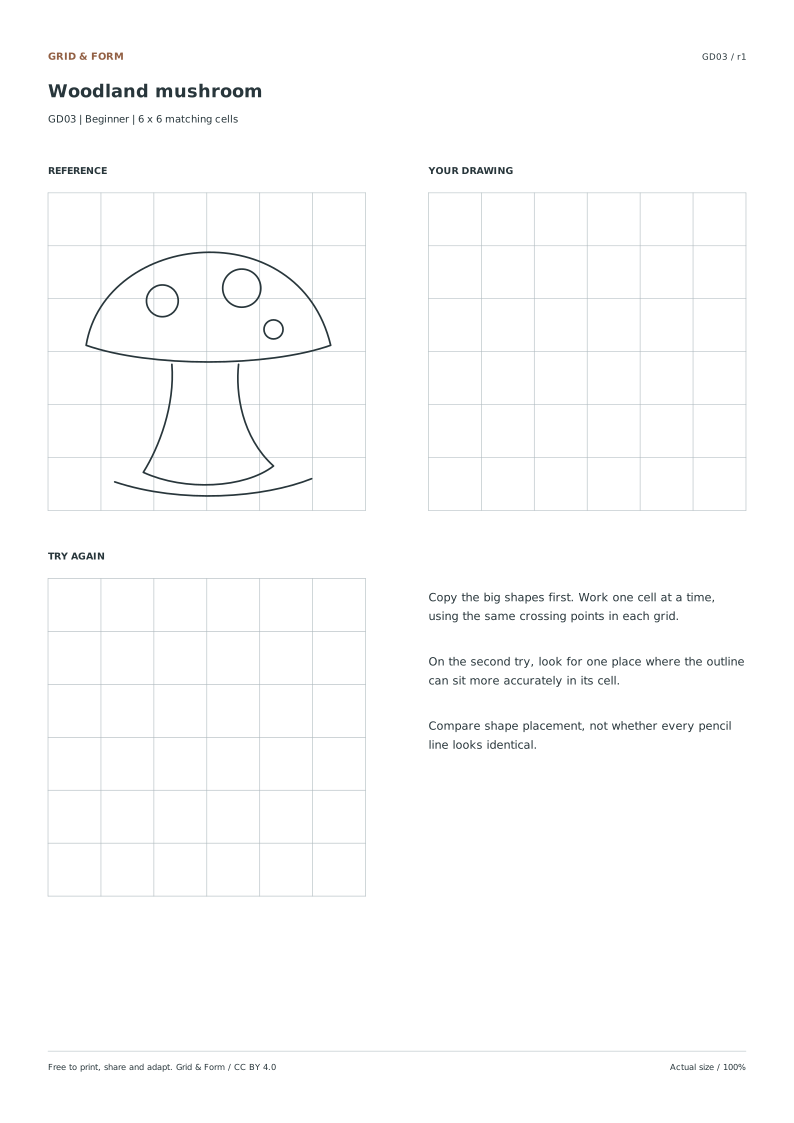
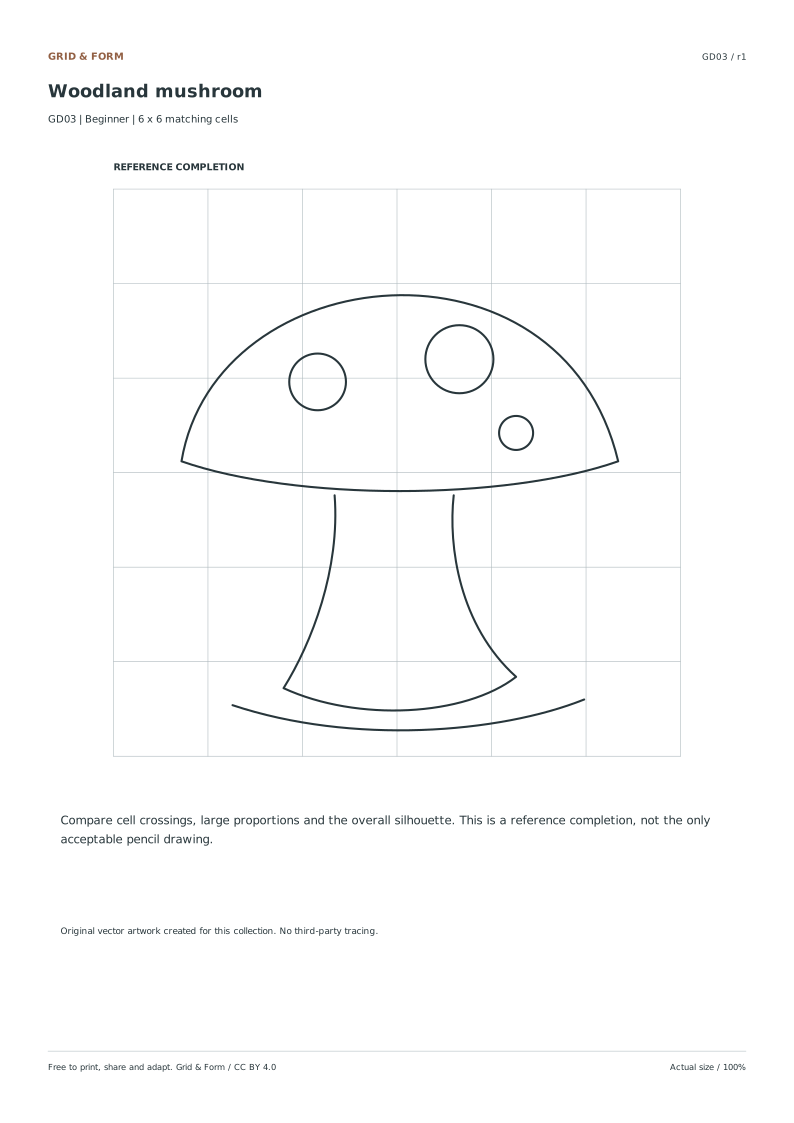
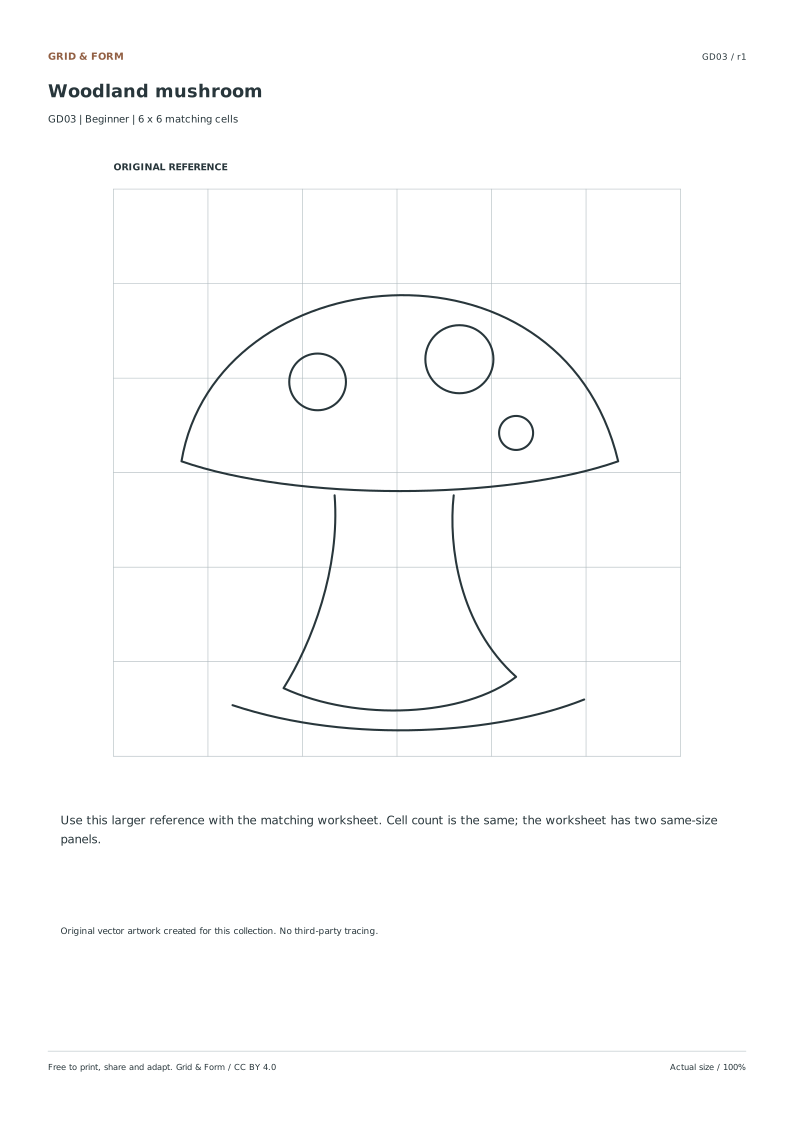
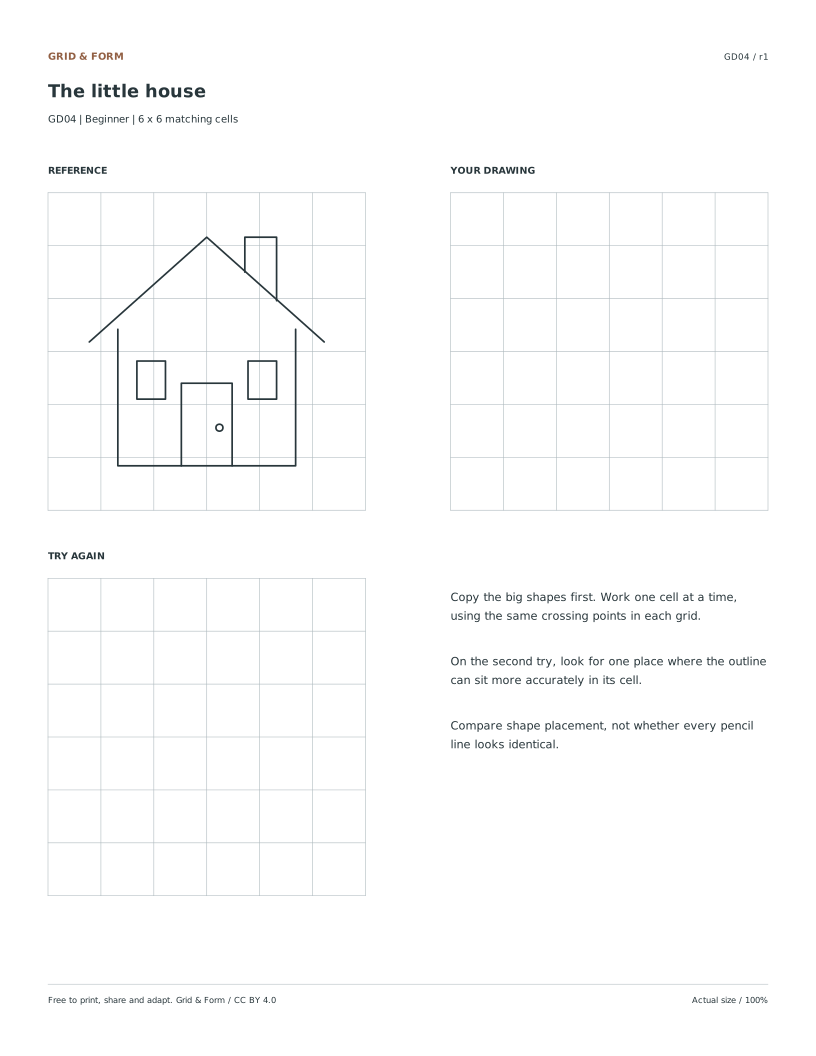
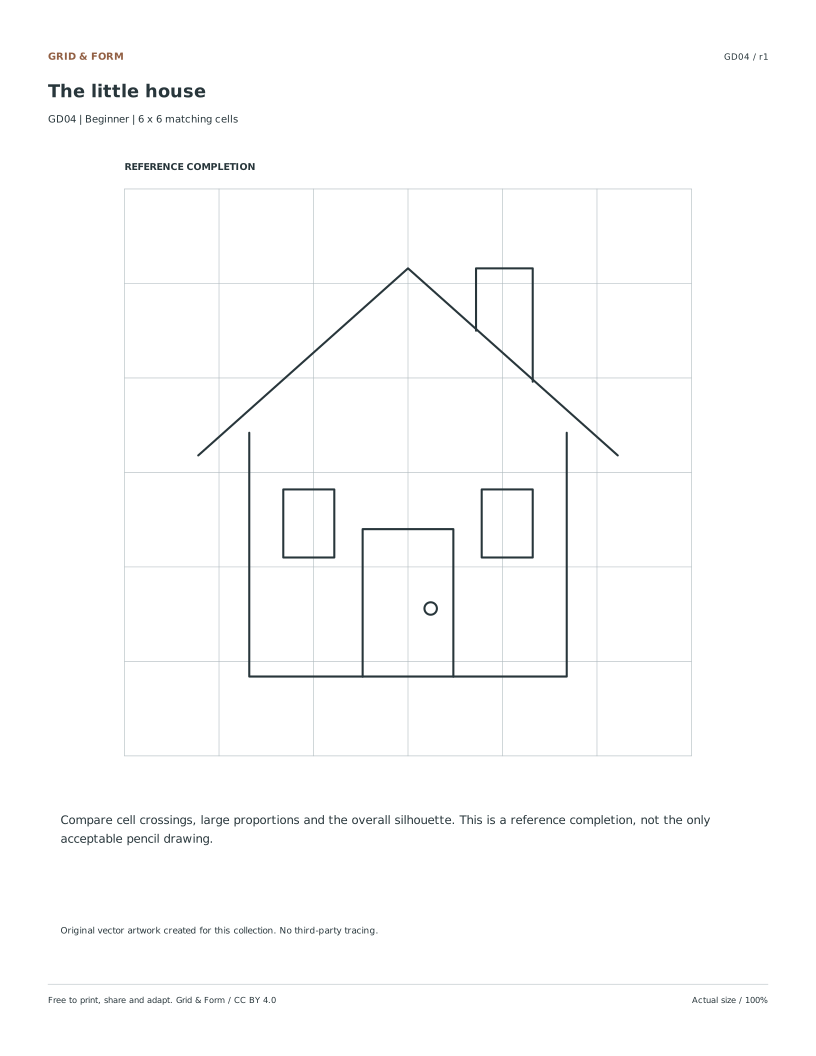
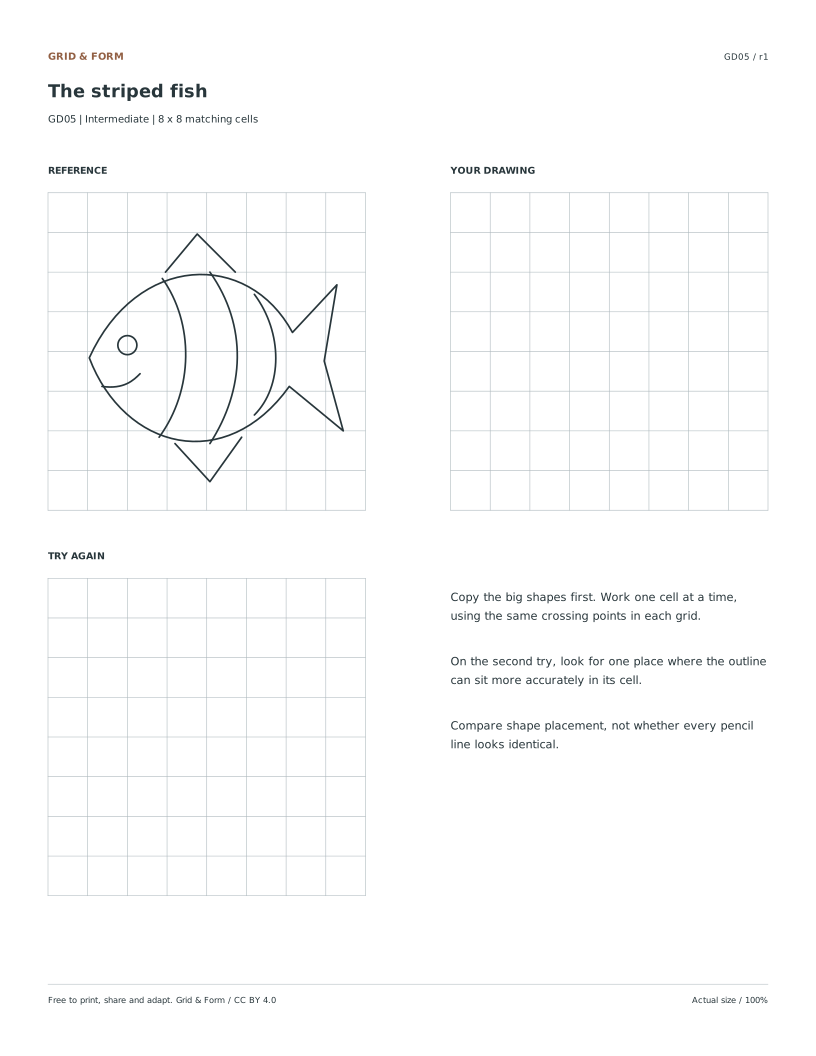
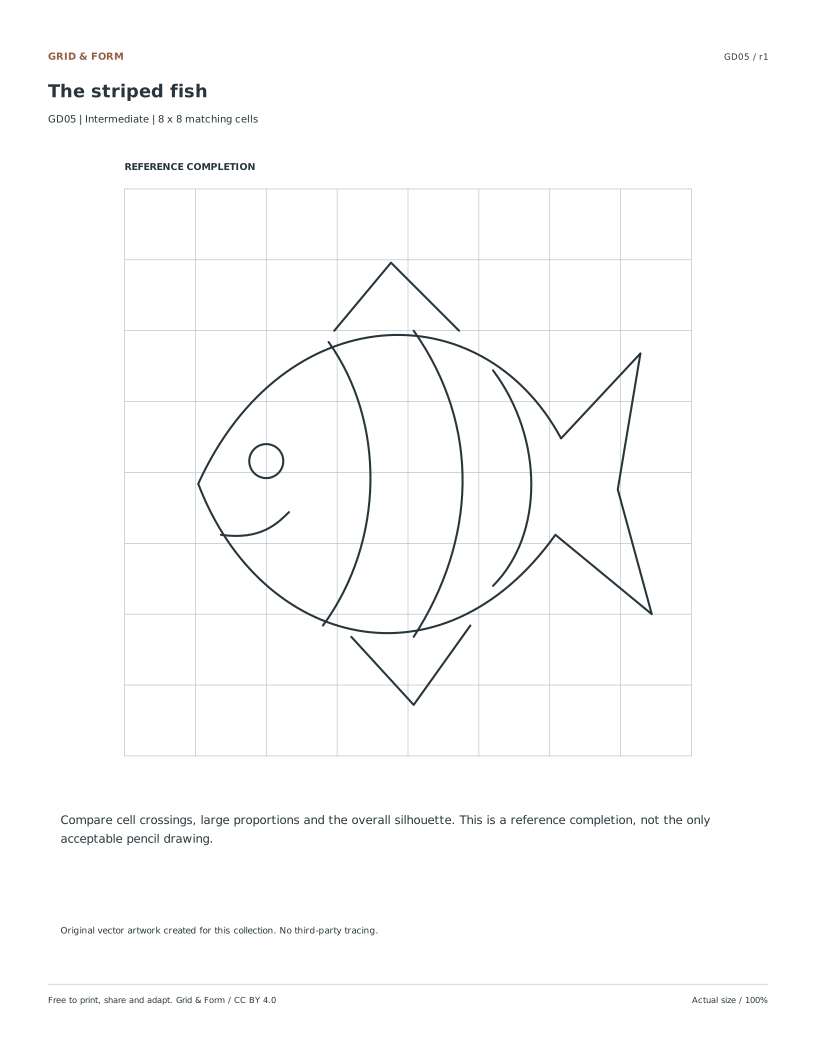
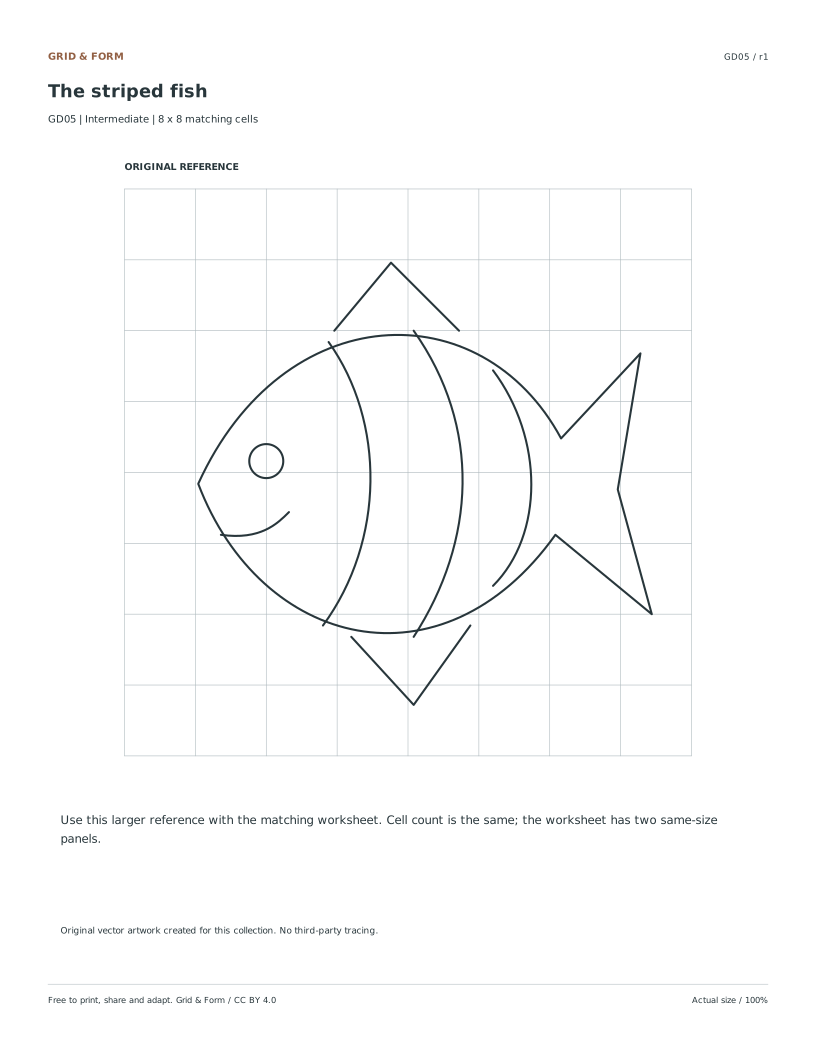
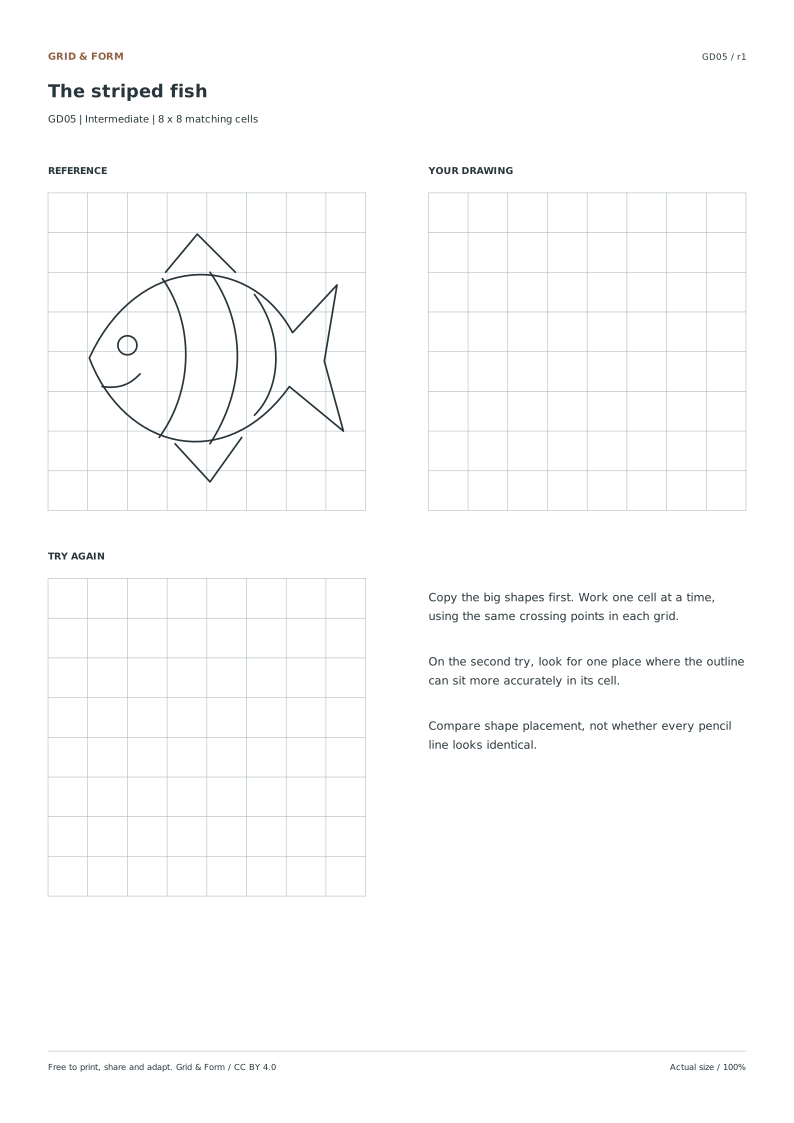
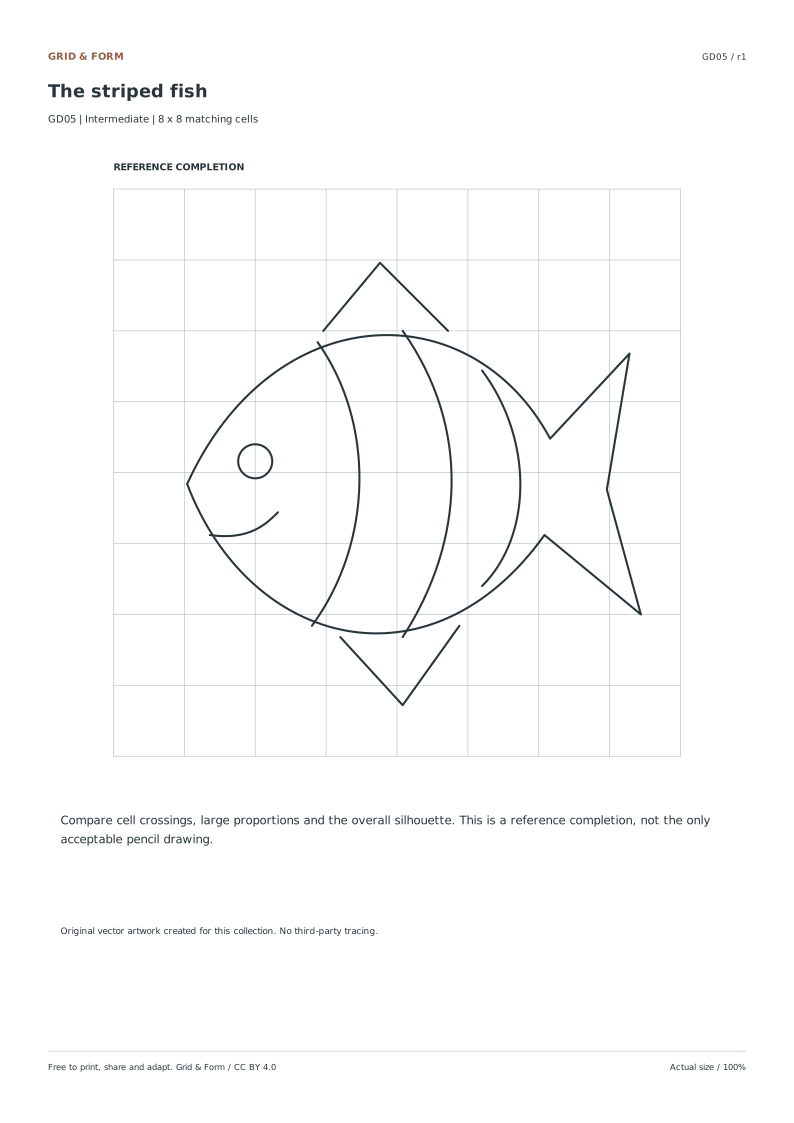
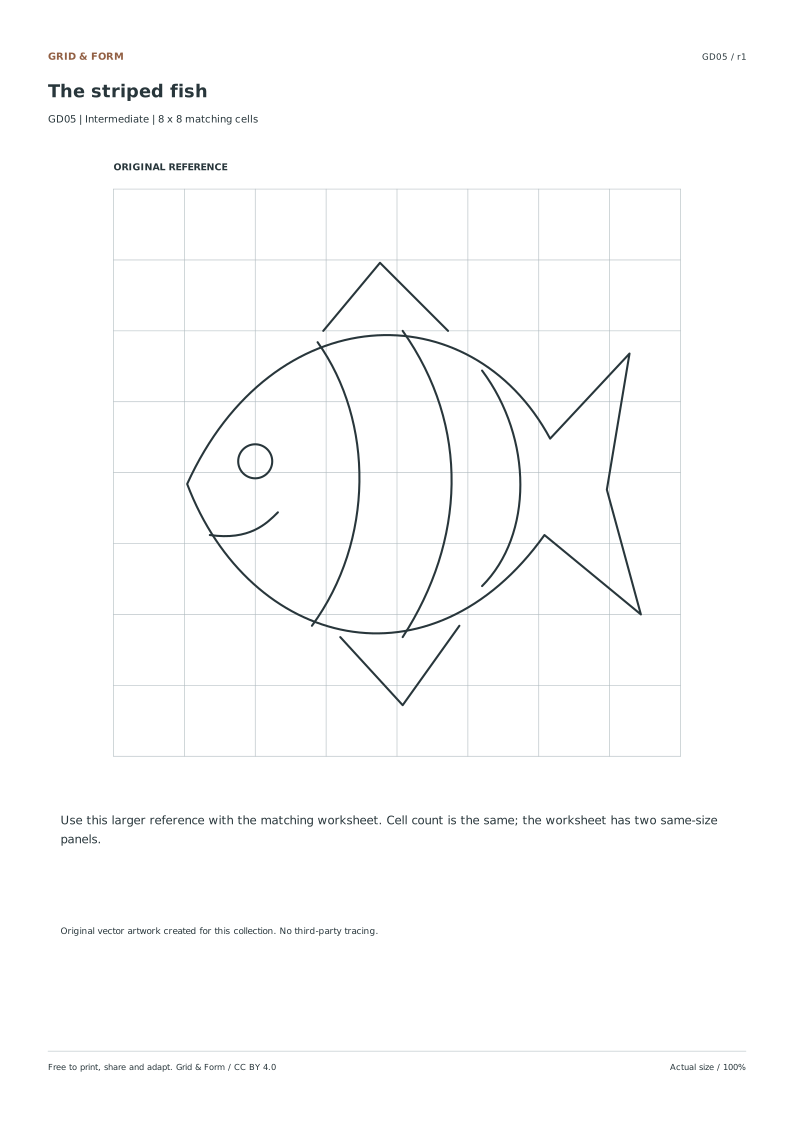
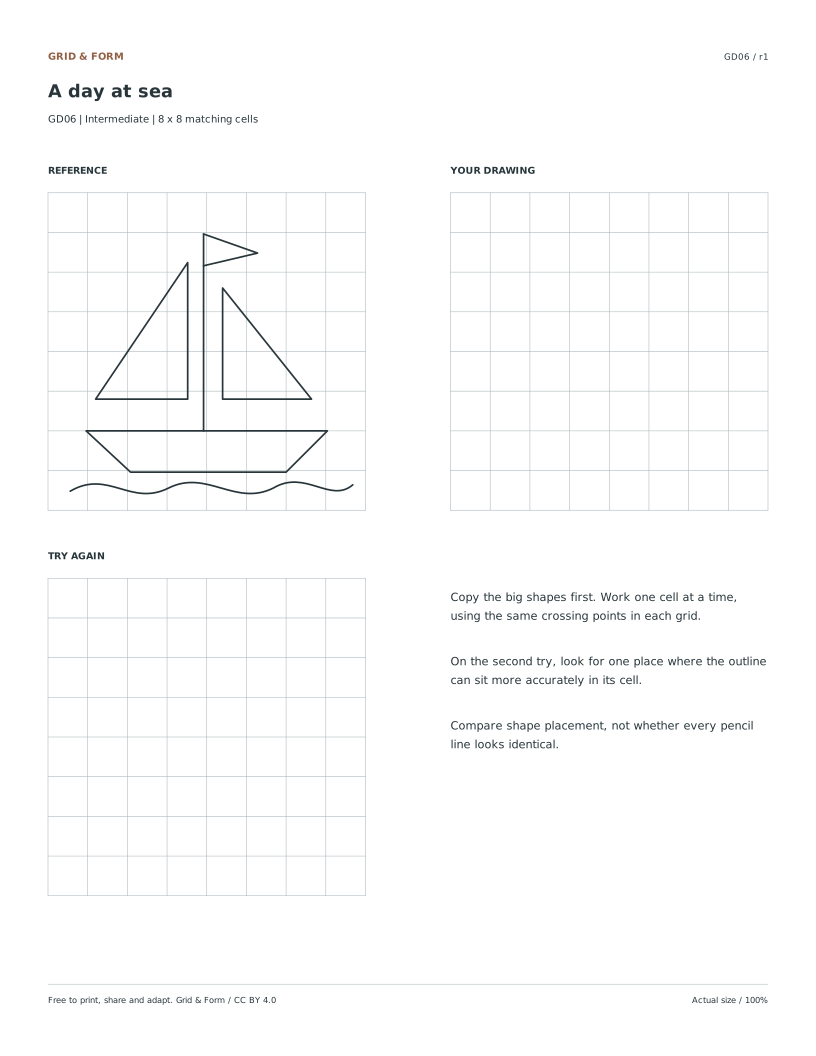
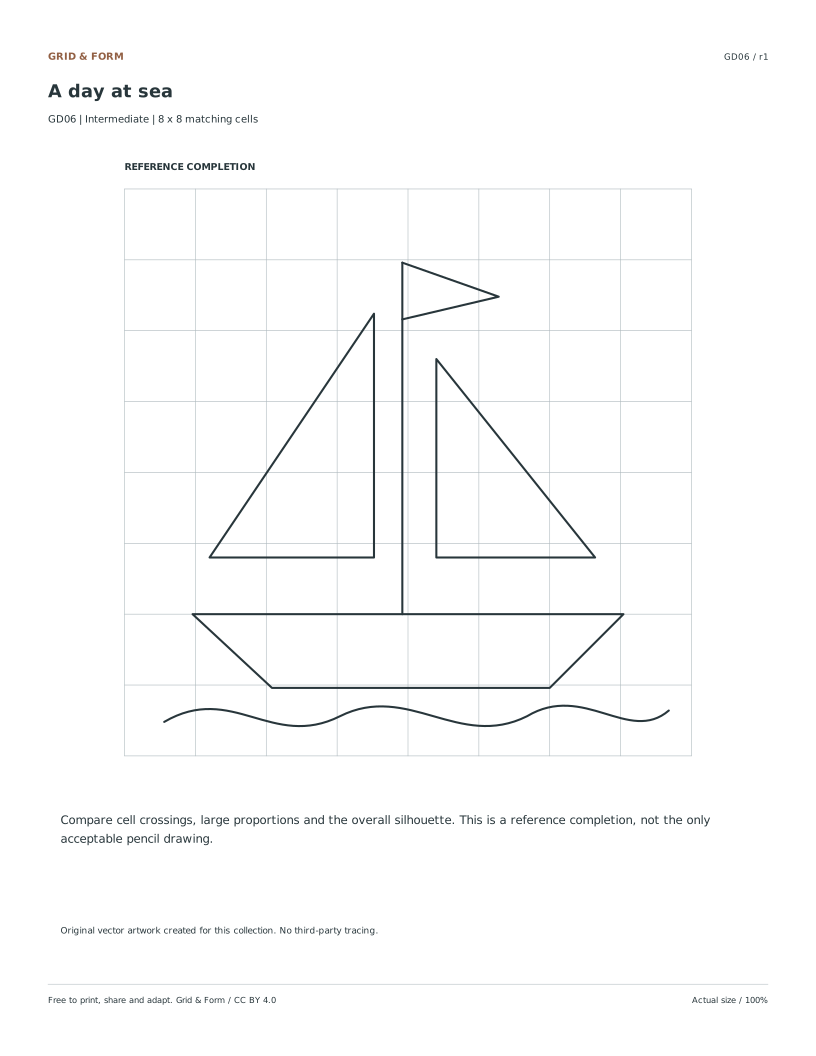
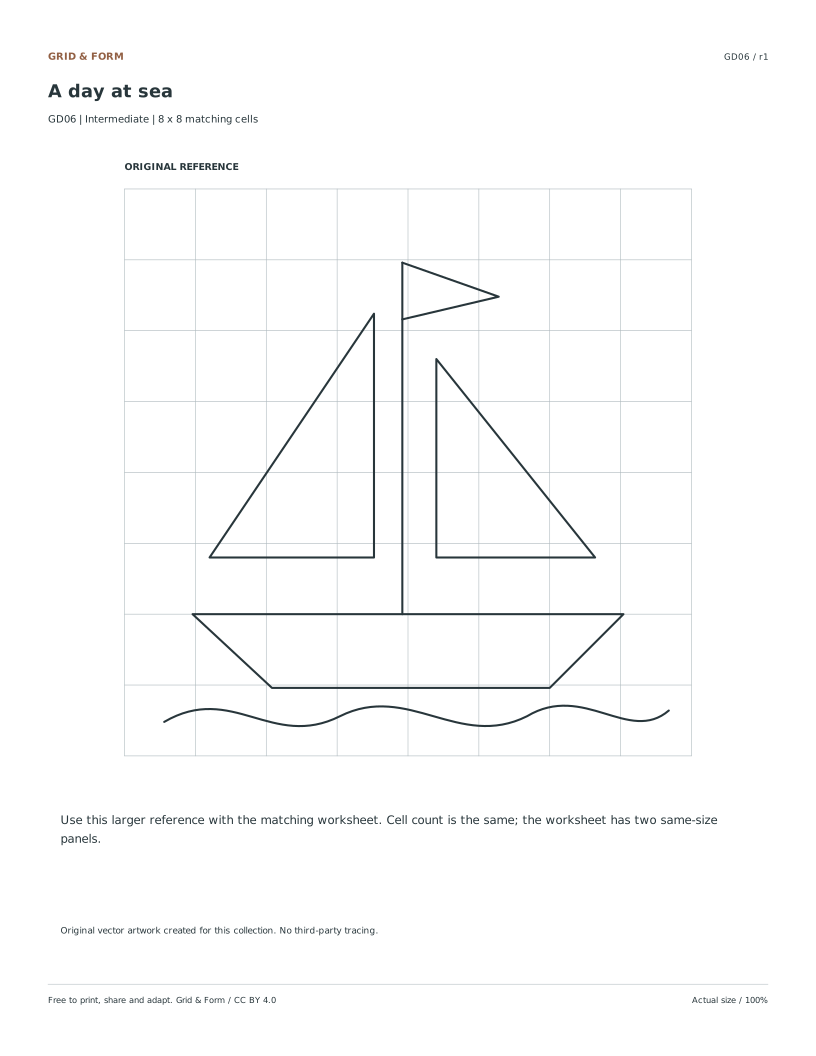
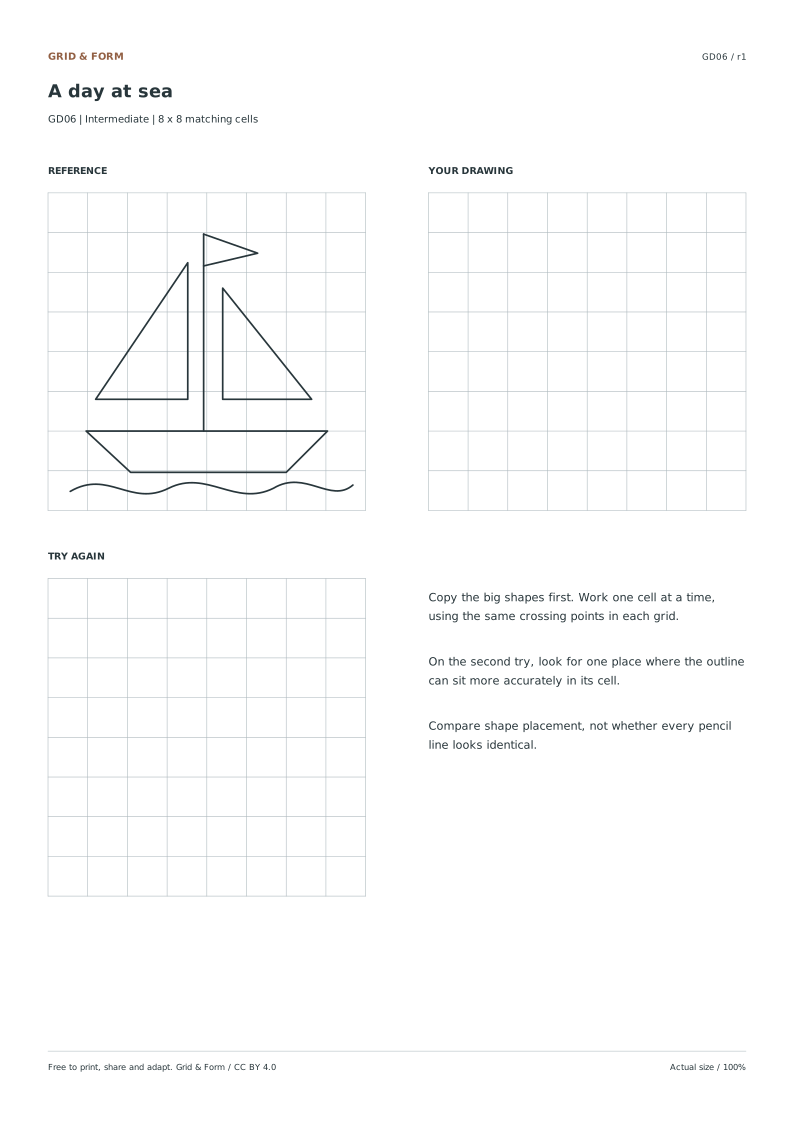
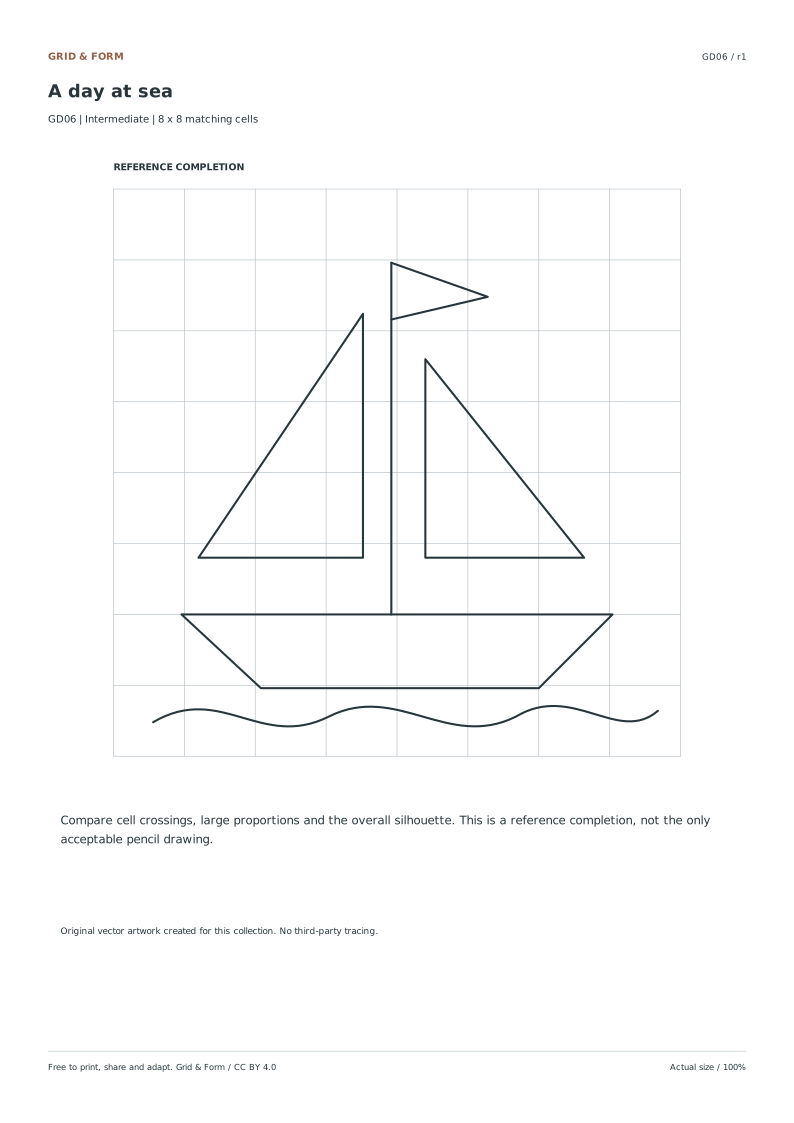
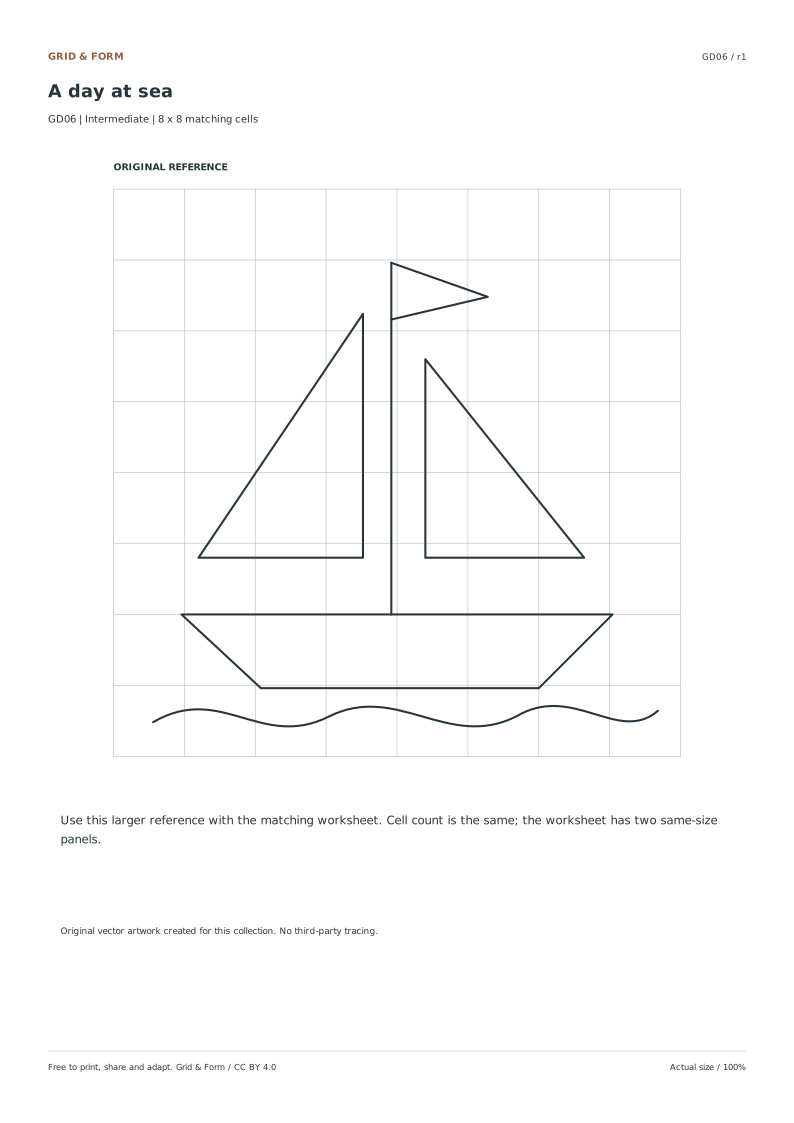
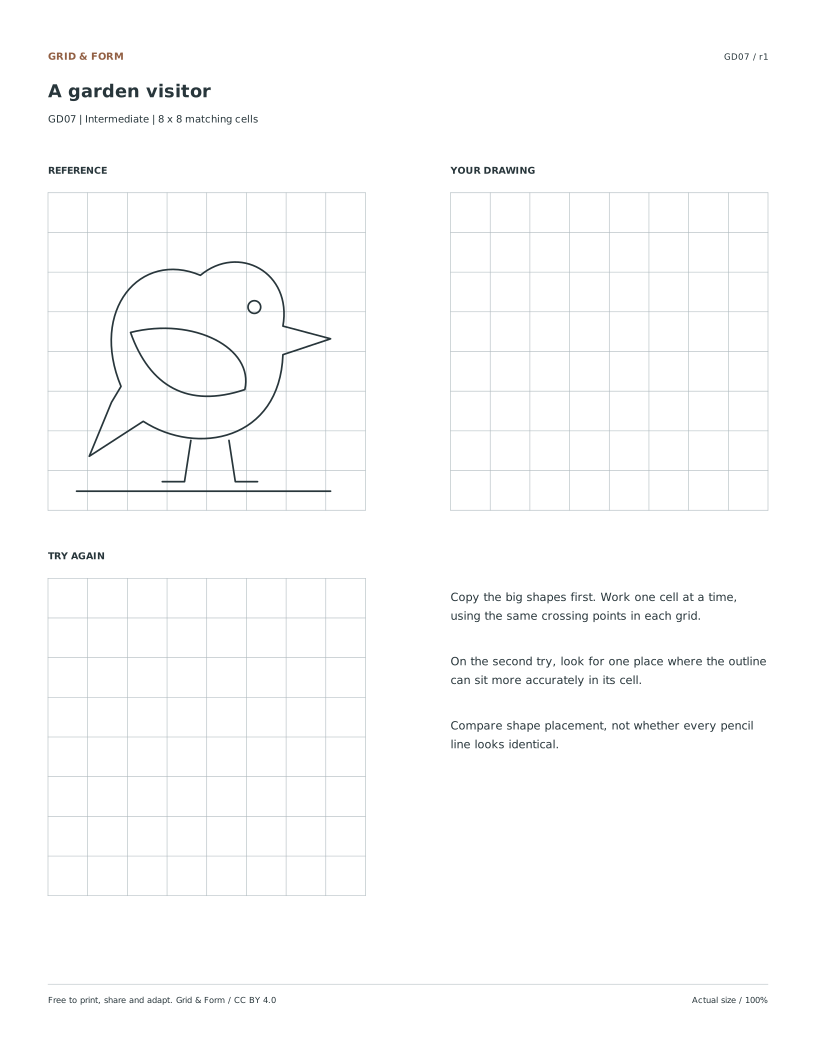
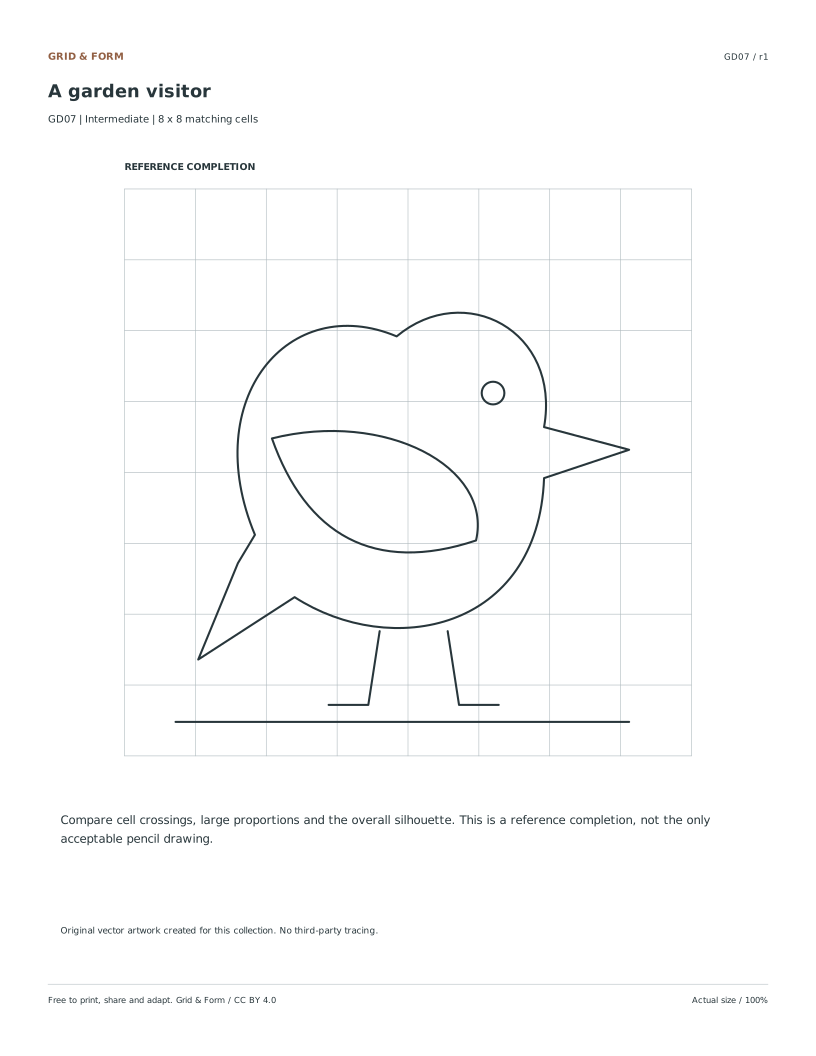
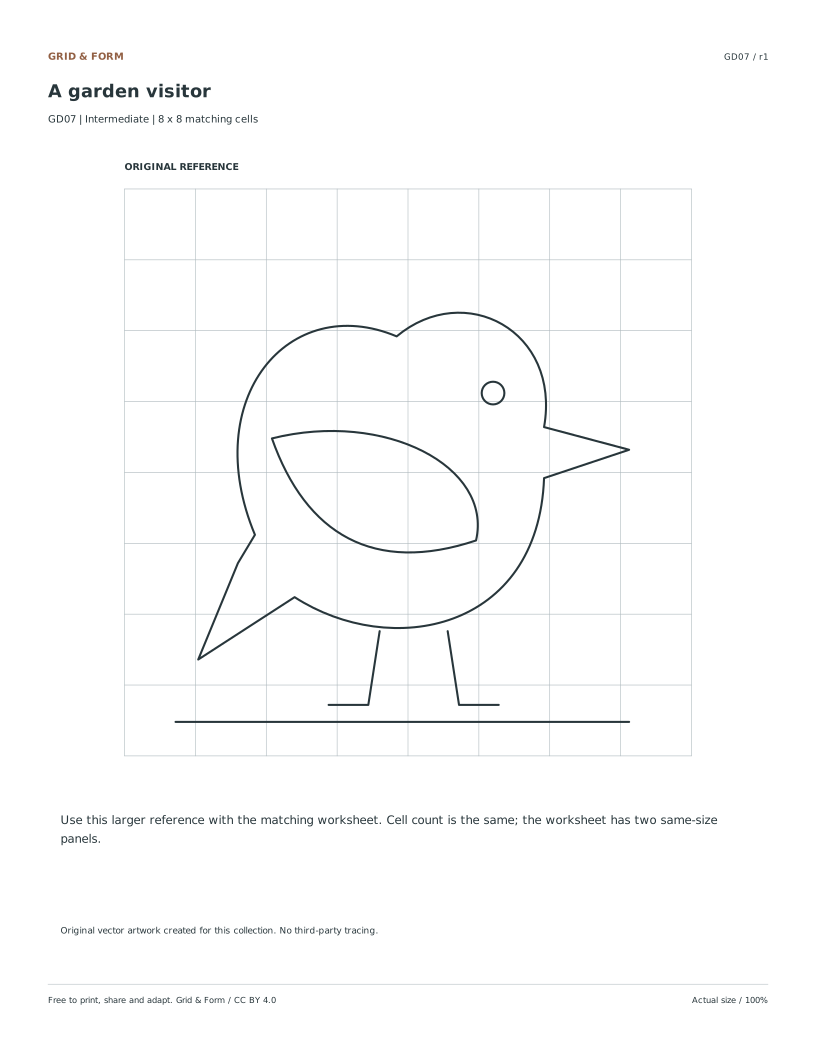
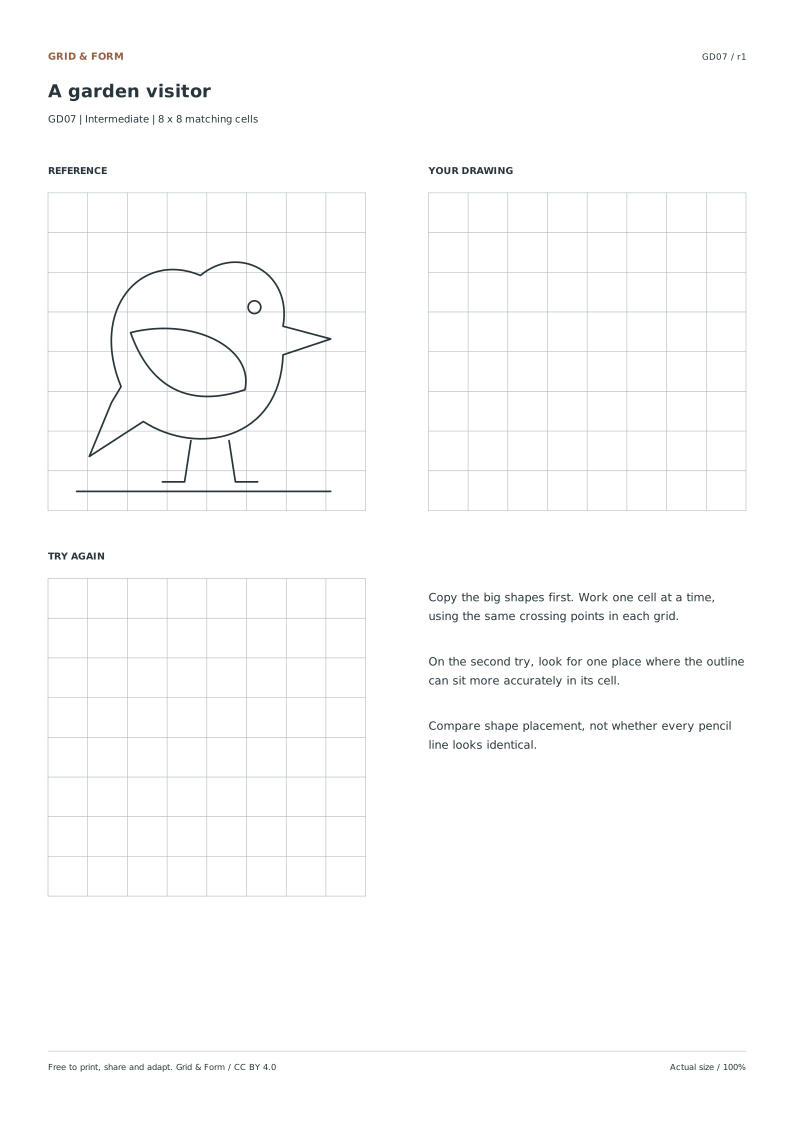
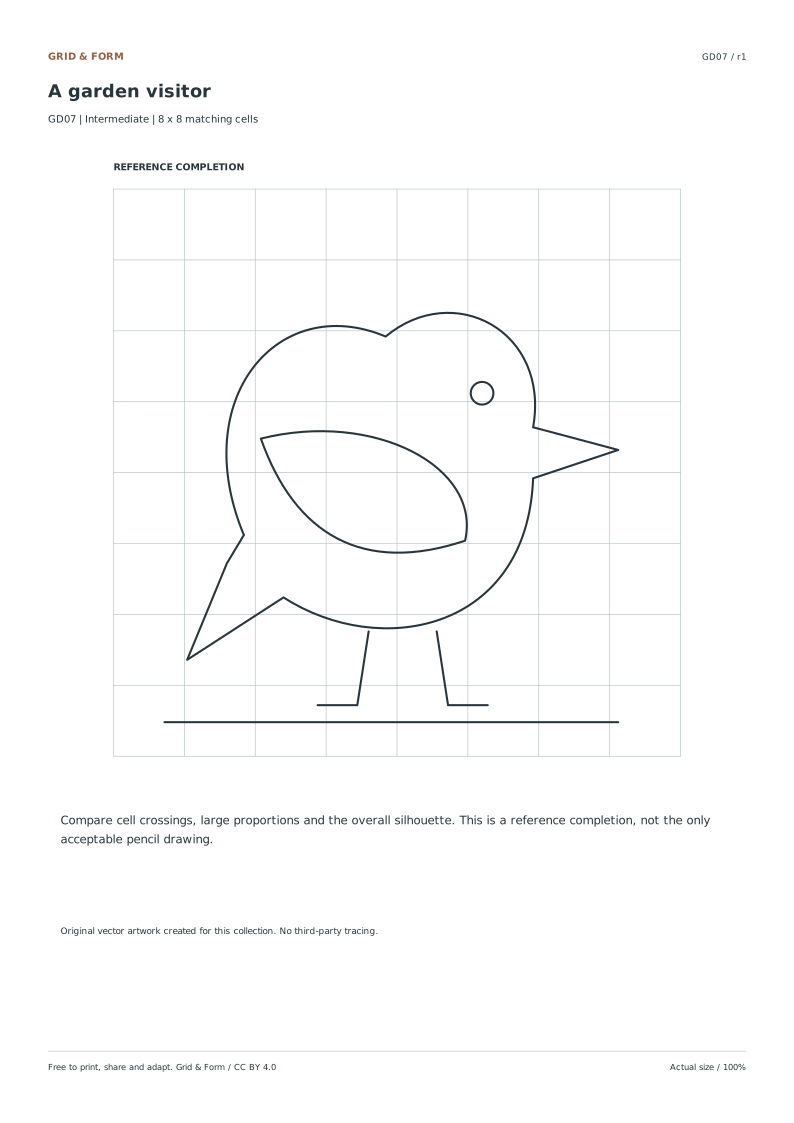
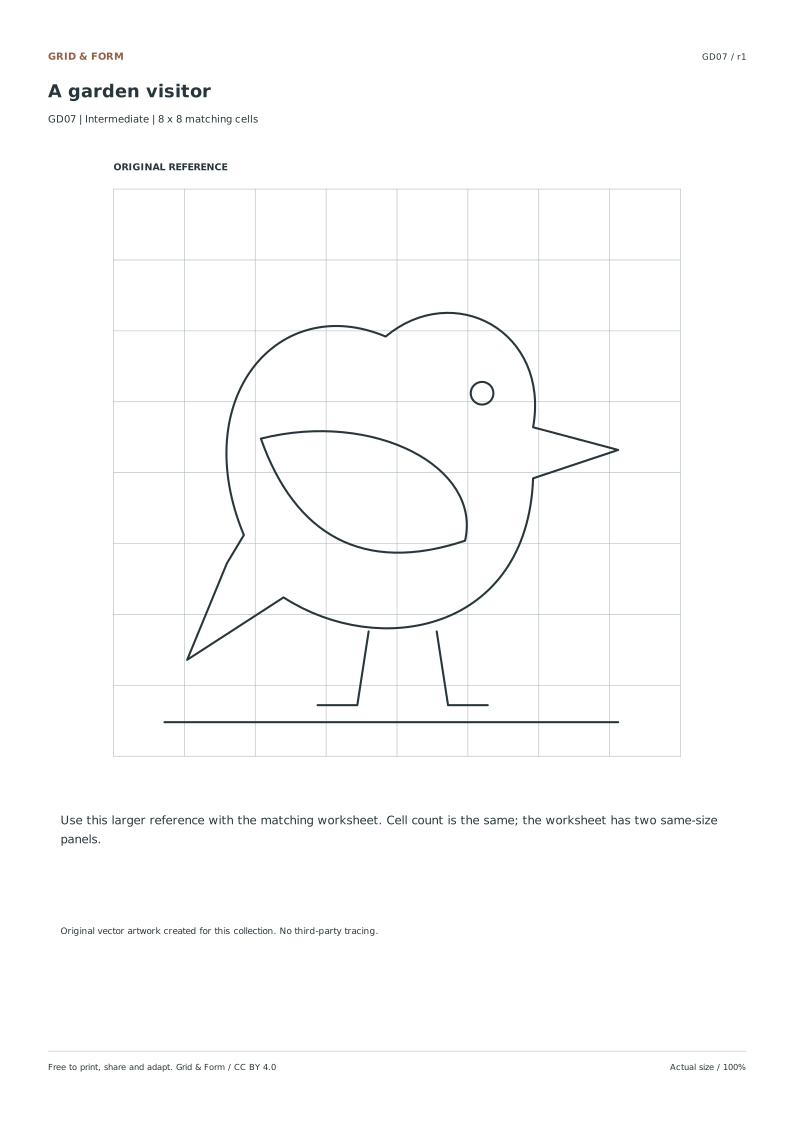
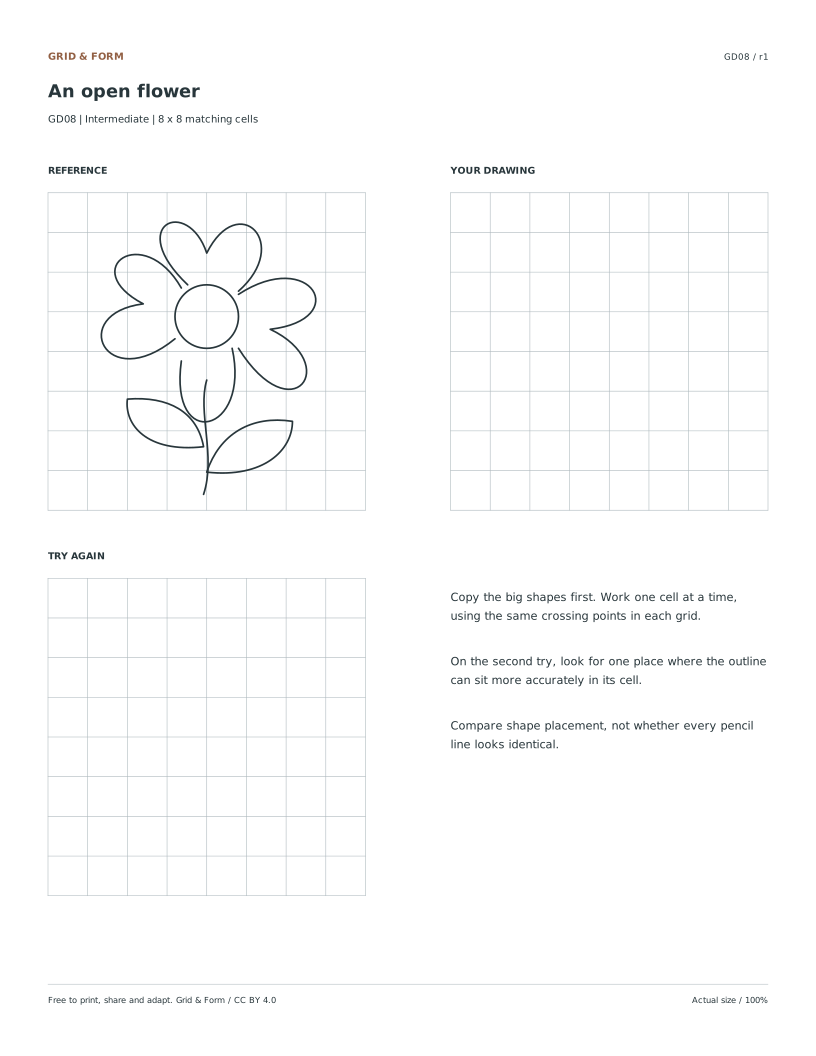
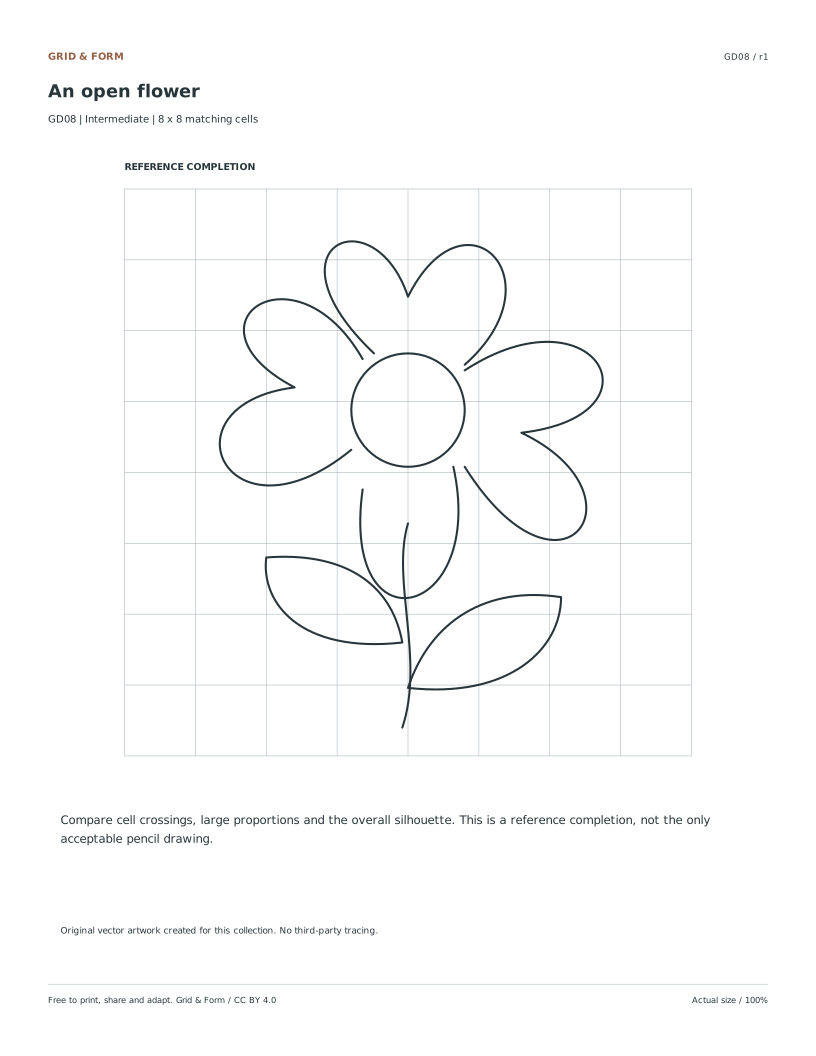
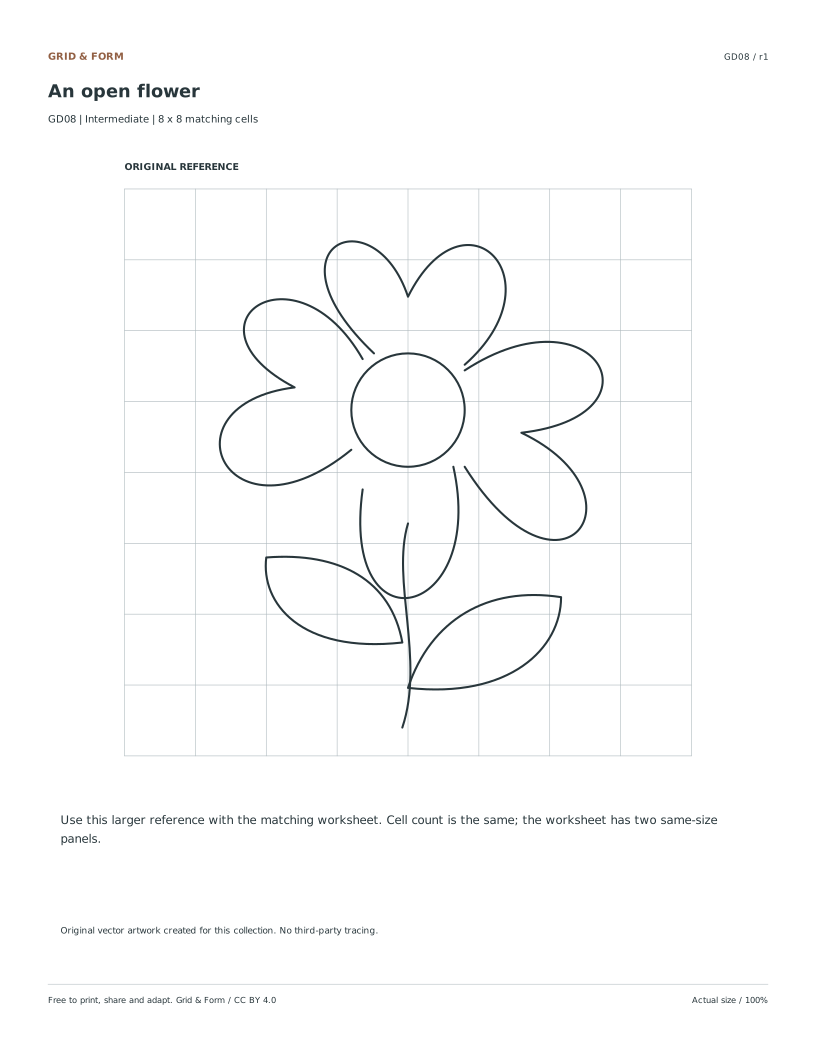
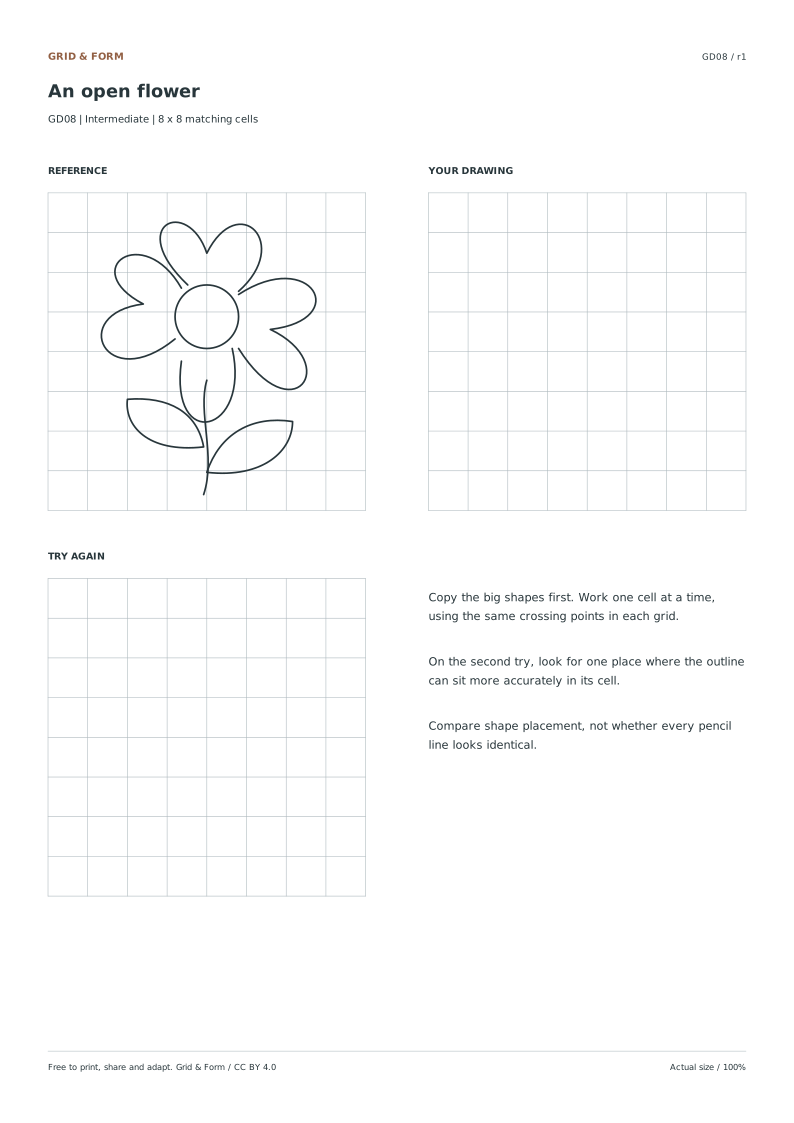
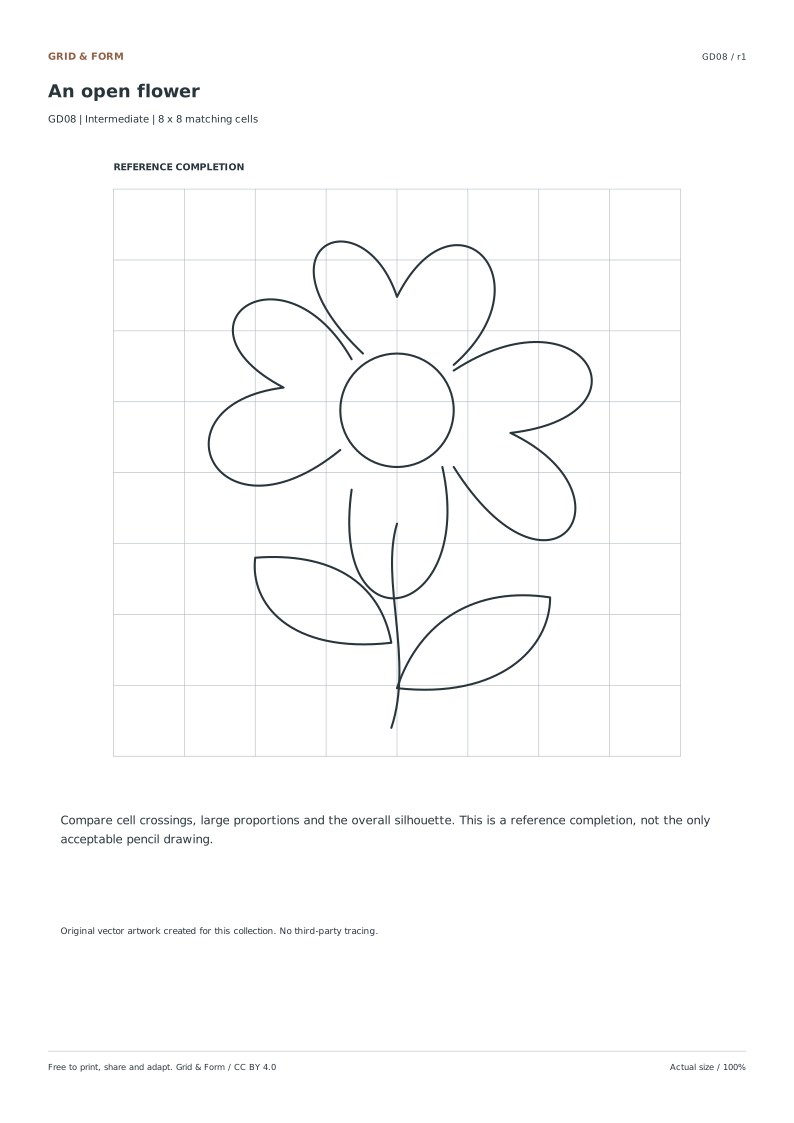
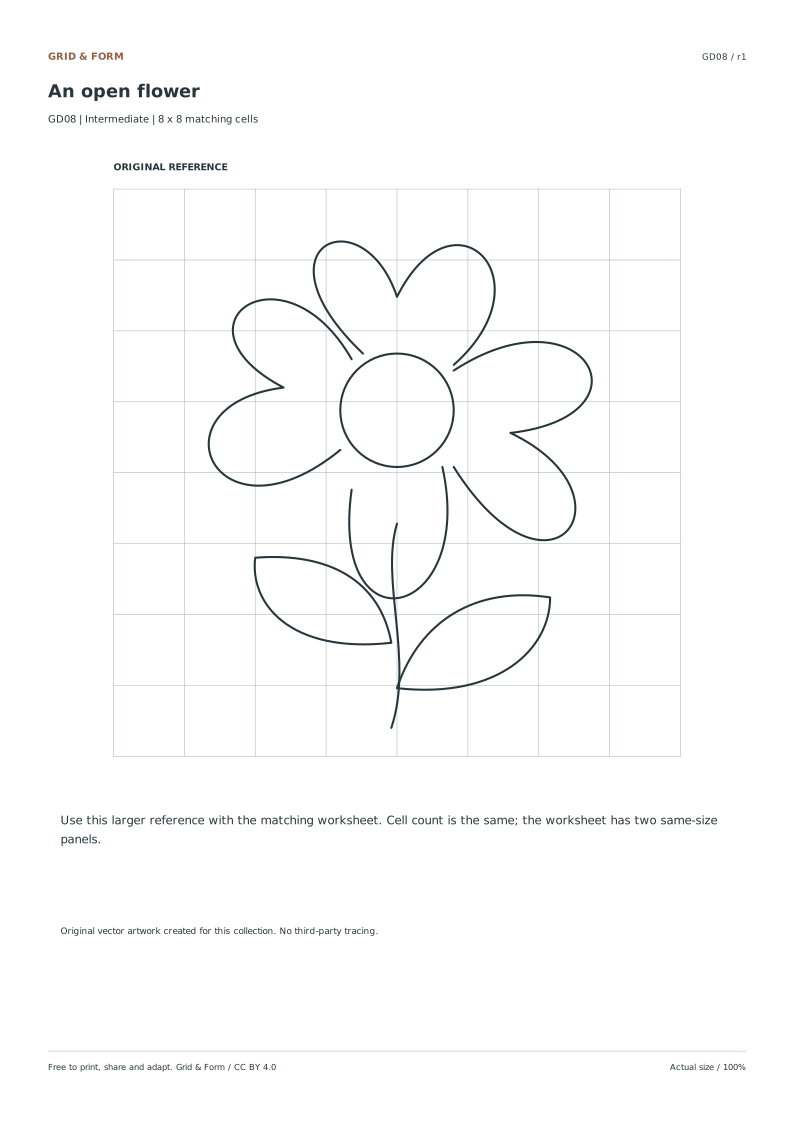
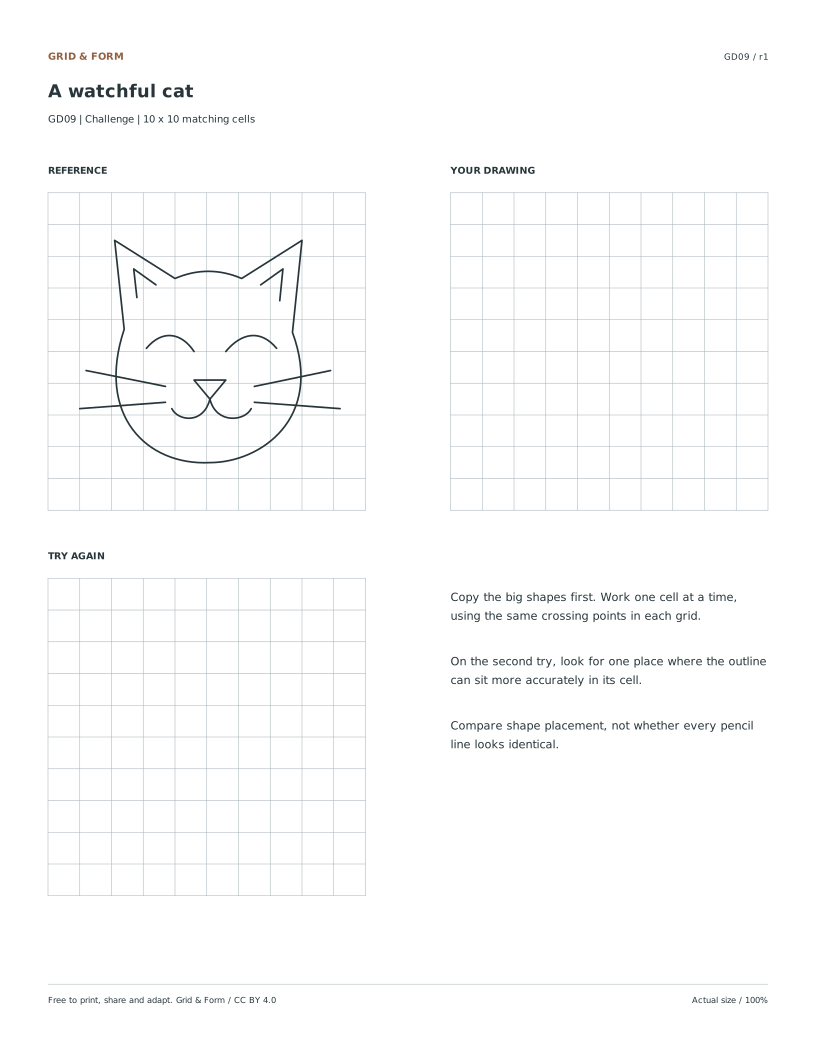
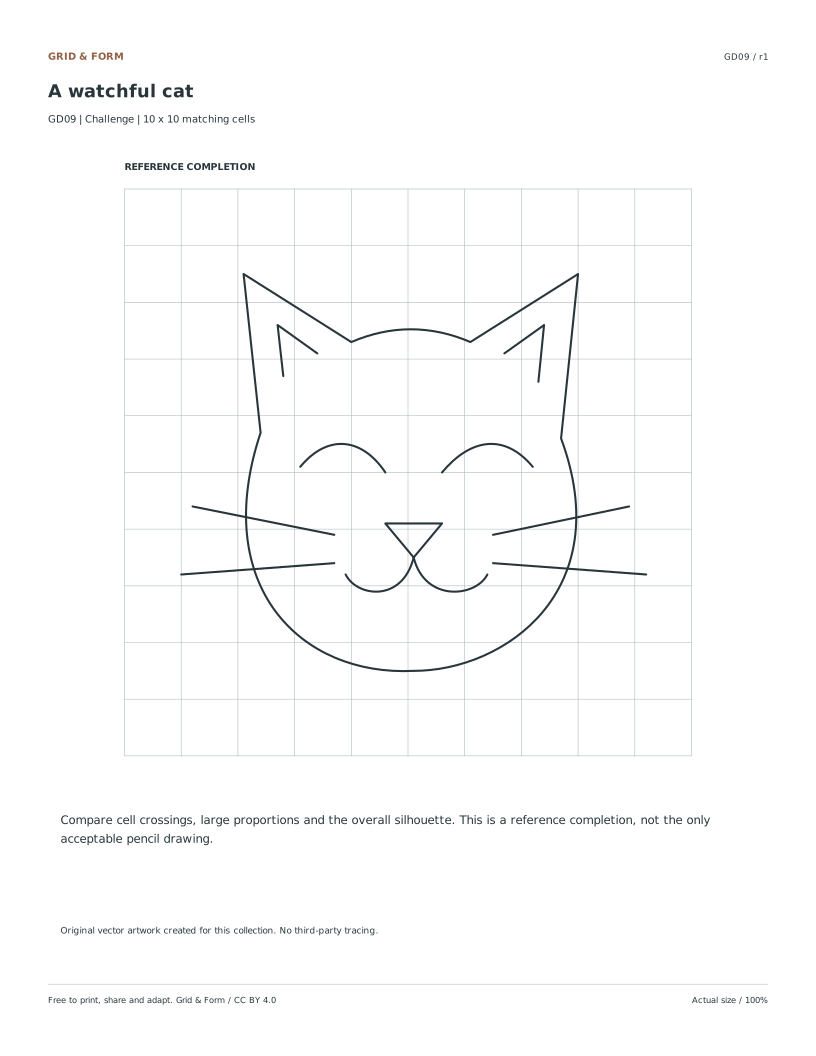
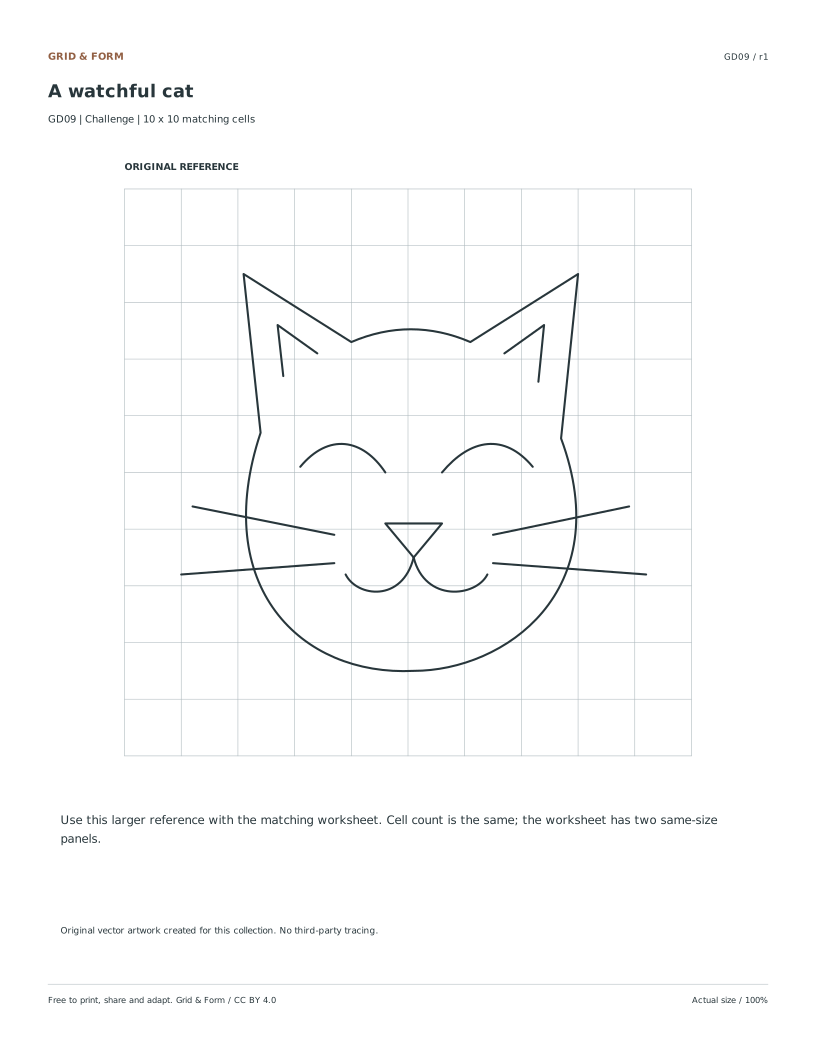
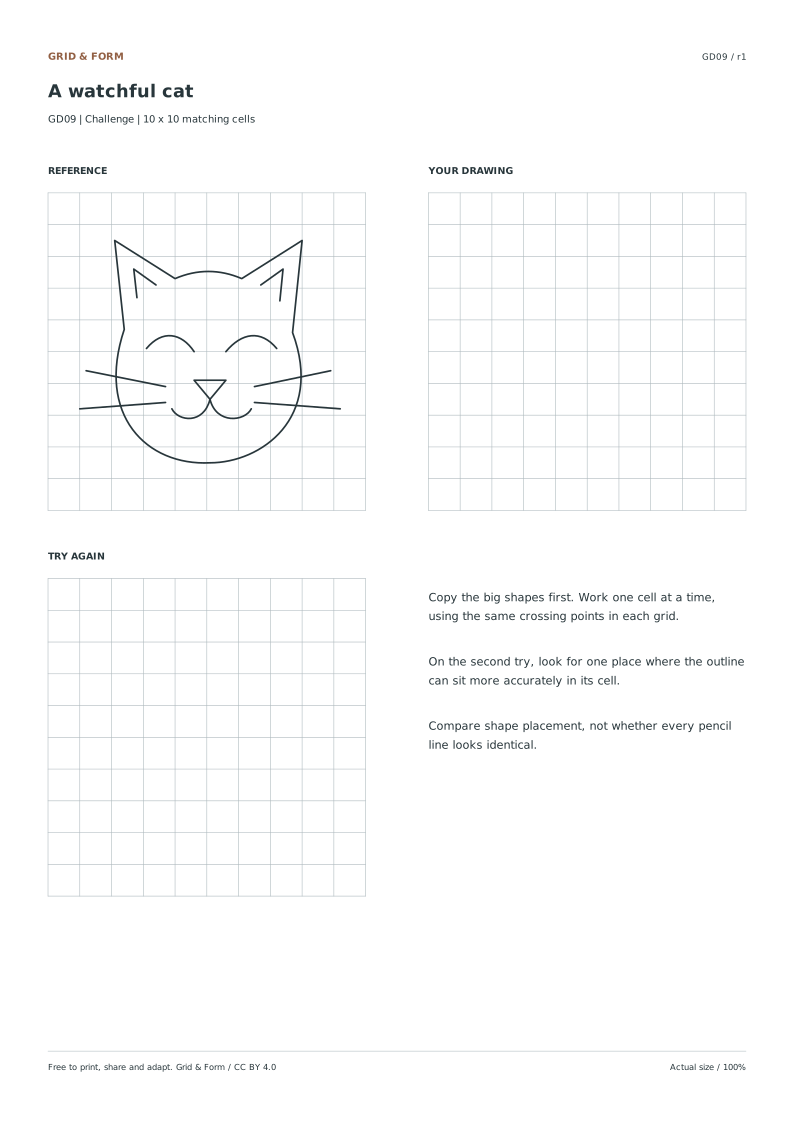
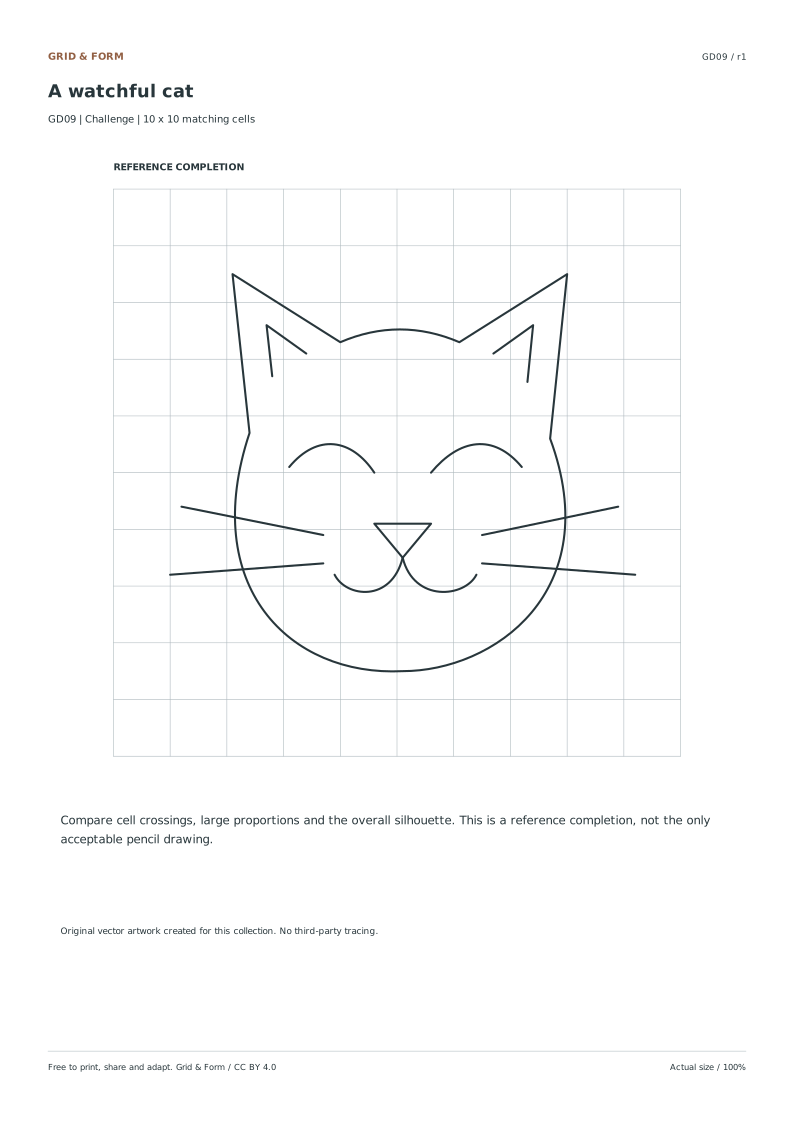
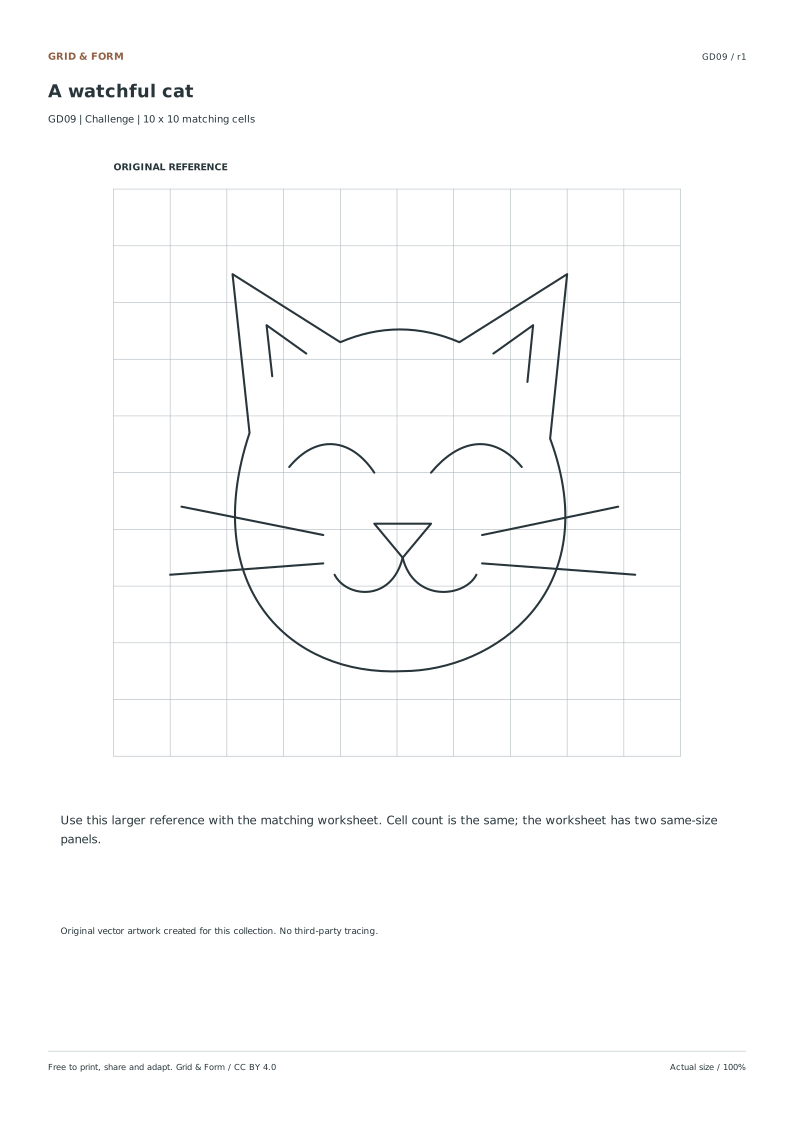
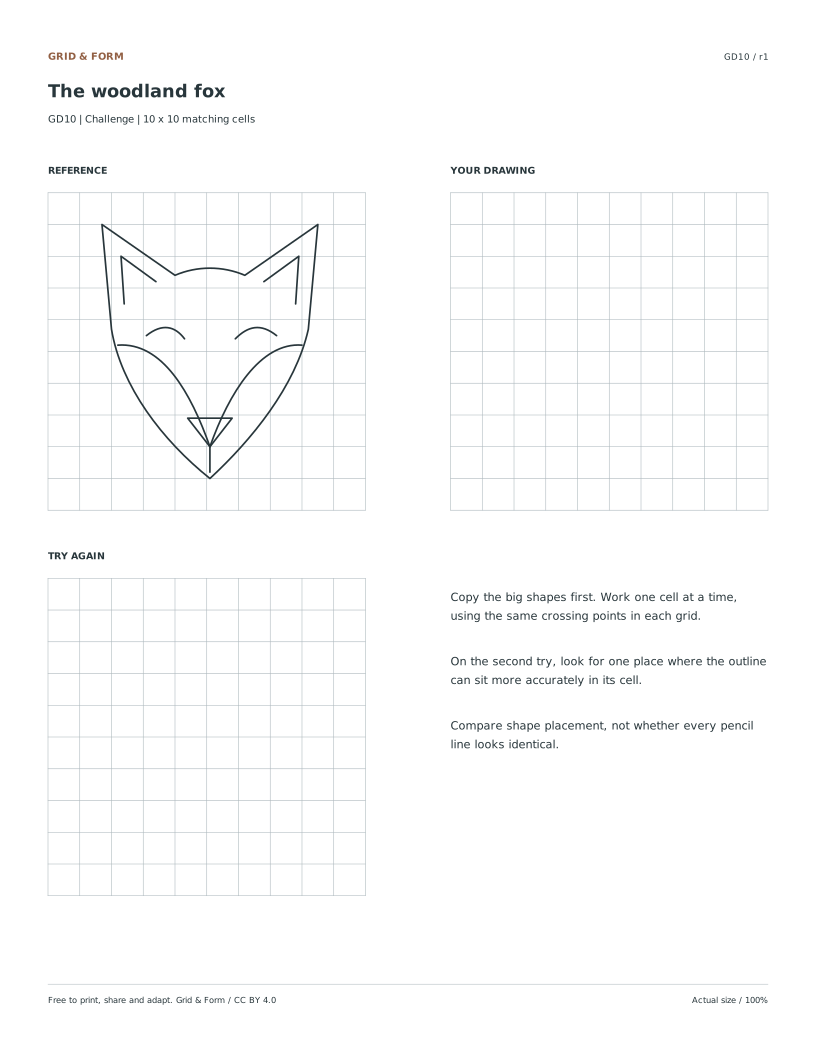
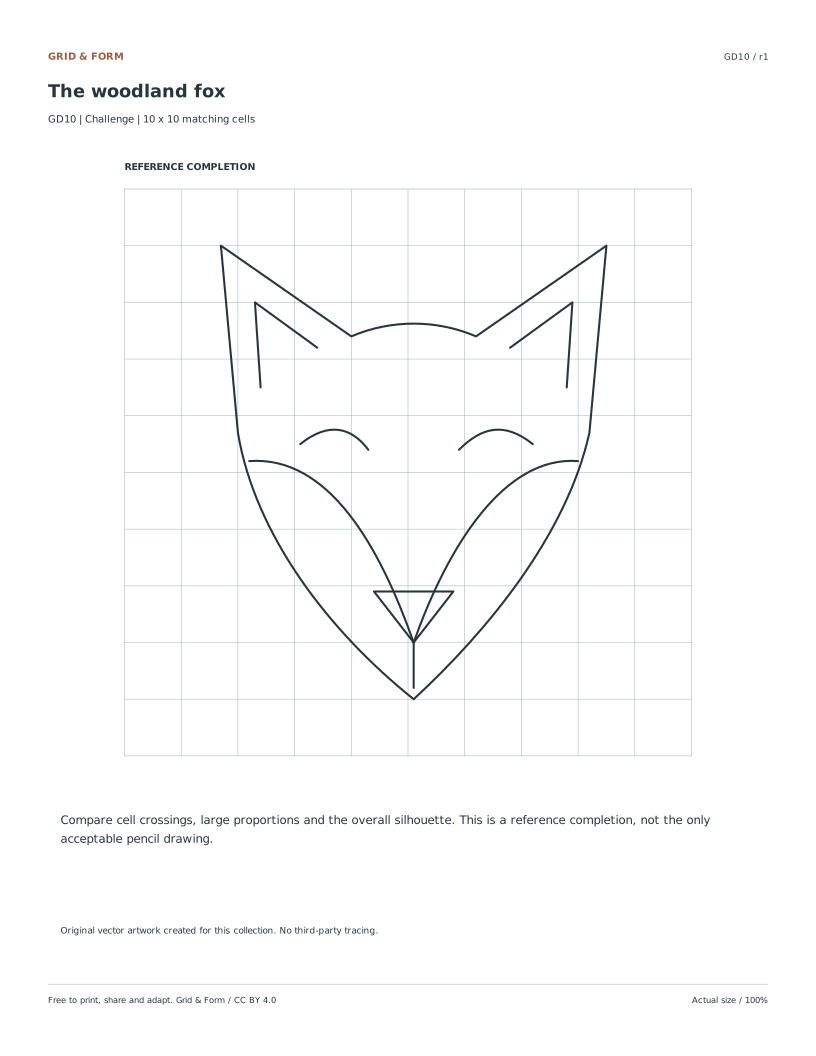
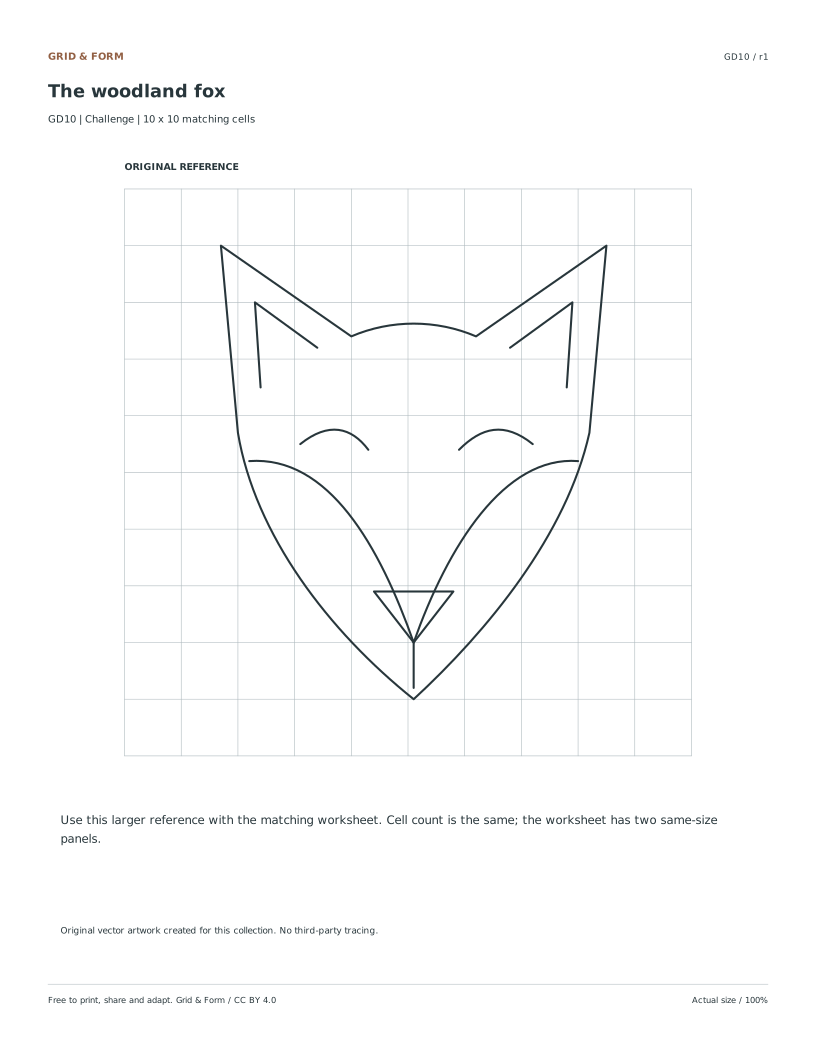
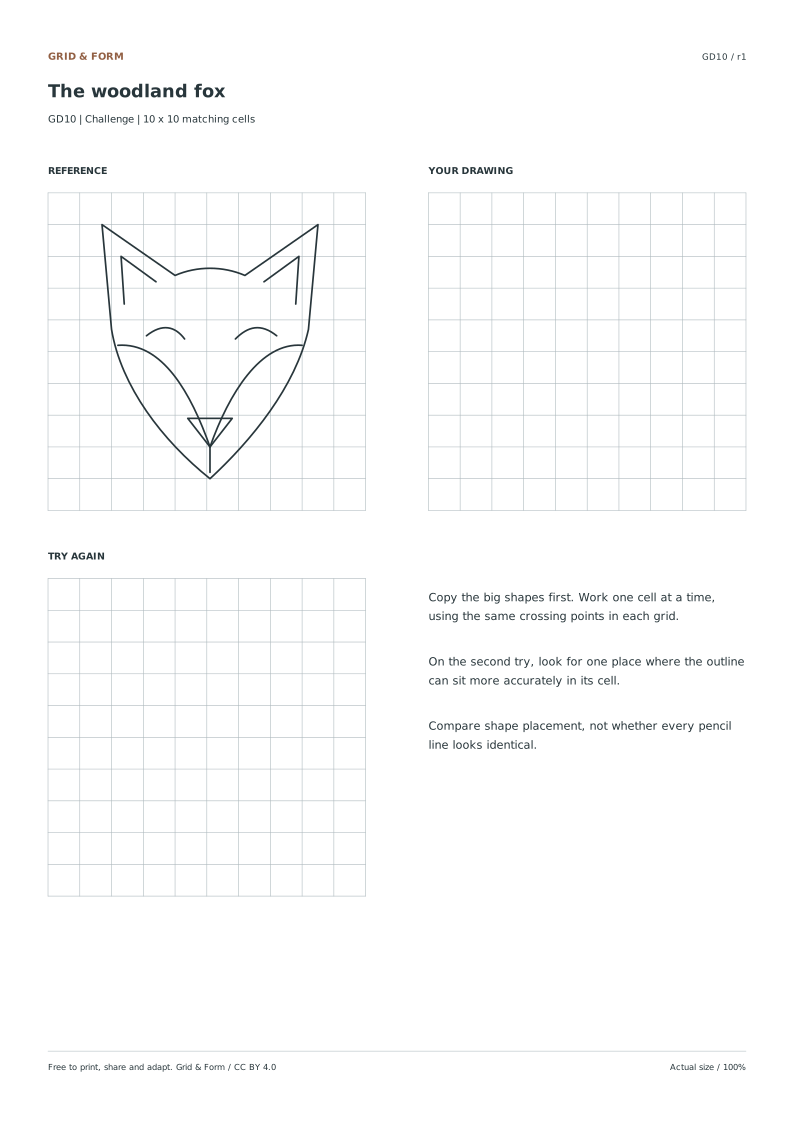
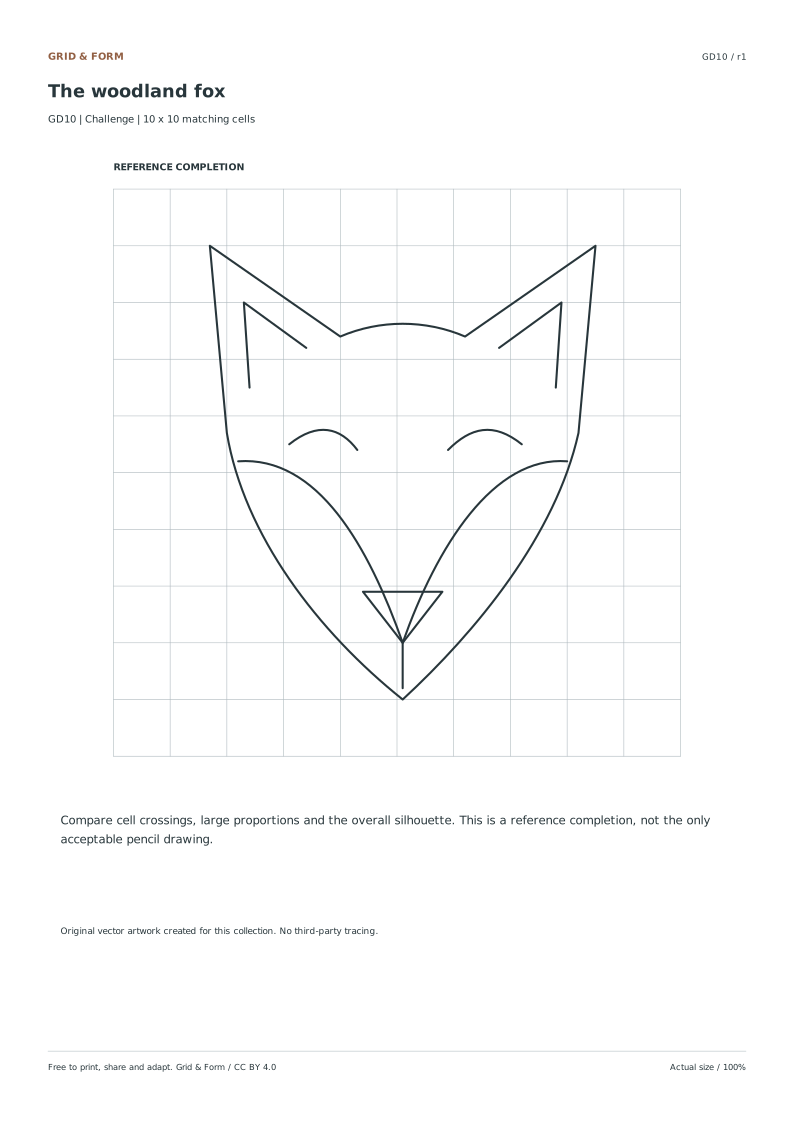
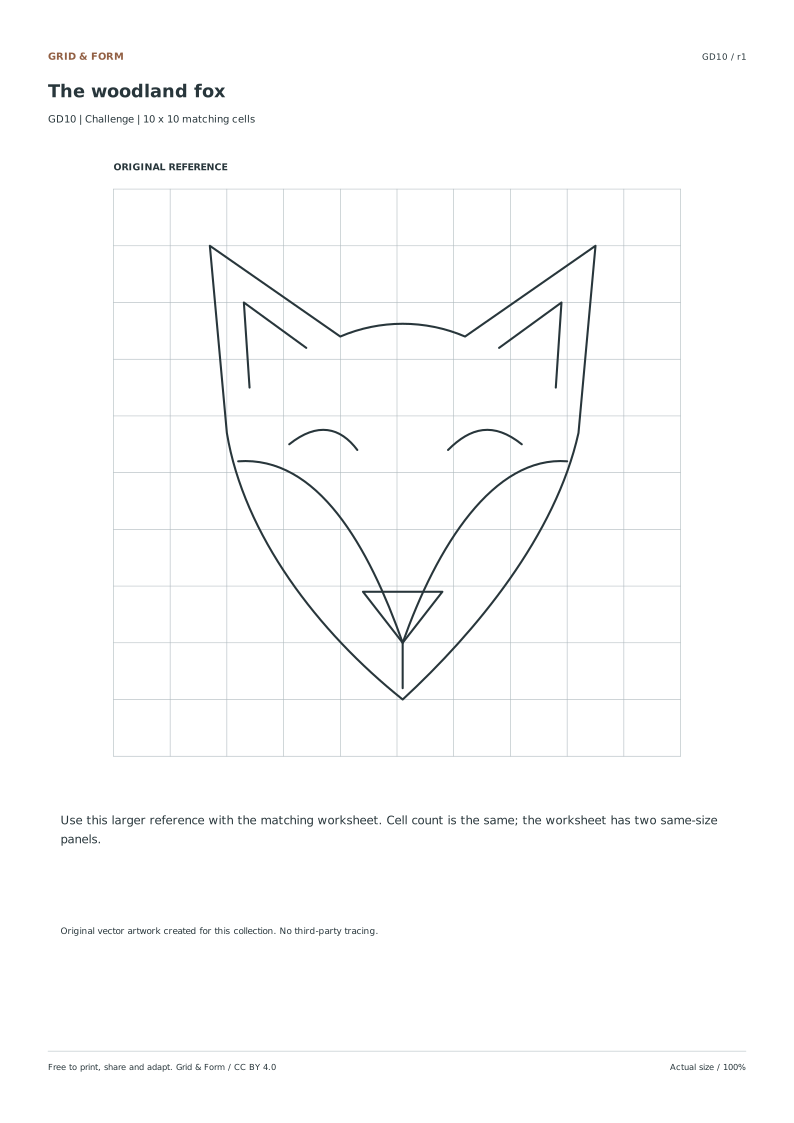
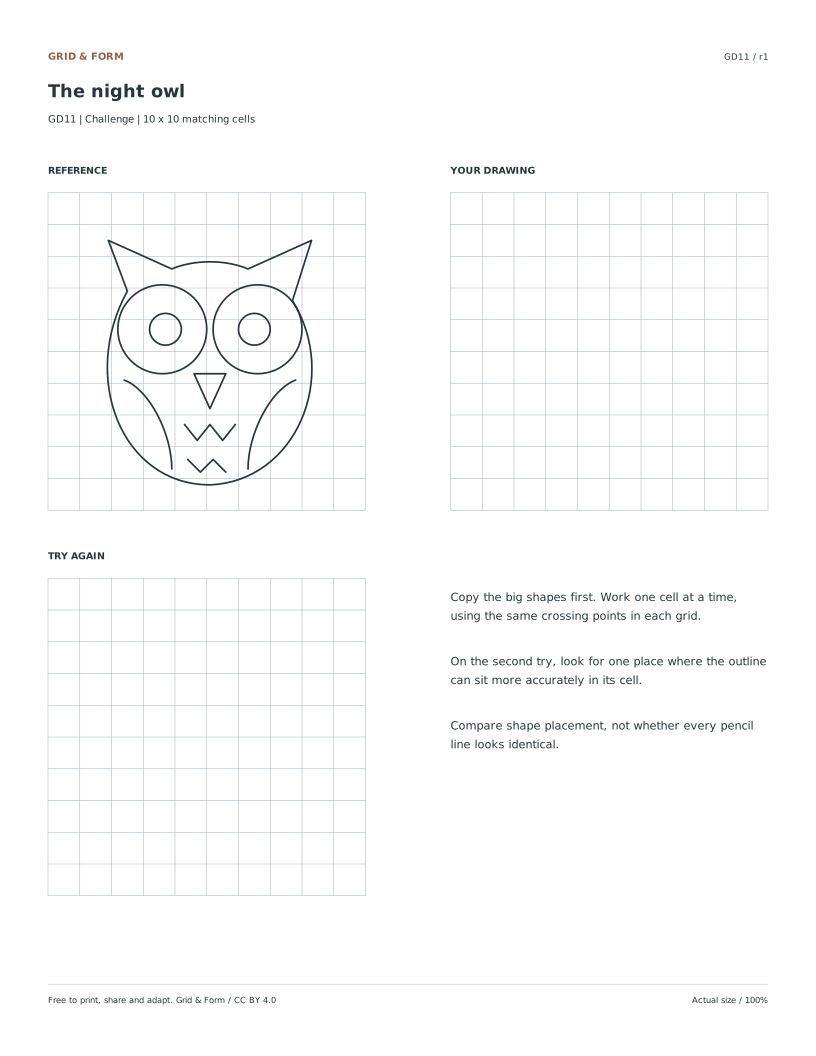
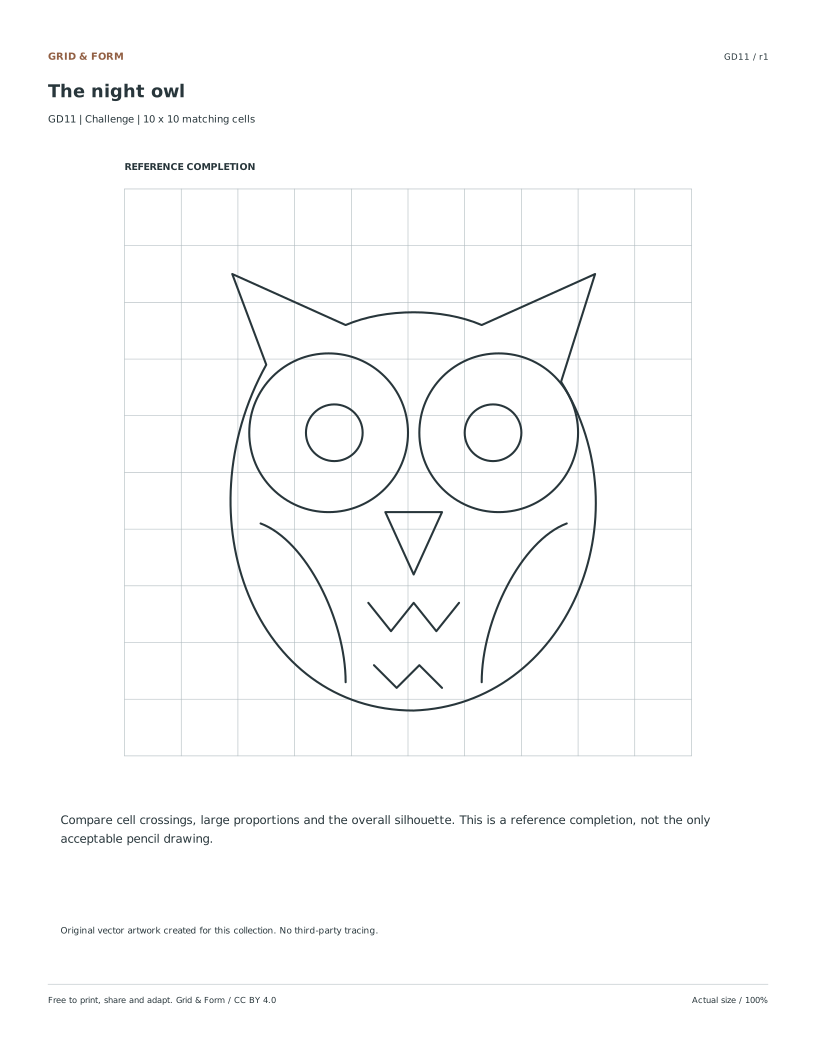
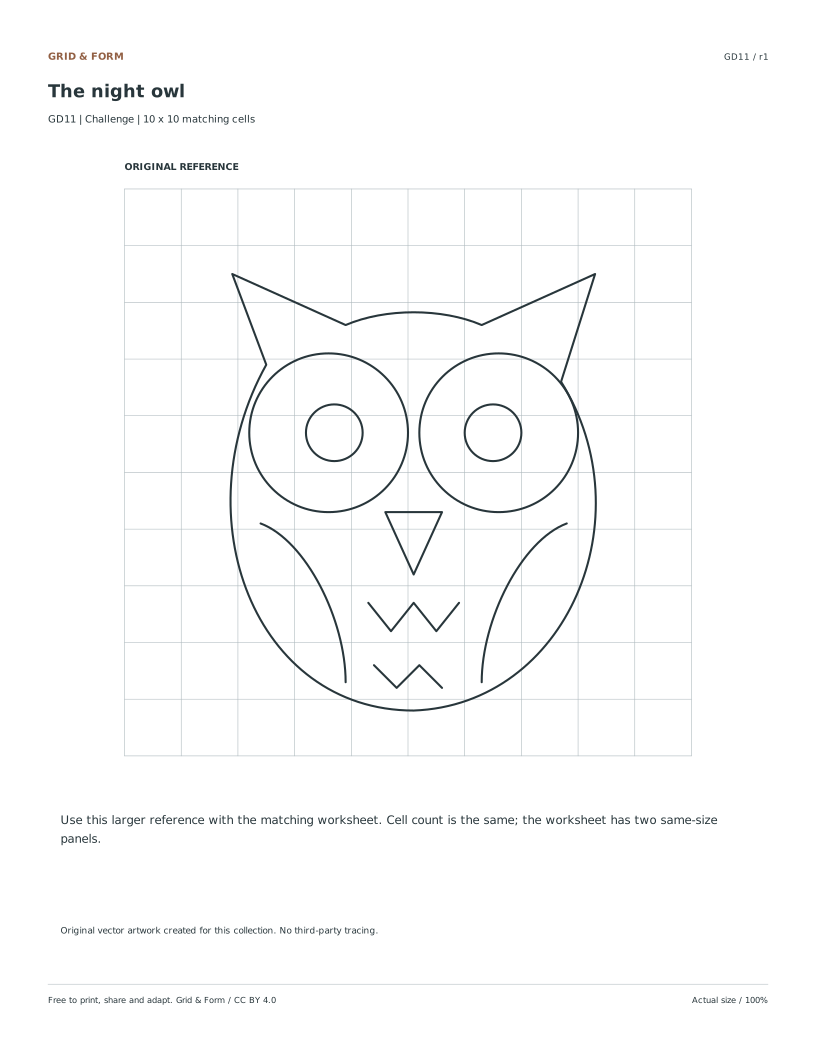
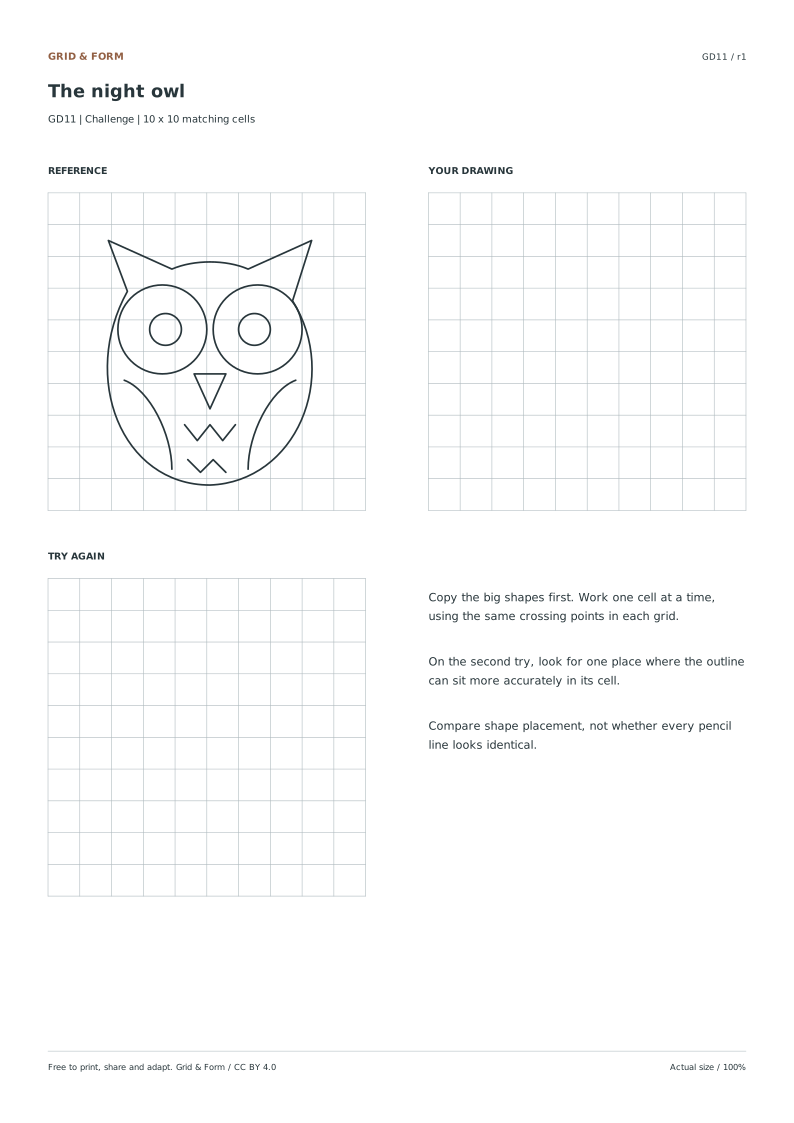
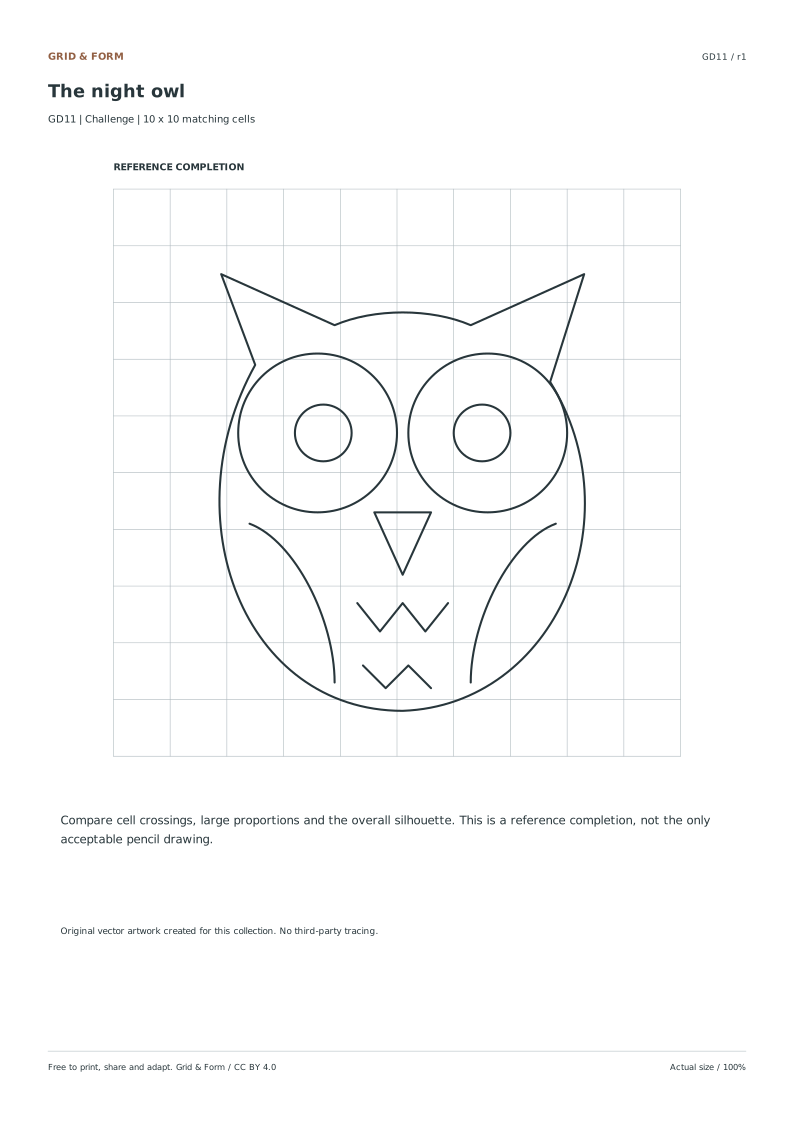
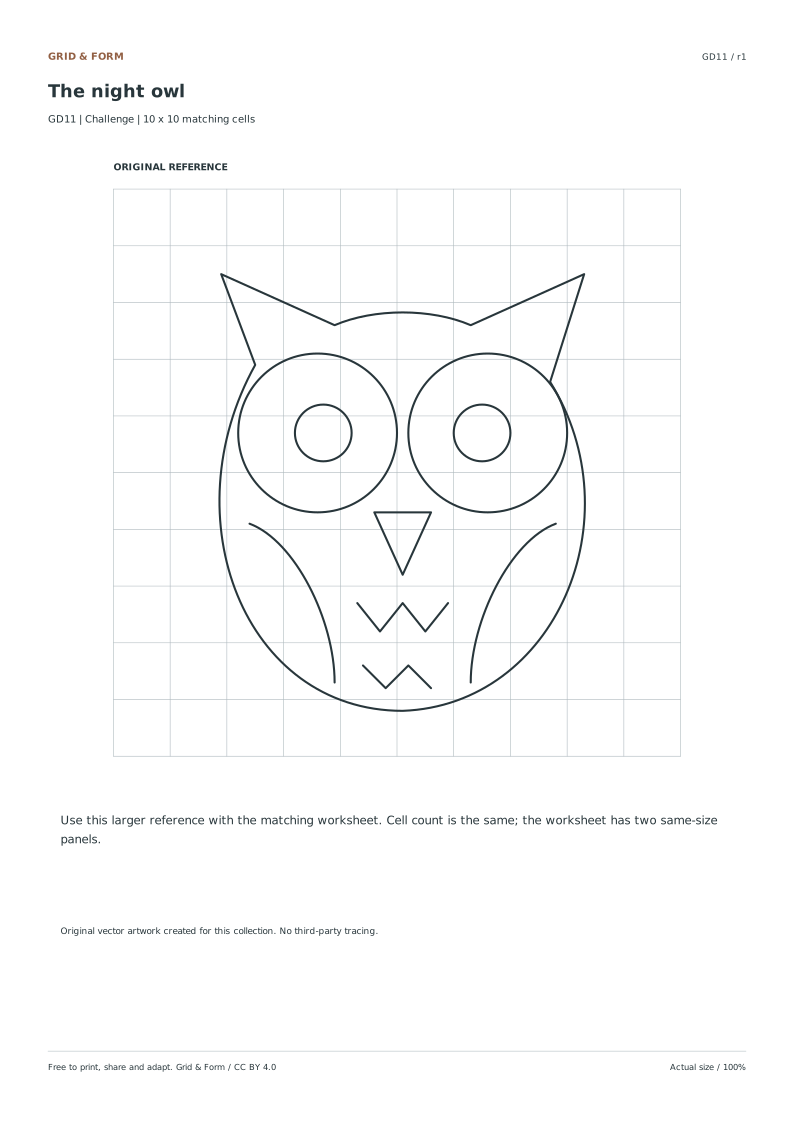
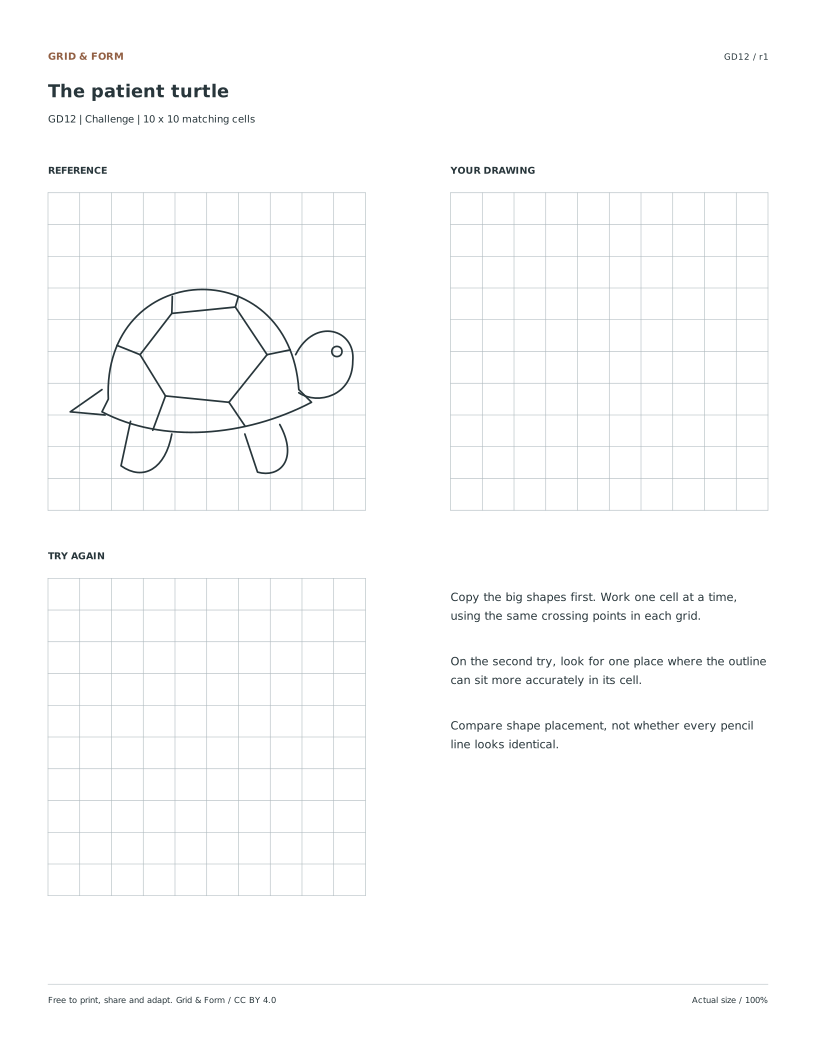
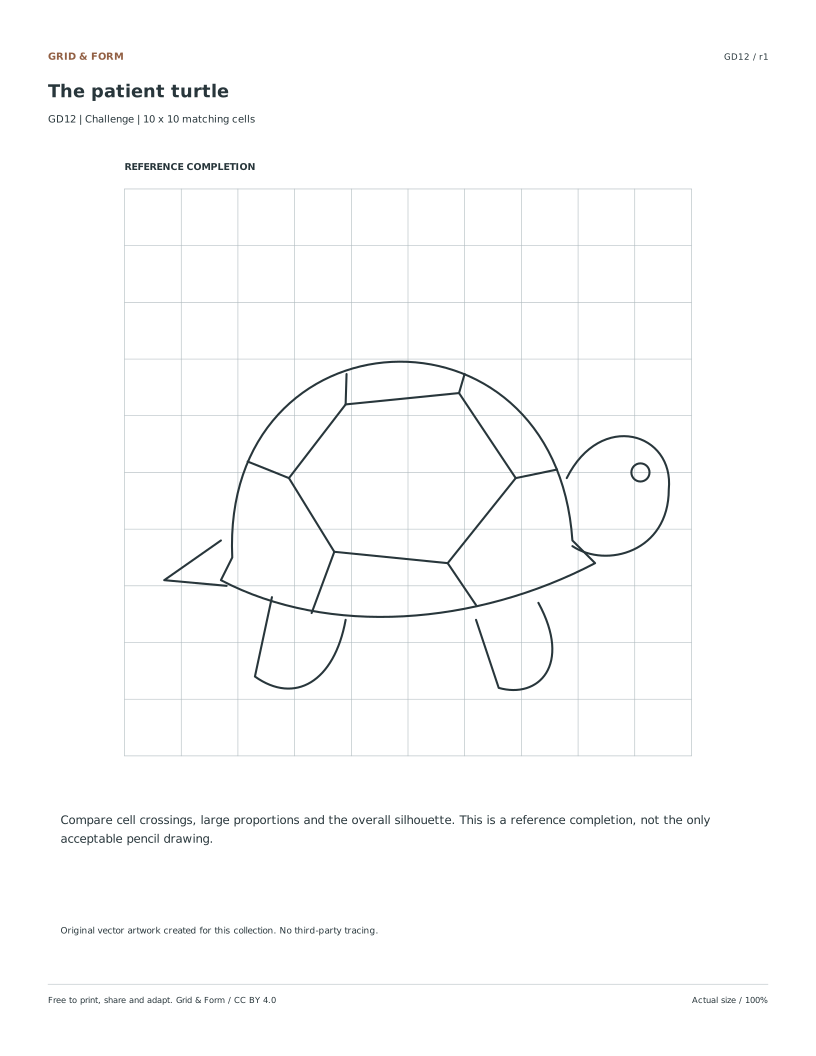
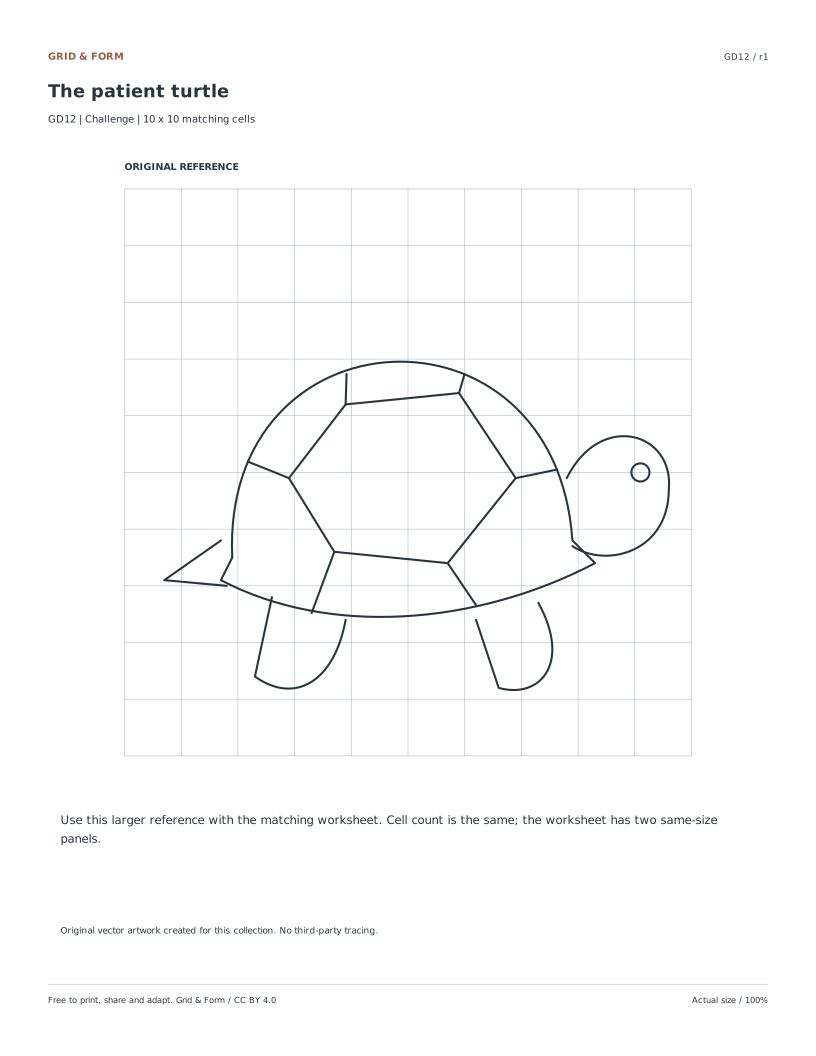
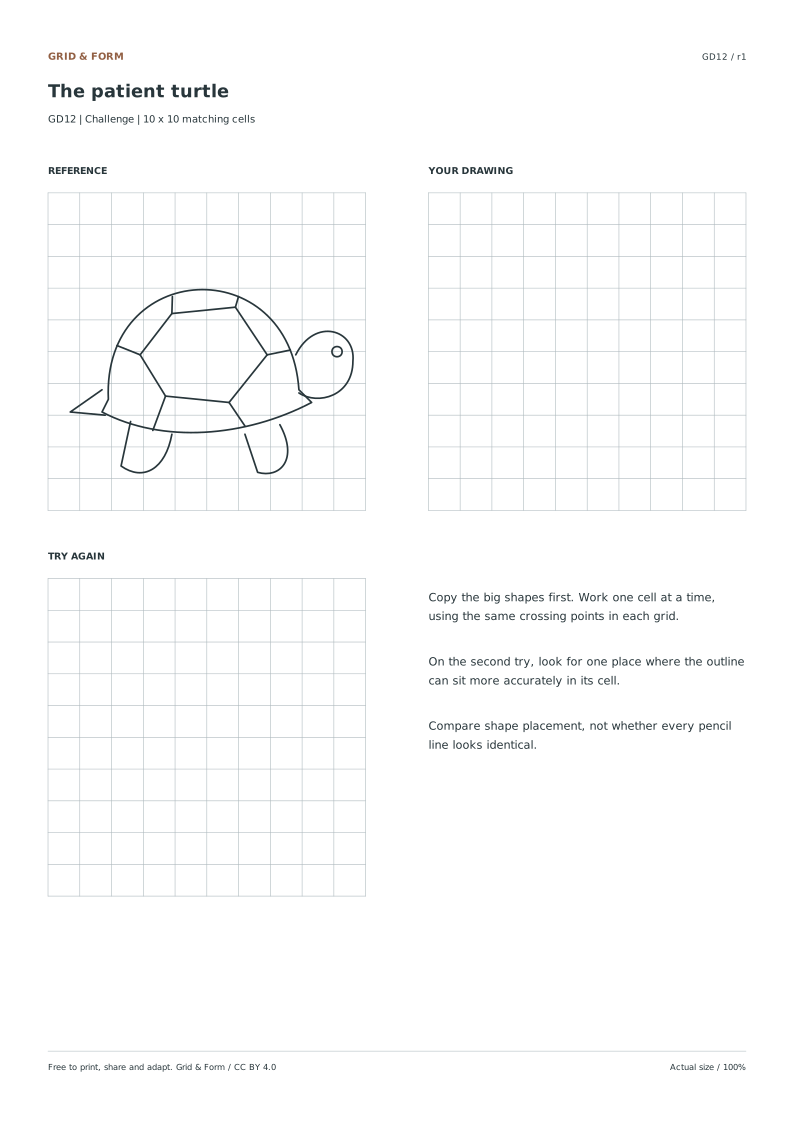
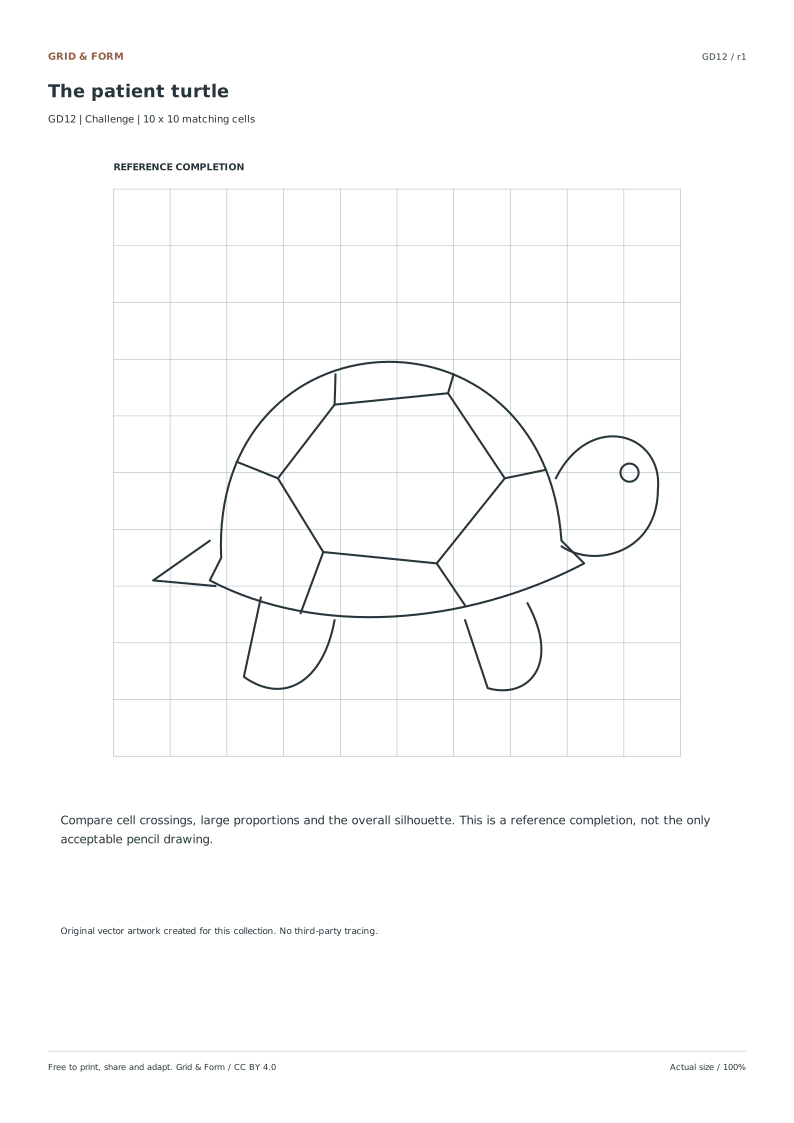
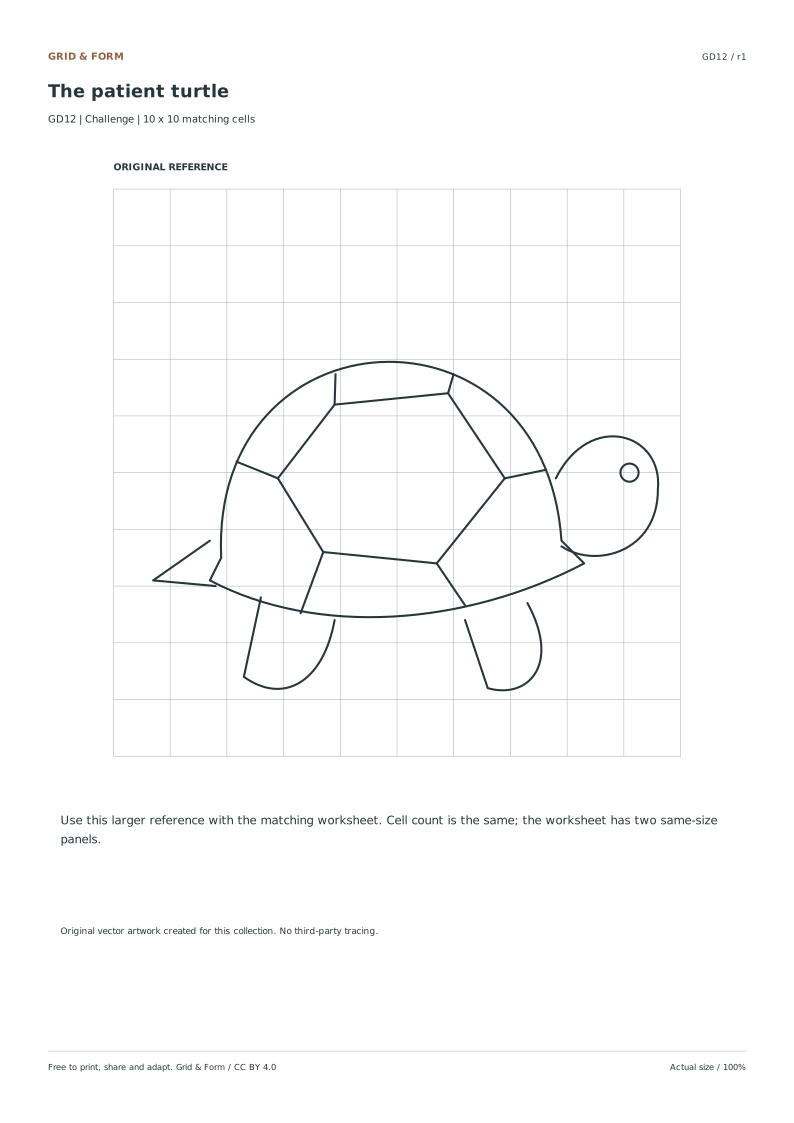
Twelve original drawings, from a quiet leaf to a detailed turtle. Use a matching grid to practice placement and proportion. Each drawing includes a reference, a student worksheet and a reference completion.
12 drawings · 3 levels.
2 attempts on each student sheet.
All references and answers included.
More ways to practice
A corner-to-corner example you can verify
Imagine a reference square divided into a 4 by 4 grid, so sixteen cells. A single straight line runs from the top-left corner of the whole square to the bottom-right corner. In grid terms, that line passes through the top-left corner of cell (1,1) and the bottom-right corner of cell (4,4), crossing each diagonal cell corner in turn.
On your blank grid, the same line must start at the top-left corner of your square and end at the bottom-right corner. If your line begins one cell in from the left, the slope changes and the endpoint will not match. Check the two endpoints first, then the midpoint, which should sit at the shared corner of the four central cells.
- Count the cells across and down on both the reference and your sheet; they must match.
- Mark the start and end points of the line on your grid before drawing it.
- Draw the line, then compare its midpoint with the reference midpoint.
- If the midpoint is off by more than a small fraction of one cell, redraw from corrected endpoints.
Placement checks before line quality
Most grid drawing errors are placement errors, not shaky hands. Before you judge a curve or a shading edge, confirm that key features sit in the correct cells. Pick three landmarks, such as the tip of a leaf, the handle of a mug, and the base of a stem, and note which cell each occupies in the reference.
Then check the same three landmarks on your copy. A landmark that is one cell off will pull everything connected to it out of position, so fix the landmark before refining the outline. Only after placement matches should you compare line weight, curve smoothness, and shading.
- Choose three landmarks spread across the drawing.
- Record the cell for each landmark in the reference.
- Record the cell for each landmark in your copy.
- Correct any landmark that is more than half a cell away before continuing.
Using a second attempt deliberately
A second attempt is most useful when you change one variable. Keep the same reference and grid size, but adjust a single decision: start from the landmarks instead of the outline, or work cell by cell rather than feature by feature. Changing everything at once makes it hard to know what improved.
Compare the two attempts side by side against the reference. Note which landmarks moved closer and which stayed wrong. That note, not the drawing itself, is the record of your progress.
- Keep the reference and grid size unchanged for the second attempt.
- Change one working method only.
- Compare both attempts against the same three landmarks.
- Write one sentence about what changed and one about what still needs work.
Try this example
A reference is divided into a 4 by 4 grid. A straight line runs from the top-left corner of the whole square to the bottom-right corner. On a blank 4 by 4 grid, where should the line start, end, and cross the middle?
Show the worked explanation
It starts at the top-left corner of cell (1,1) and ends at the bottom-right corner of cell (4,4). Because the grid is even, the midpoint falls at the shared corner of the four central cells, where cells (2,2), (2,3), (3,2), and (3,3) meet. Marking those three points before drawing keeps the slope consistent with the reference.
Common mistakes
- Judging line quality before confirming that landmarks sit in the correct cells. Check three landmark cells against the reference first; correct placement, then assess line quality.
- Drawing a straight feature from an approximate start point rather than the exact grid corner. Mark both endpoints on the grid before drawing, and verify the midpoint against the reference.
- Changing grid size, reference, and method all at once on a second attempt. Hold the reference and grid size constant and change only one working method.
Check your work
- Grid cell counts on the reference and the copy are equal.
- Three chosen landmarks occupy the same cells as in the reference.
- Straight features begin and end at the intended grid corners.
- The midpoint of a long straight feature matches the reference midpoint.
- The second attempt changes one working method while holding reference and grid size constant.
- Comparison notes identify one improvement and one remaining placement issue.
Questions before you start
How do I know if my grid matches the reference grid?
Count the cells across and down on both. The counts must be equal; if they differ, the same feature will land in a different cell and placement checks will mislead you.
What should I check first on a finished copy?
Check three landmark positions by cell before anything else. Placement errors shift connected features, so line quality is only meaningful once landmarks match.
Can two correct copies look different?
Yes. Grid drawing constrains placement, not style. Line weight, curve smoothness, and shading can vary while placement remains accurate, so compare against a rubric rather than expecting an identical image.