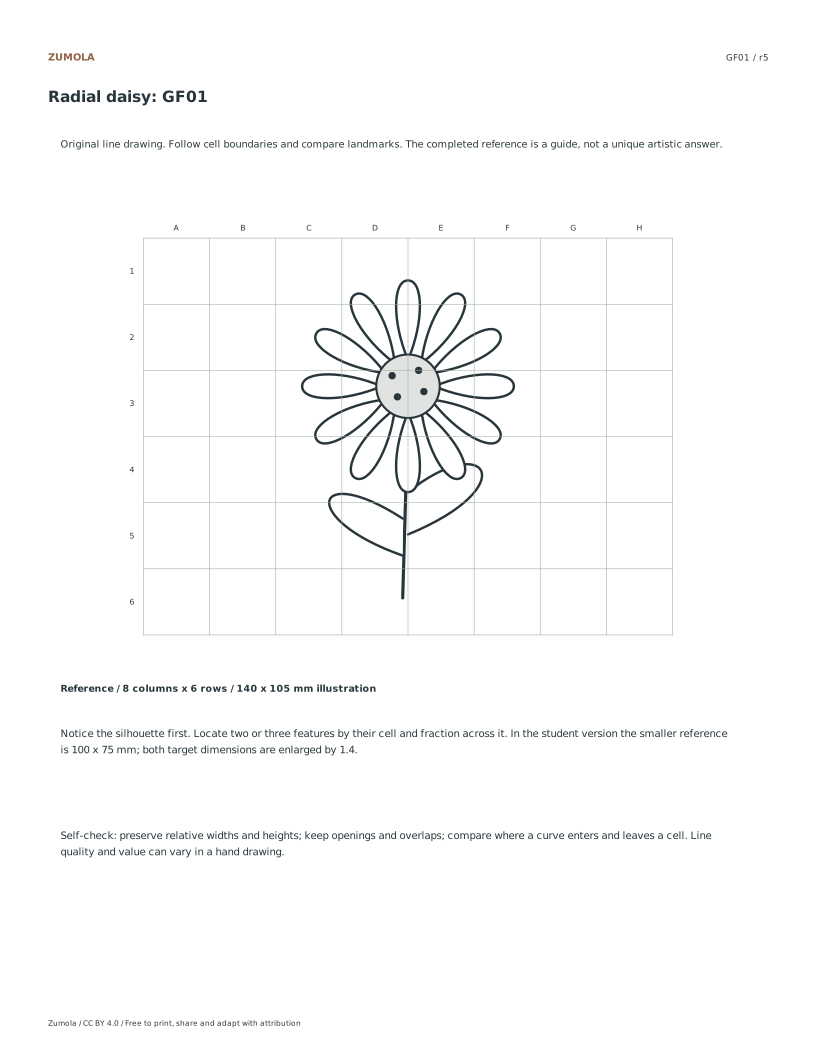
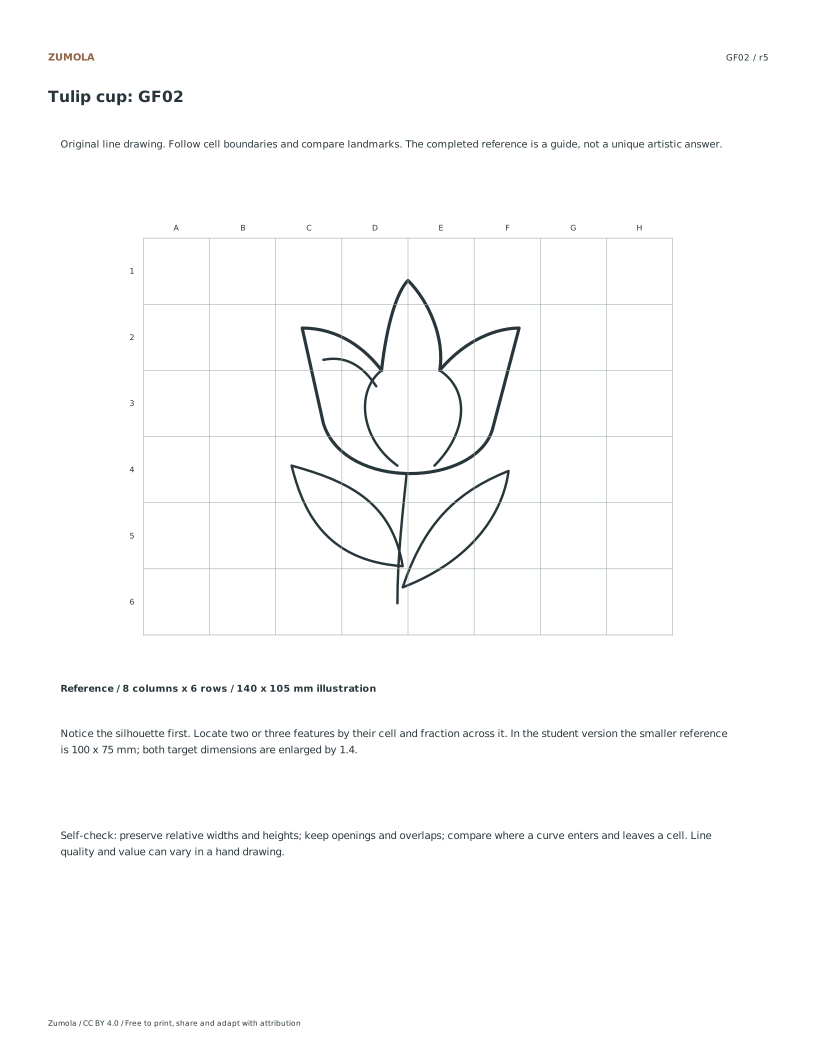
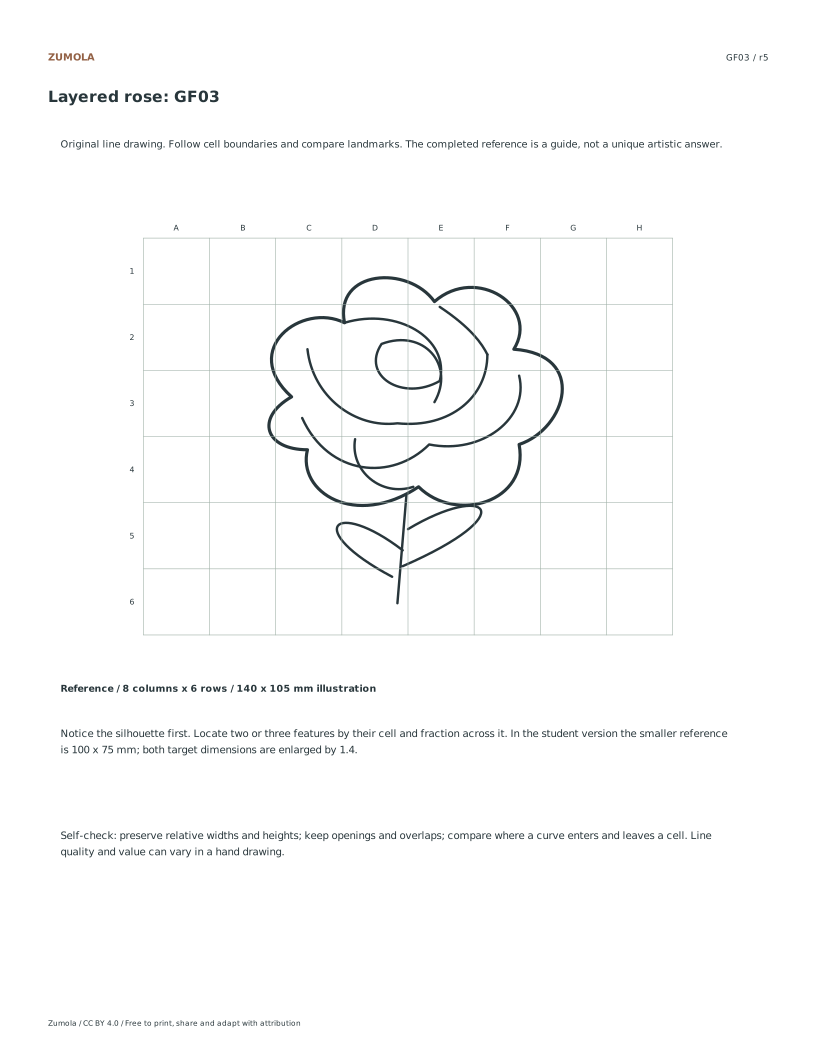
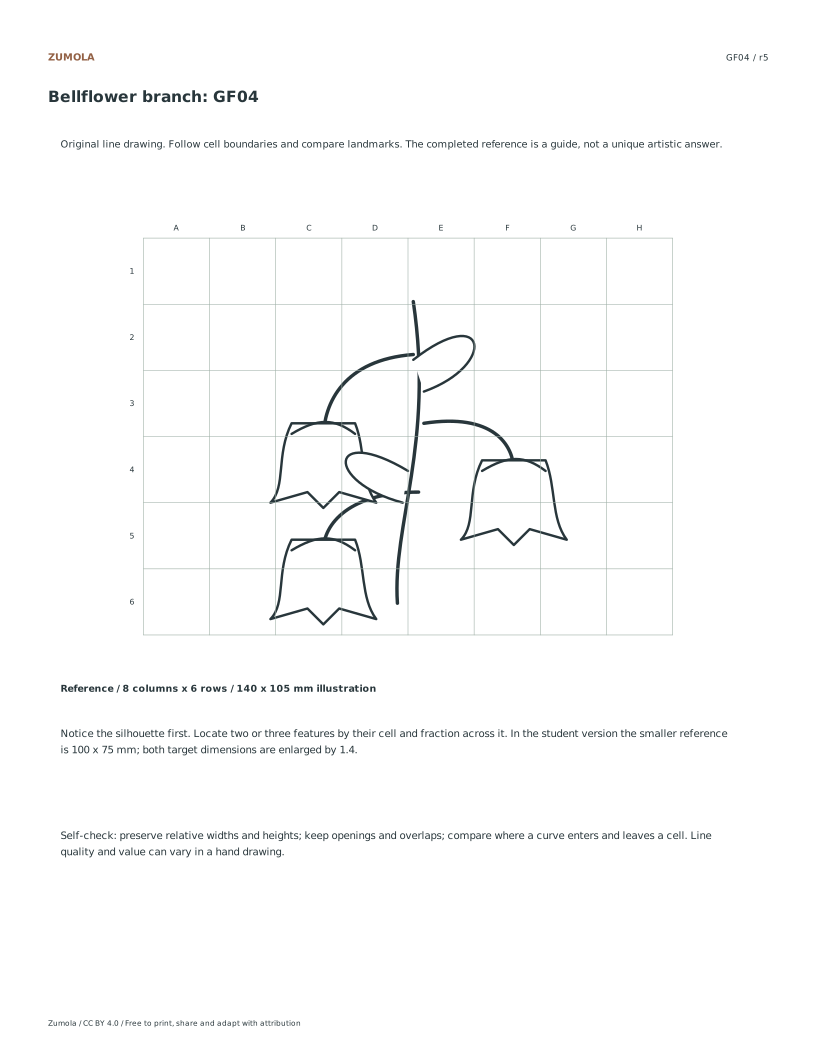
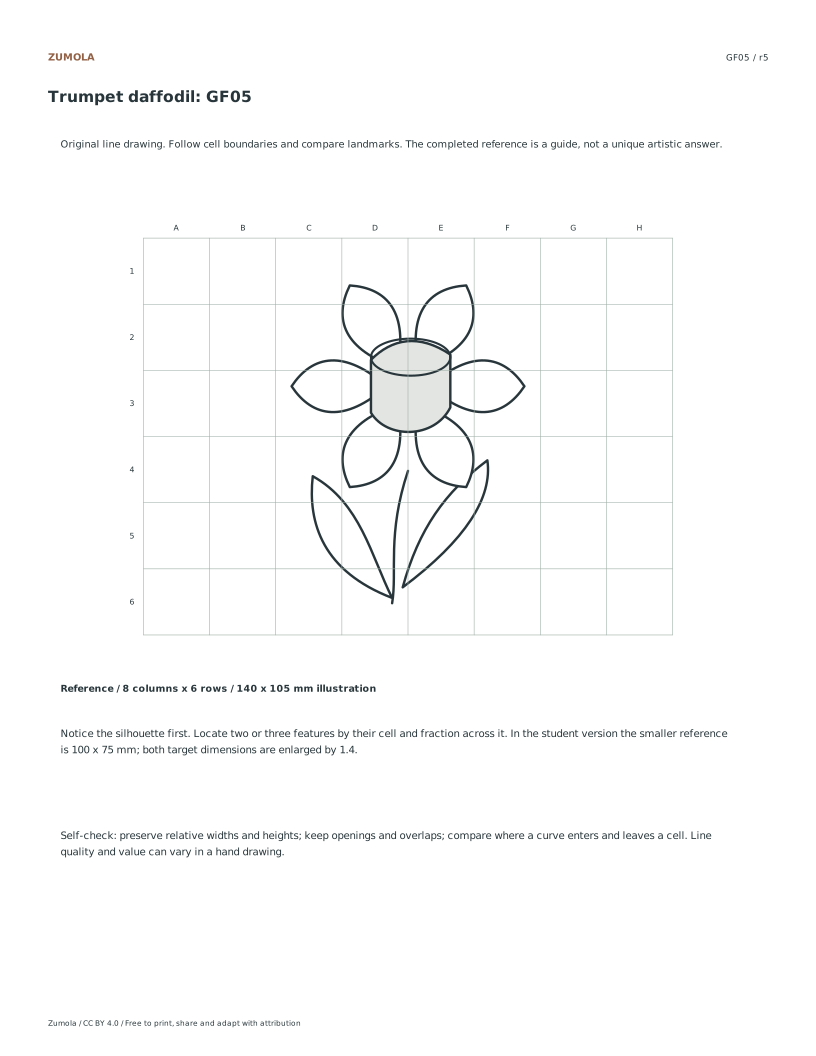
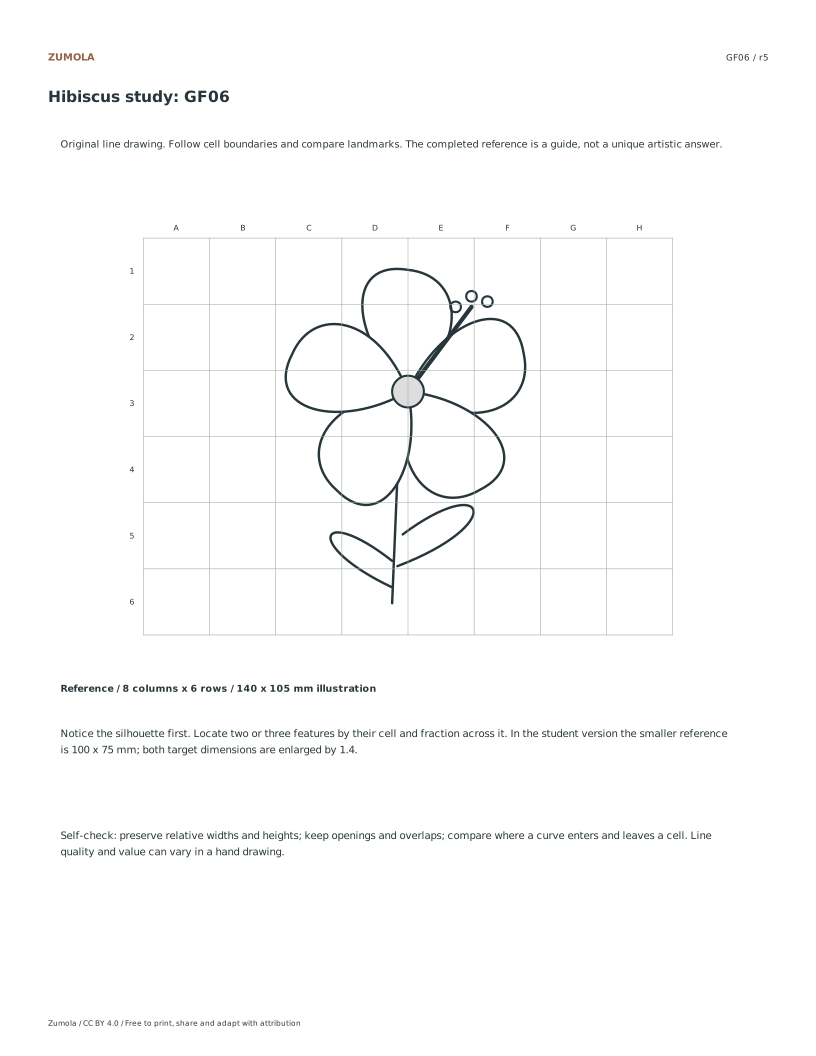
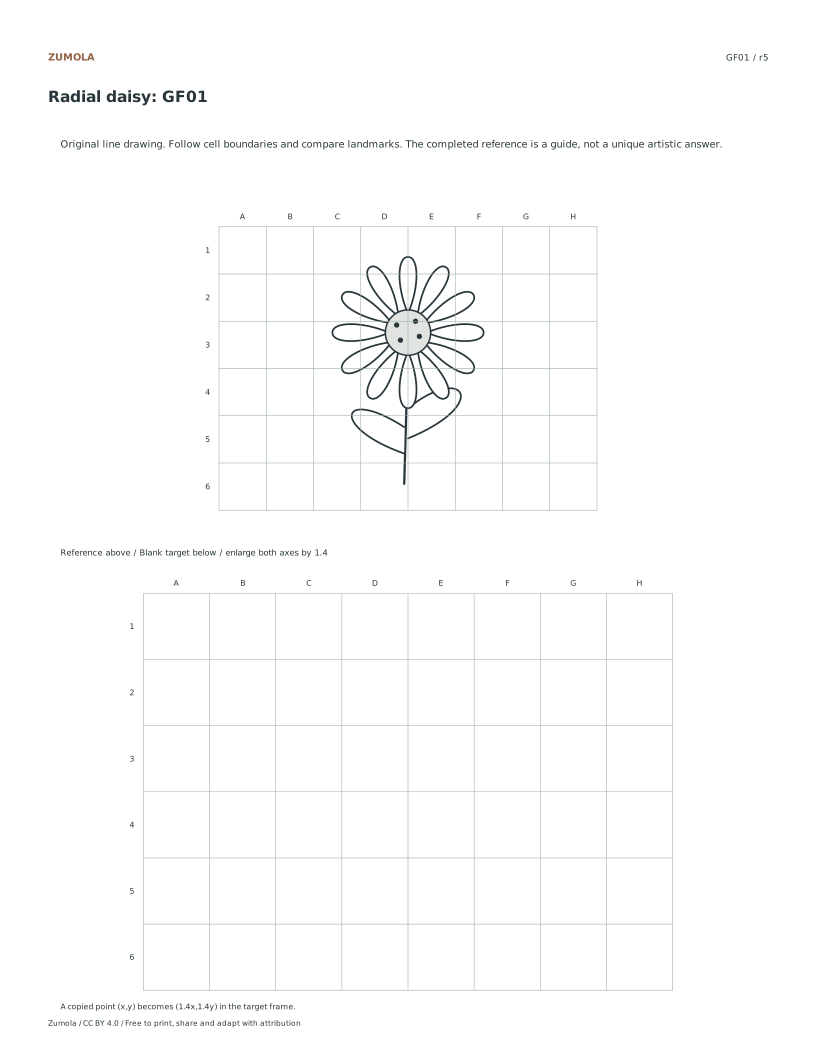
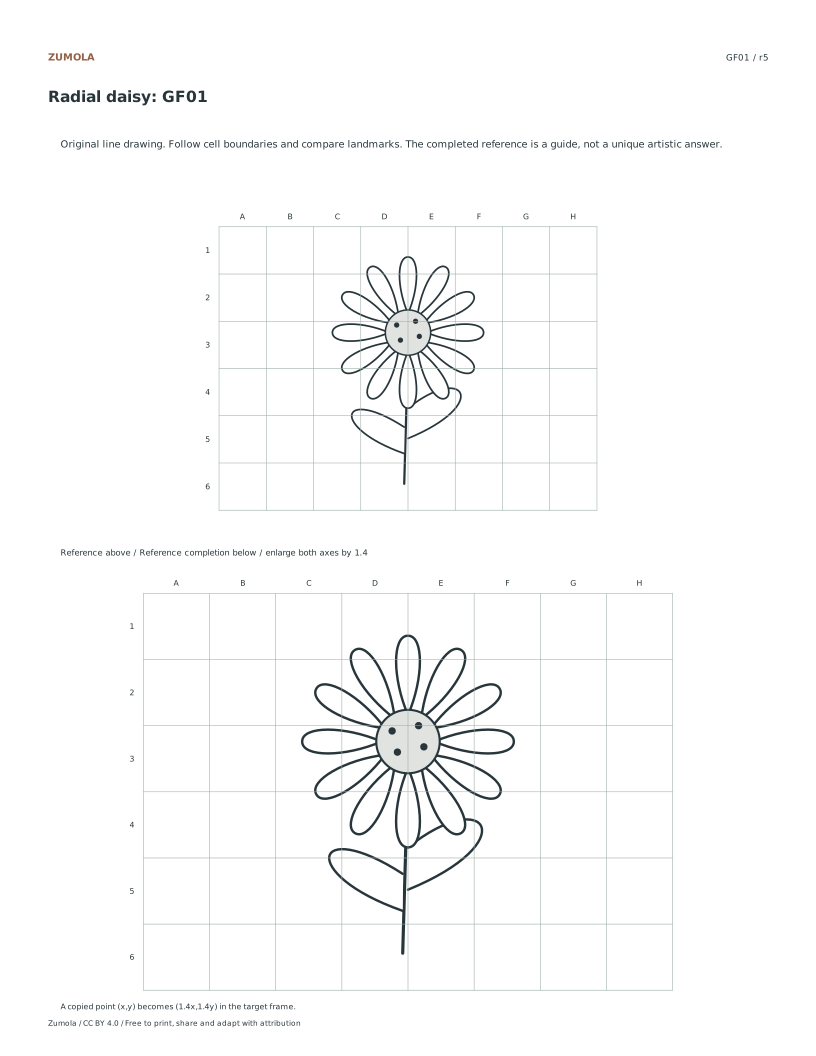
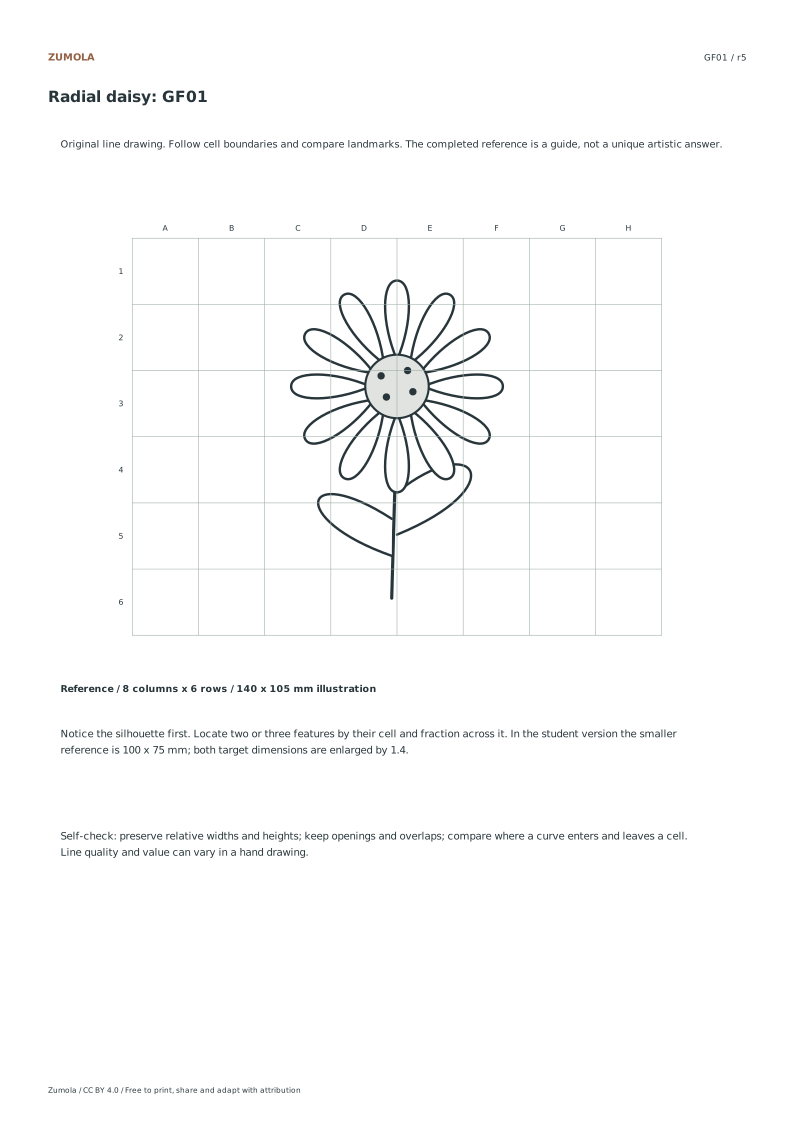
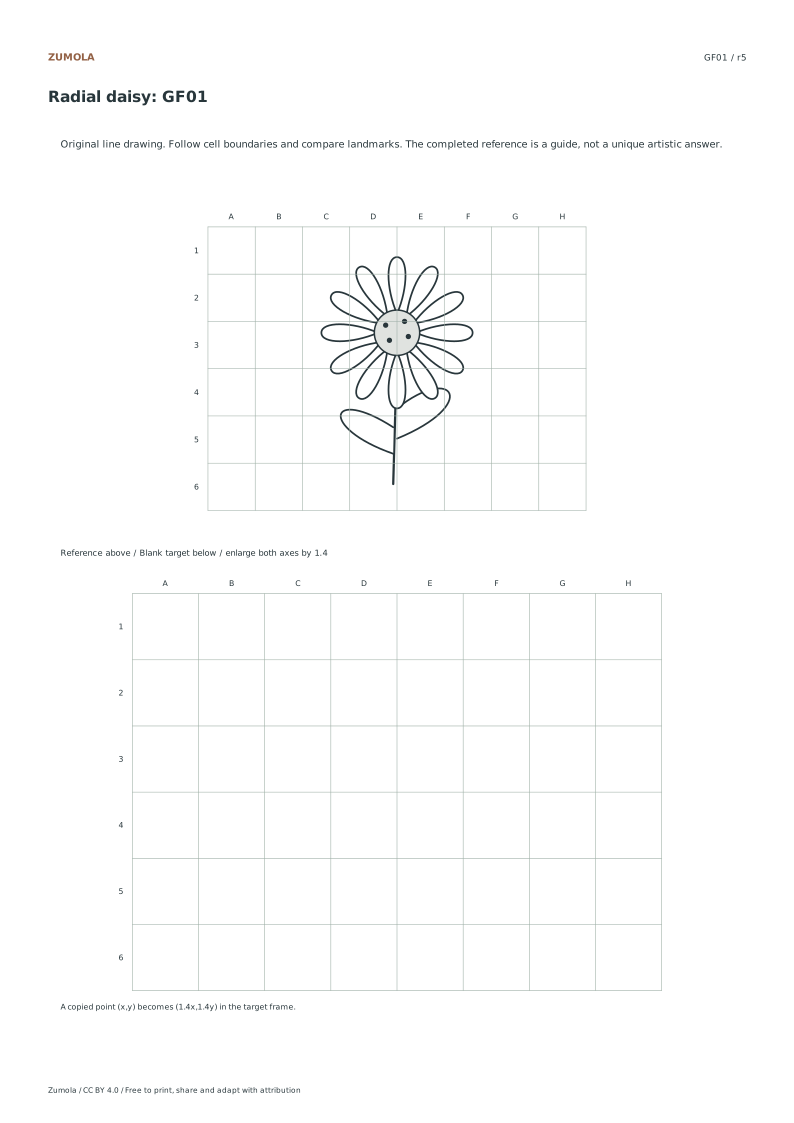
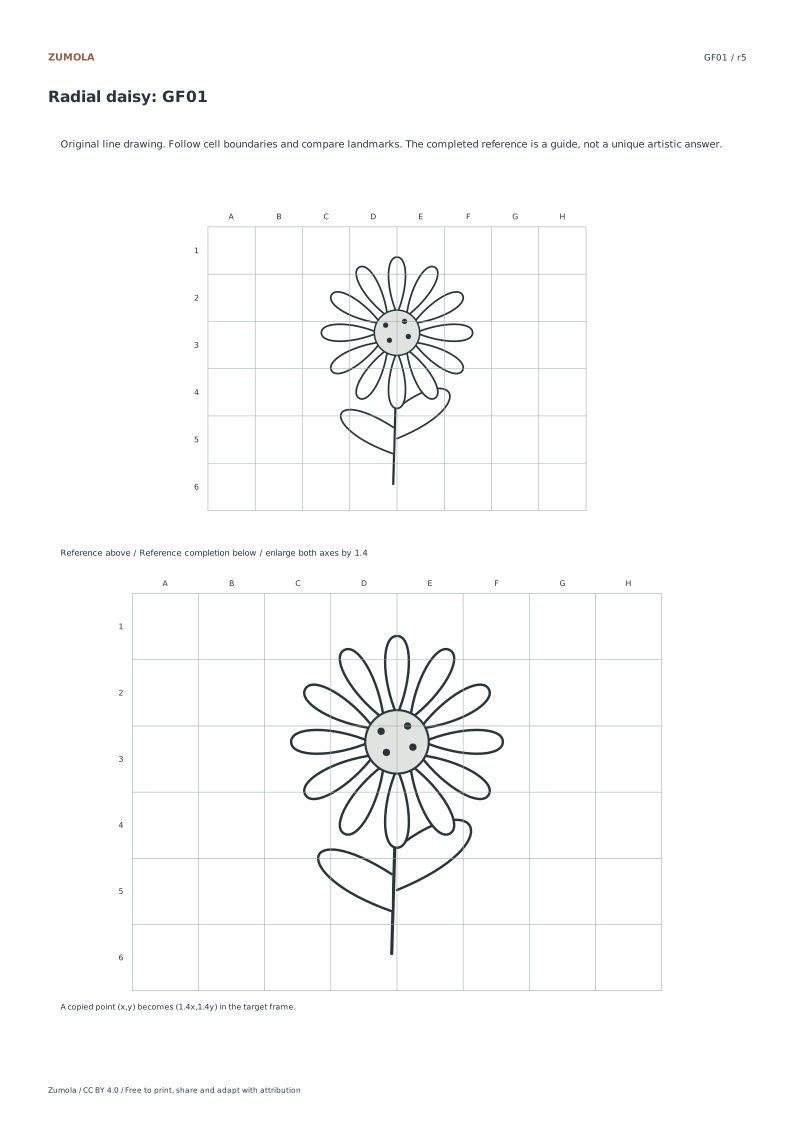
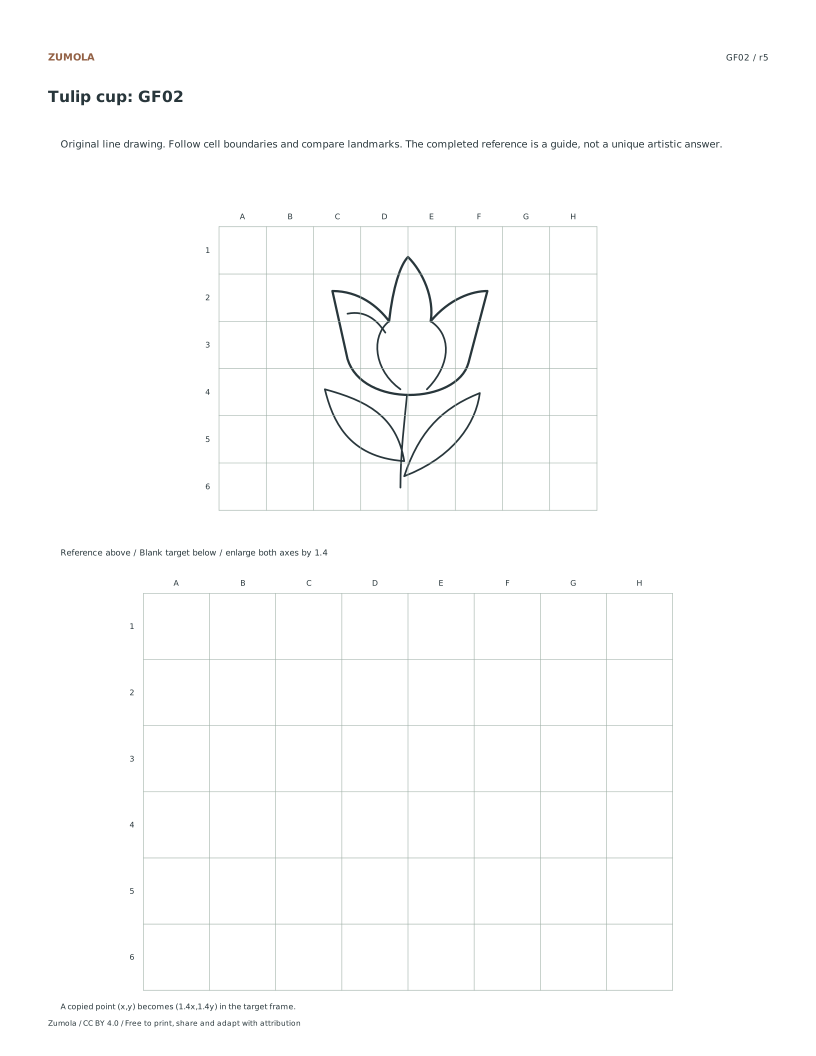
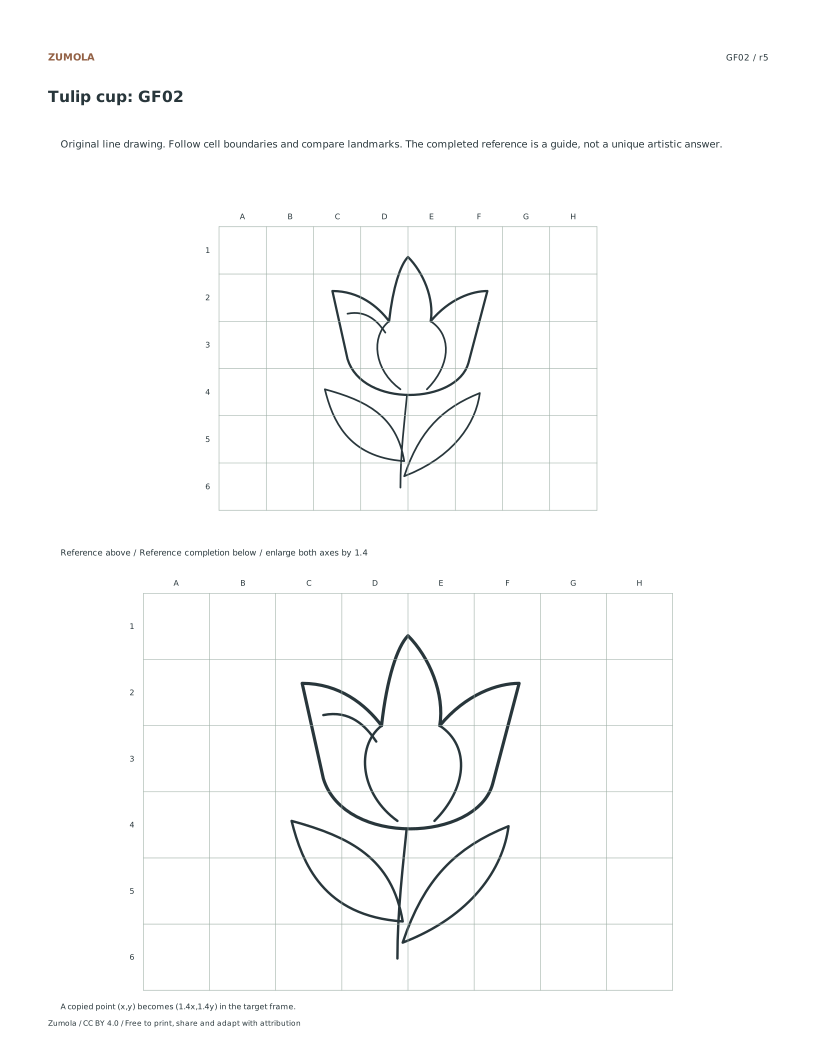
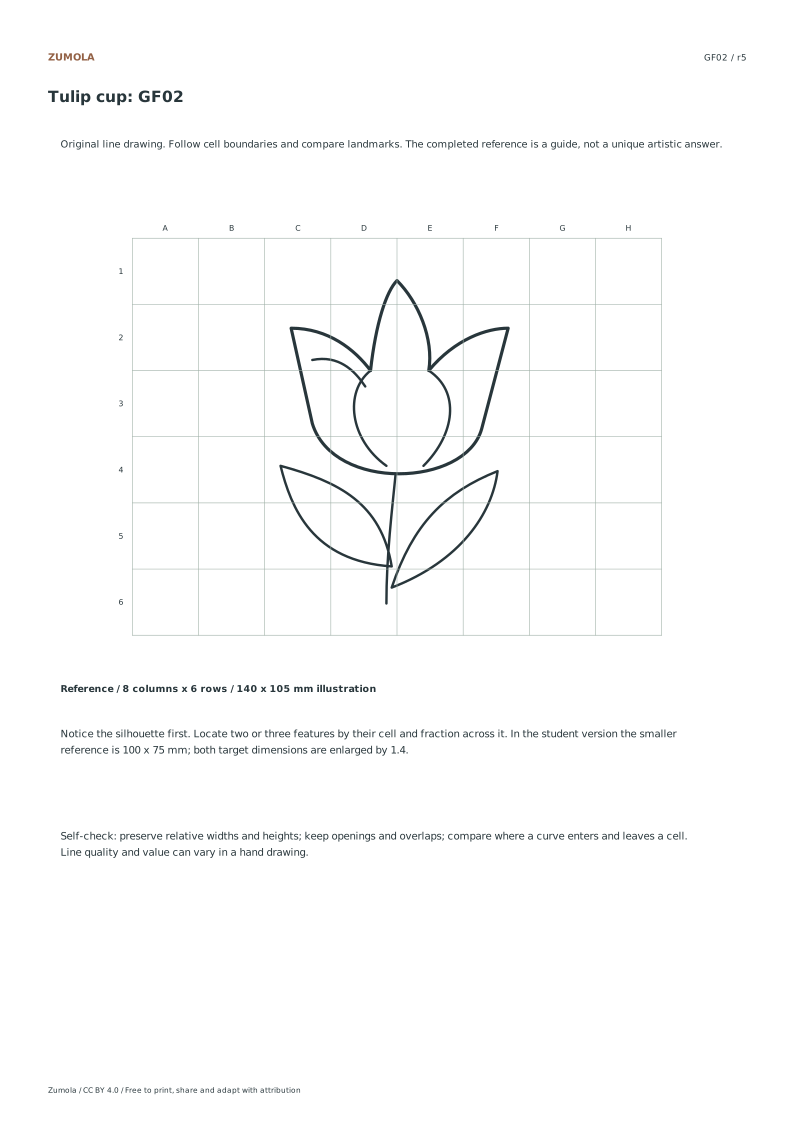
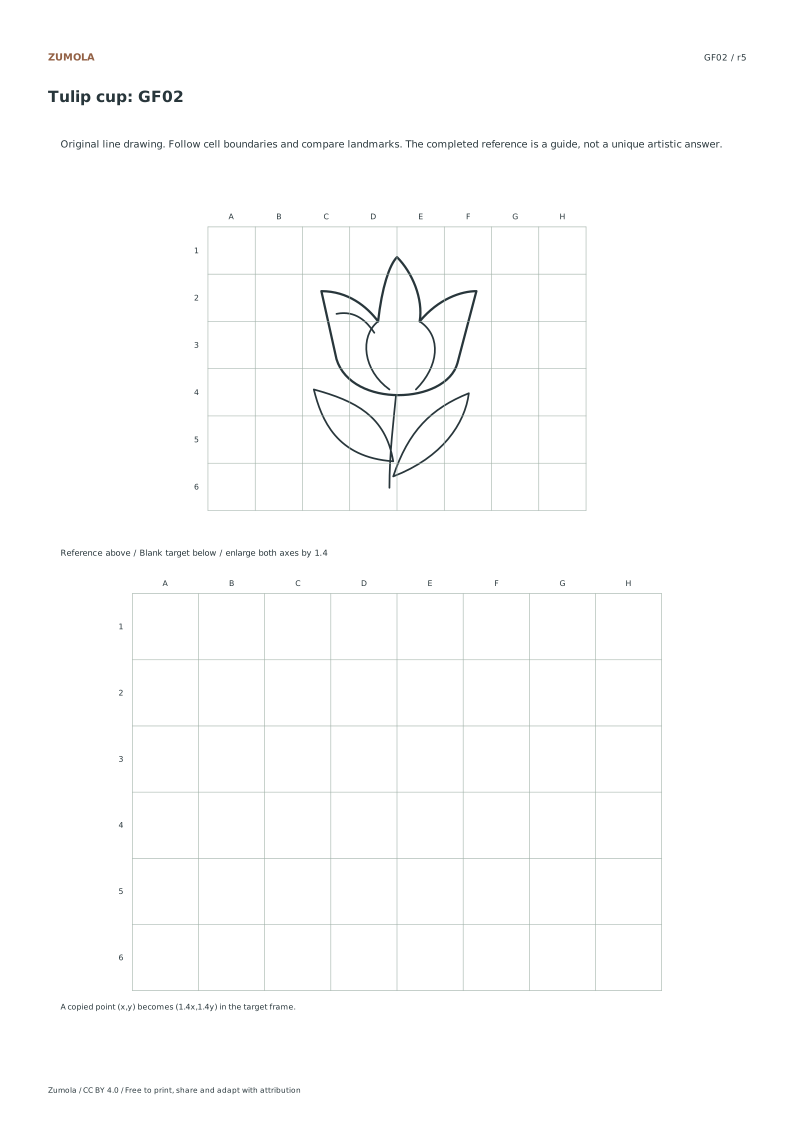
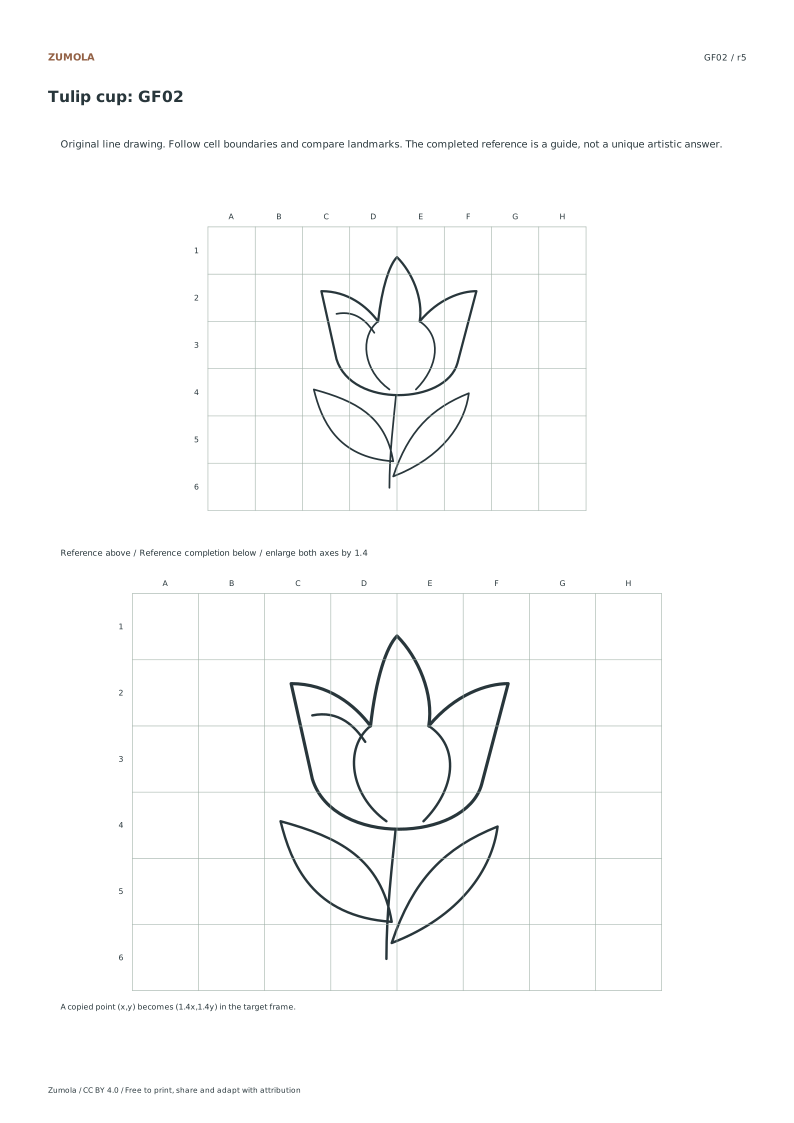
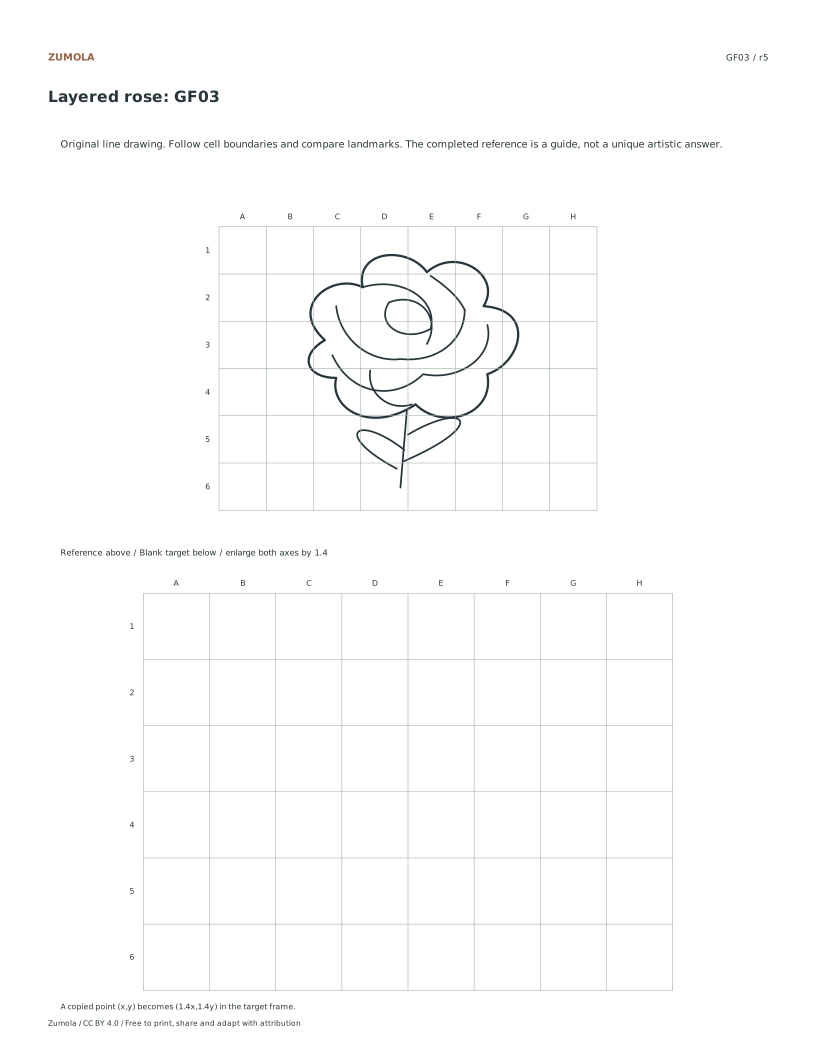
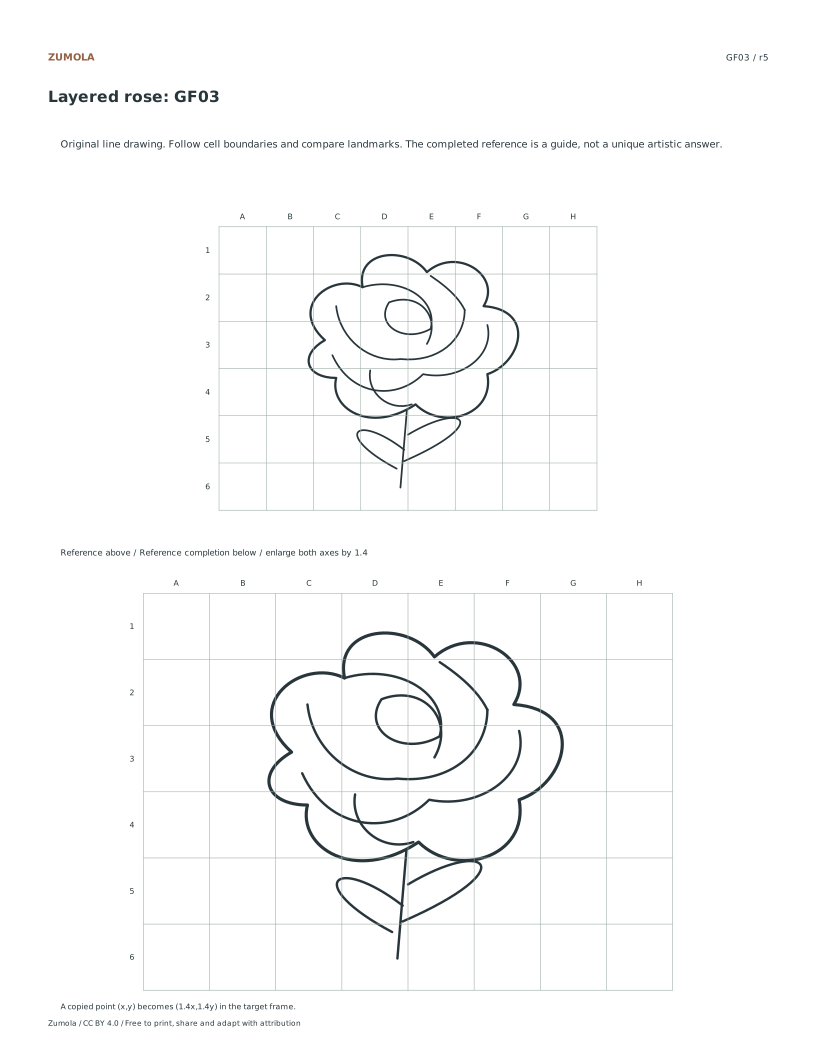
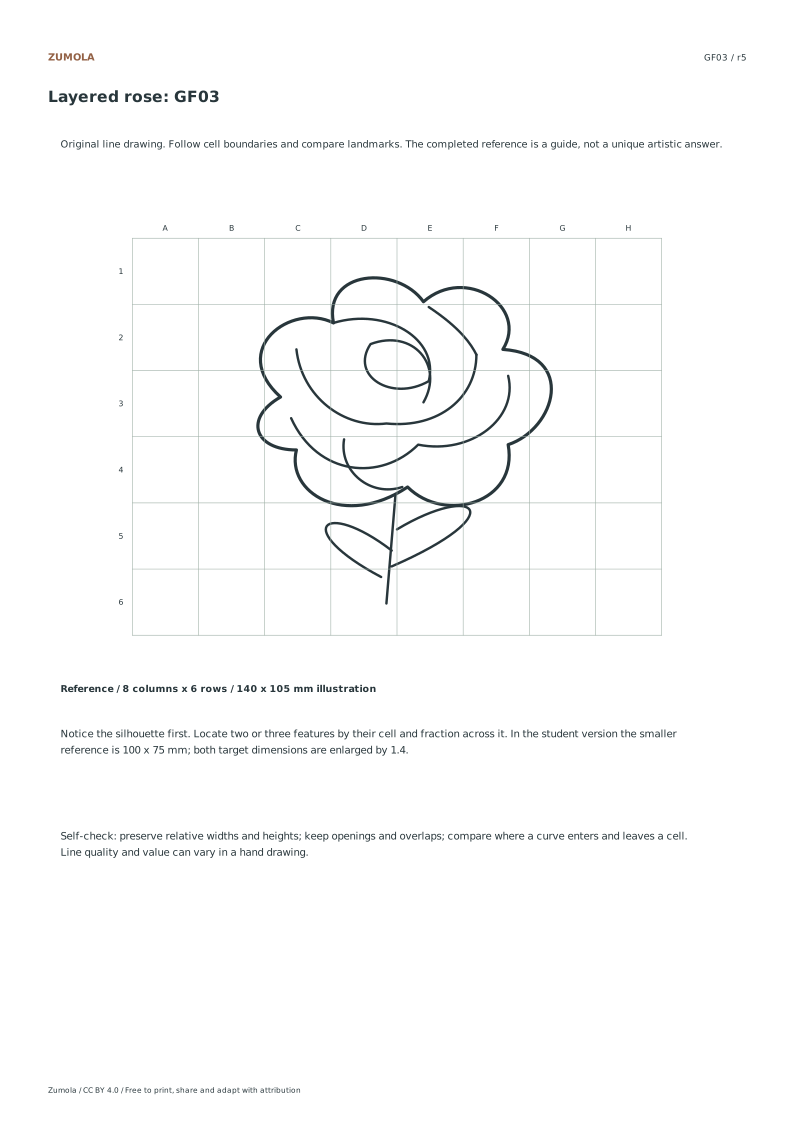
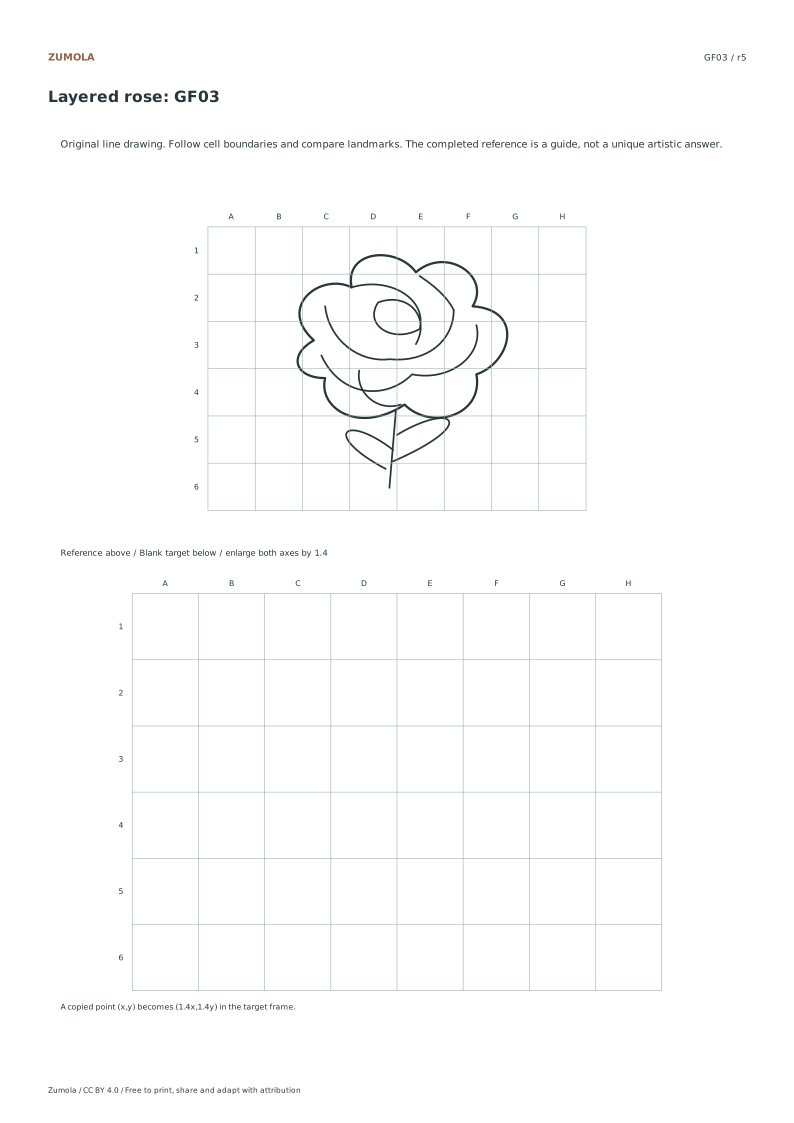
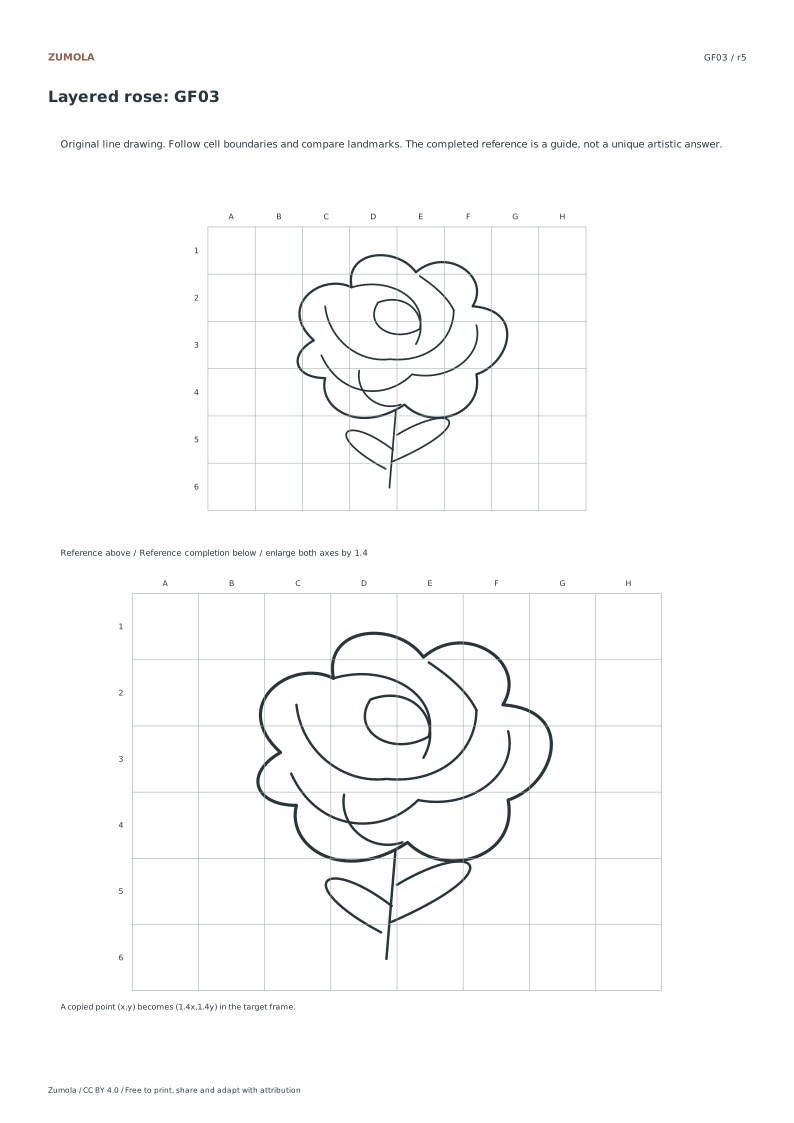
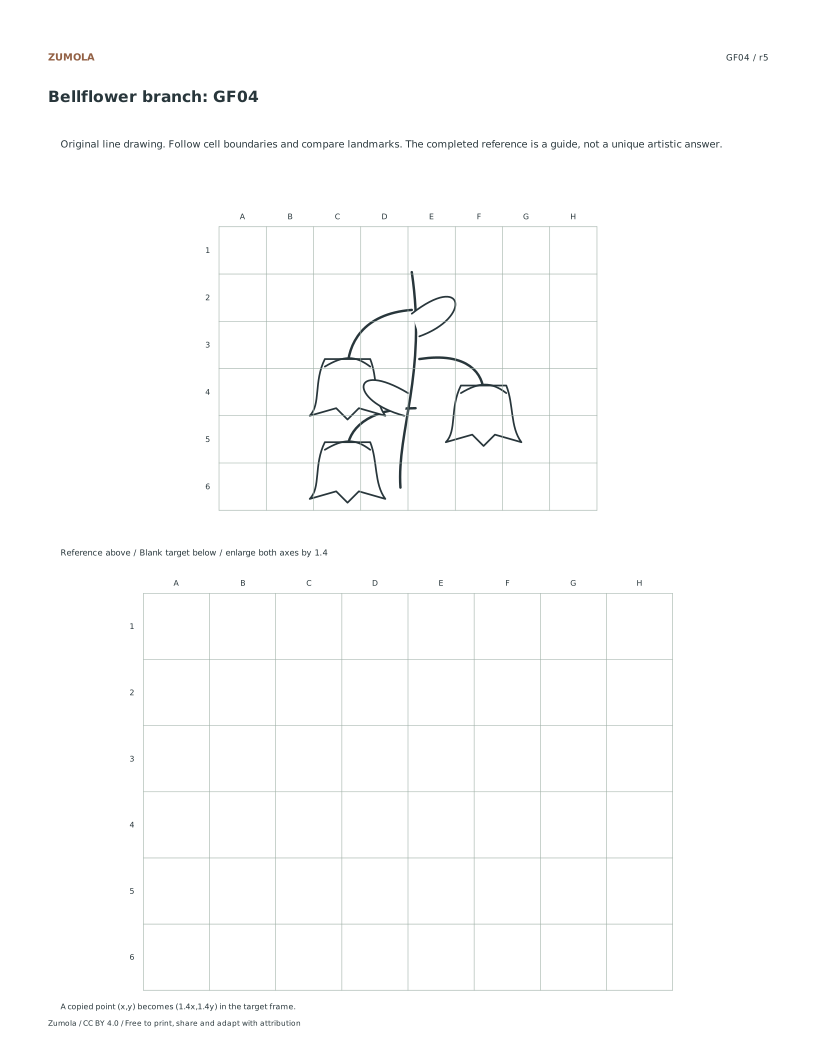
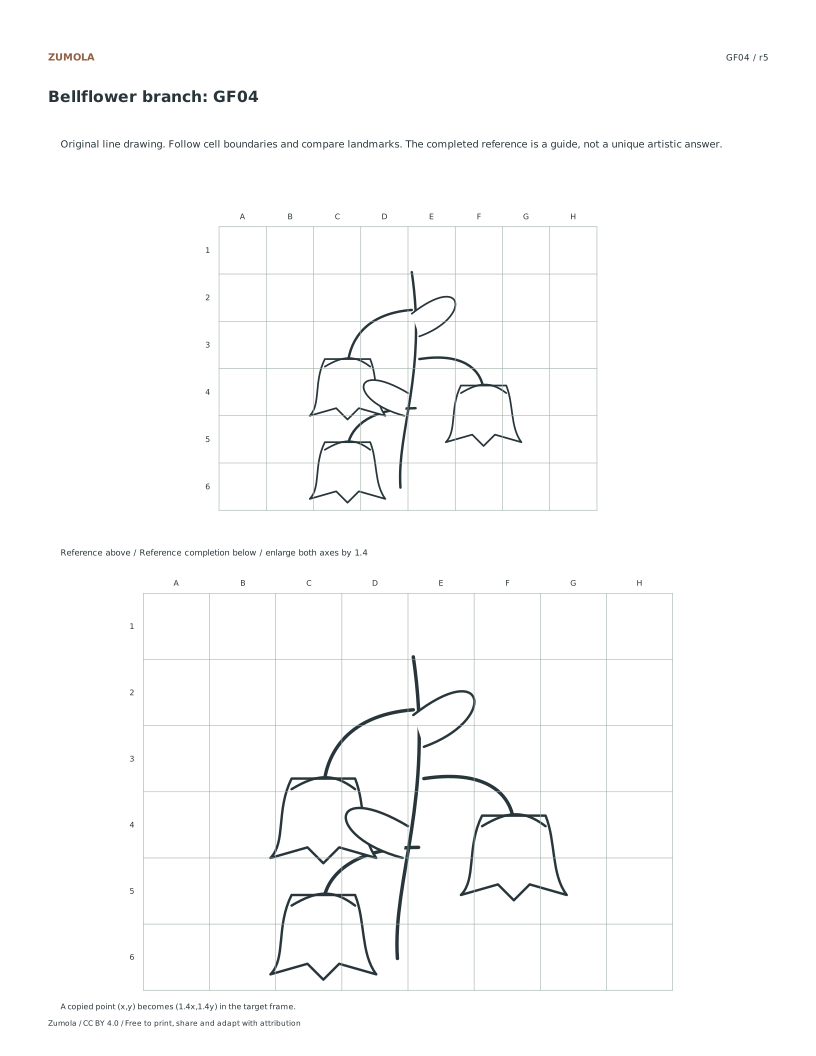
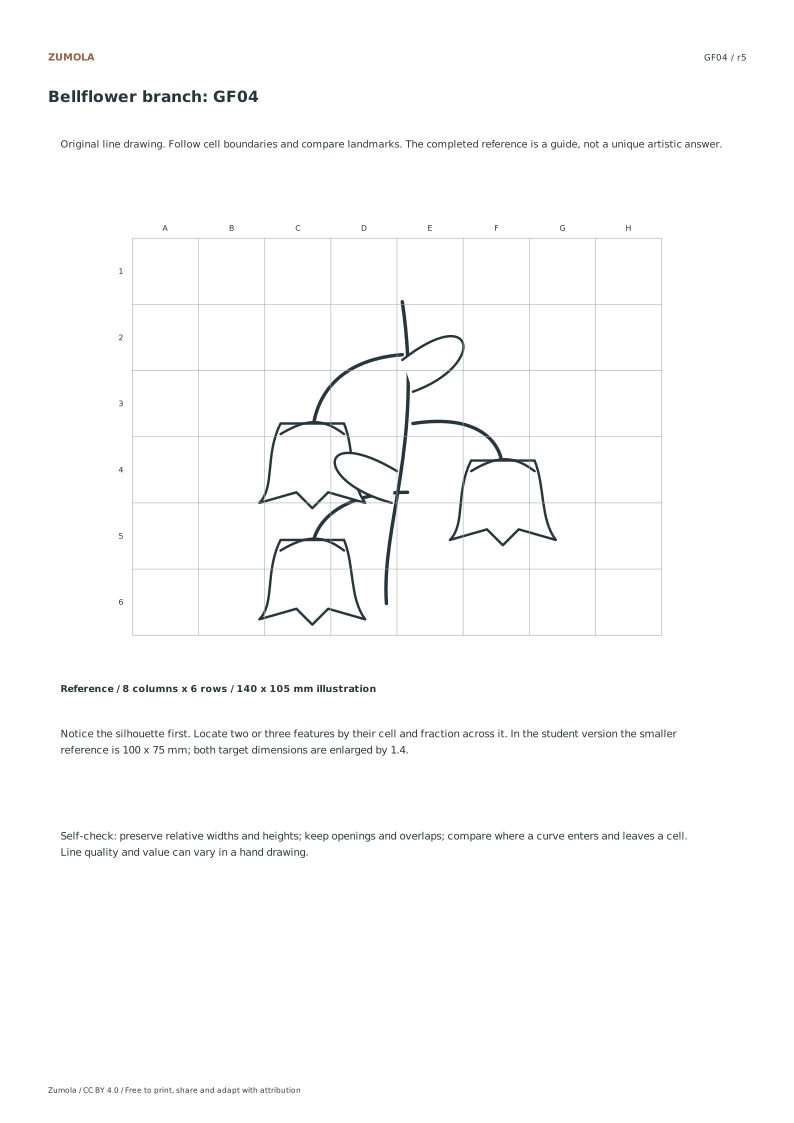
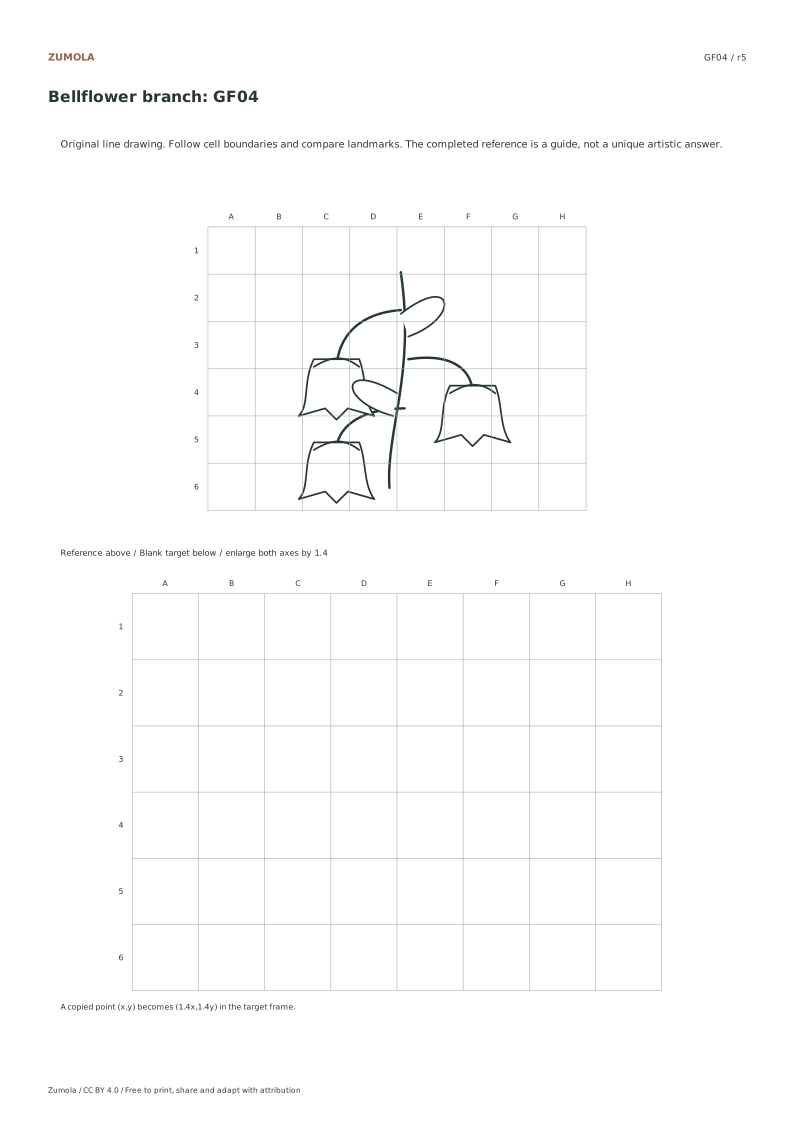
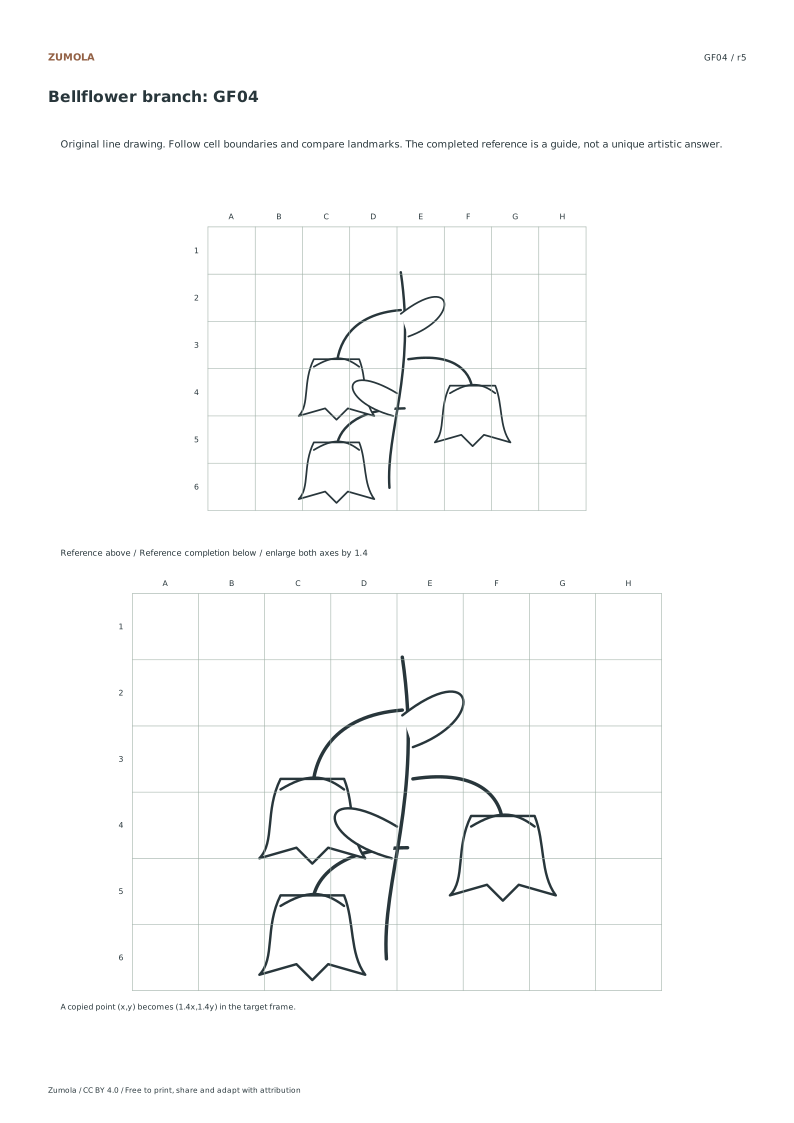
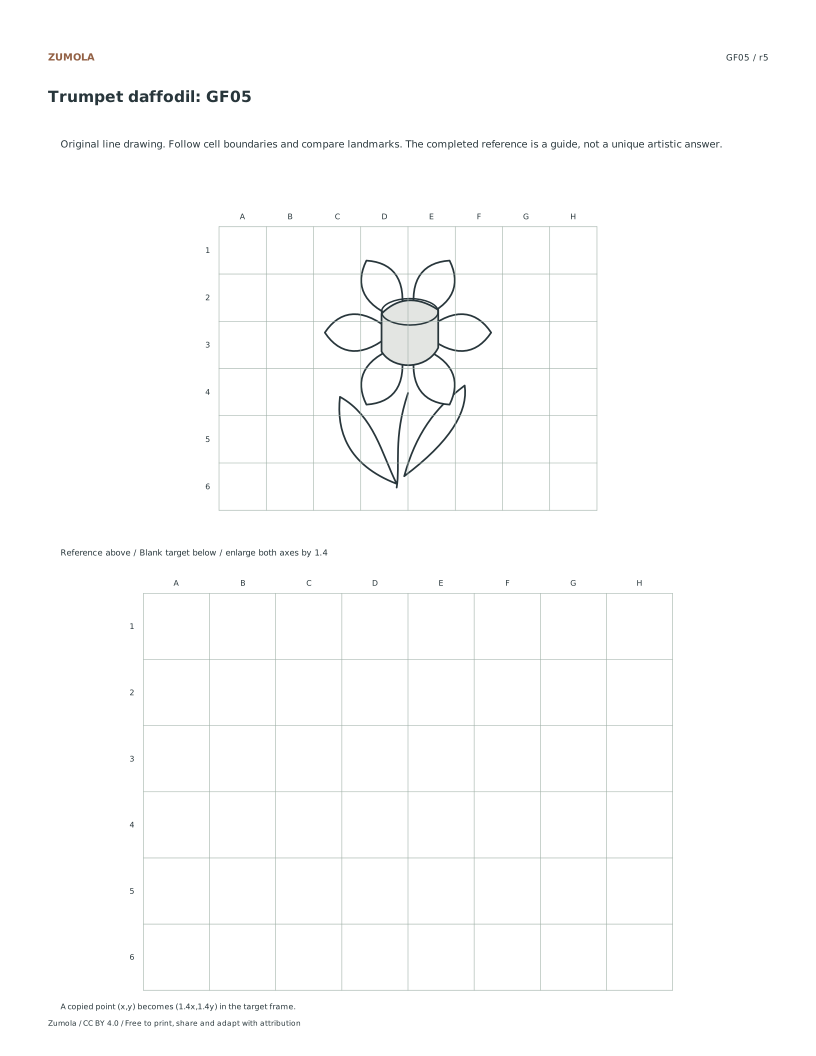
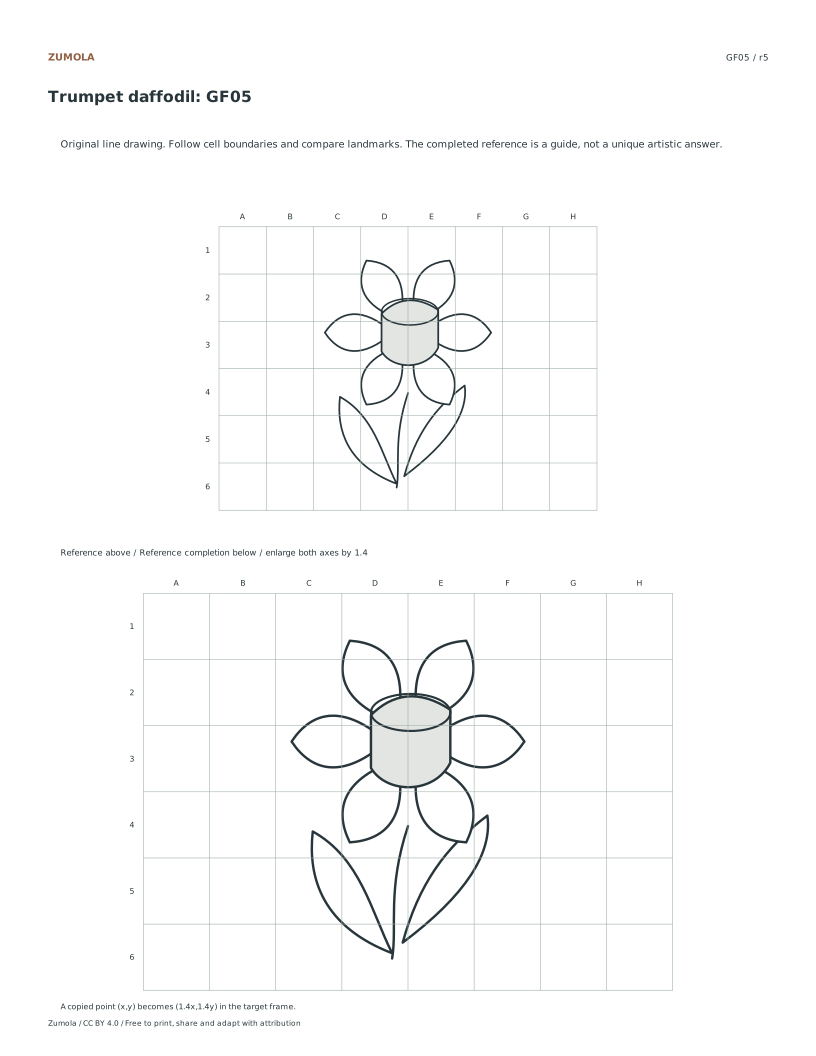
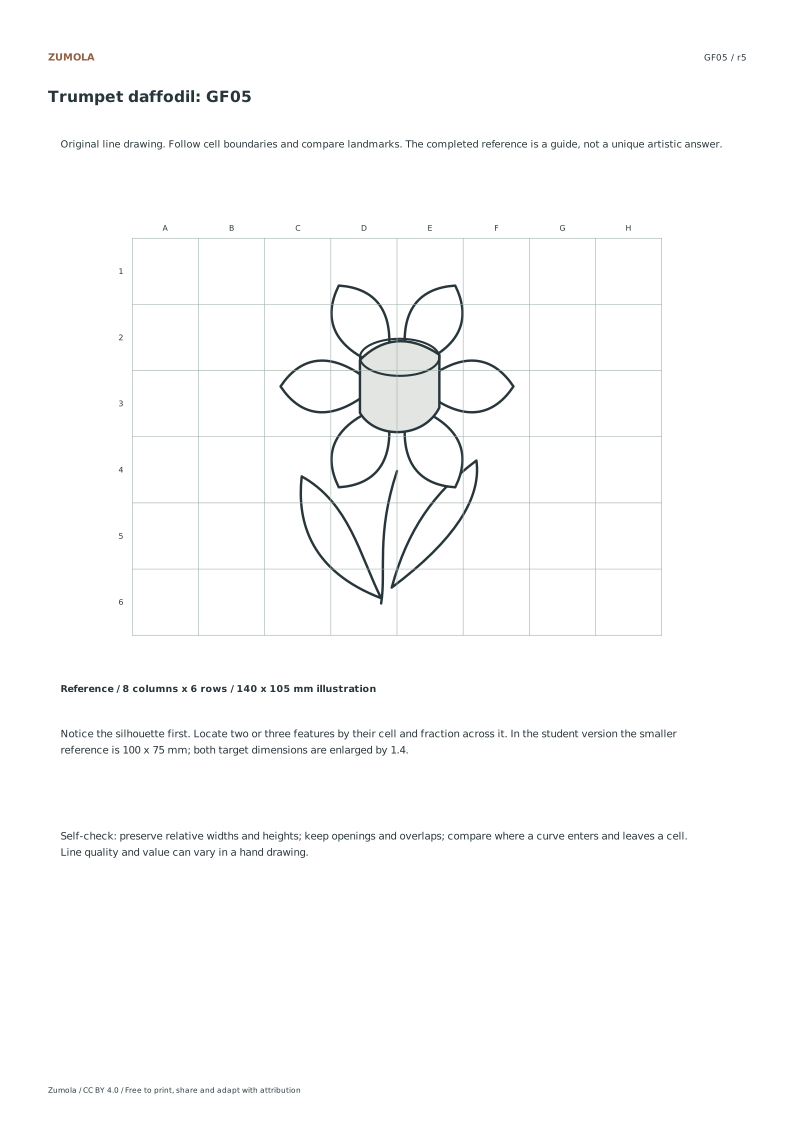
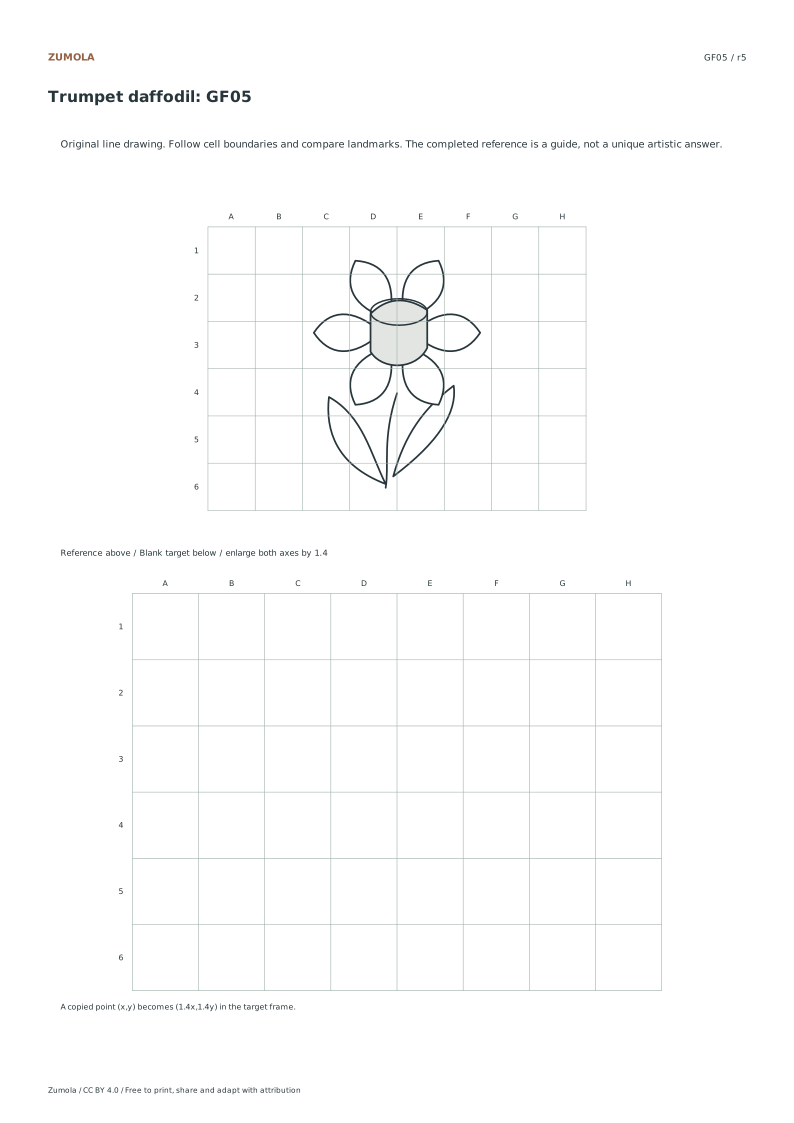
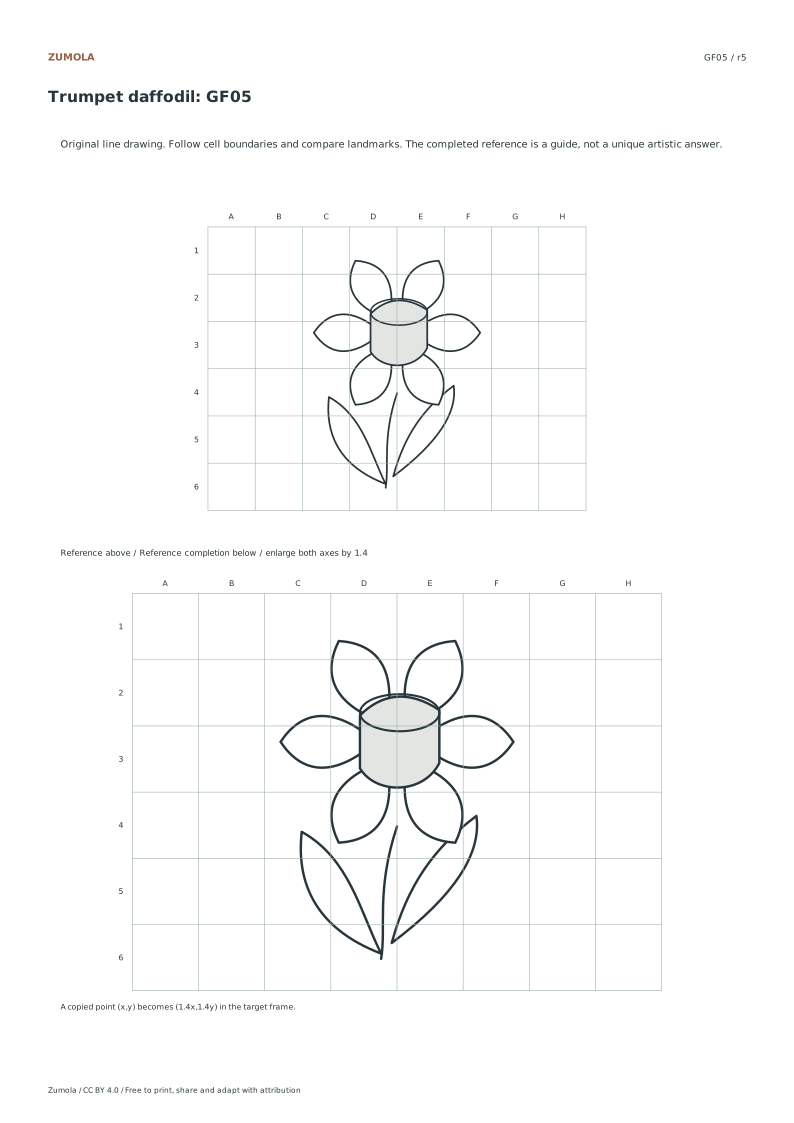
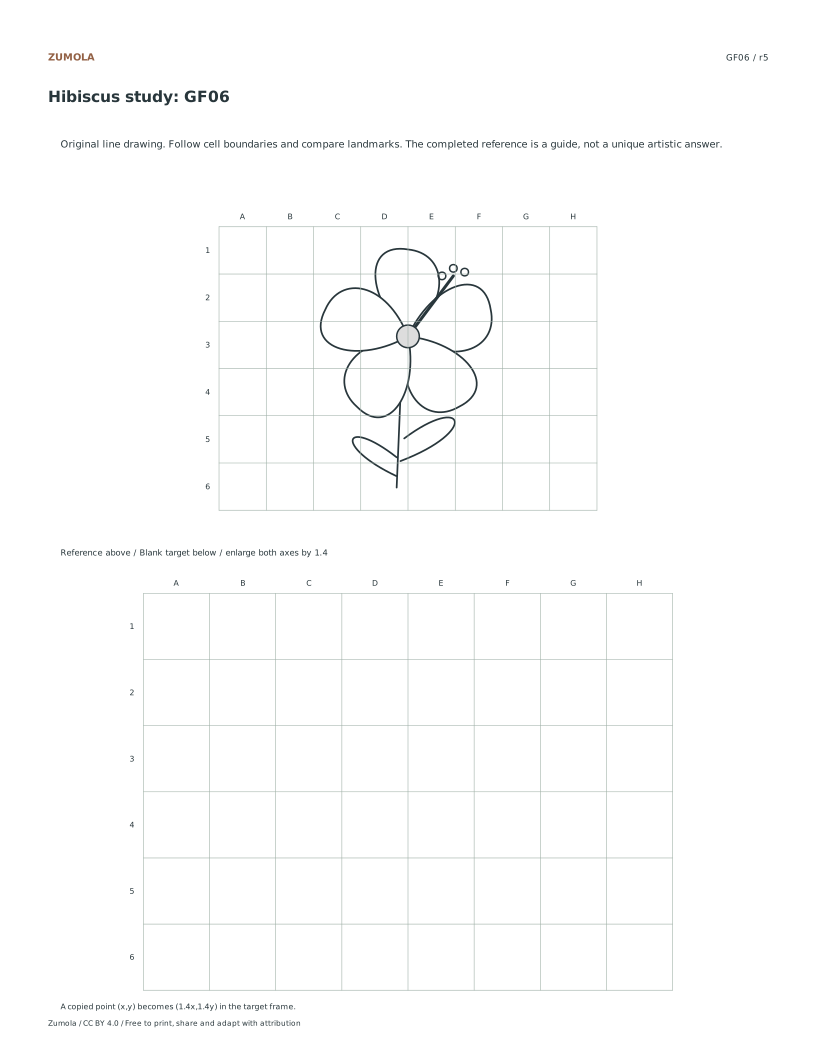
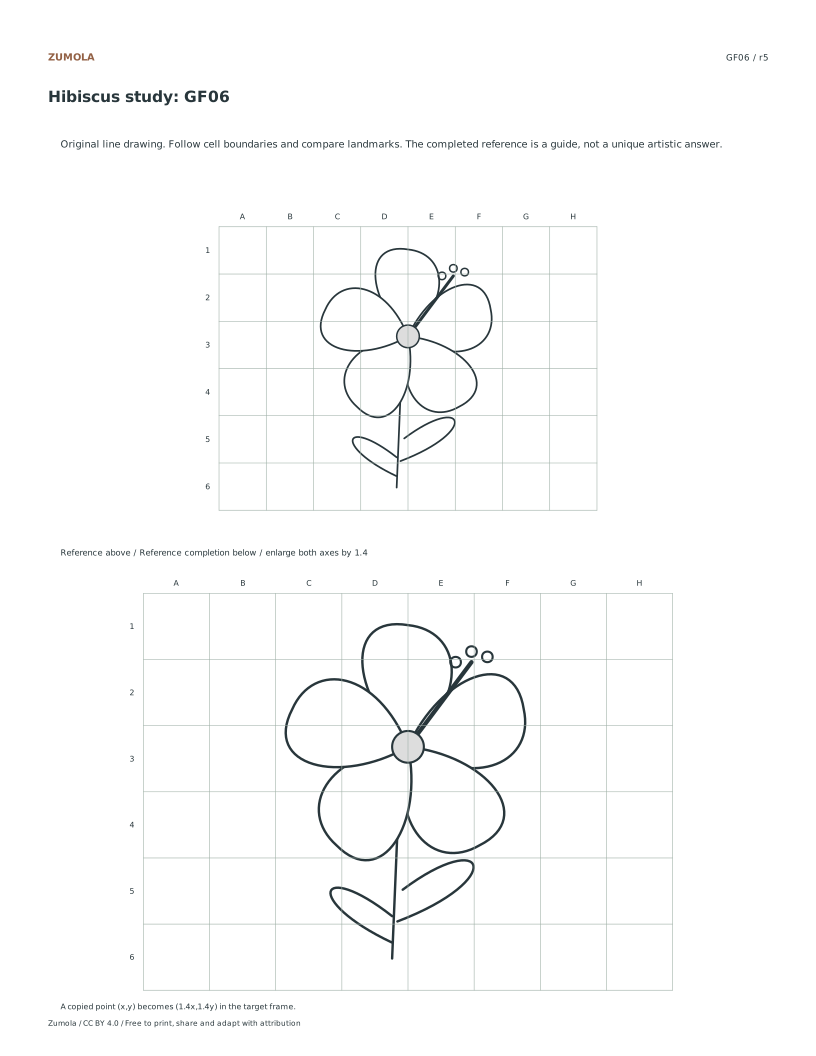
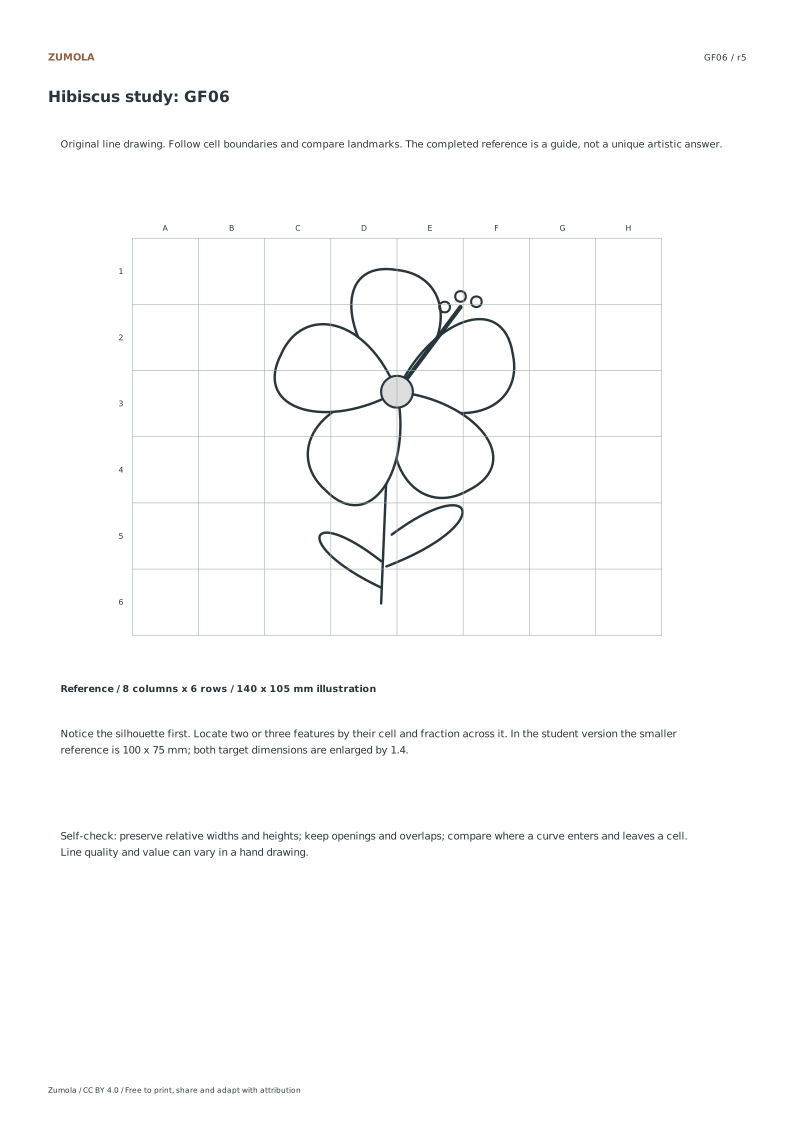
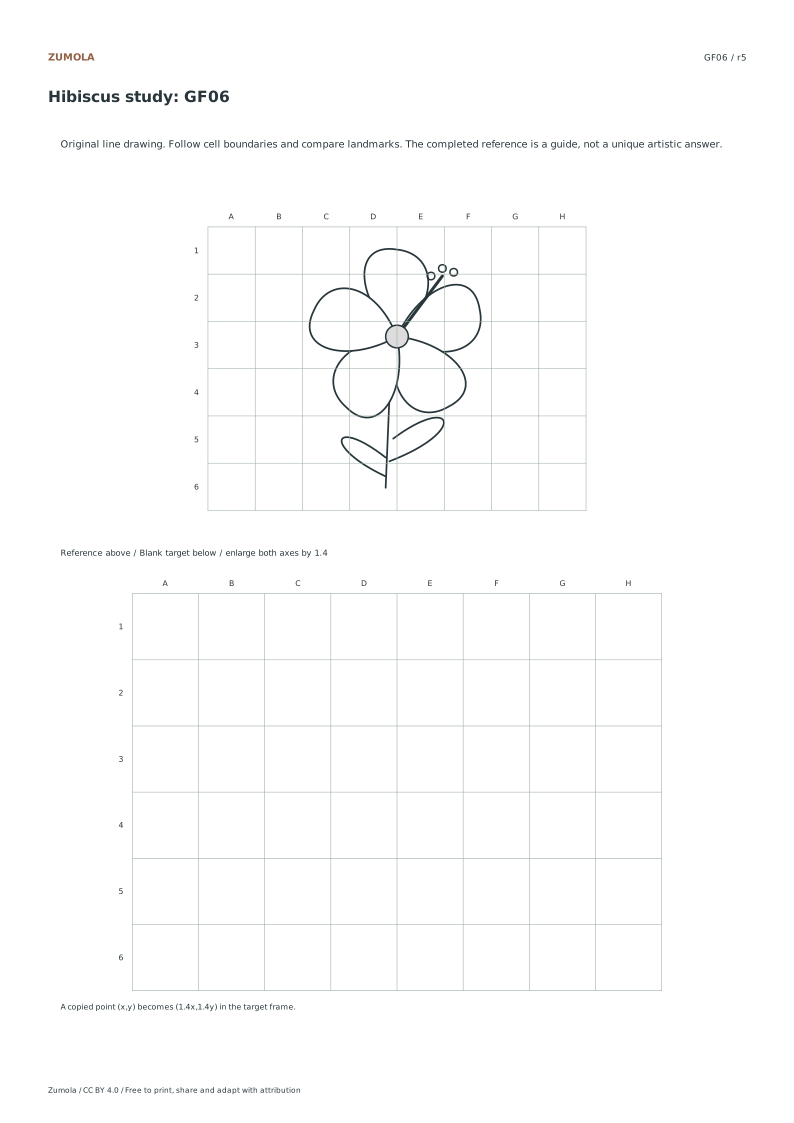
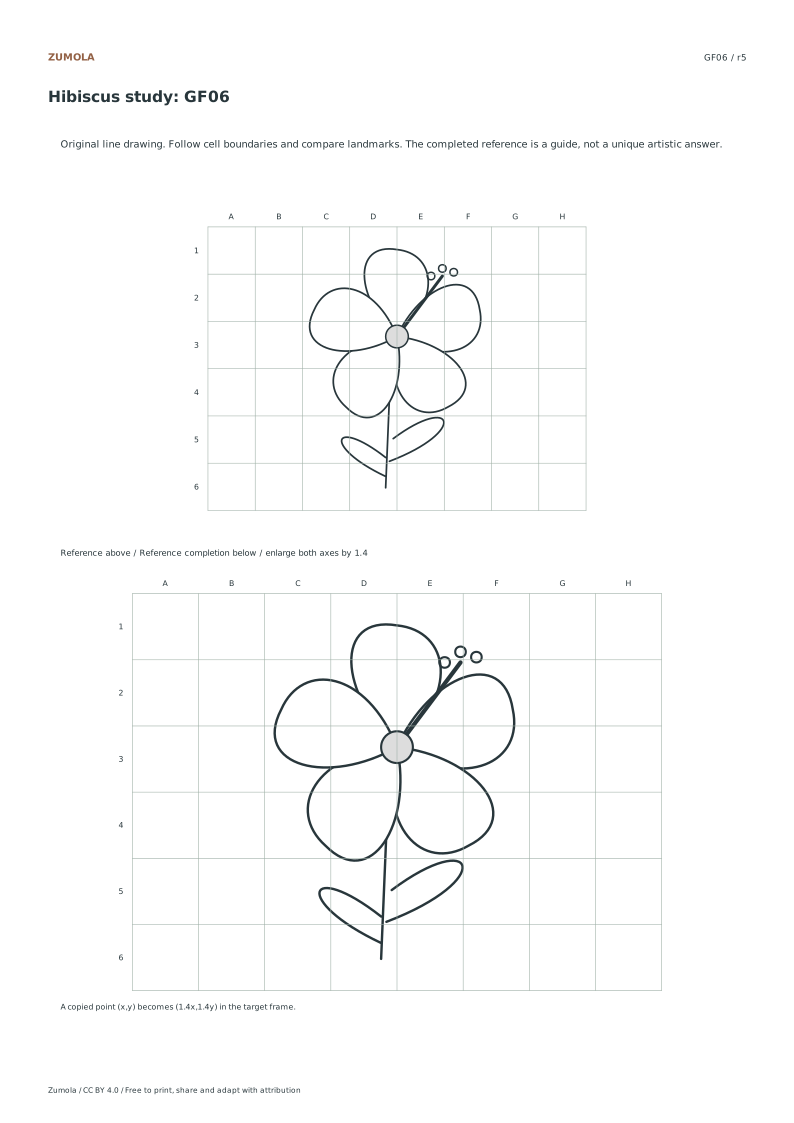
Flower grid drawing. Notice the shape of each petal.
Study radial petals, a tulip cup, layered rose, bellflowers, a daffodil and hibiscus. Transfer their curves using the same grid and a uniform enlargement.
6 original flower studies. Curves, overlaps + negative gaps.
A reference, a task and a way to check it
Study radial petals, a tulip cup, layered rose, bellflowers, a daffodil and hibiscus. Transfer their curves using the same grid and a uniform enlargement.
Choose US Letter or A4 for prepared downloads. Original PDF and SVG files, worksheets and reference answers are free without signup. Collection packs contain the same individual pages in order.
Choose your paper and download
Download paper size
Every worksheet and answer is free. No signup.
The complete collection
Keep practice and answers separate.
Use the student pack first, then compare the reference or answer. Packs are PDFs; individual sheets below also include editable SVG files. The paper choice applies to every download.
On every student page, the top reference uses 8 × 6 cells at 12.5 mm per cell, for a 100 × 75 mm illustration. The lower target uses the same number of cells at 17.5 mm, giving 140 × 105 mm. Both length ratios equal 1.4. A point halfway across a reference cell belongs halfway across its matching target cell; row and column locations do not change.
Use the student pack for attempts and keep the completed-reference pack separately. Each pack repeats its individual pages rather than adding more subjects. Compare the outer silhouette first, then two or three internal landmarks and the gaps between them. A hand rendering can differ in line quality while retaining the mapped relationships. The supplied drawings are original stylized studies, with no photographs, identified portrait subjects or copied character art.
Work through the page
Grid Alignment for Accurate Scaling Begin by aligning the source image on the eight by six grid. Each model measures one hundred by seventy five units, ensuring consistent proportions across all six flower motifs. When enlarging to one hundred forty by one hundred five millimeters, maintain the one point four ratio. This precise scaling preserves the distinct structures of the daisy radial head and tulip cup. Verify that the grid lines intersect correctly with the drawing boundaries. This step ensures that the layered rose and hanging bellflower branch retain their intended shape during the transition from source to target size without distortion.
Analyzing Petal Overlaps and Gaps Focus on the relationship between petal overlaps and negative gaps rather than simple identification. Examine how the trumpet daffodil curves enter the central space and how the large hibiscus petals interact with surrounding negative space. Compare these curve entry points across the six original motifs to understand structural differences. This analysis helps distinguish stylized drawing studies from scientific guides. By observing the specific way petals layer and create gaps, you can better replicate the unique artistic hand rendering of each flower without relying on photographic references or third party art sources.
Utilizing Reference and Answer Packs Access the separate reference, student, and completed answer packs available in Letter and A4 formats. These files include PDF and SVG versions for flexible use. Use the reference pack to study the initial structures of the daisy, tulip, rose, bellflower, daffodil, and hibiscus. Compare your work against the completed answer pack to check for structural accuracy. This comparison focuses on the stylized nature of the drawings, ensuring you capture the essence of each motif. The distinct formats allow for easy printing and digital viewing, supporting a clear workflow for studying these original flower designs.
Checks that catch common errors
Watch for
Check instead
Relying solely on flower names to identify motifs.
Compare petal overlaps, curve entry points, and negative gaps to distinguish structures.
Assuming a single correct artistic hand rendering exists.
Recognize that stylized drawing studies allow for varied interpretations without one unique correct version.
Ignoring the specific grid and scaling ratio.
Maintain the eight by six grid and one point four enlargement ratio for accuracy.
Match the file before printing
Print the PDF matching the paper in your printer at Actual size / 100% if you want to retain the millimeter dimensions defined in the file. Turn off Fit and Shrink when those dimensions matter. Uniform resizing preserves relative image proportions and angles but changes physical lengths. Unequal resizing can distort both. SVG editors and browser print dialogs can also change scale, so measure a physical calibration span when the task relies on size.
These files have digital geometry and layout checks. Physical printer testing has not been completed. Complete a student page before comparing the worked answer or reference illustration. A geometric or counting result can be exact, while a hand drawing can vary in its marks and interpretation. The original resources use CC BY 4.0: credit Zumola, link the license and indicate changes.
Useful answers
Are these drawings scientifically accurate?
No, they are stylized drawing studies designed for artistic practice rather than scientific identification guides.
What file formats are available?
The individual sheets come as PDF and editable SVG, in Letter and A4. The reference, student and answer collection packs are PDF files; they repeat the individual pages in order.
Can I use photos as references?
The resource relies on original motifs without photos or third party art, focusing on internal structural comparison.
Are the answers and editable files free too?
Yes. Every linked original worksheet, answer, PDF and SVG is free without signup. Individual SVG sheets stay editable; collection packs are PDF files. Analytics consent is not required to use the resources.
Further reading: Getty: shape and space. The downloadable illustrations and exercise data are original Zumola work.
More ways to practice
Reading overlap before drawing curves
Overlap is a decision about depth, not a decorative effect. In a flower reference, a petal that crosses another petal hides part of it, so the hidden edge must stop where the front edge begins. Before drawing, mark each crossing point on the grid: note the cell and the approximate position inside that cell. This turns a vague shape into a set of short segments you can place one at a time.
Symmetry helps only where the flower is actually radial. A daisy seen straight on has repeated petals around a center, but a tulip cup or a rose seen from the side does not mirror cleanly. Check the reference: if opposite petals differ in length or angle, copy that difference instead of forcing a mirror. The grid is a measuring aid, not a rule that every flower must be symmetrical.
Place the reference and your paper so both grids share the same spacing and orientation.
Mark the center of each flower head and the outermost petal tips by grid cell.
Trace the back flower first, stopping every line where a front petal crosses it.
Draw the front flower's outline last, so its edges stay continuous.
Compare each crossing point with the reference before adding interior petal lines.
A layered two-flower example
Suppose a reference shows a small five-petal flower behind a larger six-petal flower, with the larger one shifted two cells right and one cell down. The back flower's rightmost petal disappears behind the front flower's left petal. On a grid with square cells, the visible part of that back petal might span three cells before it is hidden.
Work in this order: locate both centers, sketch the back flower's visible arcs, then the front flower's full outline, then the shared crossing. If your back petal continues past the crossing, the overlap reads as flat and the depth is lost. A quick check is to cover the front flower with your hand; the back flower should look incomplete, not whole.
Count cells from the back center to the front center to fix the offset.
Draw only the visible portion of each hidden back petal.
Complete the front flower outline without gaps at the crossings.
Recheck that no back line reappears inside the front flower's area.
Diagnostic checks and a practical variation
A useful diagnostic is the edge test: trace one petal edge with your finger on the reference, then on your drawing, and compare where it enters and leaves each grid cell. If the entry and exit cells differ, the curve has drifted. Another check is the crossing count: count how many times outlines meet in the reference and compare with your drawing. Missing crossings usually mean a petal was drawn too short or too long.
For variation, redraw the same reference at half the grid spacing on the same paper size. Halving the spacing doubles the number of cells across the image, so each cell covers less of the flower. This tests whether you were copying cell positions or actually observing the curve. Keep the reference unchanged; only the drawing grid changes.
Run the edge test on three separate petals.
Count outline crossings in reference and drawing.
Redraw at half spacing and compare which errors persist.
Try this example
A reference on a square grid shows a back flower centered at cell (3,3) and a front flower centered at cell (5,4). The back flower's right petal is visible for two cells before the front flower's left petal crosses it. Describe the drawing order and one check.
Show the worked explanation
Draw the back flower's visible arcs first, ending the right petal after two cells at the crossing. Then draw the front flower's full outline from its center at (5,4). Check that the back petal does not reappear inside the front flower's area; if it does, the overlap order is wrong.
Common mistakes
Drawing the back flower completely, then laying the front flower over it. Stop back-flower lines at each crossing and draw the front outline as continuous.
Forcing mirror symmetry onto a side-view flower such as a tulip cup. Compare opposite petals in the reference and copy real differences in length and angle.
Changing grid spacing on the drawing while leaving the reference grid unchanged. Keep both grids at the same spacing, or scale the reference grid to match before starting.
Check your work
Both flower centers sit in the grid cells indicated by the reference.
Hidden back-flower edges stop at the correct crossing points.
The front flower outline is continuous with no gaps at crossings.
Petal curves enter and leave the same grid cells as the reference.
Symmetry is copied only where the reference is actually symmetrical.
The half-spacing redraw preserves the same overlap order.
Questions before you start
How do I know which flower is in front?
Look for the outline that stays unbroken at a crossing. The continuous edge belongs to the front shape; the interrupted edge belongs to the shape behind.
Should every flower on the page be symmetrical?
No. Radial flowers seen face-on are close to symmetrical, but side views and overlapping petals are not. Copy what the reference shows.
What if my petal enters the wrong grid cell?
Mark the correct entry and exit cells on the reference, then redraw that single edge between those two points before continuing.
Optional Google Analytics helps us understand which free resources are useful. It is off until you allow it. Drawing tools and downloads work with either choice. Privacy details