6 structural studies. Practice + reference completions.
A task, a reference and a way to check it
Compare a flat shape with a structural form. Place anchors, build boundaries and connect edges before adding light and dark values.
Choose US Letter or A4, then use the PDF for printing or SVG for editing. Student worksheets and answer or reference files stay separate. Every linked file is free without signup.
Choose your paper and download
Download paper size
Every worksheet and answer is free. No signup.
The complete collection
Keep practice and answers separate.
Use the student pack first, then compare the reference or answer. Packs are PDFs; individual sheets below also include editable SVG files. The paper choice applies to every download.
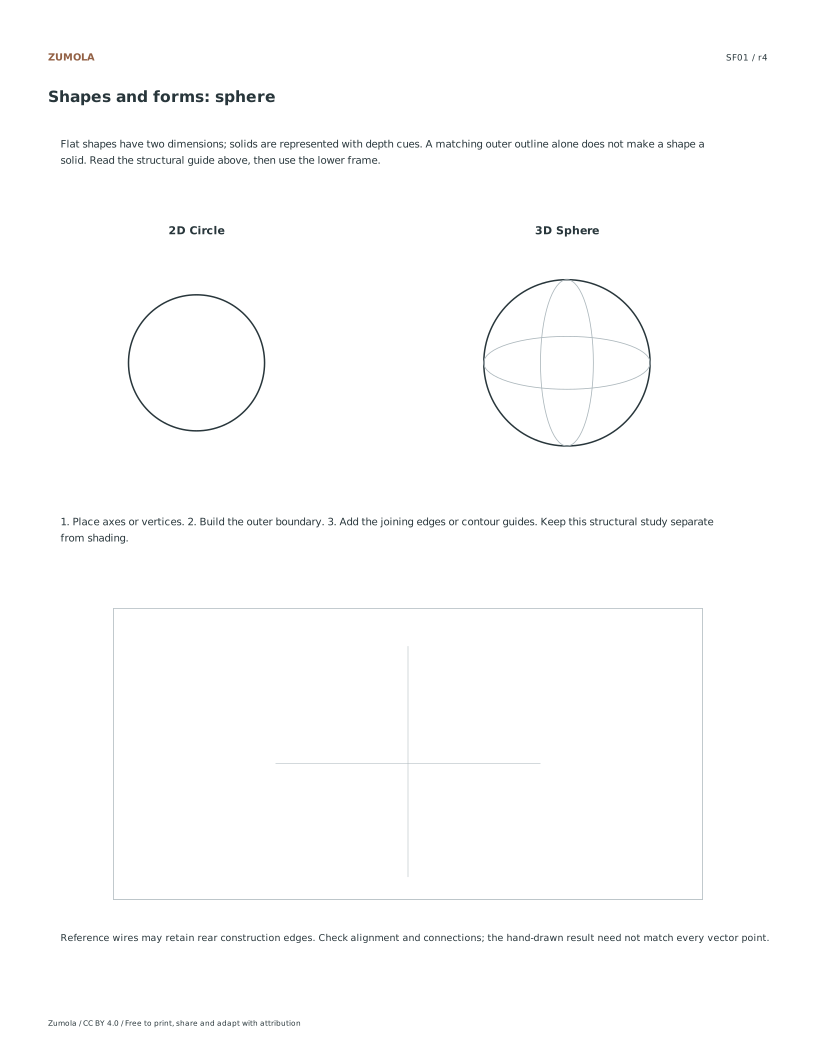
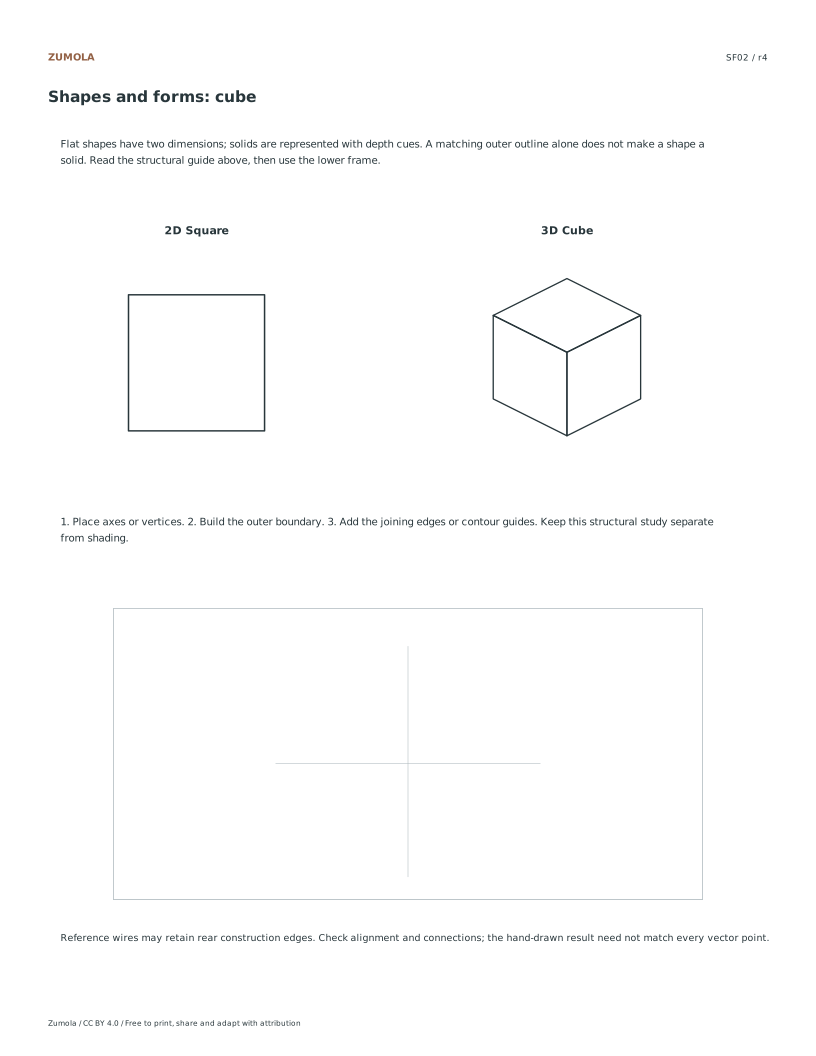
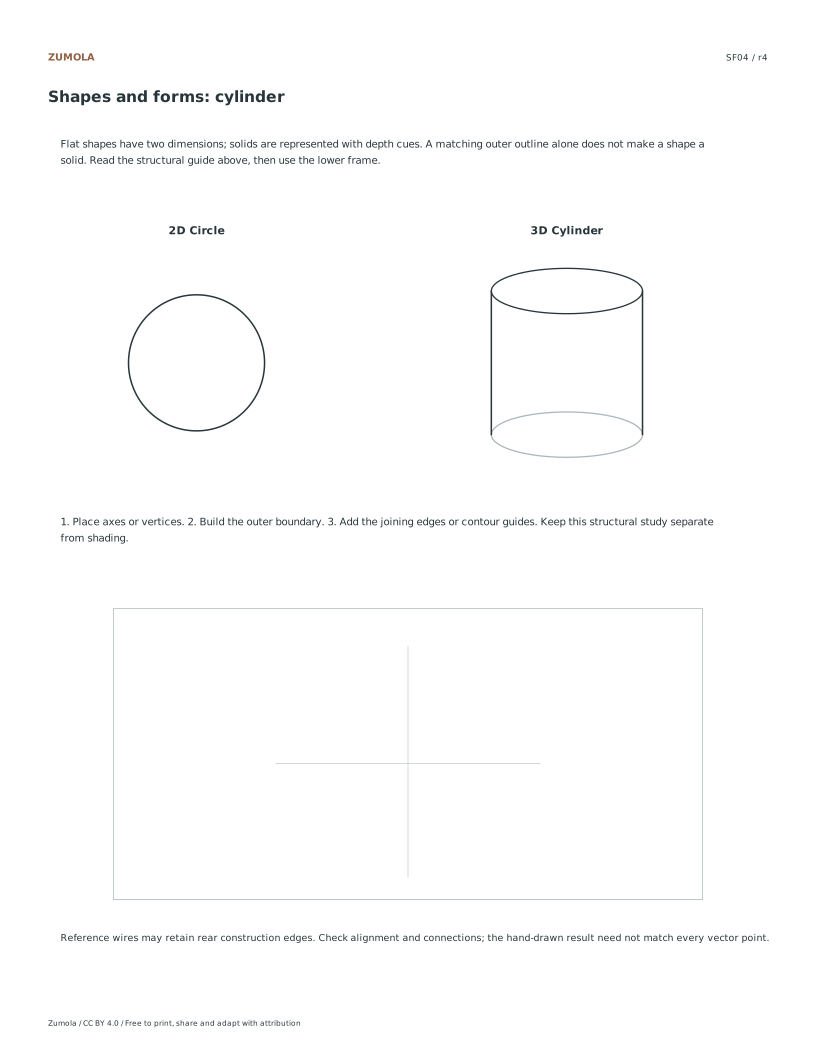
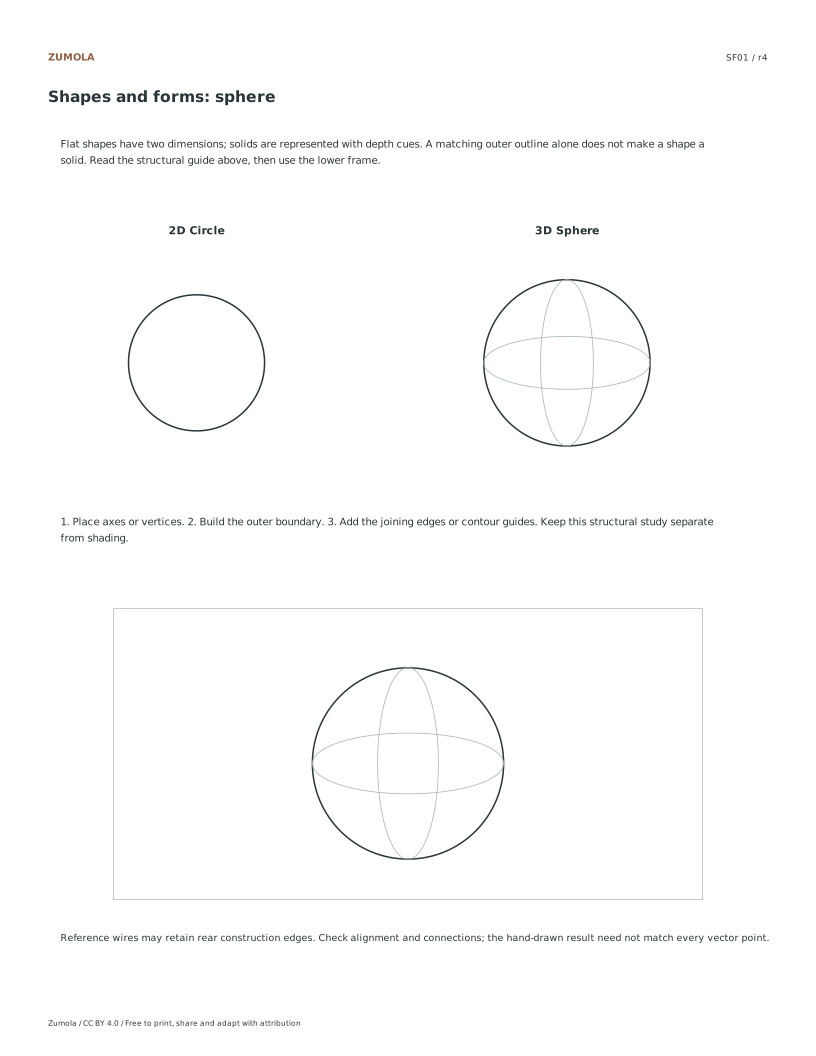
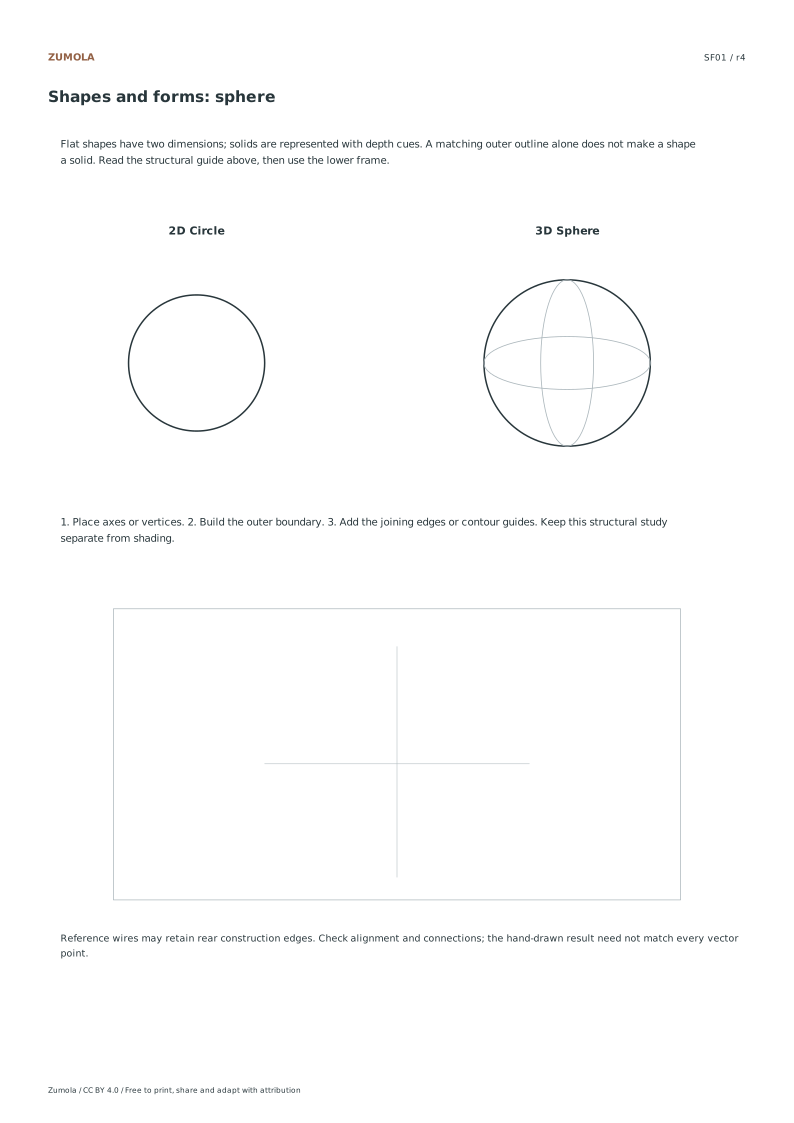
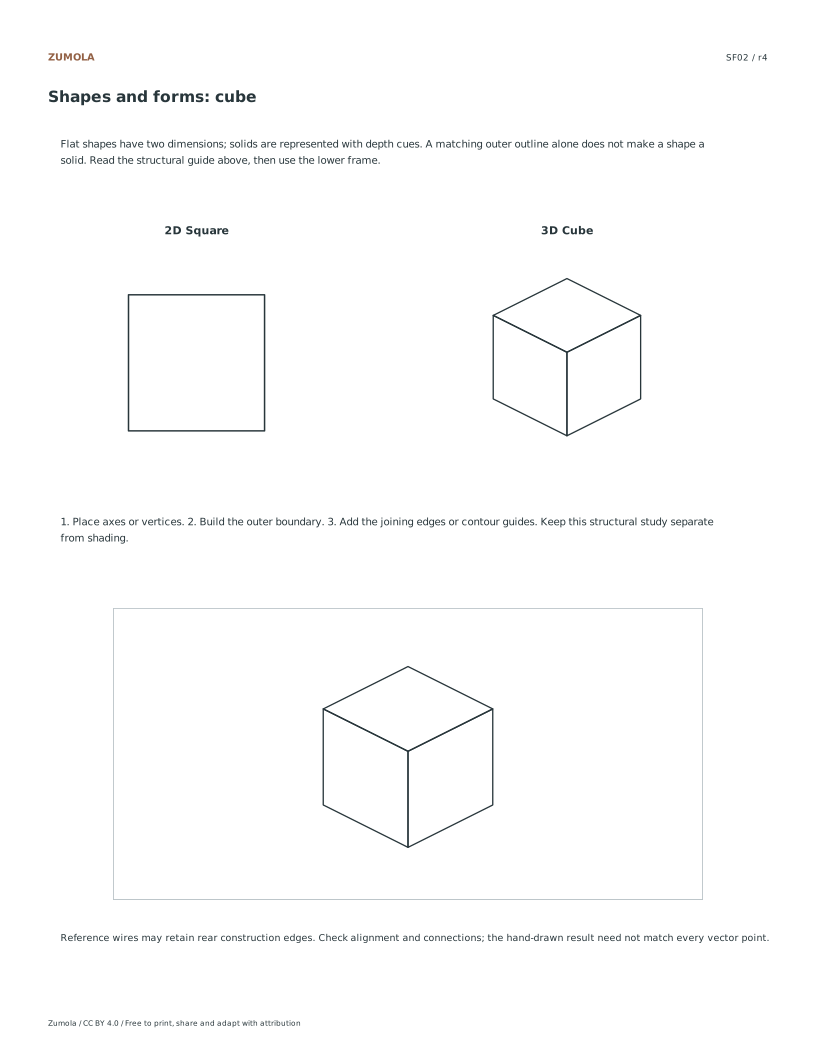
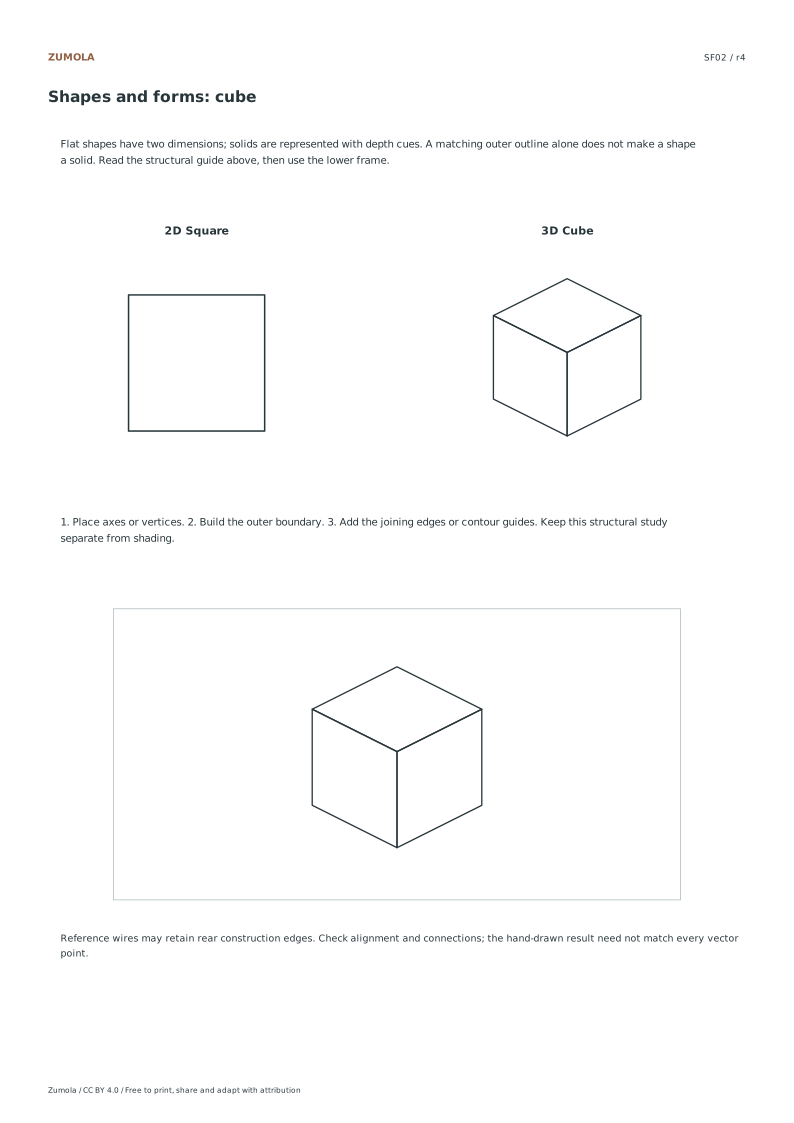
A face seen obliquely does not generally keep its true shape in a picture. The square faces of the cube are drawn as parallelograms in this parallel corner view. The circle used as a cylinder rim is represented as an ellipse. These examples compare planar shapes and volume cues; they do not say that a flat triangle automatically becomes a cone or that one circle outline proves a sphere.
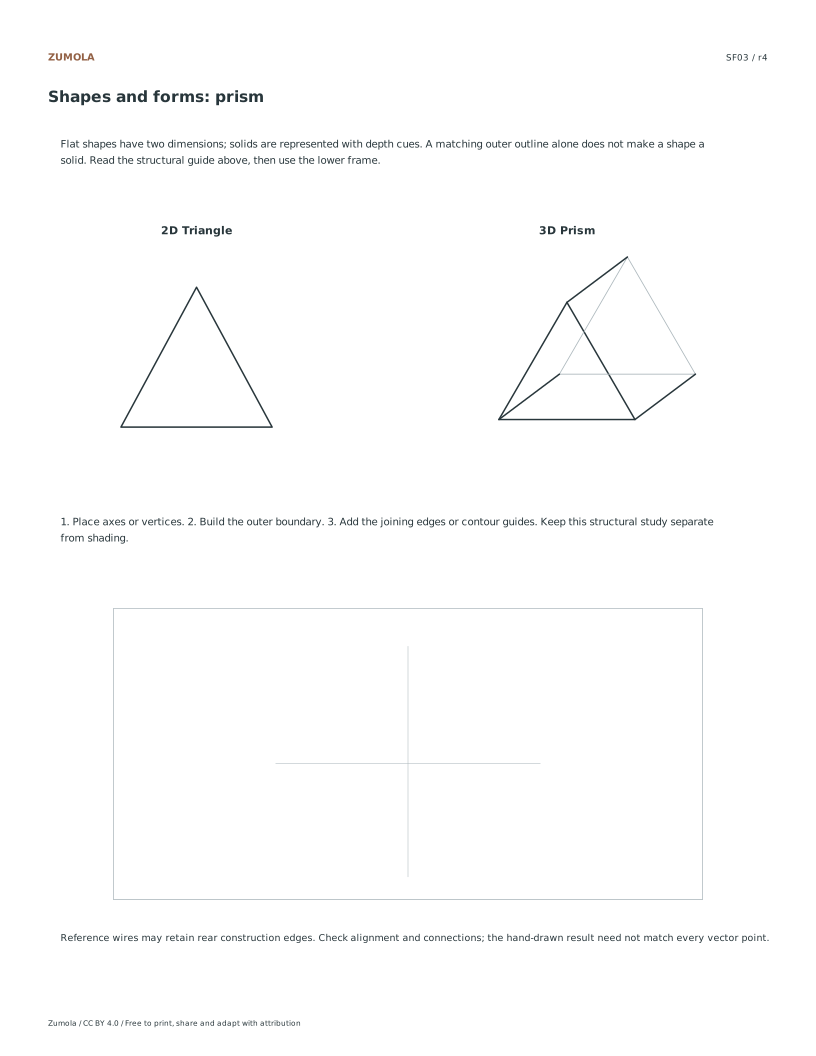
Keep the first attempt structural. A line guide across the sphere suggests how its surface turns, while a shared vertex joins faces of a prism. Shading can support form later, but it should not hide an incorrect connection in this exercise.
Work through the page
Identify Structural Anchors
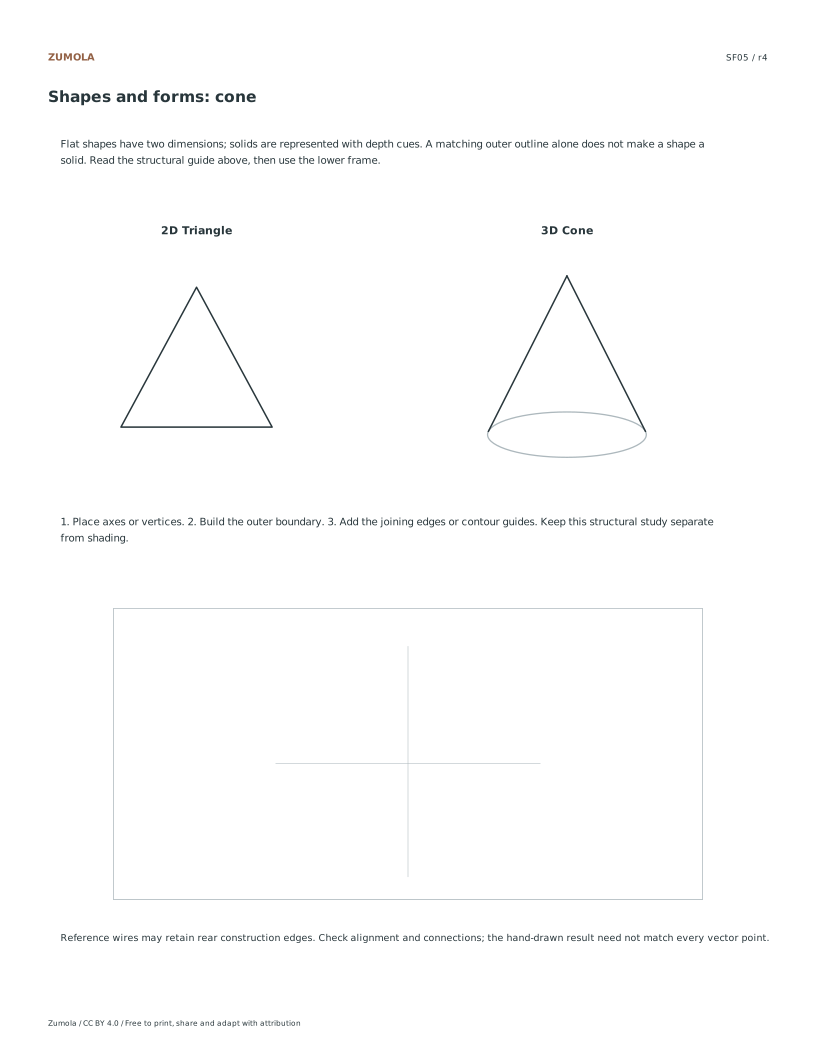
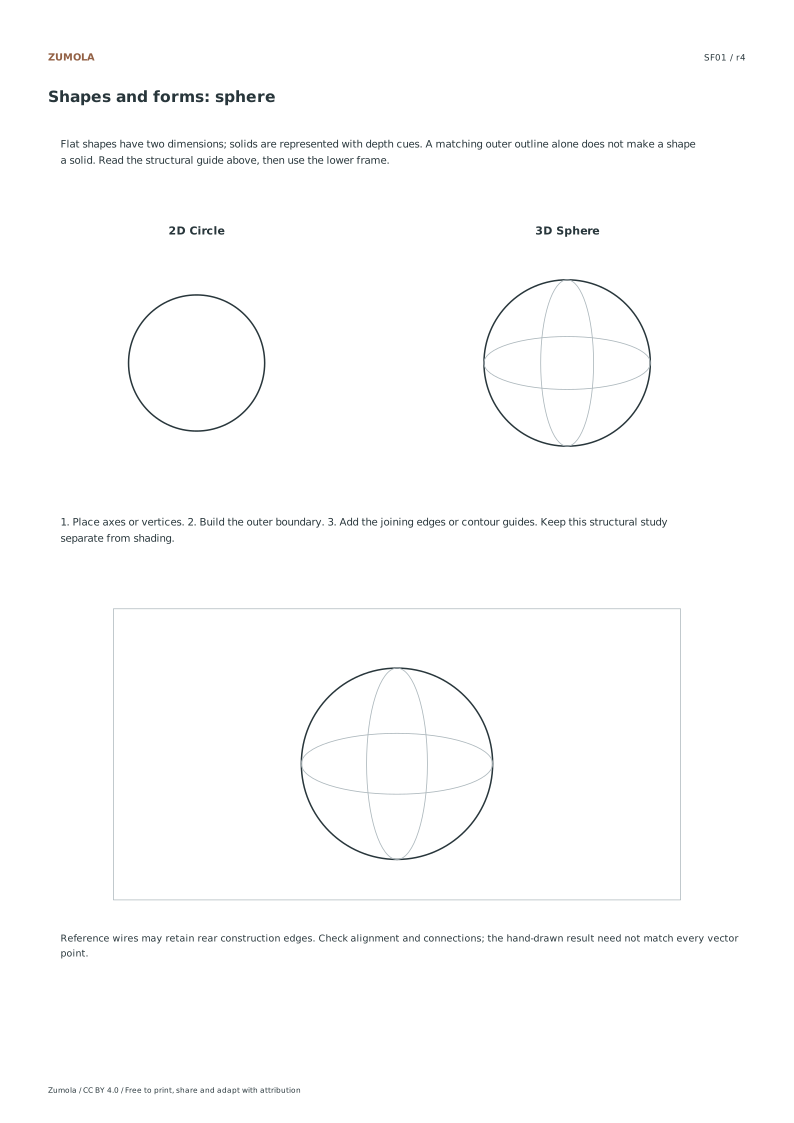
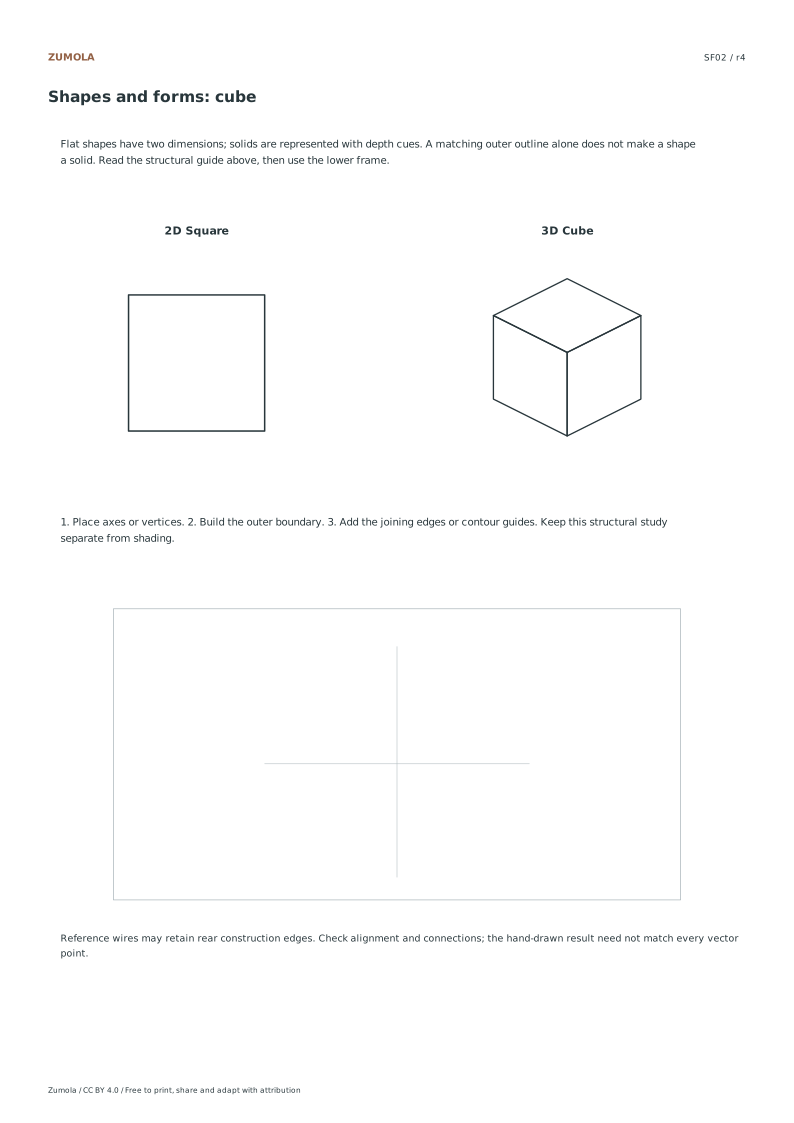
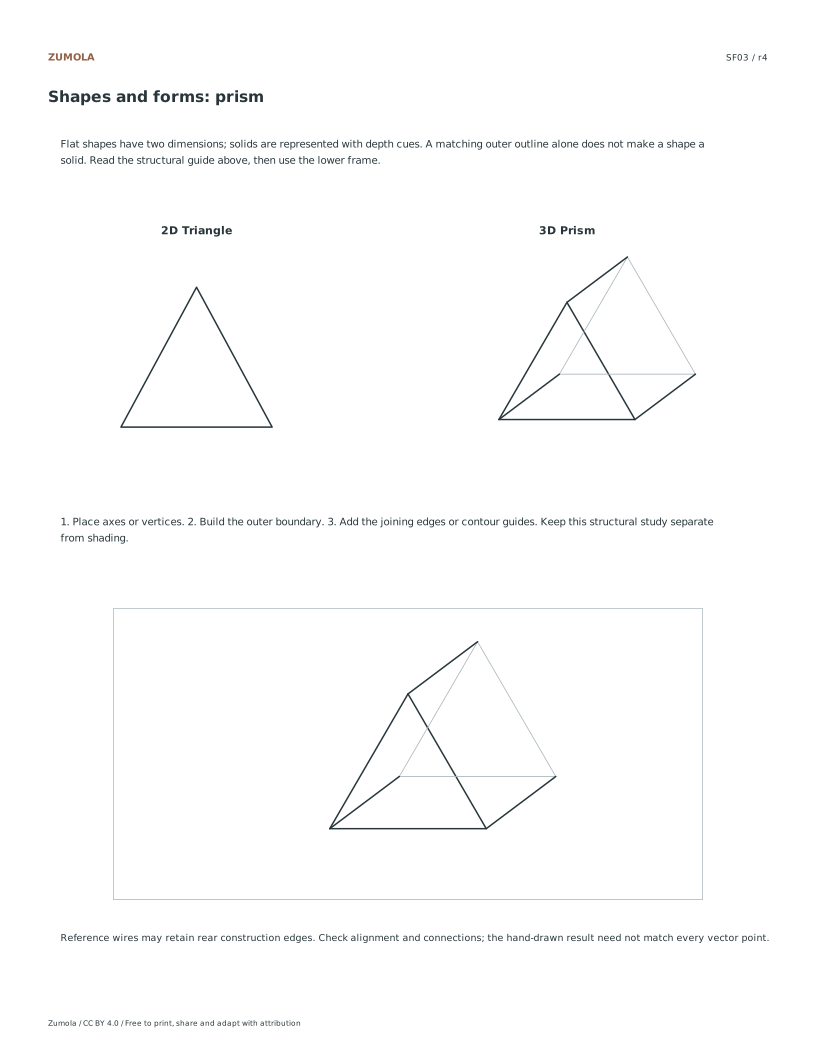
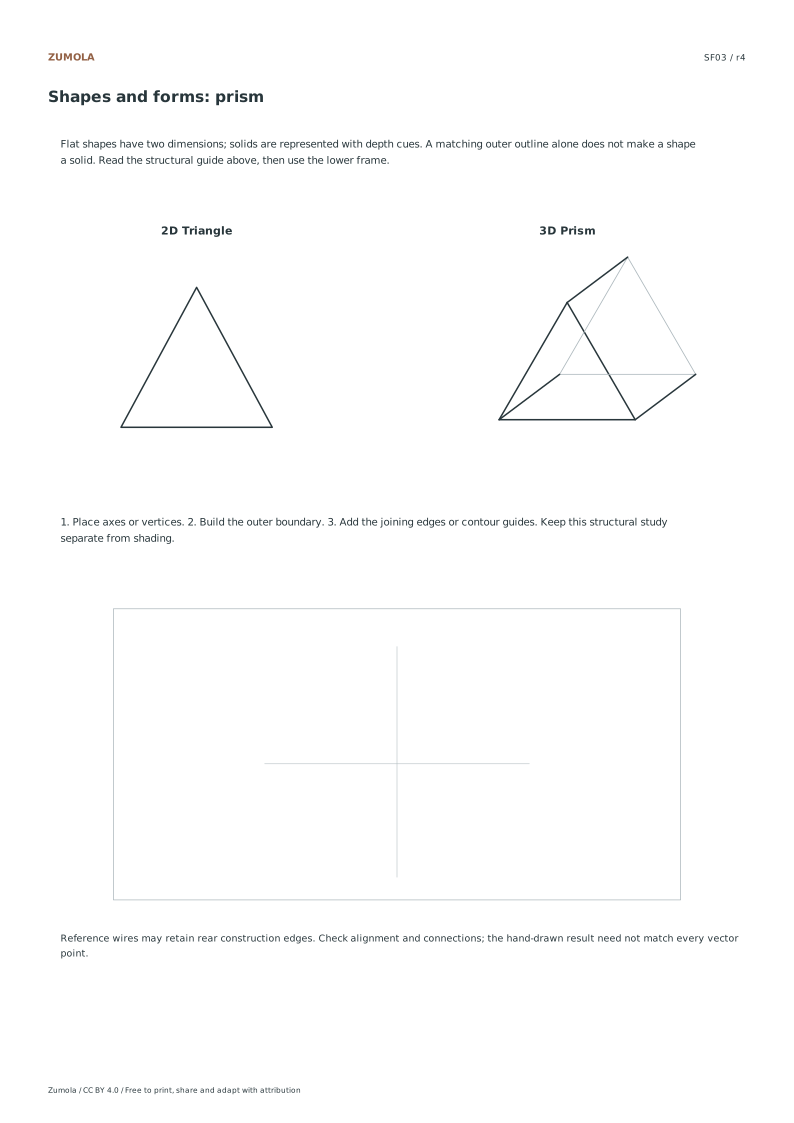
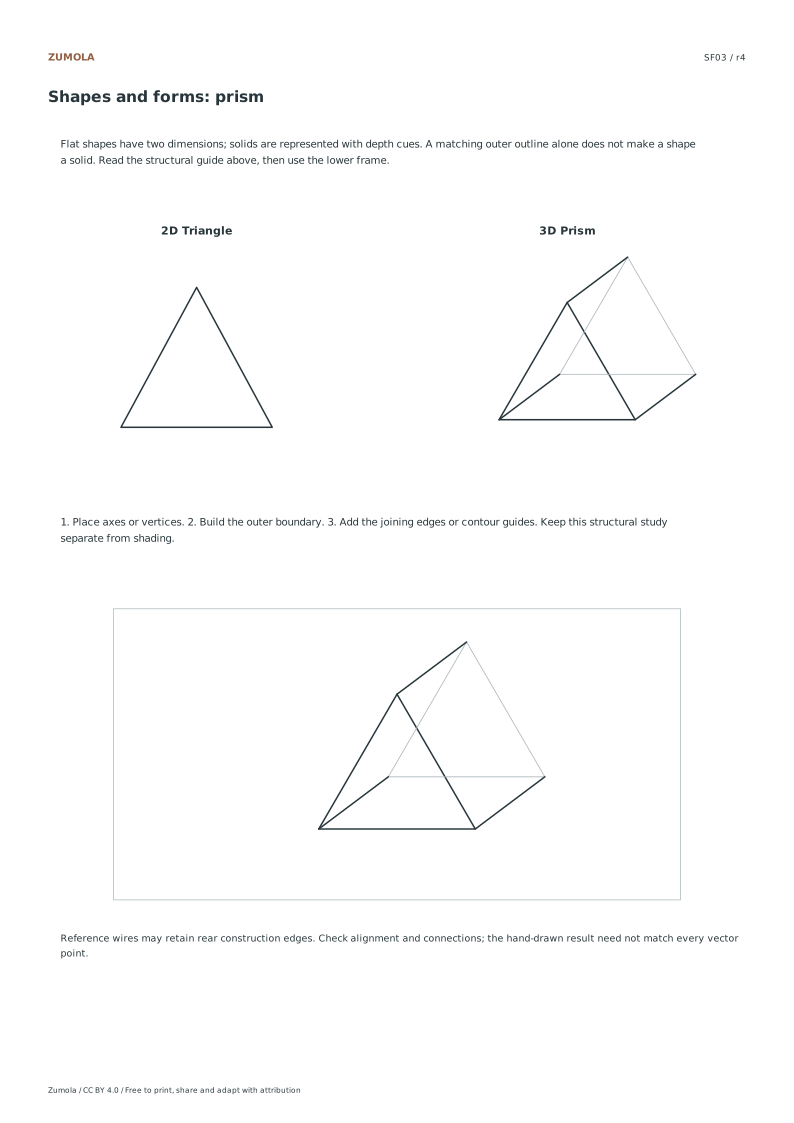
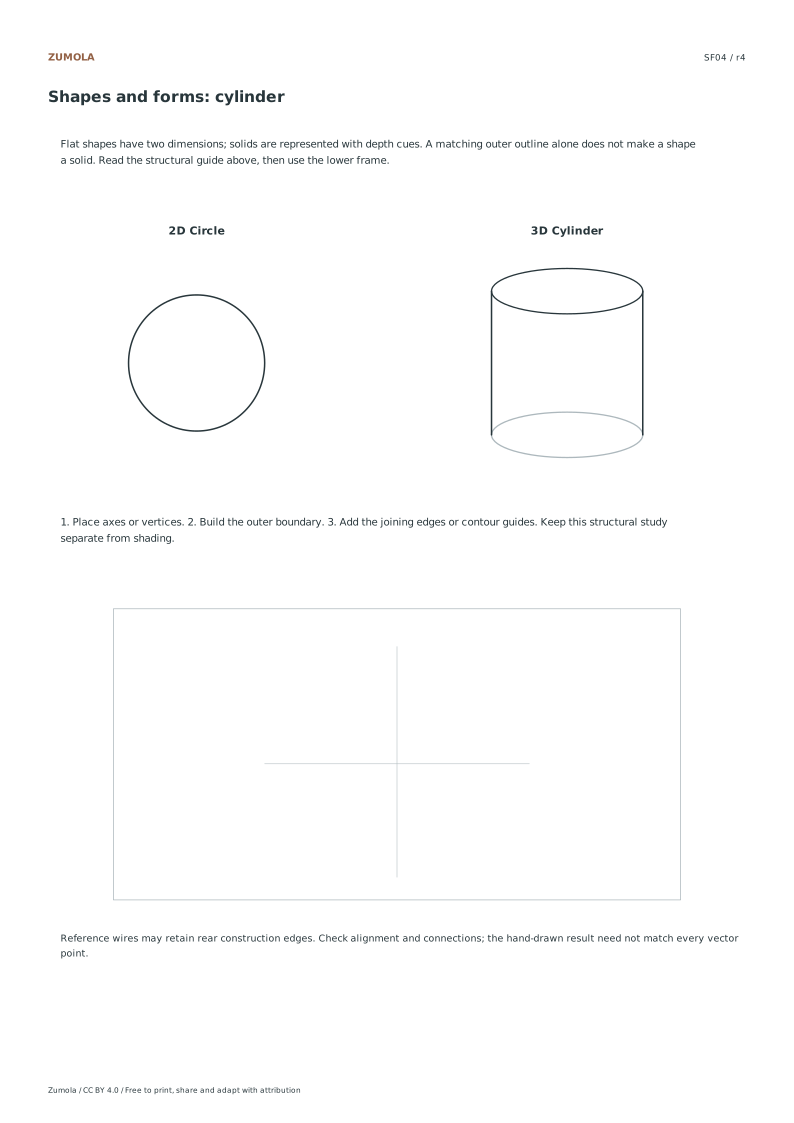
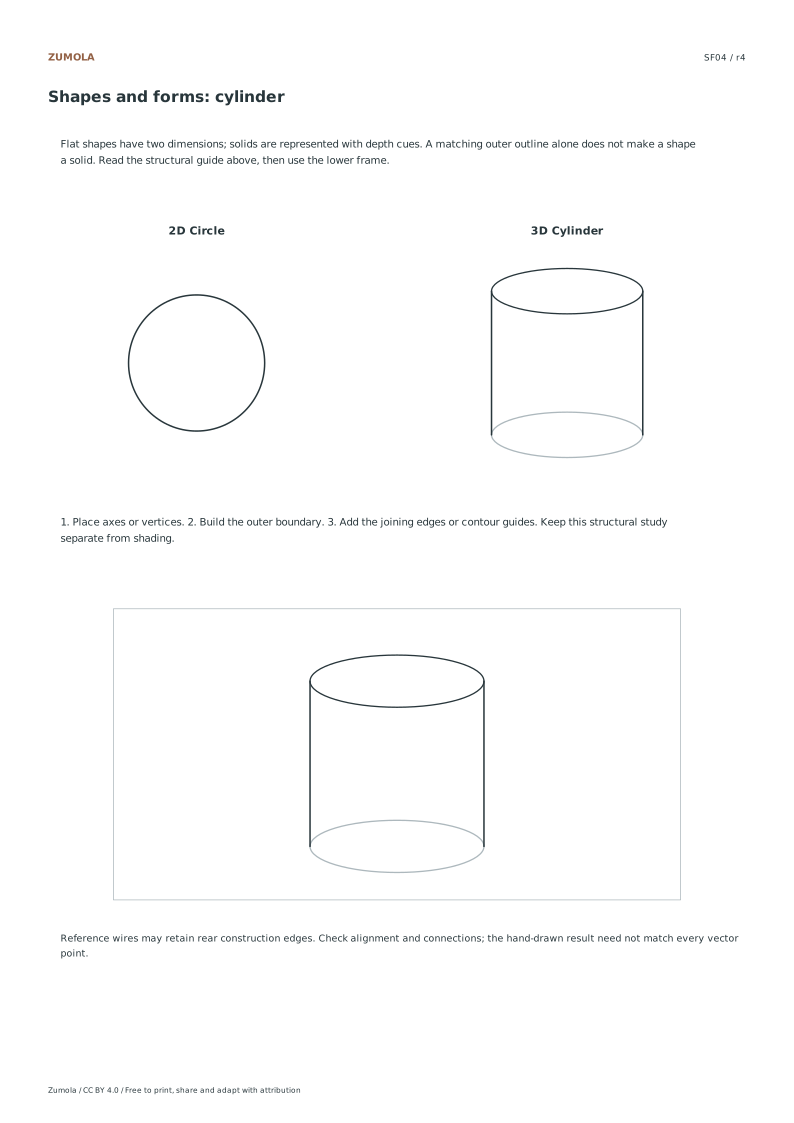
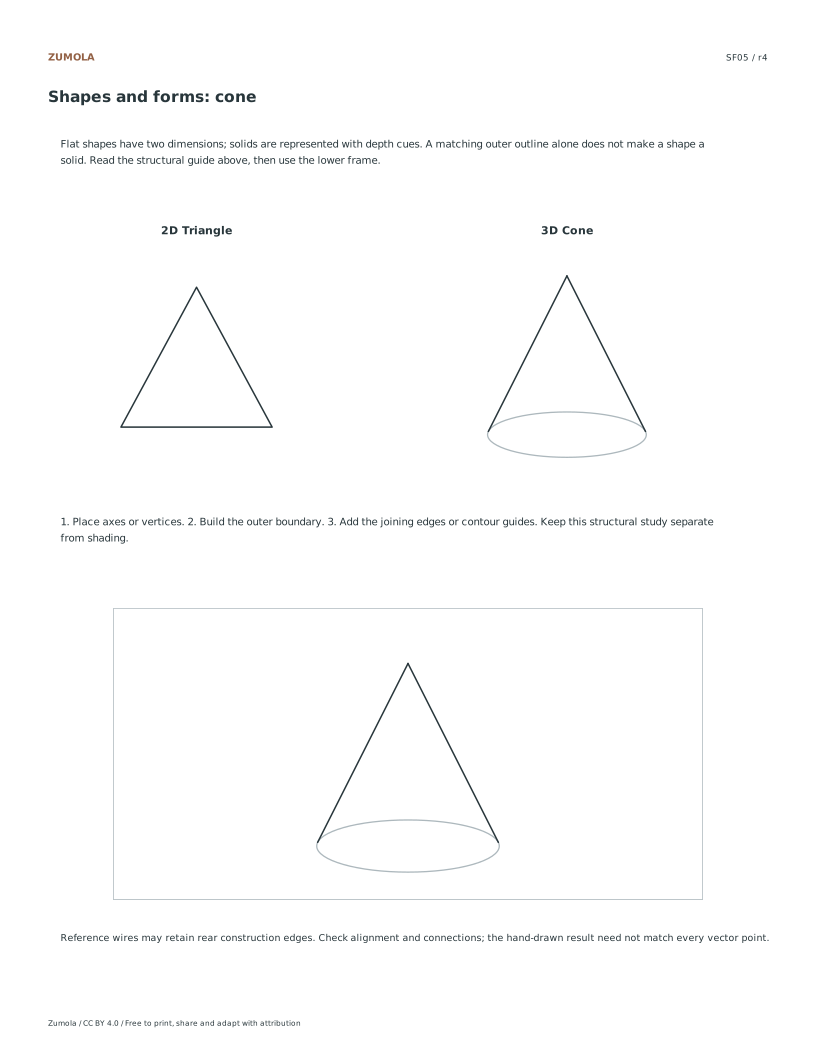
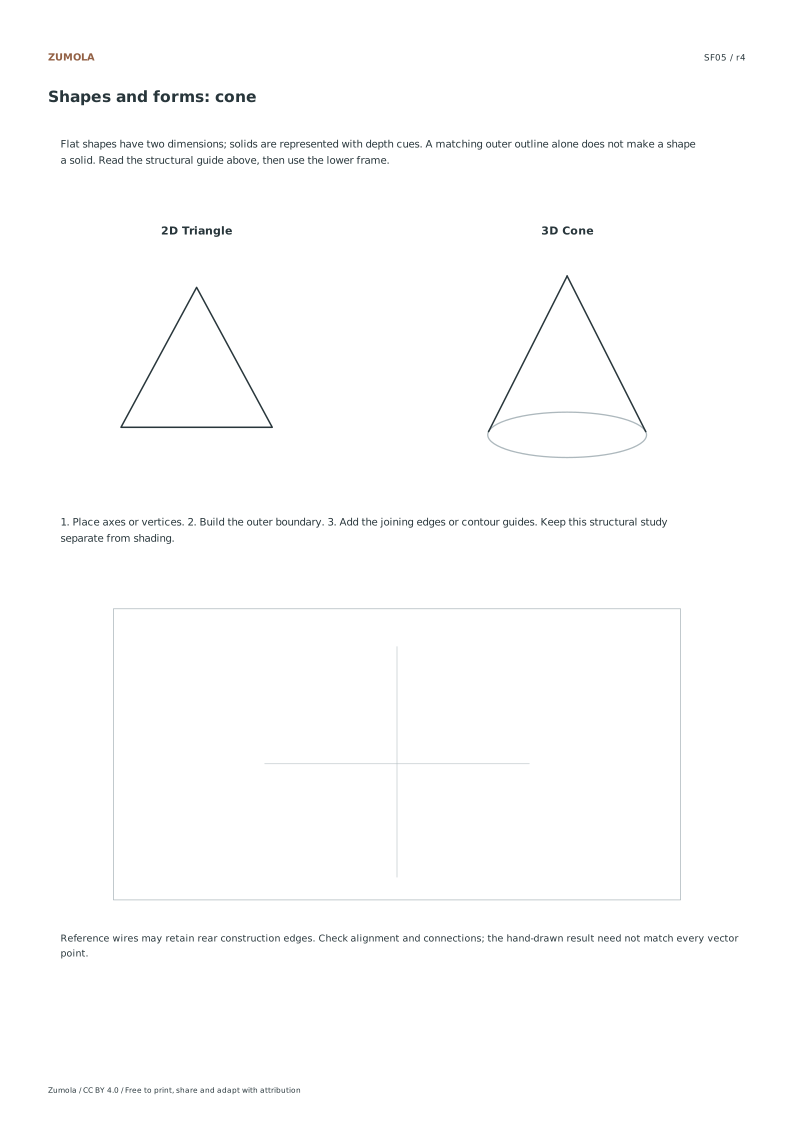
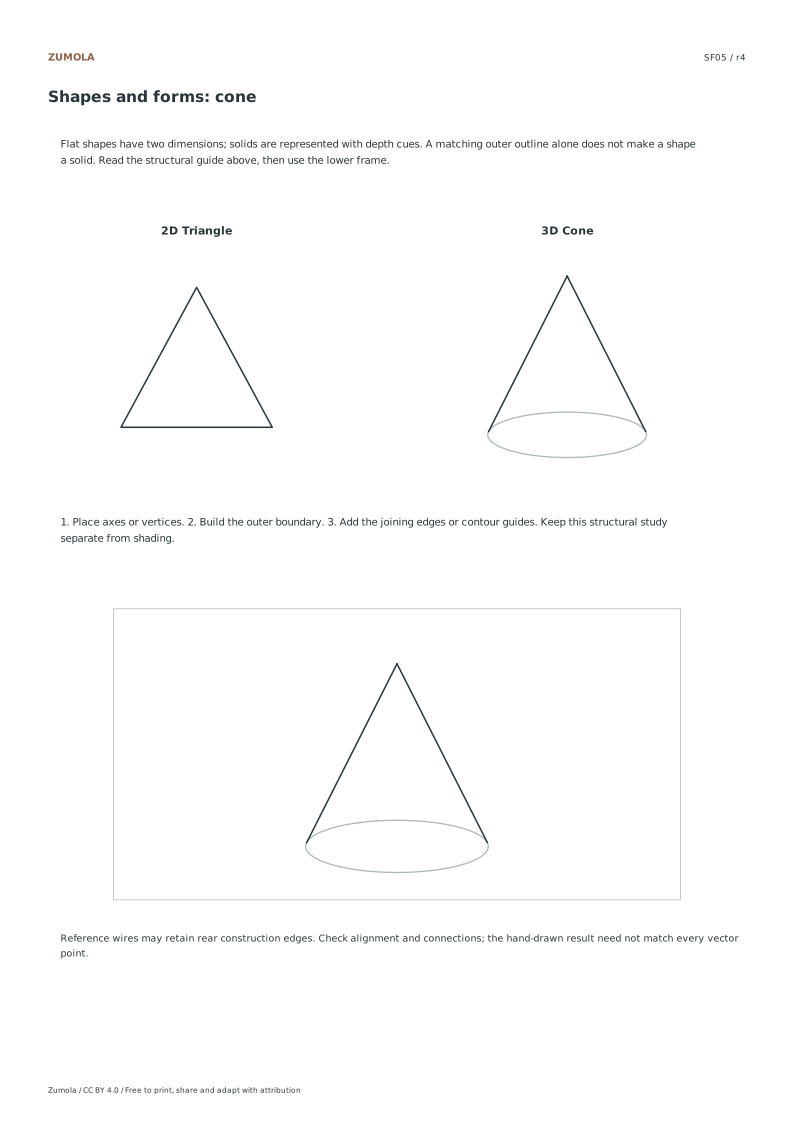
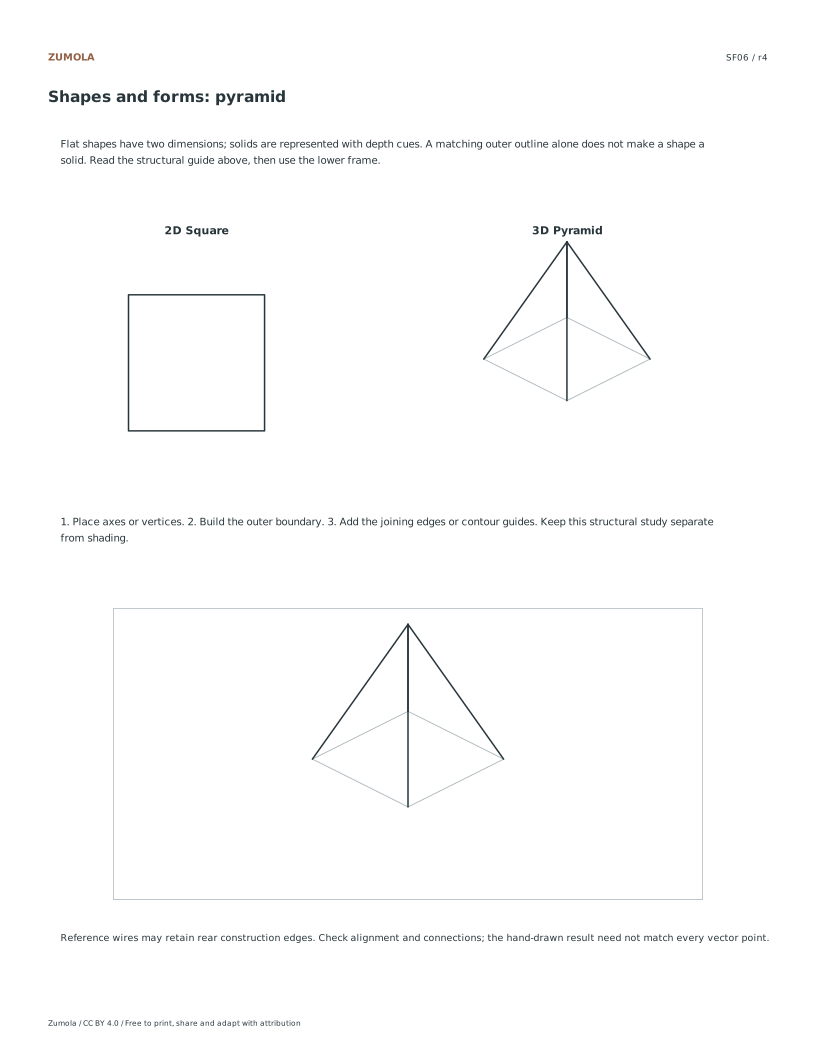
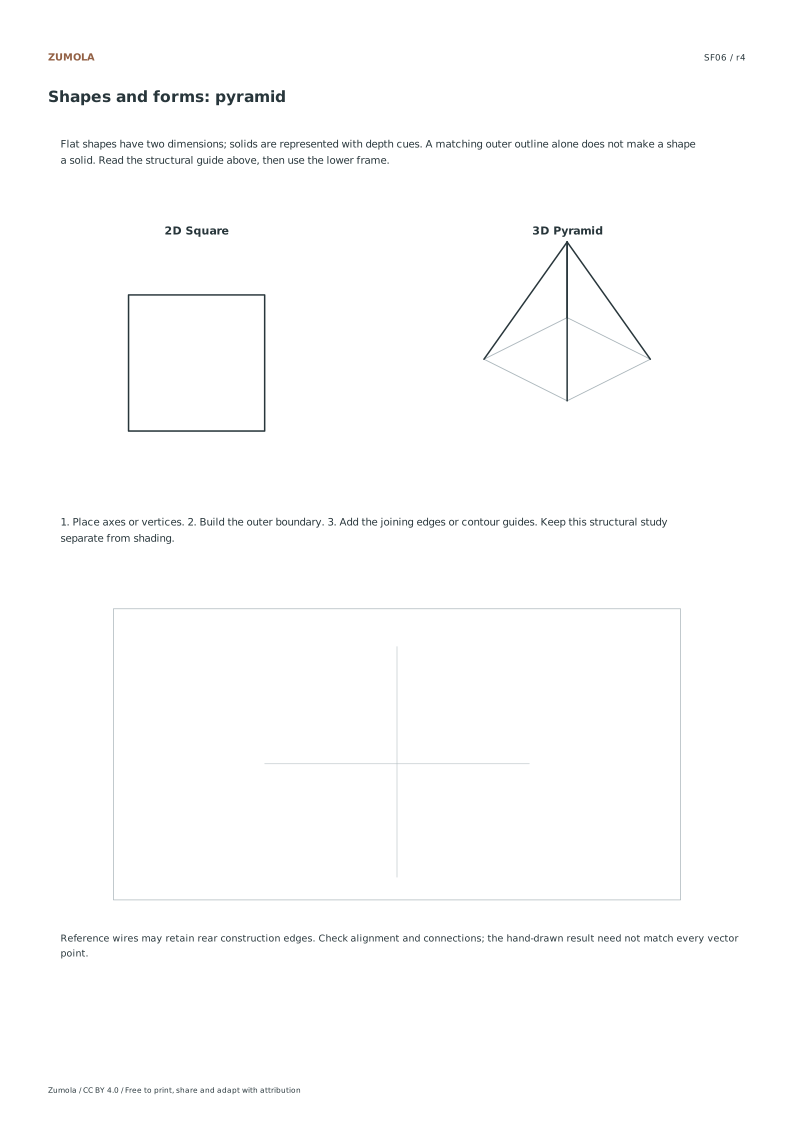
Read the flat shape and the structural form as a comparison pair. A circle lies in a plane; the sphere example uses curved contour guides to suggest a surface turning through depth. A cube is shown in a corner view, so its projected faces appear as parallelograms rather than true-size squares. The cone has a circular base and an apex; the triangle beside it is a flat comparison, not its base. Locate centers, axes or vertices in the upper guide, then place corresponding anchors in the lower practice frame before joining them.
Draw Outer Boundaries
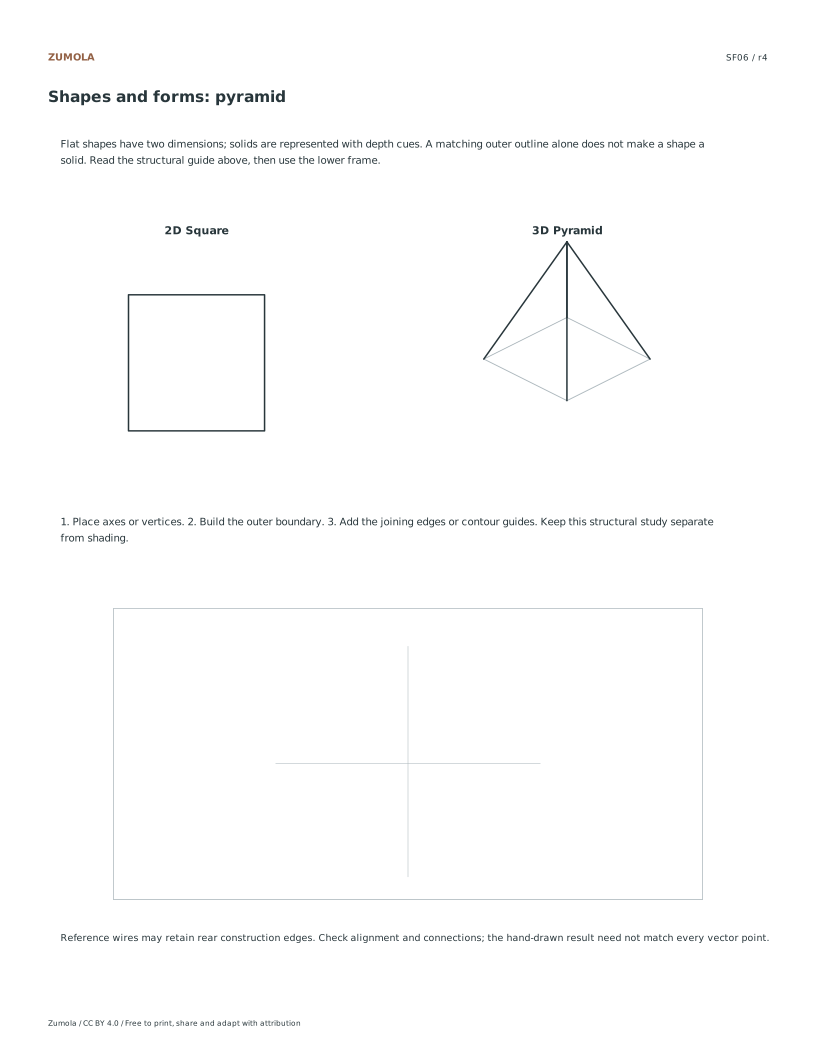
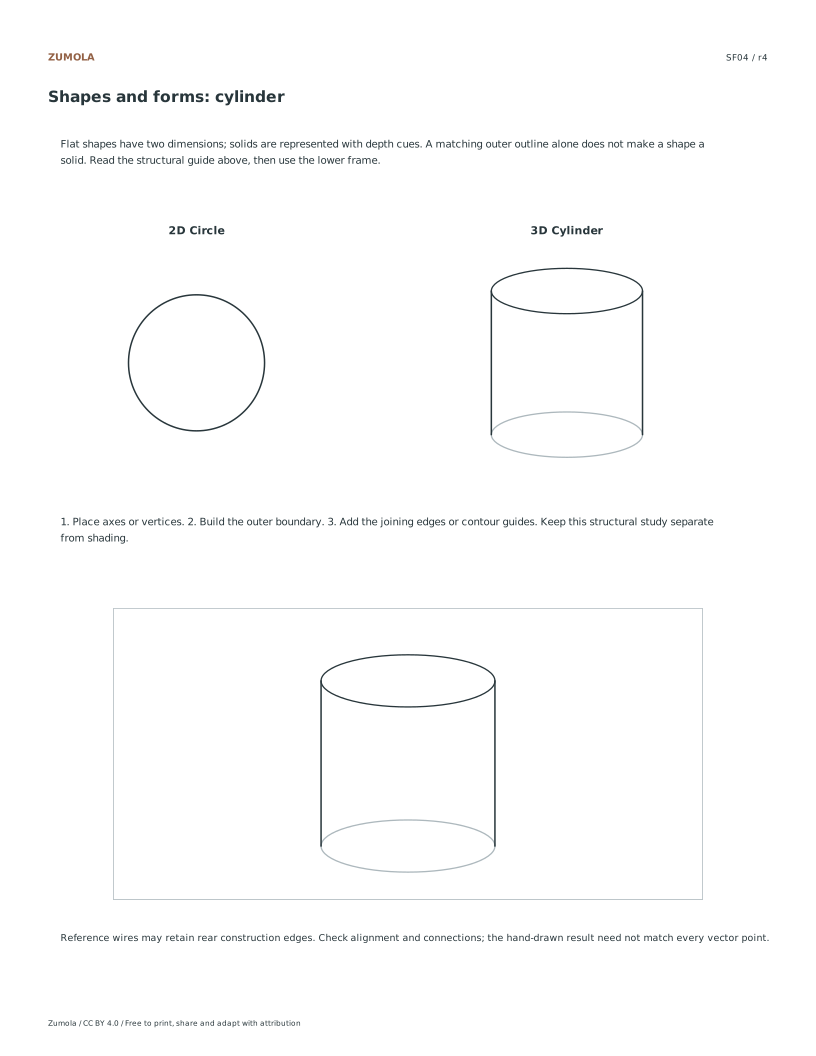
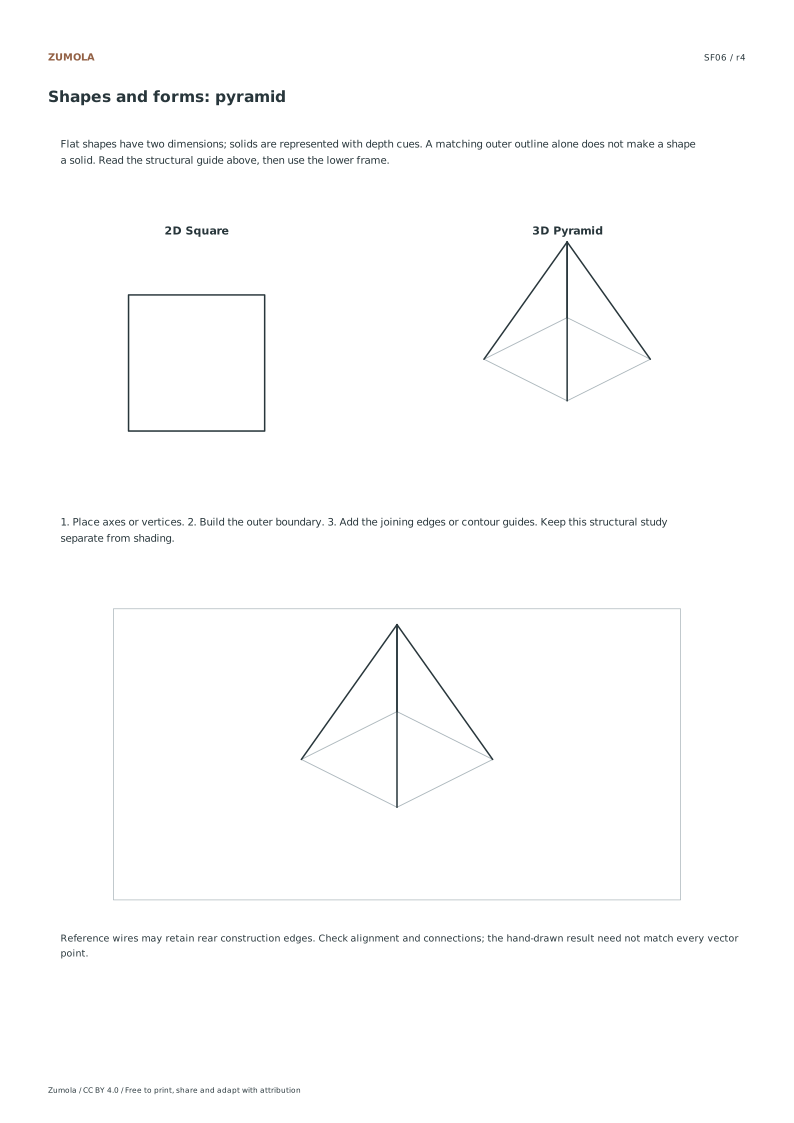
Build the visible outer structure lightly. For the triangular prism, start with two offset triangles and connect corresponding vertices. For the cylinder, place two aligned ellipse rims and join their outer sides. For the cone, connect its apex to the base’s outer silhouette. The square pyramid uses a four-corner base with edges meeting one apex. In the sphere sheet, the outer circle alone would still be ambiguous; the internal contour guides provide the intended form cue. These are teaching wireframes, so rear construction lines may remain visible.
Add Structural Connections
Finish one family of connections before darkening the drawing. In the prism, each front-triangle vertex has one matching rear vertex. In the cube and pyramid, check where adjacent faces share a corner. In the cylinder, keep the two rims centered along the same axis. In the sphere, keep the guide curves inside the outer boundary. The answers complete the lower frame as a structural reference. They omit value shading so that line connections remain easy to compare; use the separate shading collection for a later light-and-dark study.
Checks that catch common errors
Watch for
Check instead
Assuming the circle outline automatically creates a sphere.
Add contour guides to SF01 to indicate volume, as the flat circle alone lacks depth.
Erasing all rear construction edges in wireframes.
The references retain some rear edges to show construction. Compare with that convention first; you can omit hidden construction in a separate finished drawing.
Using dark values to hide an unclear connection.
Check axes, shared vertices and structural lines first. Add shading in a separate study if useful.
Print a test sheet before the full pack
Choose the file matching the paper in your printer. Print the PDF at Actual size / 100%, turning off Fit, Shrink and browser headers. An SVG editor or browser can change its scale even though the file uses millimeter dimensions. Use the supplied calibration bars where present when a task depends on physical size; a screen preview alone does not establish printed size.
The packs contain the same individual pages in collection order. They are a convenient download, not extra different exercises. On coordinate plots, uniform scaling preserves the numerical positions relative to the axes. On image-copy tasks, keep the specified proportions and any stated source-to-target enlargement. Color is optional: labels, line positions and relative lightness also explain the references.
Useful answers
Are these dimensioned manufacturing drawings?
No, they are original teaching sketches designed for learning geometric relationships, not precise industrial specifications.
Do the worksheets include shading instructions?
No, the focus is on line-based structure. Shading is handled in a separate existing collection.
Is there a unique correct answer for each form?
No, these are teaching sketches. Variations in line weight or slight perspective adjustments are acceptable.
Are the answers and editable files free too?
Yes. Every linked worksheet, PDF, SVG and answer is free without signup. Original Zumola resources use CC BY 4.0: credit Zumola, link the license and indicate changes. Analytics consent is not required to download or use them.
Further reading: Getty: introducing shapes. The downloadable illustrations, data tasks and geometry are original Zumola work.
More ways to practice
Build one form from three decisions
Every solid on the sheet can be approached through three decisions: where the form sits, how its boundary curves or angles, and which edges are nearest the viewer. A cube needs straight edges and clear corner relationships. A cylinder needs two ellipses that share an axis. A sphere needs a circular boundary plus a curved line suggesting how its surface turns.
Treat these as structural guides, not anatomy. A drawing of a cube is a geometric construction; it does not describe bone or muscle. Keep the guides light so you can compare them before adding value.
Mark the lowest and highest points of the form, then the widest left and right points.
Draw the outer boundary first, keeping it simple and continuous.
Add the internal edges or axis lines that explain depth.
Check symmetry and alignment against the anchors before erasing anything.
Add light and dark only after the structure reads clearly.
A worked cube, cylinder and sphere check
Use a single page divided into three columns. In the first column, draw a cube about 6 cm tall. In the second, draw a cylinder of the same height with a top ellipse and a bottom ellipse. In the third, draw a sphere with a diameter matching the cube's height.
The comparison matters more than polish. Ask whether the cube's vertical edges stay parallel, whether the cylinder's ellipses share a centre line, and whether the sphere's boundary is round rather than egg-shaped. These checks catch structural errors that shading cannot hide.
Draw the cube's front square first, then add the receding edges at a consistent angle.
For the cylinder, draw a vertical axis, then place the top and bottom ellipses centred on it.
For the sphere, draw a circle using a light cross to keep the width and height equal.
Compare all three forms side by side and adjust the weakest boundary.
Diagnostic checks before adding value
A useful diagnostic is to turn the page upside down or view it from arm's length. Misaligned axes and uneven boundaries become easier to see. Another check is to trace the outer boundary with a finger and ask whether it would close smoothly if redrawn.
Do not treat a wobbly line as failure. The goal is to notice the cause: an anchor placed too far left, an ellipse tilted away from its axis, or a corner that does not meet the edge it should. Correct one cause at a time.
Check that opposite edges of the cube remain parallel.
Check that both cylinder ellipses have the same width-to-height ratio.
Check that the sphere's widest horizontal and vertical spans are equal.
Redraw only the guide that failed the check, then compare again.
Try this example
Draw a cube, a cylinder and a sphere at the same 6 cm height, then check each form against its structural guides.
Show the worked explanation
The cube should have parallel opposite edges and consistent receding angles. The cylinder should have a vertical axis with two centred ellipses of matching proportions. The sphere should have equal horizontal and vertical spans. If any check fails, adjust that guide before adding value.
Common mistakes
Drawing the cube's receding edges at different angles. Set one angle for the depth direction and repeat it on every receding edge before adding detail.
Making the cylinder's top ellipse much wider than the bottom one. Measure both ellipses against the same axis and adjust the narrower one until their proportions match.
Shading a sphere before its boundary is round. Erase the value, redraw the circular boundary using a light cross, and only then add tone.
Check your work
Anchors for height and width are marked before the boundary is drawn.
The cube's opposite edges are parallel and its receding edges share one angle.
The cylinder's ellipses are centred on the same vertical axis and have matching proportions.
The sphere's horizontal and vertical spans are equal.
Construction lines remain visible until the structural checks are complete.
Shading is added only after the form reads clearly as a solid.
Questions before you start
Is there one correct drawing of a cube or sphere?
No. Many valid drawings can show the same form. Judge structure, proportion and clarity with a rubric rather than looking for an exact match.
How tall should each practice form be?
Choose a consistent height, such as 6 cm, so the cube, cylinder and sphere can be compared directly. The exact size is less important than keeping it equal.
When should I add shading?
Add shading only after the boundary, axes and internal edges pass your structural checks. Shading cannot correct a misaligned form.
Optional Google Analytics helps us understand which free resources are useful. It is off until you allow it. Drawing tools and downloads work with either choice. Privacy details