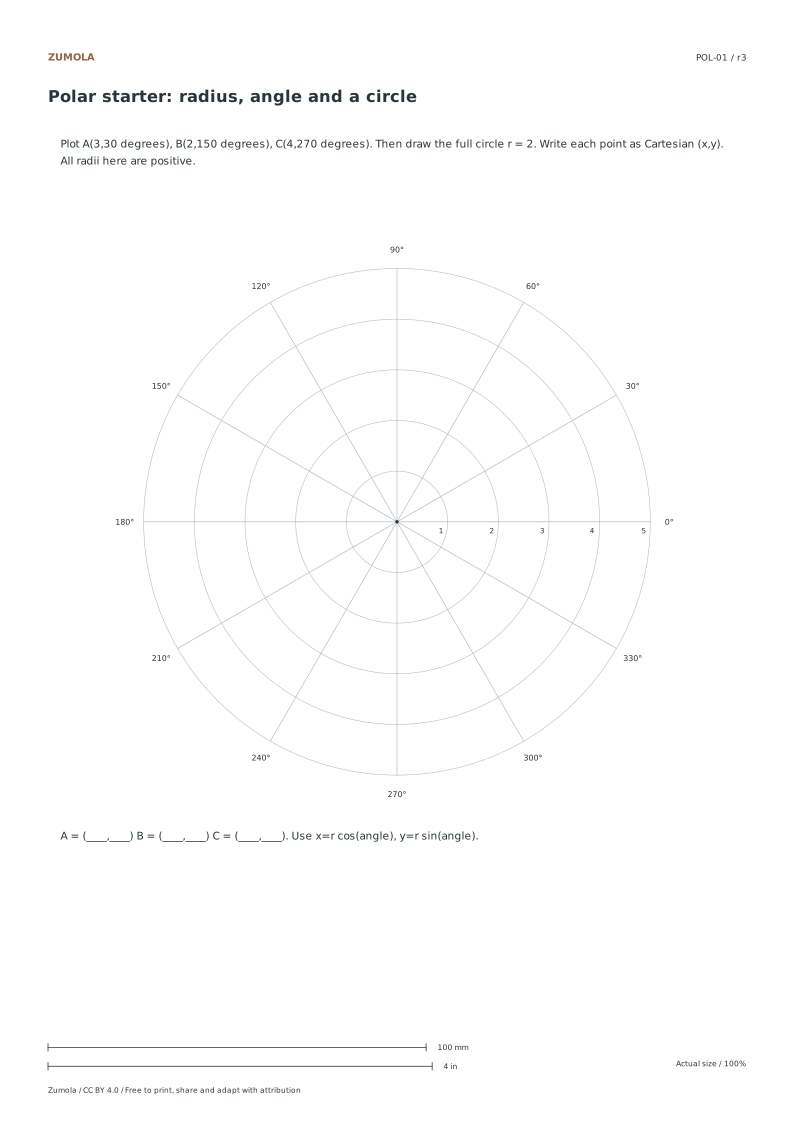
Use angle rays and concentric circles to plot radius and direction. Choose degree or radian labels, then compare three points with their Cartesian coordinates.
Degrees. Radians. Four grids. Practice + worked answers.
A printable task with a way to check it
Use angle rays and concentric circles to plot radius and direction. Choose degree or radian labels, then compare three points with their Cartesian coordinates.
Choose US Letter or A4, then download the PDF for printing or the SVG for editing. Keep the student worksheet separate from its answer or reference completion. All files, including the answers, are free without signup.
Choose your paper and download
Download paper size
Every worksheet and answer is free. No signup.
Free original resource
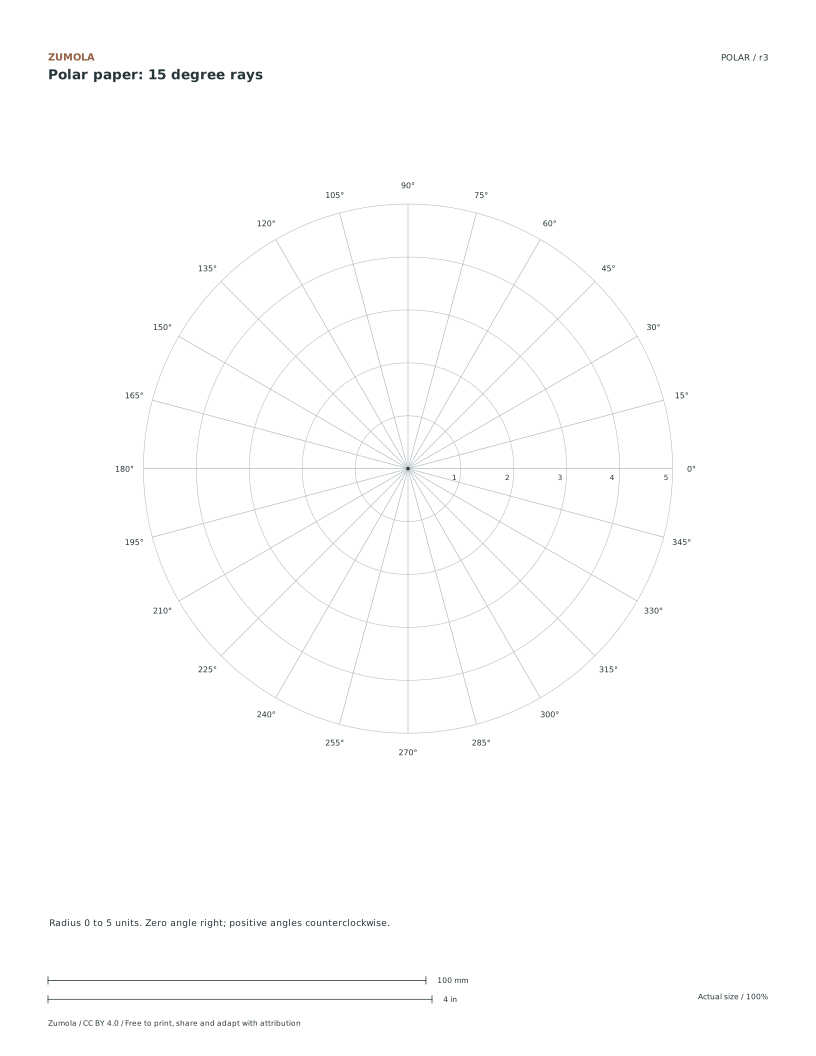
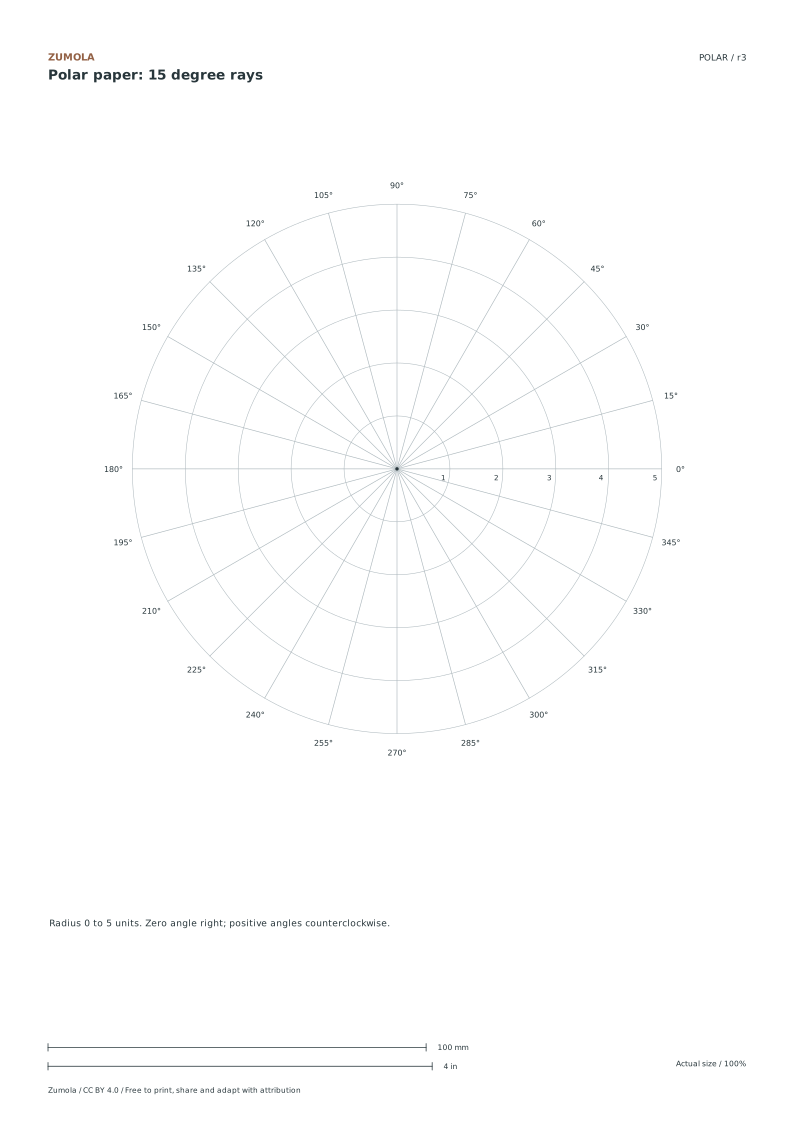
Polar paper: 15 degree rays
Original blank printable. Choose Letter or A4; print at actual size.
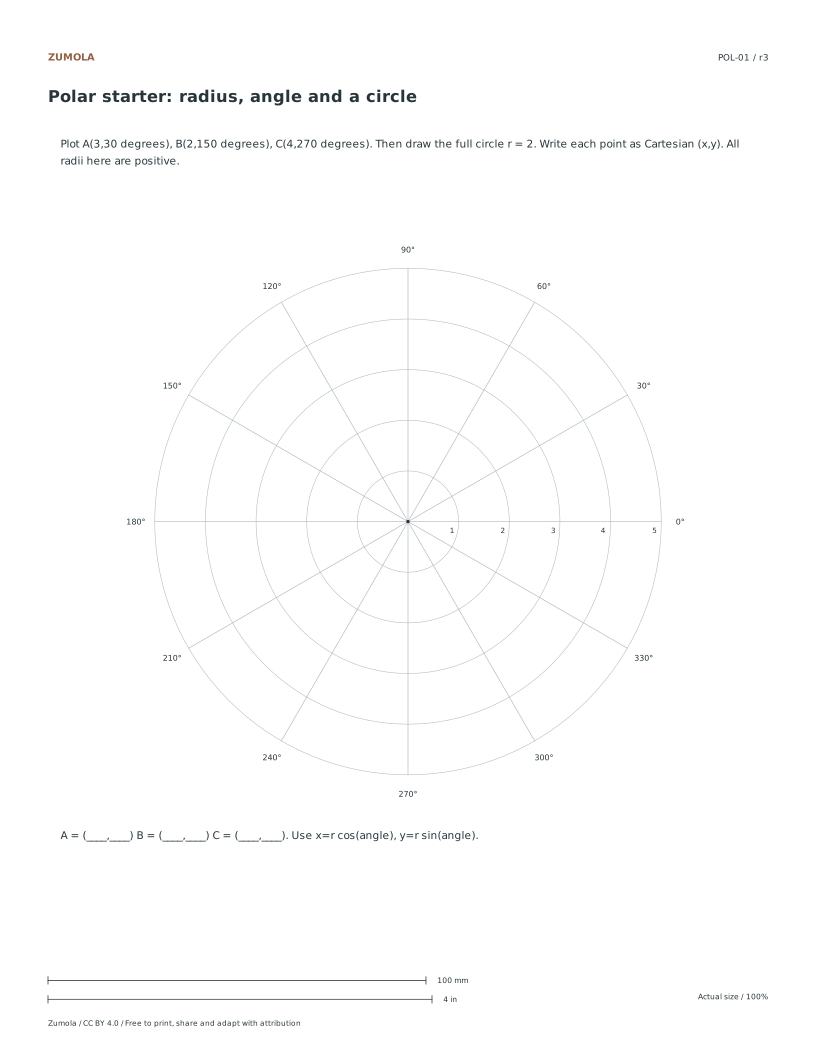
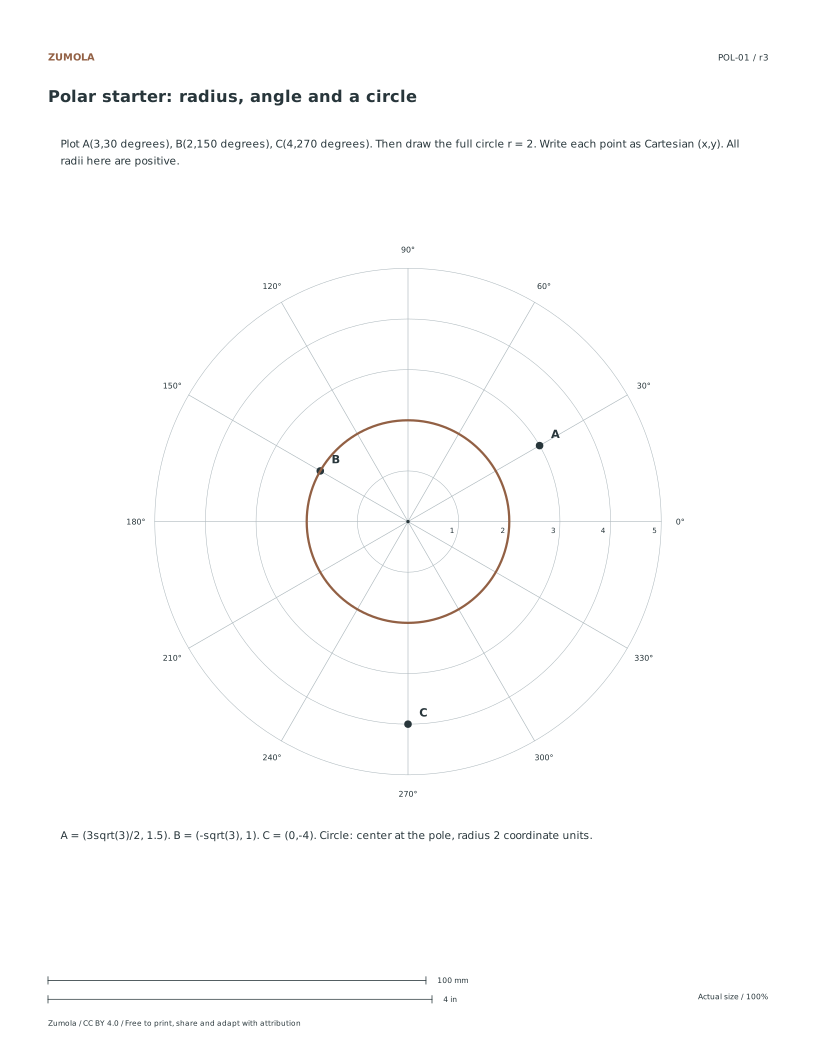
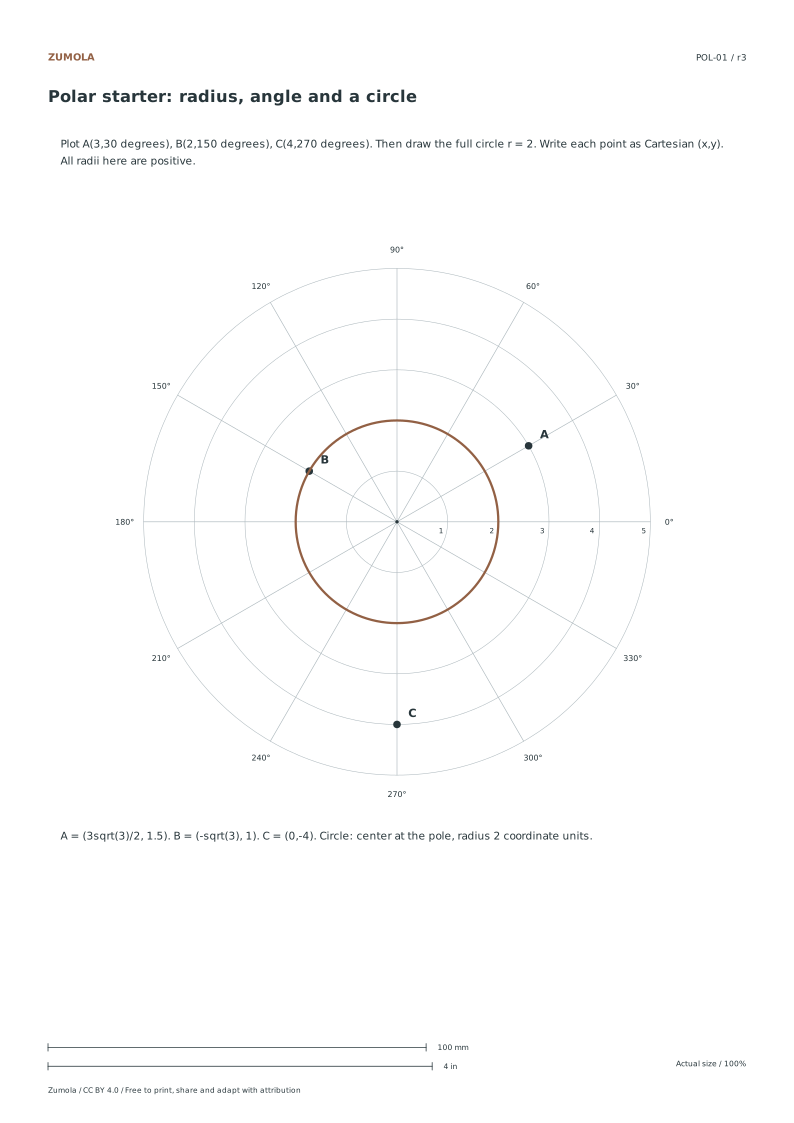
Use the starter sheet to plot A = (3,30°), B = (2,150°), C = (4,270°), then draw r = 2. A radius is a distance from the pole; an angle tells you its ray. Positive angles turn counterclockwise from the rightward zero ray.
Point
Exact Cartesian (x, y)
Approximate check
A
(3√3/2, 3/2)
(2.598, 1.5)
B
(−√3, 1)
(−1.732, 1)
C
(0, −4)
On the downward ray
Use x = r cos θ and y = r sin θ. The circle r = 2 becomes x² + y² = 4. For radian labels, 30° = π/6, 90° = π/2 and 180° = π. Calculator angle mode must match the input units.
Free original resourcePOL-01
Polar starter
Original practice with a separate reference answer. Choose Letter or A4.
A point can have more than one polar coordinate: (2,30°) and (2,390°) occupy the same position. A negative radius reverses the ray, so (−2,30°) is the same position as (2,210°). The starter asks only positive-radius problems; the blank grids remain usable for negative-radius equations.
Work through the page
Selecting the Correct Grid Density
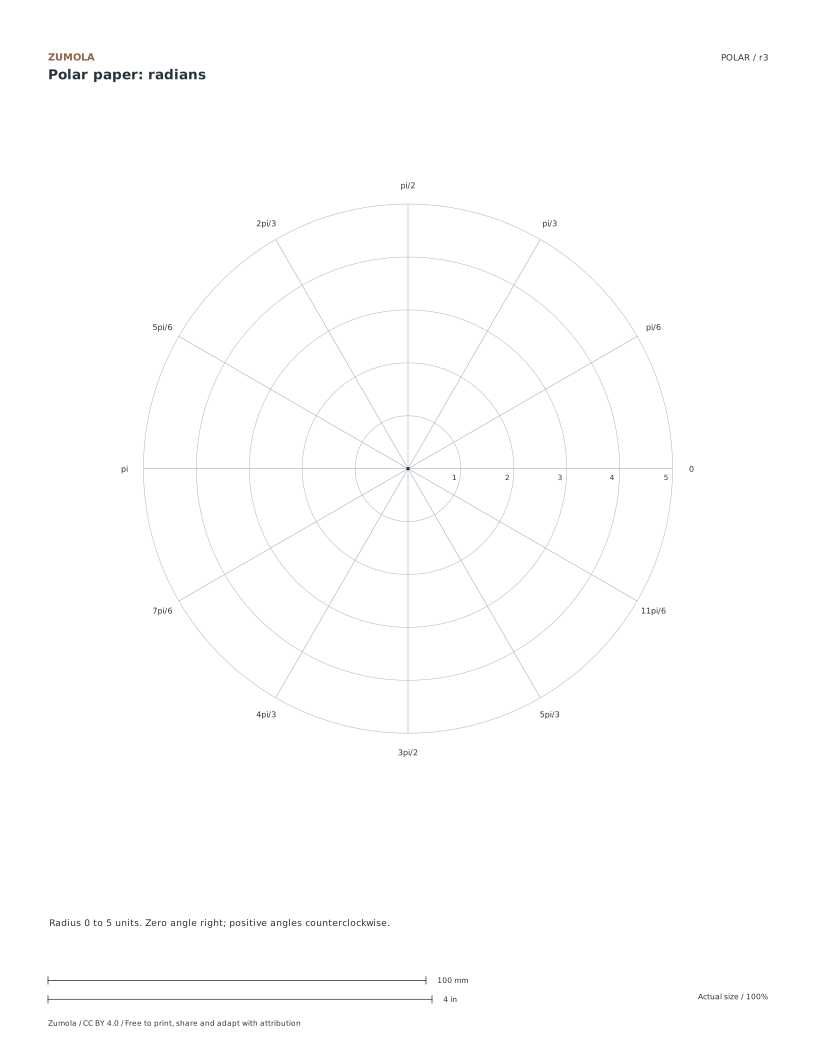
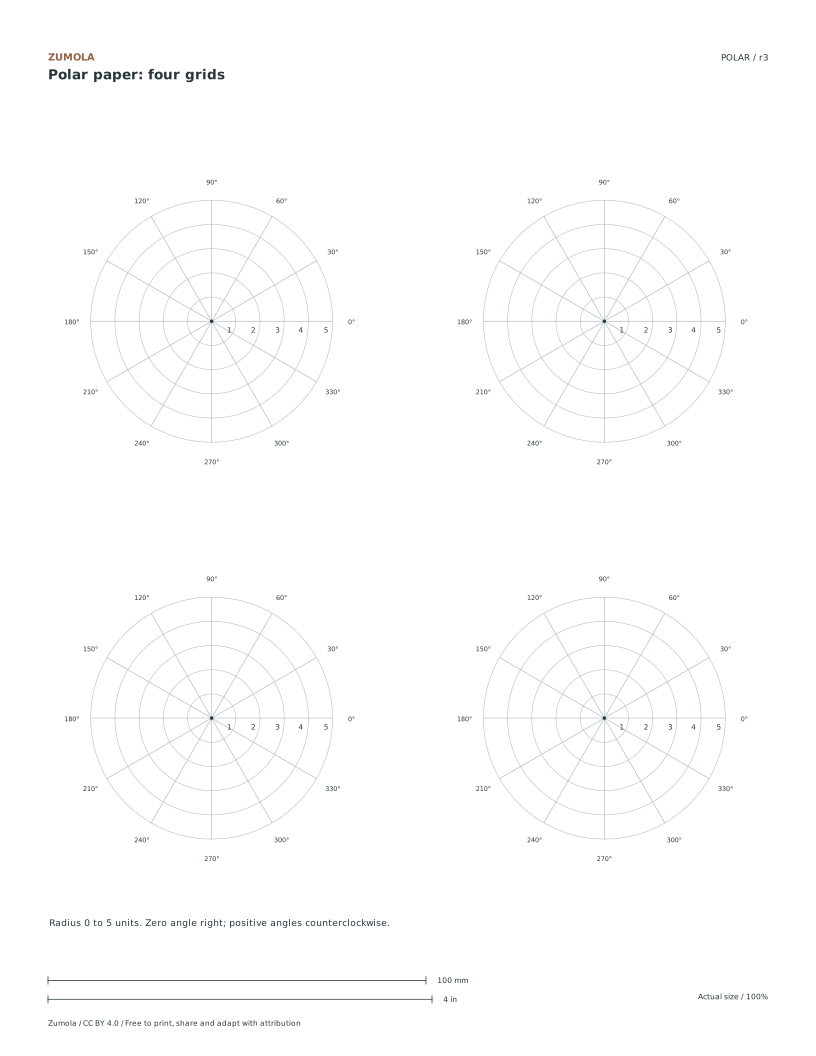
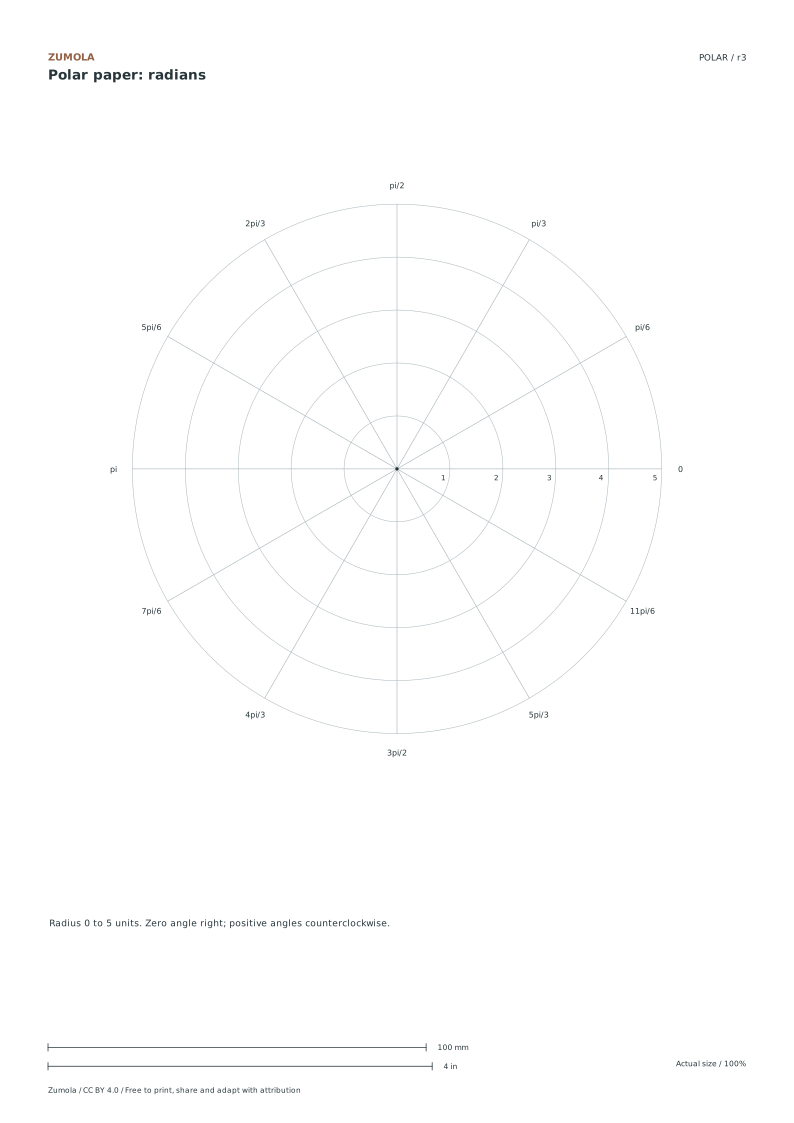
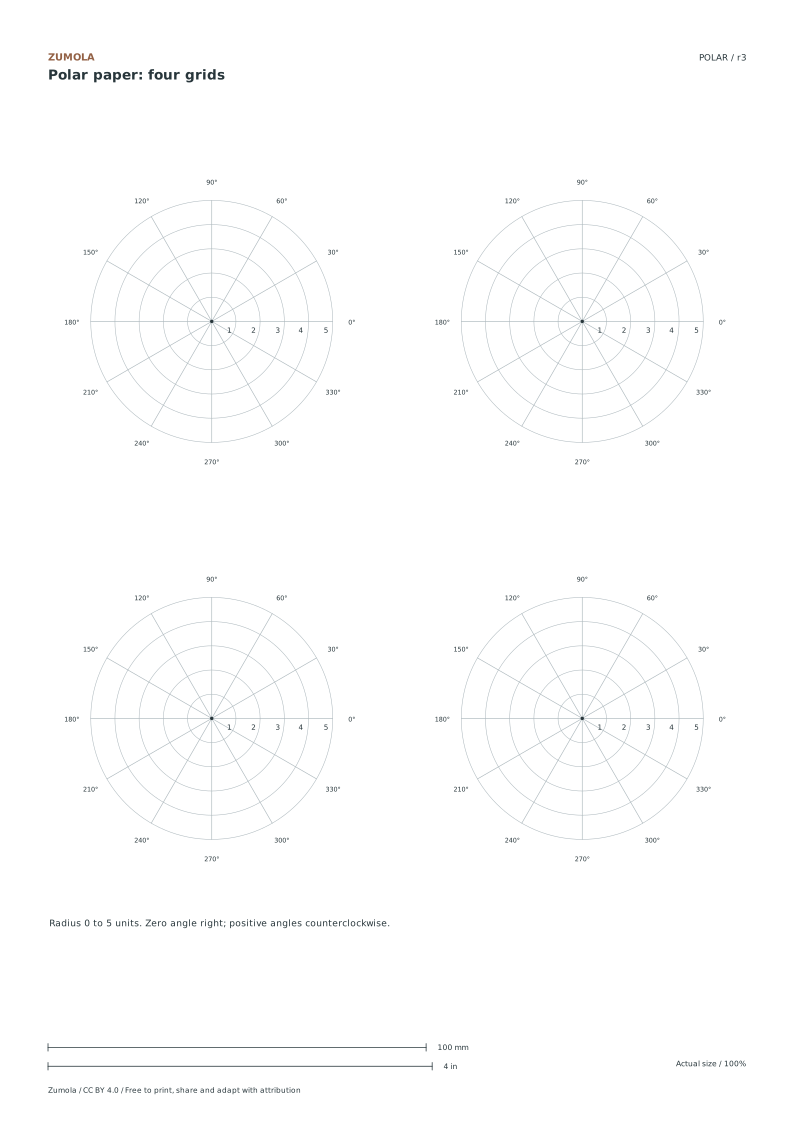
Use the full degree grid for rays every 15°, or the full radian grid for rays every π/6 (30°). The four-grid sheet puts four 30° degree plots on one page for short separate problems. All have a radial range from 0 to 5 units. The full grid has a printed radius of 70 mm, or 14 mm per radial unit. Each small grid has a radius of 32 mm, or 6.4 mm per unit. Those are radii, not diameters. Choose a full grid when labels or a longer curve would crowd a small one.
Verifying Angle and Radian Orientation
Confirm the orientation before plotting to ensure accuracy. The zero angle is positioned to the right, and positive angles increase in a counterclockwise direction. Radian labels progress from zero through pi over six, pi over three, pi over two, up to eleven pi over six. Ensure your calculator or device is set to the angle mode that matches the stated units on the paper. This alignment prevents misinterpretation of coordinates, especially when converting between degrees and radians for points like A, B, and C on the polar plane.
Plotting Points and Circles Accurately
Begin by plotting point A at three units and thirty degrees, point B at two units and one hundred fifty degrees, and point C at four units and two hundred seventy degrees. The starter problems use positive radii, measured outward along each named ray. Draw the circle with radius two centered at the pole. Verify these against Cartesian equivalents: A is three square root three over two by one point five, B is negative square root three by one, and C is zero by negative four. Use the radial lines to guide your placement.
Small checks that catch common errors
Watch for
Check instead
Assuming the small grid has a different mathematical range than the full grid.
Both grids cover the same radial range from zero to five units, differing only in printed size and unit scale.
Treating a negative radius as an invalid polar coordinate.
A negative radius is plotted in the direction opposite the stated angle: (−2, 30°) shares a point with (2, 210°). This starter activity uses positive radii so that you can learn orientation first.
Misaligning the zero angle position.
The zero angle is strictly to the right, with positive angles moving counterclockwise, not clockwise or upward.
Print a test sheet before a full pack
Use the PDF that matches the paper loaded in your printer. Choose Actual size / 100% and turn off Fit, Shrink and browser headers. The SVG keeps millimeter dimensions, but an editor or browser can rescale it; the PDF is the simpler print path. Measure any calibration bars with a separate physical ruler when the exercise depends on printed size. A screen preview does not establish physical scale.
Packs combine the same individual pages; they are not extra different exercises. Print a student copy first and keep references nearby for review. Letter and A4 preserve the stated grid spacing or model definition while their surrounding white space can differ. Color is optional: the references also use line position, text or relative lightness to explain the result.
Useful answers
What file formats are available for download?
The resource is available in PDF and SVG formats, compatible with both Letter and A4 paper sizes.
How many degree grids are on a single page?
The small-grid sheet contains four separate degree grids with 30° rays. Each spans r = 0 to 5, the same numerical radial range as the full-page grids.
Is the circle centered at the origin?
Yes, the circle with radius two is centered at the pole, which is the origin of the polar coordinate system.
Are the answers and editable files free too?
Yes. Every linked PDF, SVG, worksheet and answer is free without signup. The original Zumola resources use CC BY 4.0: credit Zumola, link the license and indicate changes. Analytics consent is not required to download or use them.
Further reading: OpenStax: polar coordinates. The downloadable diagrams and exercises are original Zumola work.
More ways to practice
Choosing a radius step and an angle step that agree
A polar grid is defined by two increments. The radius step is the distance between neighbouring concentric circles, measured in the same units as the paper's scale. The angle step is the rotation between neighbouring rays, stated in degrees or radians. These two choices are independent, but they must be recorded together, because a point's position depends on both.
When the angle step is given in degrees, a full turn is 360 degrees. When it is given in radians, a full turn is 2 pi radians. Converting between them uses 180 degrees equals pi radians. A 15 degree step is therefore pi divided by 12 radians, and a 30 degree step is pi divided by 6 radians. Keep the unit visible on the sheet so a reader never has to guess whether a label means degrees or radians.
Decide the radius step first, for example 1 unit per circle.
Decide the angle step next, for example 15 degrees or pi/12 radians.
Write both increments and their units in a corner of the sheet.
Mark one reference ray at 0 degrees or 0 radians and count rays from it.
Plot a test point and confirm its distance matches the circle count.
A diagnostic check before plotting a full set
A single test point catches most step errors. Pick an angle that lands exactly on a ray and a radius that lands exactly on a circle. If the point sits between two rays or between two circles, either the step is wrong or the counting started from the wrong reference.
The second check is a conversion. Take the same point and compute its Cartesian coordinates using x equals r times cosine of theta and y equals r times sine of theta. Compare the result with where the point sits relative to the horizontal and vertical axes. A mismatch of sign usually means the angle was measured from the wrong axis or in the wrong direction.
Choose a test angle on a labelled ray and a test radius on a labelled circle.
Plot the point and note which ray and circle it touches.
Compute x and y from the radius and angle.
Compare the signs of x and y with the quadrant on the paper.
If they disagree, recheck the reference direction and the unit.
Open drawing tasks need a rubric, not one answer
Some polar tasks ask for a shape or pattern rather than a single point. These have many valid outcomes, so an exact answer key would be misleading. Use a rubric that checks whether the construction follows the stated increments, whether labels are consistent, and whether the drawing can be read by someone else.
Keep the rubric separate from any answer sheet. A drawing that uses a 20 degree step when the sheet says 15 degrees is not wrong artistically, but it is inconsistent with the stated grid, and the rubric should say so plainly.
State the radius step and angle step the drawing must use.
Check that every plotted point sits on a ray and a circle.
Check that units are labelled once and used consistently.
Check that a second reader can recover each point from the labels alone.
Try this example
On a polar sheet with a radius step of 1 unit and an angle step of 30 degrees, plot the point with radius 3 and angle 60 degrees, then verify it in Cartesian form.
Show the worked explanation
Count three circles outward from the centre and two rays from the 0 degree reference, since 60 divided by 30 equals 2. The point sits on the third circle and the second ray. For the check, x equals 3 times cosine of 60 degrees, which is 3 times 0.5, giving 1.5. y equals 3 times sine of 60 degrees, which is about 2.598. Both values are positive, so the point lies in the first quadrant, matching the plotted position.
Common mistakes
Mixing degrees and radians on one sheet without labelling which is which. Write the unit beside every angle label, or use one unit for the whole sheet and note the conversion.
Counting rays from the vertical axis when the sheet starts at the horizontal axis. Mark the 0 reference ray clearly and count from it in the stated direction.
Treating a radius step as a fraction of the full radius rather than a fixed distance. Label each circle with its actual radius value so the step is unambiguous.
Check your work
The radius step and angle step are stated with units.
Every plotted point sits on a labelled ray and a labelled circle.
Degree and radian labels are not mixed without a clear note.
Cartesian checks agree in sign with the plotted quadrant.
A second reader can recover each point from the labels alone.
Questions before you start
How do I convert a degree angle step to radians?
Multiply the degree step by pi and divide by 180. A 15 degree step becomes 15 times pi divided by 180, which simplifies to pi divided by 12.
Why does my plotted point land between two rays?
The angle is not a whole multiple of the chosen step, or counting began from the wrong reference ray. Recheck both the step value and the starting direction.
Can a polar drawing task have more than one correct result?
Yes. Open drawing tasks have many valid outcomes, so judge them with a rubric covering increments, labels and readability rather than a single answer.
Optional Google Analytics helps us understand which free resources are useful. It is off until you allow it. Drawing tools and downloads work with either choice. Privacy details