Reference diagrams
LETTER · Download PDF
A4 · Download PDF
Free original resources
Teach students to draw clock hands accurately by calculating minute and hour hand angles from 12, including the hour hand's continuous movement between numbers.
Four original cases, with reference diagrams, practice sheets and worked answers. Everything is free; no signup required.
LETTER · Download PDF
A4 · Download PDF
LETTER · Download PDF
A4 · Download PDF
LETTER · Download PDF
A4 · Download PDF
Use A4 or US Letter to match your printer. Use the stated values and conditions to solve each exercise; diagrams are not physical measuring rulers.
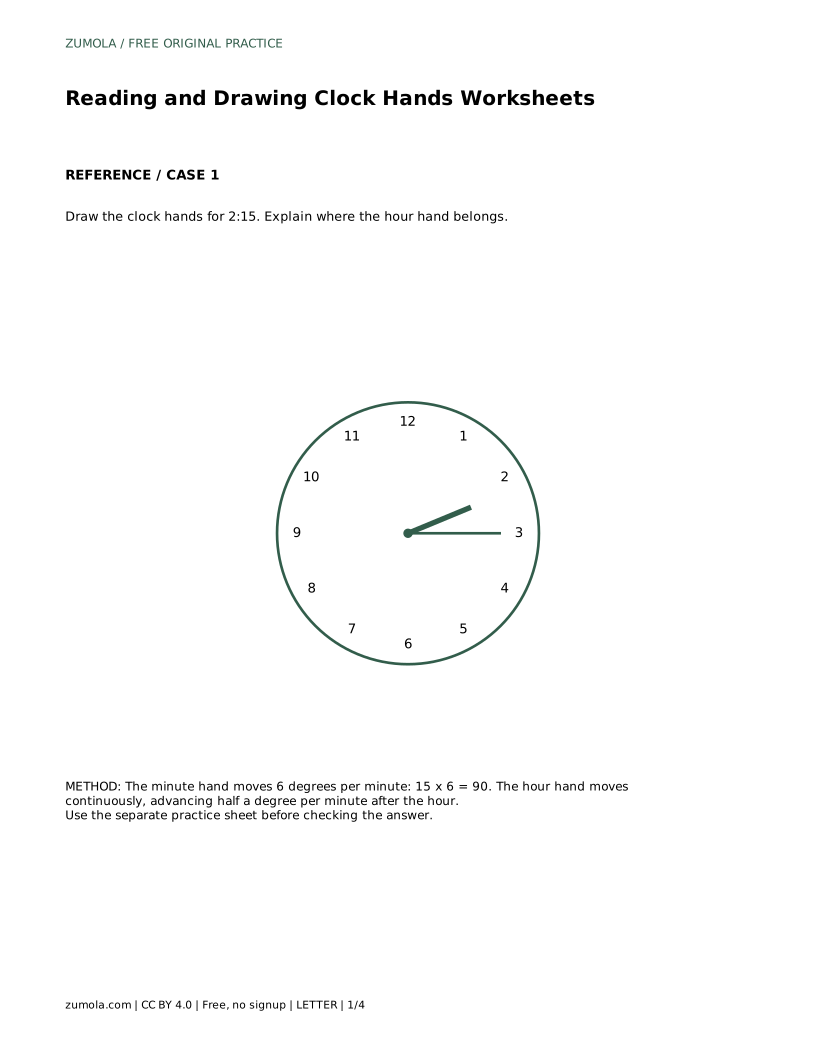
Drawing clock hands is more than copying a picture. The minute hand jumps in six-degree steps, but the hour hand creeps forward continuously, so at 2:15 it sits past the 2, not exactly on it. This page explains how to read a time, calculate both hand positions in degrees clockwise from 12, and place each hand on a printed clock face.
Treat the clock face as a full circle of 360 degrees, with 12 at the top. The minute hand completes one turn each hour, so it moves 360 divided by 60, or 6 degrees, per minute. Multiply the minute number by 6 to find its angle clockwise from 12.
The hour hand is slower but never still. It completes one turn in 12 hours, which is 360 divided by 12, or 30 degrees per hour. Because it also drifts during each hour, it advances 30 divided by 60, or half a degree, per minute. Its angle is 30 times the hour plus 0.5 times the minutes. This continuous movement is the detail most worksheets miss.
Find 12 at the top, then count clockwise. A protractor centred on the clock's middle works well, or use the printed minute marks: each small mark is 6 degrees. For half-degree positions, such as 67.5 degrees, place the hour hand slightly past the midpoint between two minute marks. Keep the hour hand shorter than the minute hand so the drawing reads clearly.
A correct drawing satisfies two conditions: the minute angle equals minutes times 6, and the hour angle equals hour times 30 plus minutes times 0.5. Both are measured clockwise from 12, and neither should be confused with the counter-clockwise reading a protractor may show on its inner scale.
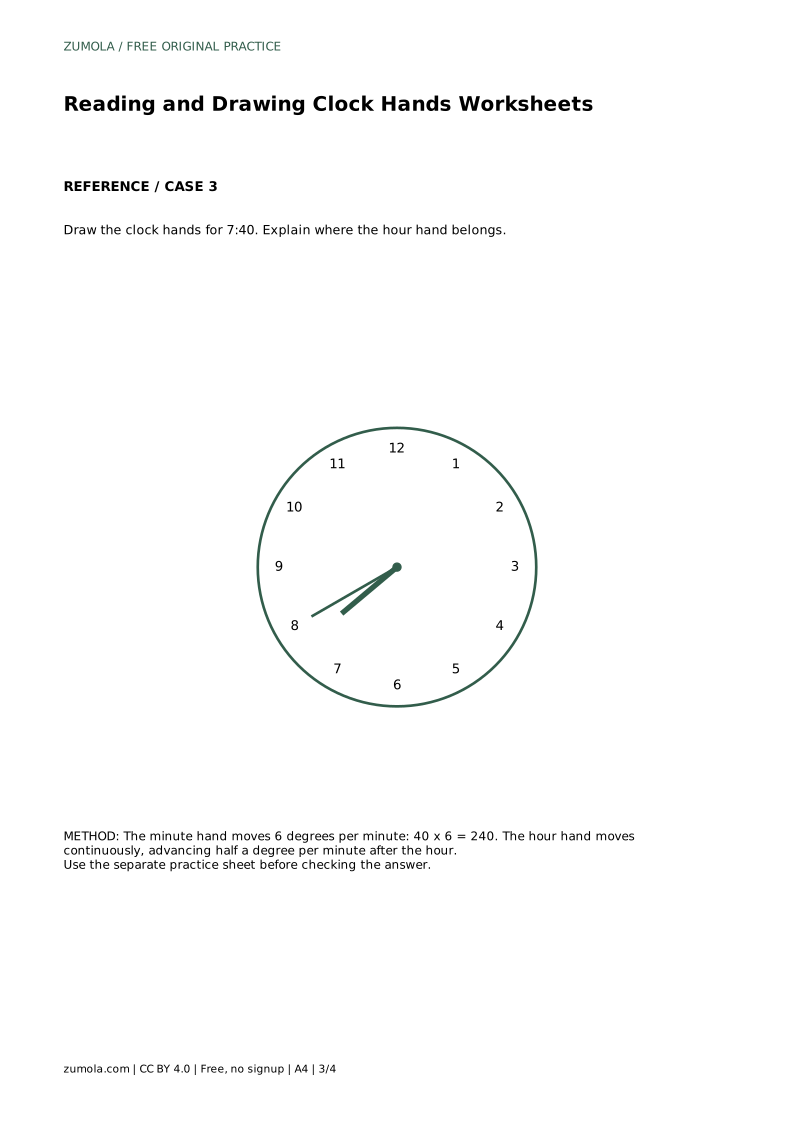
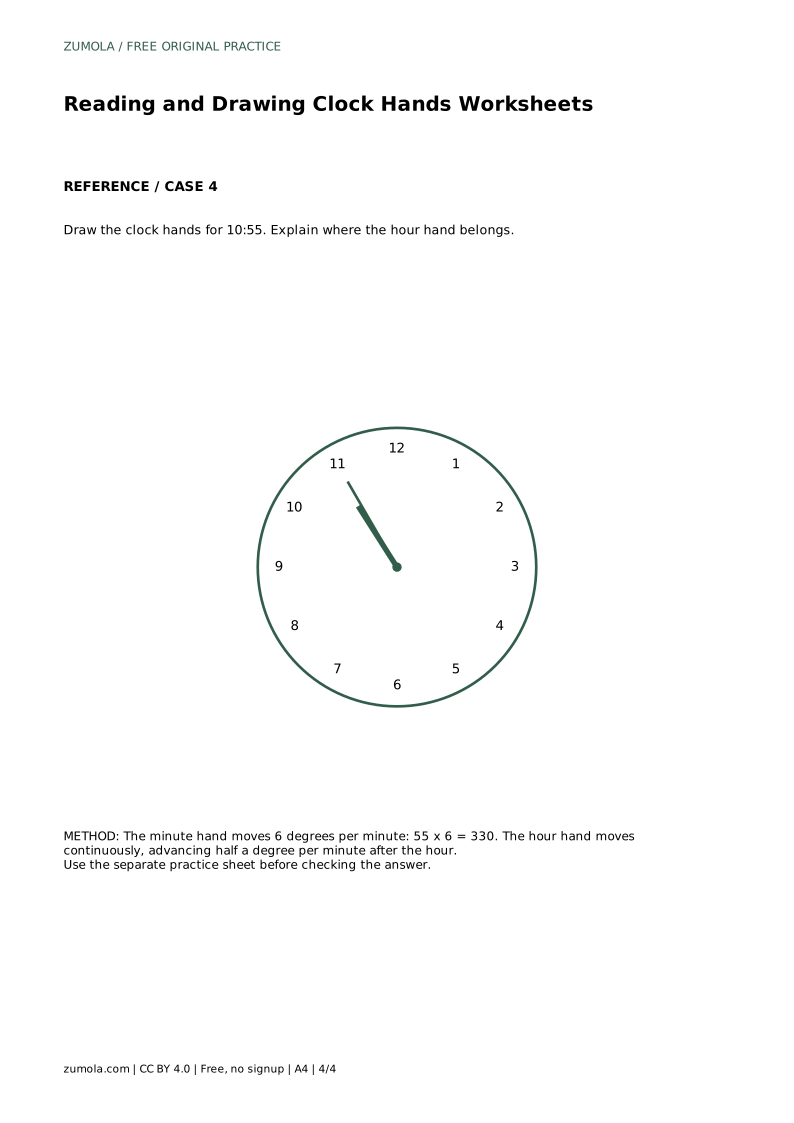
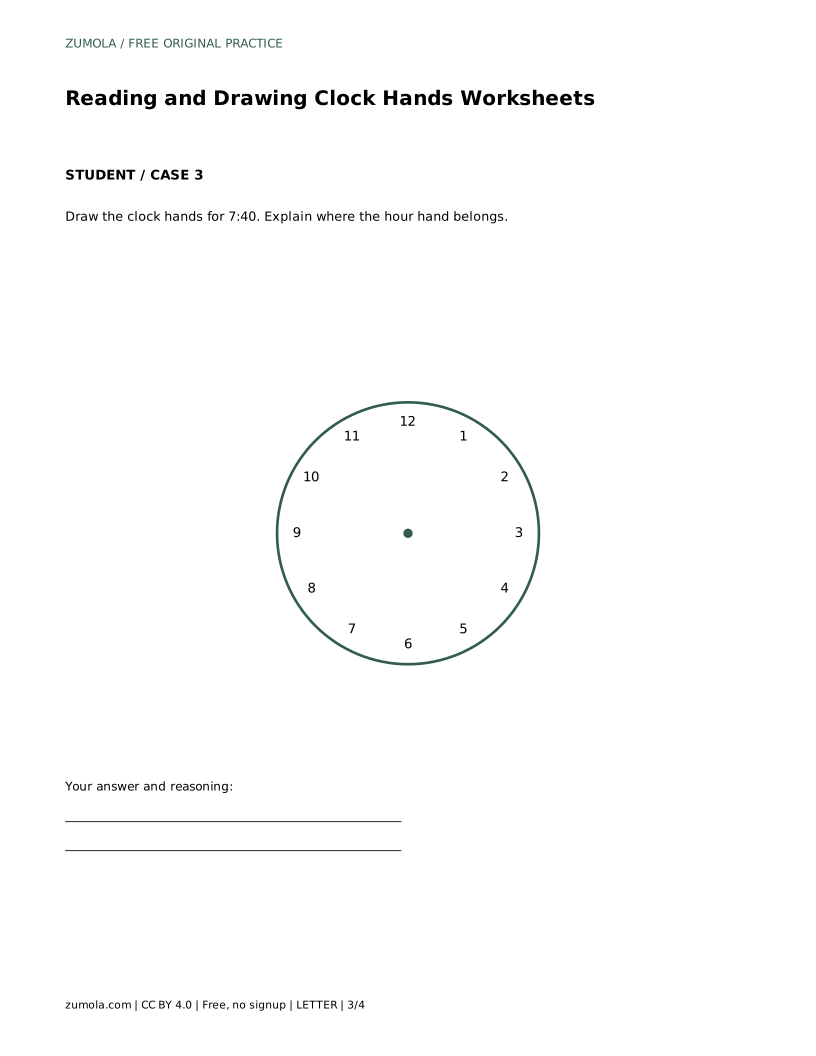
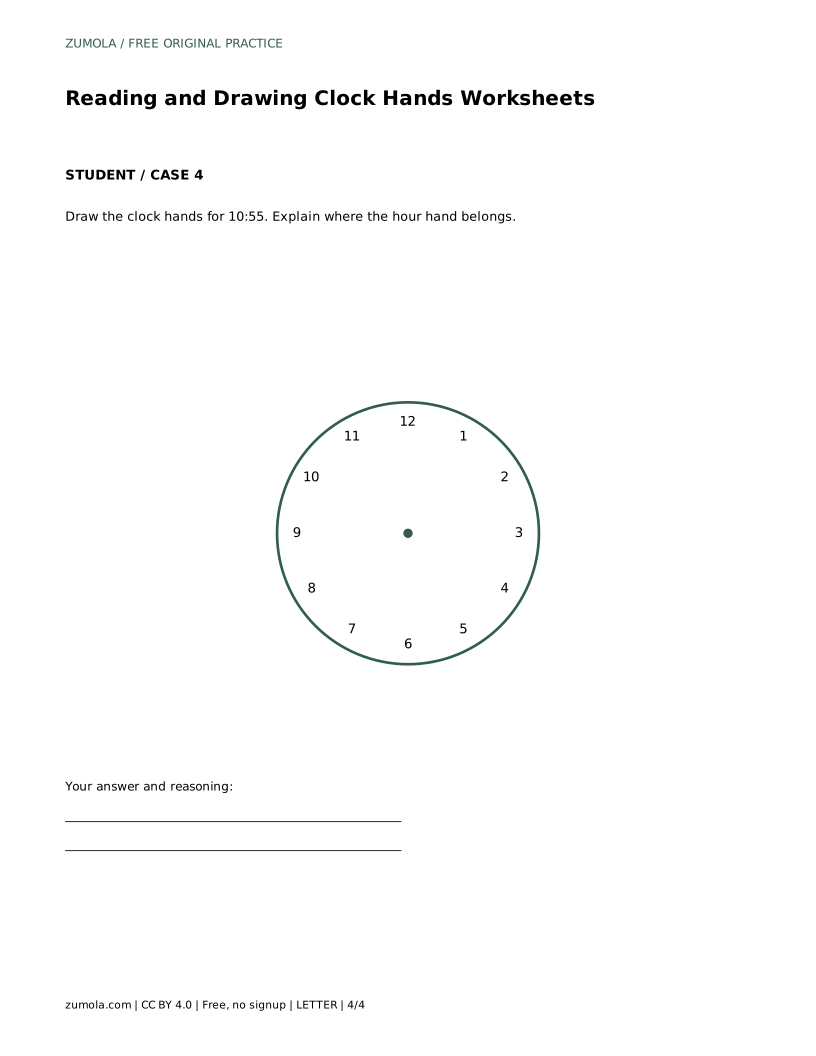
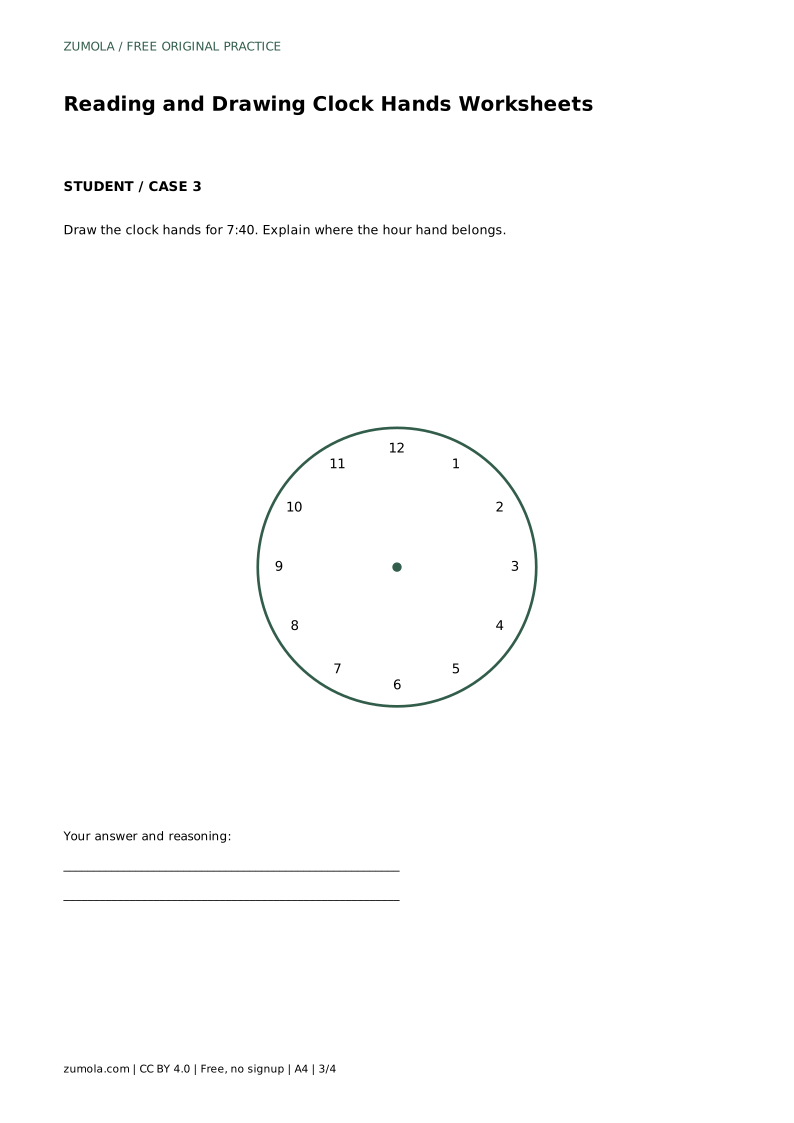
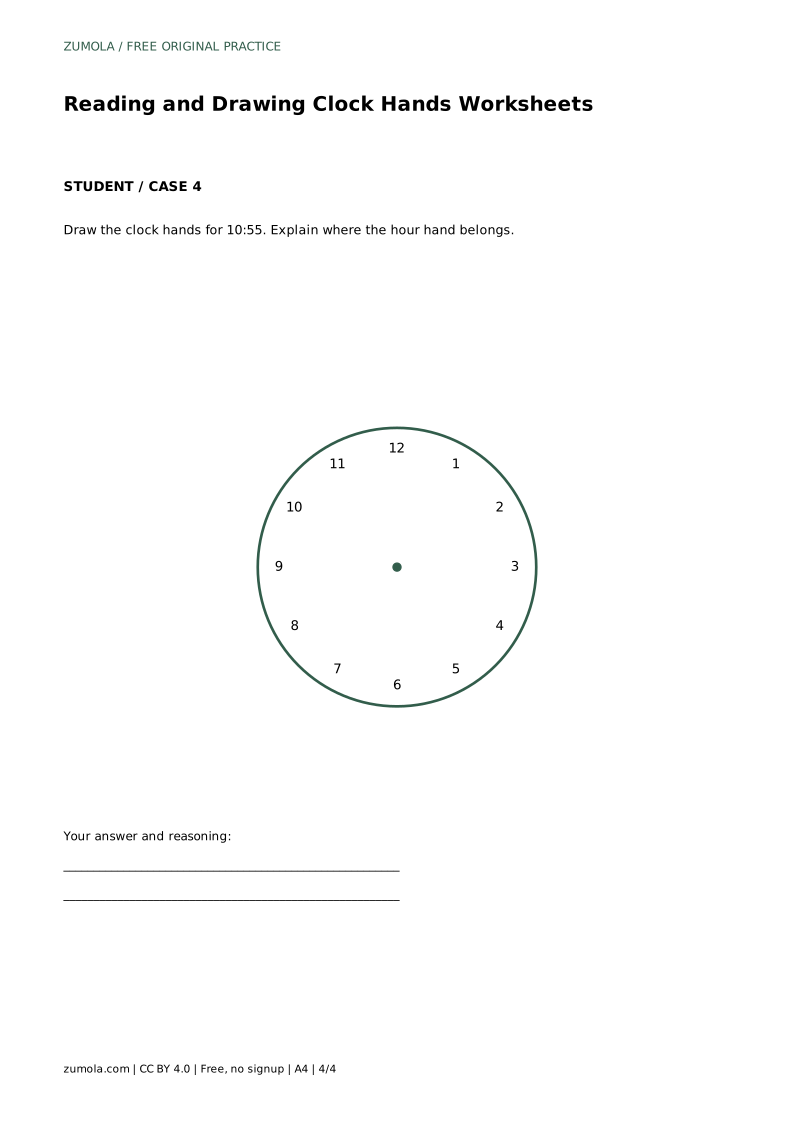
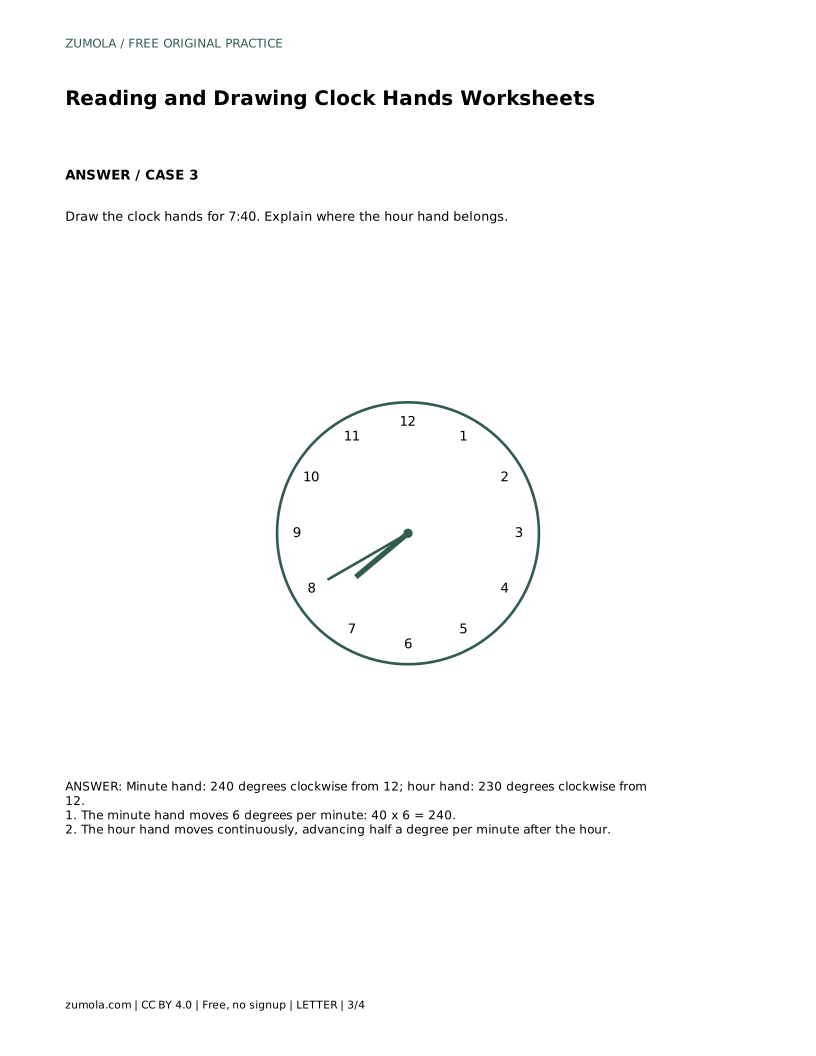
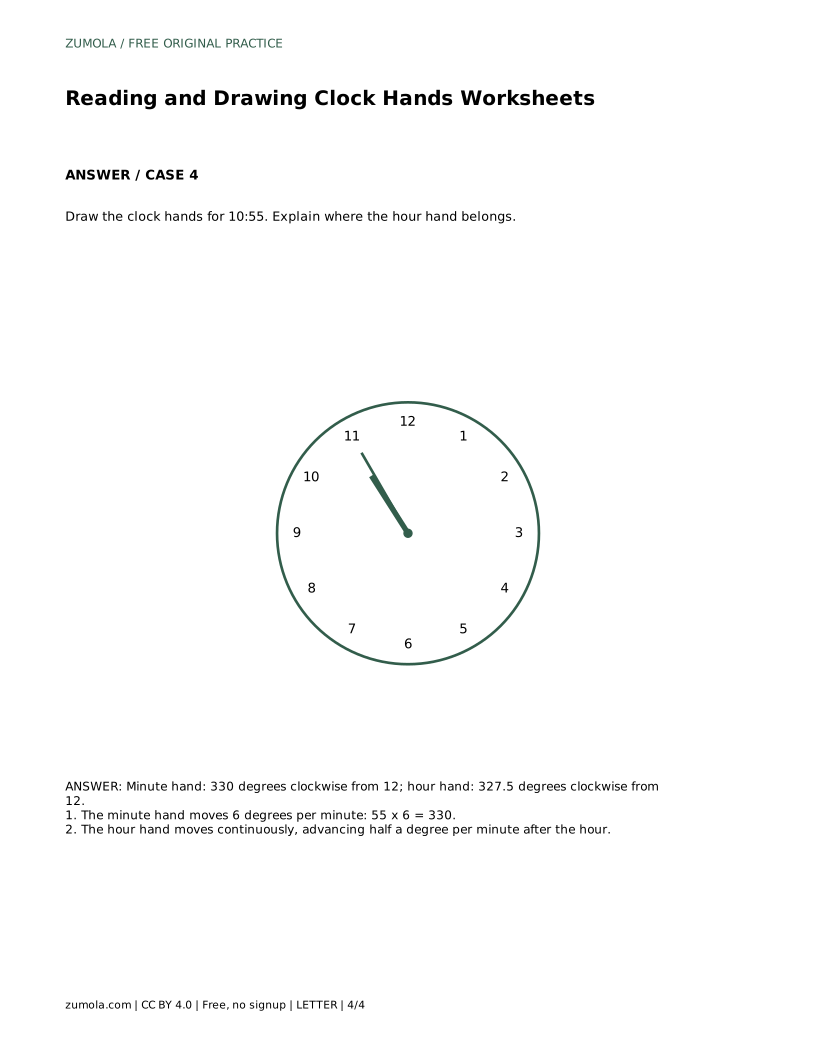
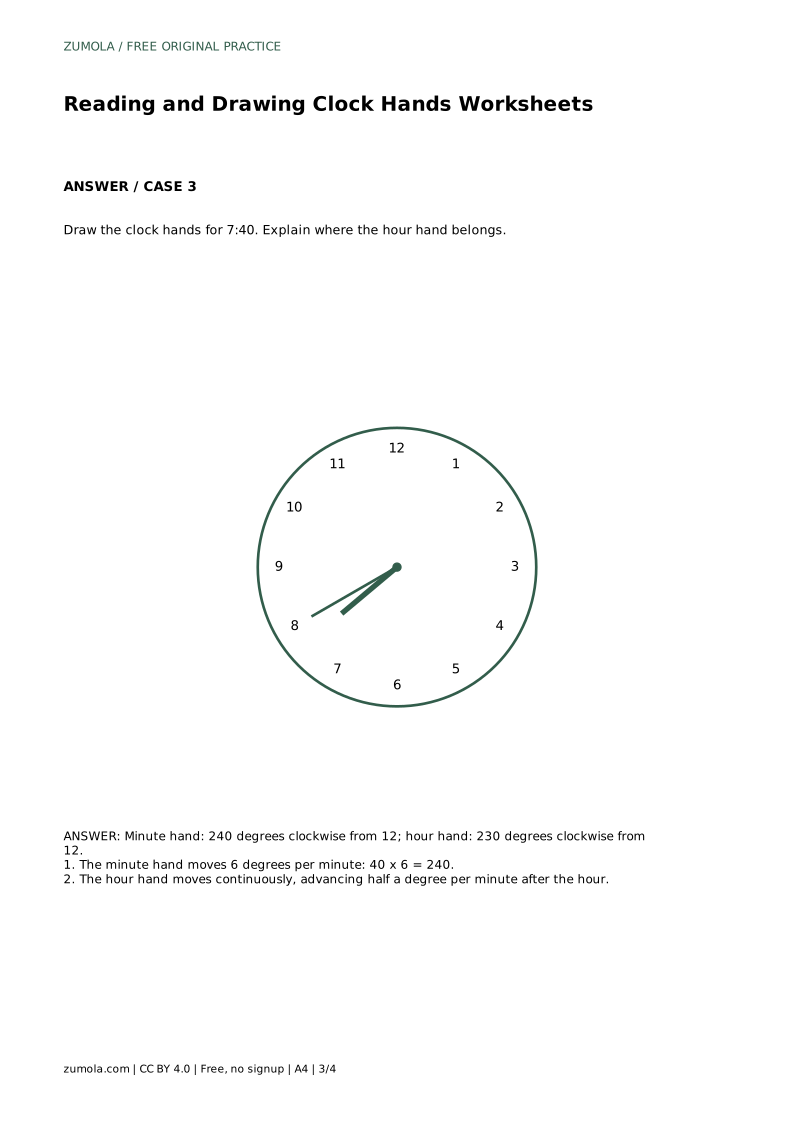
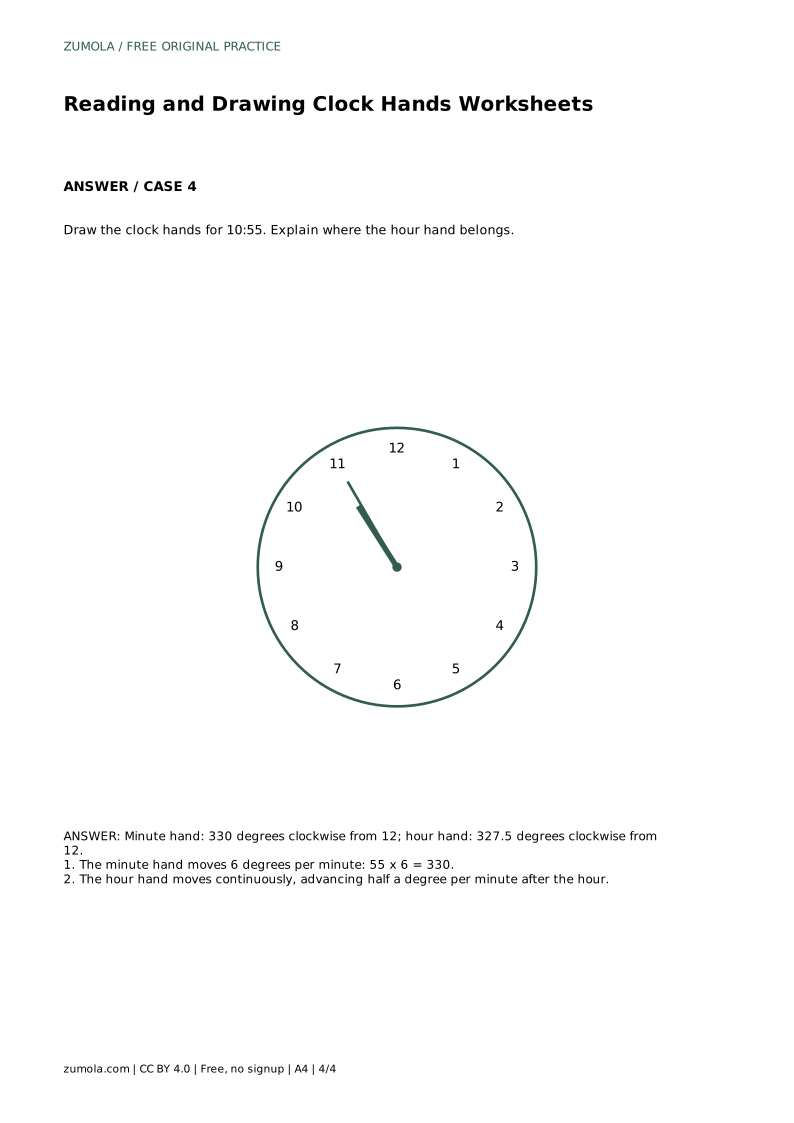
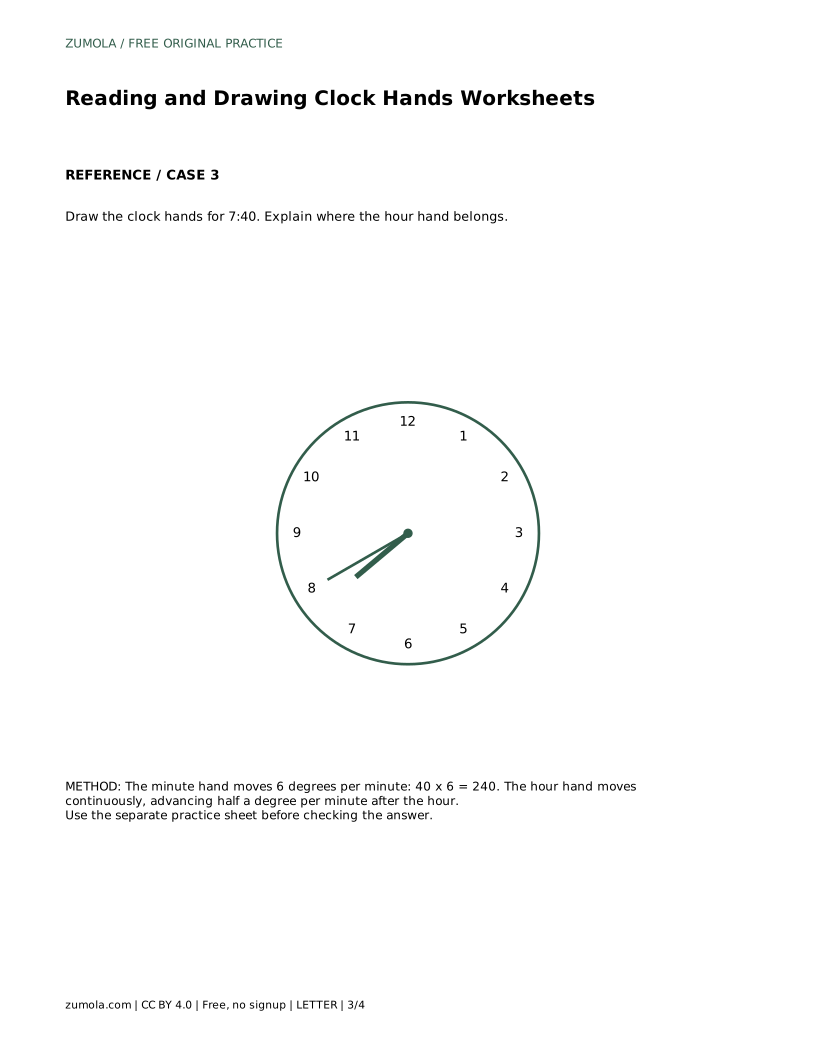
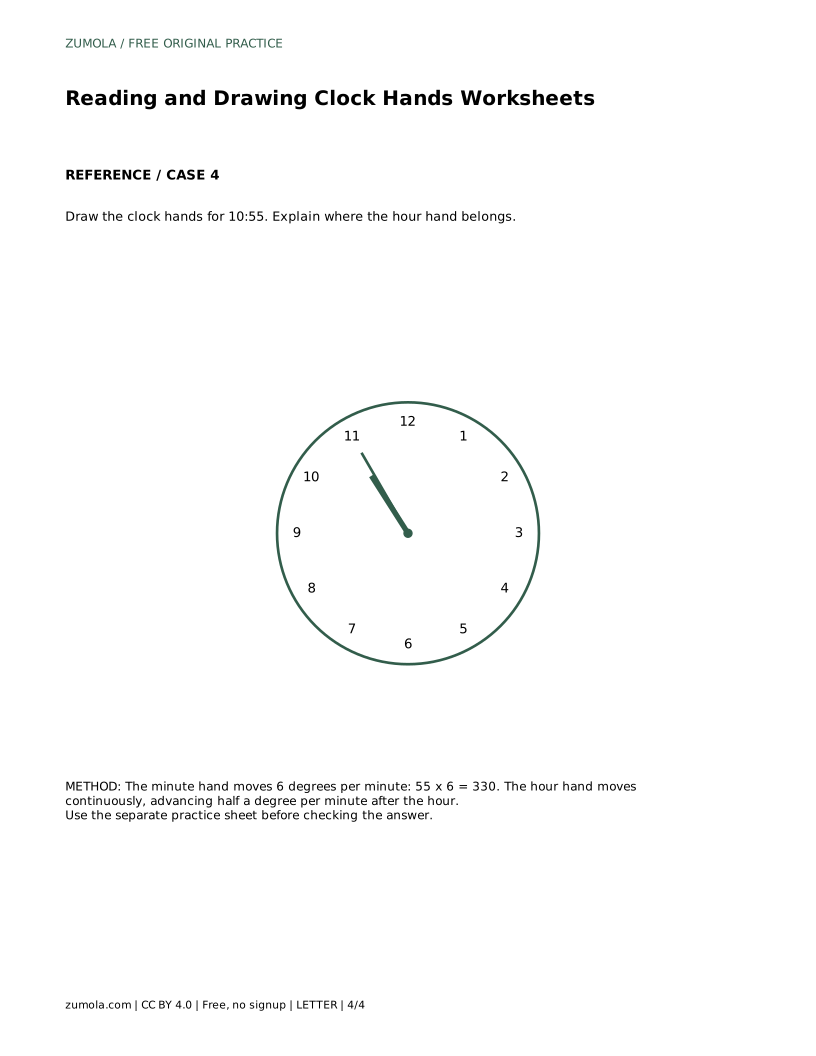
Use the relationship between the hands as a second check. At 10:55 the minute hand is at 330 degrees and the hour hand at 327.5 degrees, so the hands nearly overlap just before 11. At 7:40 the minute hand is at 240 degrees and the hour hand at 230 degrees, leaving a small gap. If your drawing shows a large gap where a small one belongs, recheck the hour hand's drift.
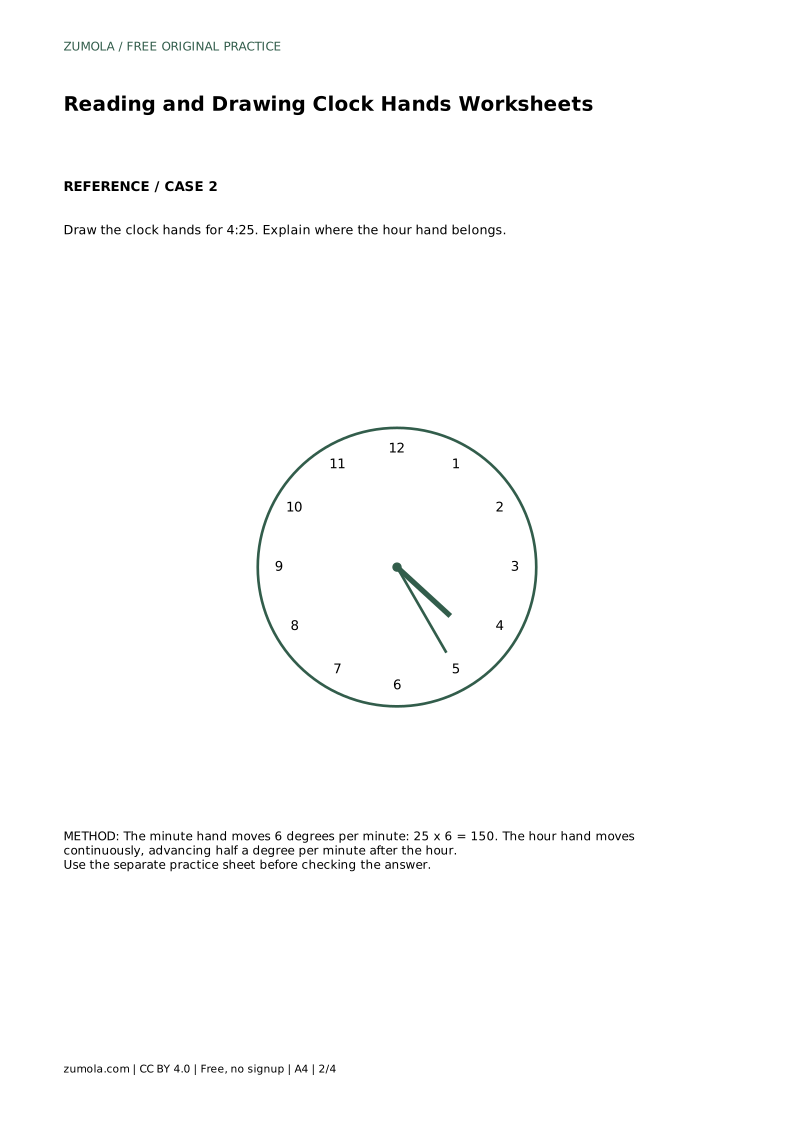
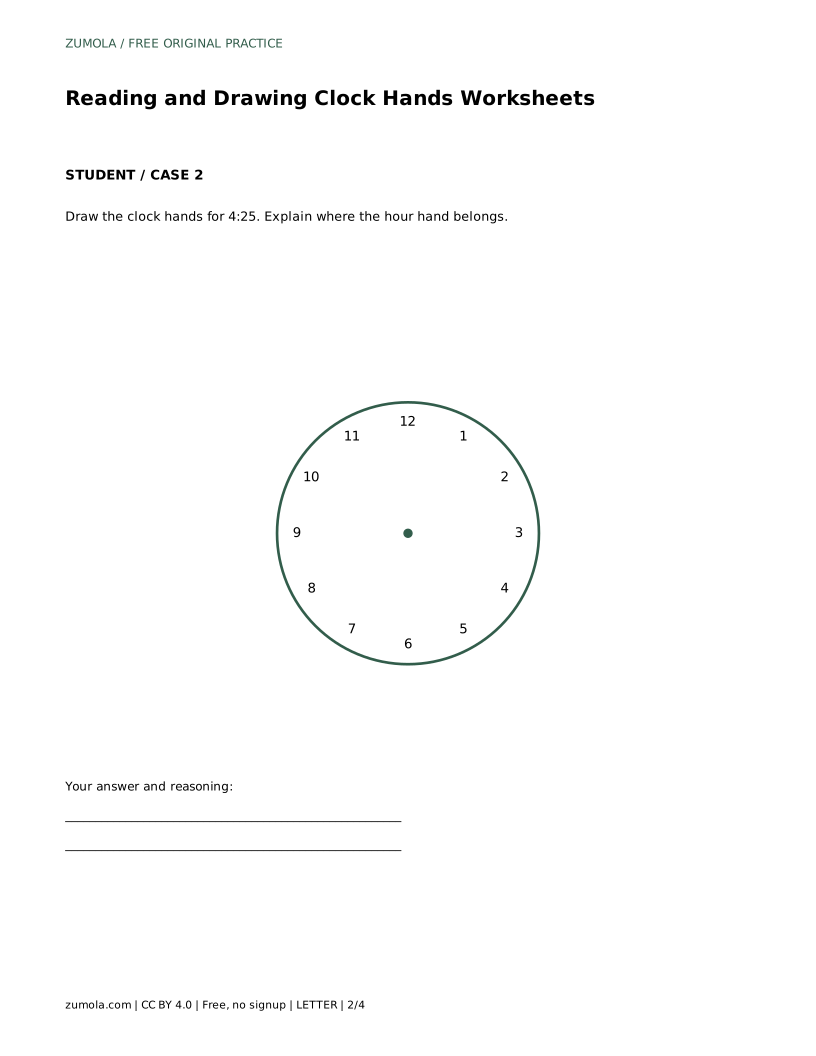
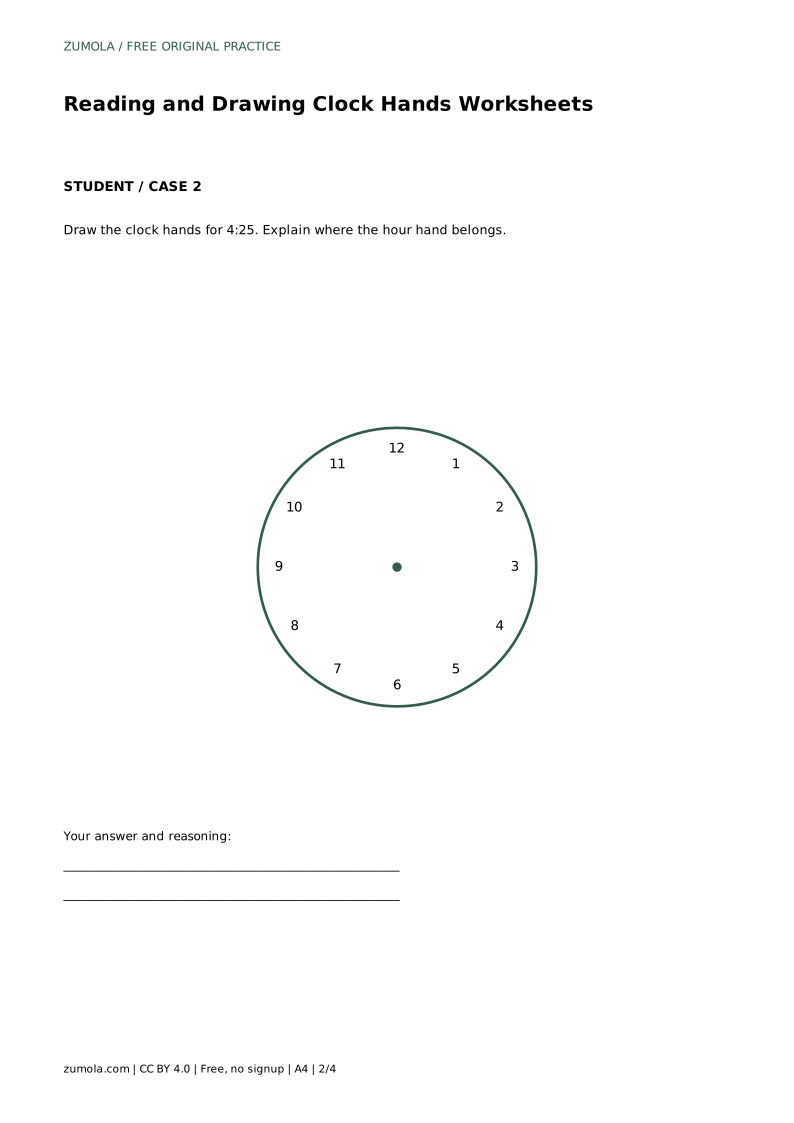
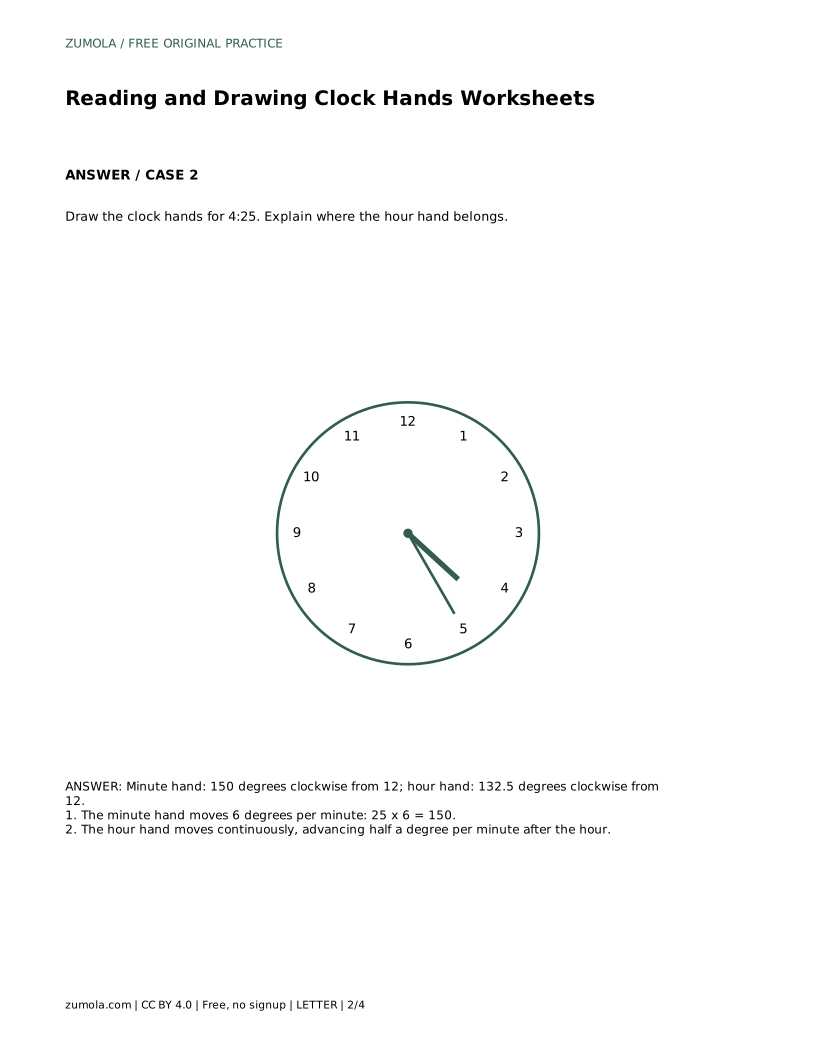
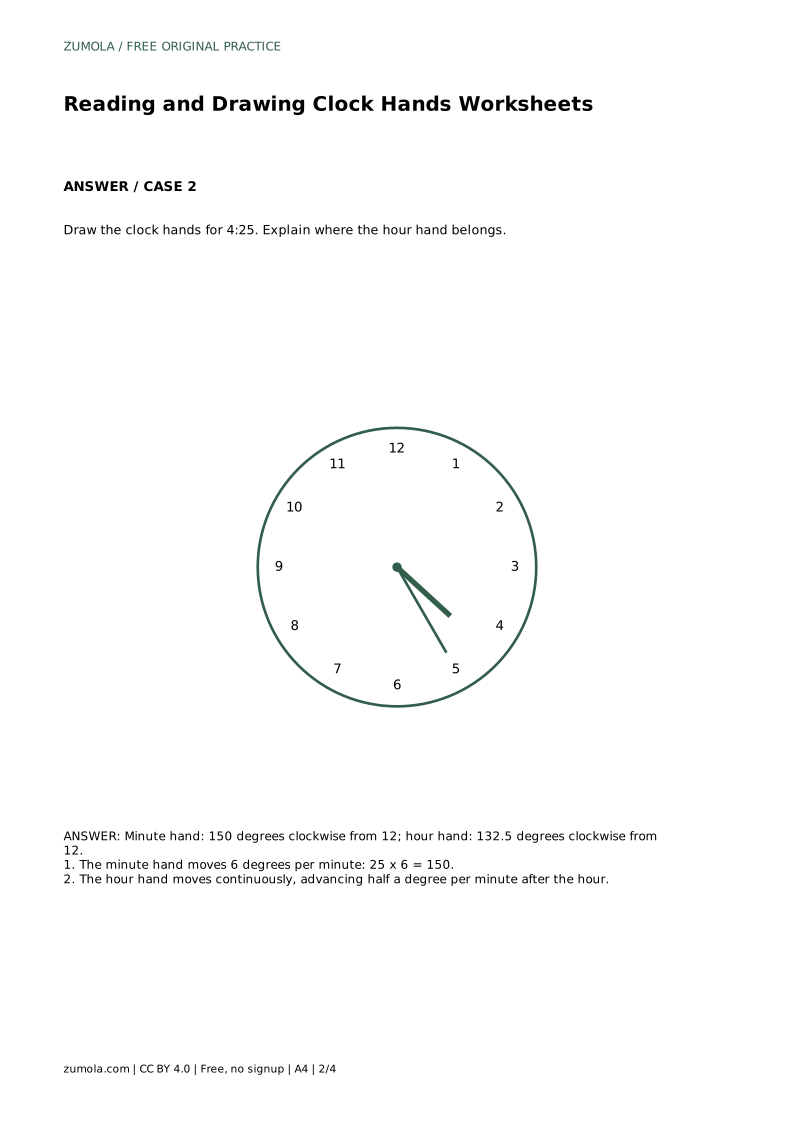
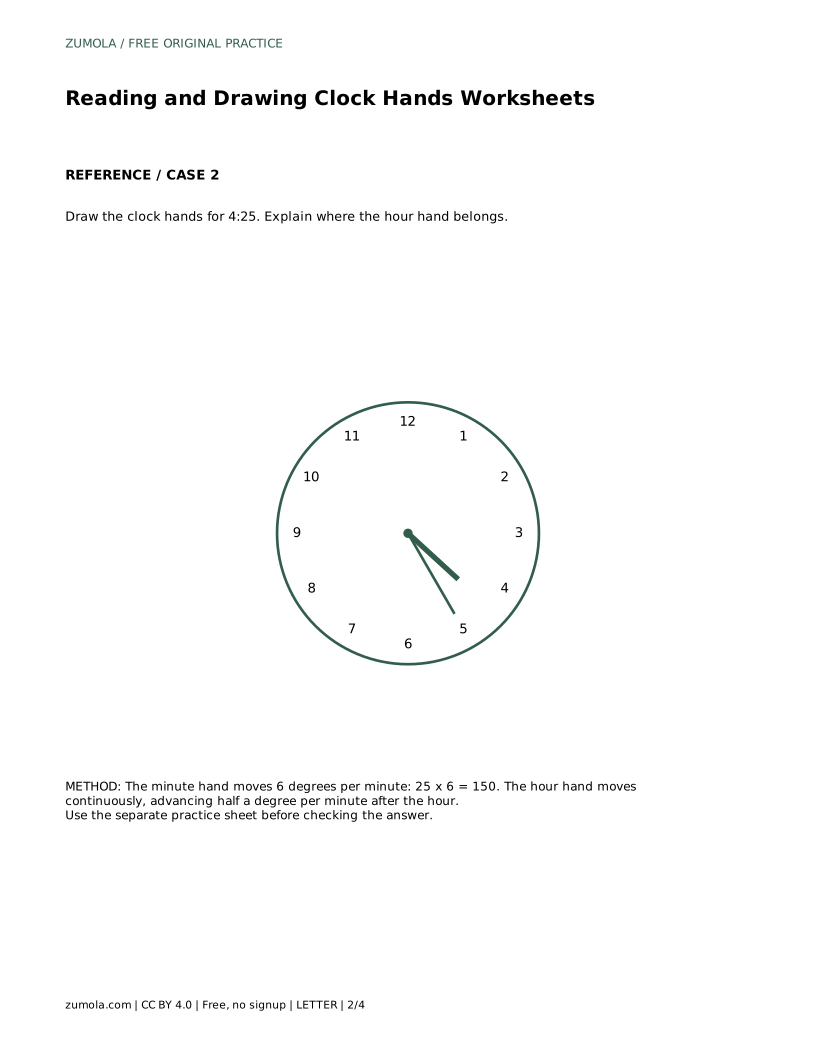
Many hand-drawn clocks place the hour hand directly on a number regardless of minutes. That habit hides the continuous motion that makes analog clocks readable. At 4:25 the hour hand is at 132.5 degrees, past the 4 but well short of the 5, which is at 150 degrees. A student who draws it on the 4 has drawn 4:00 with a minute hand added, not 4:25.
Accuracy here builds number sense about rates and fractions of a turn. It also prepares students to read real clocks, where the hour hand's position between numbers tells you roughly how many minutes have passed.
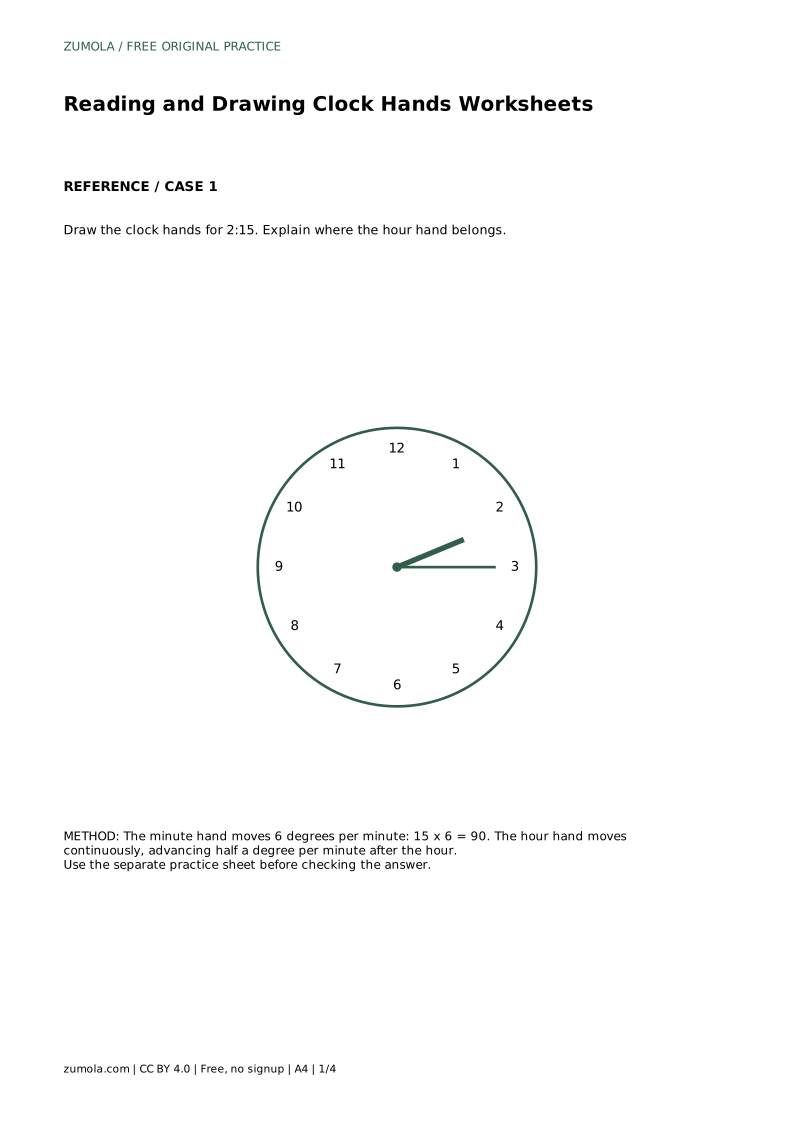
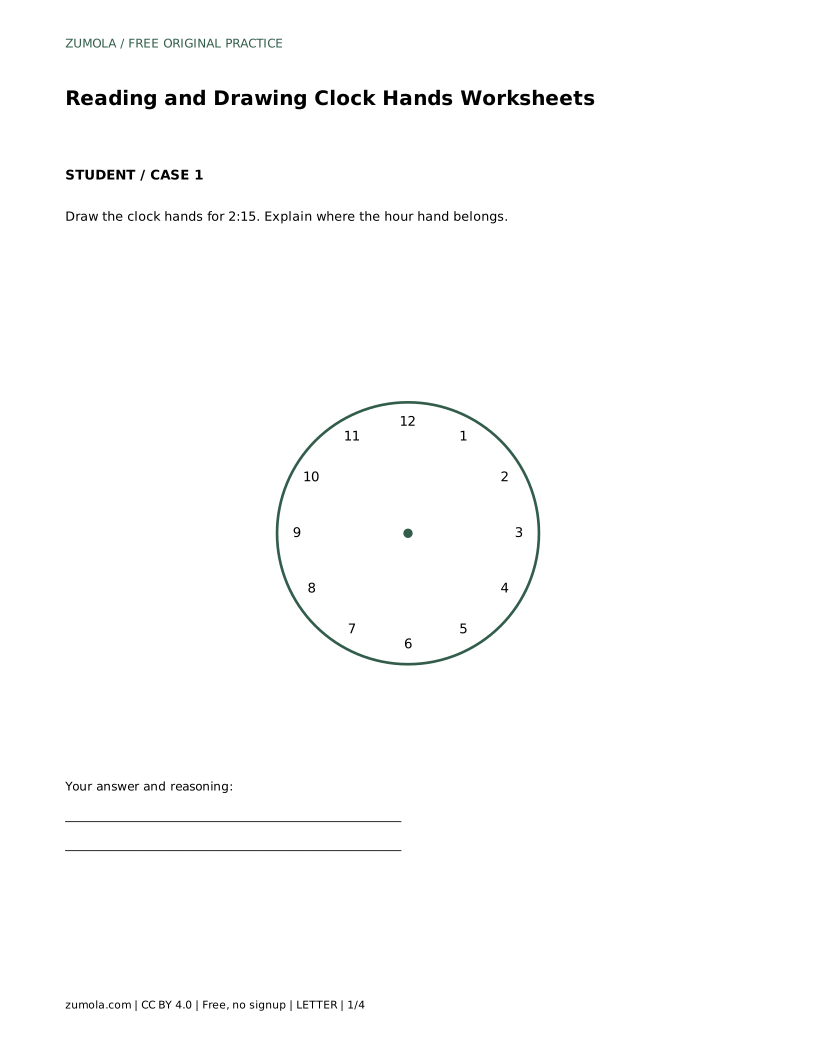
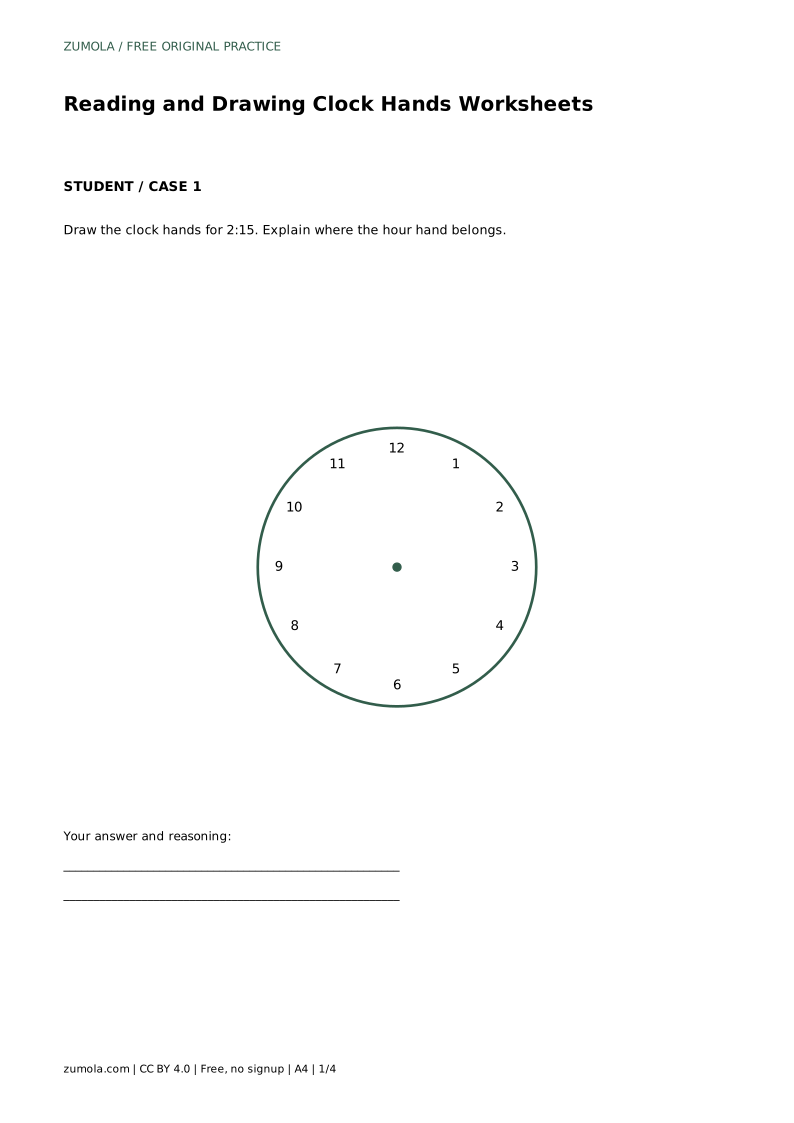
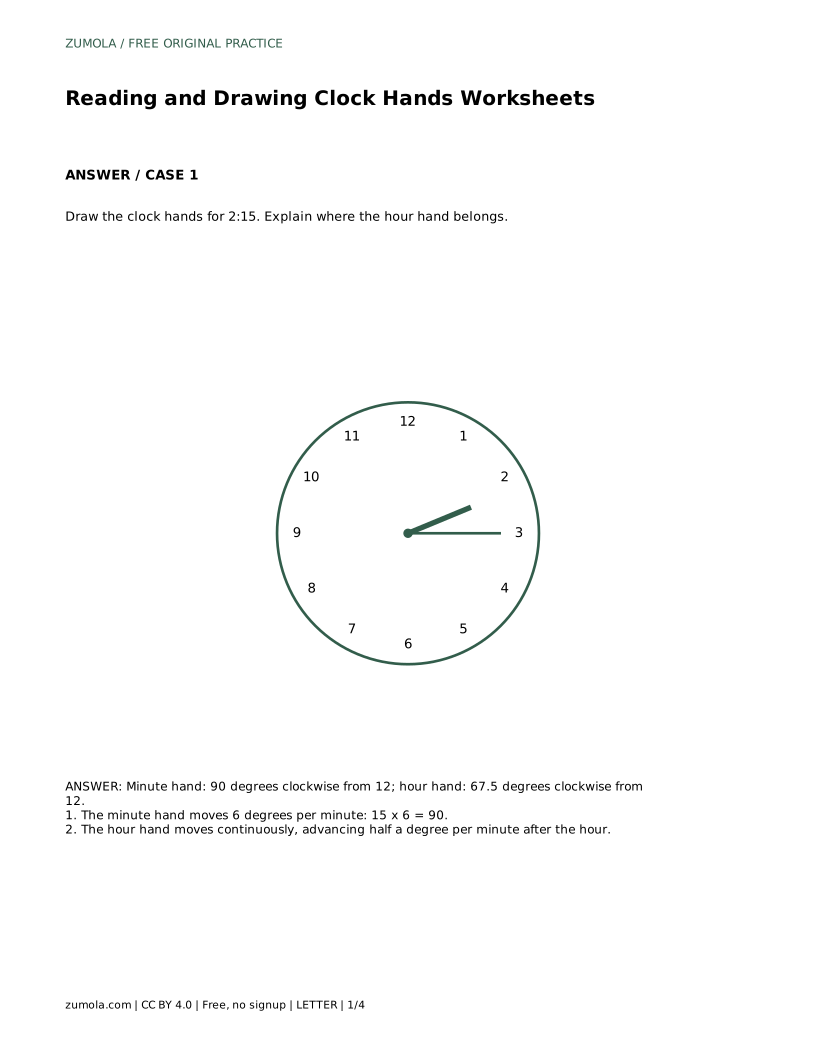
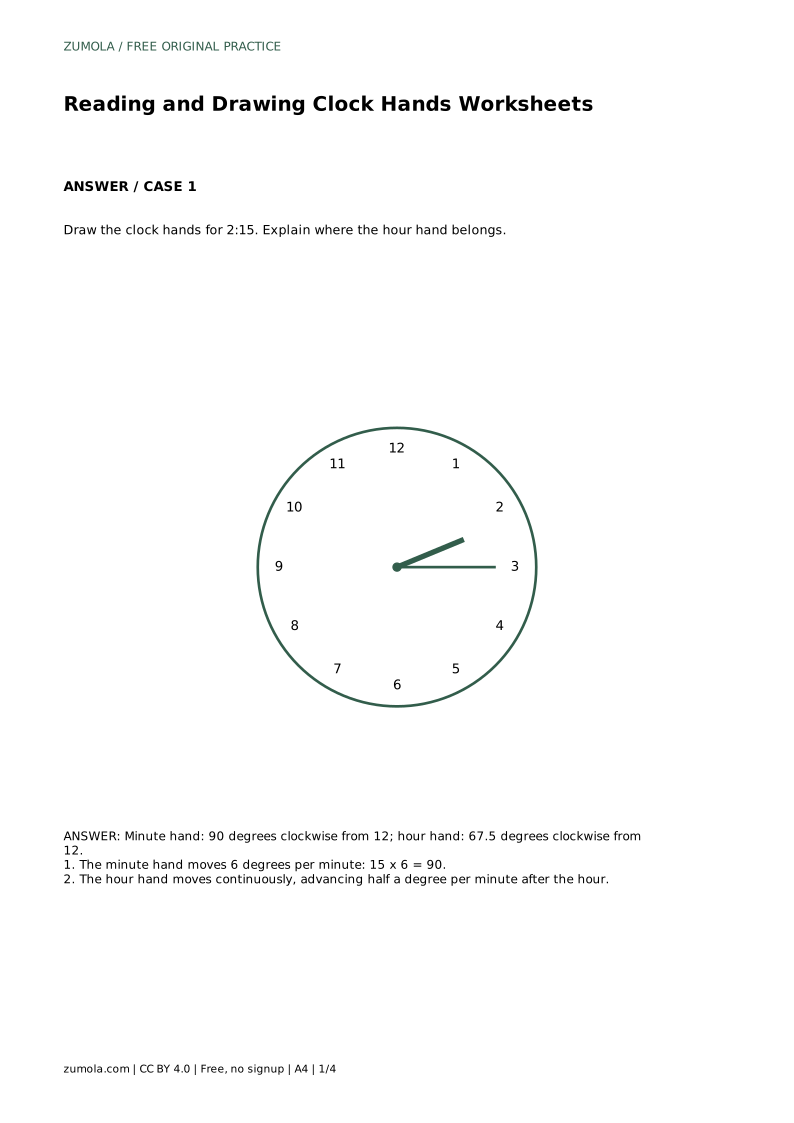
Draw the clock hands for 2:15. Explain where the hour hand belongs.
Minute hand: 90 degrees clockwise from 12; hour hand: 67.5 degrees clockwise from 12. The minute hand moves 6 degrees per minute: 15 x 6 = 90. The hour hand moves continuously, advancing half a degree per minute after the hour.
Sixty degrees is the 2 o'clock position. The extra 15 minutes move the hour hand 15 times 0.5, or 7.5 degrees, giving 67.5 degrees.
Multiply the minutes by 6. Fifteen minutes gives 90 degrees, 25 minutes gives 150 degrees, and 40 minutes gives 240 degrees.
No. Printed minute marks each represent 6 degrees, so you can count marks and estimate half-degree positions between them.
All math worksheets · Free coordinate paper
Original resources · CC BY 4.0 · Free for personal and classroom use with attribution.