Reference diagrams
LETTER · Download PDF
A4 · Download PDF
Free original resources
Learn to draw a turkey by tracing its outline, copying it on a grid, and completing a partial reference. Focus on the tail fan, body, neck, beak, and feet.
Four original cases, with reference diagrams, practice sheets and worked answers. Everything is free; no signup required.
LETTER · Download PDF
A4 · Download PDF
LETTER · Download PDF
A4 · Download PDF
LETTER · Download PDF
A4 · Download PDF
Use A4 or US Letter to match your printer. Use the stated values and conditions to solve each exercise; diagrams are not physical measuring rulers.
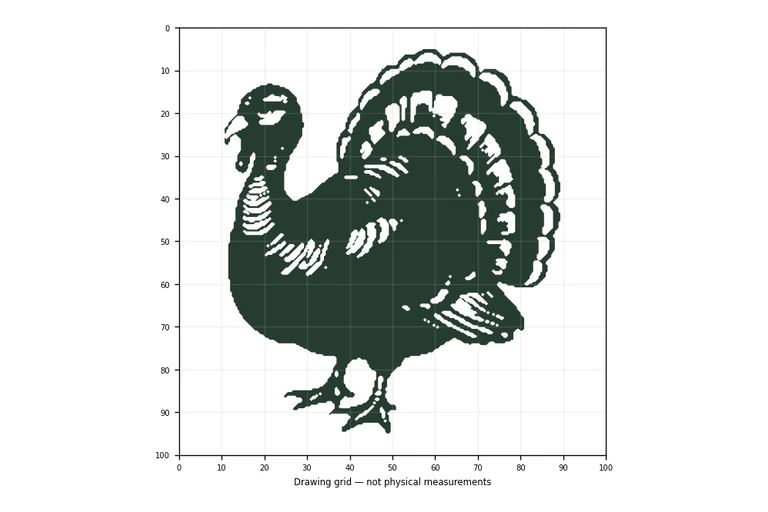
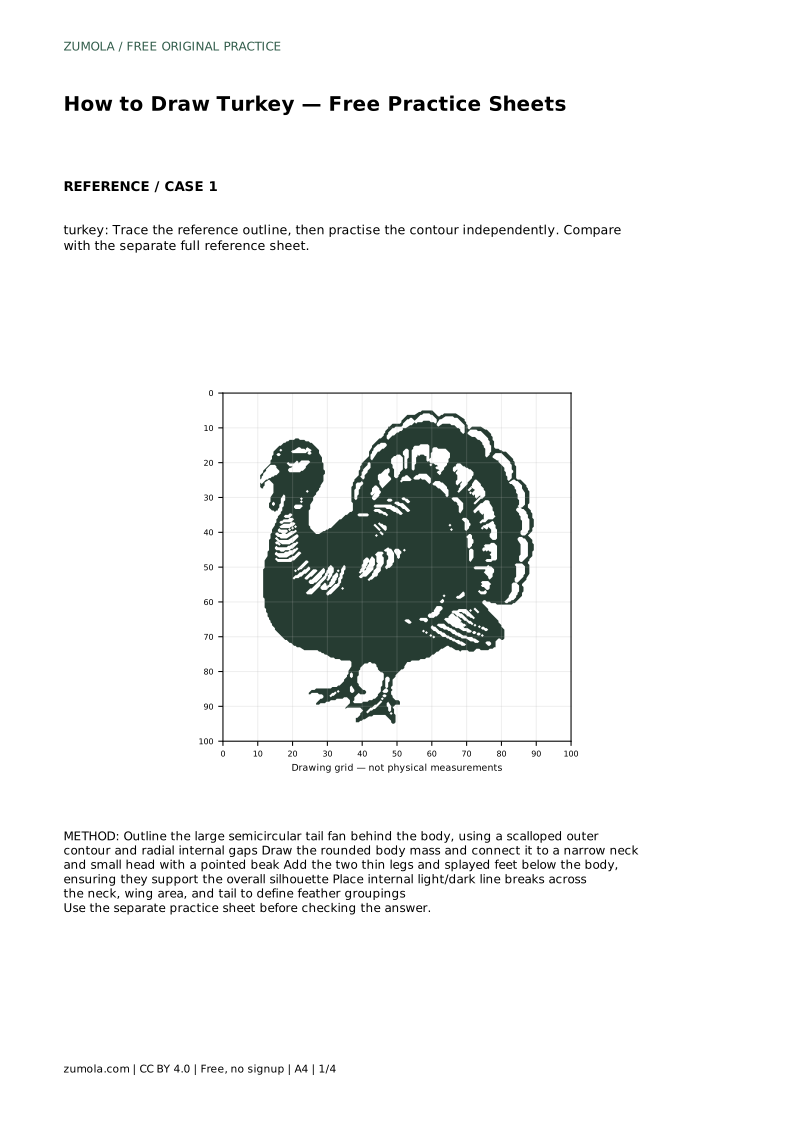
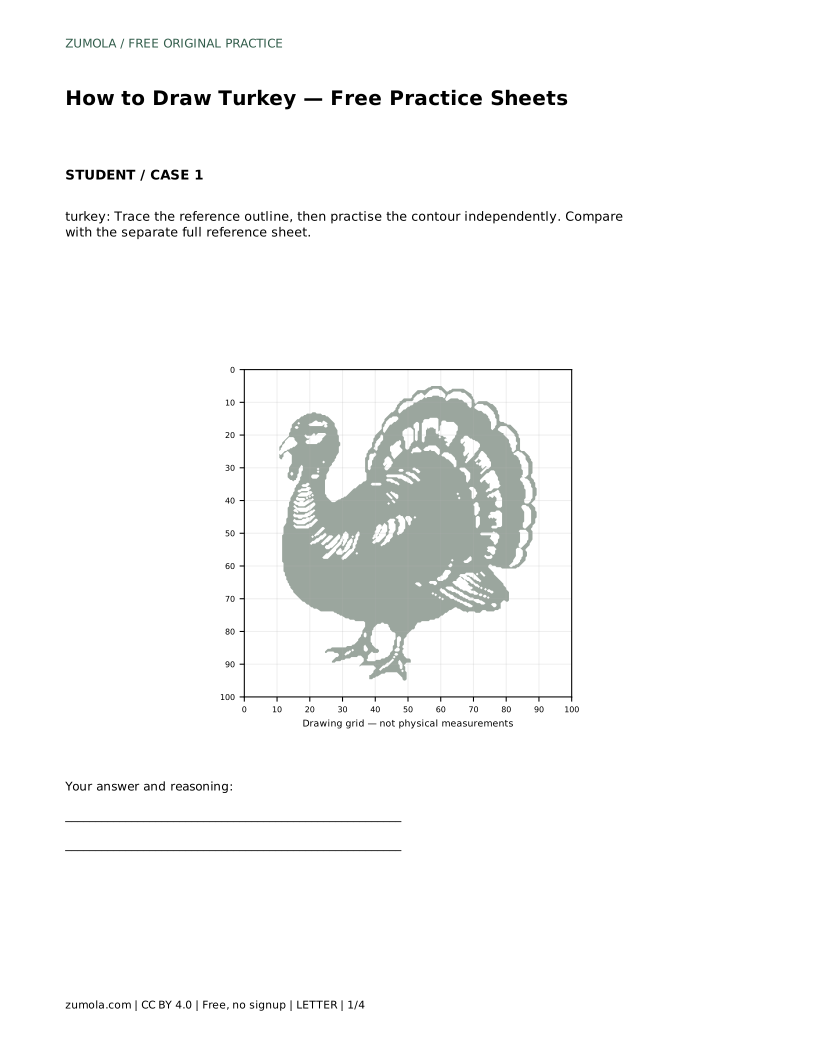
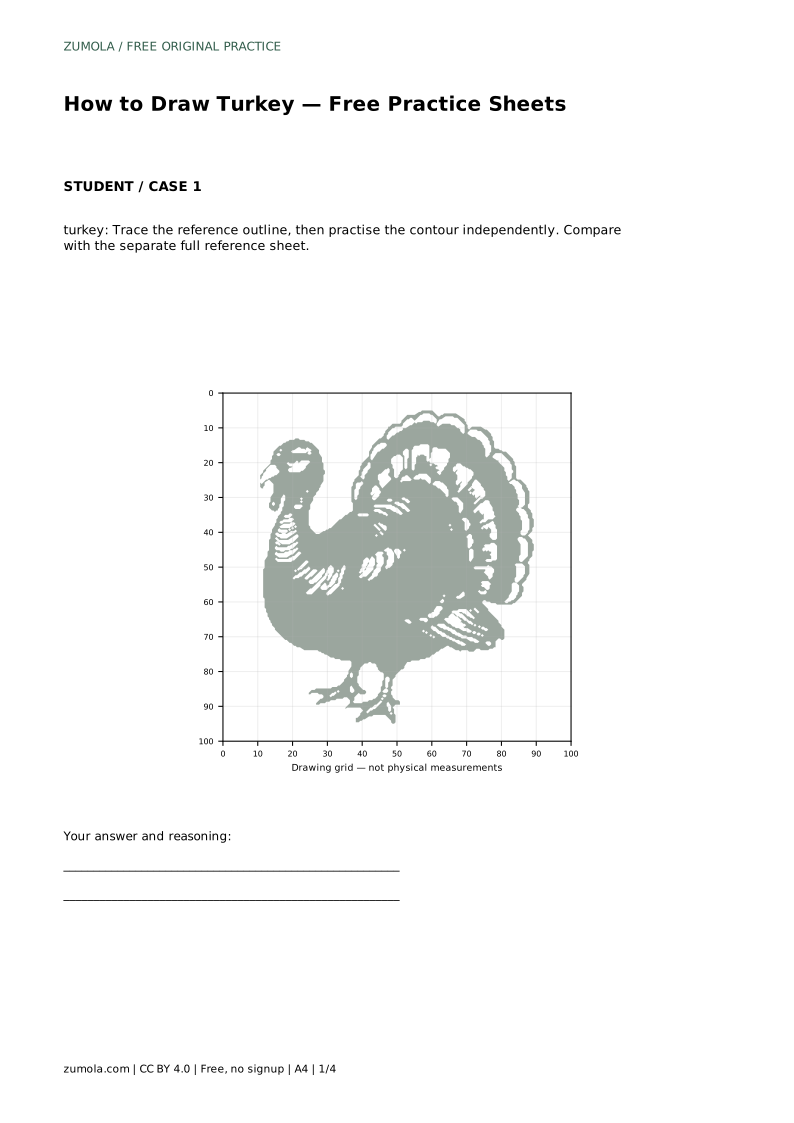
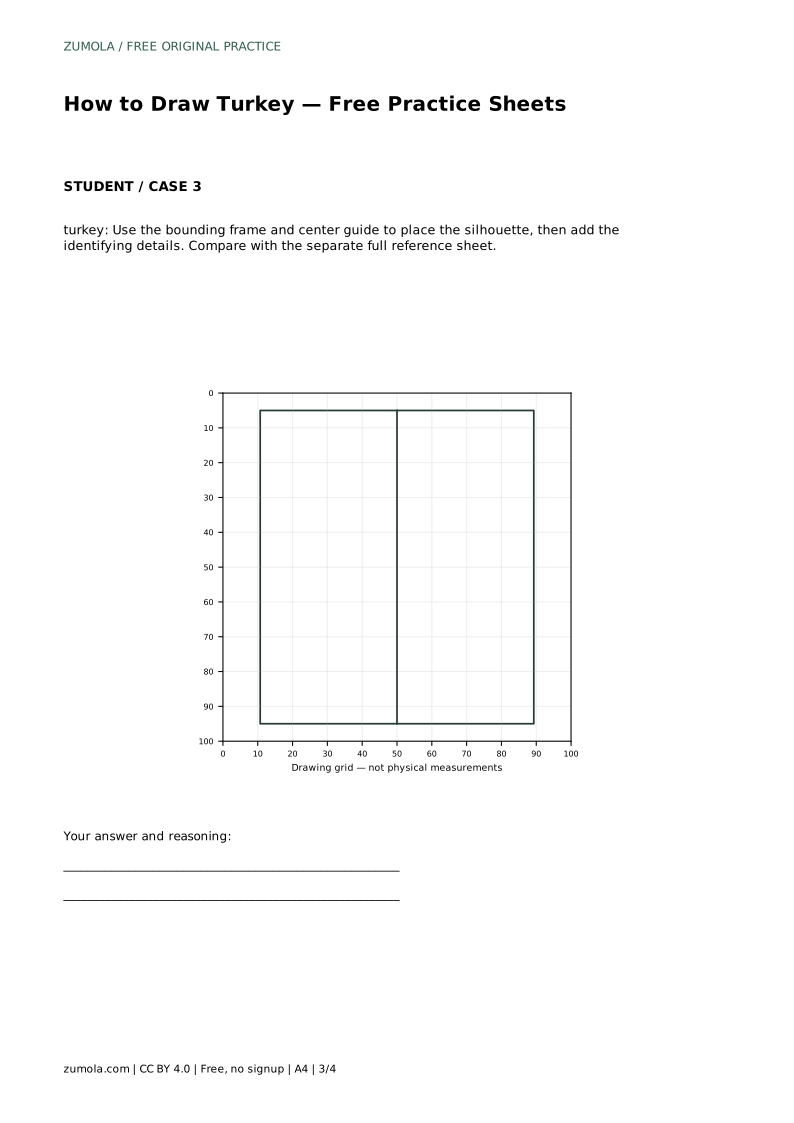
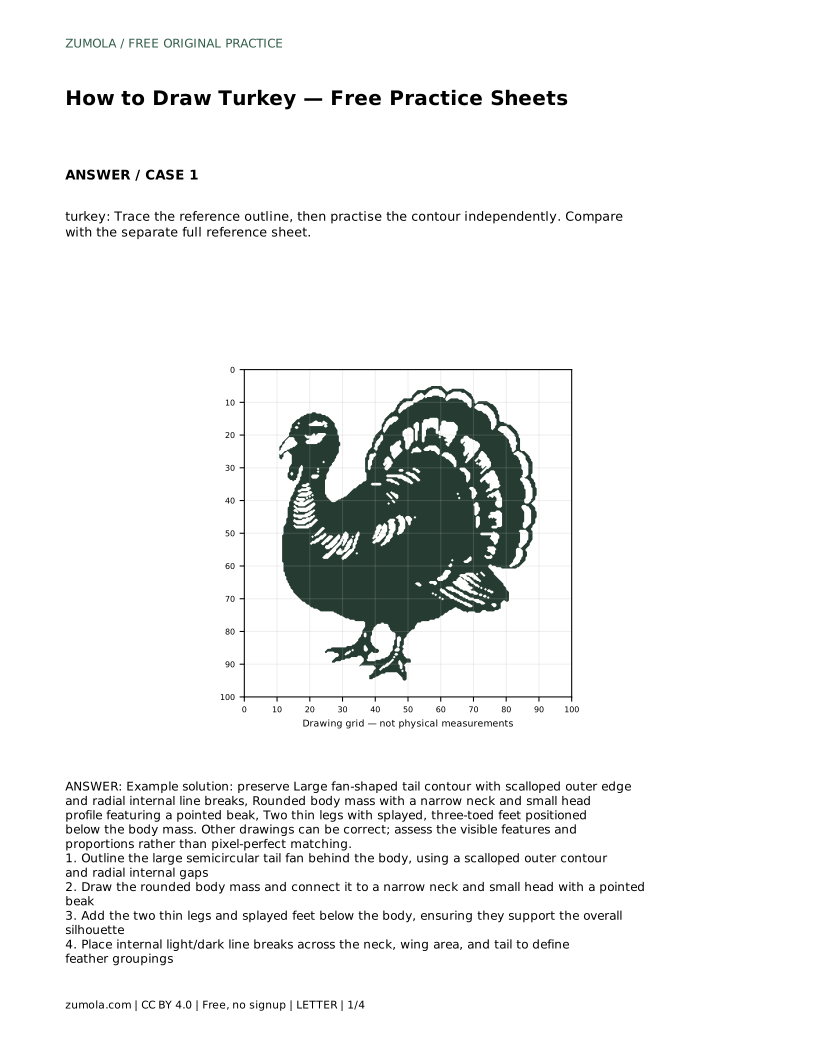
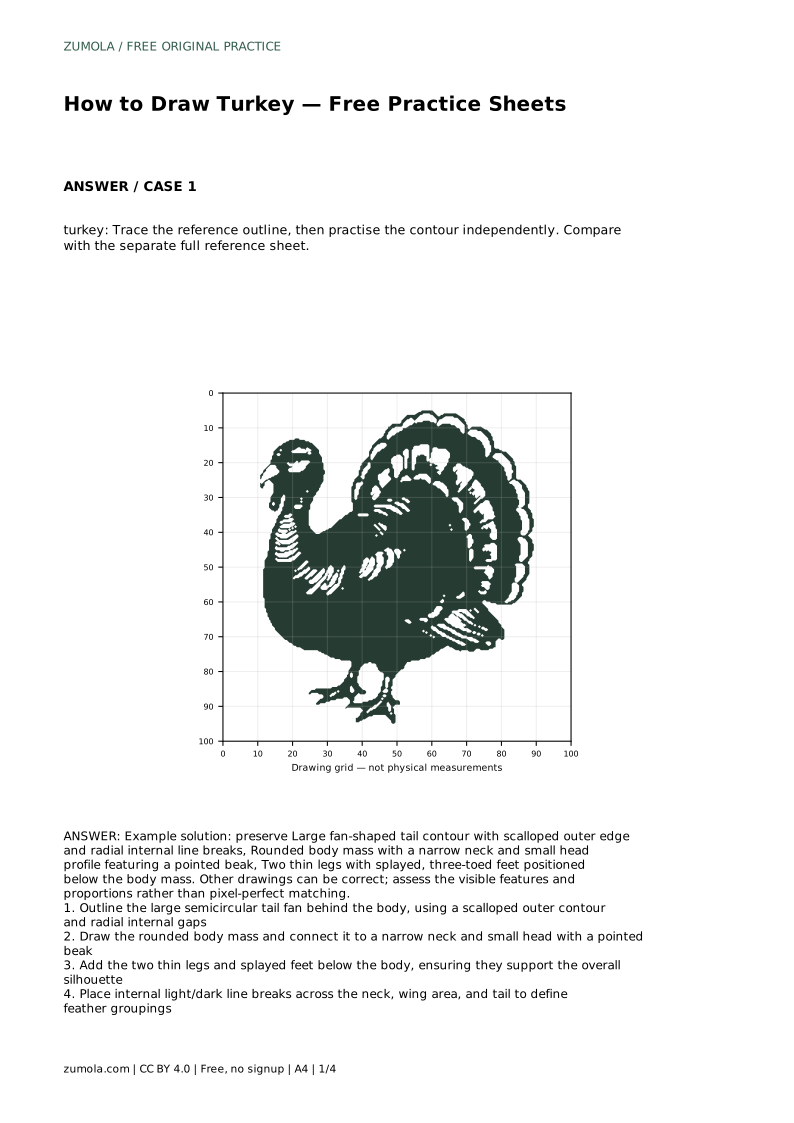
This page shows how to practise a turkey drawing using printable practice sheets. The goal is not a pixel-perfect copy but a clear, recognisable bird with the right proportions. You will work from a reference outline, then try the contour independently. Keep the large fan-shaped tail behind the body, the rounded body mass, the narrow neck and small head with a pointed beak, and two thin legs with splayed three-toed feet below the body.
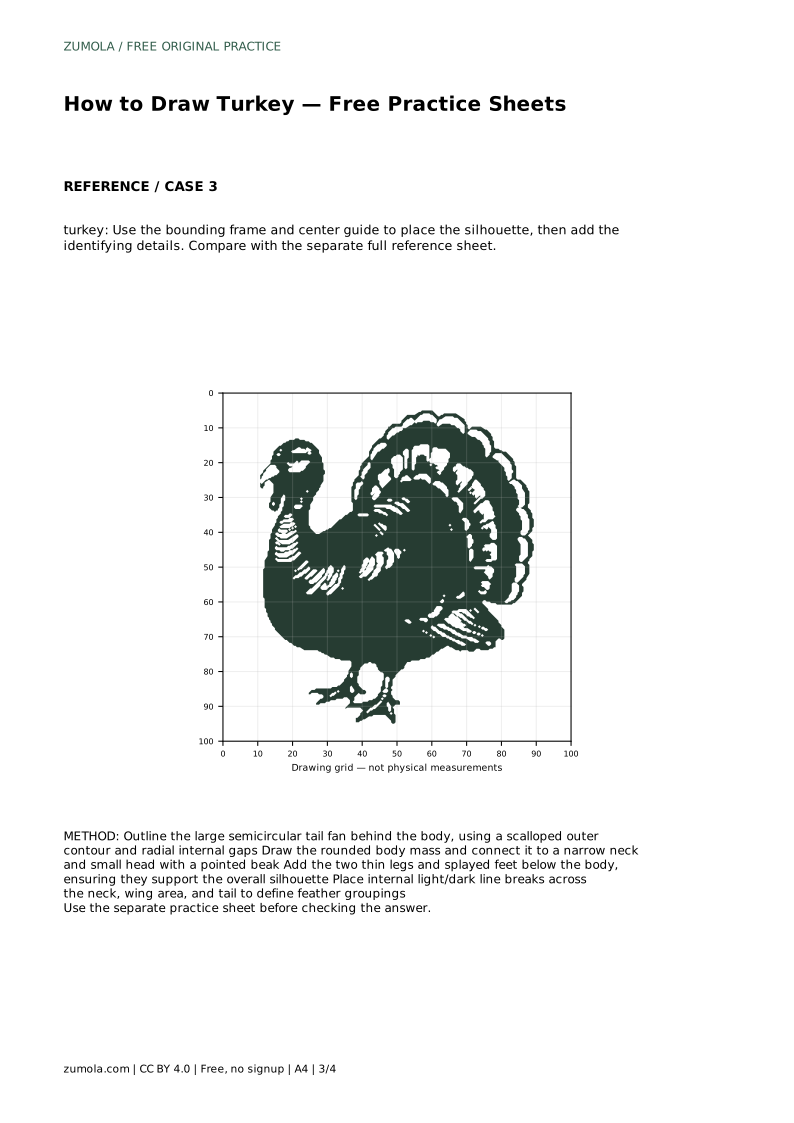
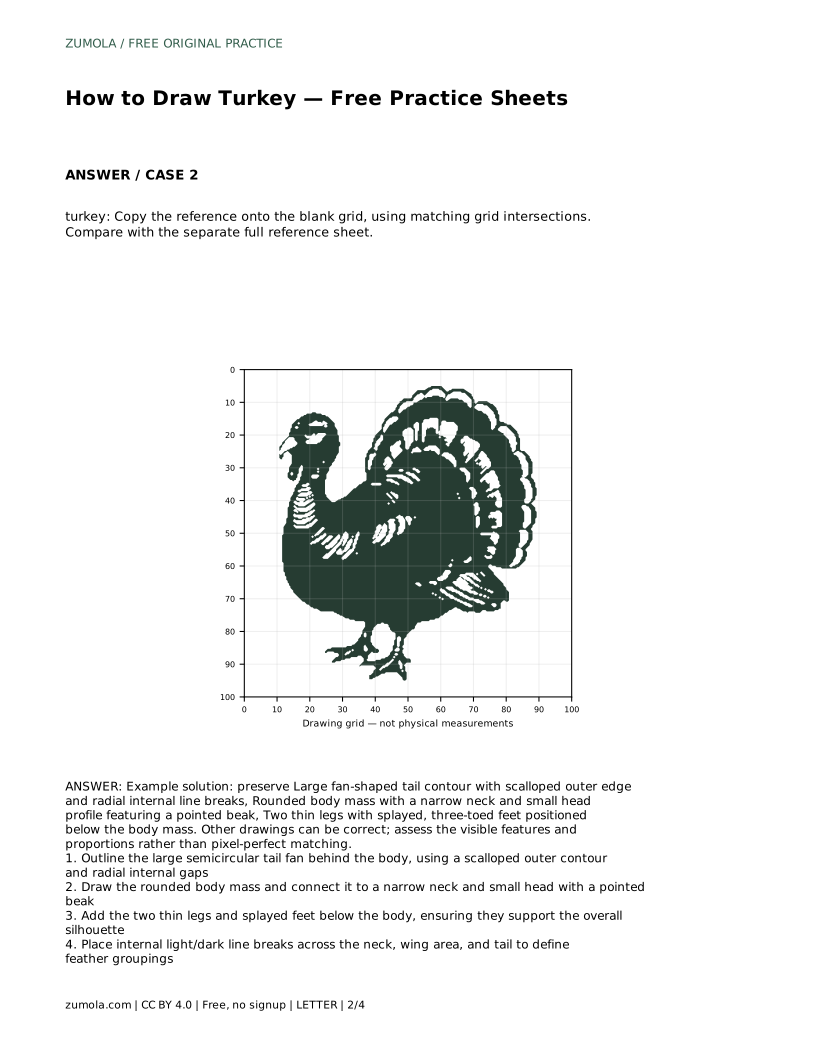
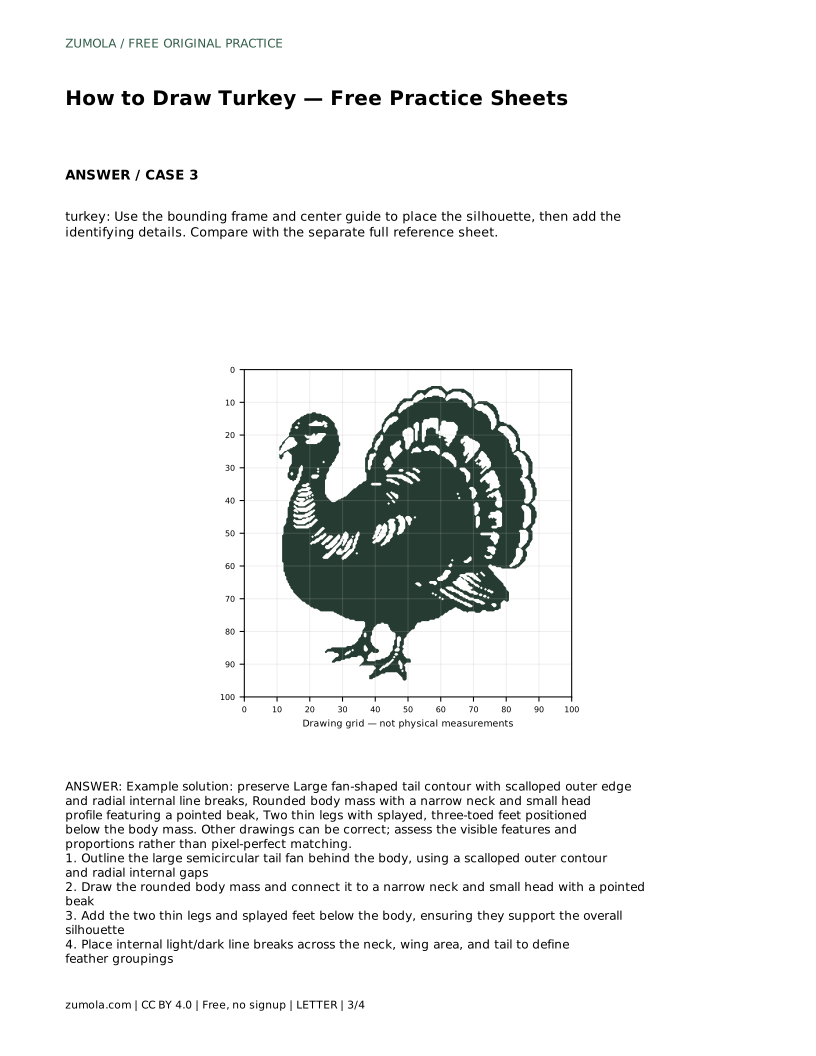
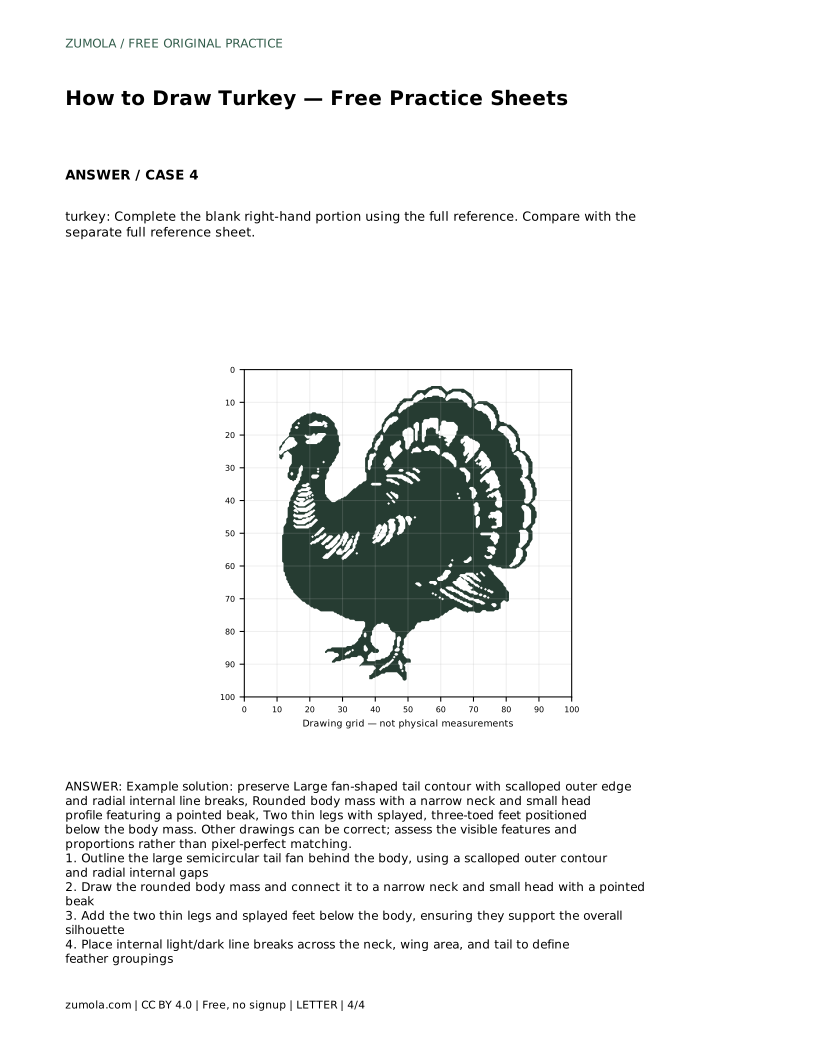
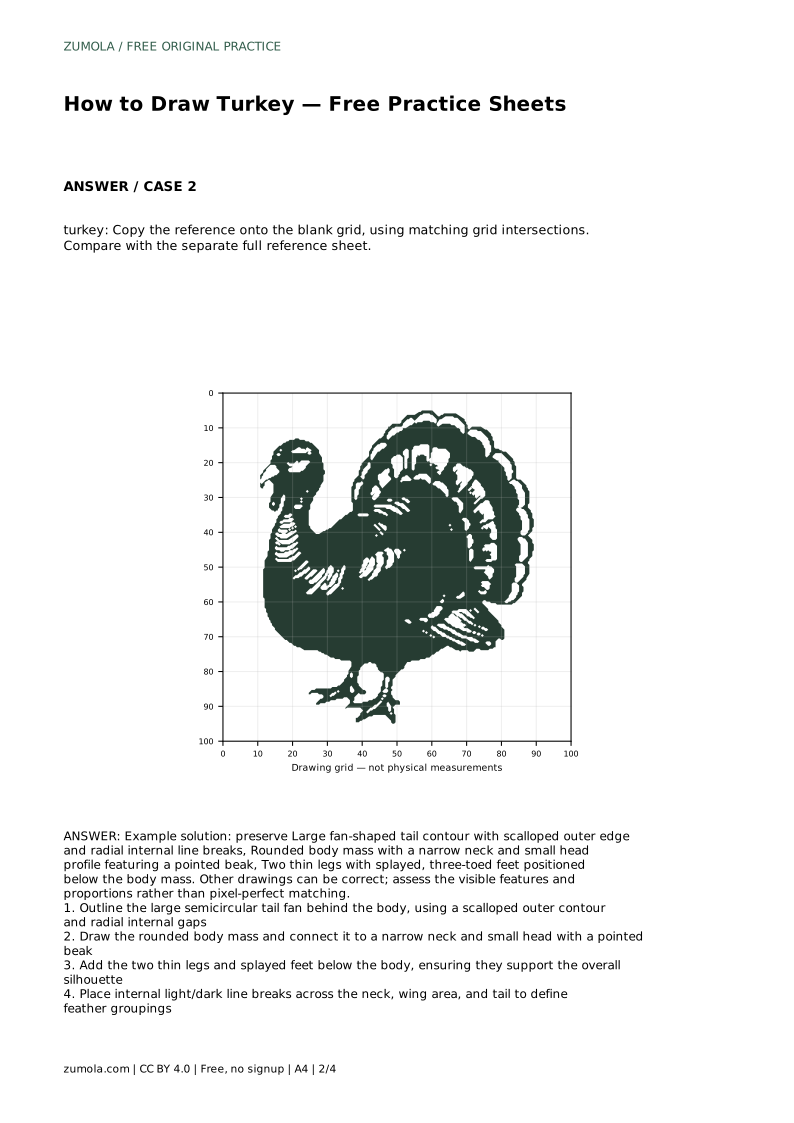
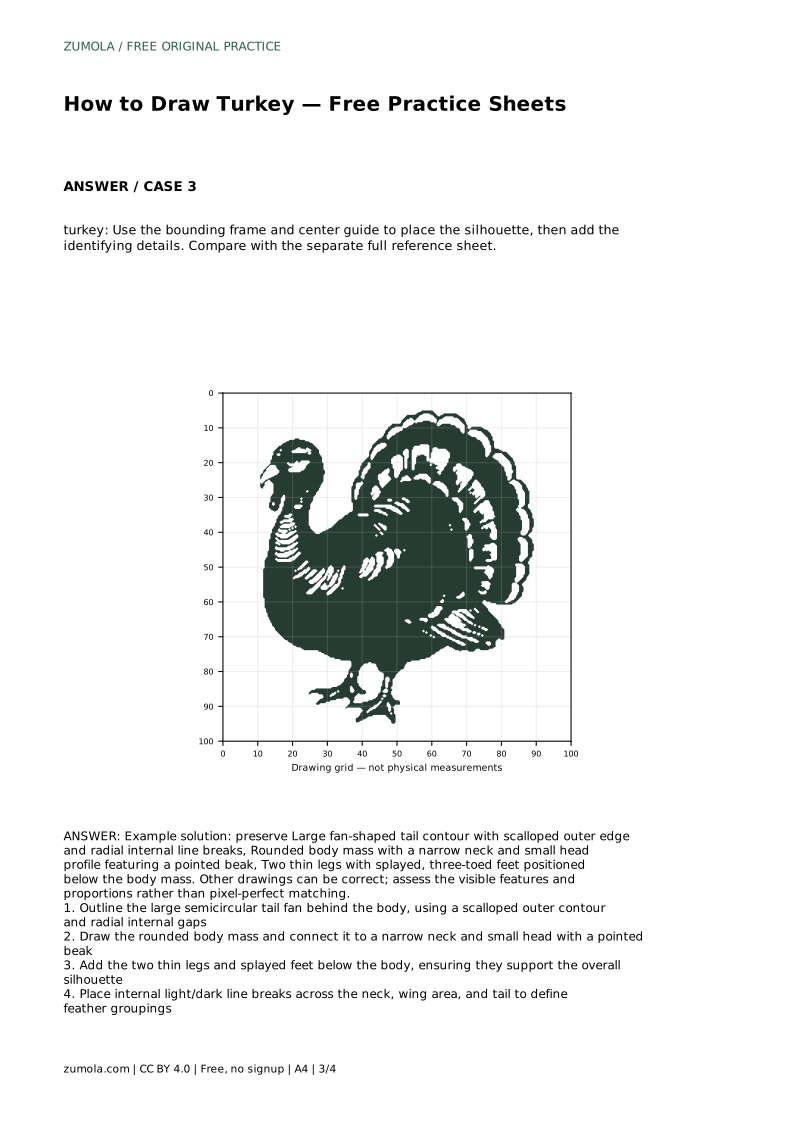
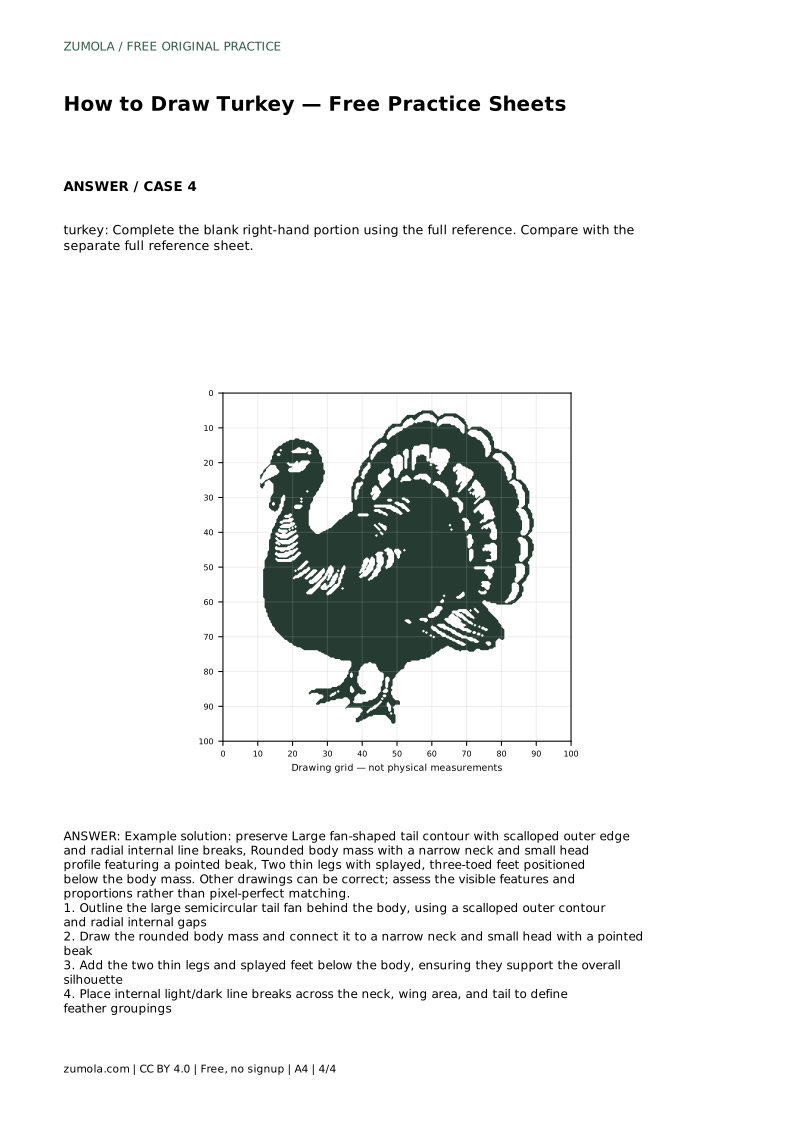
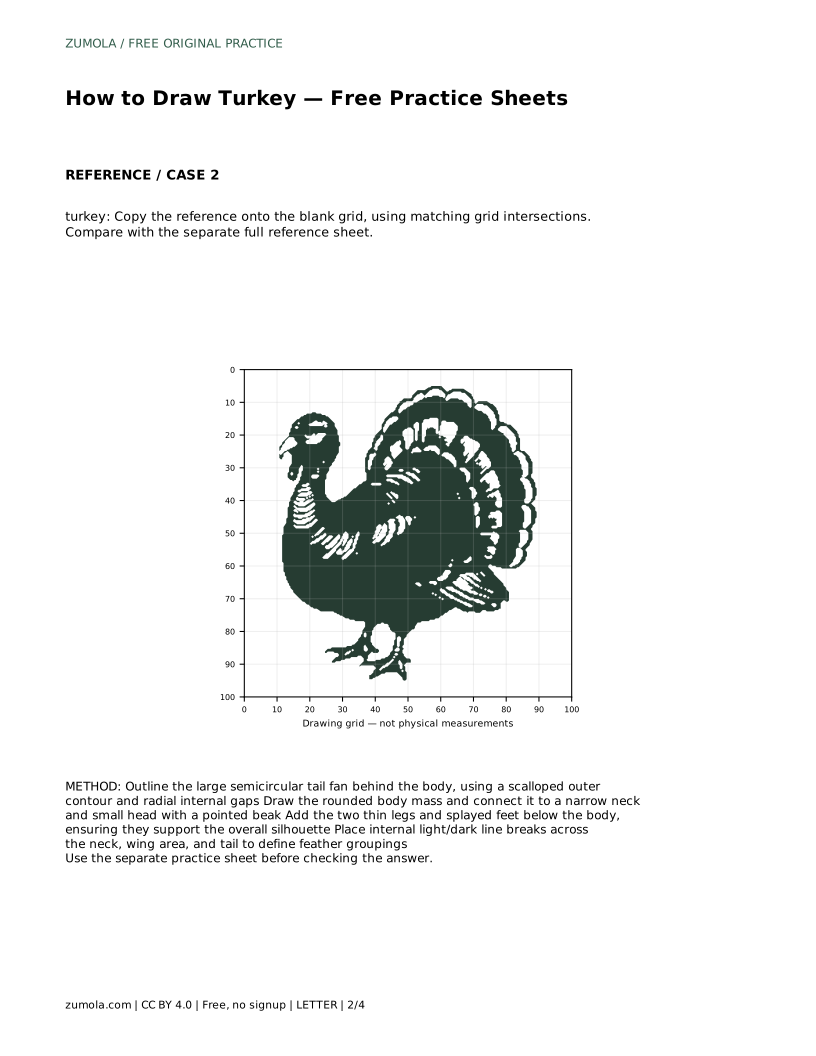
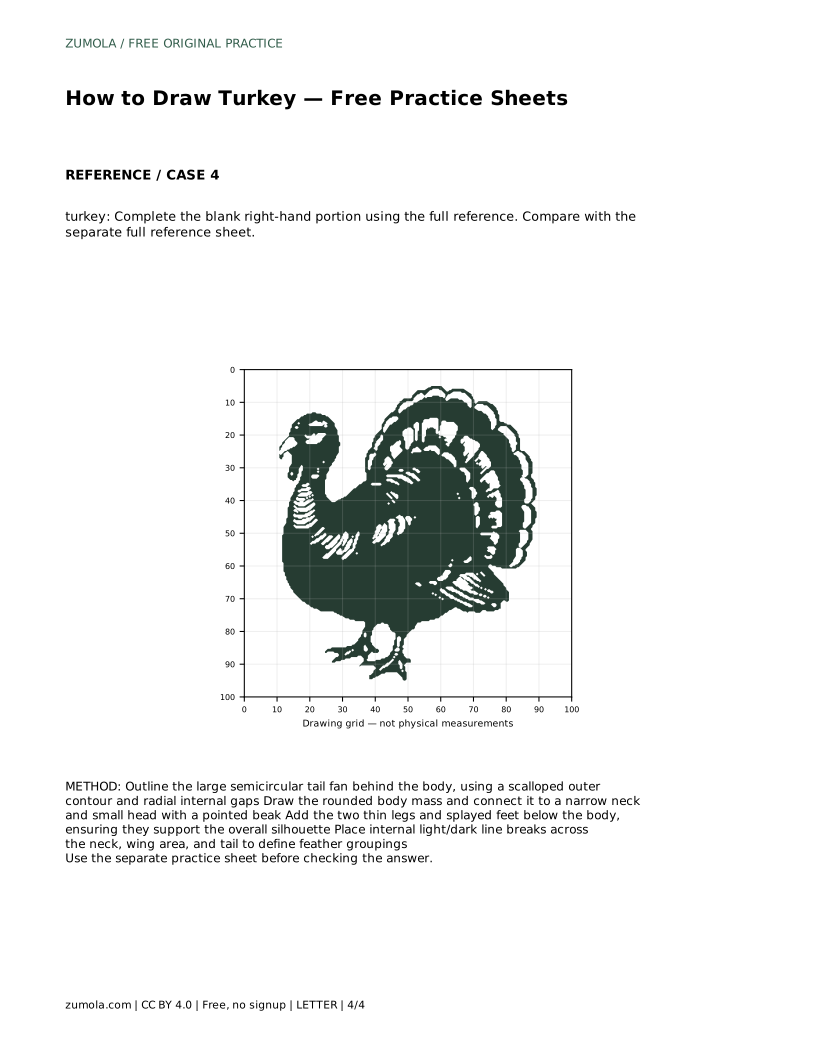
Before drawing, look at the reference and name its main parts. The tail is a large semicircular fan behind the body, with a scalloped outer edge and radial internal line breaks. The body is a rounded mass. A narrow neck rises to a small head with a pointed beak. Two thin legs with splayed, three-toed feet sit below the body and support the silhouette.
Treat these as construction shapes, not clinical anatomy. A turkey drawing is an artistic arrangement of visible features; several proportions and feather patterns can all read correctly. Use the reference to judge placement and relative size, then make your own choices about line weight and feather detail.
Start by tracing the reference outline. Tracing lets you feel the order of the contour: tail fan, body, neck and head, then legs and feet. Keep your pencil light so you can adjust the scalloped edge and the radial gaps without pressing grooves into the paper.
Next, put the reference aside and draw the same contour from memory. Compare your independent drawing with the separate full reference sheet. Ask whether the tail still sits behind the body, whether the neck is narrow, and whether the feet are below the body mass. Small differences in curve and spacing are fine; missing or misplaced features are what to correct.
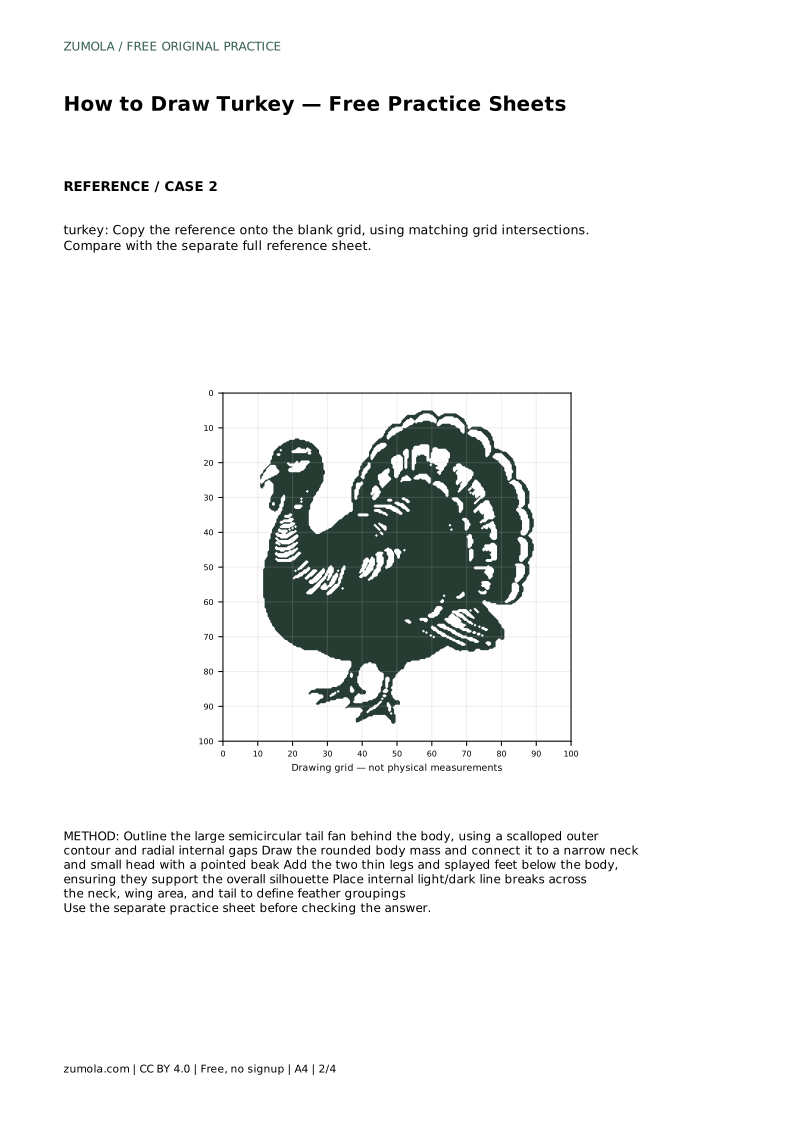
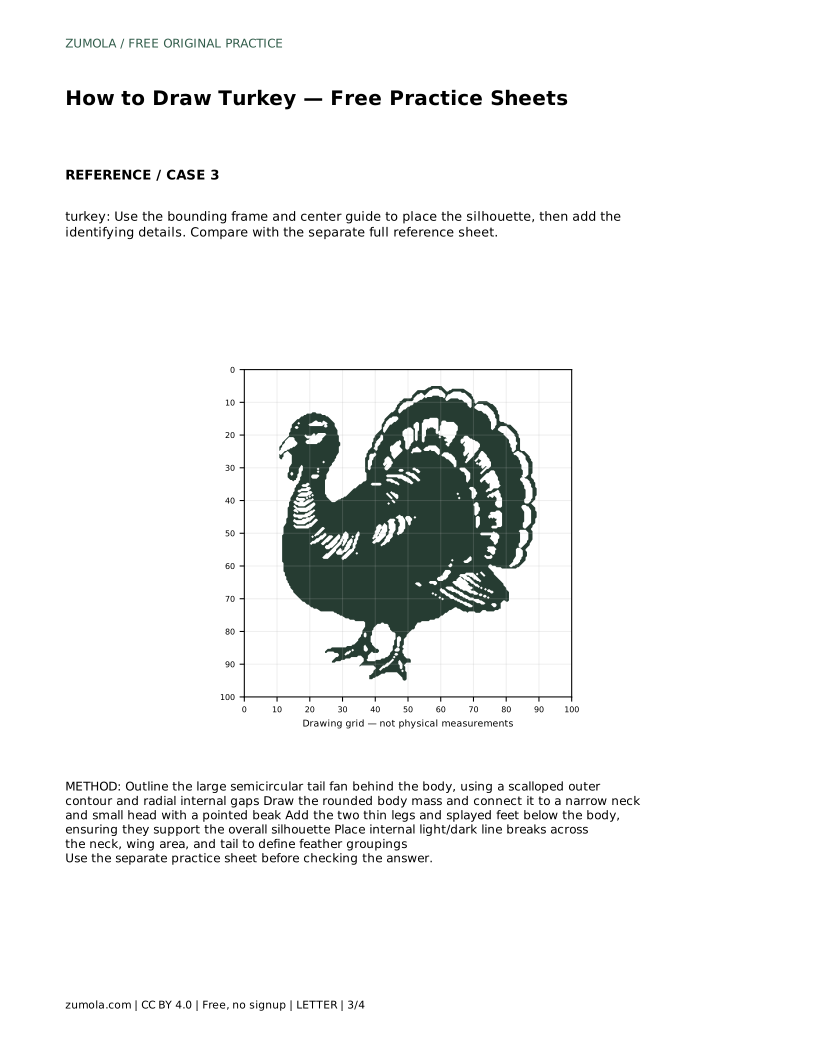
On the blank grid, copy the reference by matching grid intersections. Place the tail fan first, then the body, then the neck and head, and finally the legs and feet. The grid helps you keep the tail large relative to the body and keeps the feet centred below the body mass.
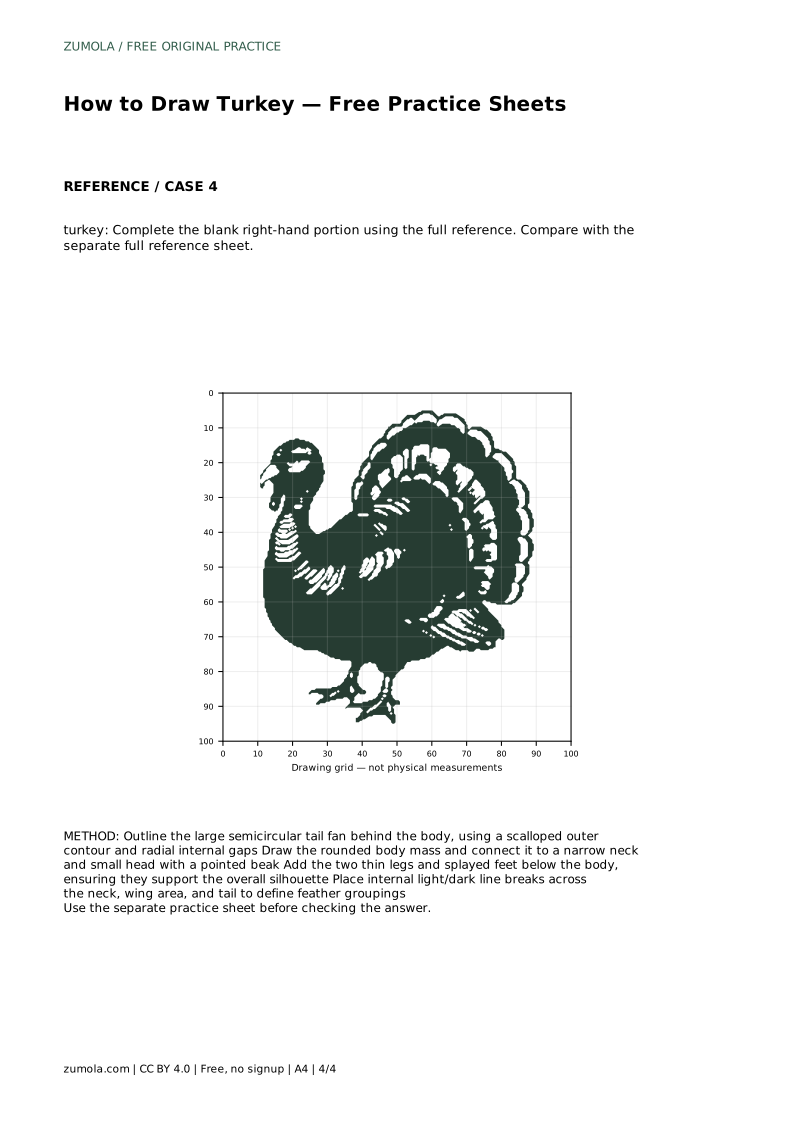
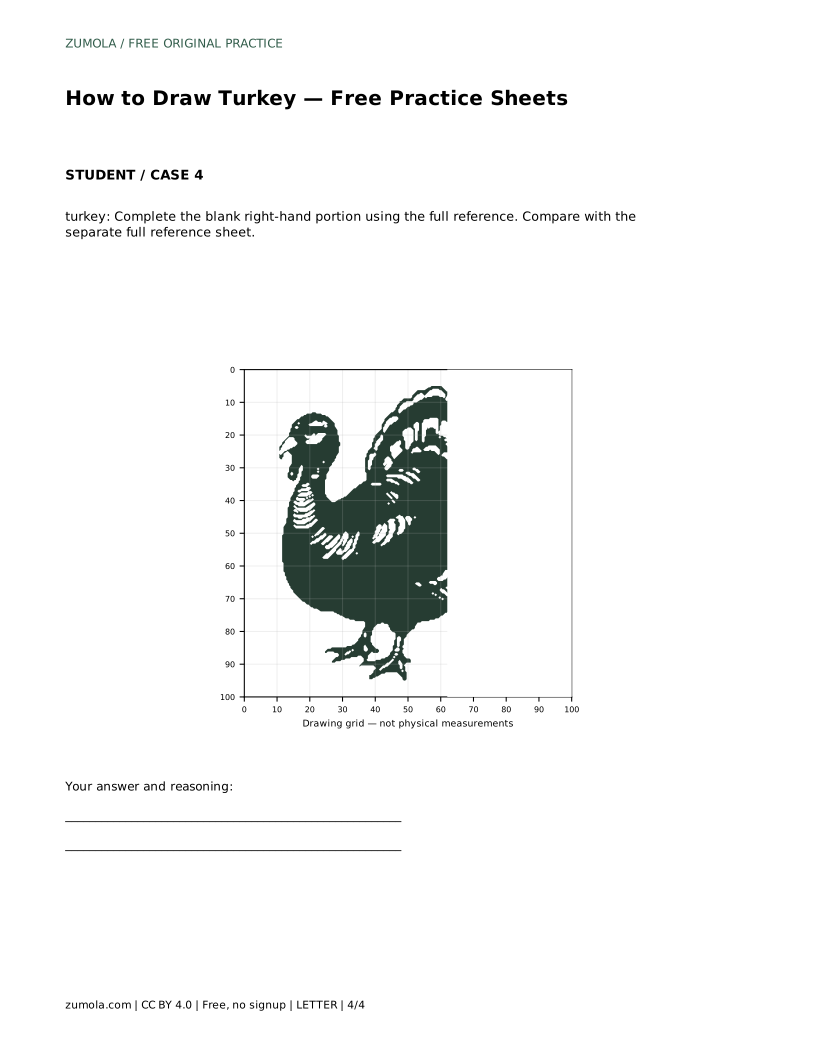
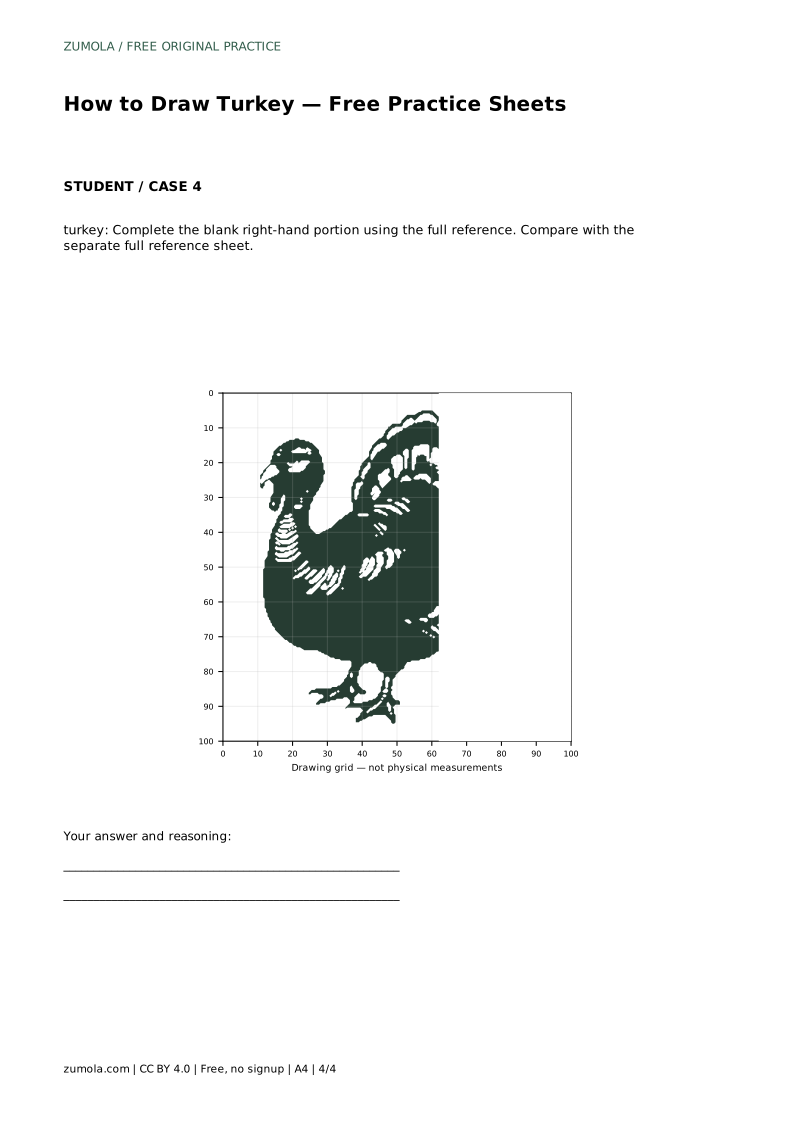
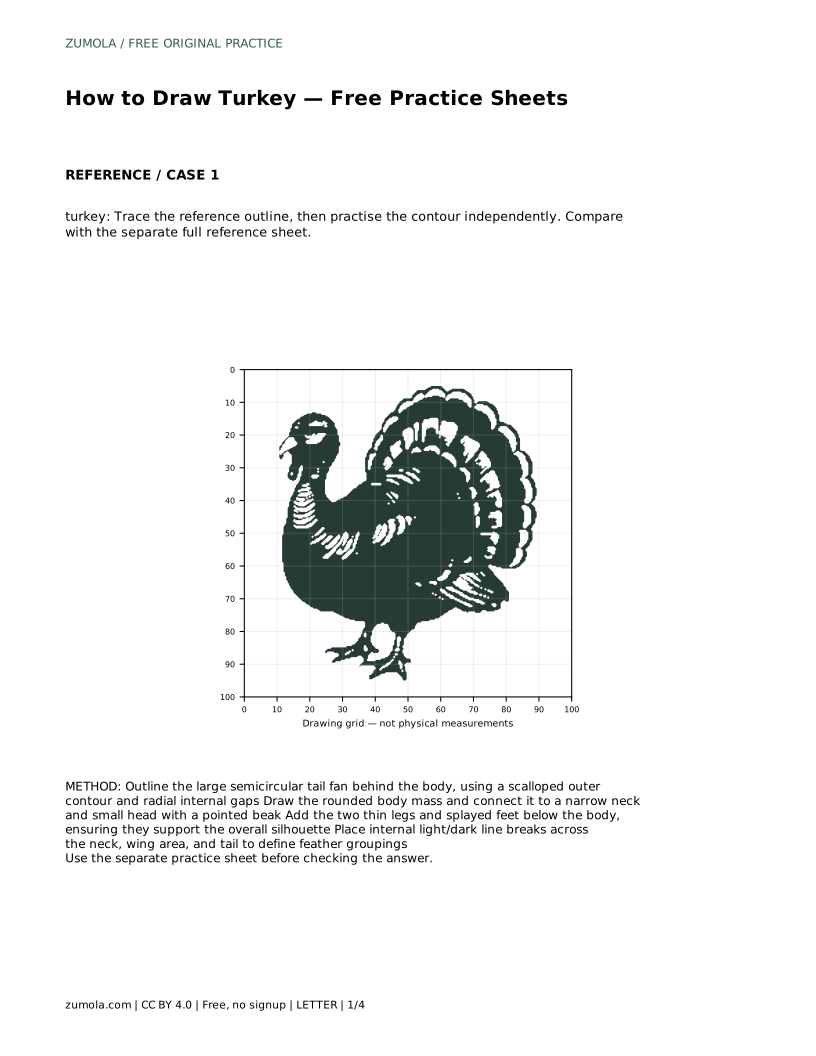
On the partial sheet, complete the blank right-hand portion using the full reference. Work from the visible left side outward, continuing the tail edge, the body curve, and the leg positions. Check that the completed side meets the drawn side without a jump in the contour.
Once the contour is clear, add internal line breaks to define feather groupings. Use light and dark lines across the neck, wing area, and tail to suggest layers without turning the drawing into a solid block. Keep the radial gaps in the tail visible so the fan reads as separate feathers.
For colour, choose a simple scheme and apply it consistently. A darker body with a lighter neck and a tail with repeating bands is easy to read. Leave the beak and feet distinct so the head and legs stay identifiable. Colour is a finishing choice; the drawing should already be recognisable in line only.
turkey: Trace the reference outline, then practise the contour independently. Compare with the separate full reference sheet.
Example solution: preserve Large fan-shaped tail contour with scalloped outer edge and radial internal line breaks, Rounded body mass with a narrow neck and small head profile featuring a pointed beak, Two thin legs with splayed, three-toed feet positioned below the body mass. Other drawings can be correct; assess the visible features and proportions rather than pixel-perfect matching. Outline the large semicircular tail fan behind the body, using a scalloped outer contour and radial internal gaps Draw the rounded body mass and connect it to a narrow neck and small head with a pointed beak Add the two thin legs and splayed feet below the body, ensuring they support the overall silhouette Place internal light/dark line breaks across the neck, wing area, and tail to define feather groupings
No. Assess the visible features and proportions rather than pixel-perfect matching. Other drawings can be correct if the tail fan, body, neck, beak, and feet are clearly placed.
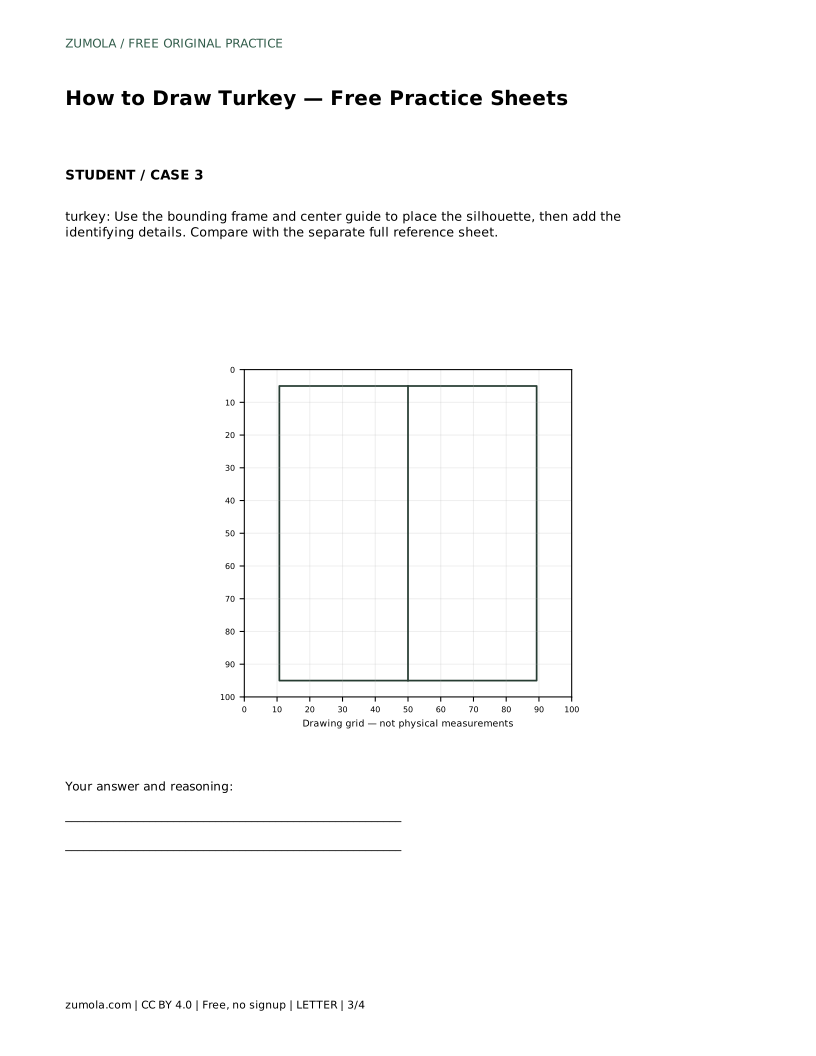
Draw the tail fan first, then the body, then the neck and head with the pointed beak, and finally the two thin legs with splayed feet below the body.
Copy the reference by matching grid intersections, placing the tail fan first and checking that the feet stay centred below the body mass.
All drawing practice · Free coordinate paper
Original resources · CC BY 4.0 · Free for personal and classroom use with attribution.