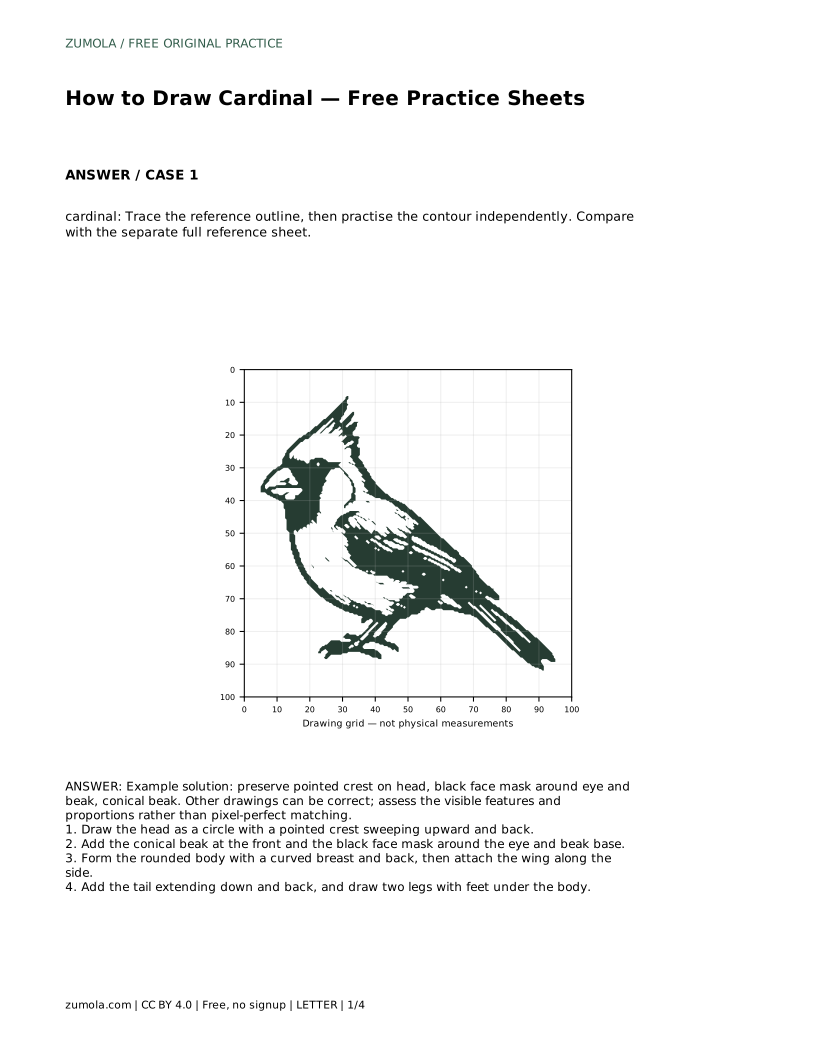
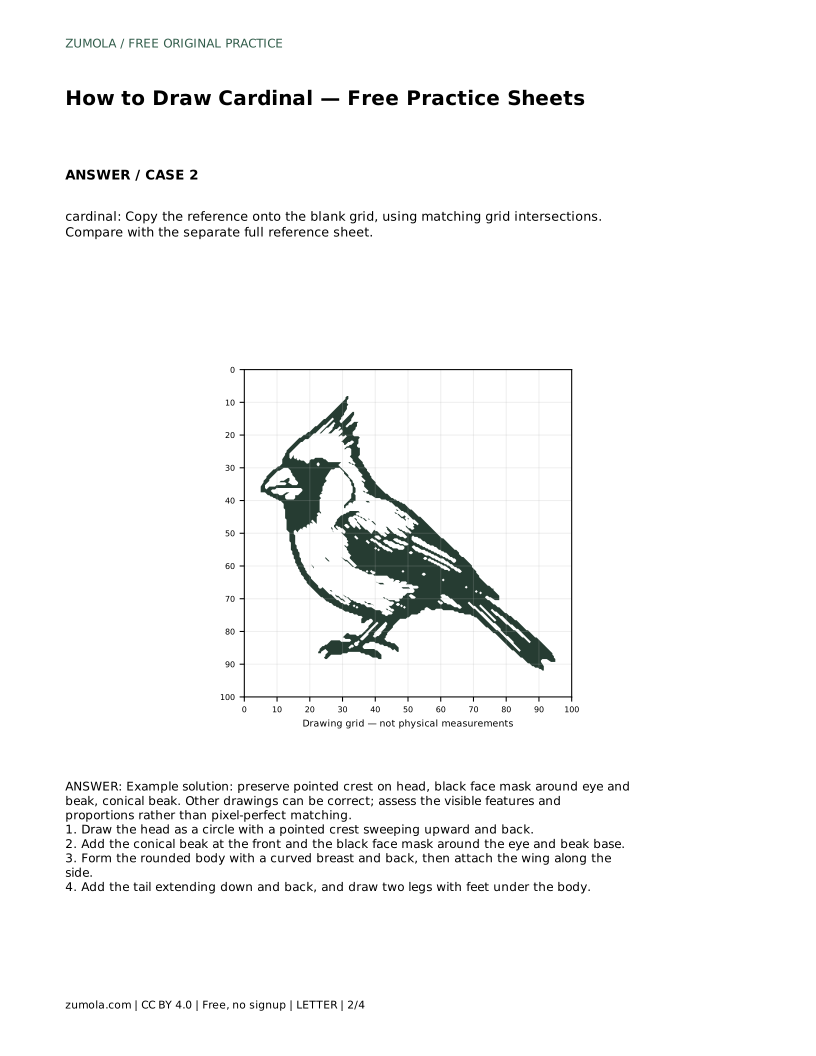
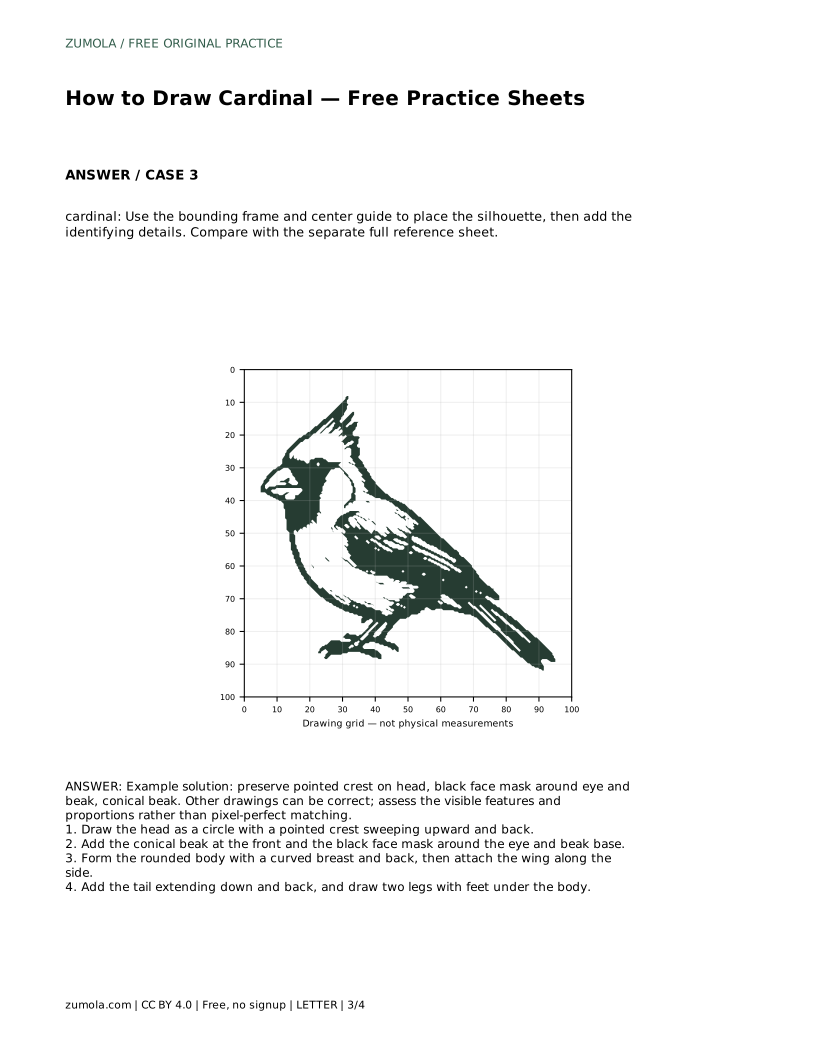
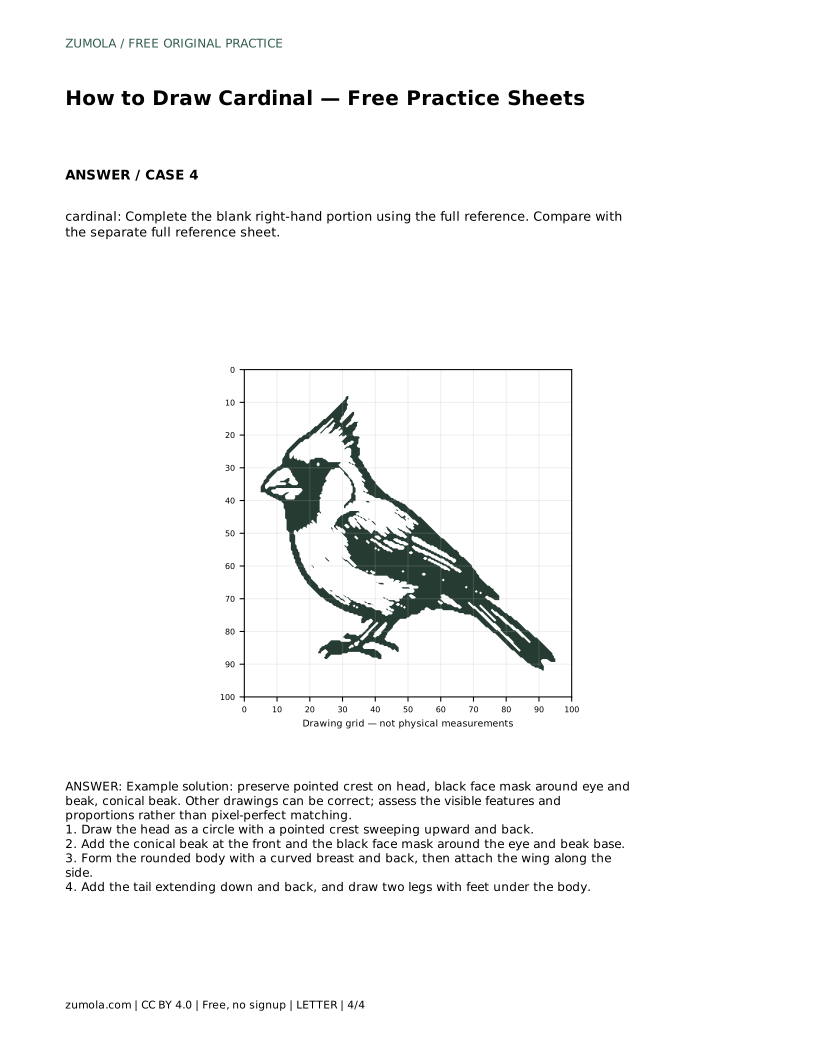
Reference diagrams
LETTER · Download PDF
A4 · Download PDF
Free original resources
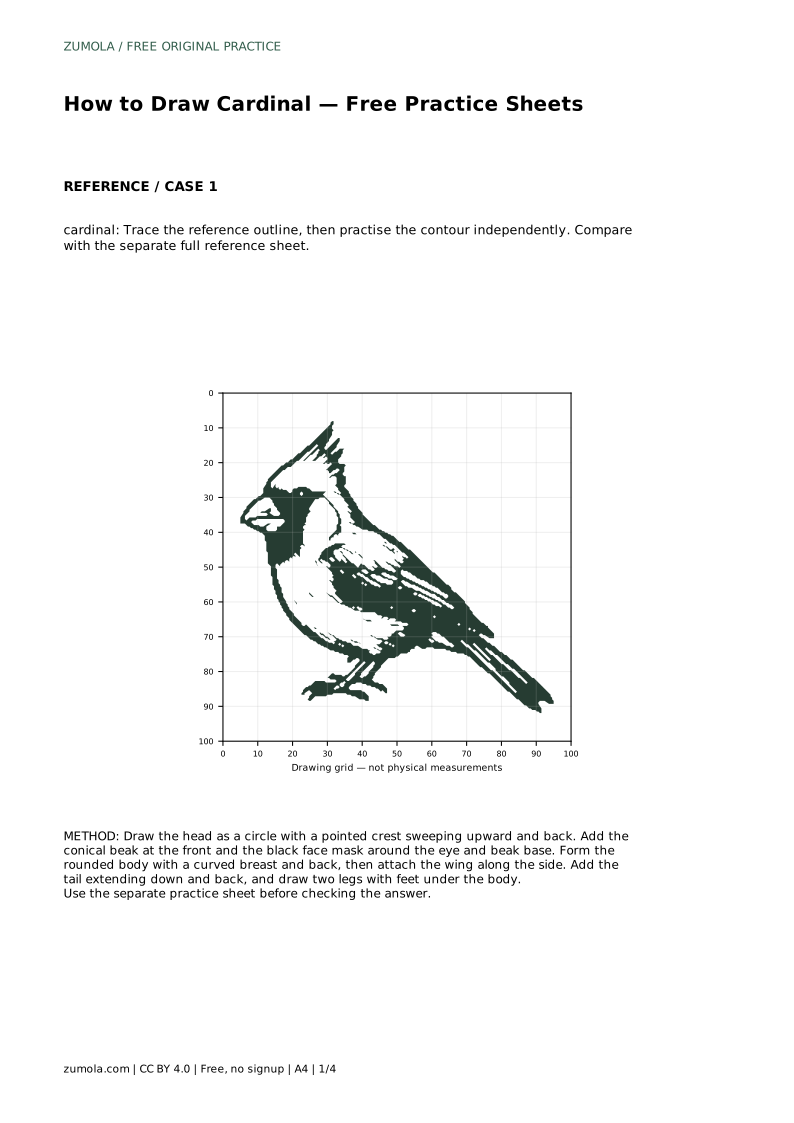
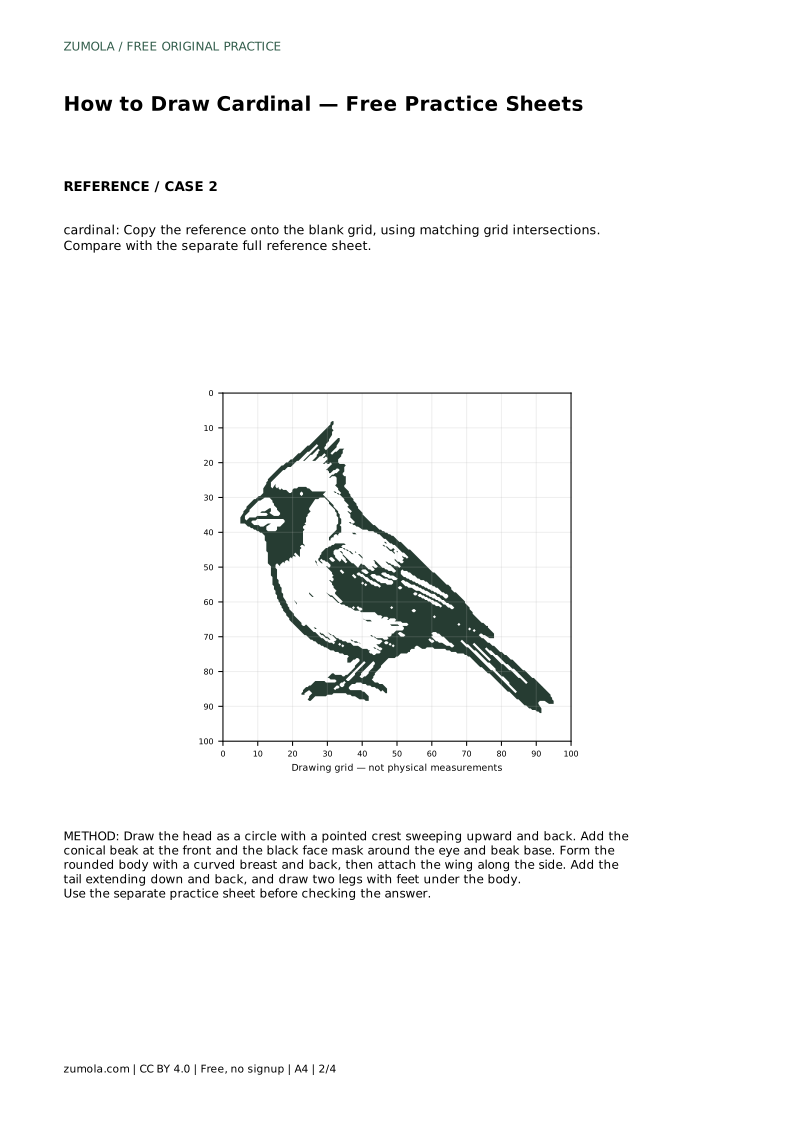
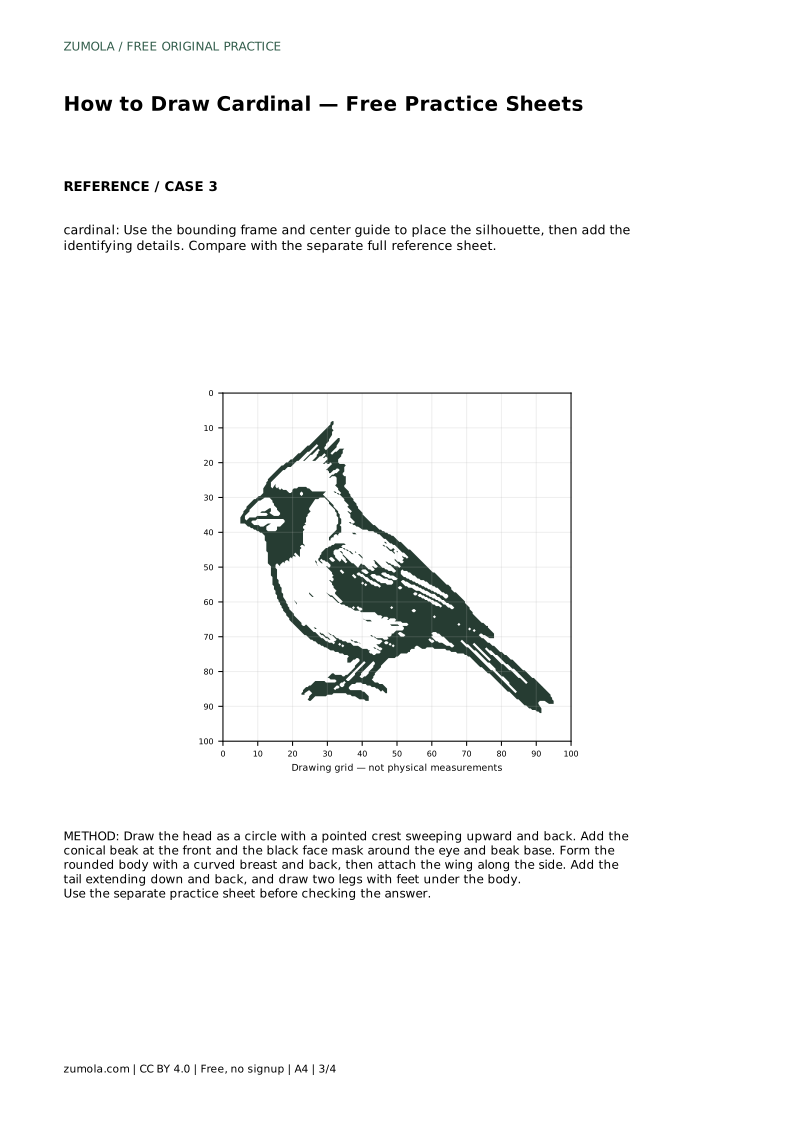
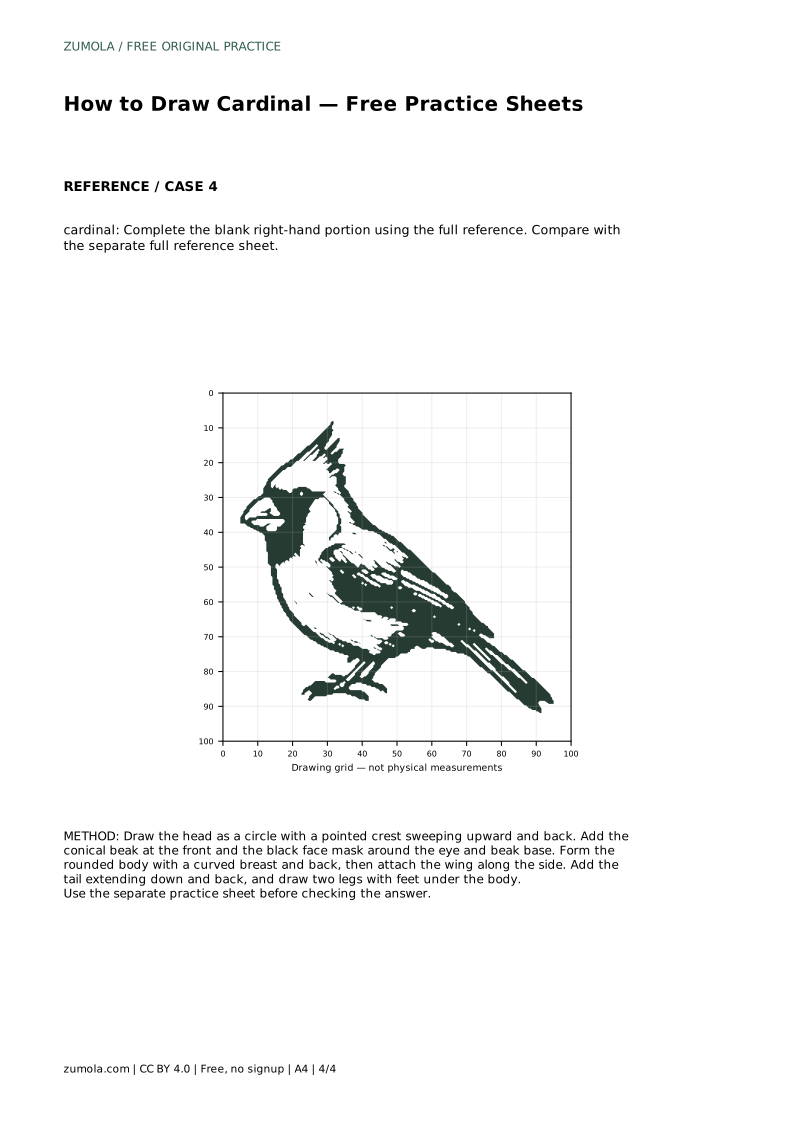
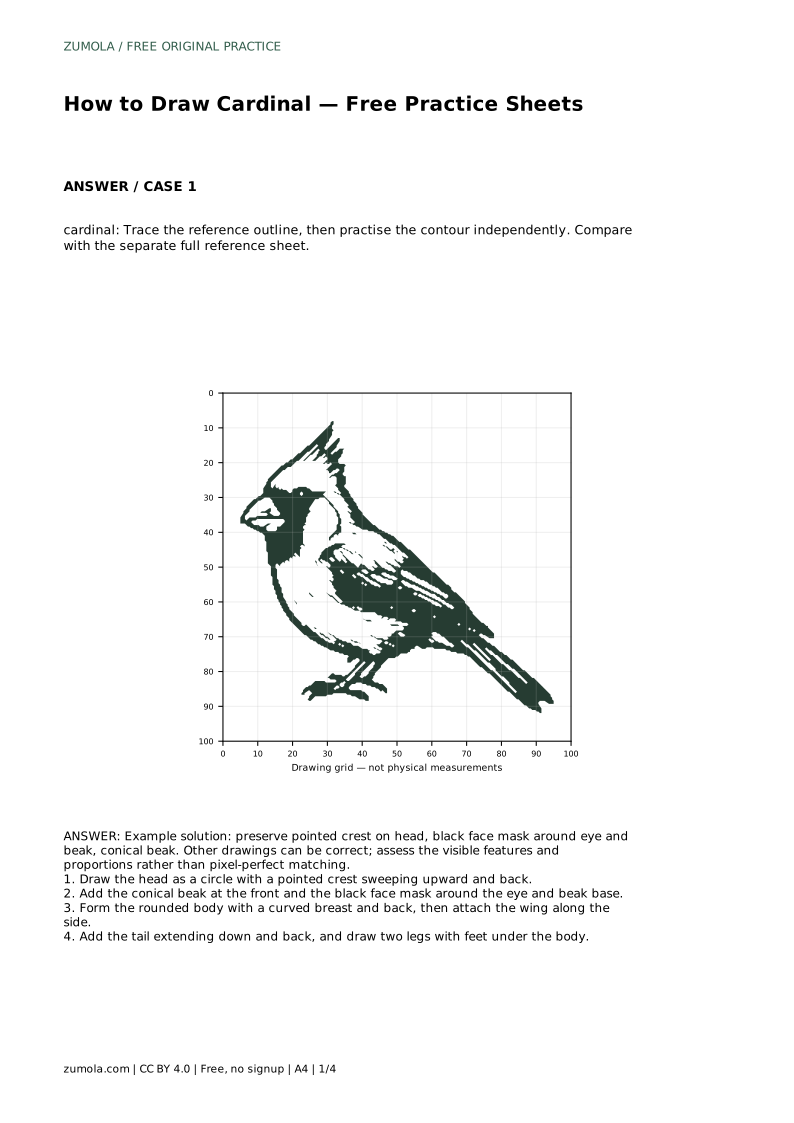
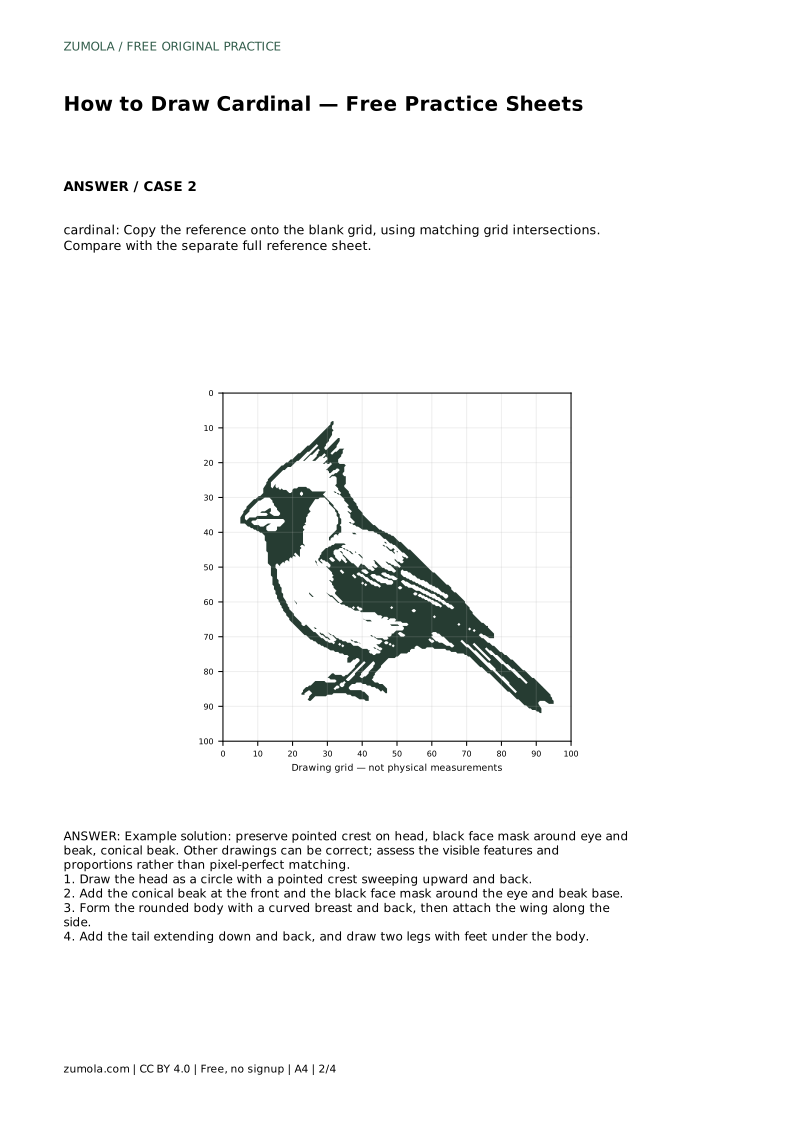
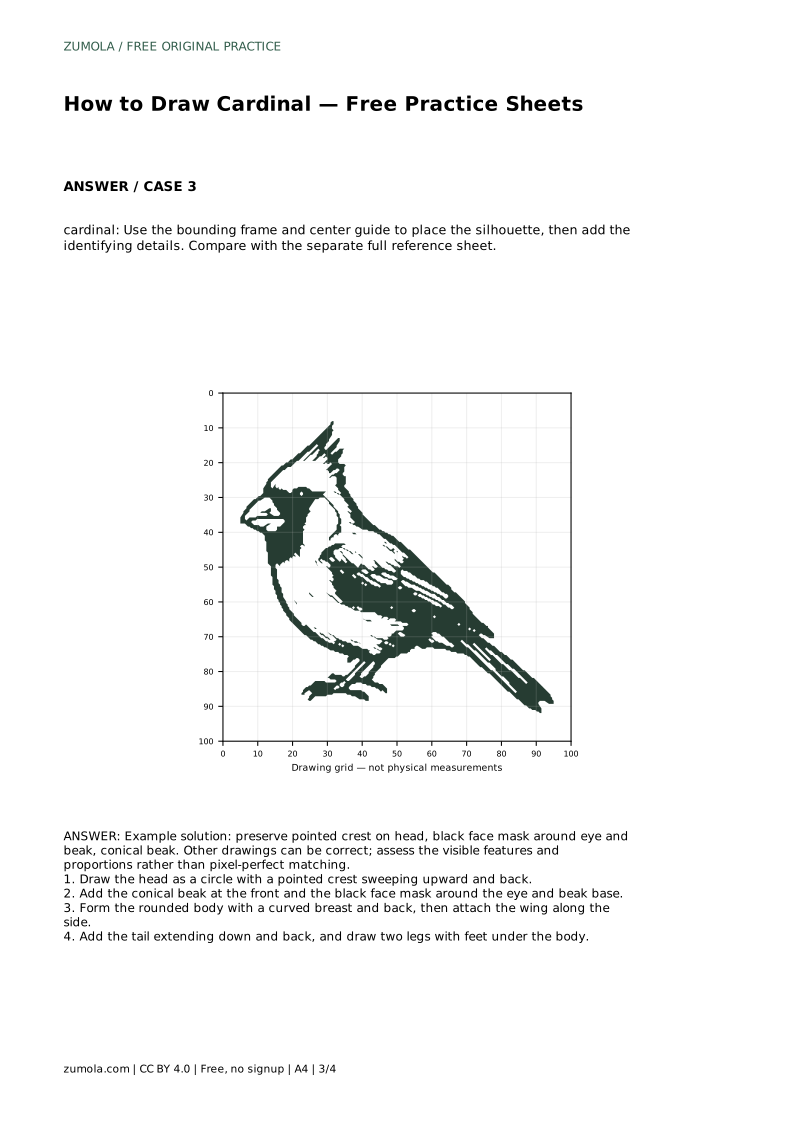
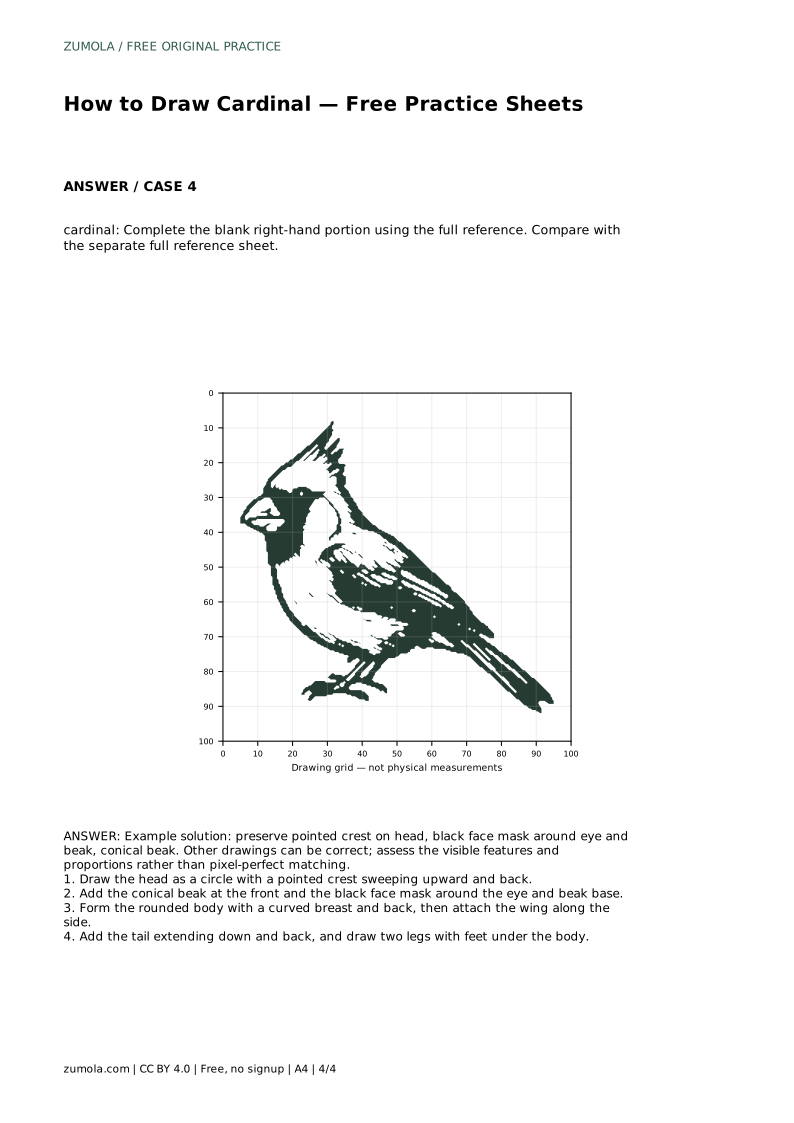
Learn to draw a cardinal by building the crest, conical beak, face mask, body, wing, tail, and legs in order. Use the practice sheets to compare proportions.
Four original cases, with reference diagrams, practice sheets and worked answers. Everything is free; no signup required.
LETTER · Download PDF
A4 · Download PDF
LETTER · Download PDF
A4 · Download PDF
LETTER · Download PDF
A4 · Download PDF
Use A4 or US Letter to match your printer. Use the stated values and conditions to solve each exercise; diagrams are not physical measuring rulers.
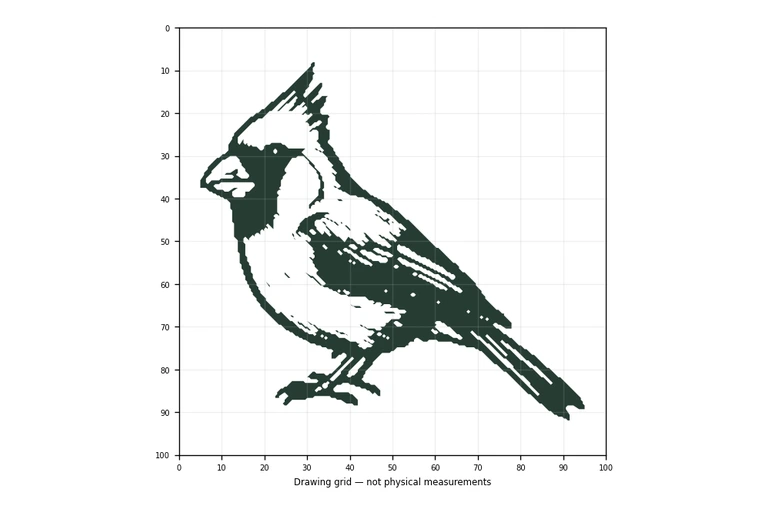
A cardinal is recognizable by a few clear features: a pointed crest, a conical beak, and a dark mask around the eye and beak base. This page shows how to build those features in a sensible order so the bird holds together before you add detail. The practice sheets give you different ways to rehearse the same contour, from tracing to grid copying to completing a partial drawing. Treat every version as a study in proportion and placement, not a test with one correct result.
Begin with the head as a circle. The crest is not a random spike; it sweeps upward and back from the top of the head, tapering to a point. Draw the crest as a connected shape growing out of the head circle rather than a separate triangle stuck on top. Check that the crest leans back, not forward, and that its base is wide enough to look attached.
Place the eye on the head circle before adding the beak. The eye sits roughly level with the base of the beak, slightly toward the front. Keeping the eye and beak close together helps the face read as a bird rather than a generic round shape.
The beak is conical: wide where it meets the face and narrowing to a point at the front. Draw it as a short wedge attached to the front of the head, not a long thin triangle. The mask is the dark area around the eye and the base of the beak. Outline it as one connected region so the eye sits inside it.
Keep the mask boundary clear. It should wrap the eye and reach the beak base without swallowing the whole head. A common error is making the mask too large, which hides the head shape and makes the beak look detached.
Form the body with a curved breast at the front and a curved back at the rear. The breast should bulge outward more than the back, giving the bird a rounded front. Attach the wing along the side of the body as a long curved shape that follows the body contour.
Add the tail extending down and back from the rear of the body. Draw two legs under the body, each ending in feet. Keep the legs short and place them under the body's center of mass so the bird looks balanced rather than tipping forward.
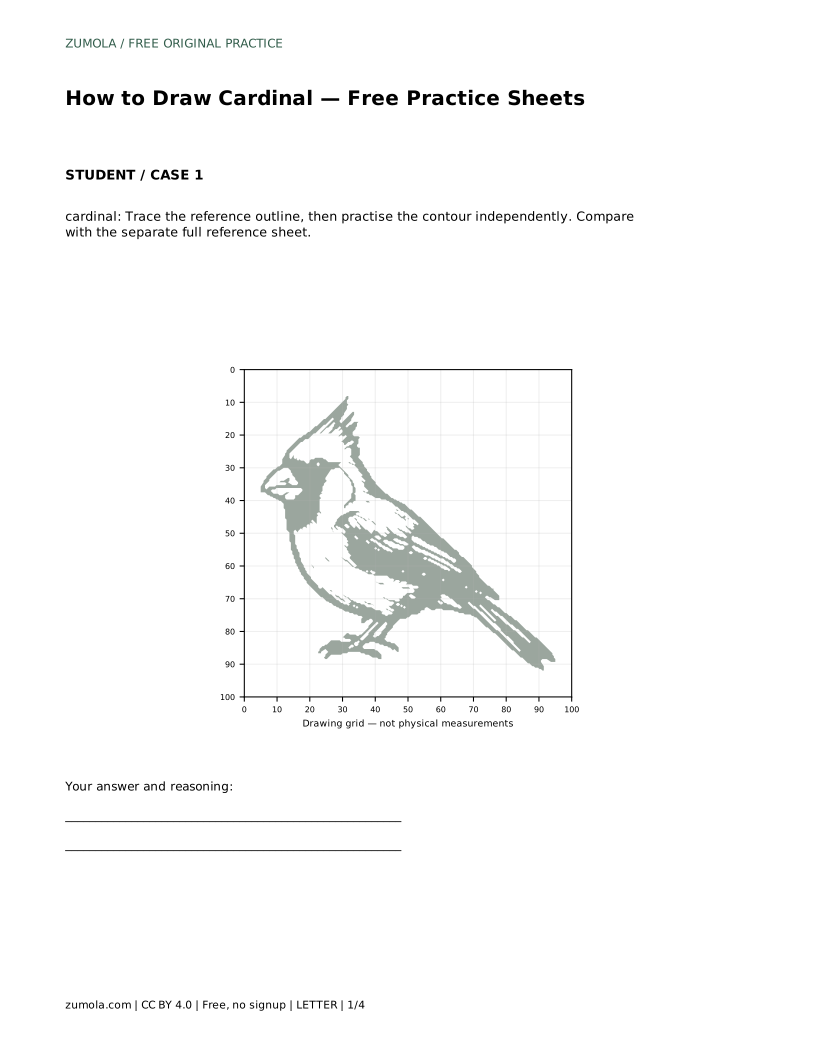
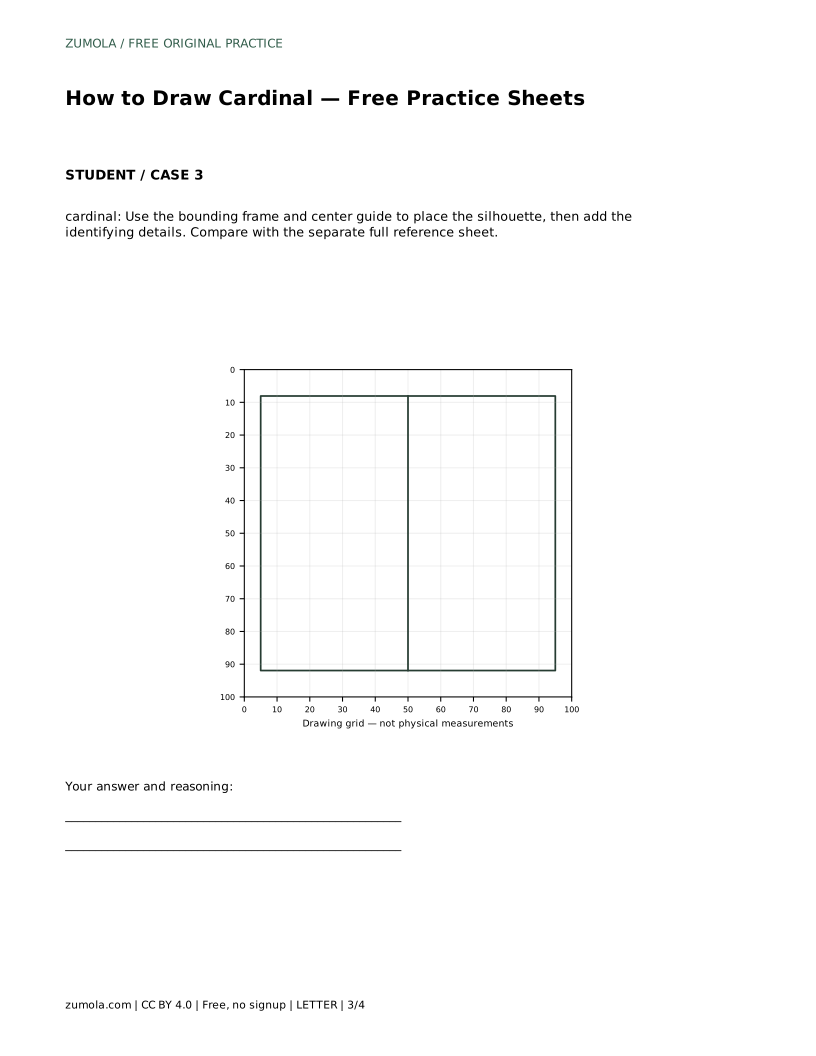
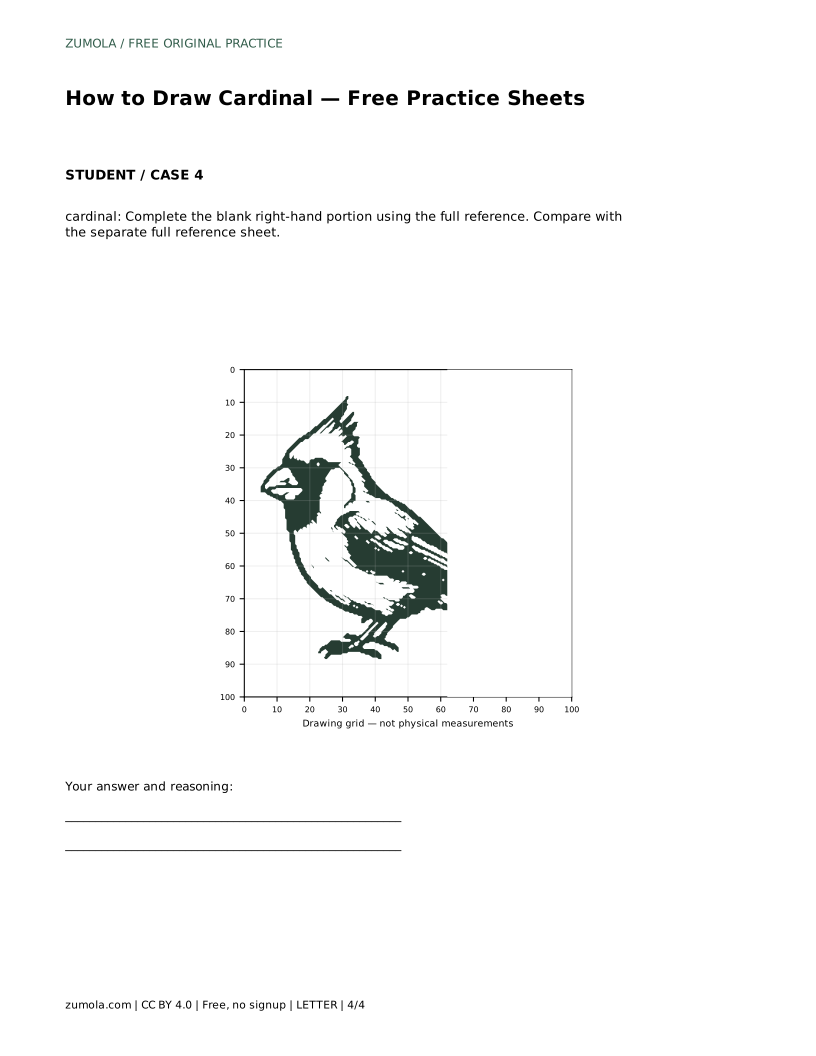
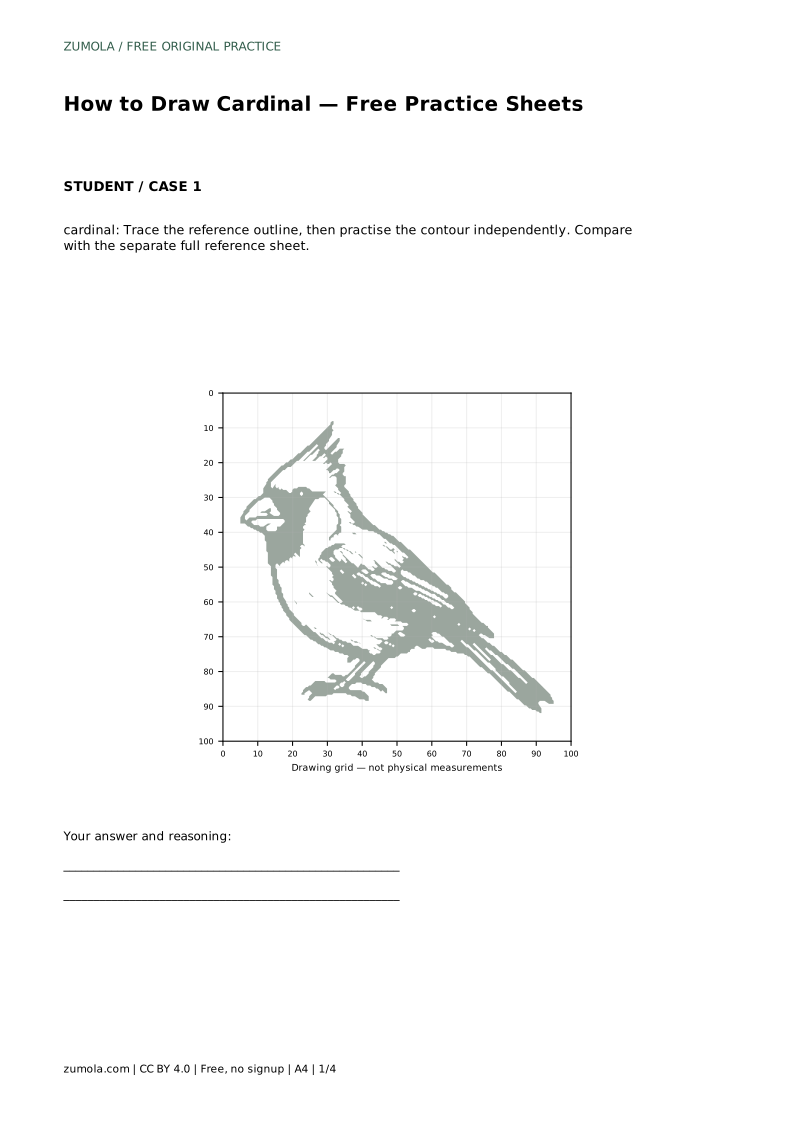
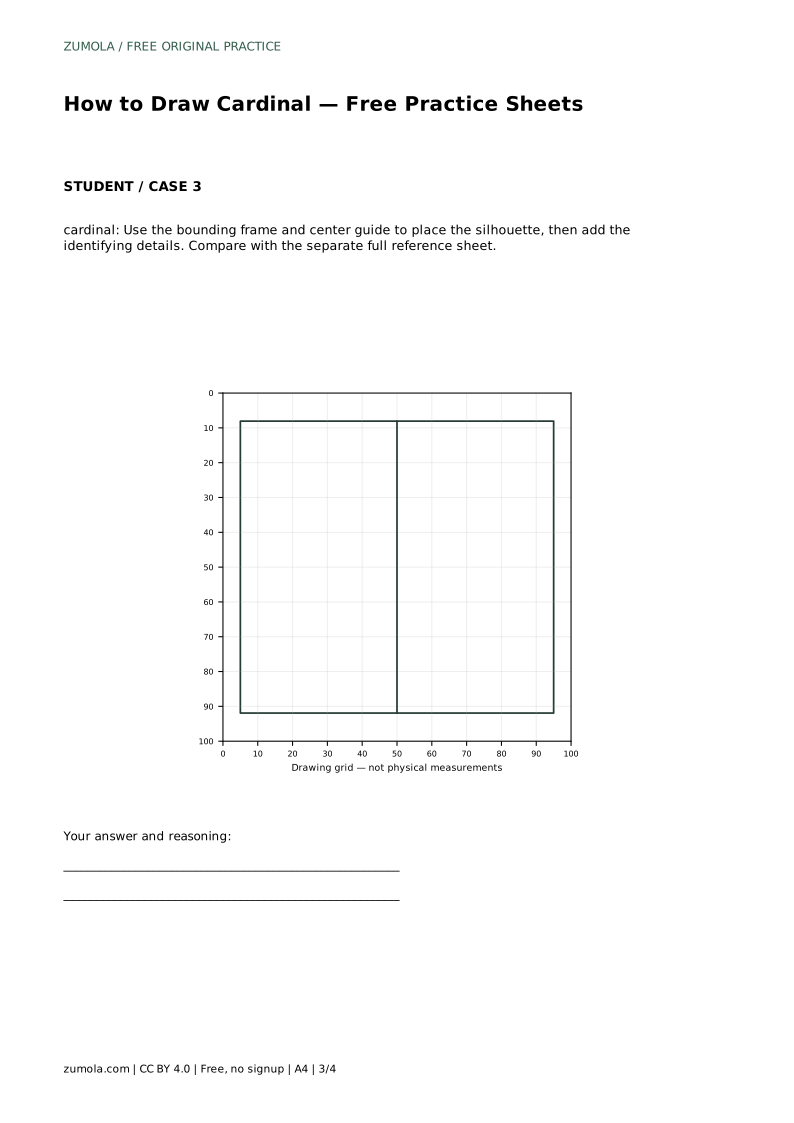
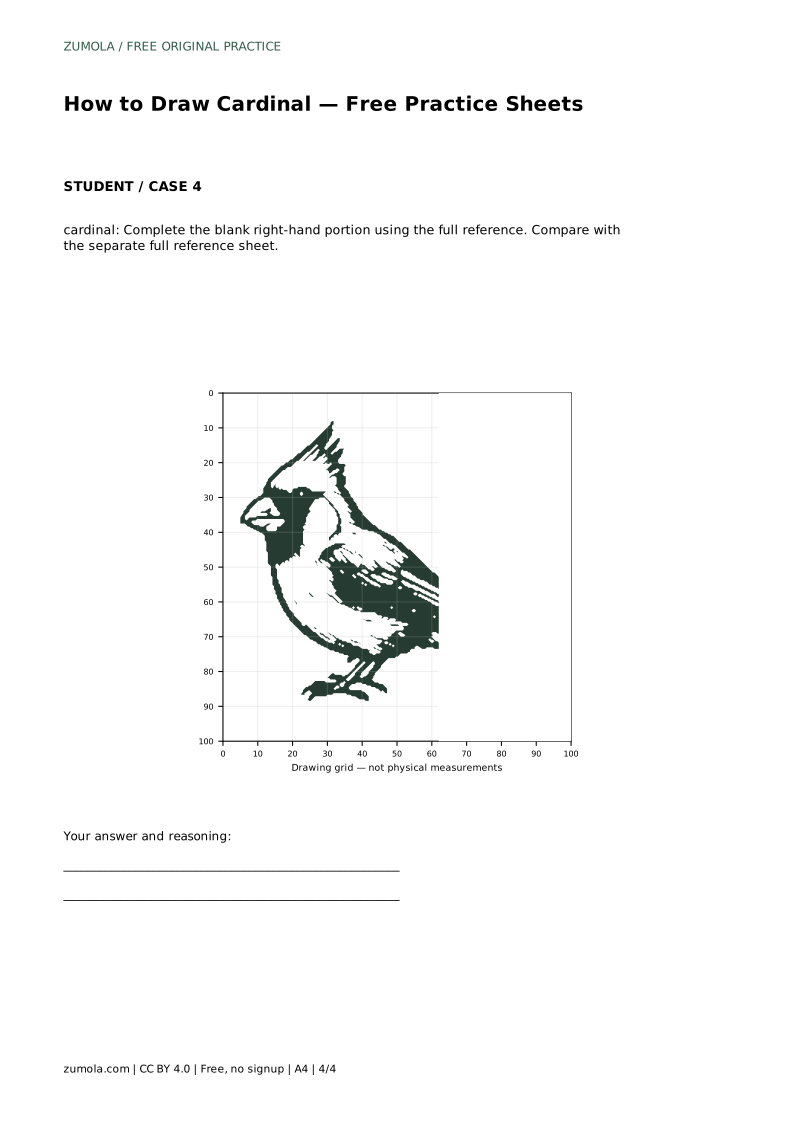
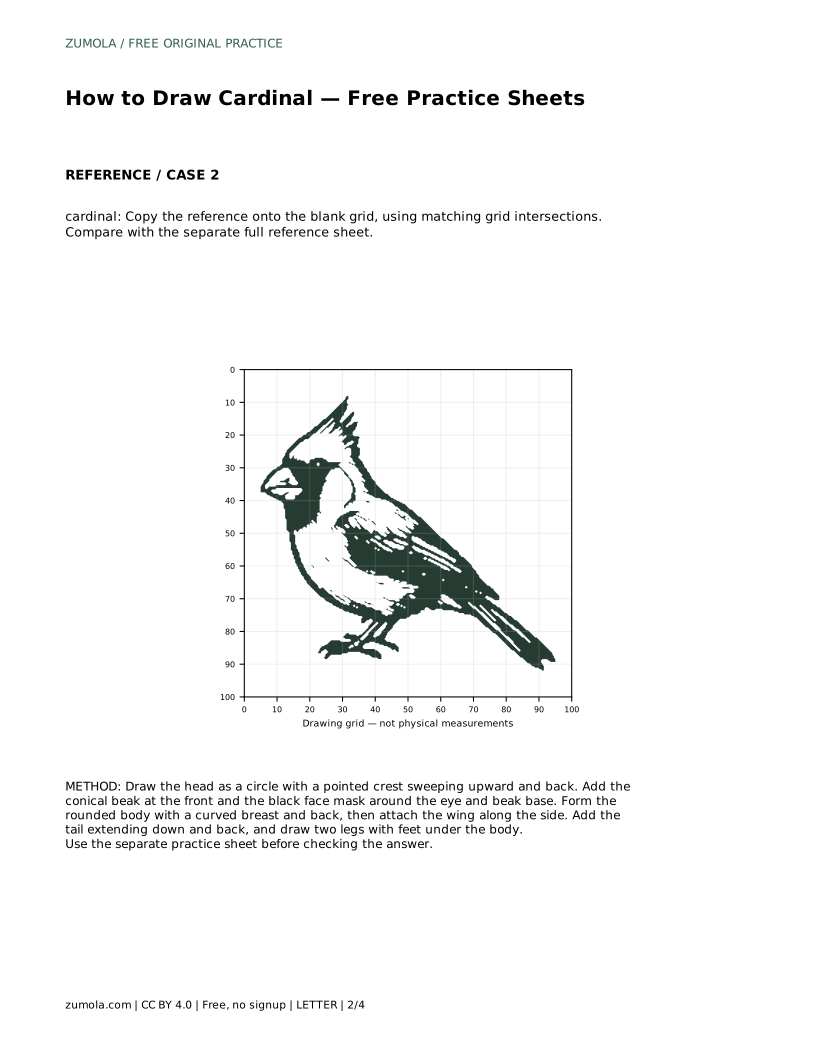
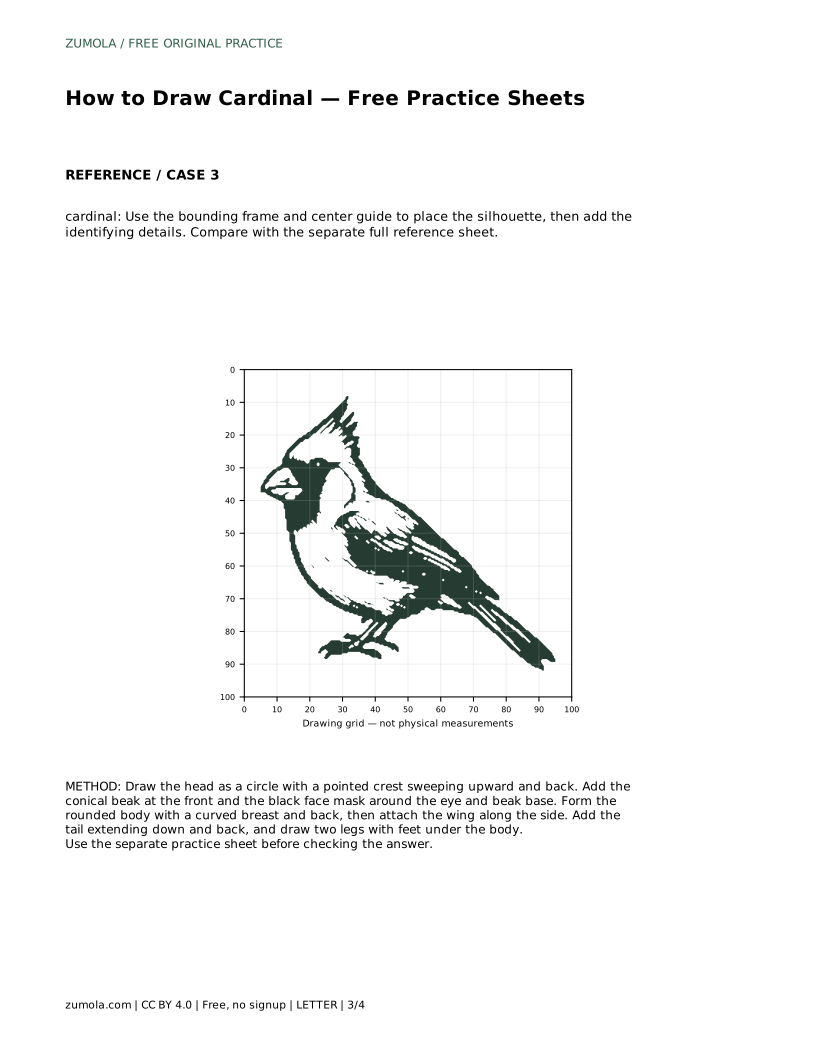
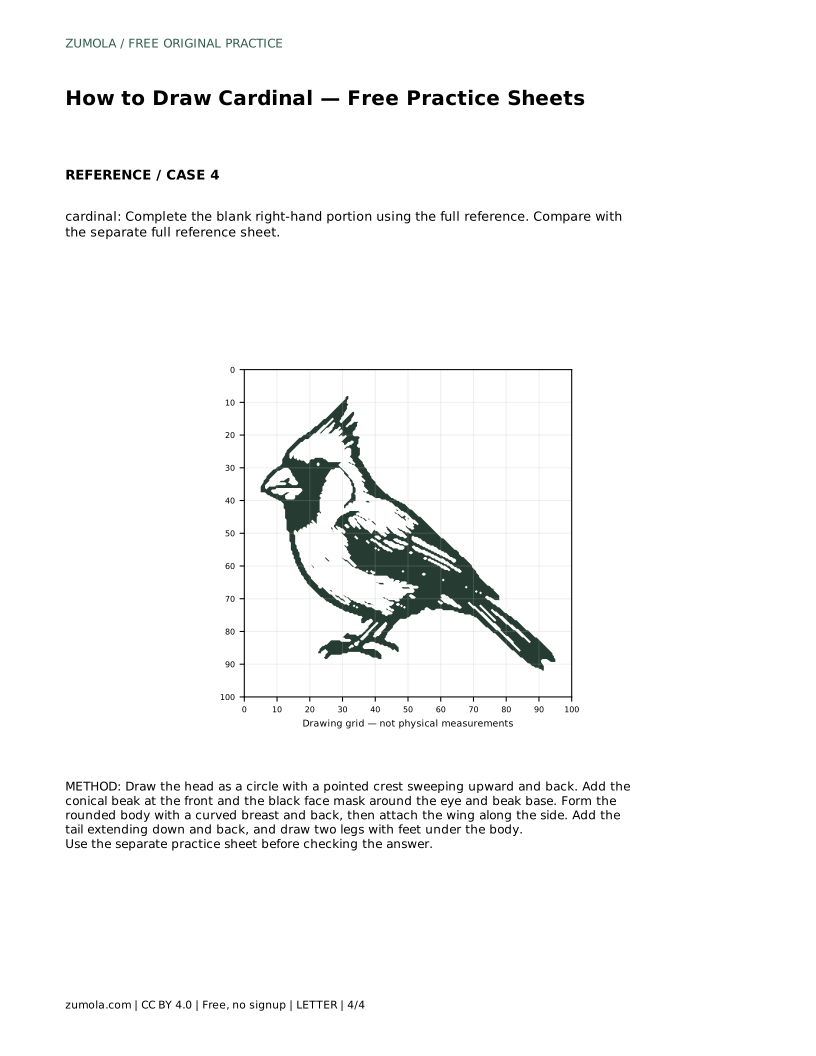
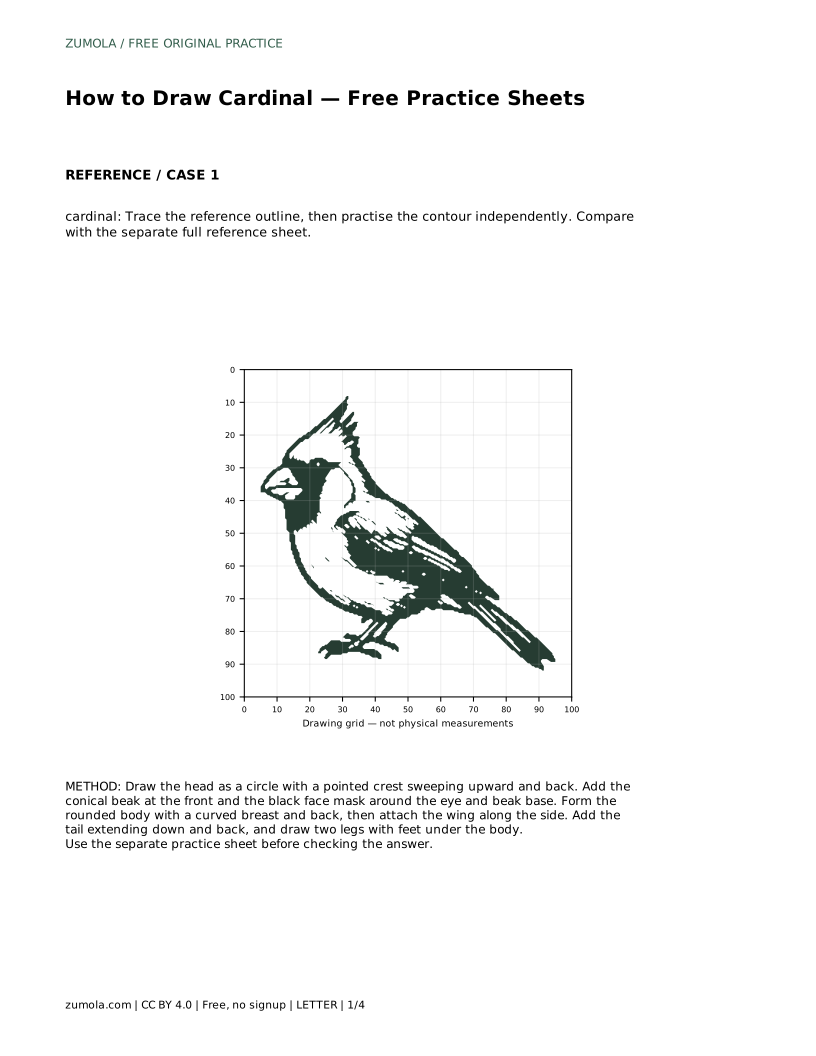
Each sheet rehearses the same contour in a different way. On the tracing sheet, follow the reference outline first, then draw the contour independently beside it. On the grid sheet, copy the drawing onto the blank grid by matching grid intersections, which trains you to judge relative position. On the frame-and-center-guide sheet, place the silhouette using the bounding frame and center guide before adding identifying details. On the partial sheet, complete the blank right-hand portion using the full reference.
After each attempt, compare your drawing with the separate full reference sheet. Ask whether the crest points back, the beak is conical, the mask surrounds the eye and beak base, and the body, wing, tail, and legs sit in believable proportion. Different drawings can all be correct; judge the visible features and proportions rather than pixel-perfect matching.
Use a short checklist rather than hunting for an exact match. Confirm the crest is pointed and sweeps back, the beak is conical and meets the face, the mask is connected around the eye and beak base, and the body has a fuller breast than back. Then check that the wing follows the side, the tail extends down and back, and both legs sit under the body.
If something looks off, adjust one feature at a time and redraw. Small changes to the crest angle or mask size often fix a drawing that feels wrong without rebuilding the whole bird.
cardinal: Trace the reference outline, then practise the contour independently. Compare with the separate full reference sheet.
Example solution: preserve pointed crest on head, black face mask around eye and beak, conical beak. Other drawings can be correct; assess the visible features and proportions rather than pixel-perfect matching. Draw the head as a circle with a pointed crest sweeping upward and back. Add the conical beak at the front and the black face mask around the eye and beak base. Form the rounded body with a curved breast and back, then attach the wing along the side. Add the tail extending down and back, and draw two legs with feet under the body.
No. Several drawings can be correct. Judge the visible features and proportions, such as the pointed crest, conical beak, connected mask, and balanced body, rather than pixel-perfect matching.
Head and crest first, then the beak and mask, then the body, wing, tail, and legs. Building in that order keeps the face readable before the larger shapes are added.
Copy the reference onto the blank grid by matching grid intersections. Use the intersections to judge where each feature sits relative to the others, then compare with the full reference sheet.
All drawing practice · Free coordinate paper
Original resources · CC BY 4.0 · Free for personal and classroom use with attribution.