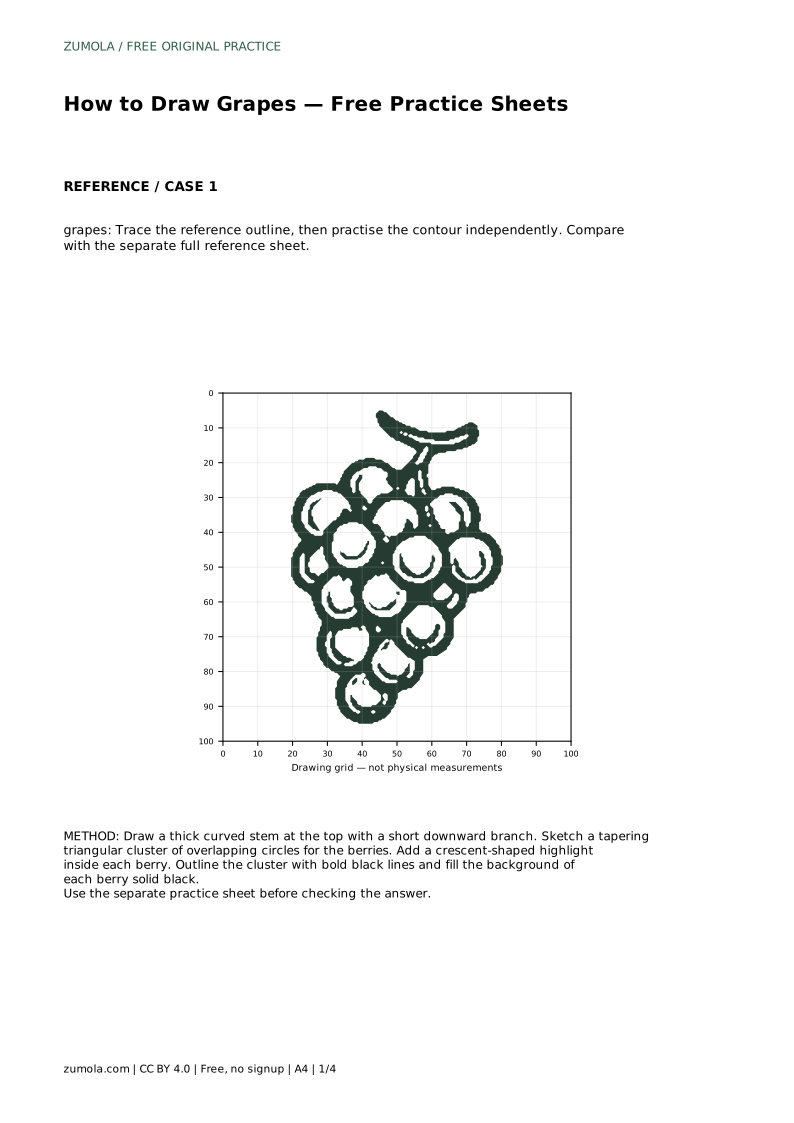
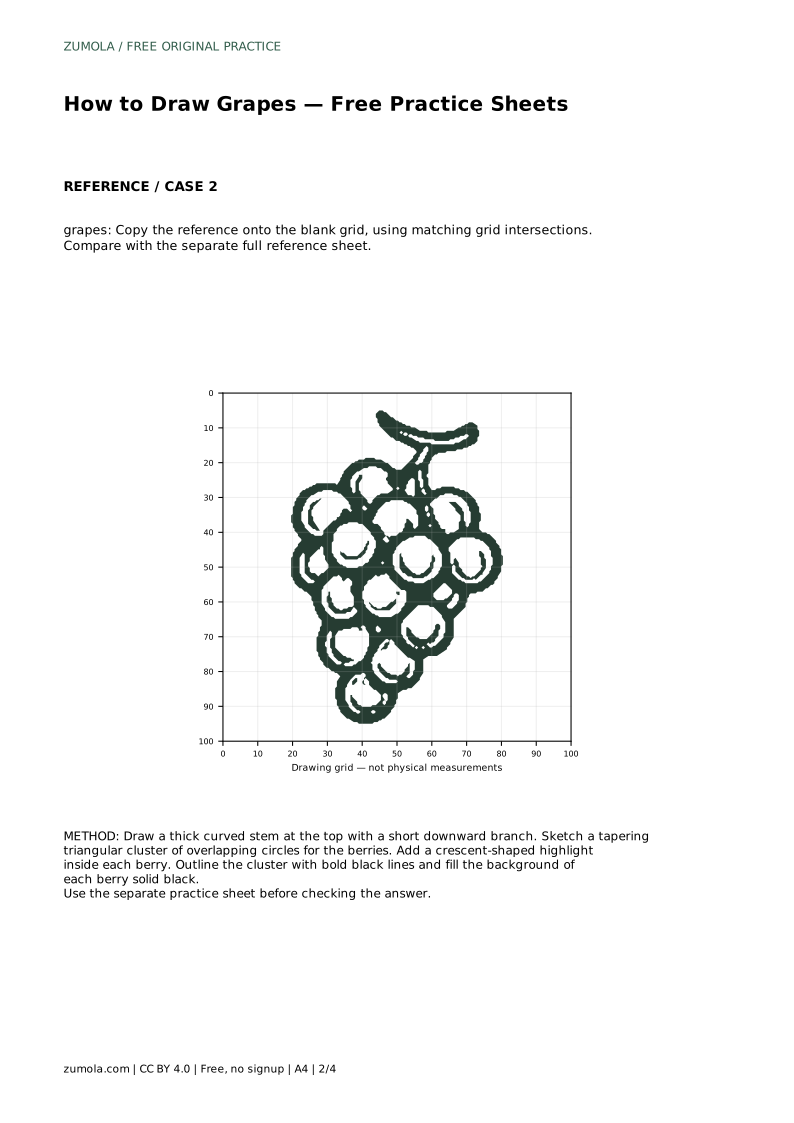
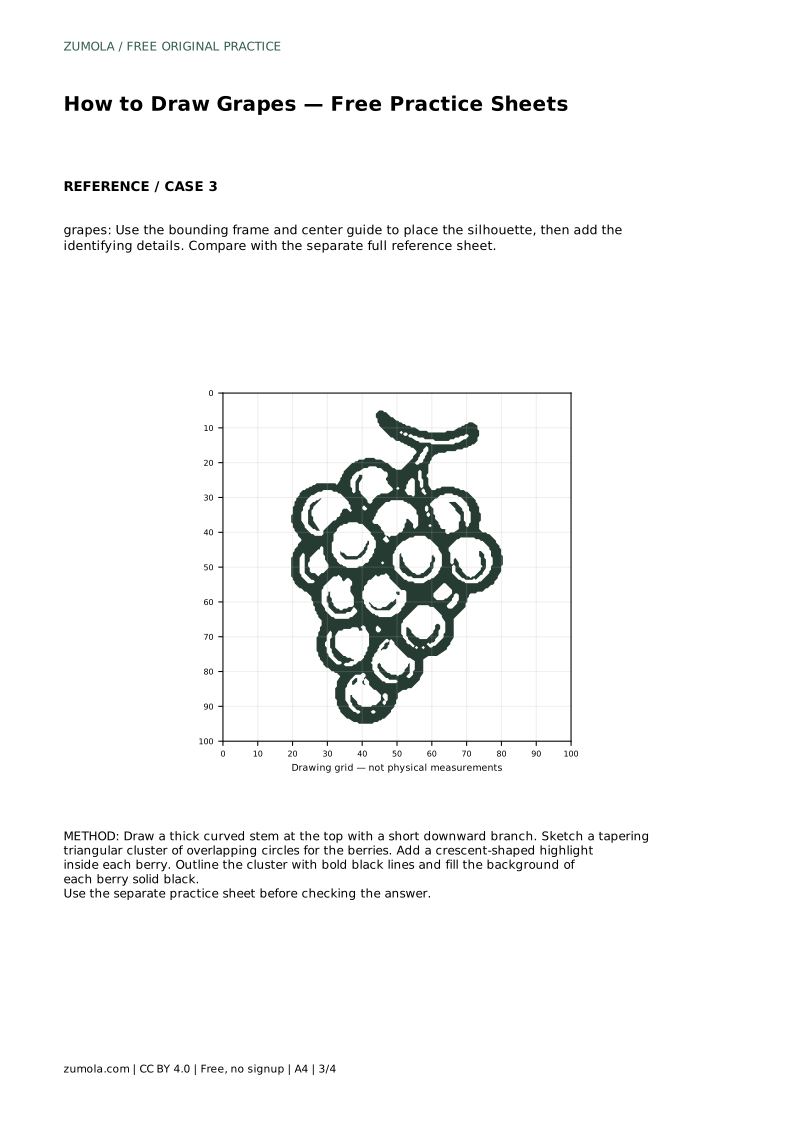
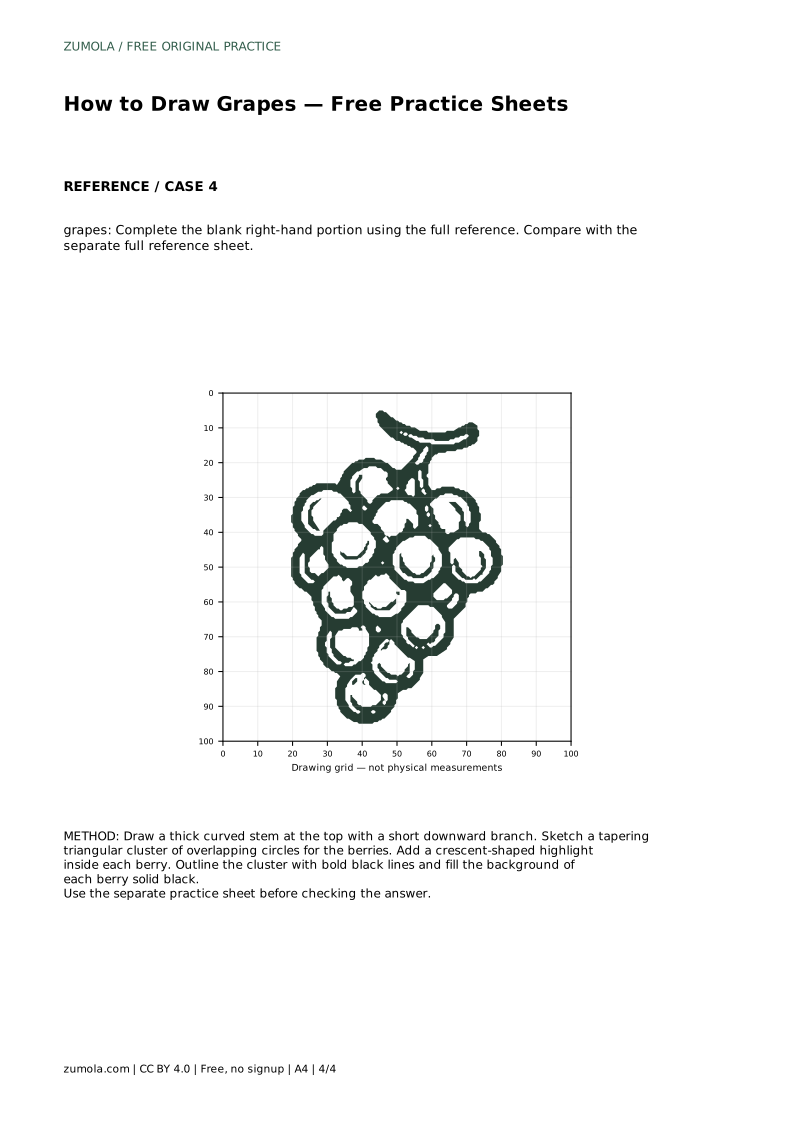
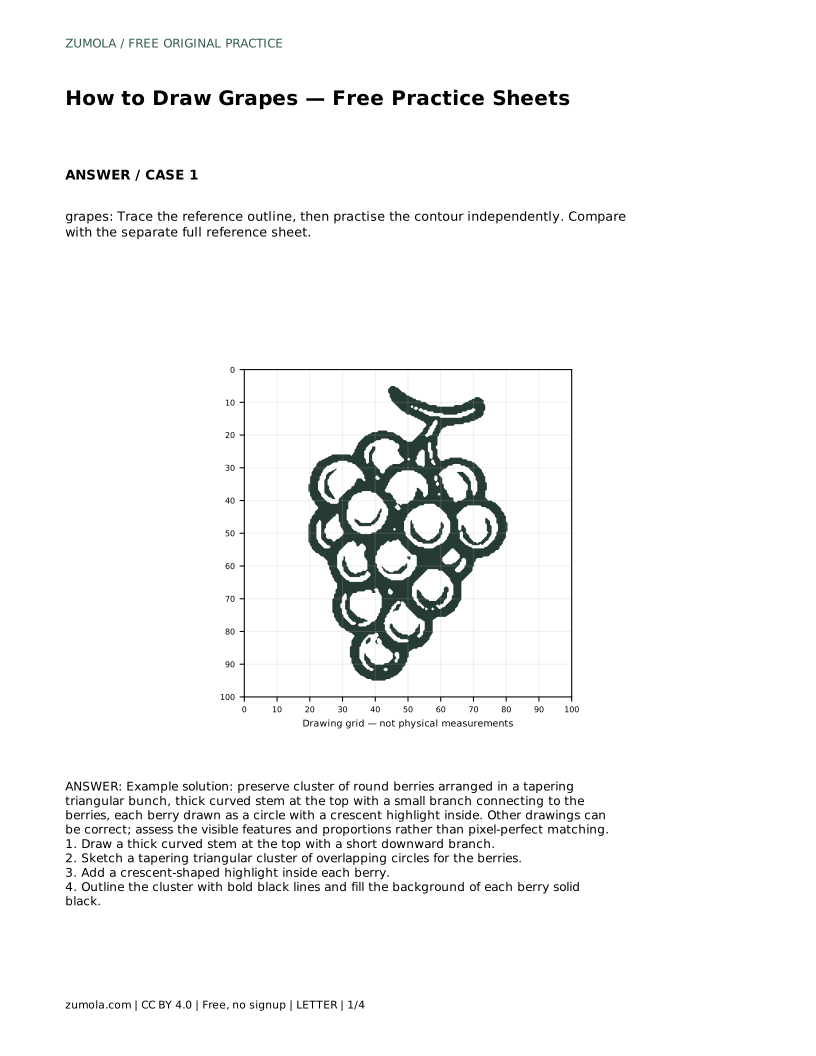
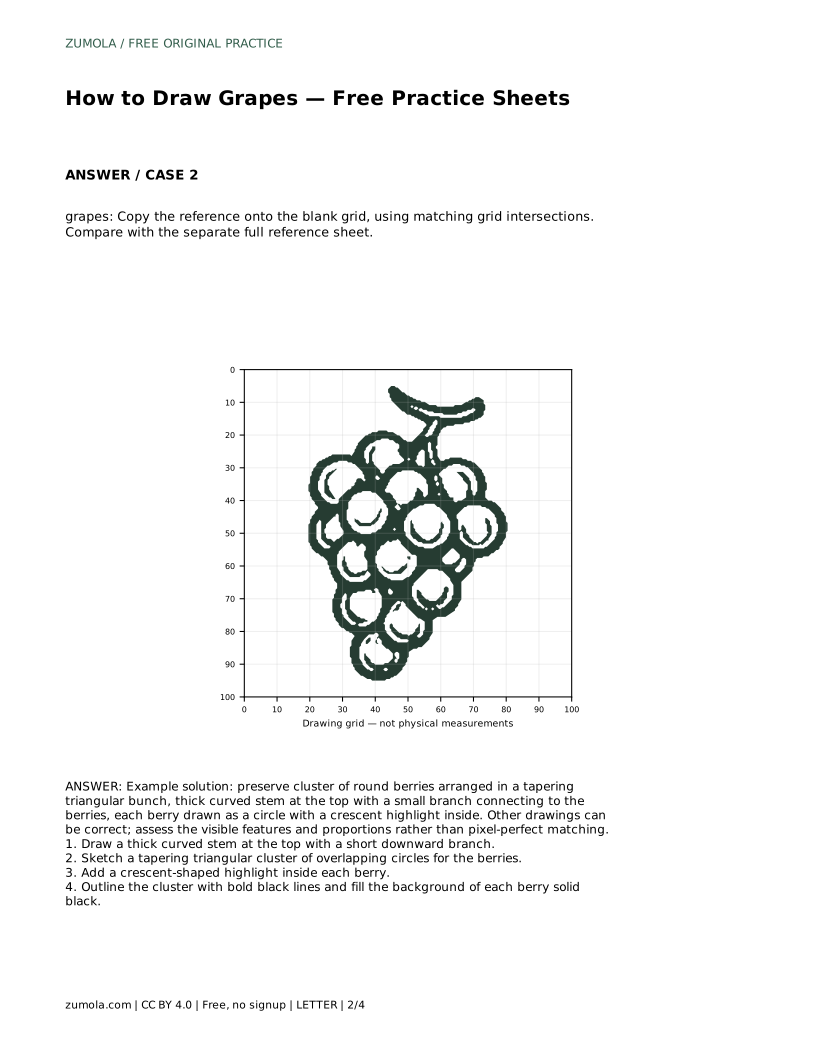
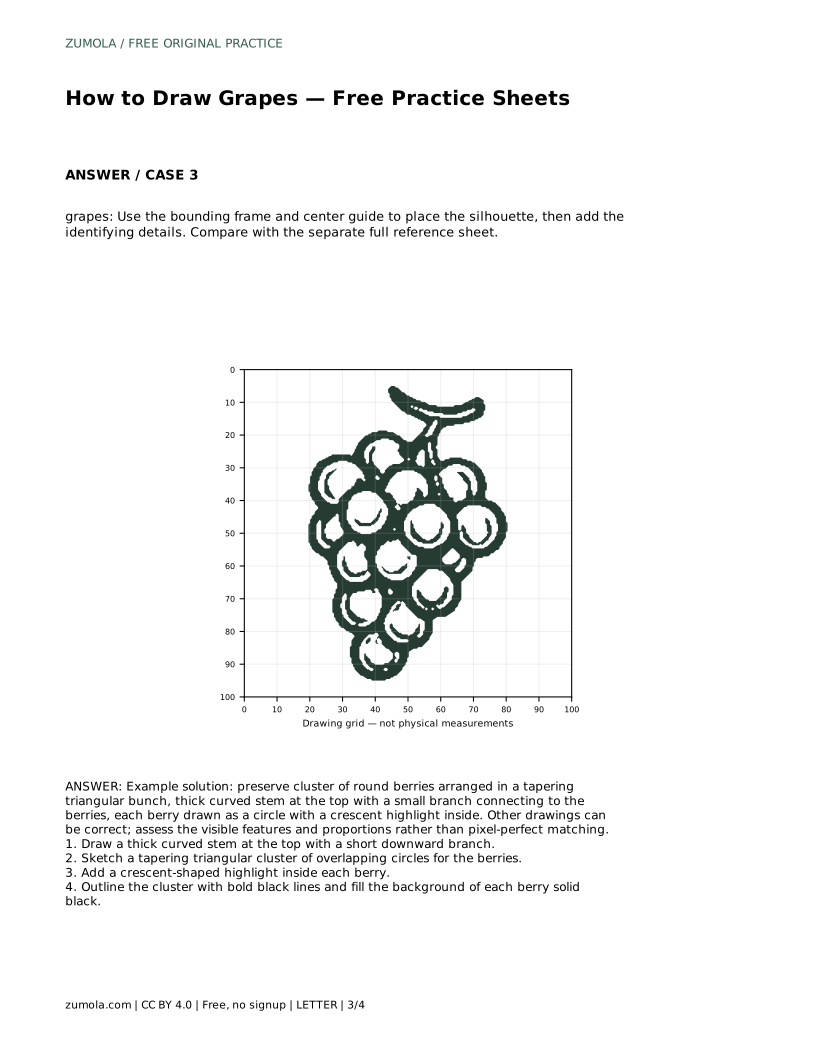
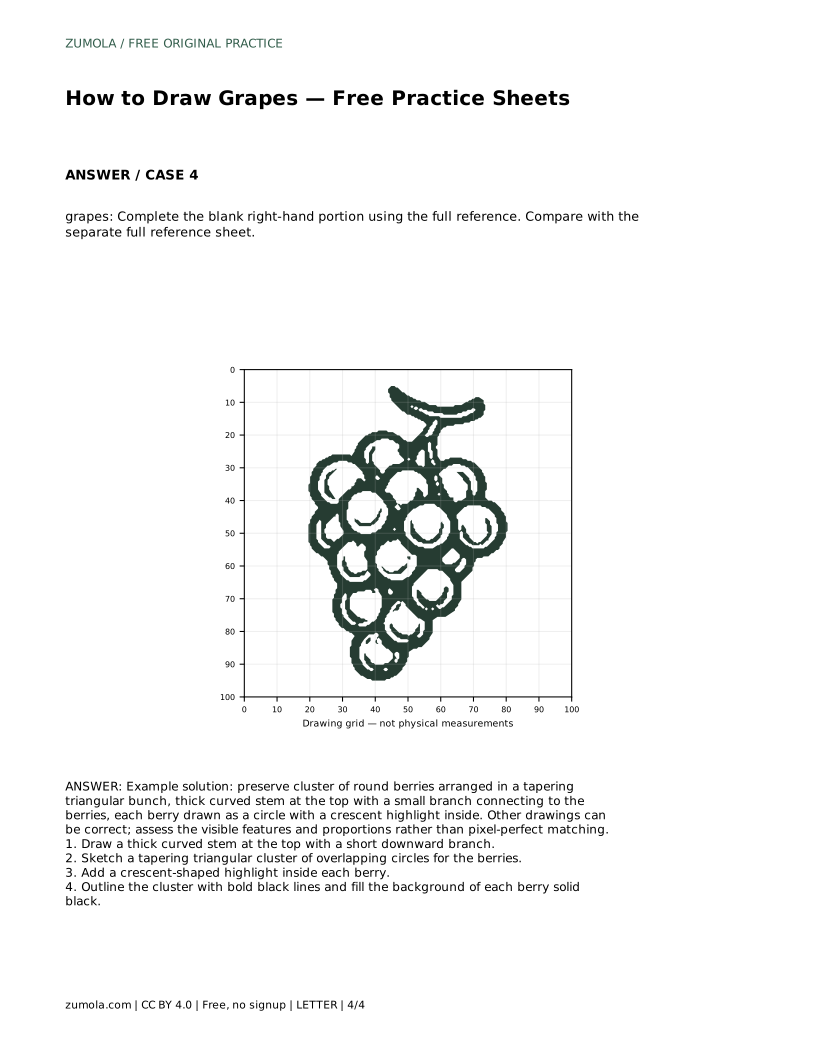
Reference diagrams
LETTER · Download PDF
A4 · Download PDF
Free original resources
Learn to draw a grape bunch with a curved stem, tapering berry cluster, and crescent highlights. Practice with tracing, grid, and frame sheets.
Four original cases, with reference diagrams, practice sheets and worked answers. Everything is free; no signup required.
LETTER · Download PDF
A4 · Download PDF
LETTER · Download PDF
A4 · Download PDF
LETTER · Download PDF
A4 · Download PDF
Use A4 or US Letter to match your printer. Use the stated values and conditions to solve each exercise; diagrams are not physical measuring rulers.
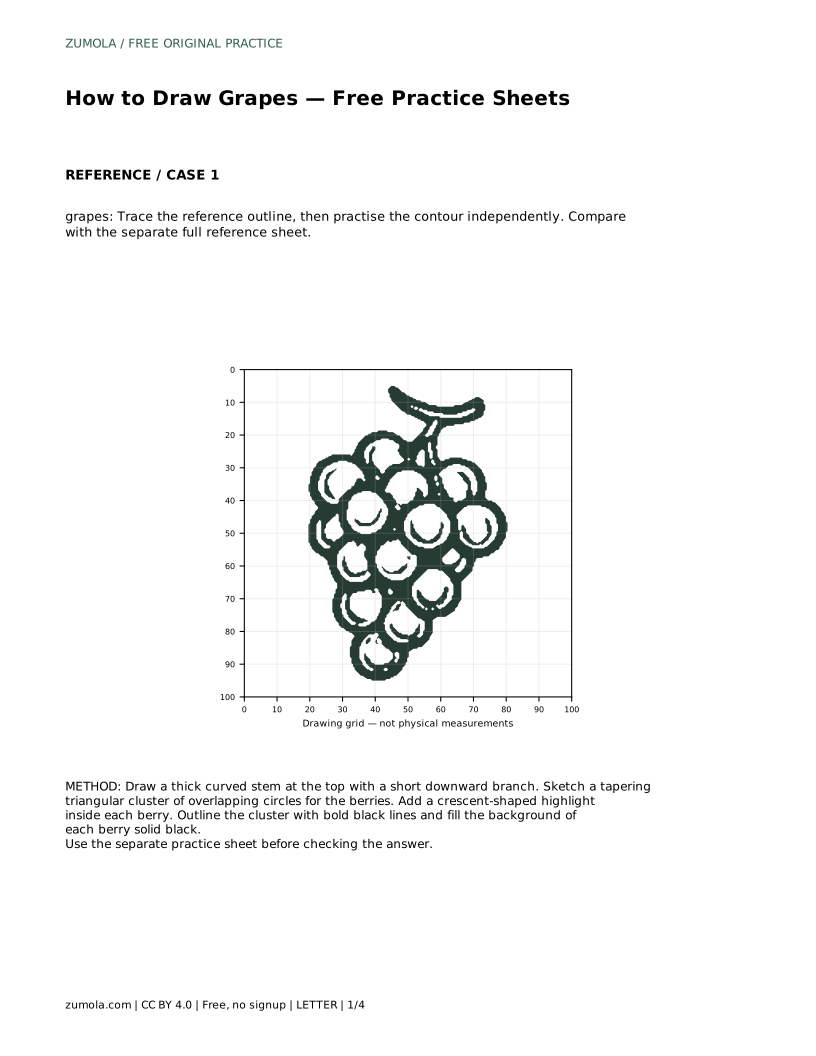
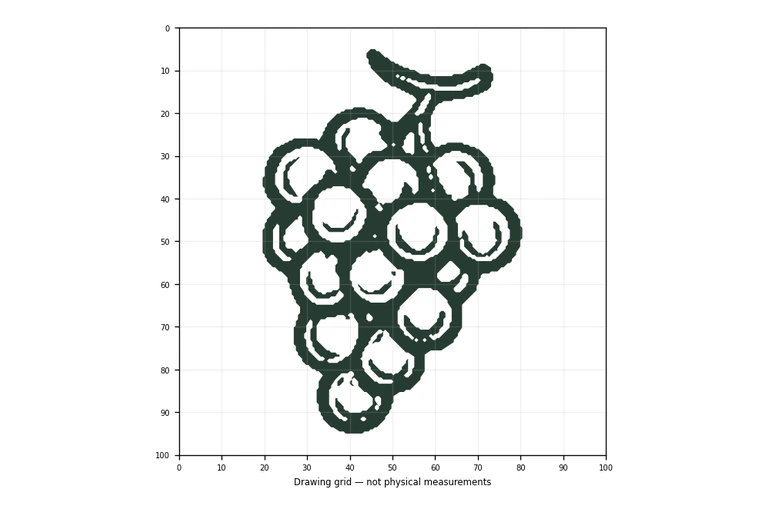
Drawing grapes is mostly a problem of arrangement and overlap. The stem sets the direction, the berries form a tapering triangular bunch, and each berry needs a round outline plus a crescent highlight to read as fruit rather than a flat dot. This page explains the order of construction and how to judge your own result. The practice sheets give you tracing, grid, frame, and partial-reference versions of the same subject, so you can move from guided copying toward independent drawing.
Start with the stem because it fixes the top of the drawing and the direction the bunch hangs. Draw a thick curved stem, then a short downward branch where the berries attach. Next, sketch the cluster as overlapping circles inside a tapering triangular outline: wider near the top, narrowing toward the bottom. Overlap matters, since grapes sit against one another rather than in a neat grid.
Only after the circles are placed should you add the crescent highlight inside each berry. The crescent is a small curved sliver, not a full circle, and it should sit consistently on the same side of each berry so the light direction stays believable. Finish by outlining the cluster with bold black lines and filling the background of each berry solid black, leaving the crescent light.
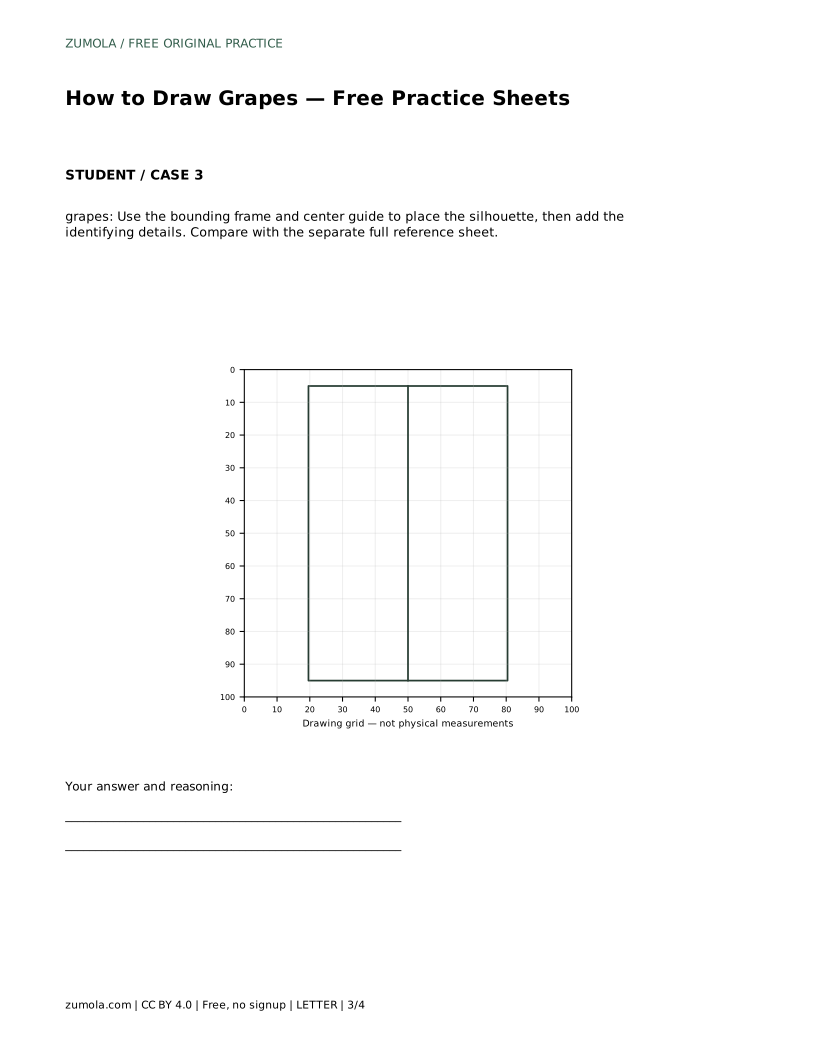
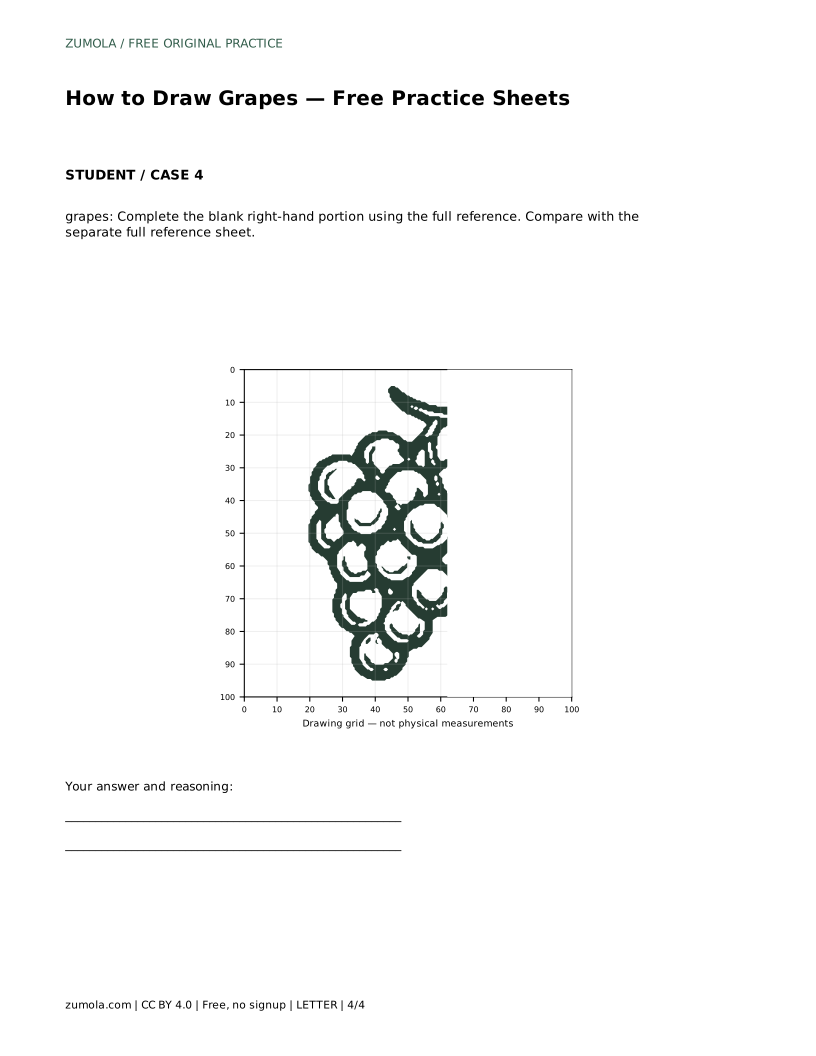
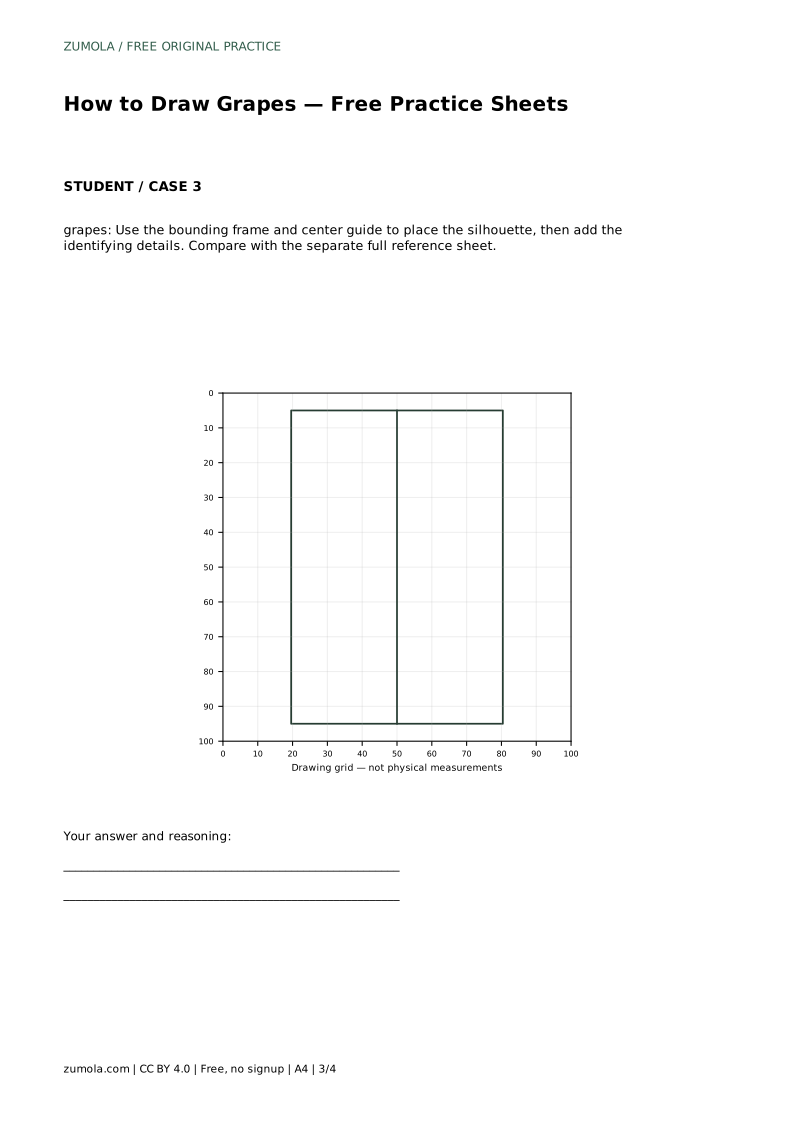
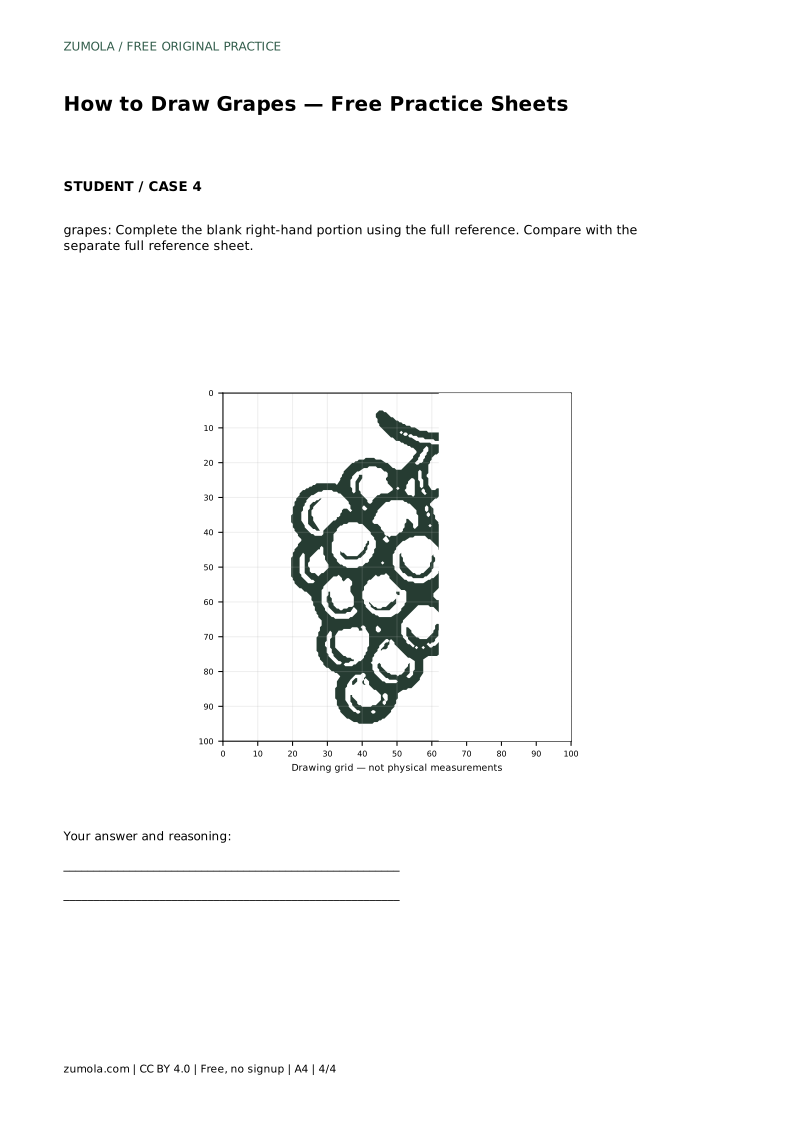
The four sheet types ask for the same drawing through different supports. Tracing builds the contour; the grid version asks you to match intersections; the bounding frame and center guide help you place the silhouette before details; the blank right-hand portion asks you to complete the bunch from the full reference. Use the separate full reference sheet for comparison after each attempt.
Compare the width of the bunch at its widest point with its total height. A common early error is making the cluster too round or too wide at the bottom, which loses the tapering triangle. Look at how many berries span the widest row and how the rows below shrink. Also check that the stem is thick enough to support the visual weight of the bunch and that the branch actually touches the top berries.
Berry size should stay fairly consistent. If one circle is much larger than its neighbors, the bunch looks lumpy rather than clustered. Overlaps should be shallow, with each berry showing most of its circle. Deep overlaps hide the roundness and make the cluster read as a single mass.
Grapes can be drawn correctly in many ways. A slightly different berry count, a steeper stem curve, or a wider highlight can all still produce a convincing bunch. Judge the visible features instead of comparing line positions exactly. Ask whether the tapering triangular cluster is present, whether the berries are round and overlapping, whether the stem is thick and curved with a connecting branch, and whether each berry carries a crescent highlight.
Shading consistency is part of the assessment. If highlights sit on different sides of neighboring berries, the light direction becomes confusing. Bold outlines and solid black berry backgrounds should be clean, with the crescent left open. These criteria apply to every sheet type, including the partial-reference version where you complete only the blank portion.
Work through the sheets in increasing independence. Trace first to learn the contour, then use the grid to practice placement, then the frame and center guide to plan the silhouette, and finally the blank portion to complete the bunch from the reference. After each attempt, compare with the full reference sheet and pick a single feature to correct on the next try.
Keep sessions short and repeat the same drawing rather than switching subjects immediately. Repetition with a specific correction, such as narrowing the bottom of the cluster or aligning the highlights, improves the drawing faster than starting fresh each time.
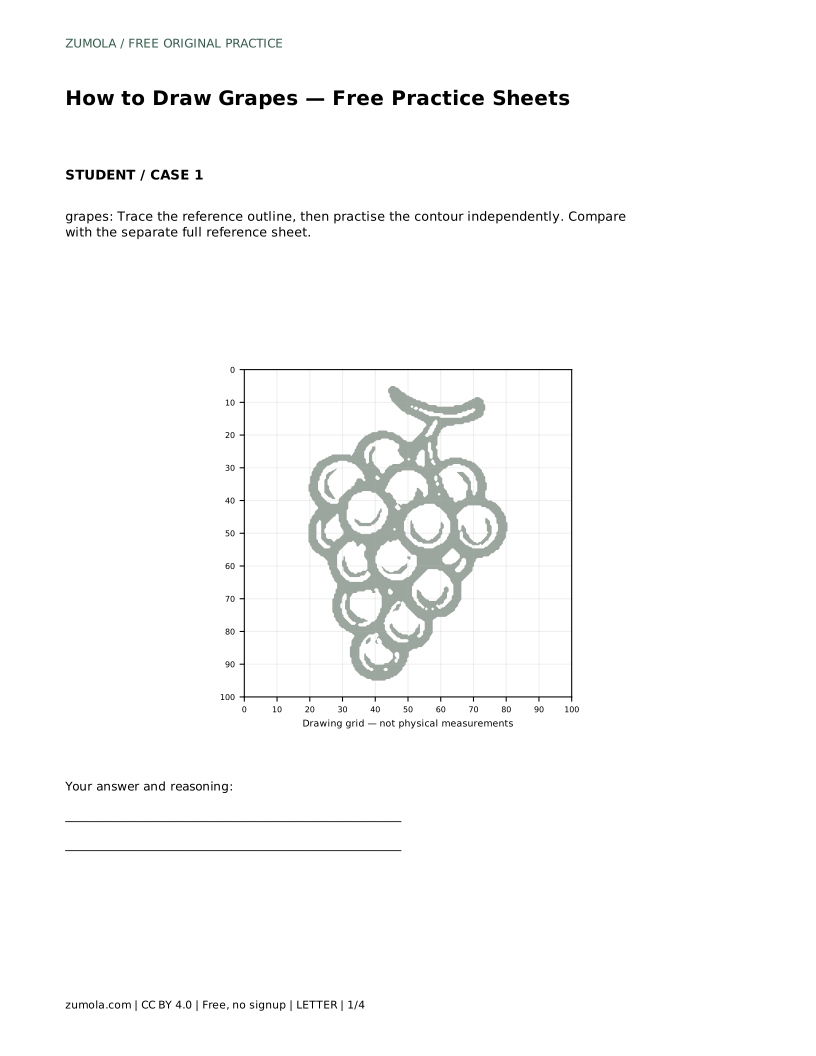
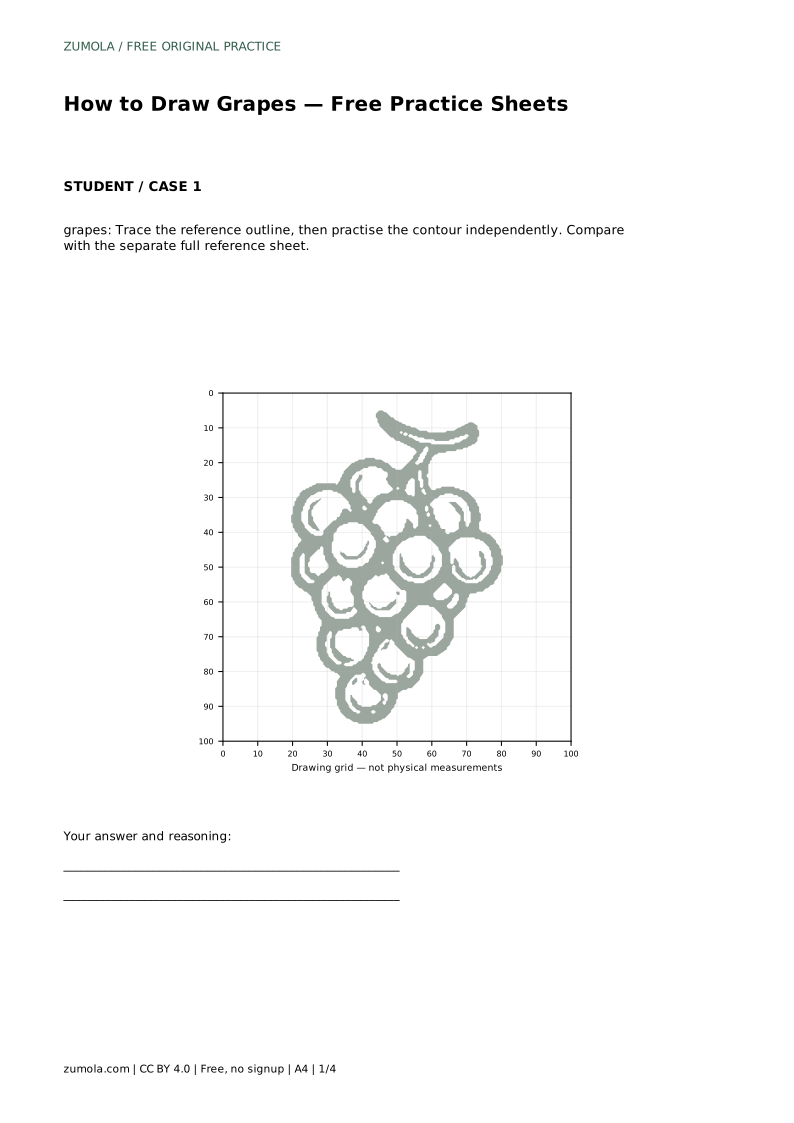
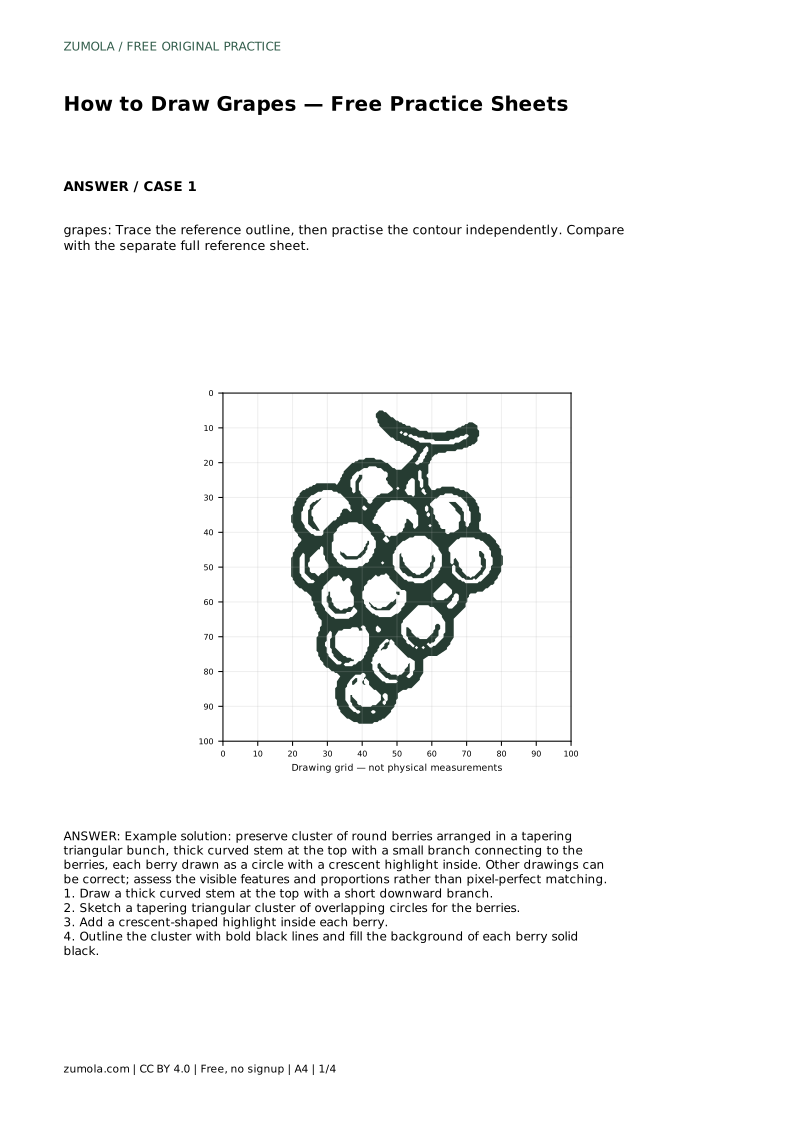
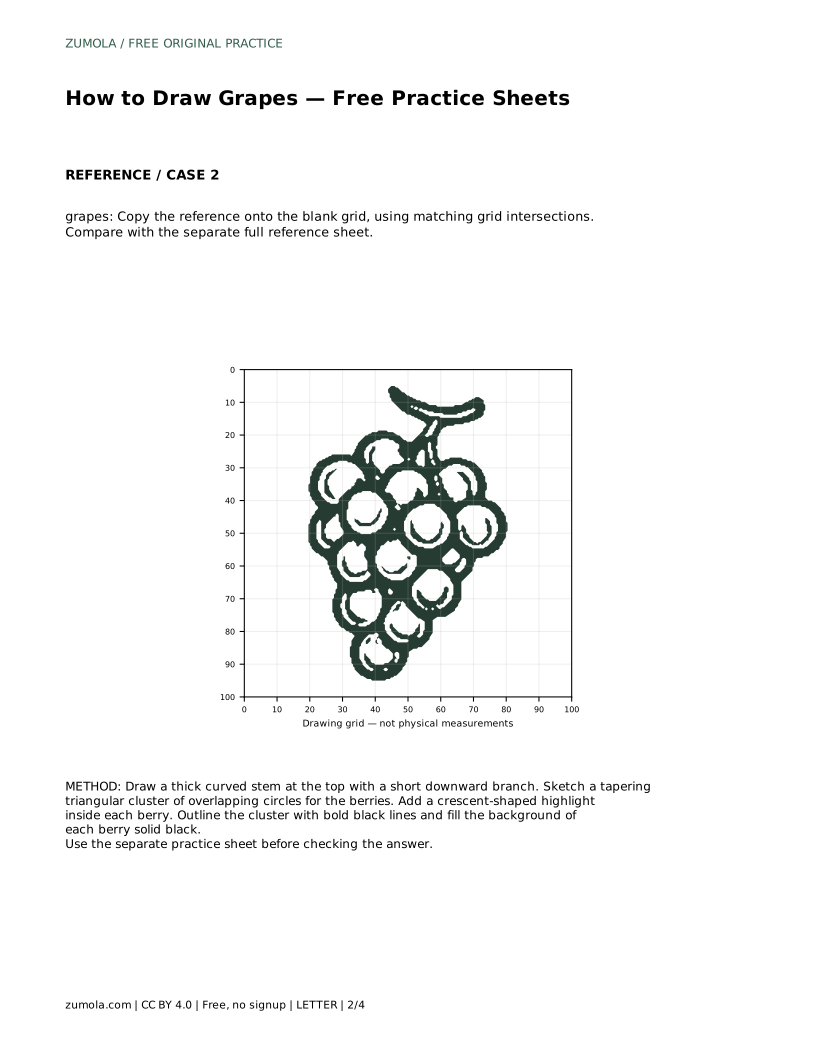
grapes: Trace the reference outline, then practise the contour independently. Compare with the separate full reference sheet.
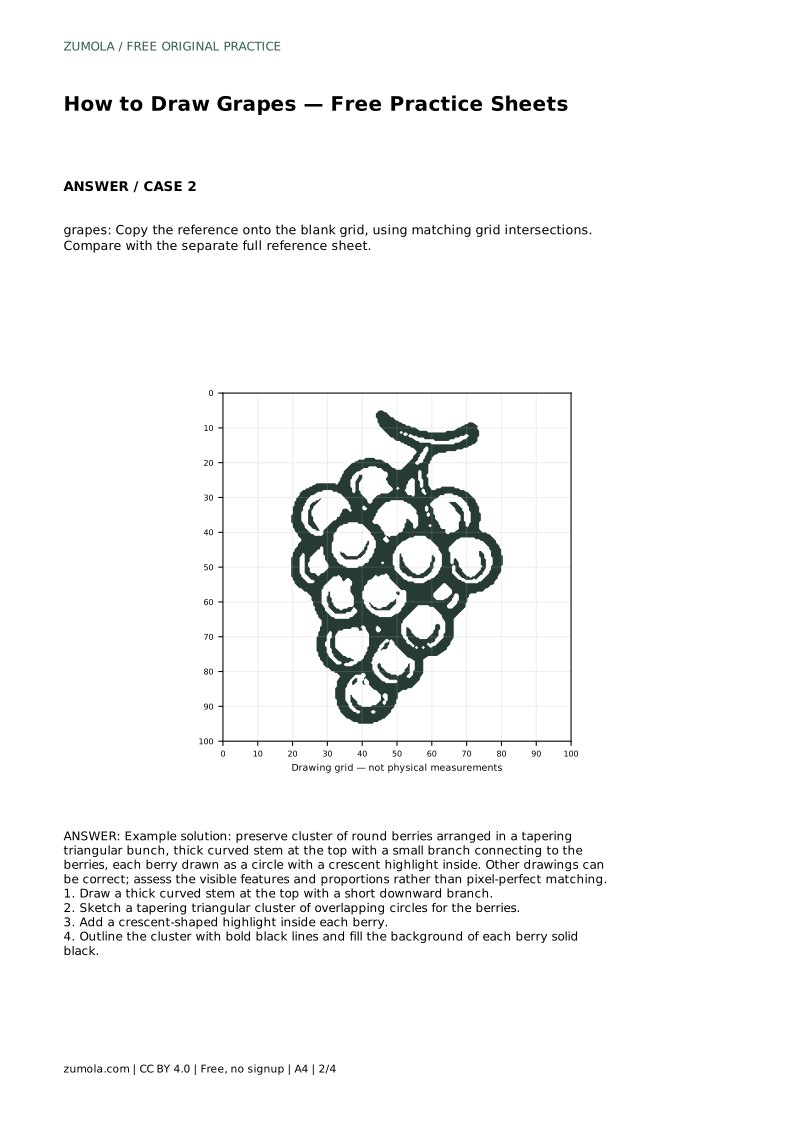
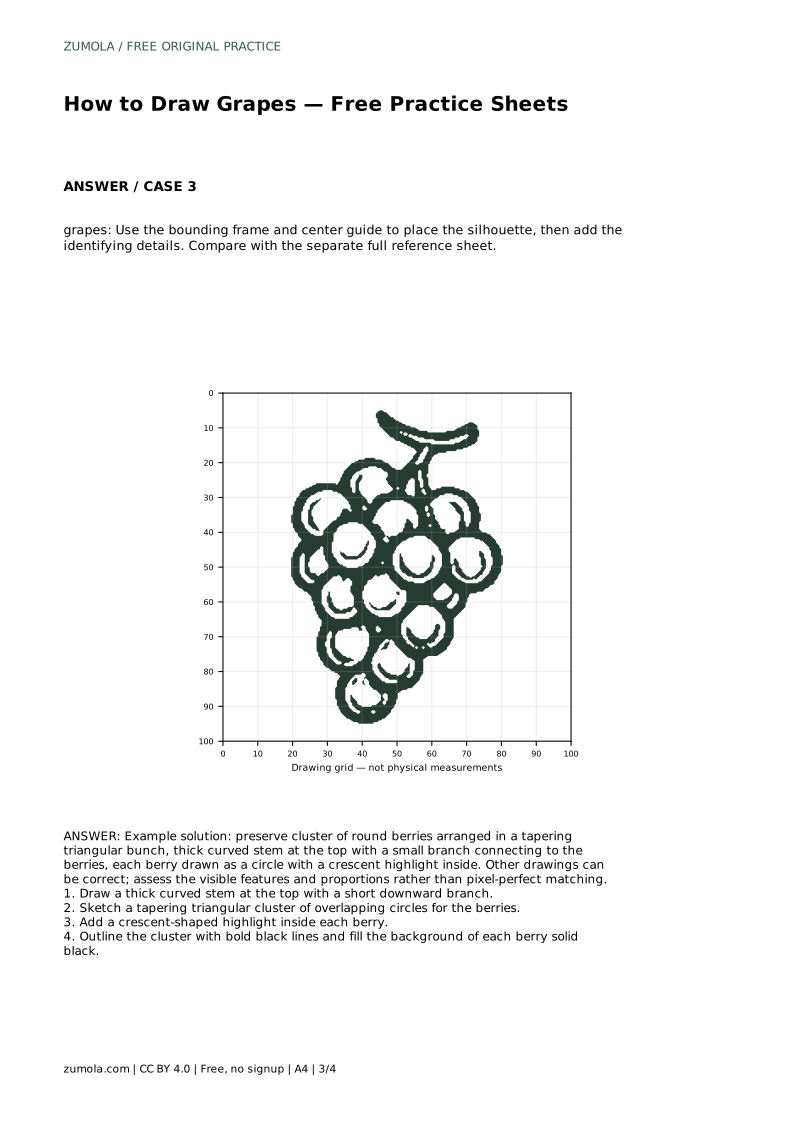
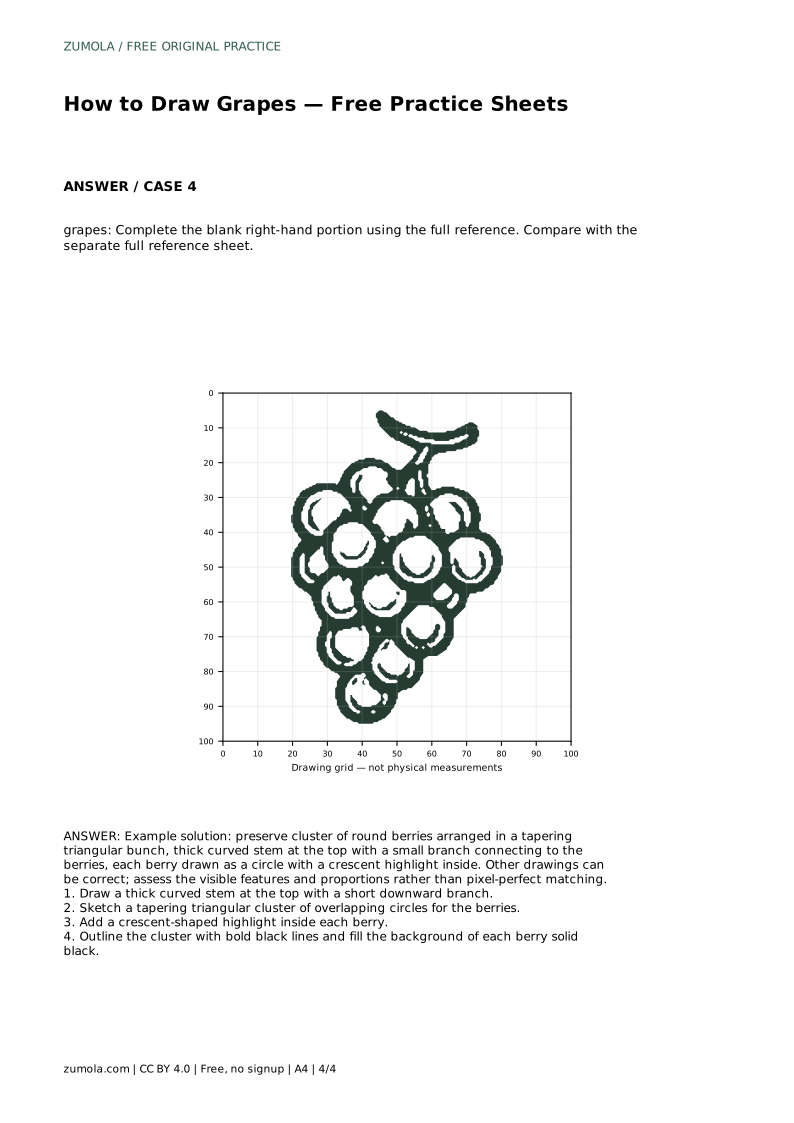
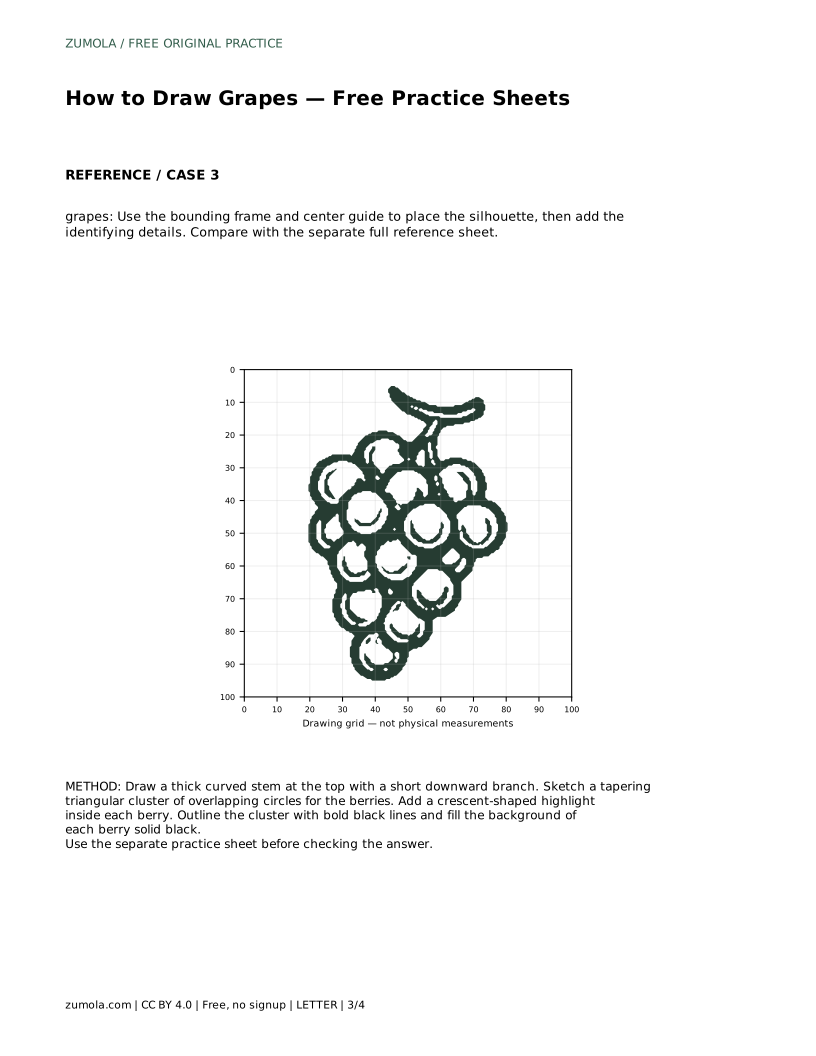
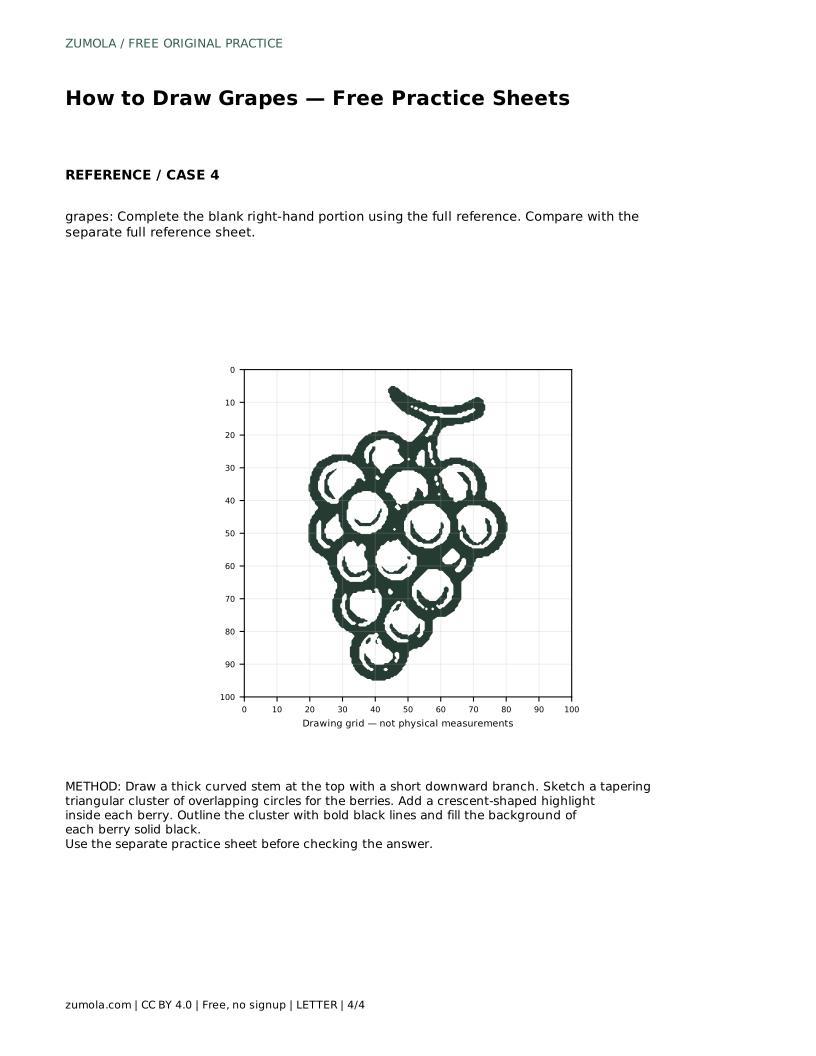
Example solution: preserve cluster of round berries arranged in a tapering triangular bunch, thick curved stem at the top with a small branch connecting to the berries, each berry drawn as a circle with a crescent highlight inside. Other drawings can be correct; assess the visible features and proportions rather than pixel-perfect matching. Draw a thick curved stem at the top with a short downward branch. Sketch a tapering triangular cluster of overlapping circles for the berries. Add a crescent-shaped highlight inside each berry. Outline the cluster with bold black lines and fill the background of each berry solid black.
No. Grapes can be drawn correctly in several ways. Assess the tapering cluster, round overlapping berries, thick curved stem with a branch, and crescent highlights rather than exact line positions.
Inside each berry, on the same side across the bunch, so the light direction stays consistent.
Start with the tracing sheet to learn the contour, then move to the grid, frame, and blank-portion versions as you gain independence.
All drawing practice · Free coordinate paper
Original resources · CC BY 4.0 · Free for personal and classroom use with attribution.