Reference diagrams
LETTER · Download PDF
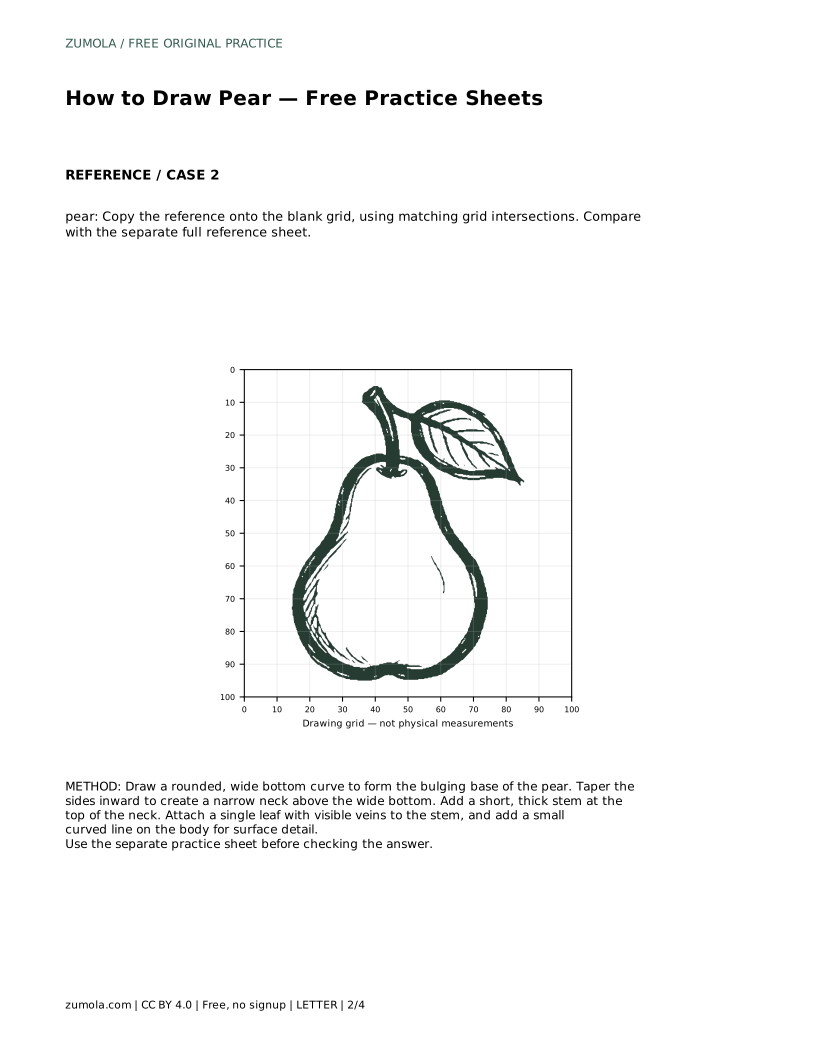
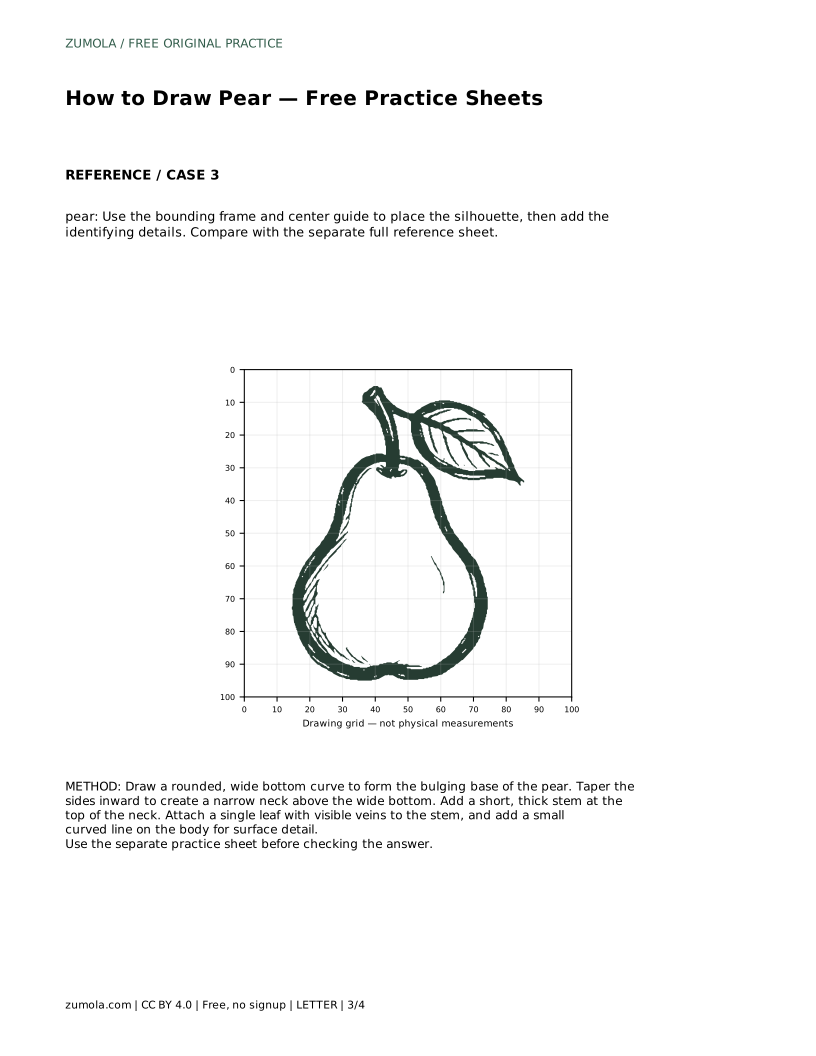
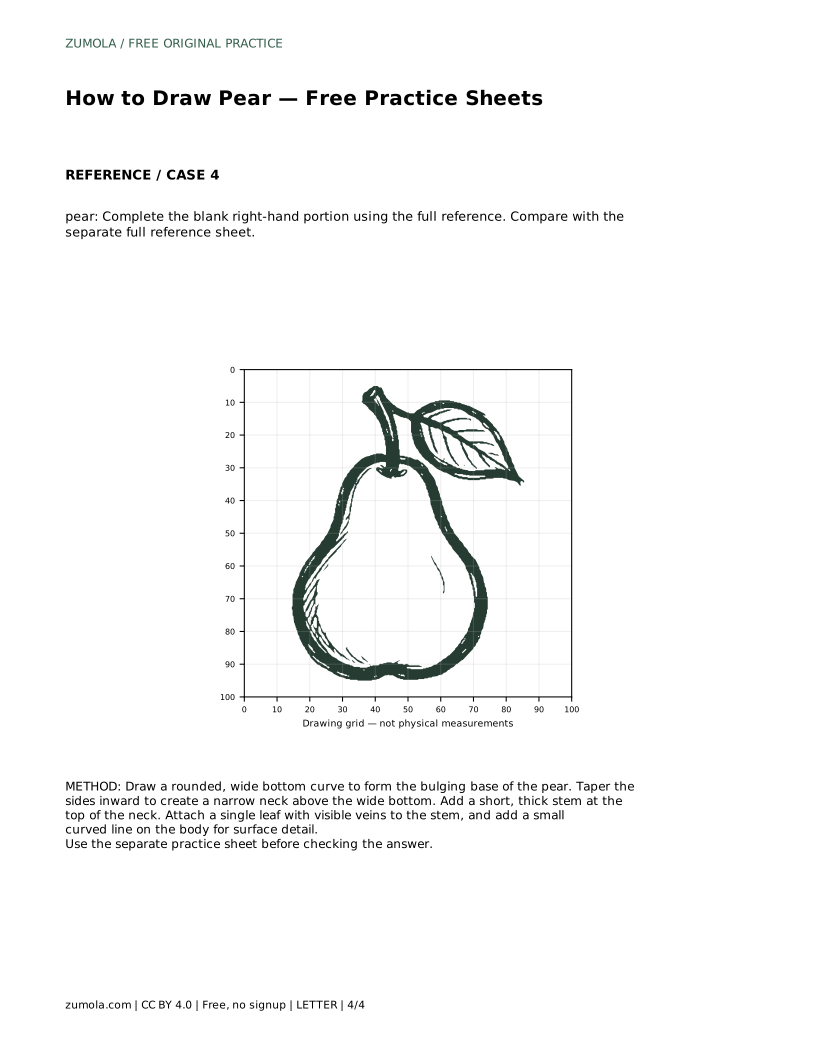
A4 · Download PDF
Free original resources
Learn to draw a pear by building its wide base, narrow neck, stem, and leaf. Trace, grid, and complete-the-drawing practice sheets support each step.
Four original cases, with reference diagrams, practice sheets and worked answers. Everything is free; no signup required.
LETTER · Download PDF
A4 · Download PDF
LETTER · Download PDF
A4 · Download PDF
LETTER · Download PDF
A4 · Download PDF
Use A4 or US Letter to match your printer. Use the stated values and conditions to solve each exercise; diagrams are not physical measuring rulers.
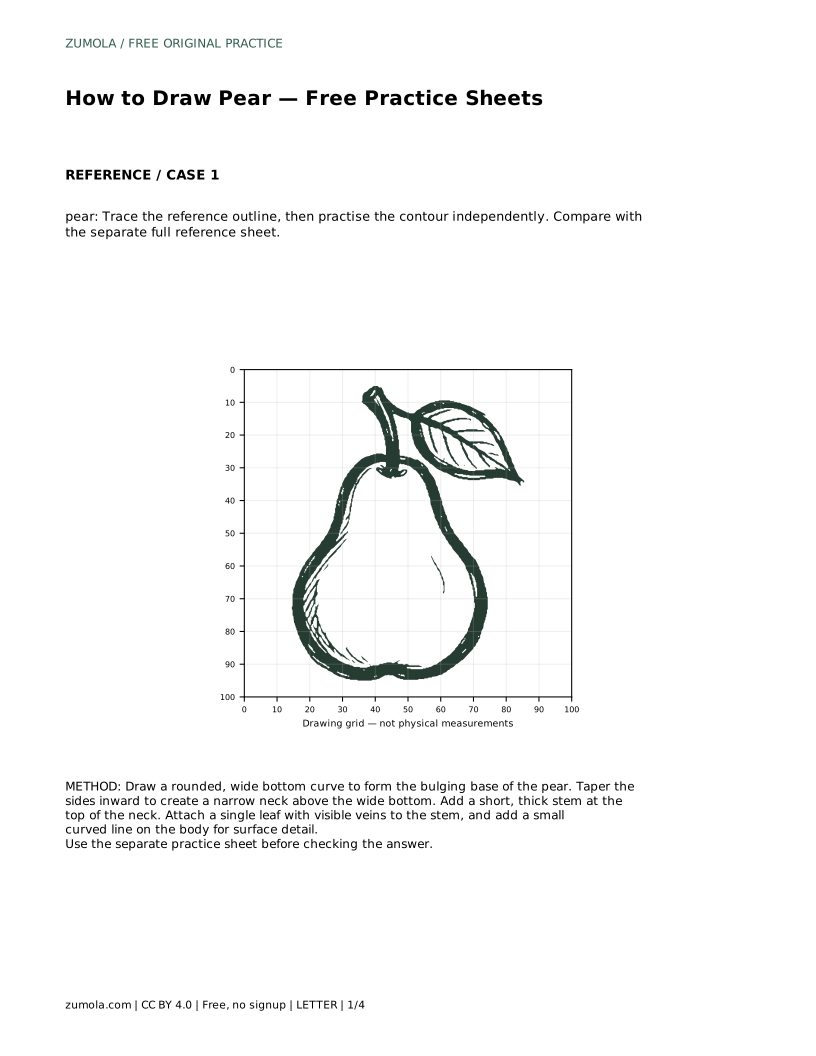
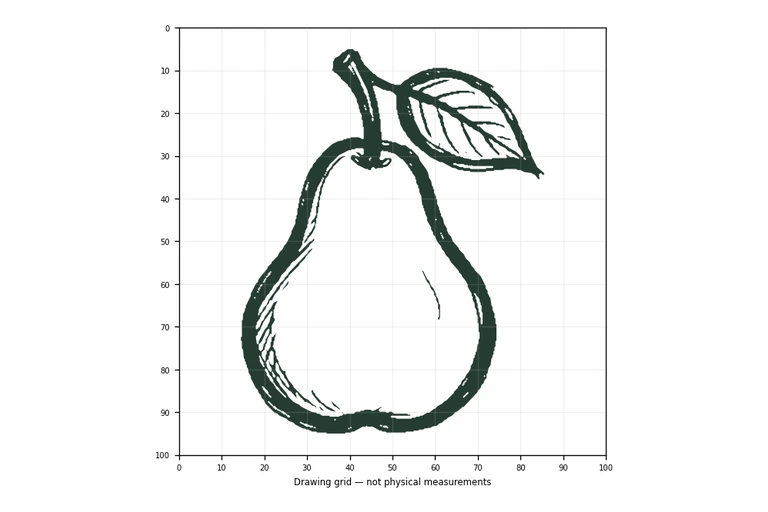
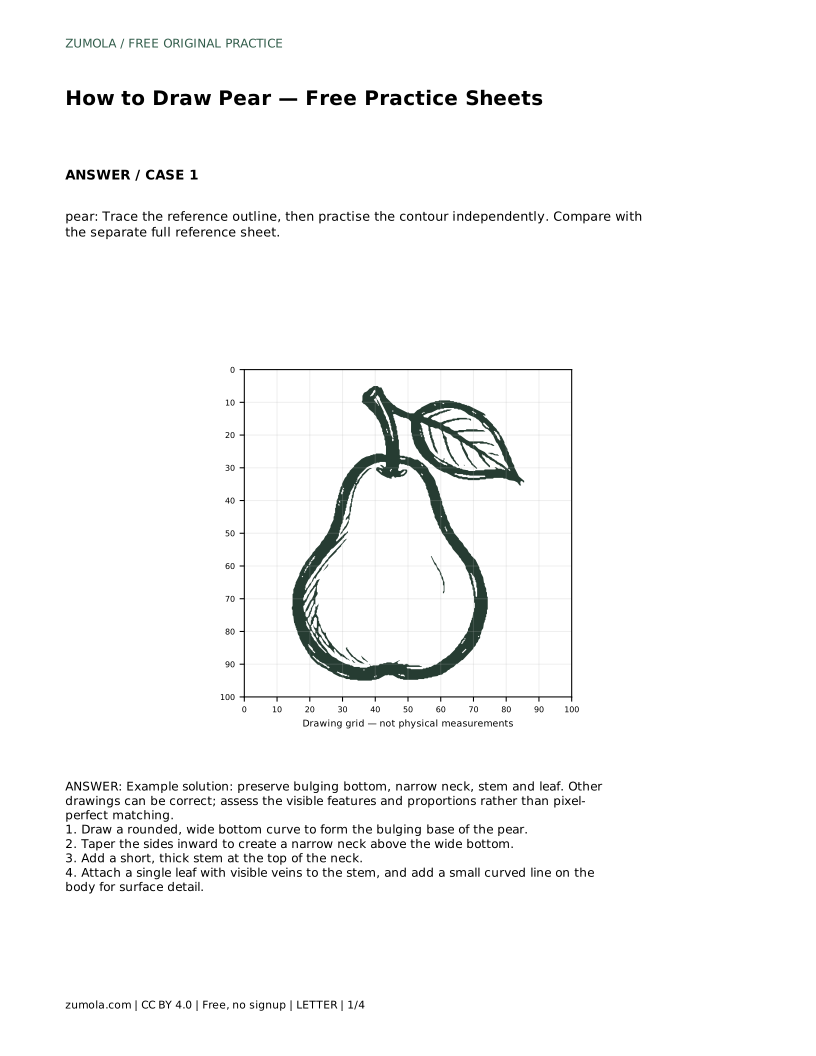
A pear is easy to recognize but surprisingly easy to draw lopsided. The shape depends on two contrasting curves: a broad, rounded bottom and a narrower neck that rises toward the stem. This page explains how to build that silhouette in order, then add the stem, leaf, veins, and a small surface line. The practice sheets let you trace a reference outline, copy it onto a grid, place it using a bounding frame and center guide, or complete a partially blank drawing.
Begin at the bottom of the pear, where the fruit is widest. Draw a rounded, wide curve that forms the bulging base. Keep this curve generous rather than flat; a pear's lower body should look full and slightly heavy. Work lightly so you can adjust the curve before committing to it.
The base is not a perfect circle. It is closer to a broad U shape that turns upward at both ends. Those upward turns become the starting points for the sides, so leave a little space at each end of the base curve rather than closing it off.
From the ends of the base curve, bring the sides inward and upward. The pear narrows gradually, so the transition should feel smooth rather than sudden. Avoid making the neck too thin; it still needs enough width to support the stem and leaf.
Compare the width of the neck with the width of the base. On most pears the base is clearly wider, often by roughly half again or more. If your neck looks nearly as wide as the bottom, taper it further. If it looks pinched, widen it slightly.
At the top of the neck, add a short, thick stem. A pear stem is usually brief and slightly angled rather than long and thin. Attach a single leaf to the stem, then draw visible veins inside the leaf. Veins can be a central line with a few branching lines on each side.
Finish with a small curved line on the body of the pear for surface detail. This line suggests a subtle contour or shadow edge without turning the drawing into a full shading study. Keep it short and place it where the fruit would naturally curve.
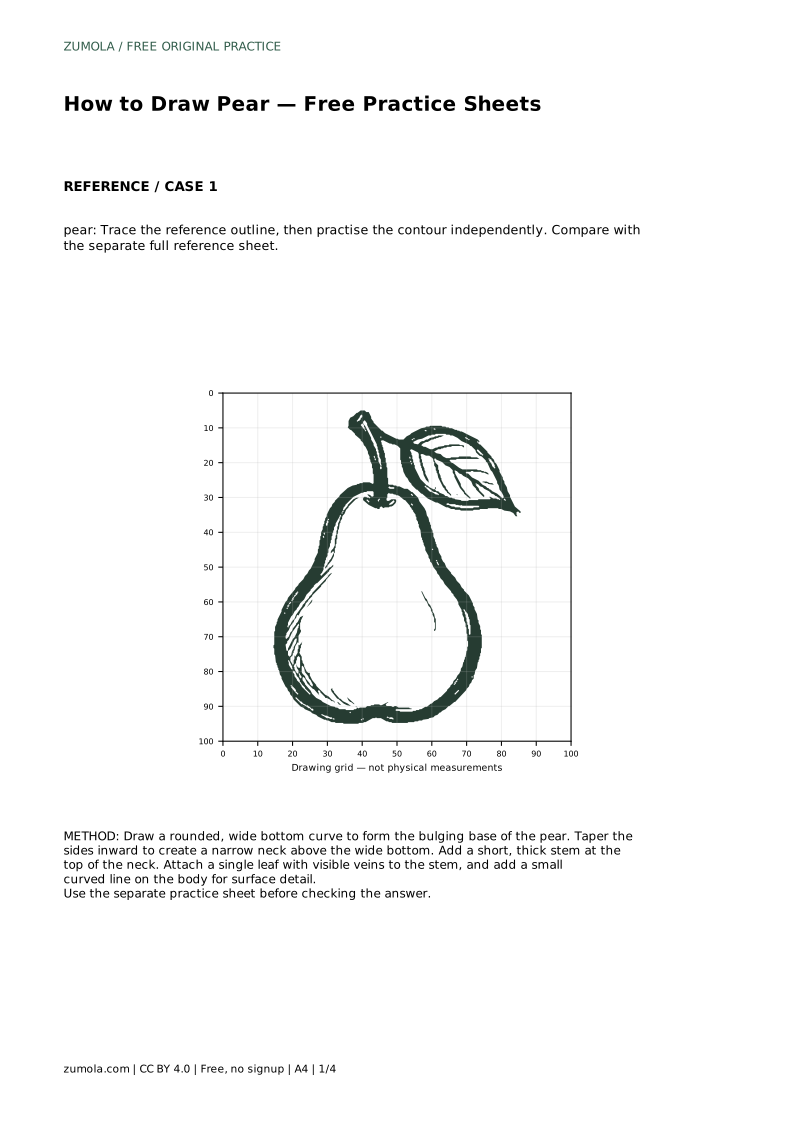
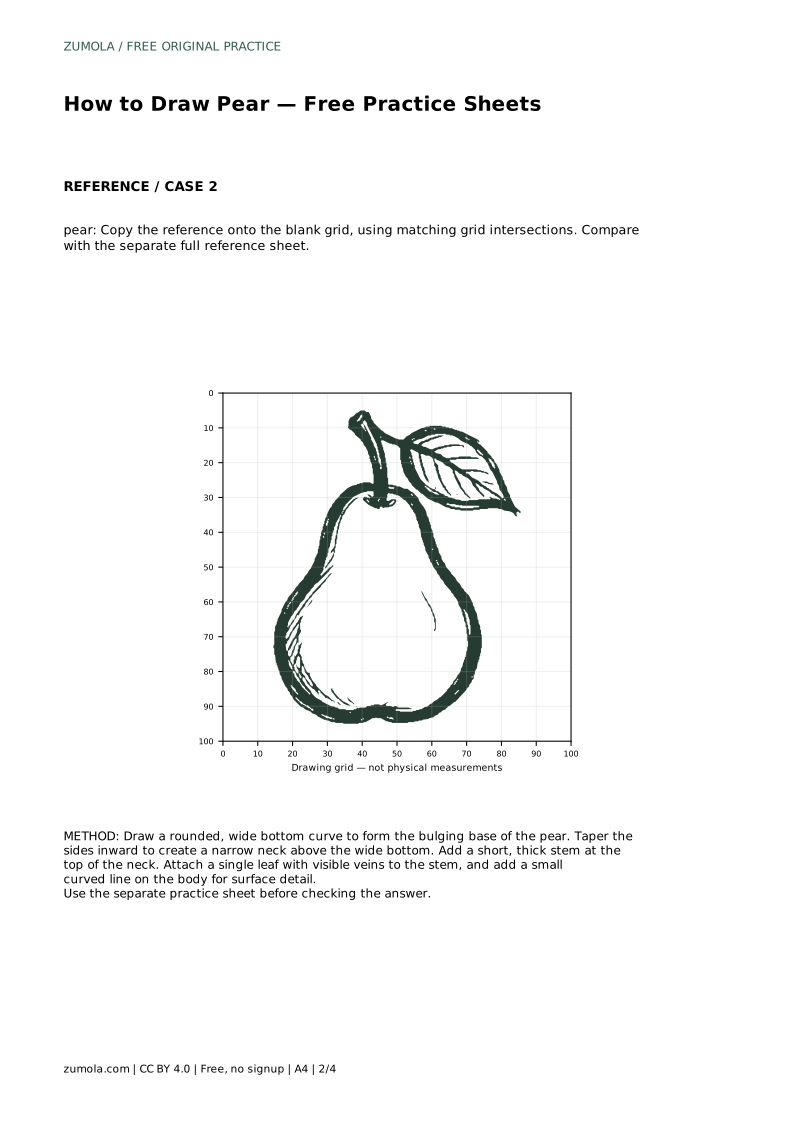
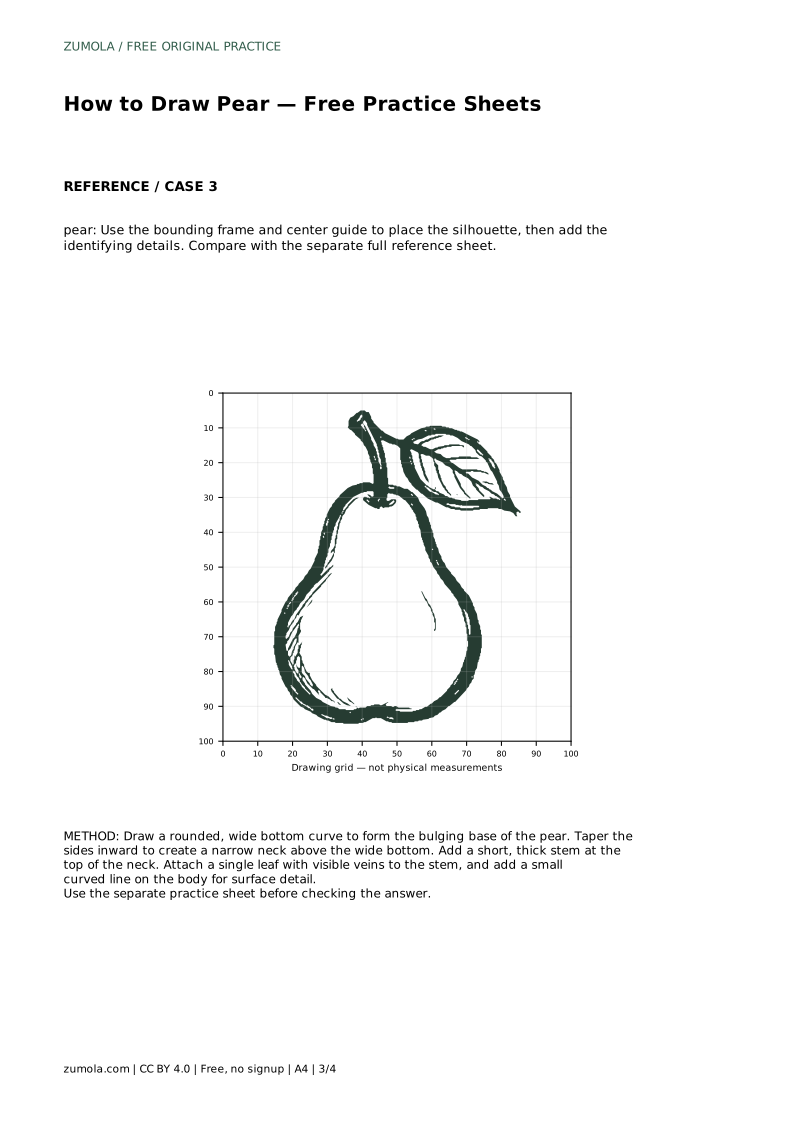
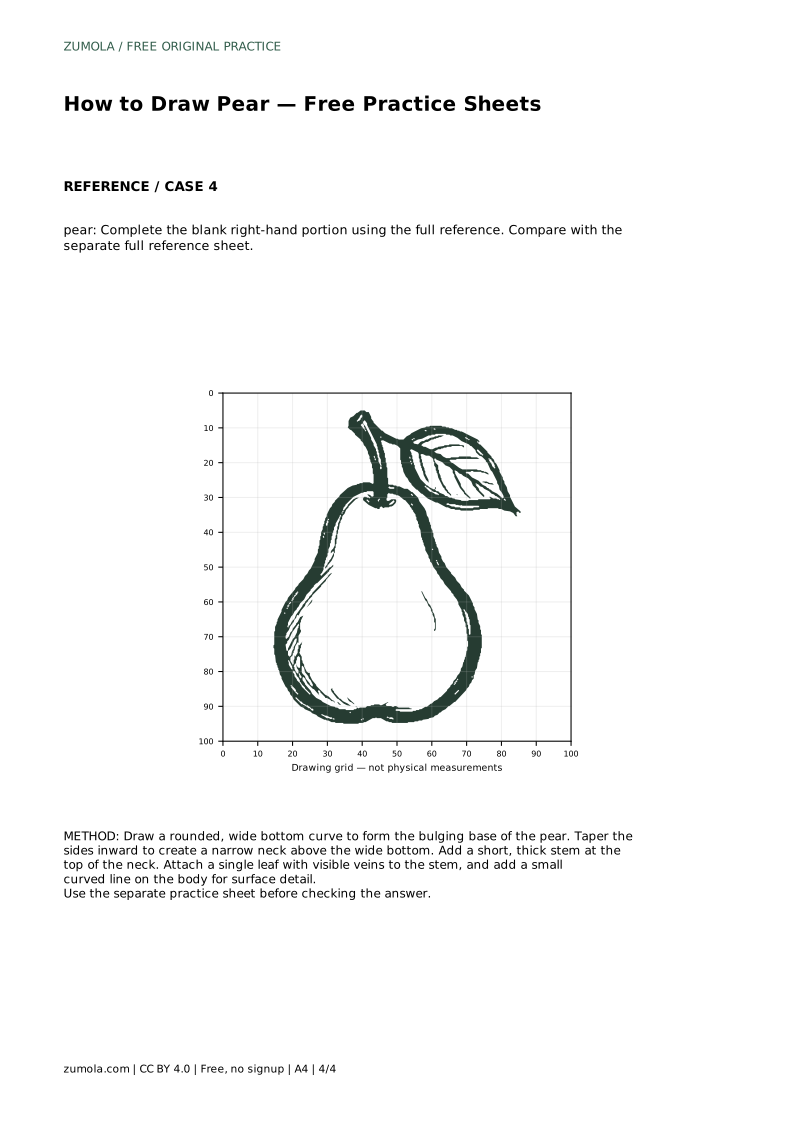
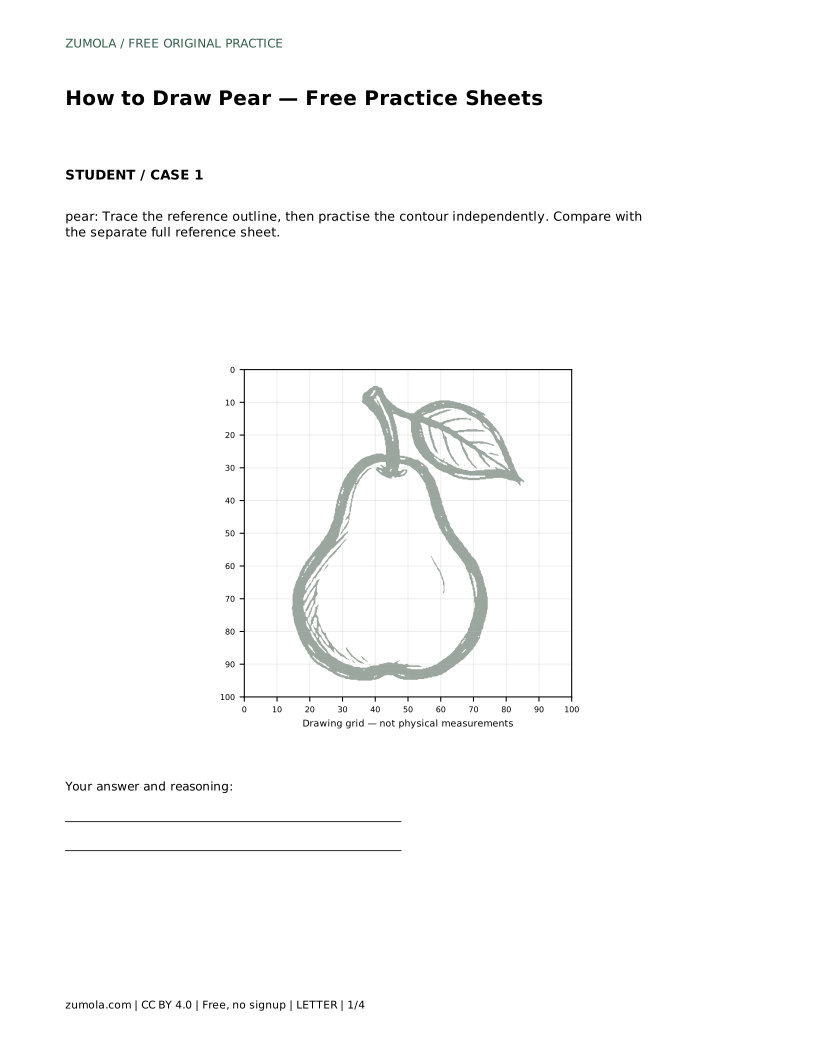
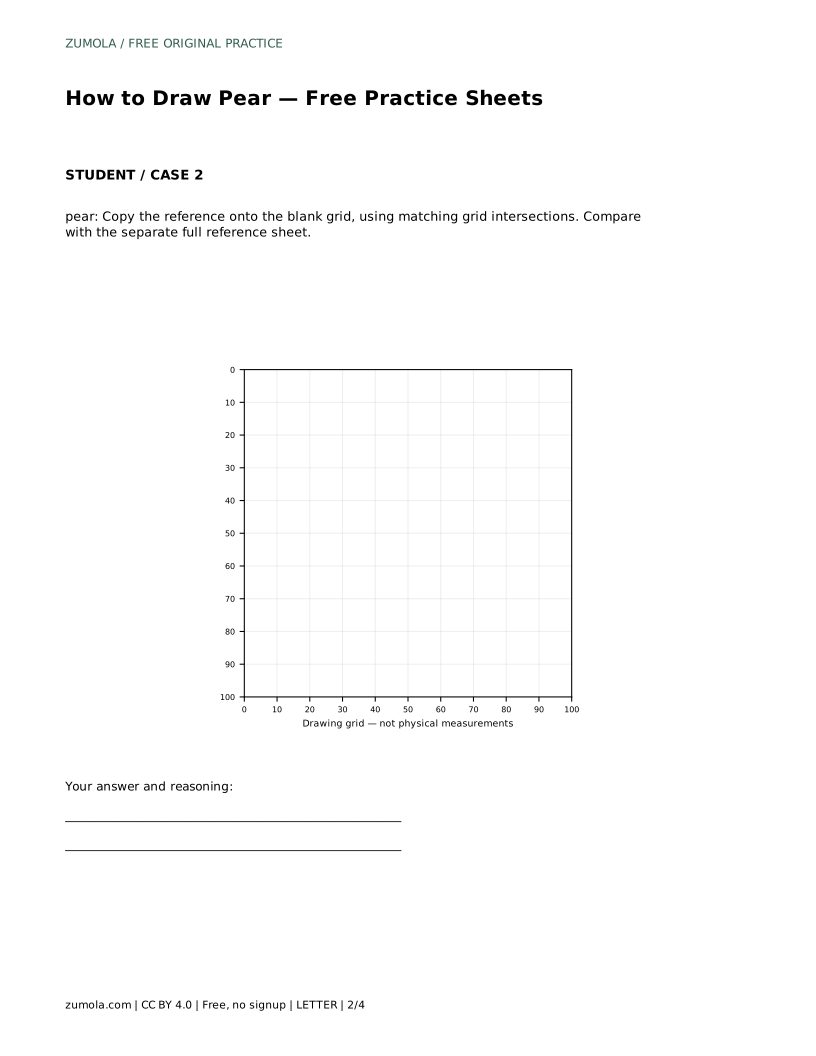
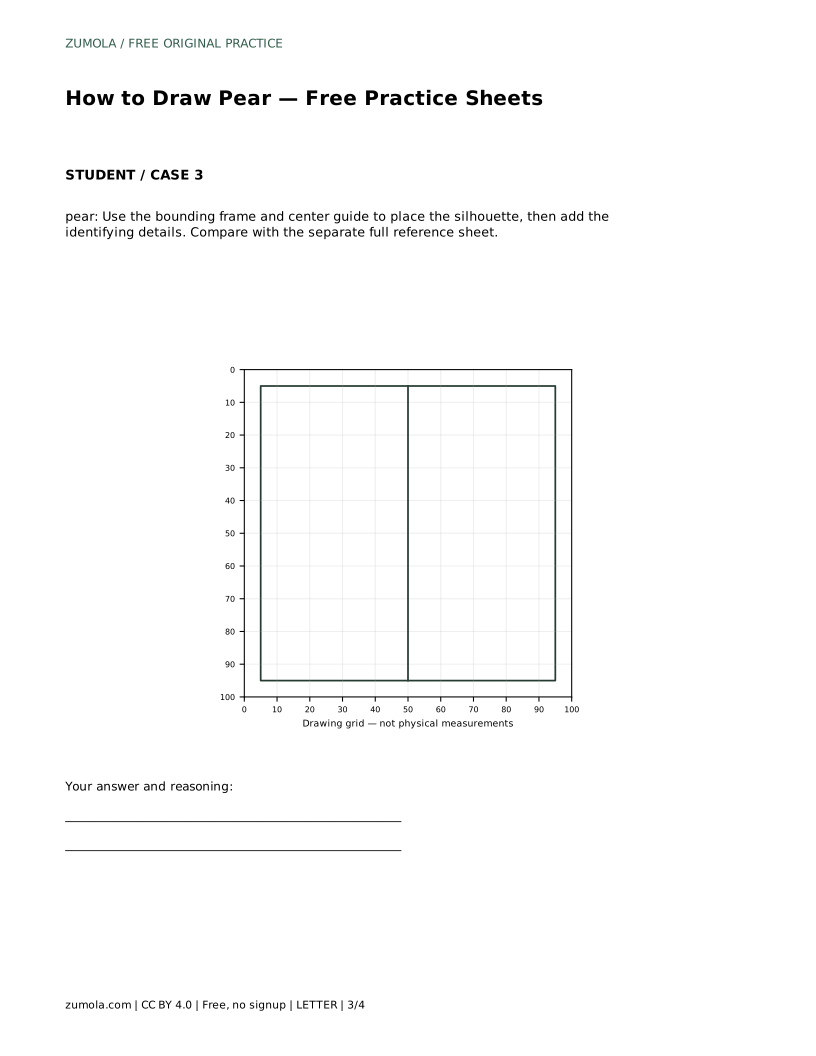
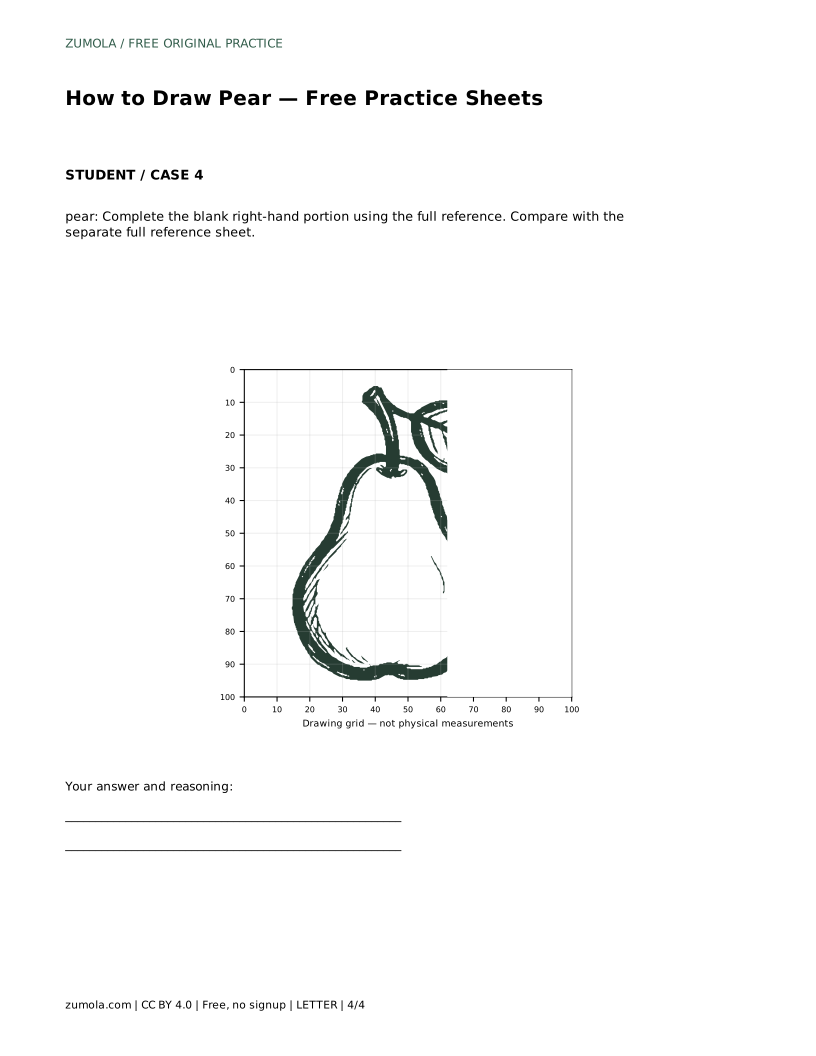
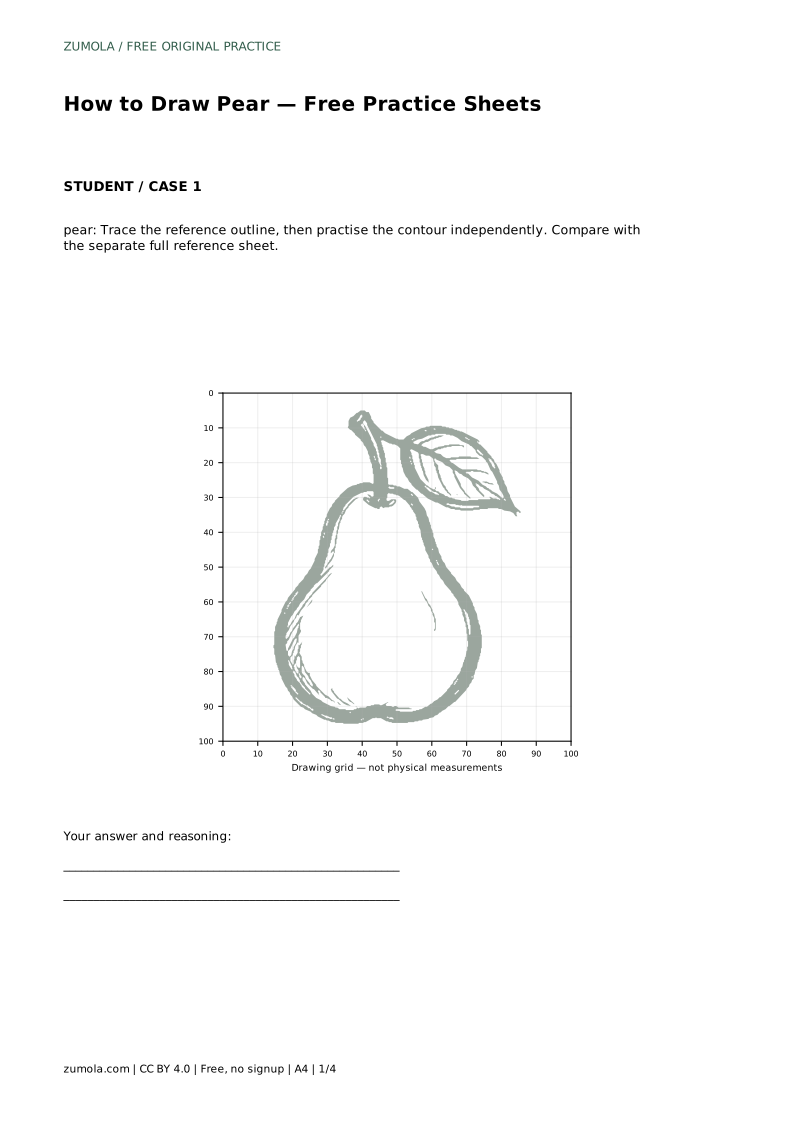
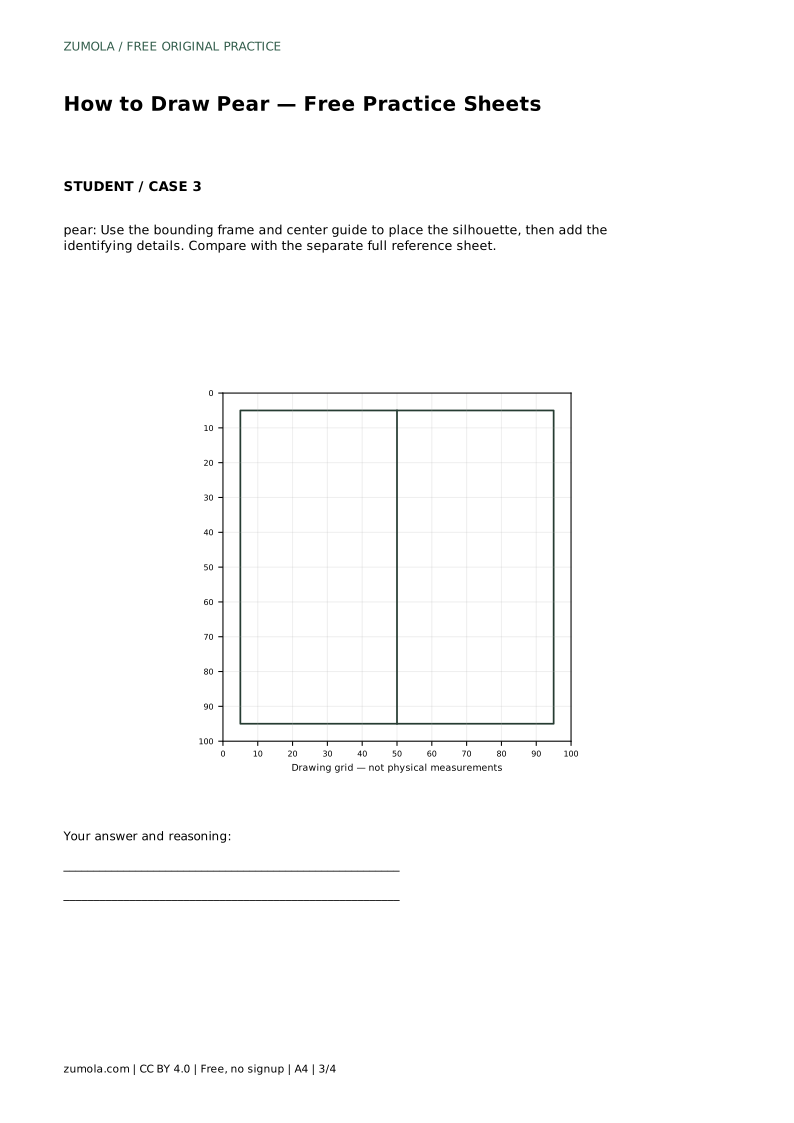
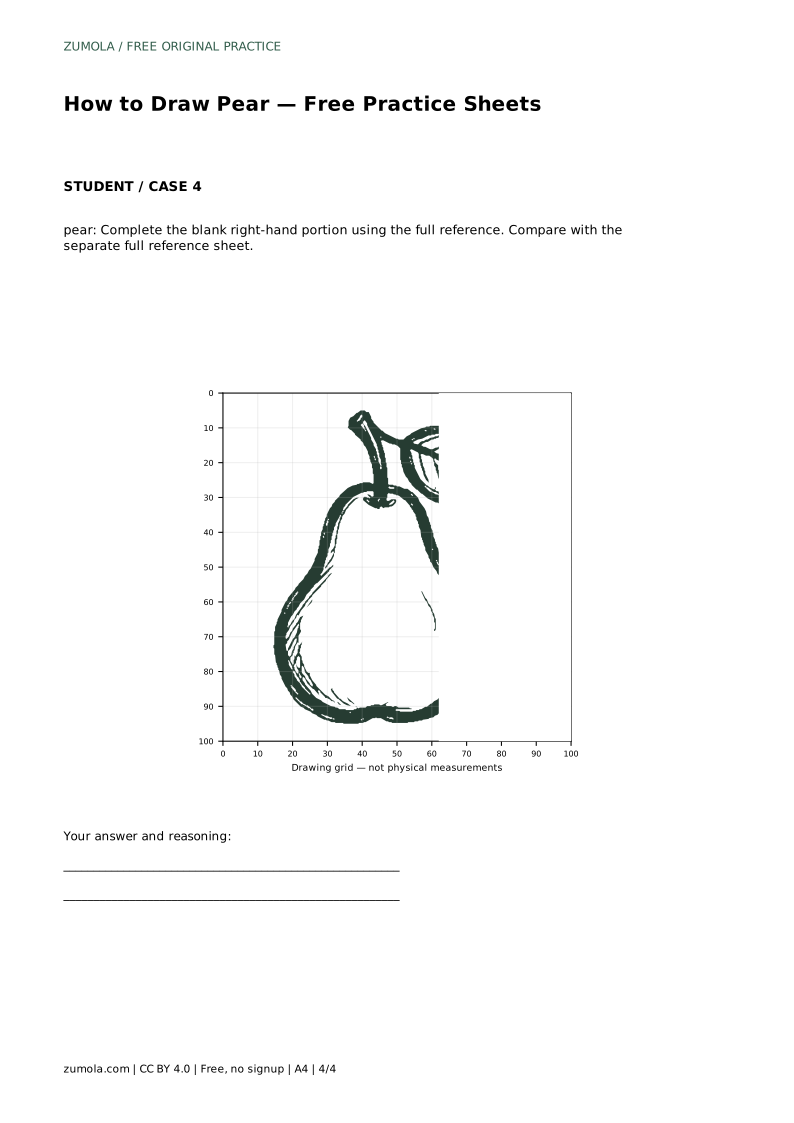
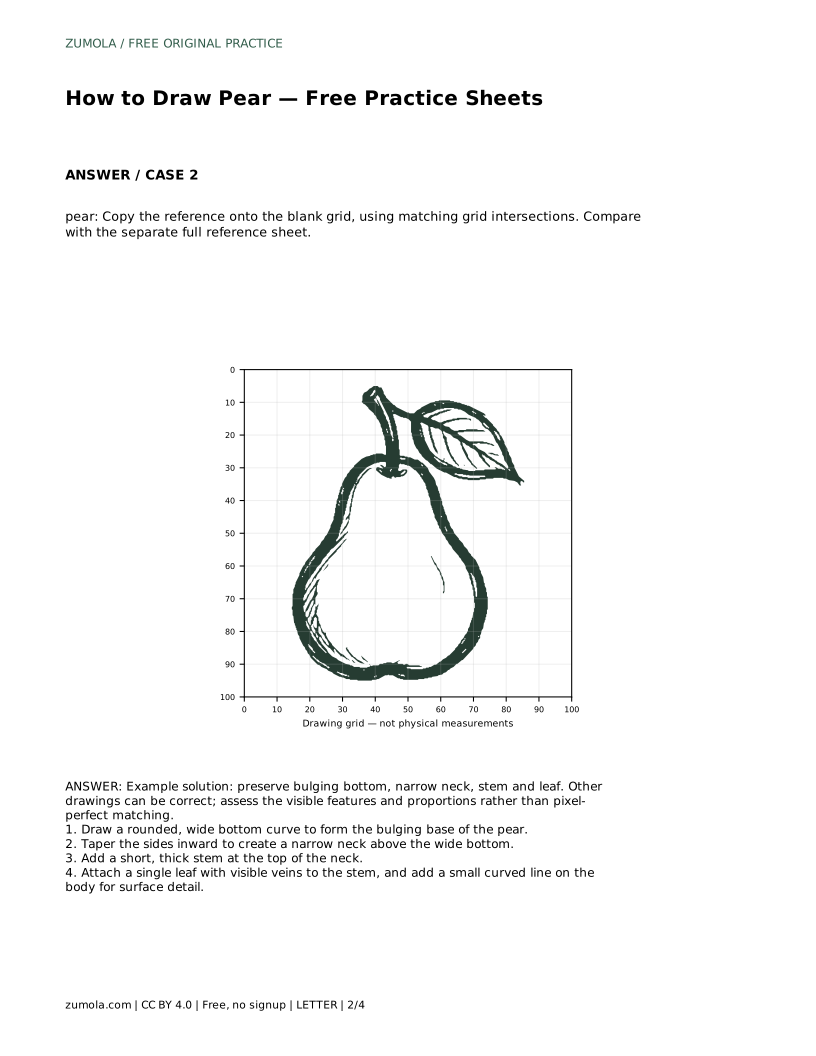
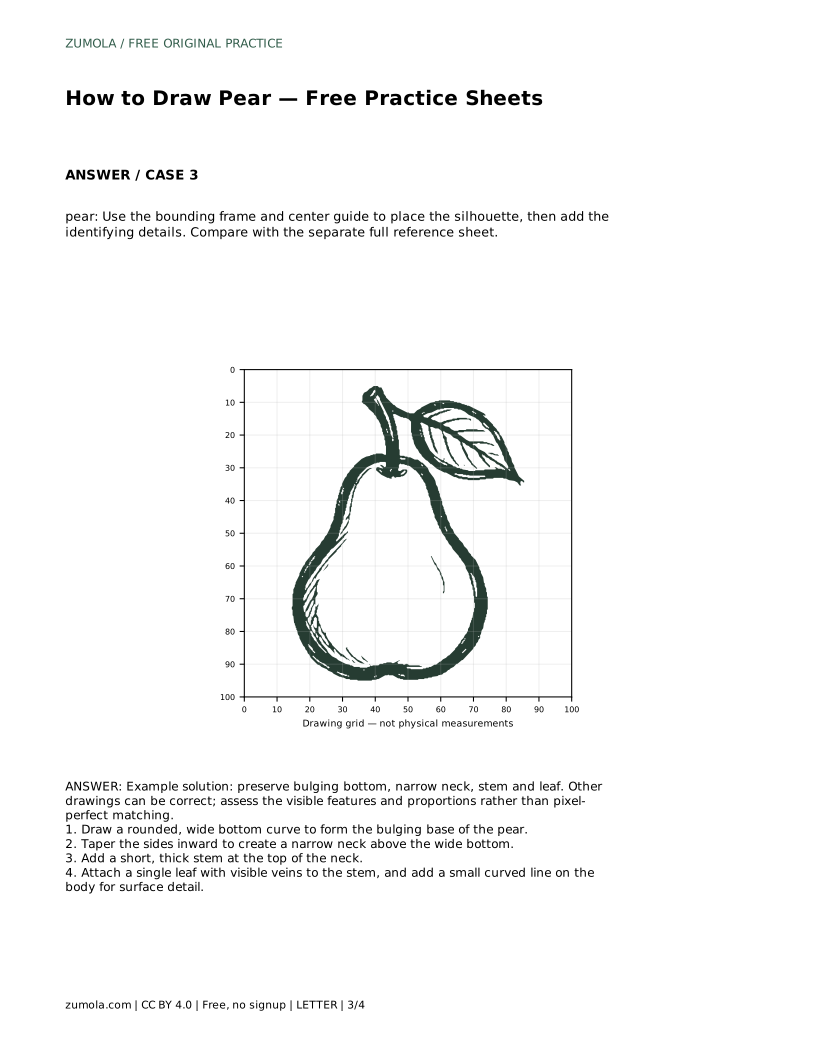
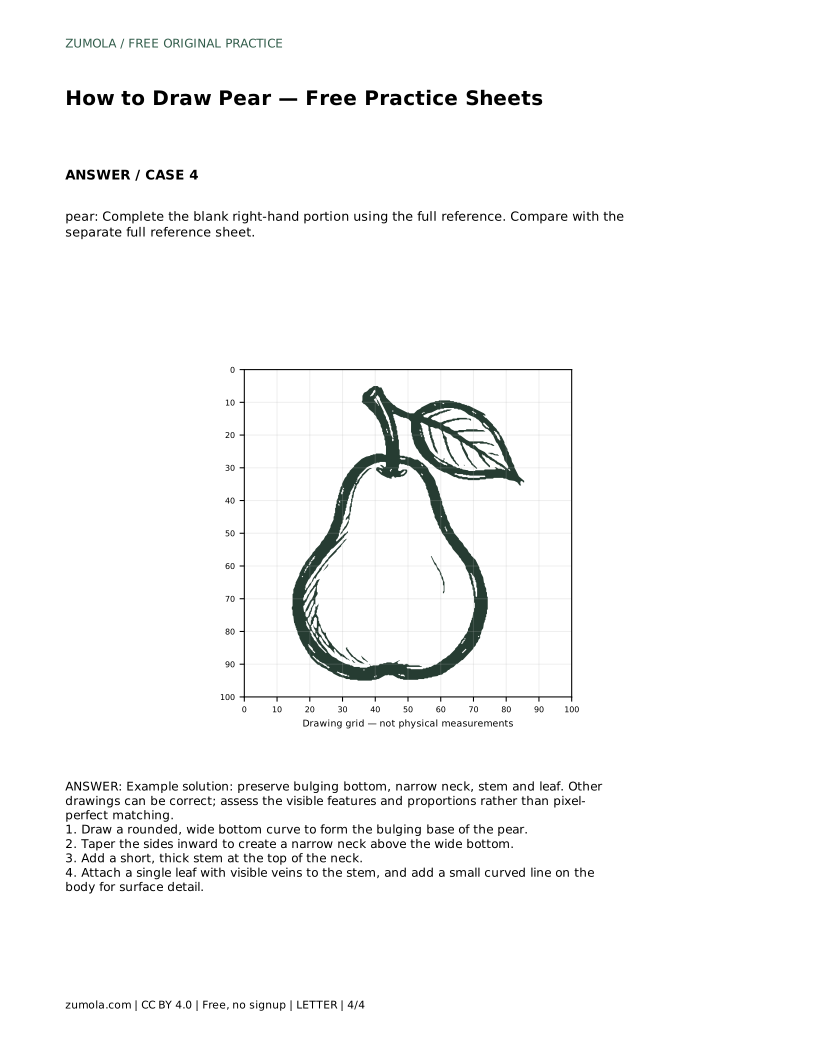
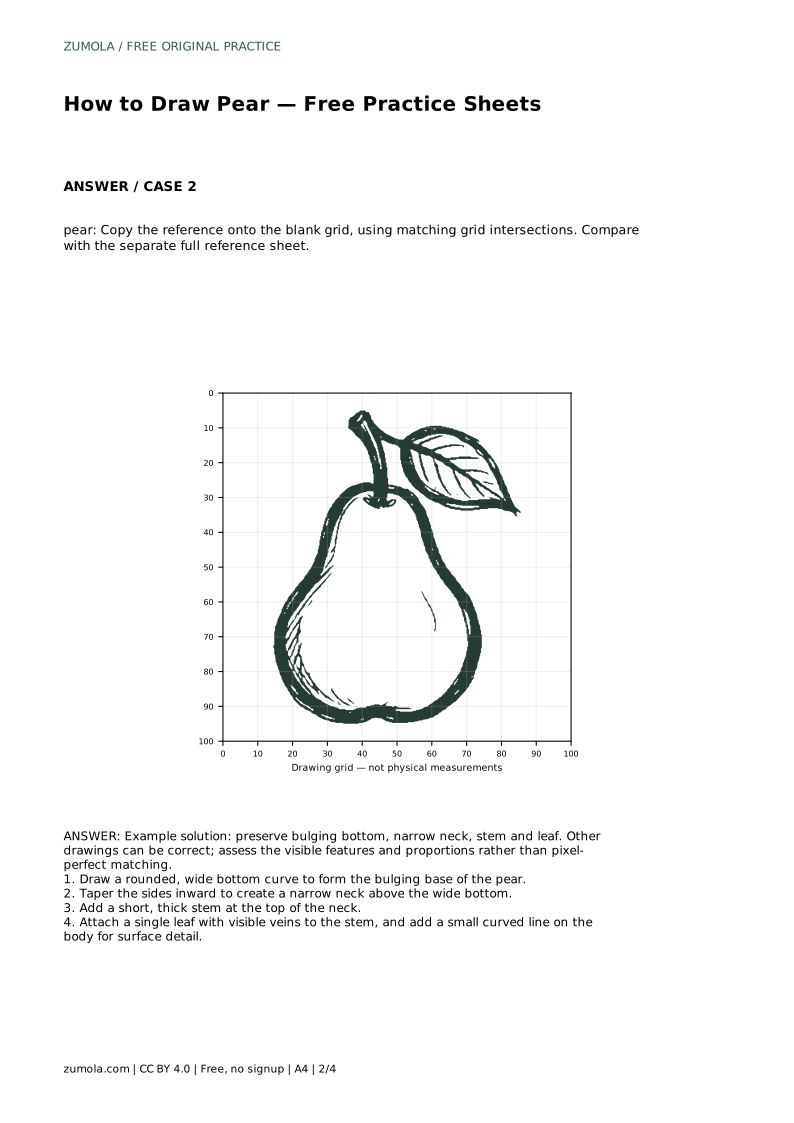
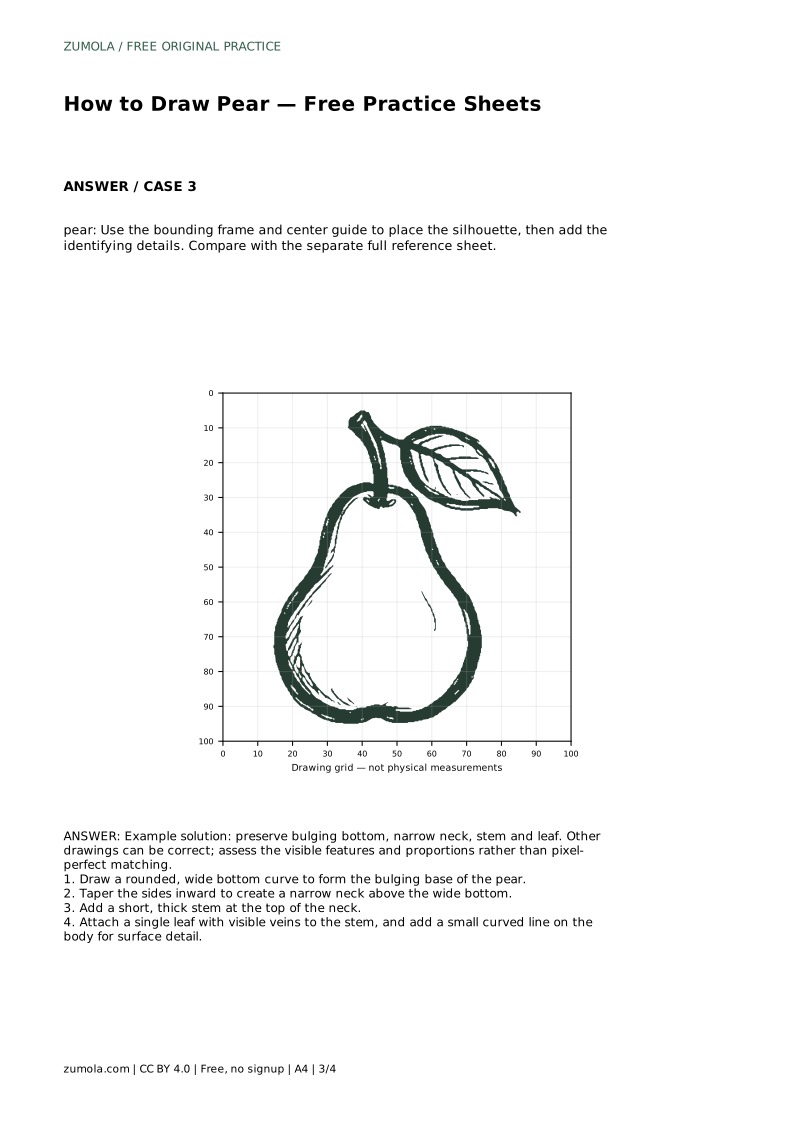
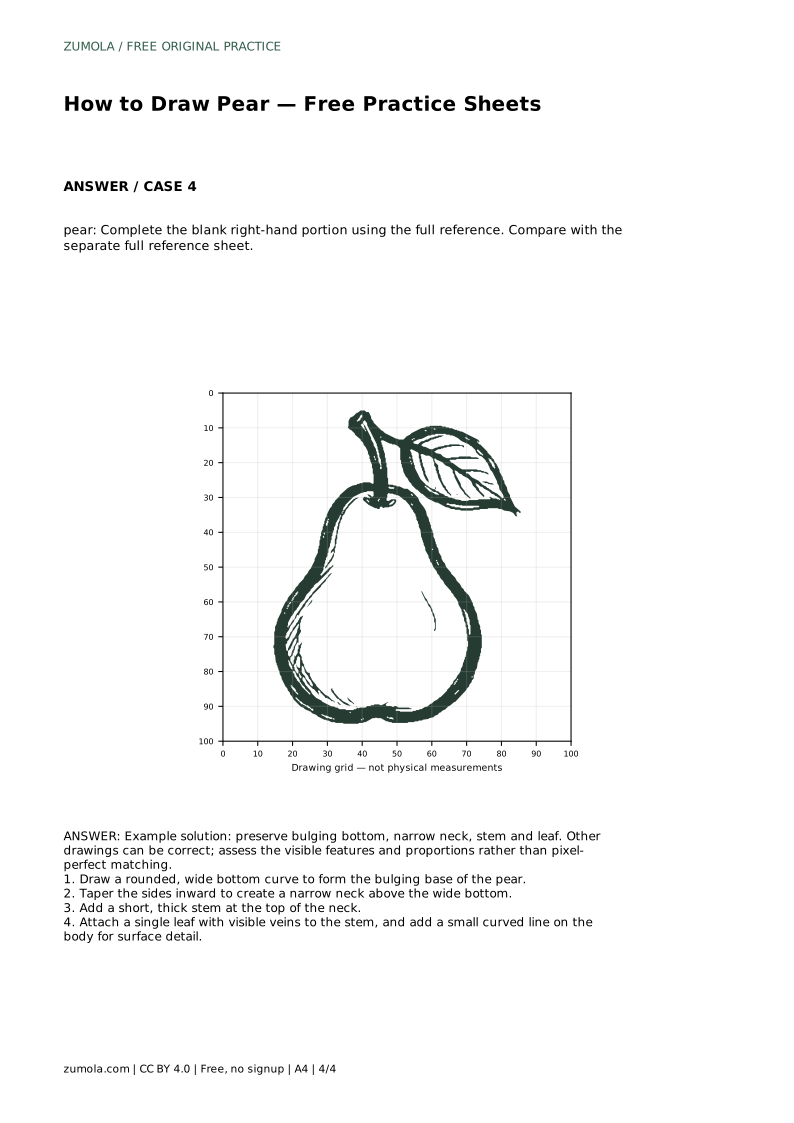
The trace sheet asks you to follow the reference outline first, then practise the contour independently. The grid sheet asks you to copy the reference onto a blank grid using matching grid intersections. The bounding-frame sheet gives you a frame and center guide for placing the silhouette before adding details. The complete-the-drawing sheet leaves the right-hand portion blank so you can finish it from the full reference.
In every format, compare your drawing with the separate full reference sheet. Judge the visible features and proportions rather than pixel-perfect matching. Different line weights, leaf angles, and stem lengths can all be correct.
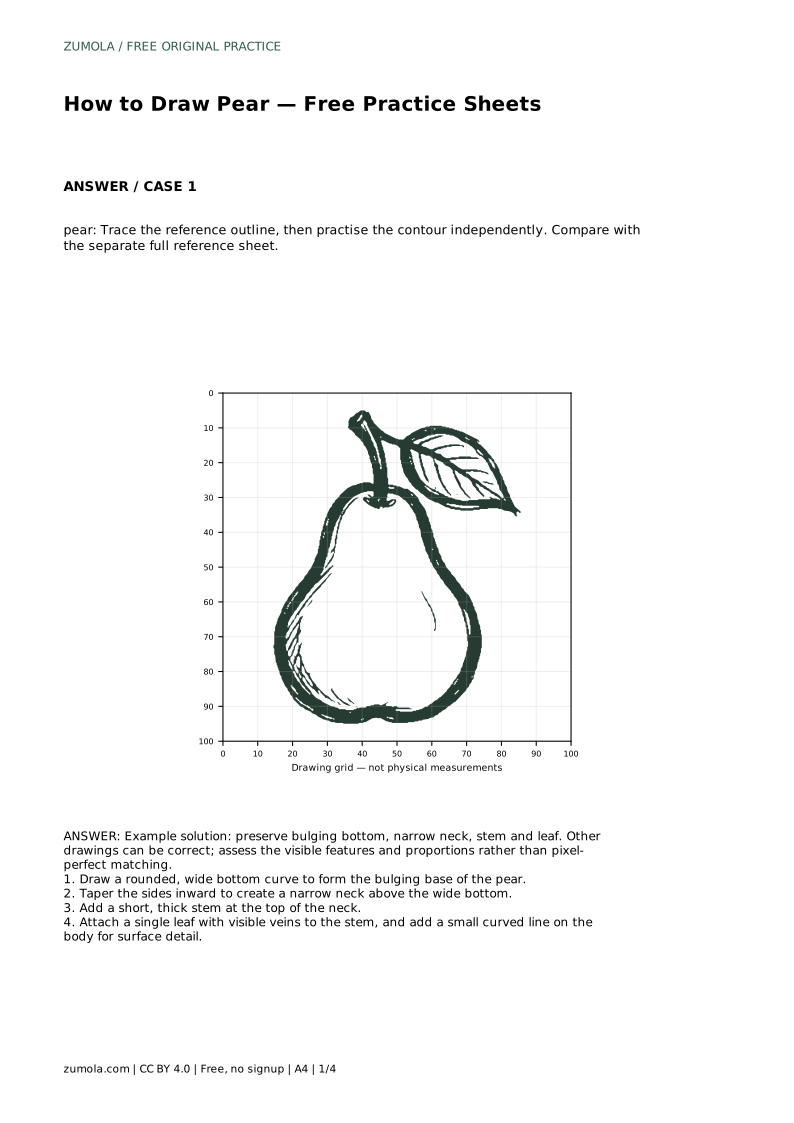
pear: Trace the reference outline, then practise the contour independently. Compare with the separate full reference sheet.
Example solution: preserve bulging bottom, narrow neck, stem and leaf. Other drawings can be correct; assess the visible features and proportions rather than pixel-perfect matching. Draw a rounded, wide bottom curve to form the bulging base of the pear. Taper the sides inward to create a narrow neck above the wide bottom. Add a short, thick stem at the top of the neck. Attach a single leaf with visible veins to the stem, and add a small curved line on the body for surface detail.
No. Preserve the bulging bottom, narrow neck, stem, and leaf, but other drawings can be correct. Assess the visible features and proportions rather than pixel-perfect matching.
Start with the trace sheet to learn the contour, then move to the grid or bounding-frame sheet to practise placing the shape without tracing.
Compare the base width with the neck width and the overall height. The base should be clearly wider, and the neck should rise smoothly rather than pinching abruptly.
All drawing practice · Free coordinate paper
Original resources · CC BY 4.0 · Free for personal and classroom use with attribution.