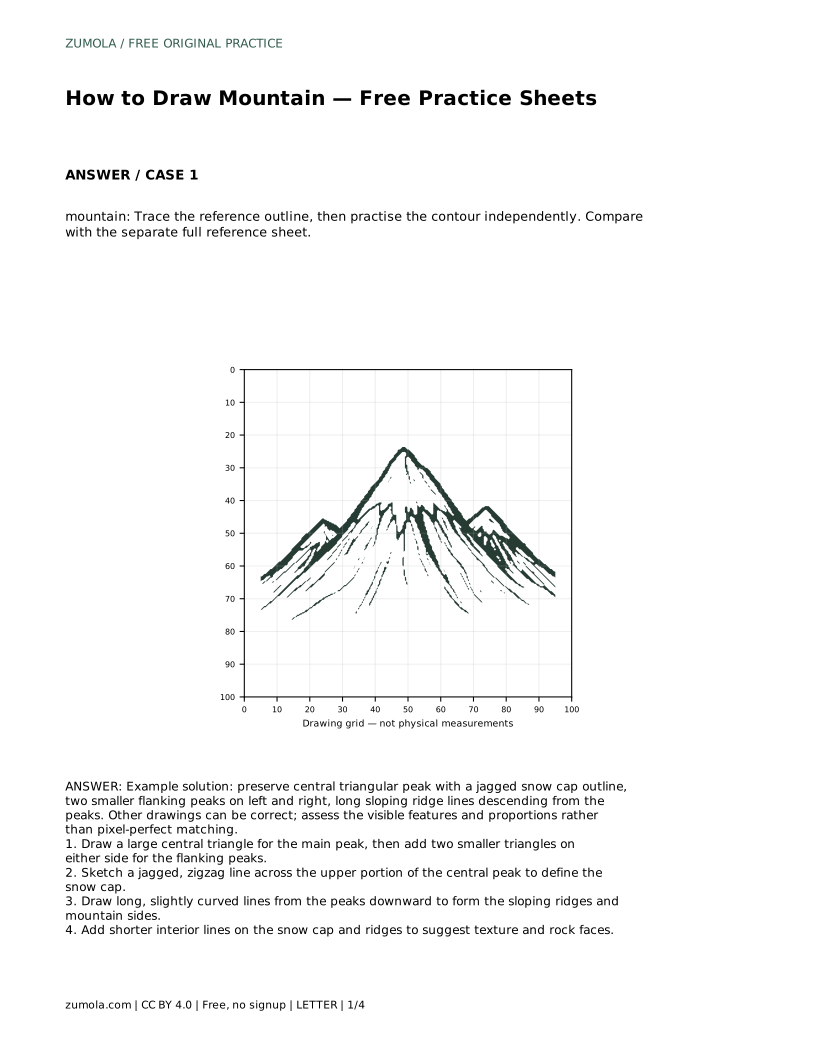
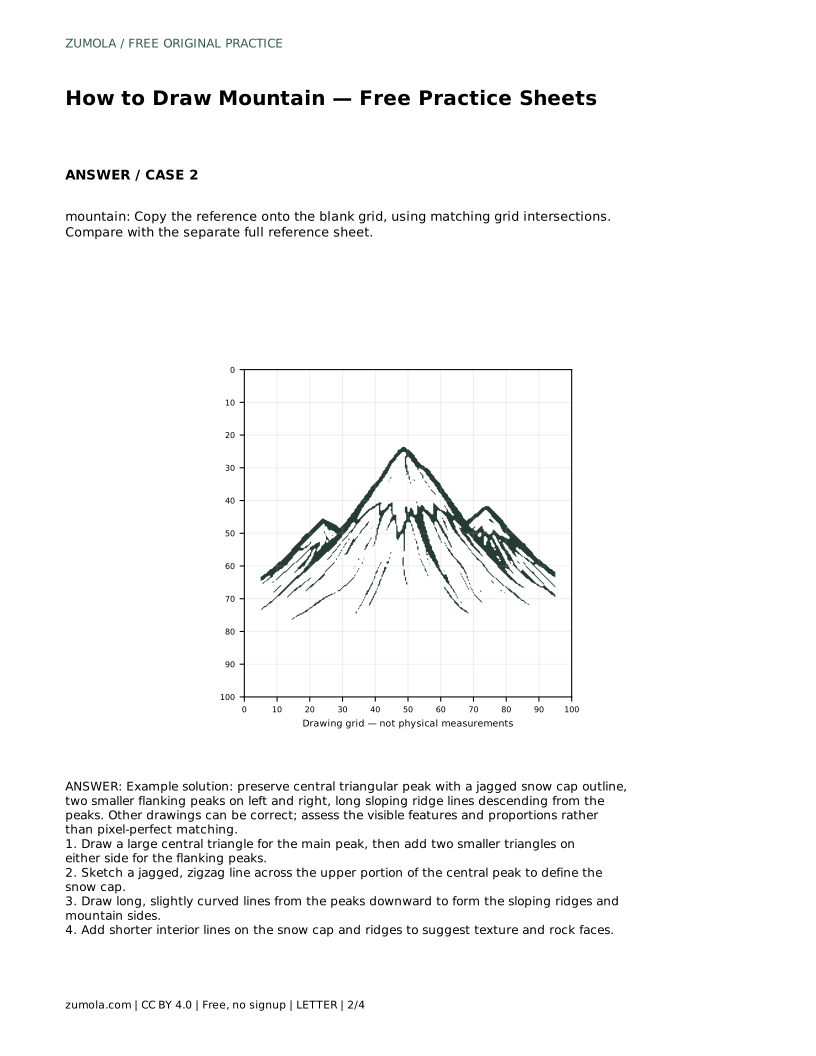
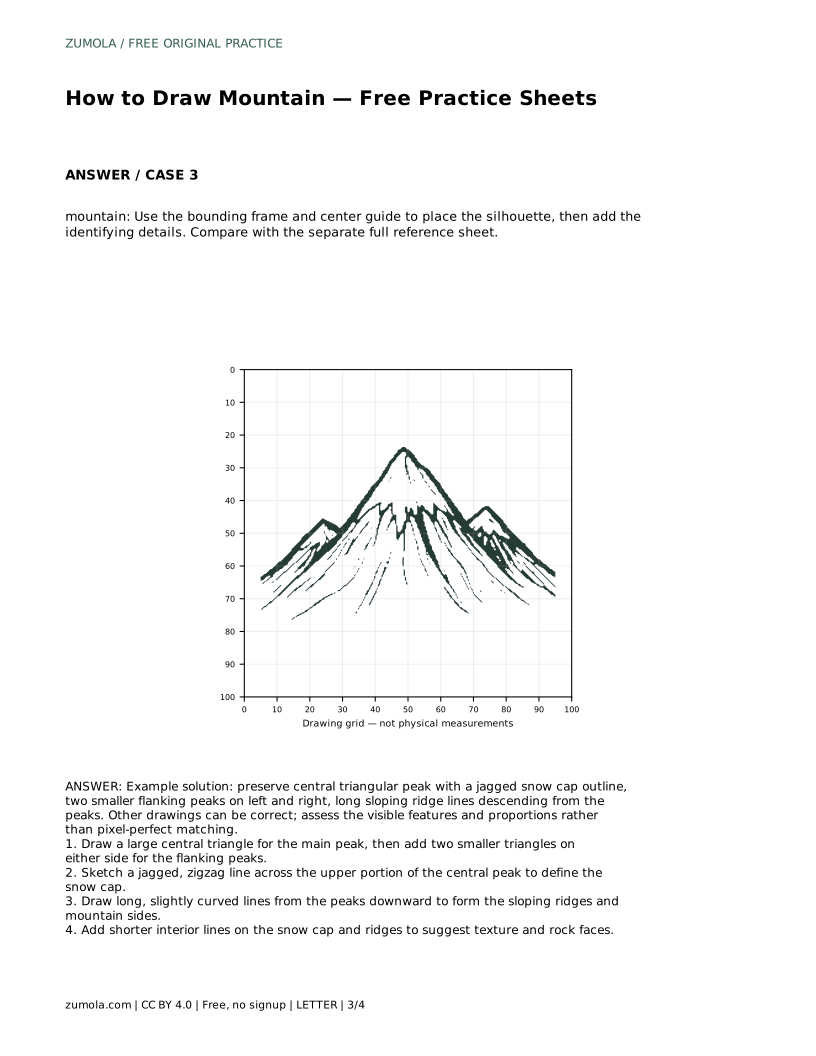
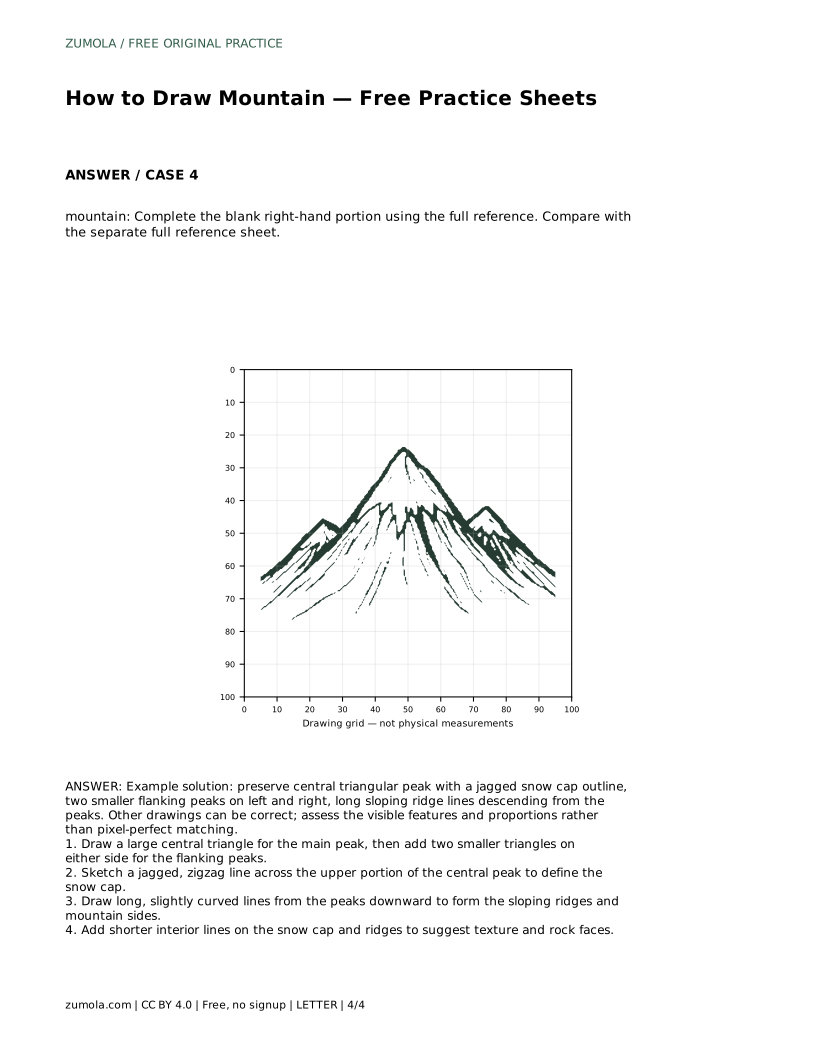
Reference diagrams
LETTER · Download PDF
A4 · Download PDF
Free original resources
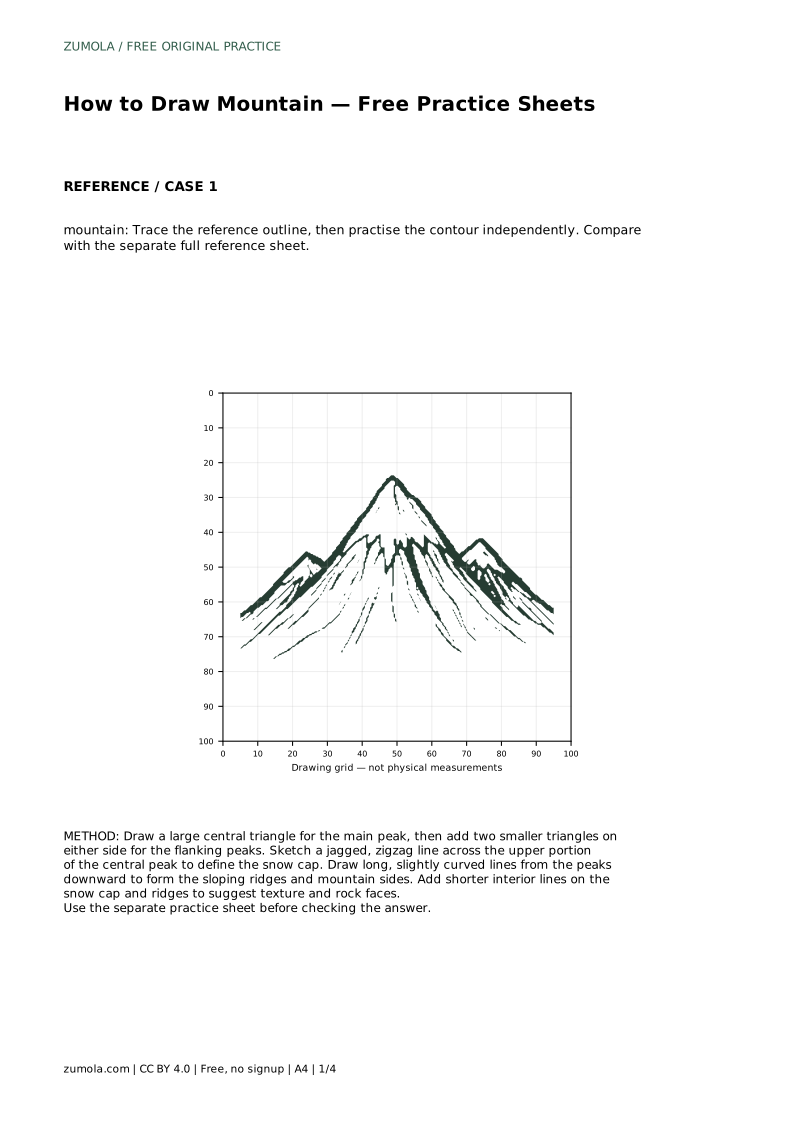
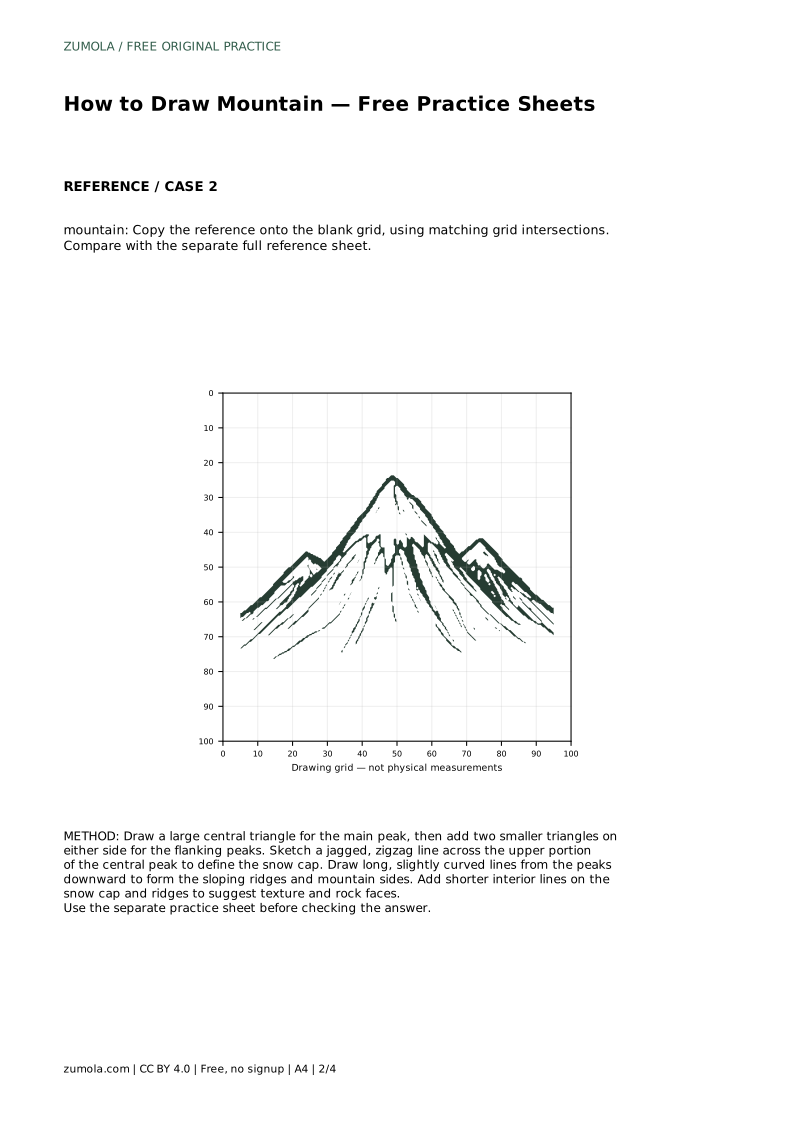
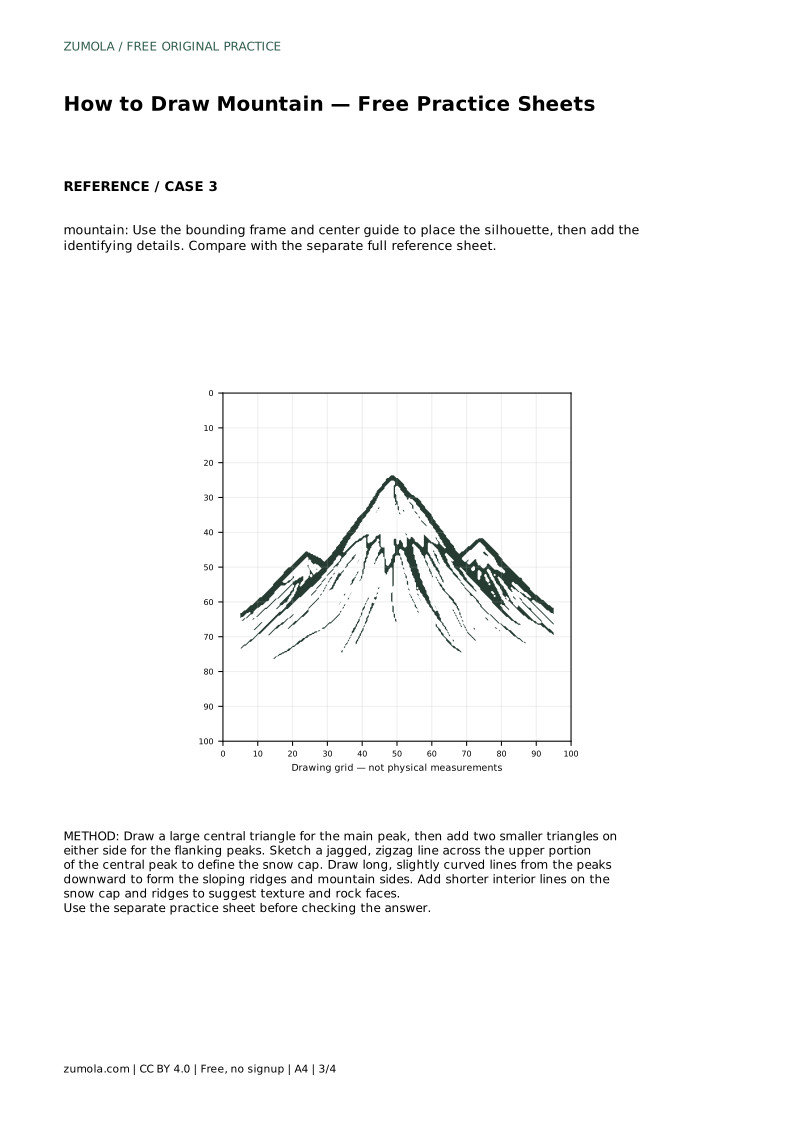
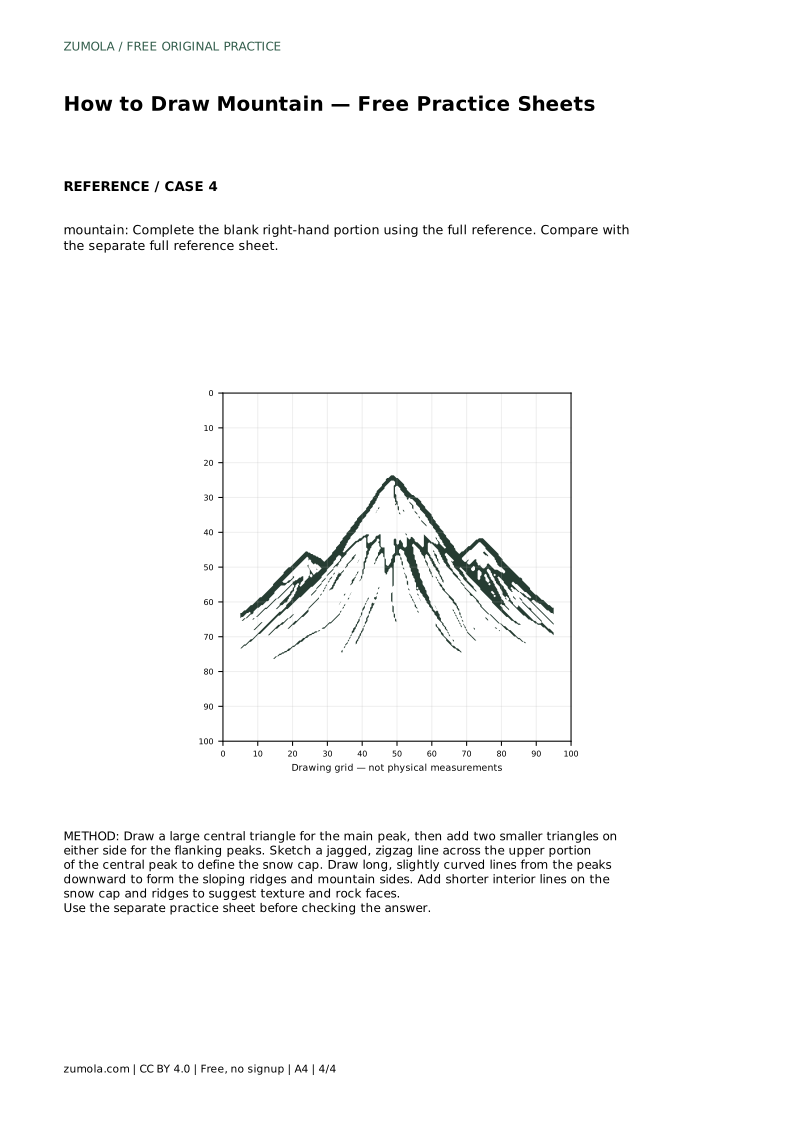
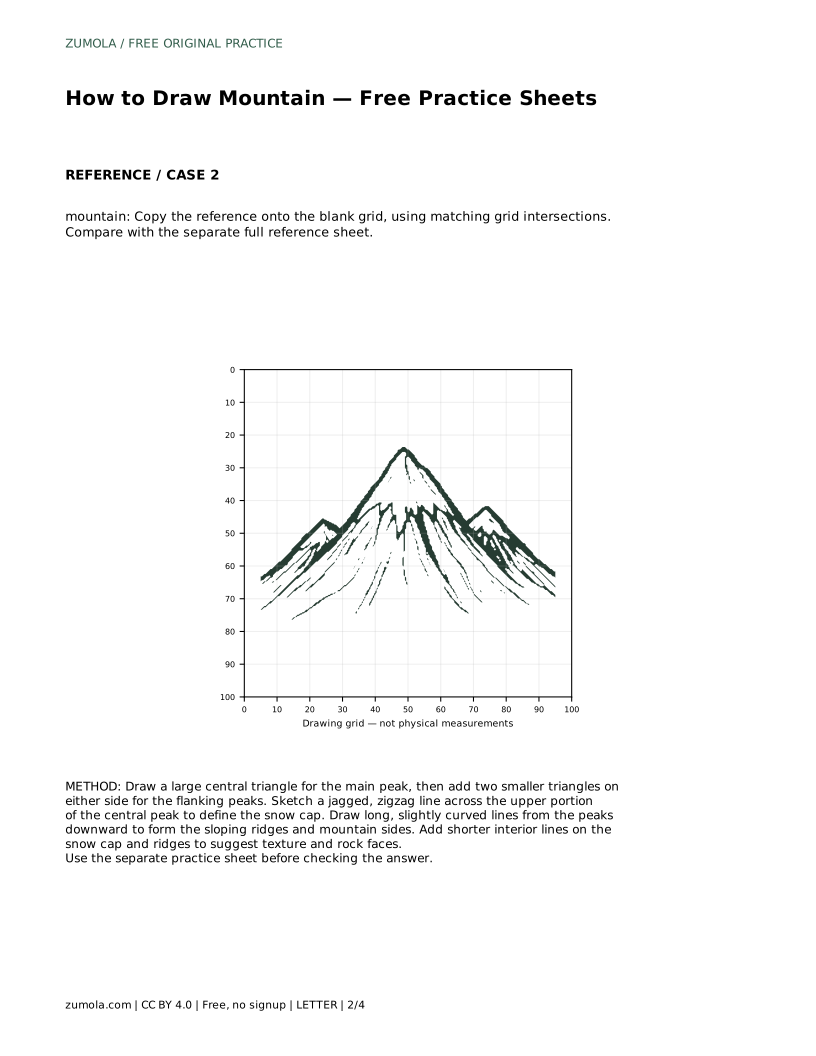
Learn to draw a mountain with a central peak, flanking peaks, a jagged snow cap, and sloping ridges. Use tracing, grid, frame, and partial-reference practice sheets.
Four original cases, with reference diagrams, practice sheets and worked answers. Everything is free; no signup required.
LETTER · Download PDF
A4 · Download PDF
LETTER · Download PDF
A4 · Download PDF
LETTER · Download PDF
A4 · Download PDF
Use A4 or US Letter to match your printer. Use the stated values and conditions to solve each exercise; diagrams are not physical measuring rulers.
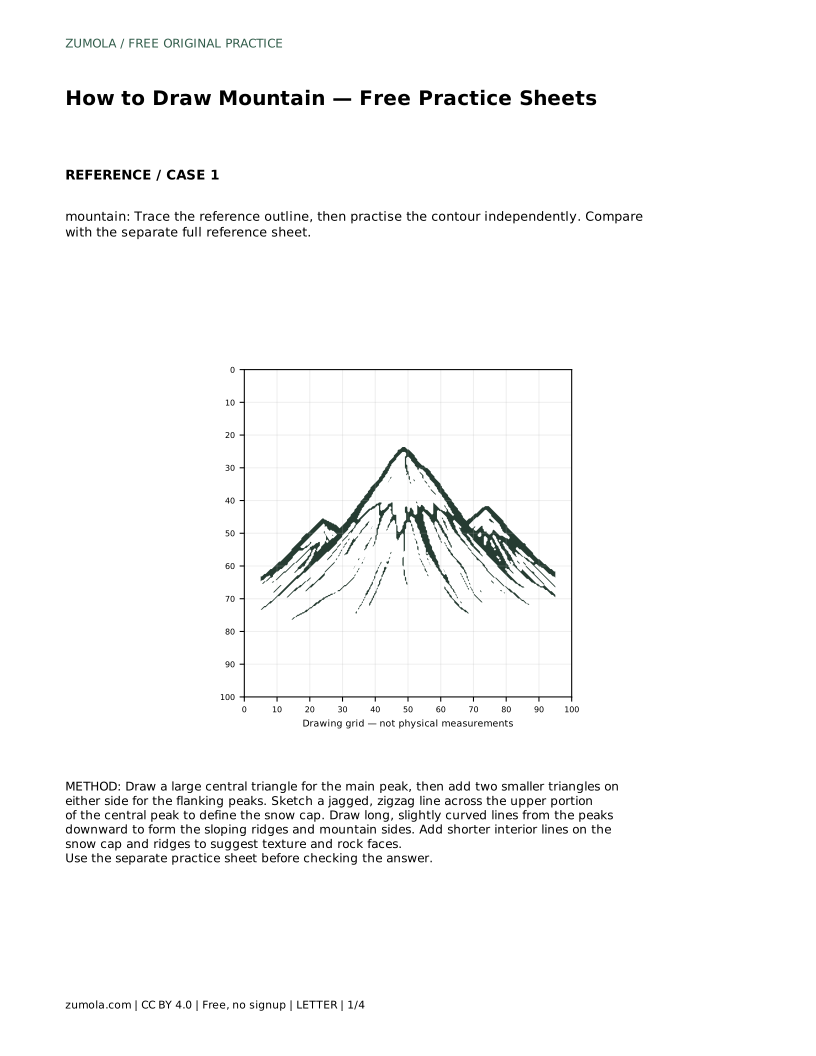
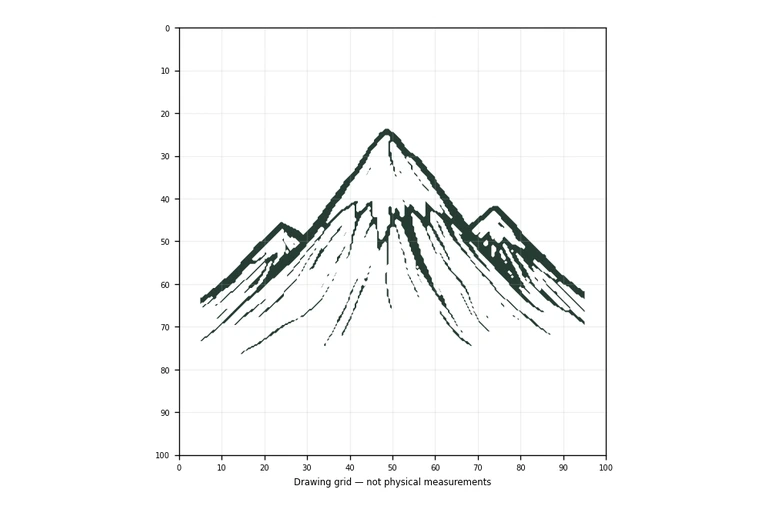
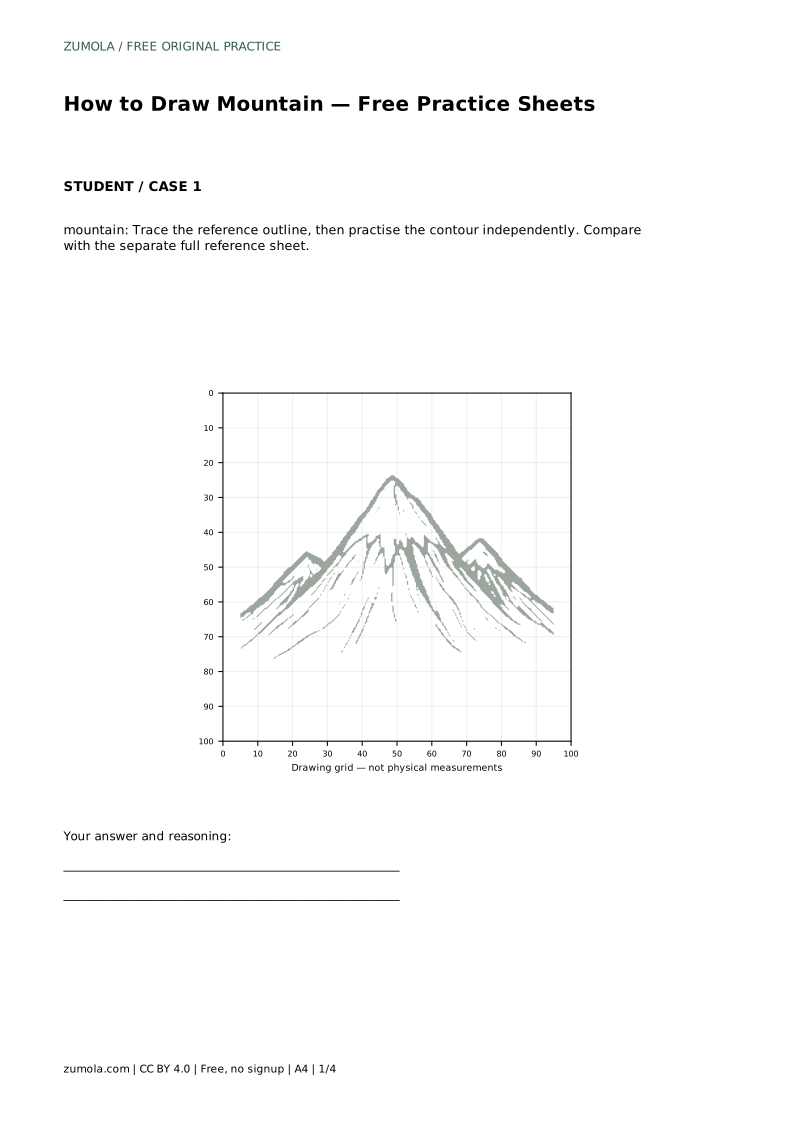
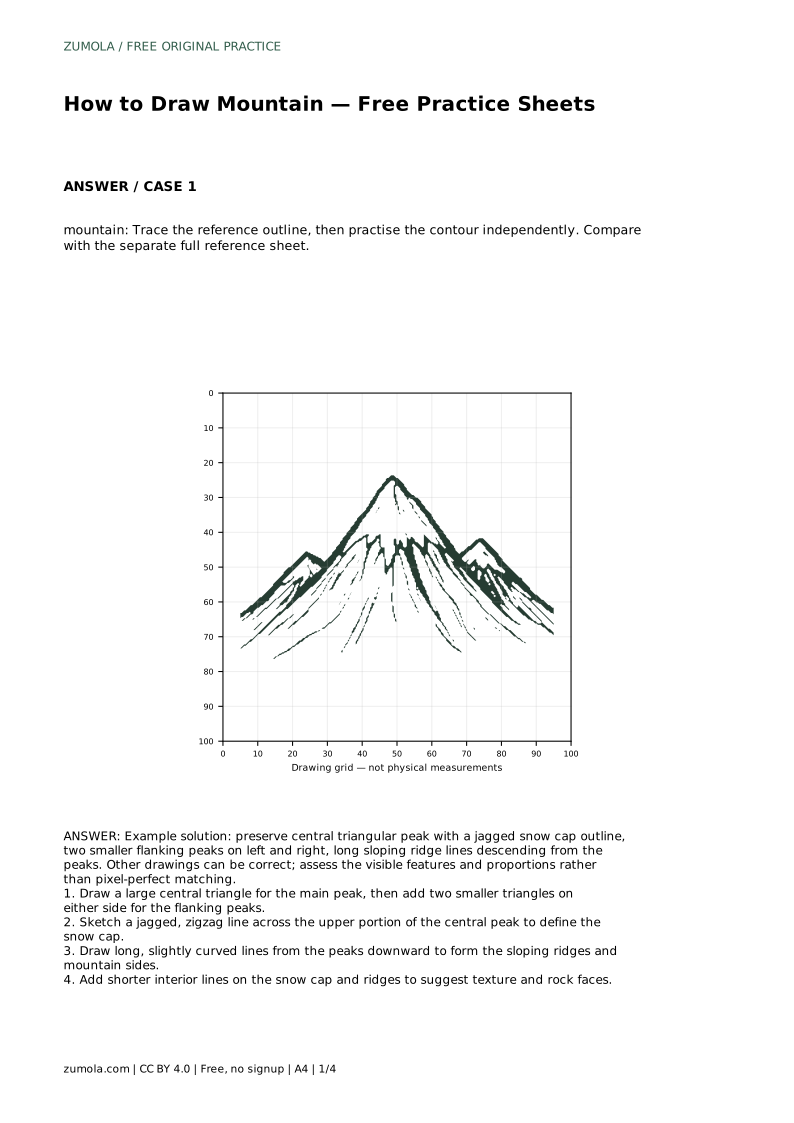
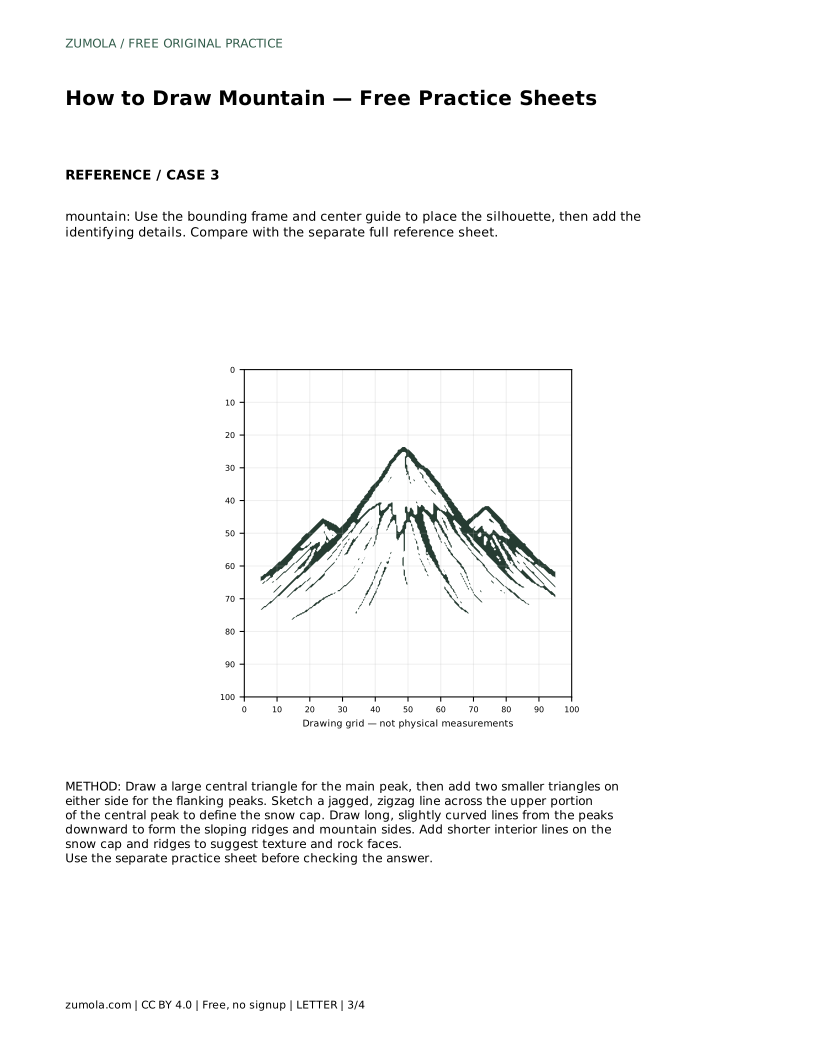
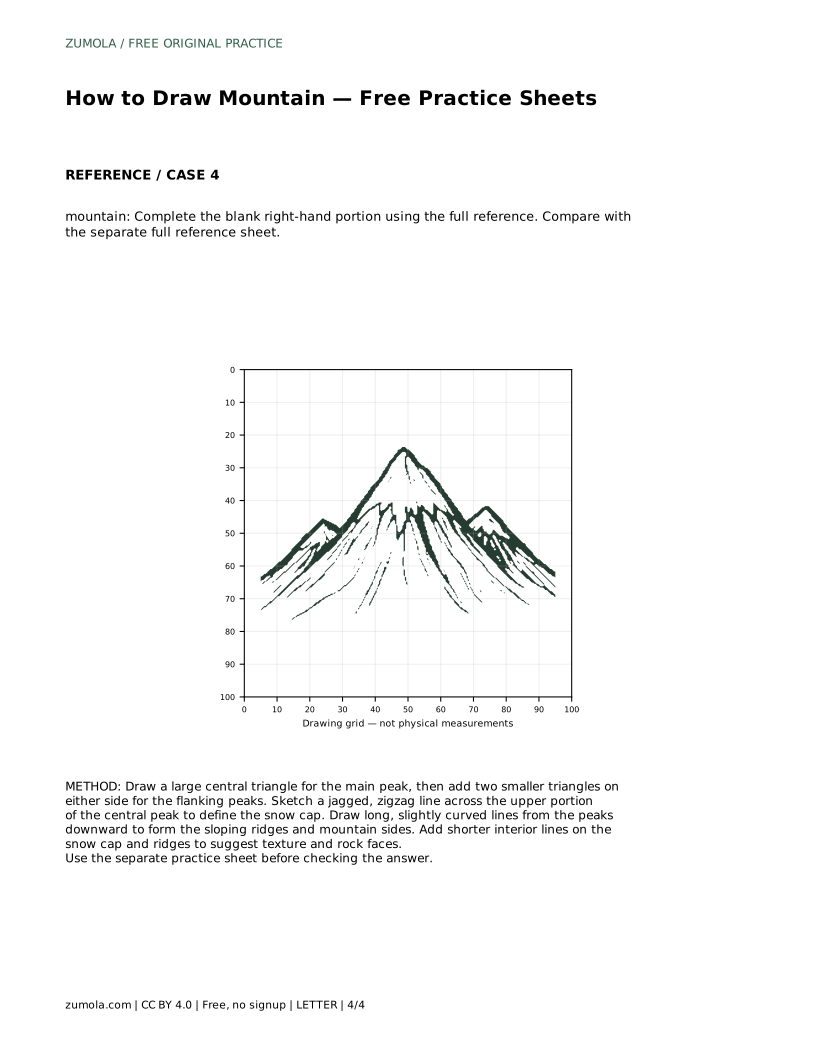
A mountain drawing becomes convincing when the large shapes are placed first and the smaller details follow. This guide teaches a clear order: build a central triangular peak, add two smaller flanking peaks, define a jagged snow cap, then draw long sloping ridge lines downward. You can practise by tracing a reference outline, copying onto a blank grid, placing the silhouette with a bounding frame and center guide, or completing a blank right-hand portion from a full reference.
Start with the overall silhouette rather than texture. The main peak is a large triangle, and two smaller triangles sit on either side as flanking peaks. Keep the central peak clearly dominant so the mountain reads as one form, not three equal shapes.
Next, mark the snow cap with a jagged, zigzag line across the upper portion of the central peak. The zigzag should stay within the peak outline. Then draw long, slightly curved lines from the peaks downward to form the sloping ridges and mountain sides. Finish with shorter interior lines on the snow cap and ridges to suggest texture and rock faces.
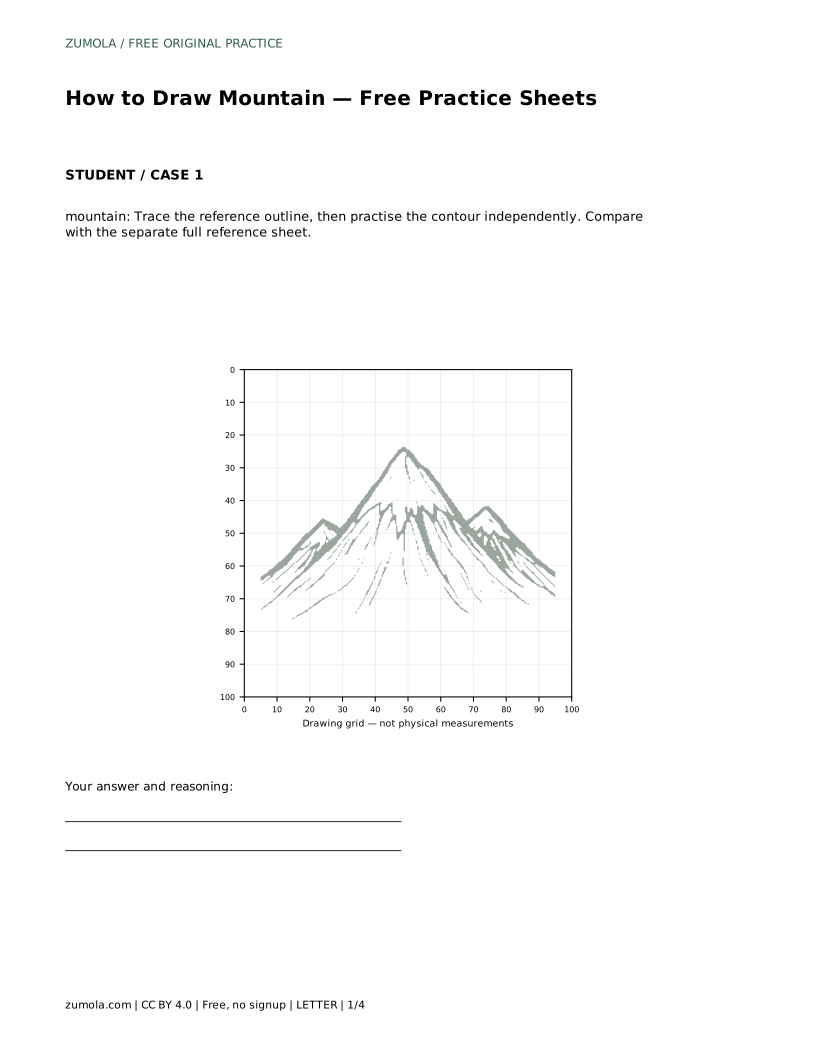
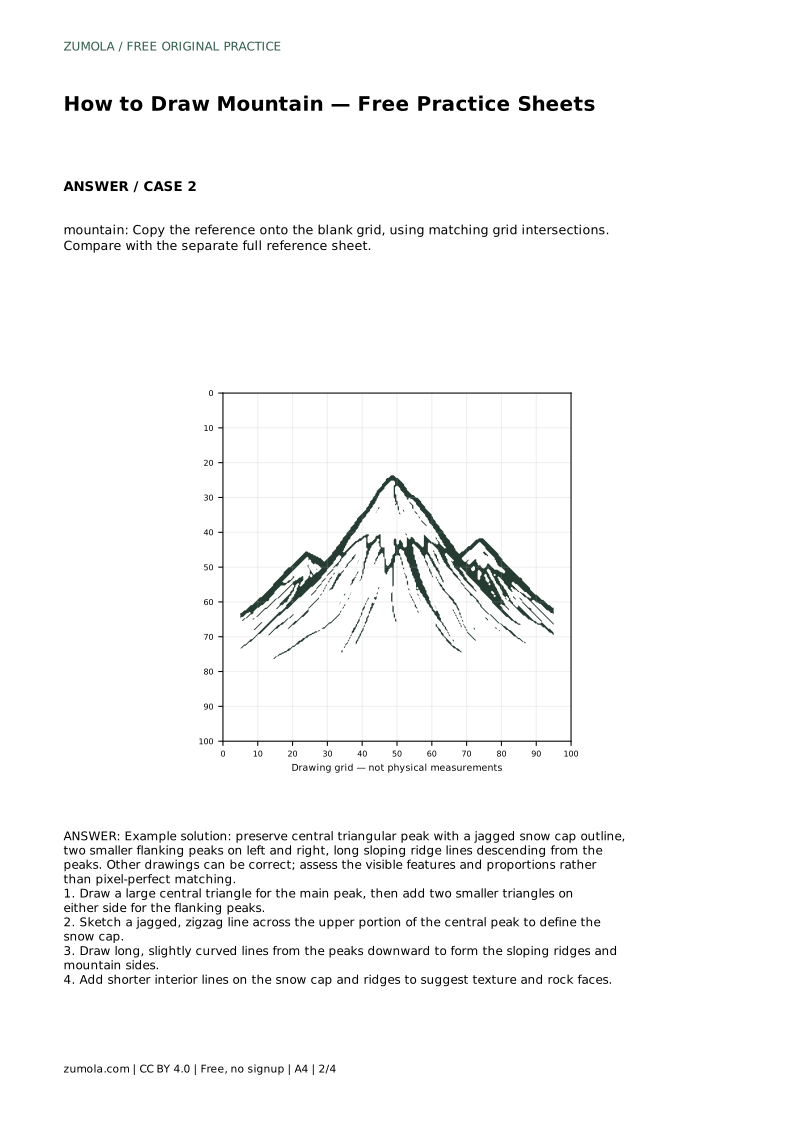
Tracing the reference outline helps you feel the order of the shapes. After tracing, practise the contour independently and compare with the separate full reference sheet. Copying onto a blank grid trains placement: match the reference at grid intersections so the peak and flanking peaks land in comparable positions.
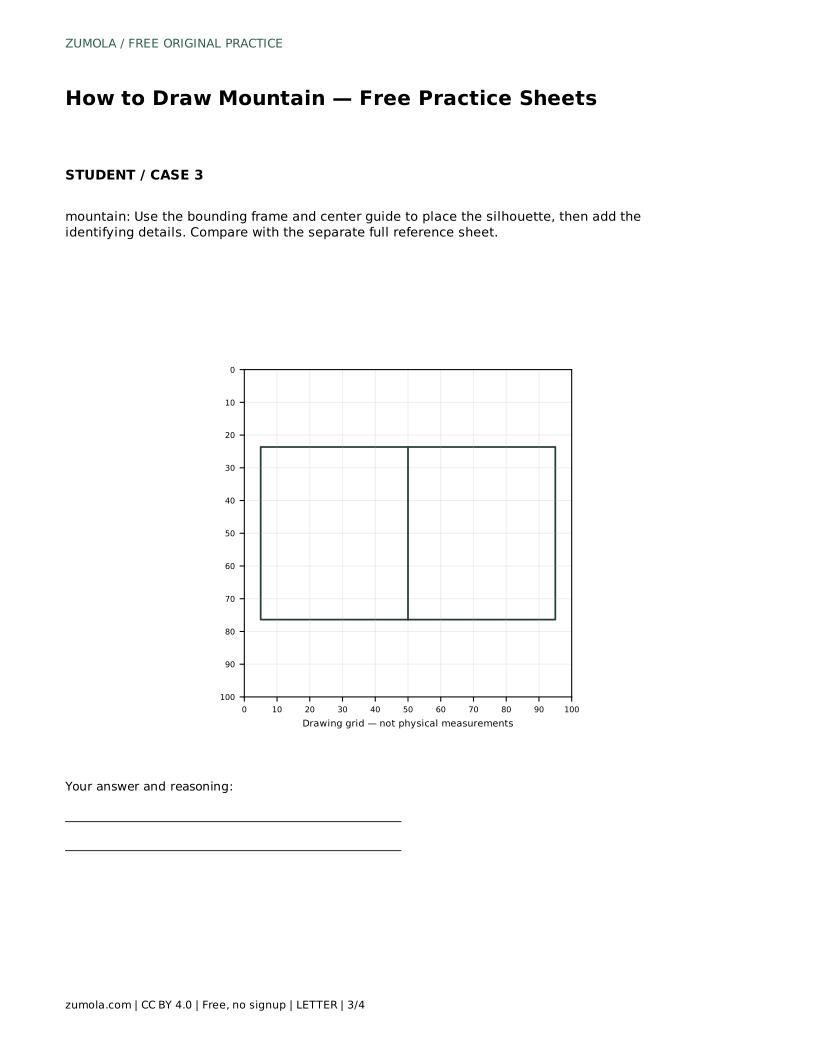
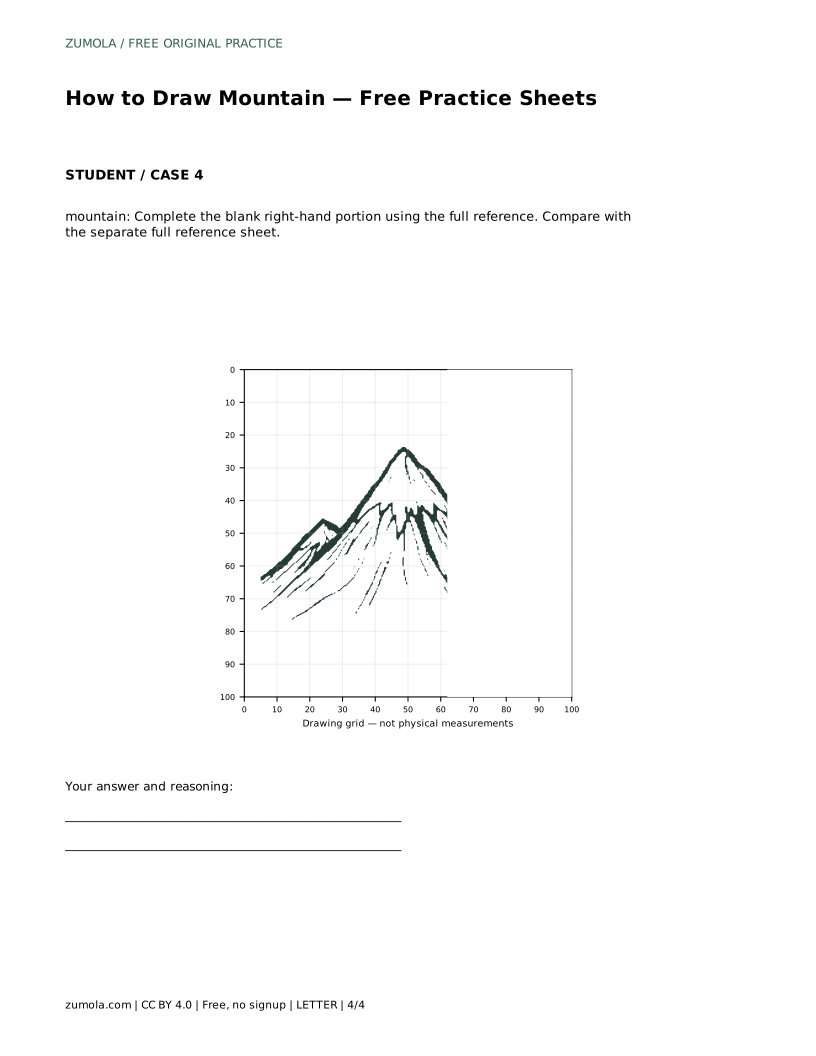
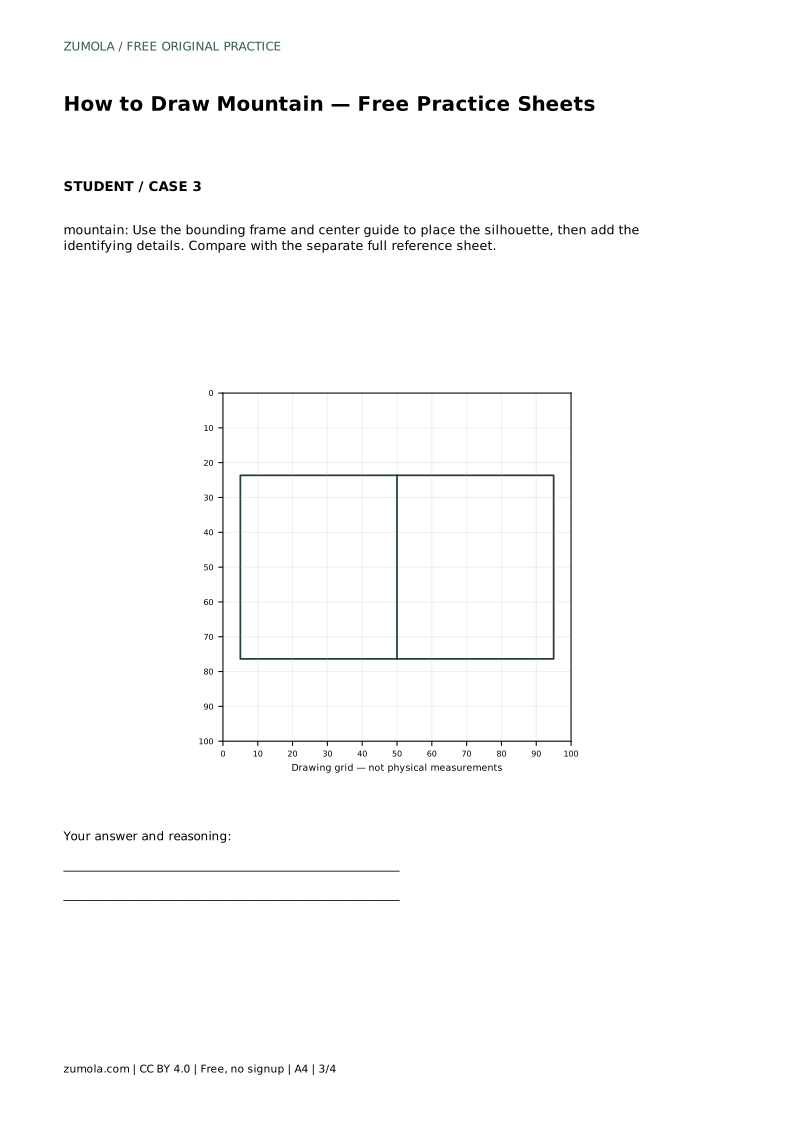
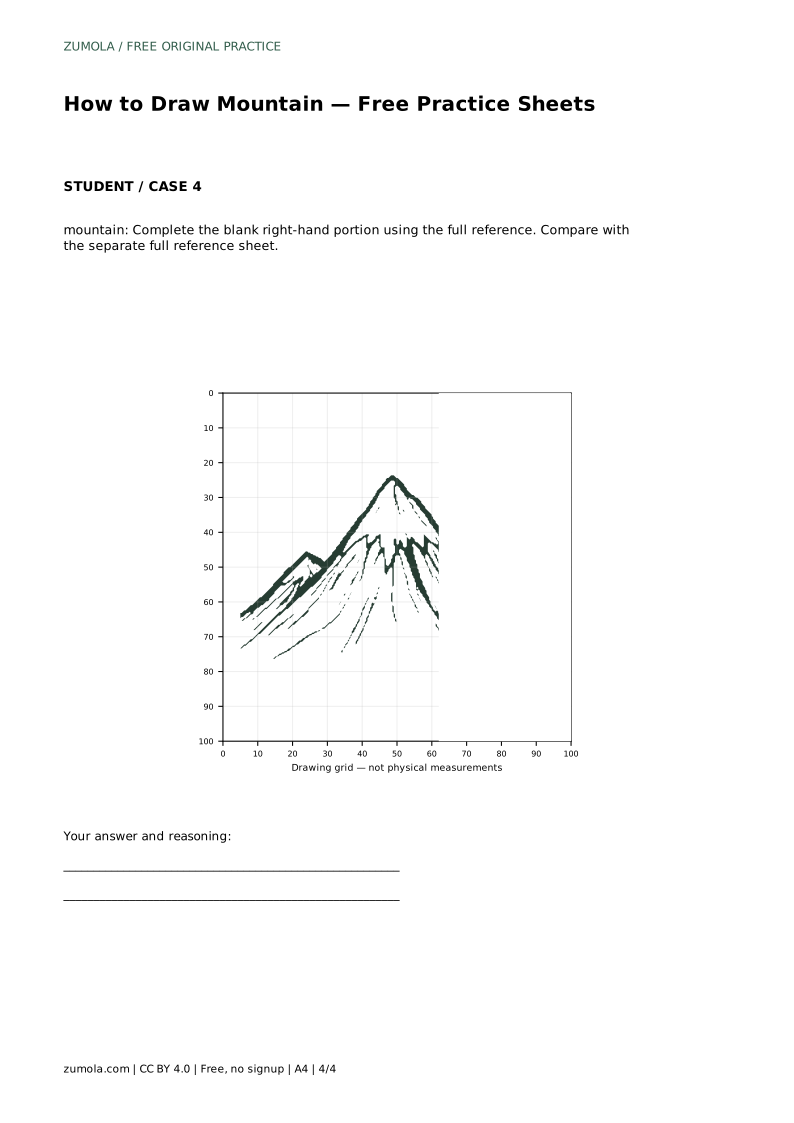
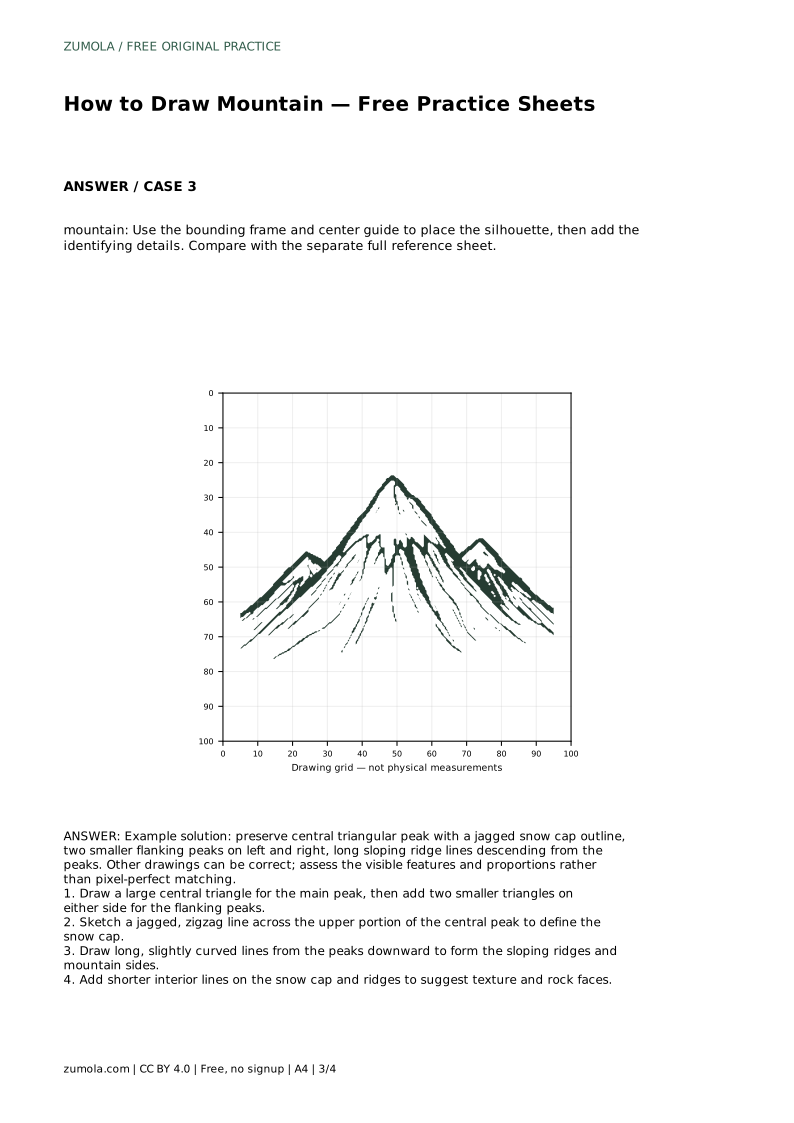
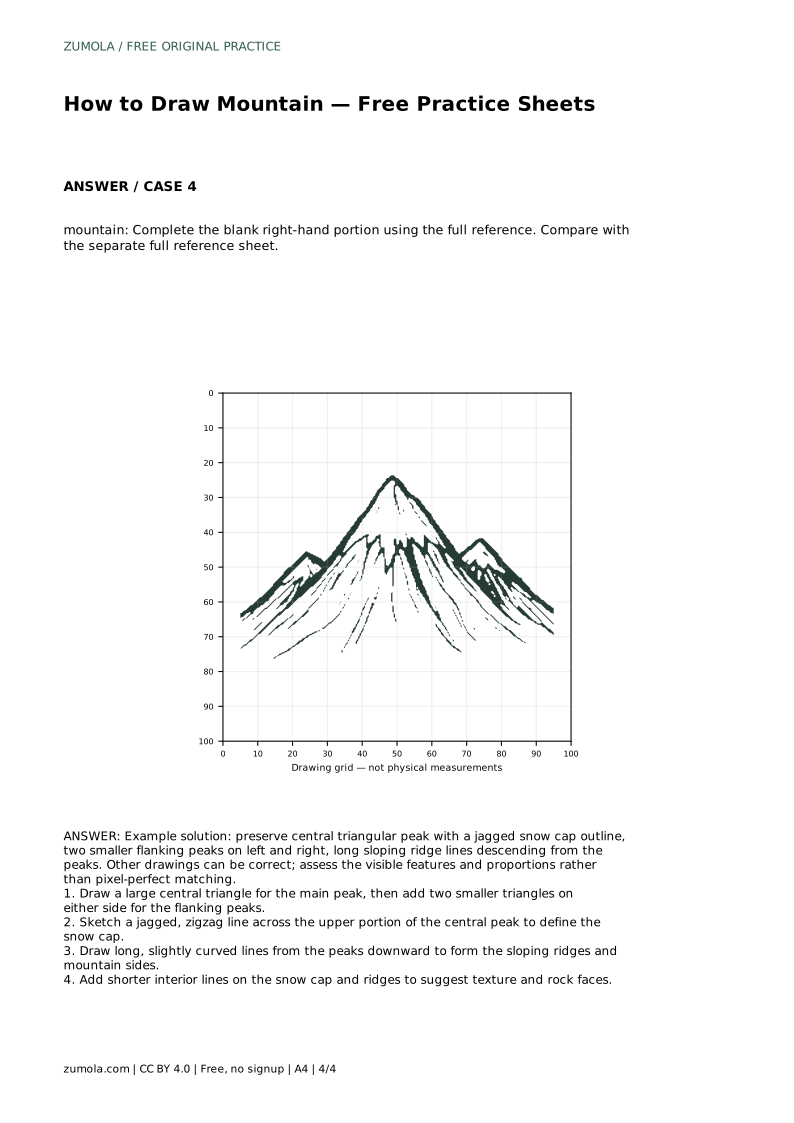
The bounding frame and center guide help you place the silhouette before adding identifying details. The partial sheet, where the right-hand portion is blank, asks you to complete the missing side from the full reference. In every case, compare proportions and visible features rather than expecting a pixel-perfect match.
A useful check is whether the central peak remains the tallest form and whether the flanking peaks stay lower. Ridge lines should descend from the peaks toward the base, with slight curves rather than stiff straight lines. The snow cap zigzag should sit in the upper portion of the central peak, not spread across the flanking peaks.
Because mountain drawings have multiple valid outcomes, judge the visible features and proportions. A drawing can differ in exact line placement and still be correct if the central peak, two flanking peaks, jagged snow cap, and long sloping ridges are present and clearly related.
Interior lines should support the mountain form, not compete with it. Short lines on the snow cap can suggest broken snow edges, while shorter lines on the ridges can suggest rock faces. Keep these marks lighter or fewer than the main outline so the silhouette stays readable.
If texture begins to obscure the peak shapes, stop and redraw the main contour. The large triangle, flanking peaks, snow cap, and ridge lines are the identifying features; texture is secondary.
mountain: Trace the reference outline, then practise the contour independently. Compare with the separate full reference sheet.
Example solution: preserve central triangular peak with a jagged snow cap outline, two smaller flanking peaks on left and right, long sloping ridge lines descending from the peaks. Other drawings can be correct; assess the visible features and proportions rather than pixel-perfect matching. Draw a large central triangle for the main peak, then add two smaller triangles on either side for the flanking peaks. Sketch a jagged, zigzag line across the upper portion of the central peak to define the snow cap. Draw long, slightly curved lines from the peaks downward to form the sloping ridges and mountain sides. Add shorter interior lines on the snow cap and ridges to suggest texture and rock faces.
No. Mountain drawings have multiple valid outcomes. Assess the visible features and proportions, such as the central peak, two flanking peaks, jagged snow cap, and long sloping ridge lines, rather than pixel-perfect matching.
Draw the large central triangle first, add two smaller flanking triangles, sketch the jagged snow cap, draw the long sloping ridge lines, then add shorter interior texture lines.
Complete the blank right-hand portion using the full reference. Use the finished left side to judge the height of the central peak and the direction of the ridge lines before drawing the missing side.
All drawing practice · Free coordinate paper
Original resources · CC BY 4.0 · Free for personal and classroom use with attribution.