Reference diagrams
LETTER · Download PDF
A4 · Download PDF
Free original resources
Learn to draw a feather by placing the central shaft, shaping the vane, adding jagged barb separations, and tapering the tip. Free practice sheets support each step.
Four original cases, with reference diagrams, practice sheets and worked answers. Everything is free; no signup required.
LETTER · Download PDF
A4 · Download PDF
LETTER · Download PDF
A4 · Download PDF
LETTER · Download PDF
A4 · Download PDF
Use A4 or US Letter to match your printer. Use the stated values and conditions to solve each exercise; diagrams are not physical measuring rulers.
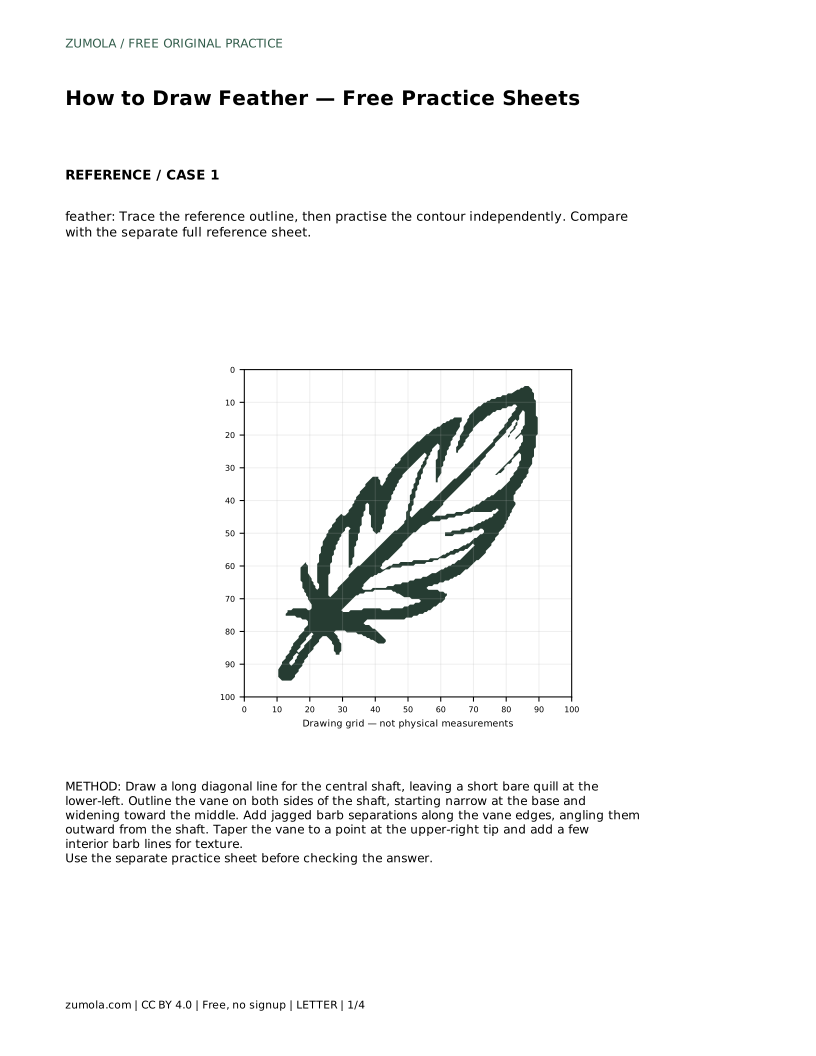
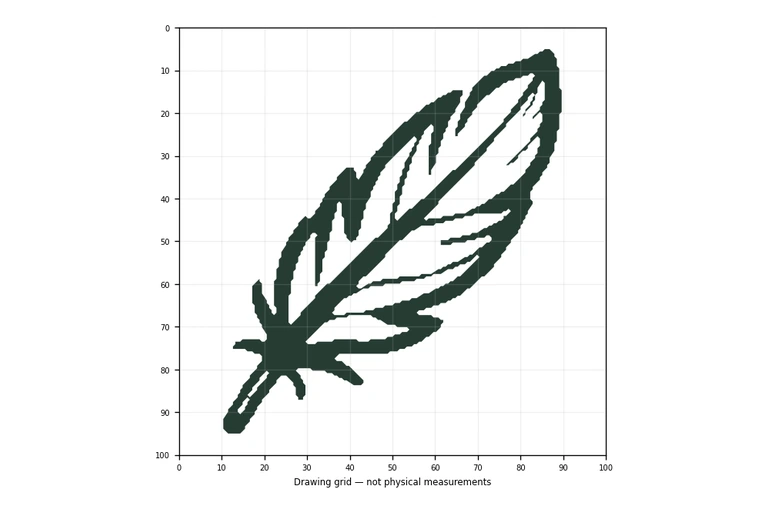
A feather is easy to recognize but surprisingly easy to draw as a flat leaf shape. The difference lies in the central shaft, the way the vane widens and narrows, and the small separations along the edges. This guide walks through a reliable order: shaft first, vane outline second, edge detail third, and interior texture last. The free practice sheets let you trace a reference outline, work on a grid, use a bounding frame and center guide, or complete a partially blank drawing.
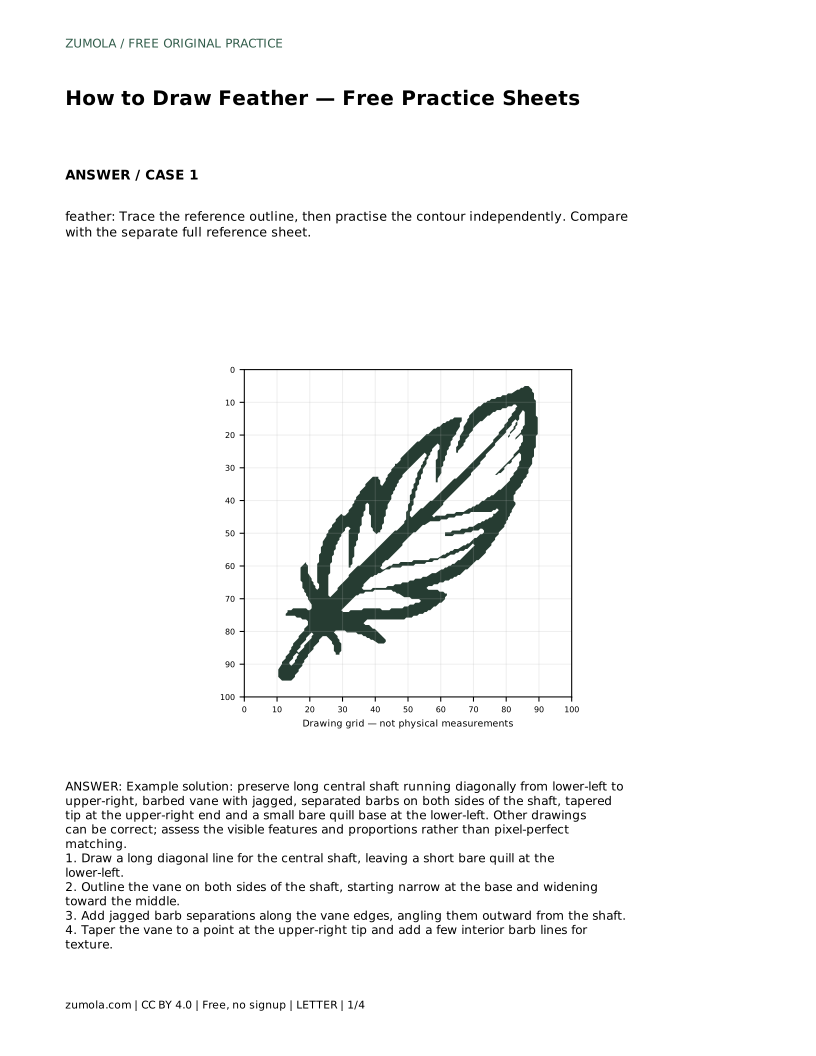
Every feather drawing begins with one clear decision: where the shaft runs. In the practice reference, the shaft travels diagonally from the lower-left to the upper-right. Draw that line first, and leave a short bare quill at the lower-left end. The bare quill is the part below the vane, so keep it visibly separate from the feathered area.
The shaft is not just a decoration down the middle. It sets the angle of everything else. If the shaft leans too far toward vertical or horizontal, the vane will look stiff and the tip will not read as a point. Check the diagonal before adding any outline.
The vane is the broad feathered area on either side of the shaft. Begin narrow near the bare quill, widen gradually toward the middle, then narrow again toward the tip. Work on both sides as you go rather than finishing one side completely; this keeps the two halves balanced around the shaft.
The upper-right end should taper to a point. Avoid rounding it off, which makes the feather look blunt. The widest part of the vane sits somewhere near the middle, not at the base and not at the tip.
A feather edge is not a smooth curve. Small barb separations break the outline into short angled segments that point outward from the shaft. Add these along both edges, keeping them modest in size so the overall silhouette stays readable. Too many deep cuts turn the feather into a comb.
Interior barb lines are optional but useful. A few short lines angled outward from the shaft suggest texture without turning the drawing into a diagram. Keep them sparse and consistent in direction.
Art has multiple valid outcomes. A drawing can differ from the reference and still be correct if the shaft direction, vane proportions, jagged edges, tapered tip, and bare quill are all present.
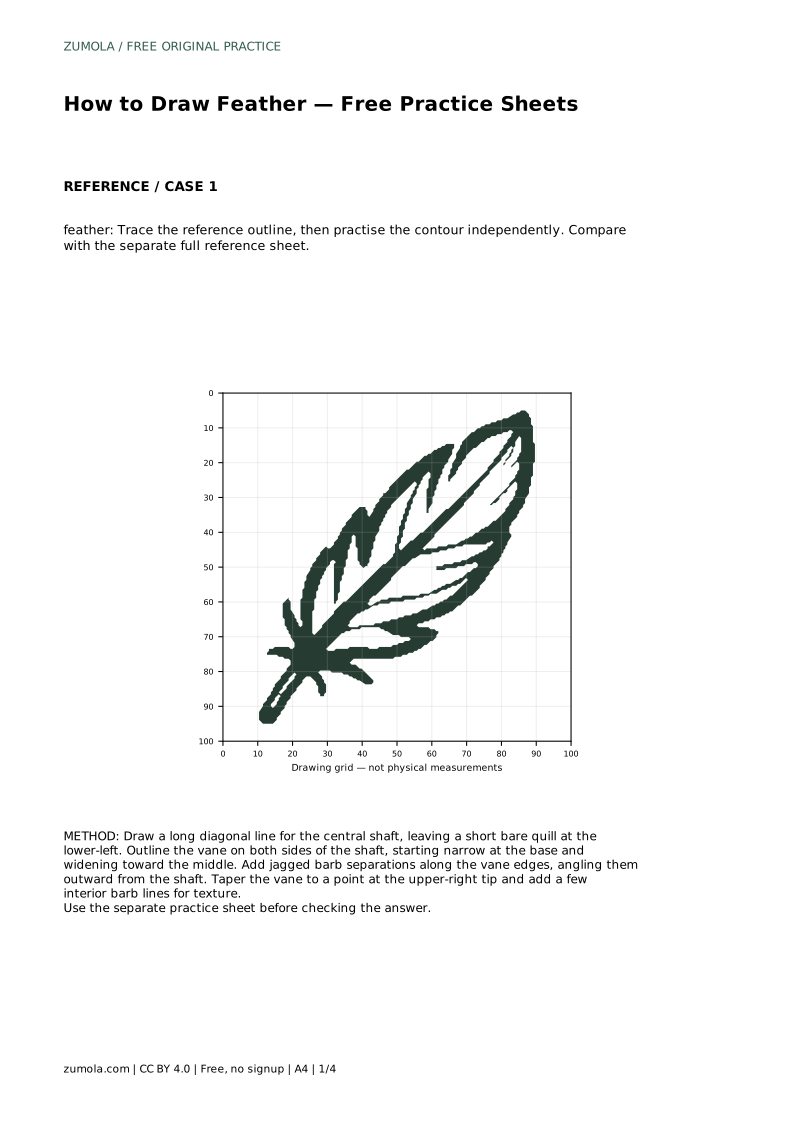
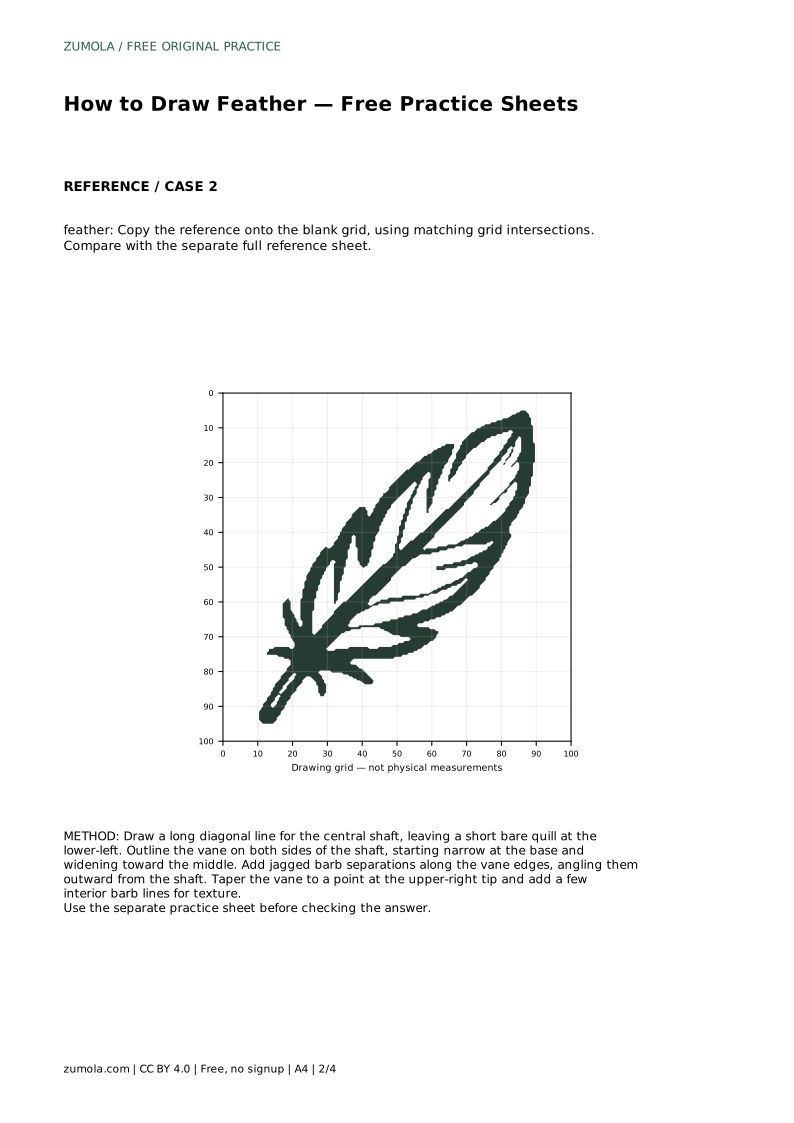
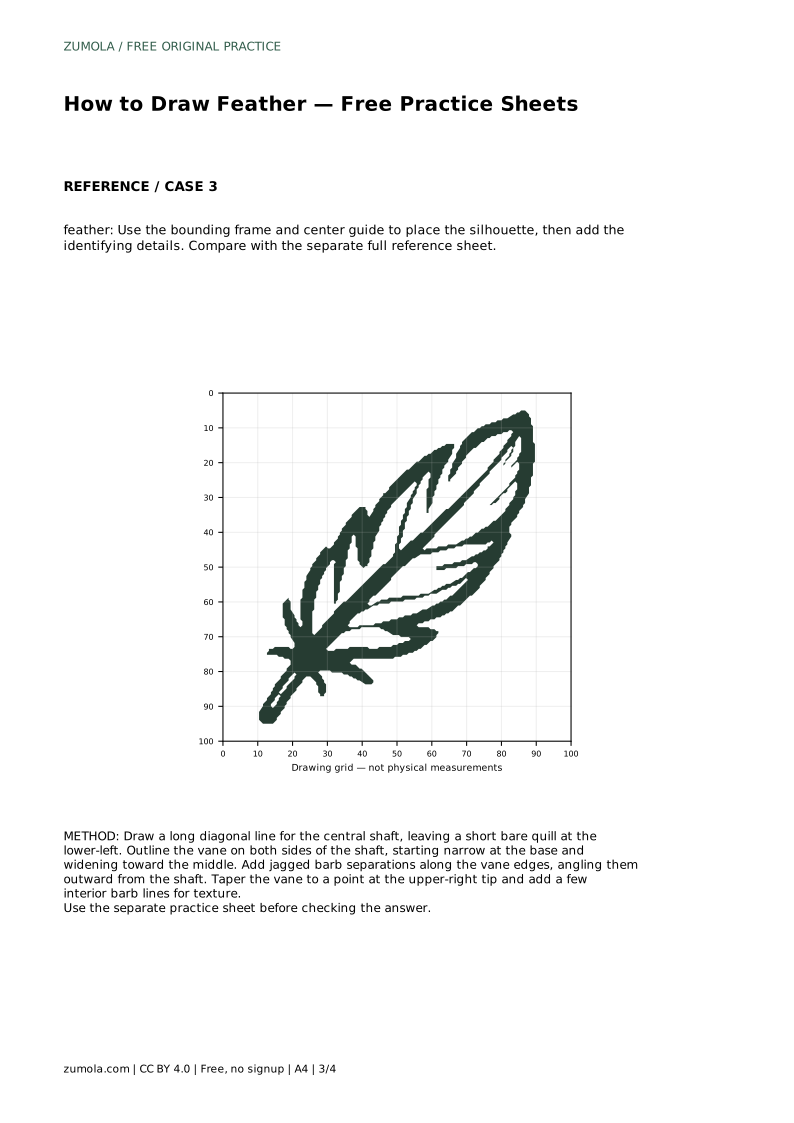
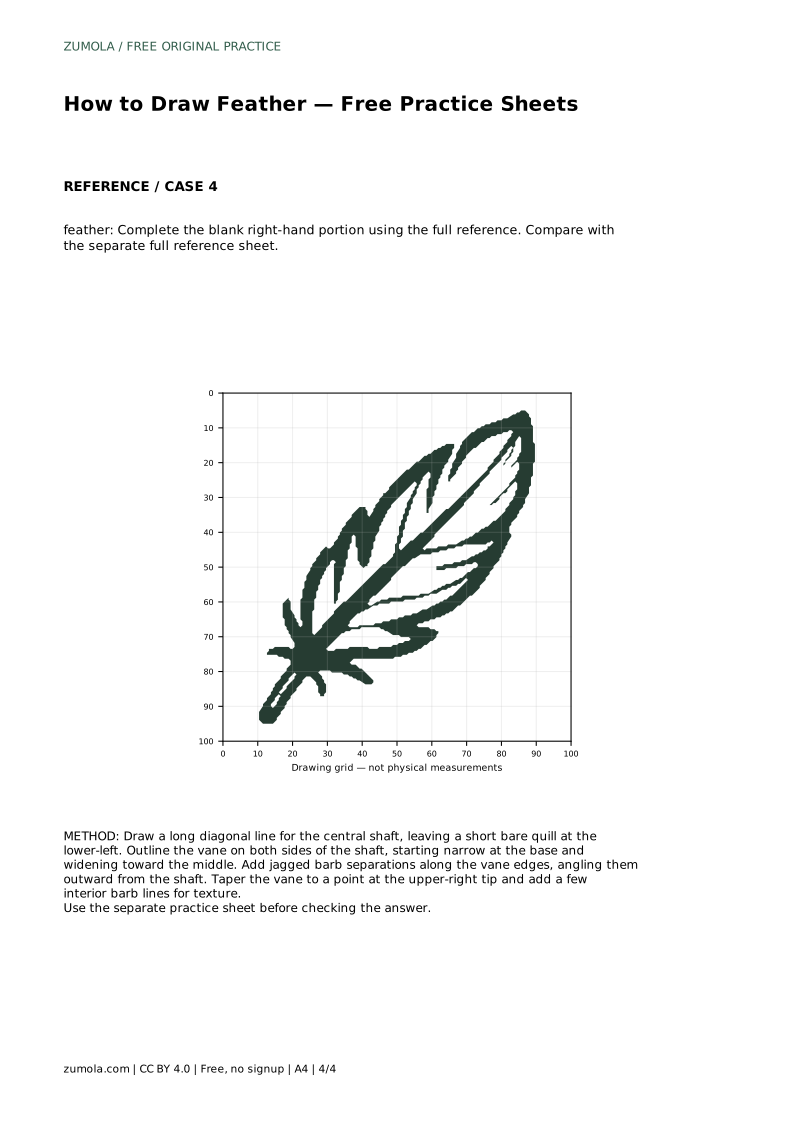
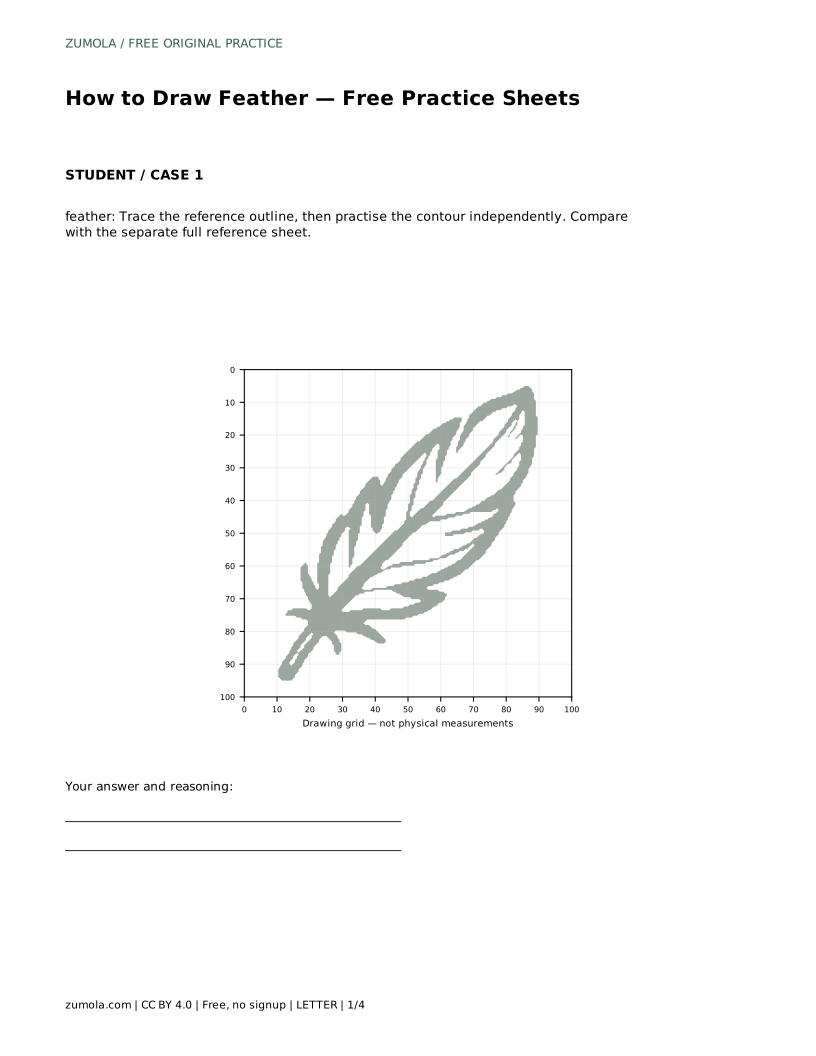
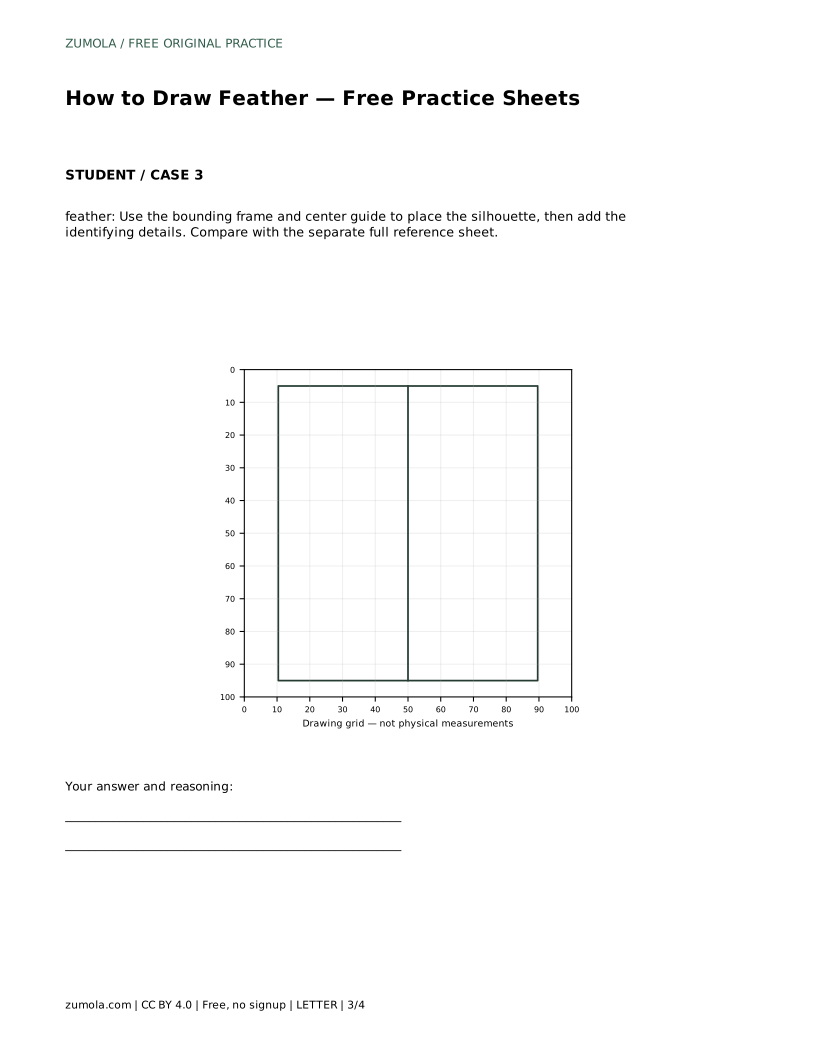
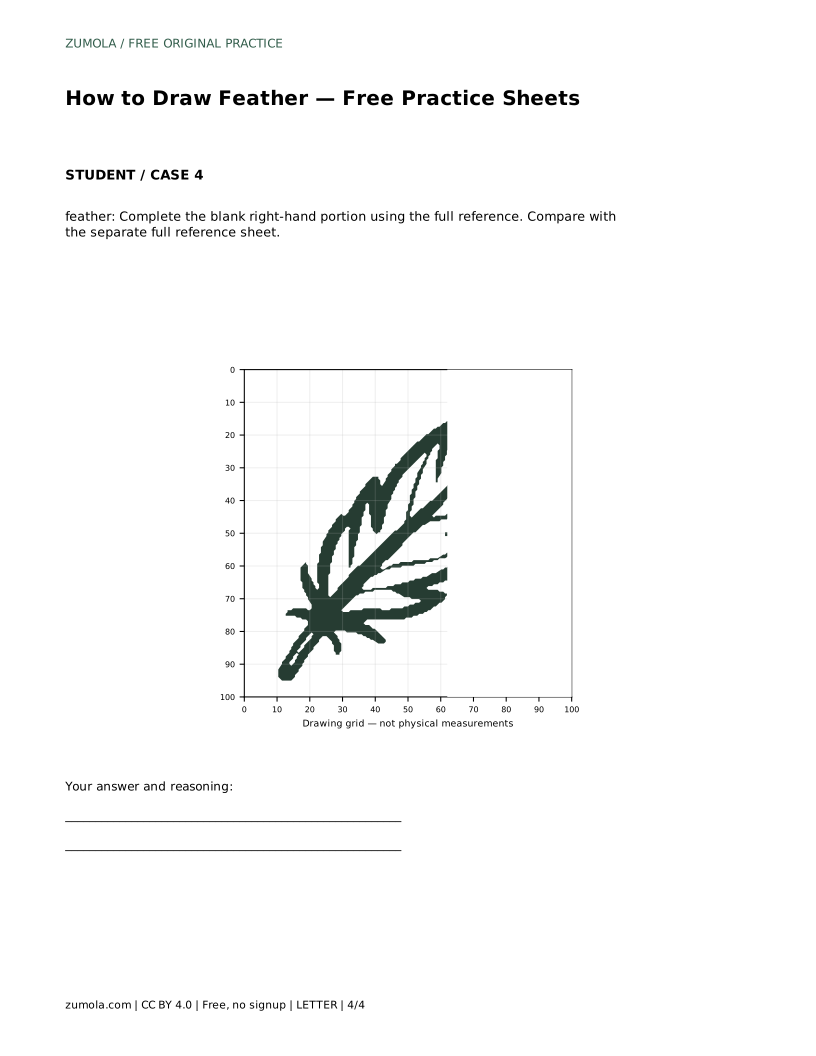
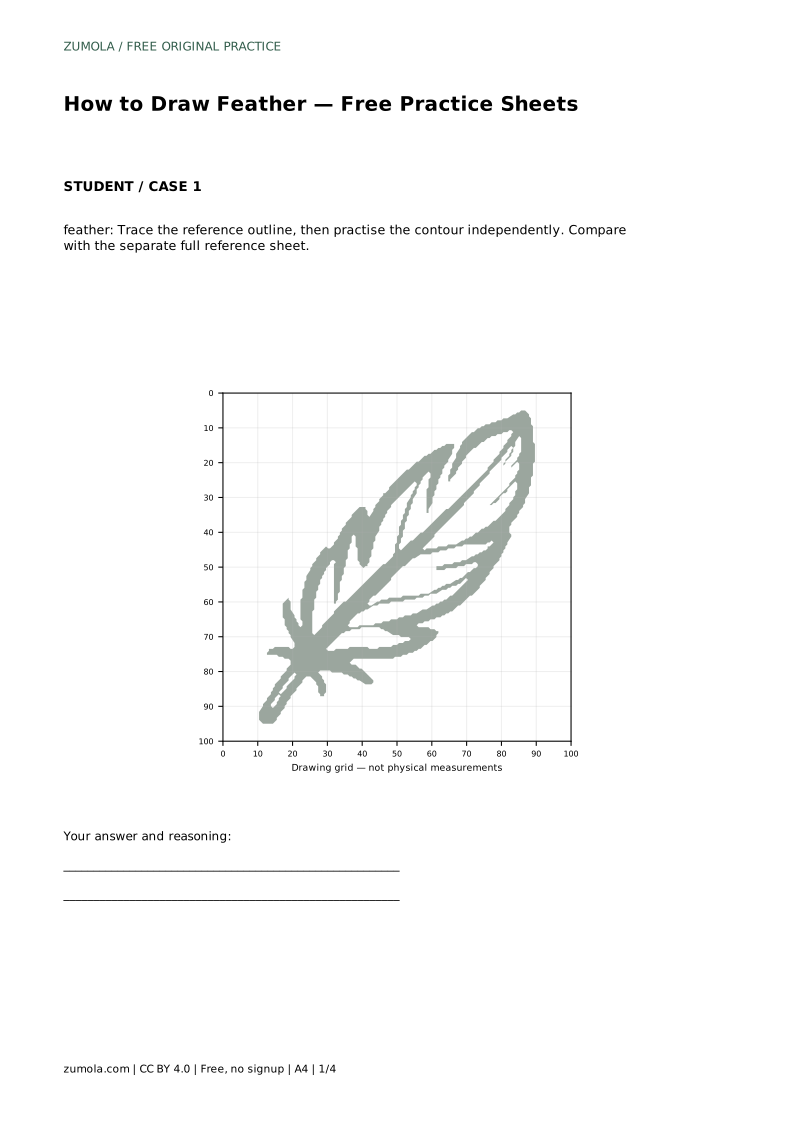
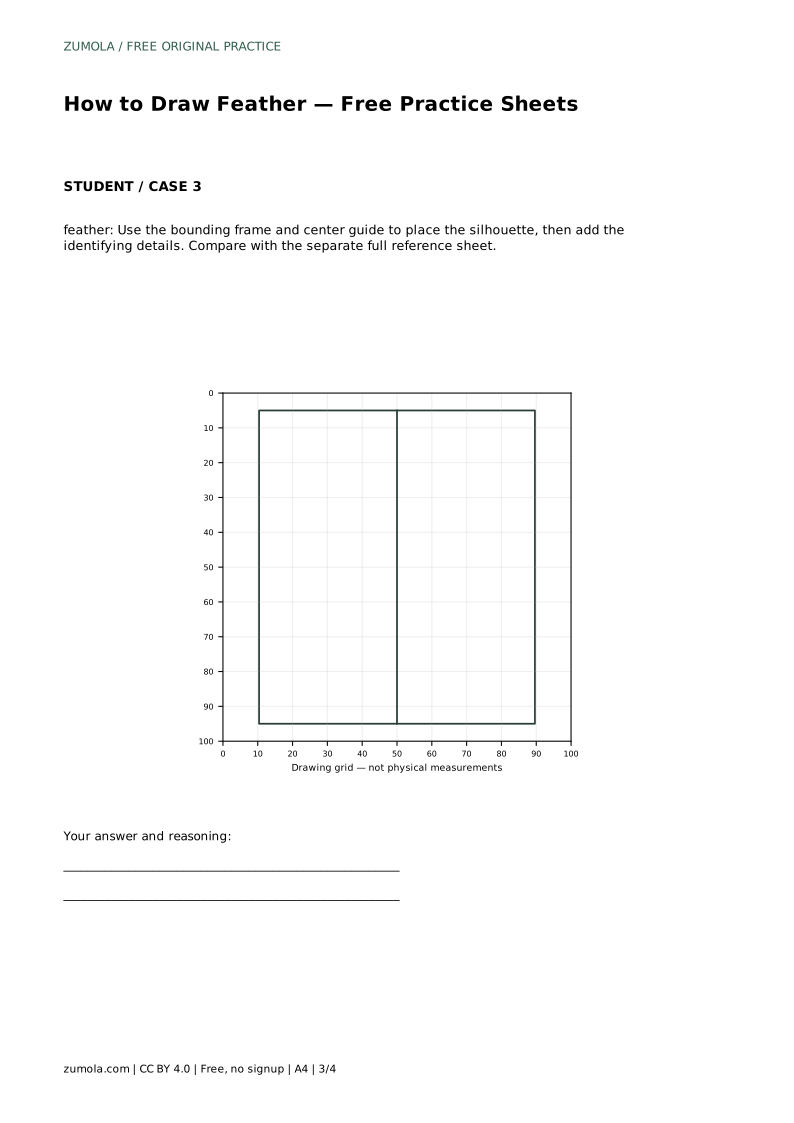
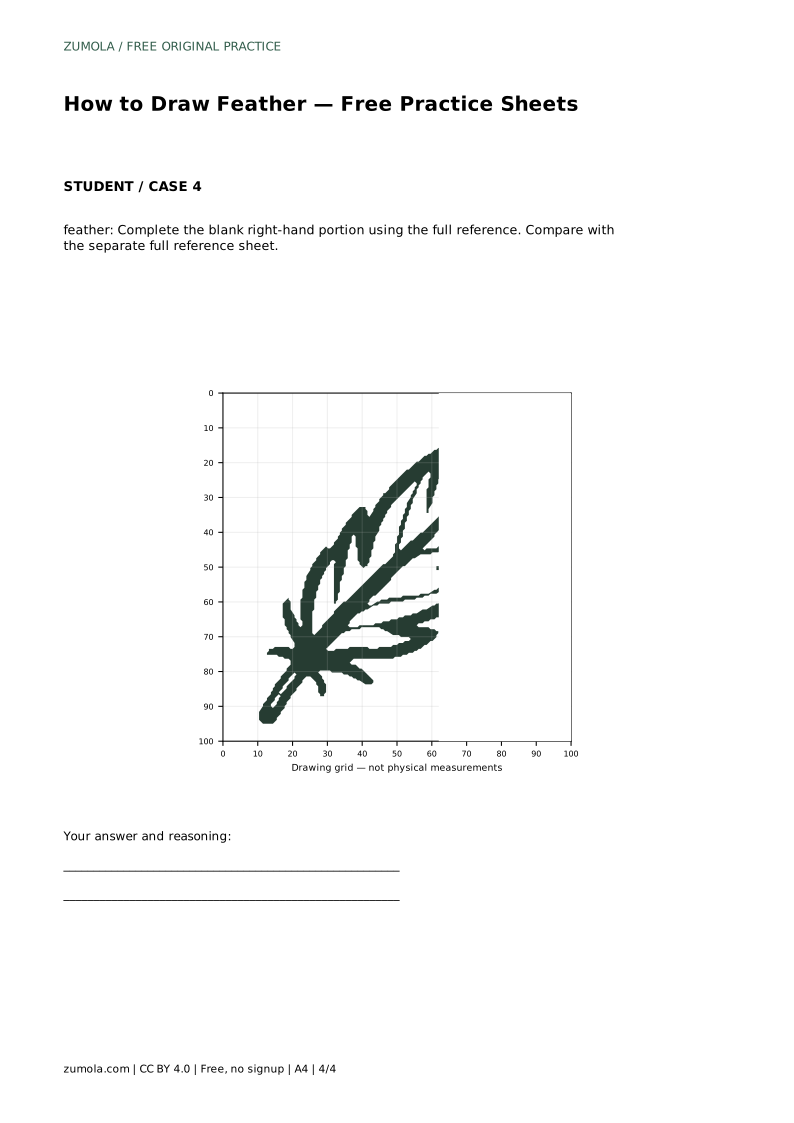
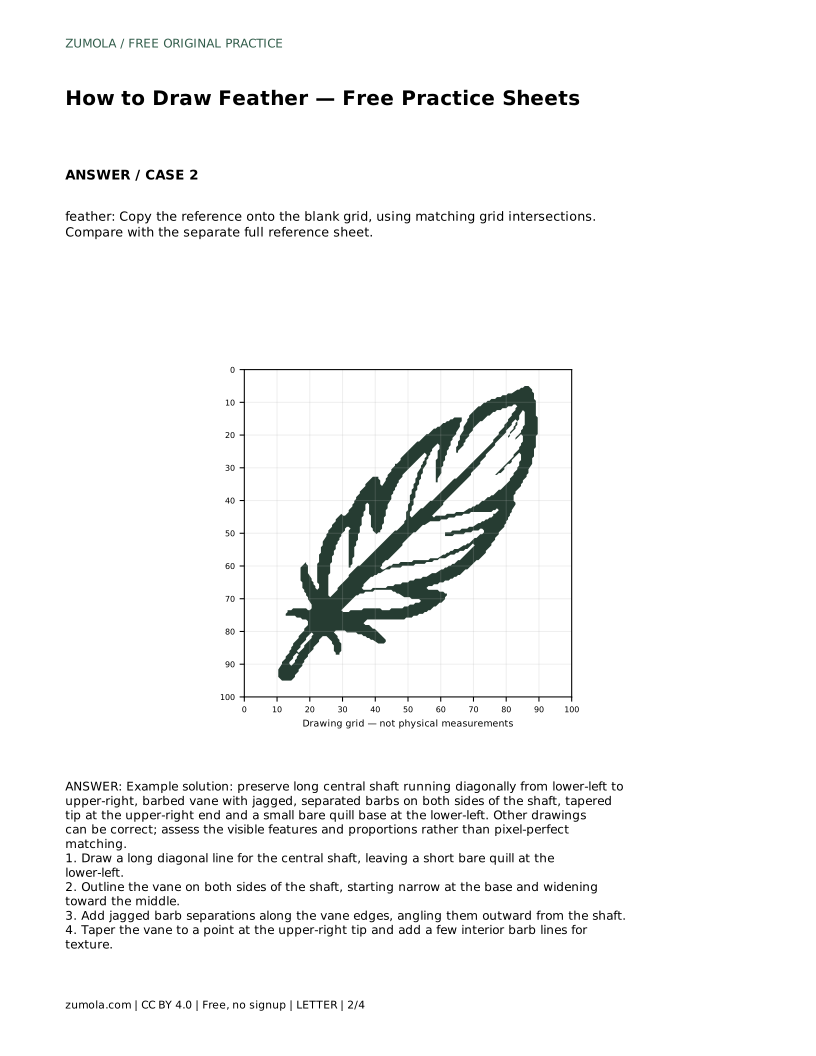
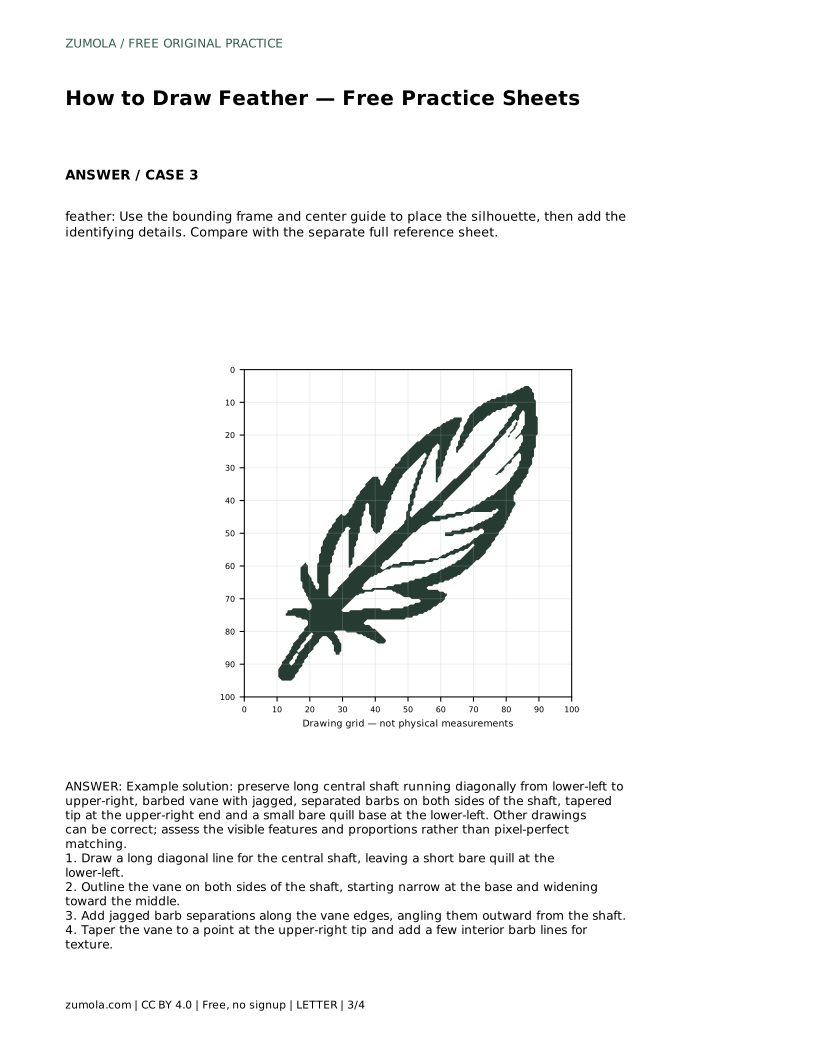
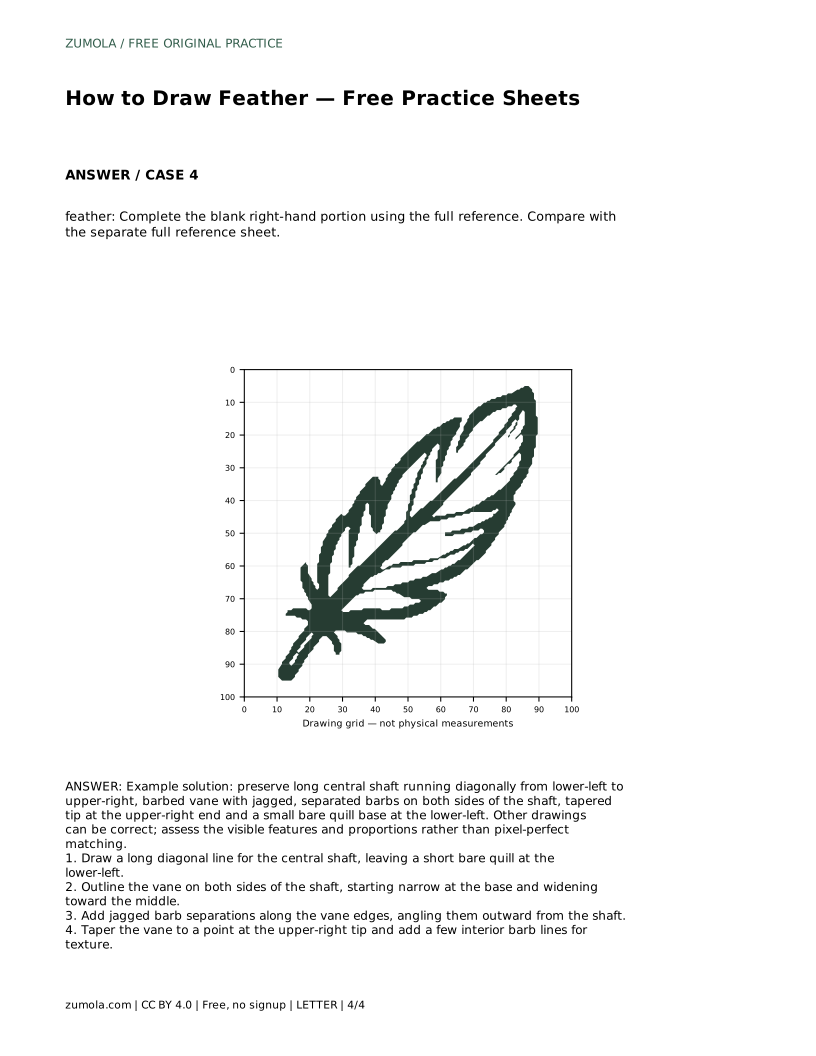
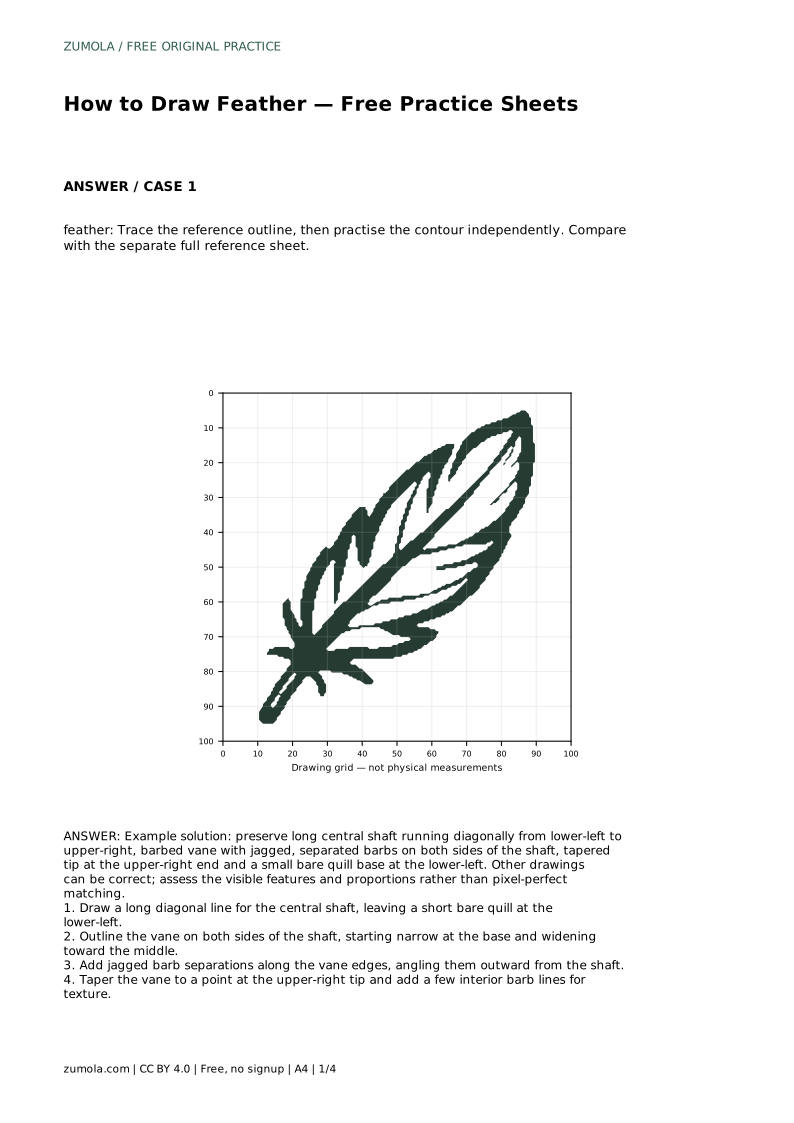
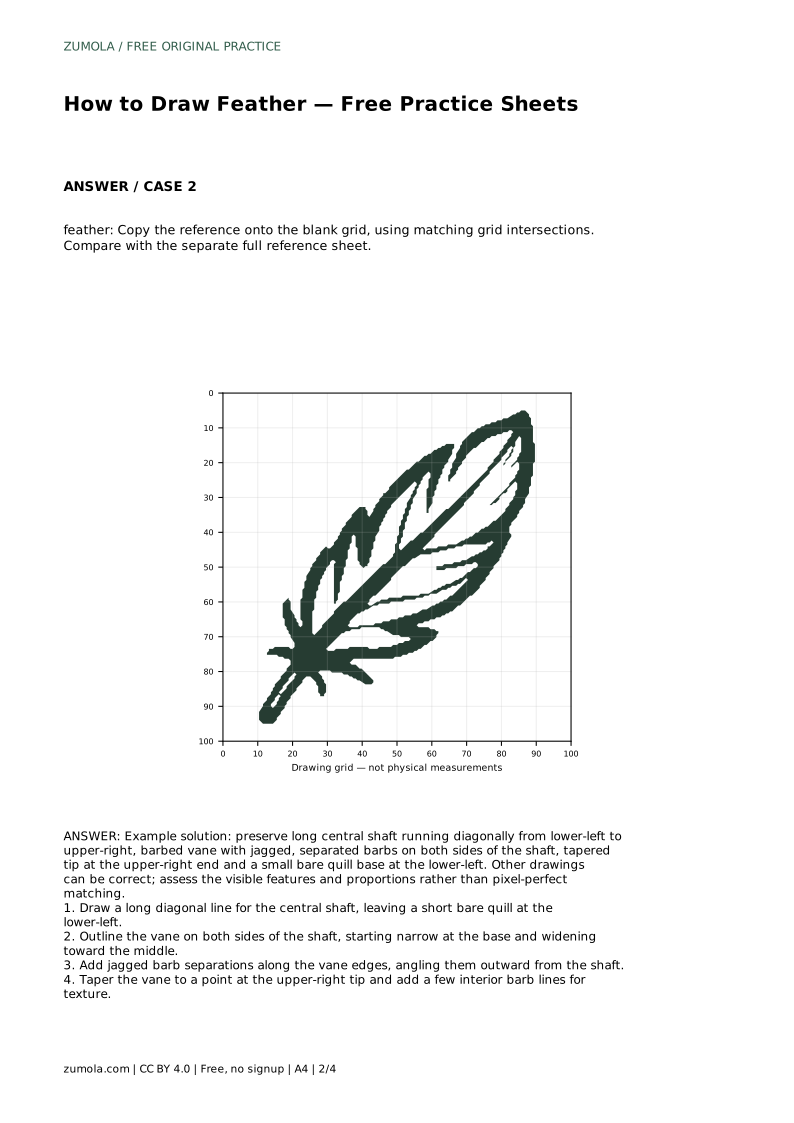
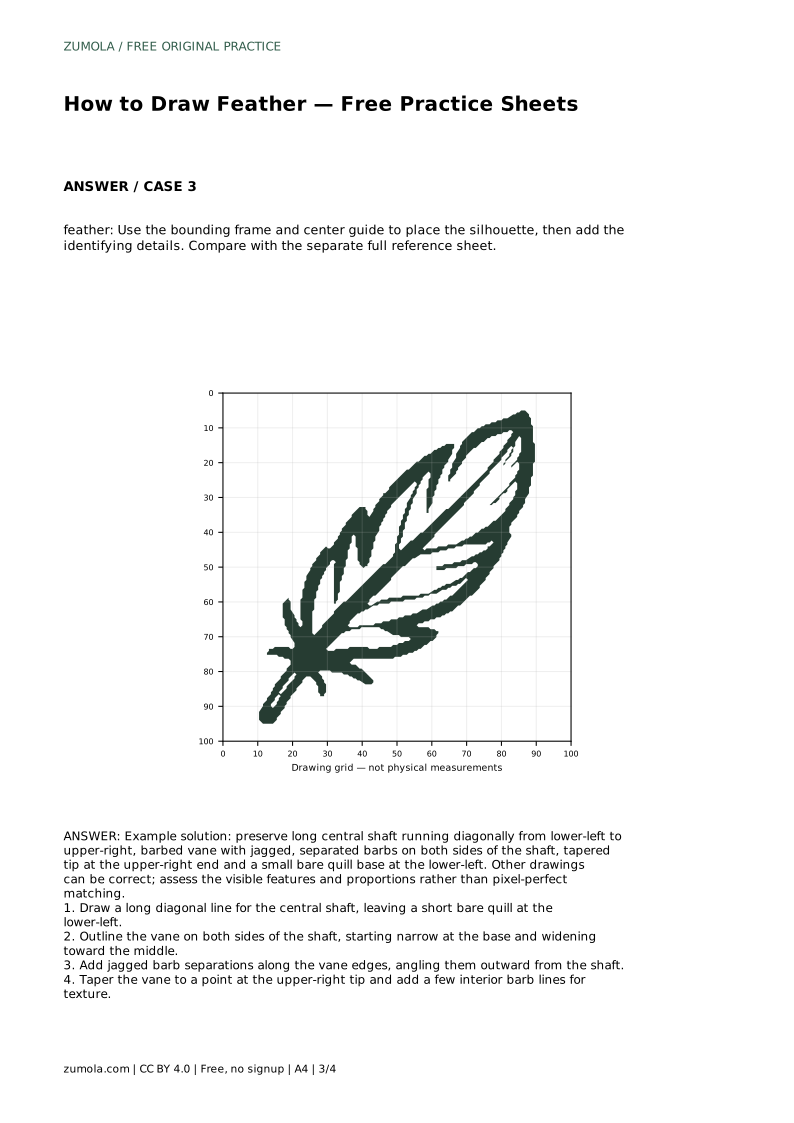
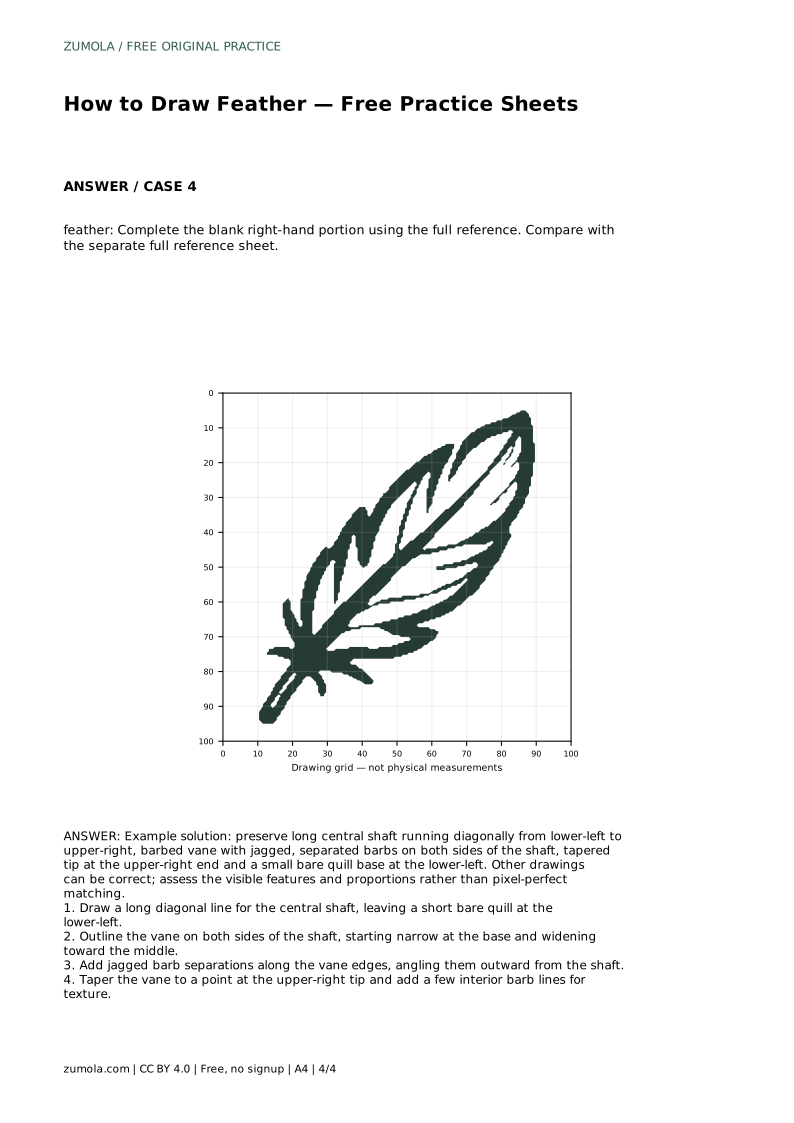
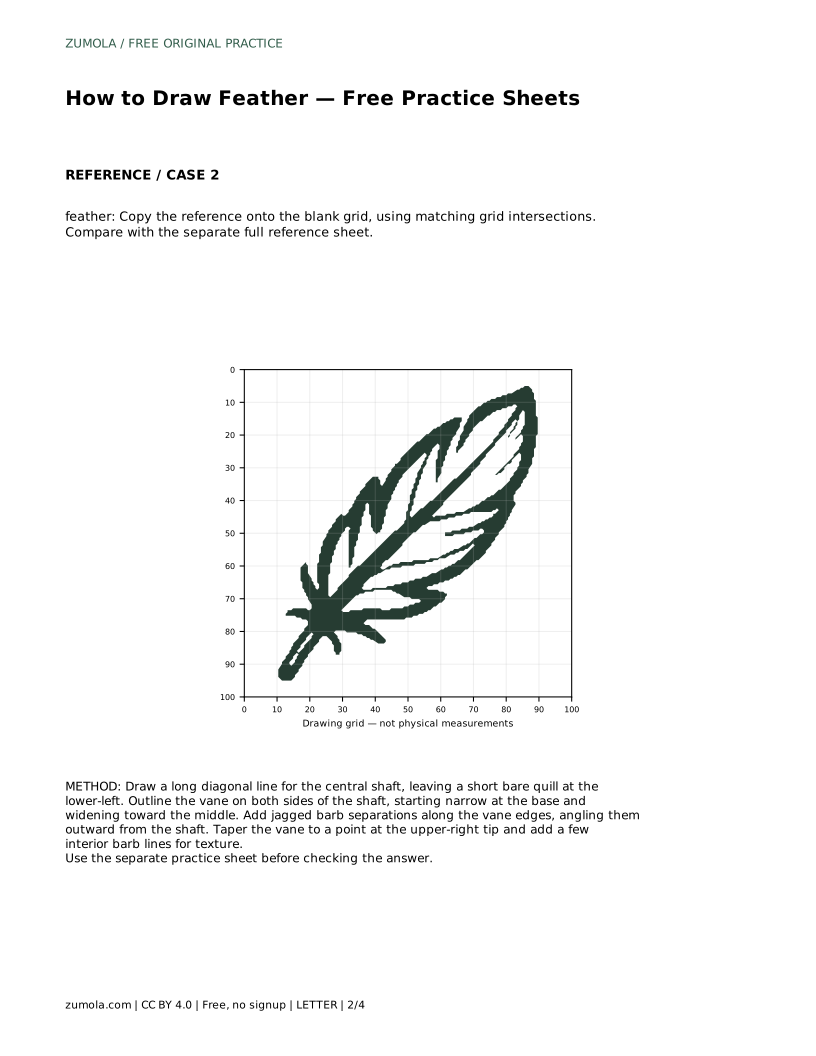
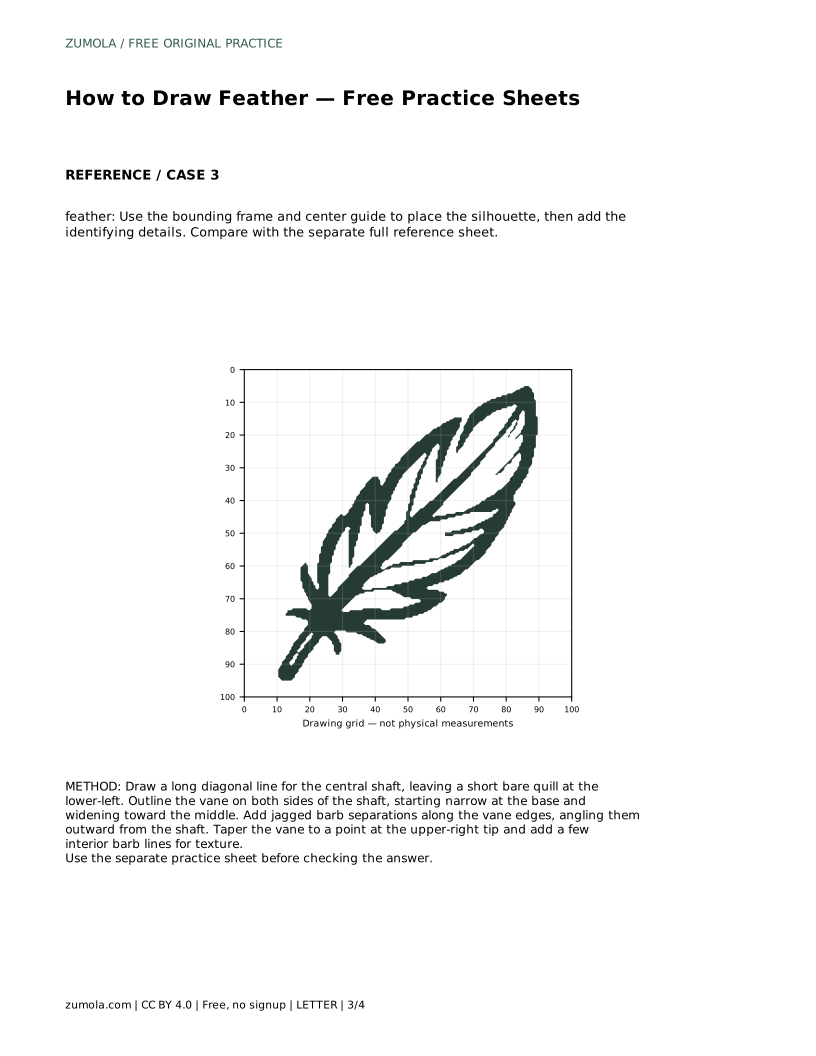
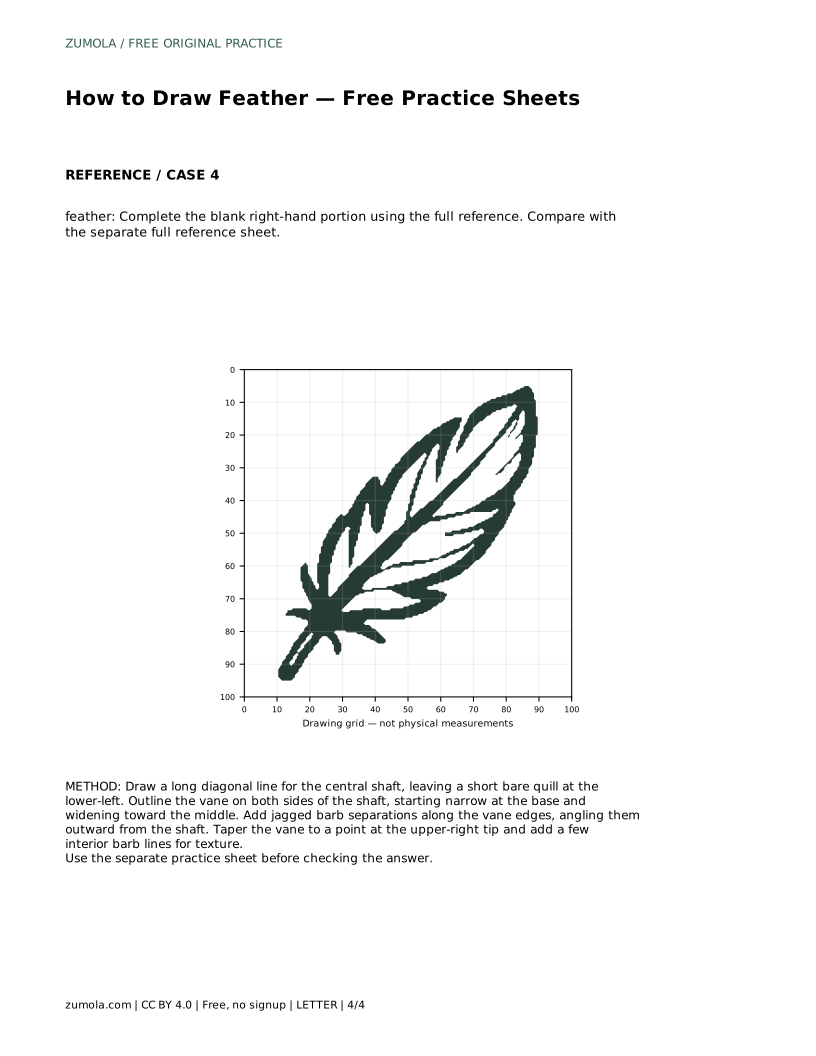
The trace sheet asks you to follow the reference outline first, then draw the contour independently and compare with the separate full reference sheet. The grid sheet asks you to copy the reference onto a blank grid using matching grid intersections, which helps with proportion. The bounding frame and center guide sheet asks you to place the silhouette inside the frame before adding identifying details. The partial sheet gives you the left portion and asks you to complete the blank right-hand portion from the full reference.
Each format trains a different skill, so treat them as separate exercises rather than repeats of the same task.
Compare your finished drawing against the reference by checking features, not by hunting for pixel-perfect matches. Ask whether the shaft runs diagonally from lower-left to upper-right, whether the bare quill is visible at the lower-left, whether the vane widens near the middle, whether the edges show jagged barb separations, and whether the tip tapers at the upper-right.
If one feature is missing, fix that feature rather than redrawing everything. Small targeted corrections improve a drawing faster than starting over.
feather: Trace the reference outline, then practise the contour independently. Compare with the separate full reference sheet.
Example solution: preserve long central shaft running diagonally from lower-left to upper-right, barbed vane with jagged, separated barbs on both sides of the shaft, tapered tip at the upper-right end and a small bare quill base at the lower-left. Other drawings can be correct; assess the visible features and proportions rather than pixel-perfect matching. Draw a long diagonal line for the central shaft, leaving a short bare quill at the lower-left. Outline the vane on both sides of the shaft, starting narrow at the base and widening toward the middle. Add jagged barb separations along the vane edges, angling them outward from the shaft. Taper the vane to a point at the upper-right tip and add a few interior barb lines for texture.
Draw the shaft first. It sets the diagonal direction and gives the vane a line to widen around on both sides.
Jagged enough to read as separated barbs, but not so deep that the overall silhouette becomes unclear. Keep the cuts short and angled outward from the shaft.
That is acceptable. Assess the visible features and proportions instead: shaft direction, bare quill, vane width, jagged edges, and tapered tip.
All drawing practice · Free coordinate paper
Original resources · CC BY 4.0 · Free for personal and classroom use with attribution.