Reference diagrams
LETTER · Download PDF
A4 · Download PDF
Free original resources
Learn to draw a river by building two winding bank lines, adding current strokes and grass tufts, then refining the channel so it narrows and widens naturally.
Four original cases, with reference diagrams, practice sheets and worked answers. Everything is free; no signup required.
LETTER · Download PDF
A4 · Download PDF
LETTER · Download PDF
A4 · Download PDF
LETTER · Download PDF
A4 · Download PDF
Use A4 or US Letter to match your printer. Use the stated values and conditions to solve each exercise; diagrams are not physical measuring rulers.
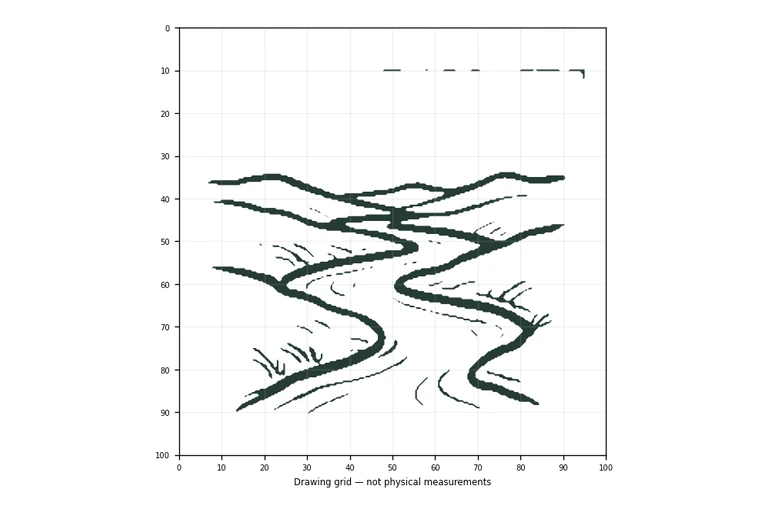
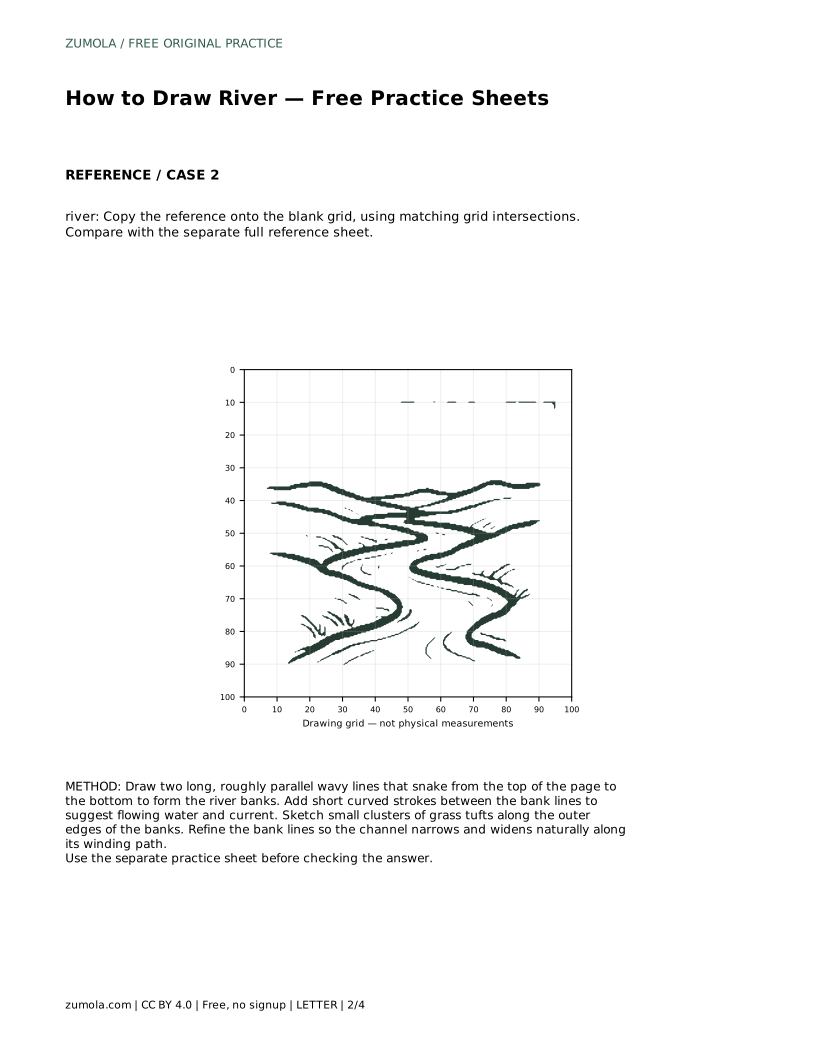
A river drawing becomes convincing when the channel reads clearly: two long bank lines that snake down the page, water marks that follow the flow, and simple edge details that anchor the banks. This guide explains how to build that structure step by step, then how to use tracing, grid, guide-frame, and partial-reference practice sheets to rehearse the same decisions. Because many drawings can be correct, you will assess visible features and proportions rather than pixel-perfect matching.
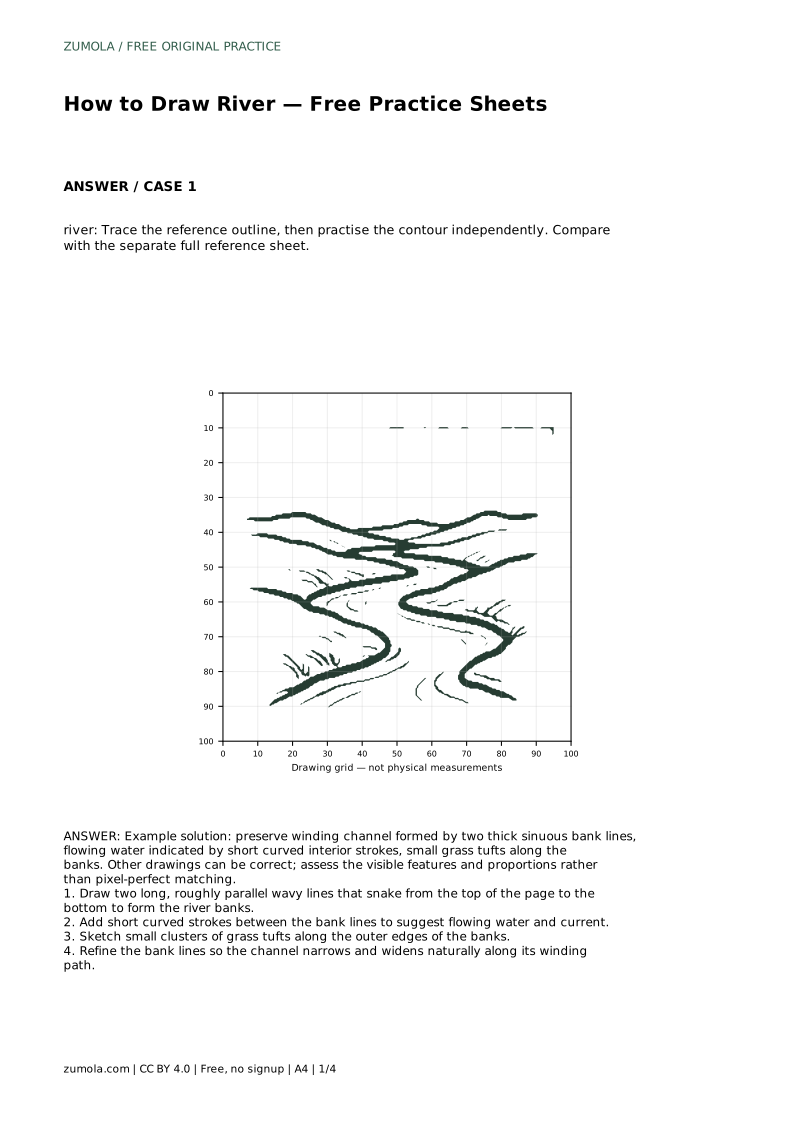
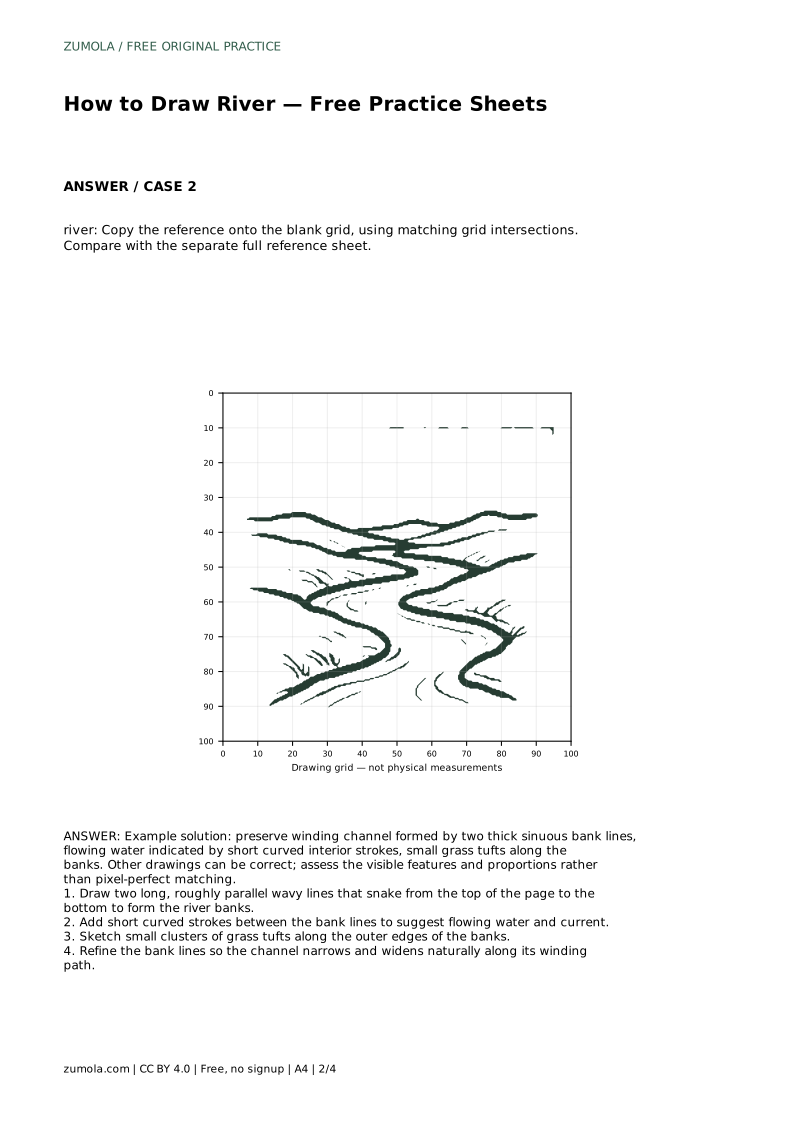
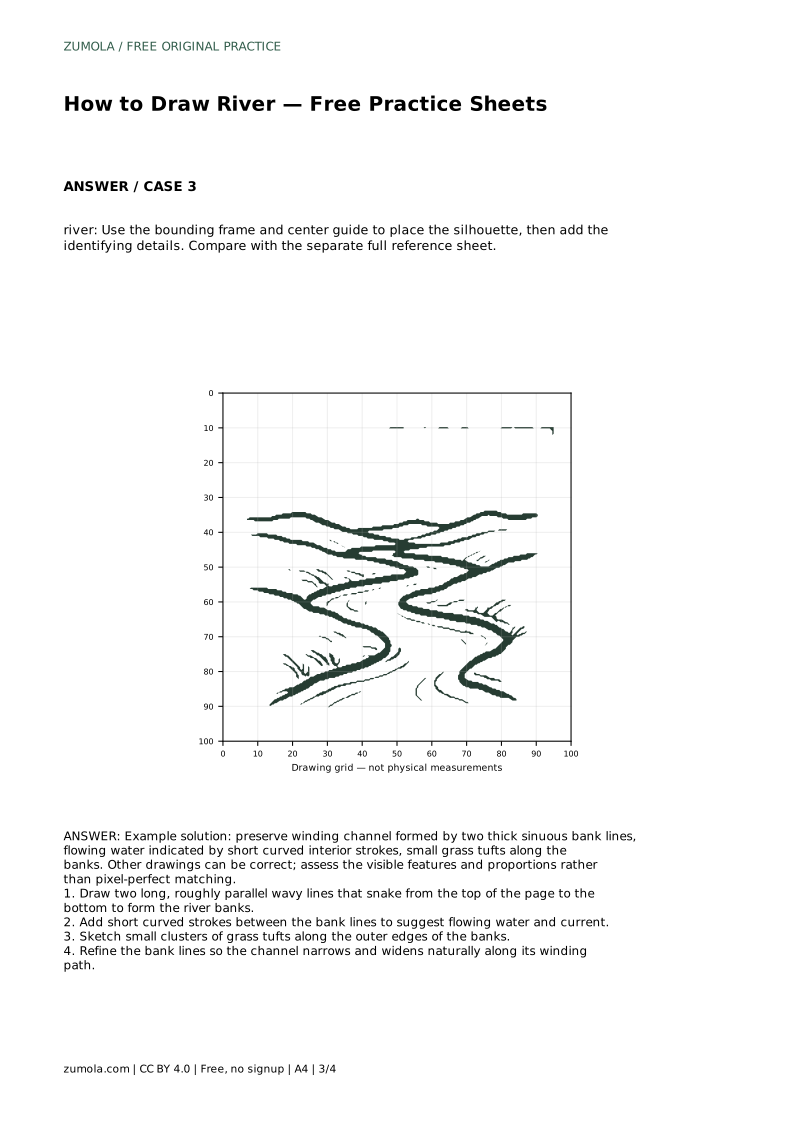
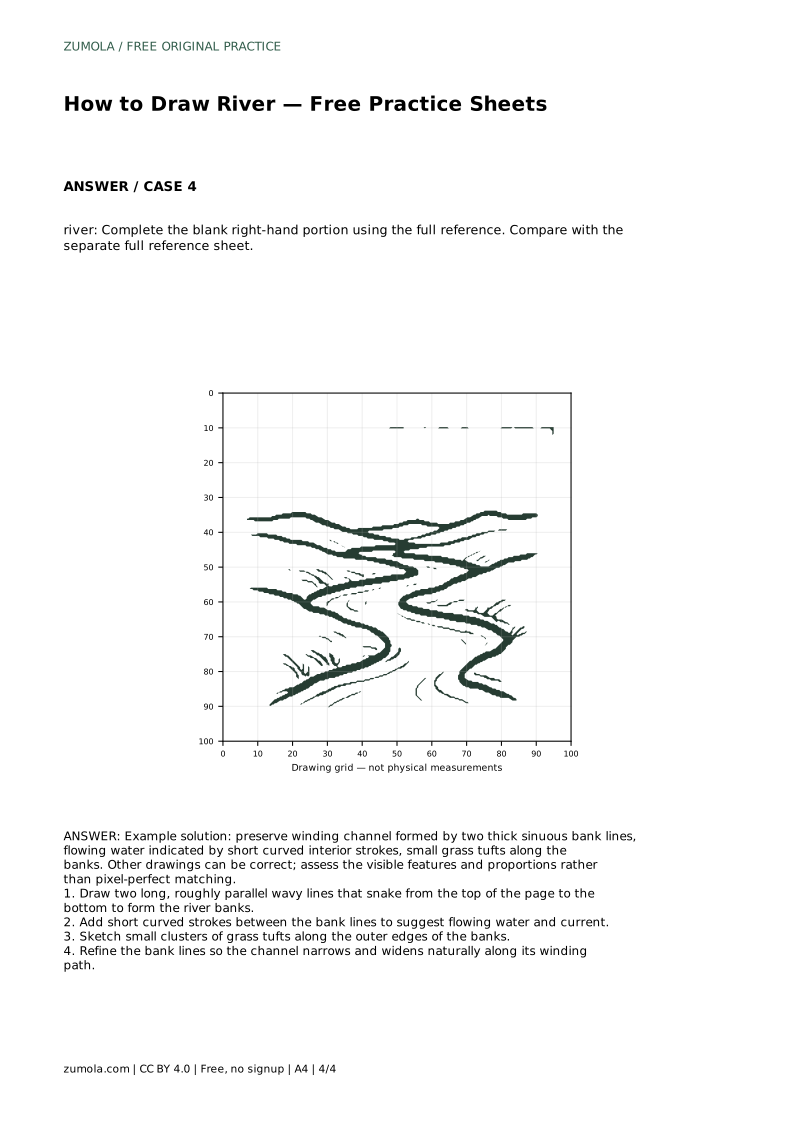
The river's identity comes from its banks. Draw two long, roughly parallel wavy lines that snake from the top of the page to the bottom. Keep them roughly parallel so the channel reads as water rather than a road or a path, but let the gap between them change: a river that stays exactly the same width looks stiff and mechanical.
Work lightly at first. You are deciding the overall path and the width changes before committing to darker lines. If one bank bulges outward, let the opposite bank respond nearby so the channel still feels like one continuous form.
Short curved strokes between the bank lines suggest flowing water and current. Keep these strokes short and roughly aligned with the channel's direction at that point; strokes that cut across the banks break the illusion of water moving within its edges. Vary their length slightly so the surface does not look like a repeated pattern.
Small clusters of grass tufts along the outer edges of the banks give the river a place to sit in the landscape. Place them on the outside of the bank lines, not inside the channel, and group them in twos or threes rather than spacing them evenly.
Refine the bank lines so the channel narrows and widens naturally along its winding path. Narrow sections can suggest a faster squeeze of water; wider sections can suggest a slower, calmer stretch. Make these changes gradual and connected, so the river reads as one continuous channel from top to bottom.
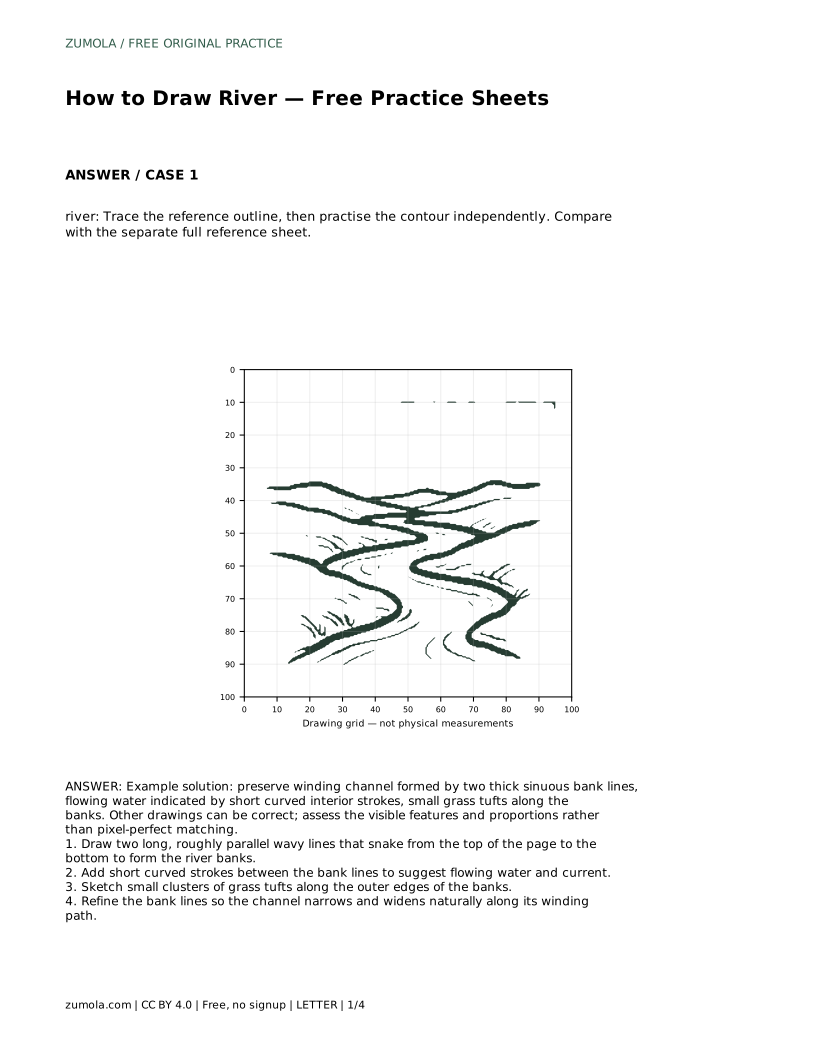
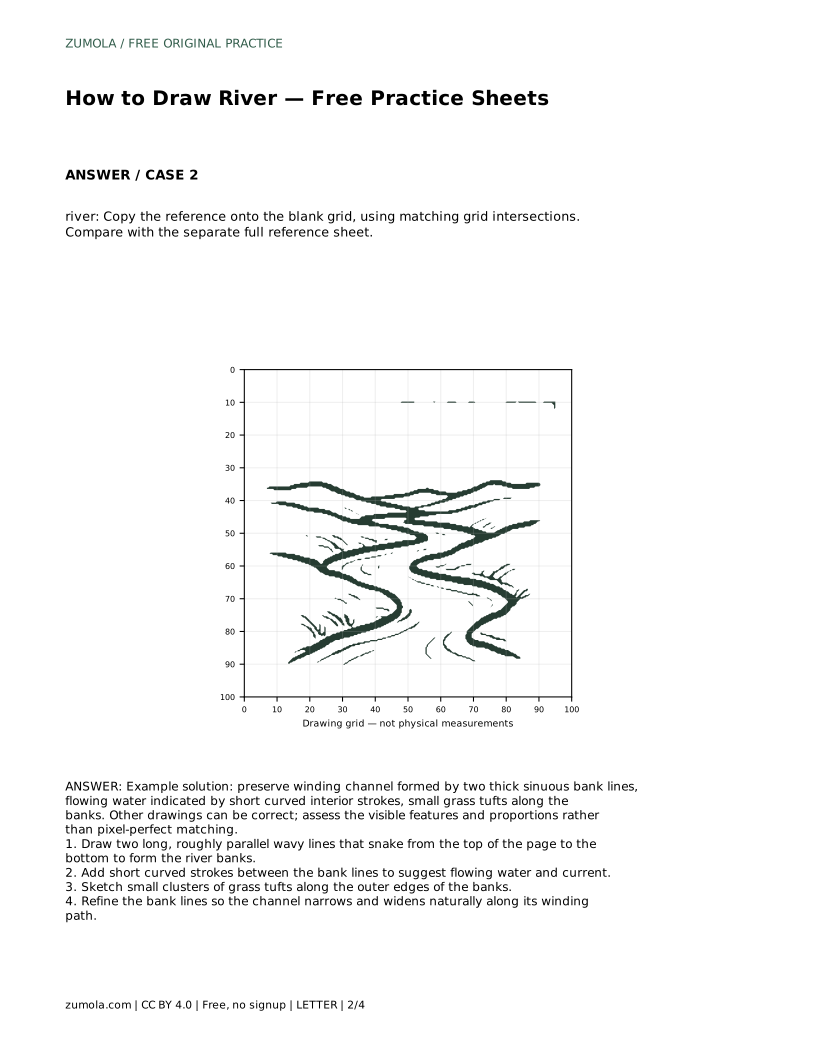
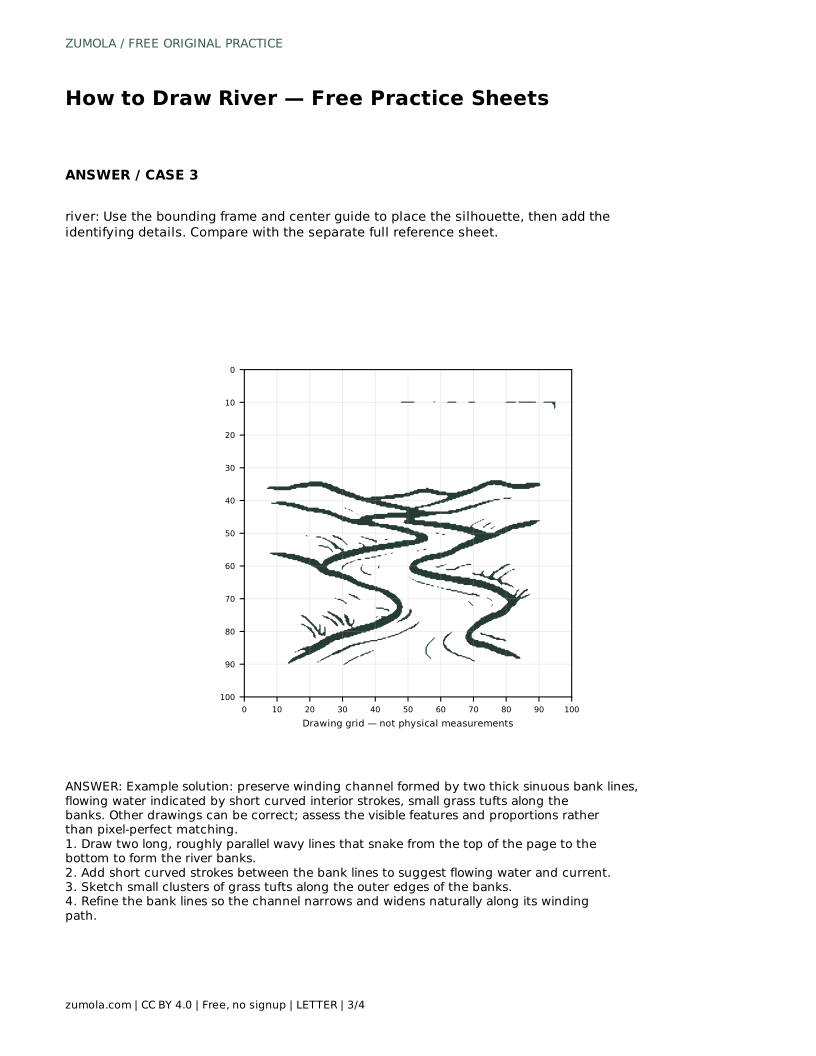
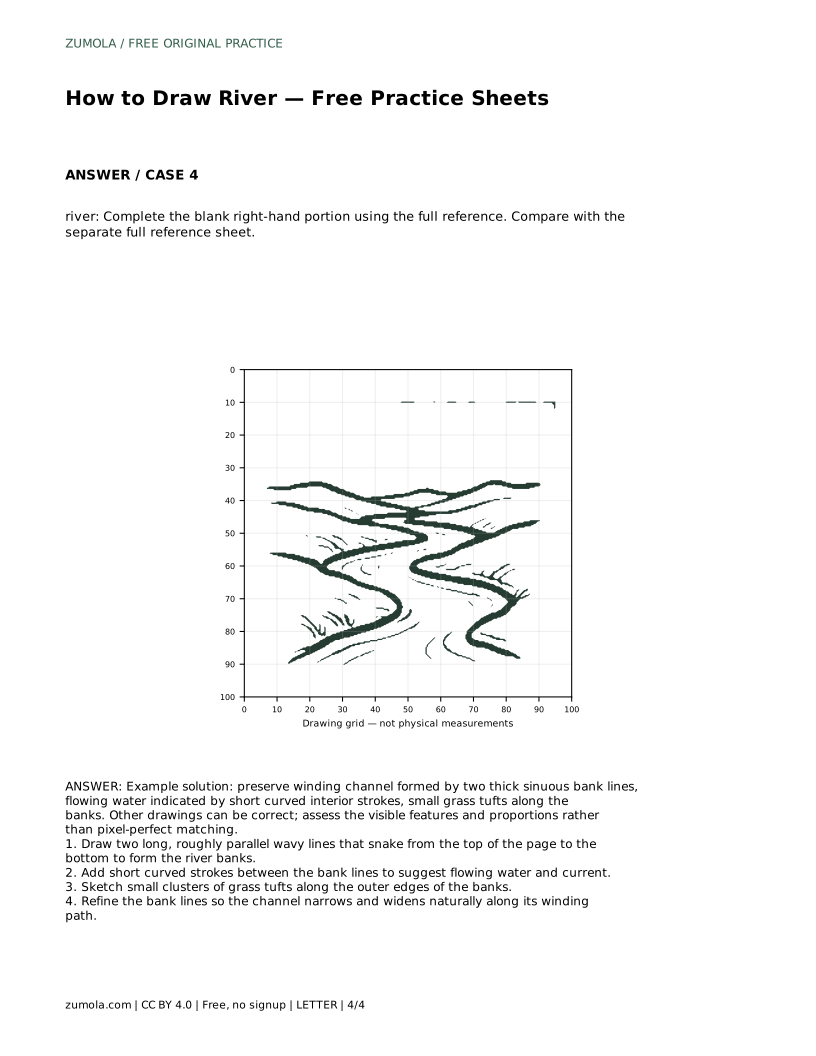
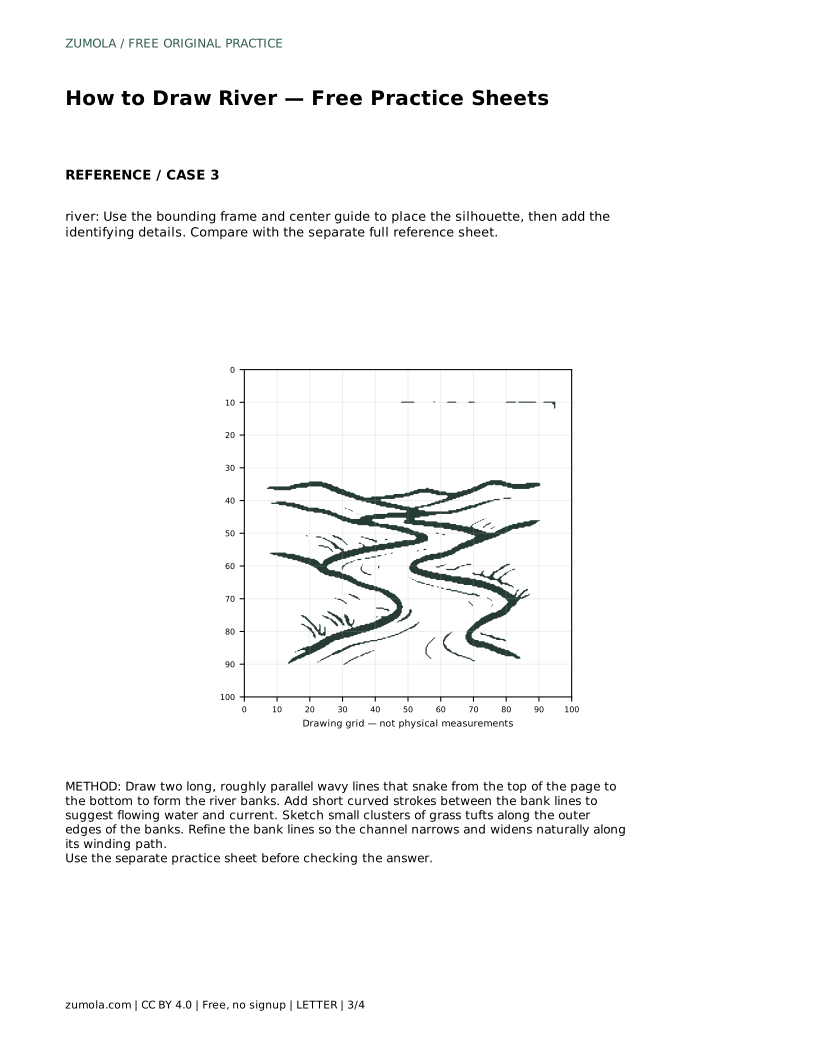
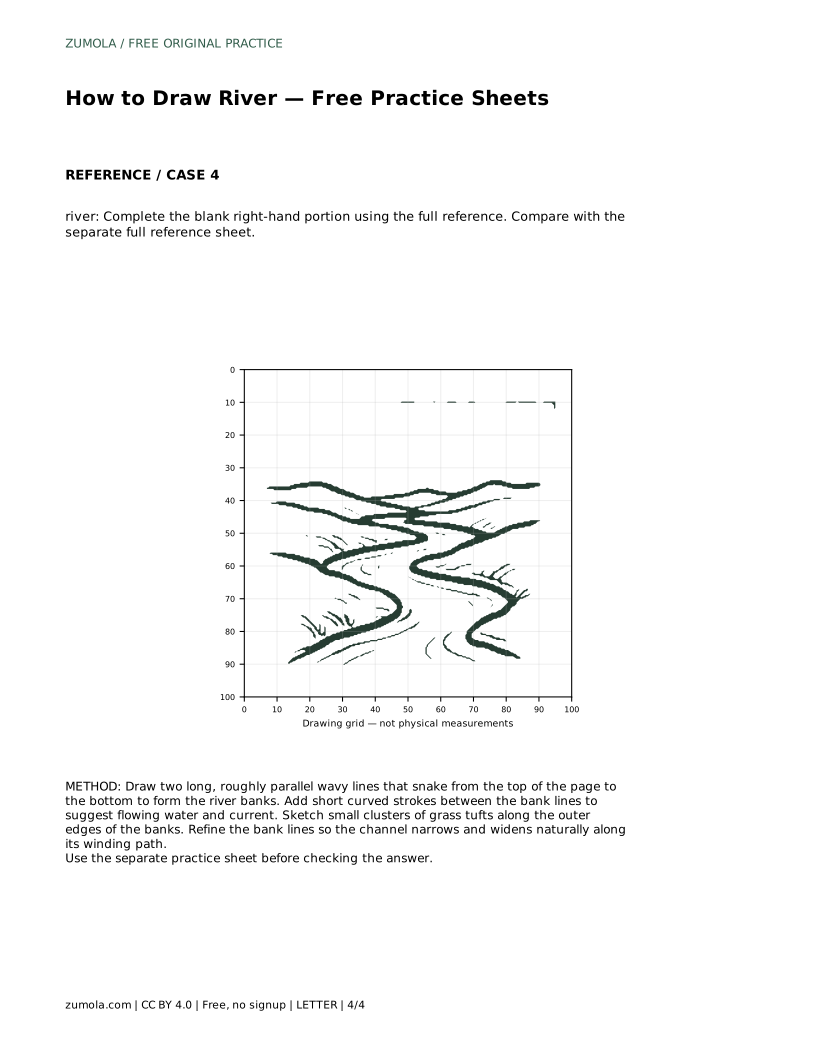
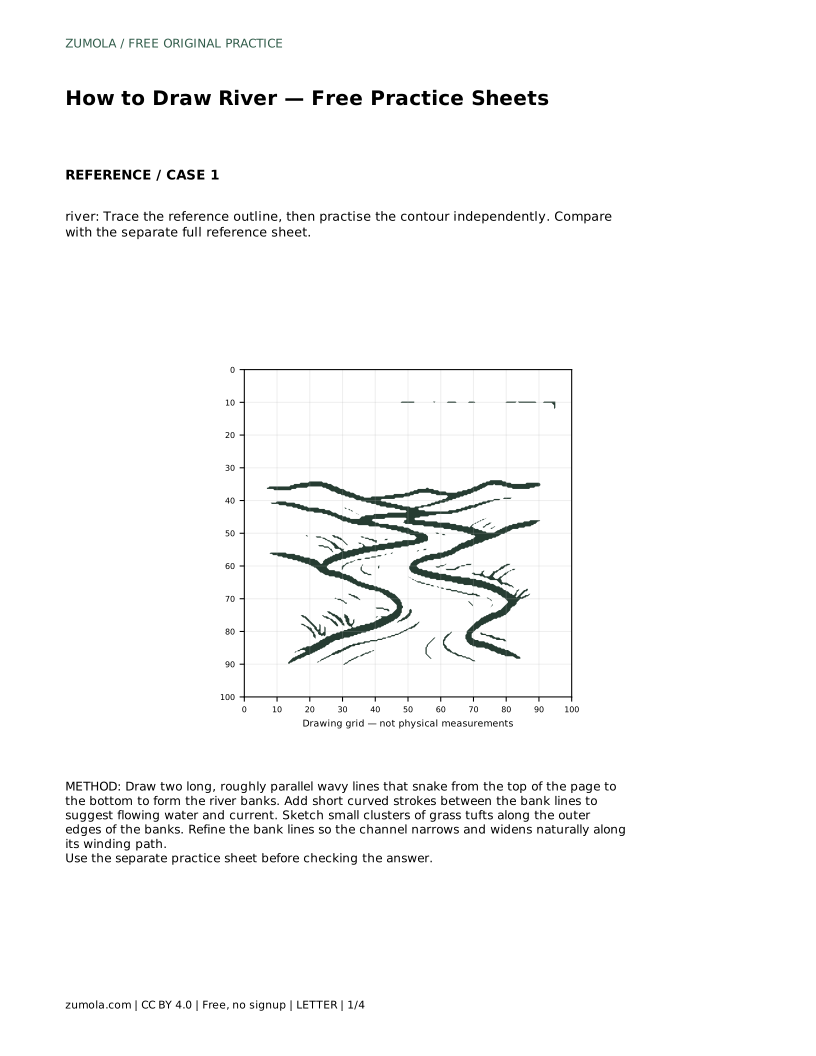
When you compare your drawing with a reference sheet, look at the visible features: two sinuous bank lines, interior current strokes, and grass tufts along the banks. Check proportions and the overall winding path rather than trying to match every pixel.
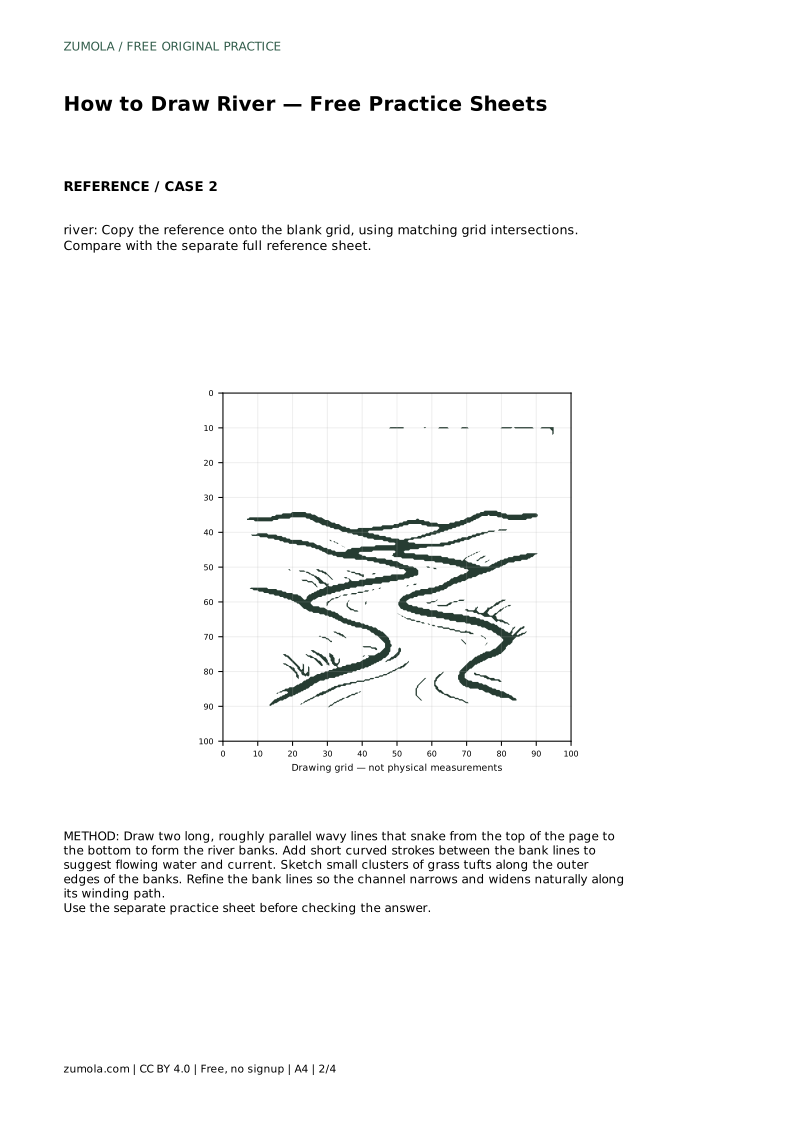
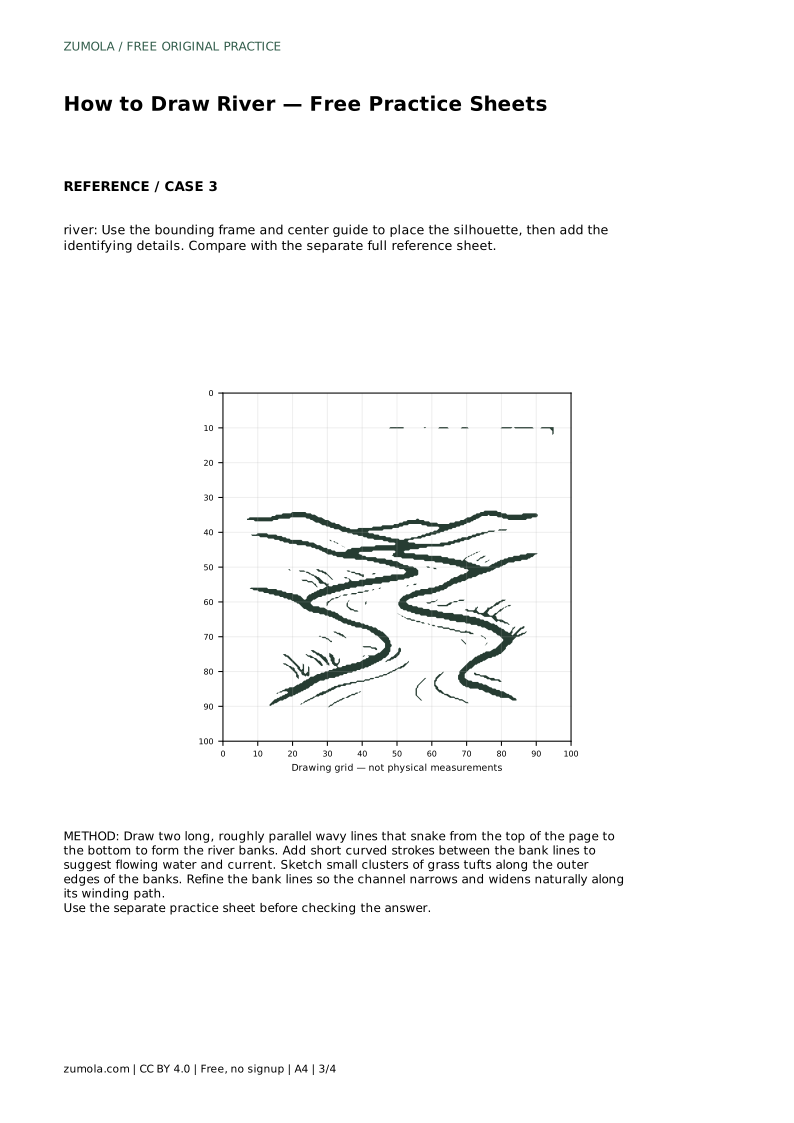
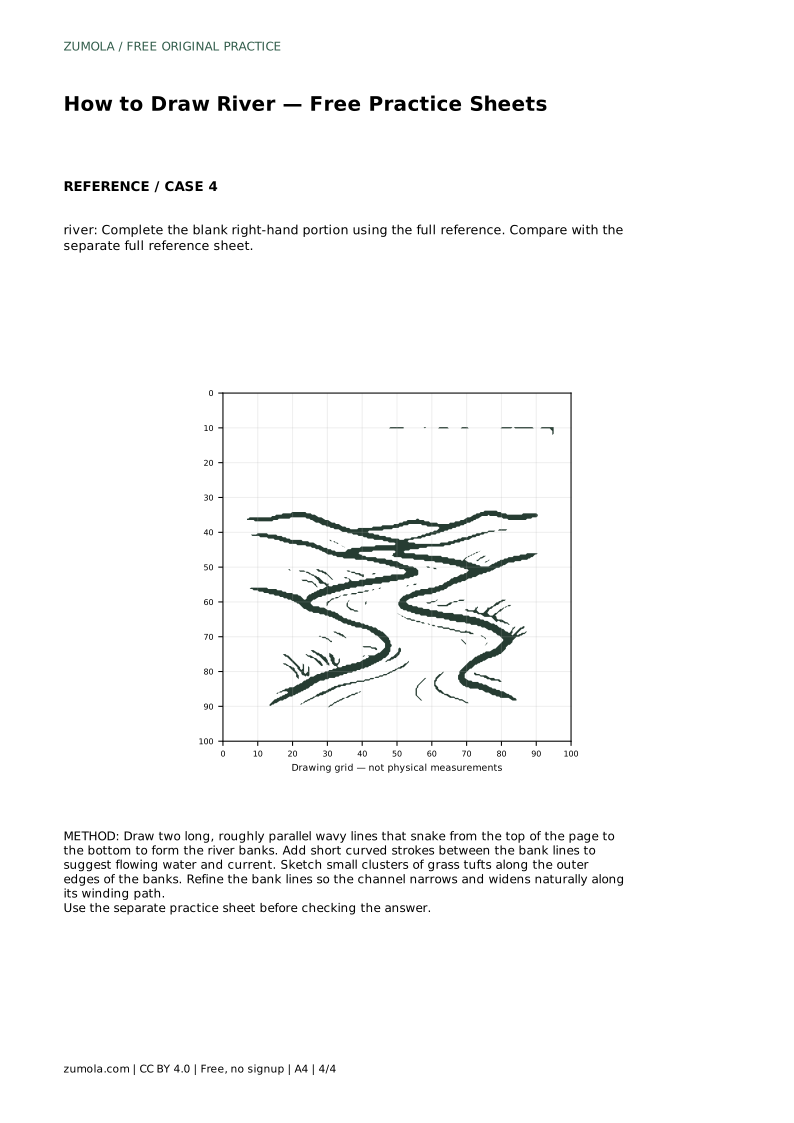
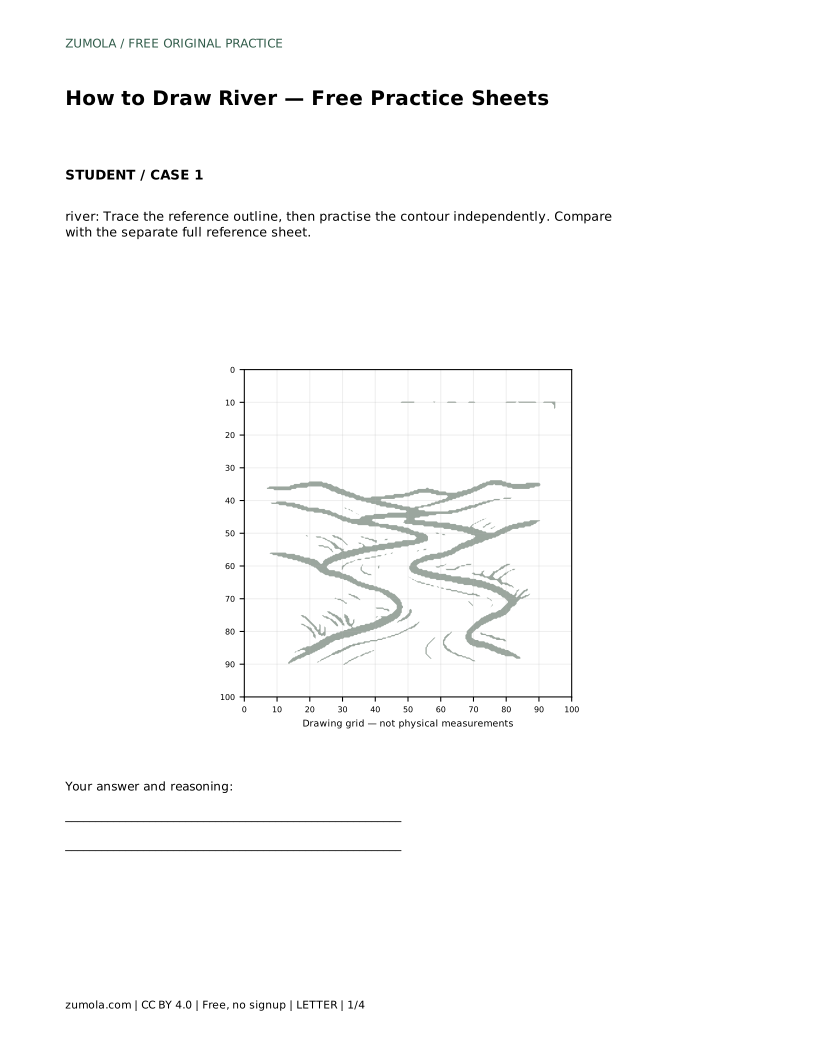
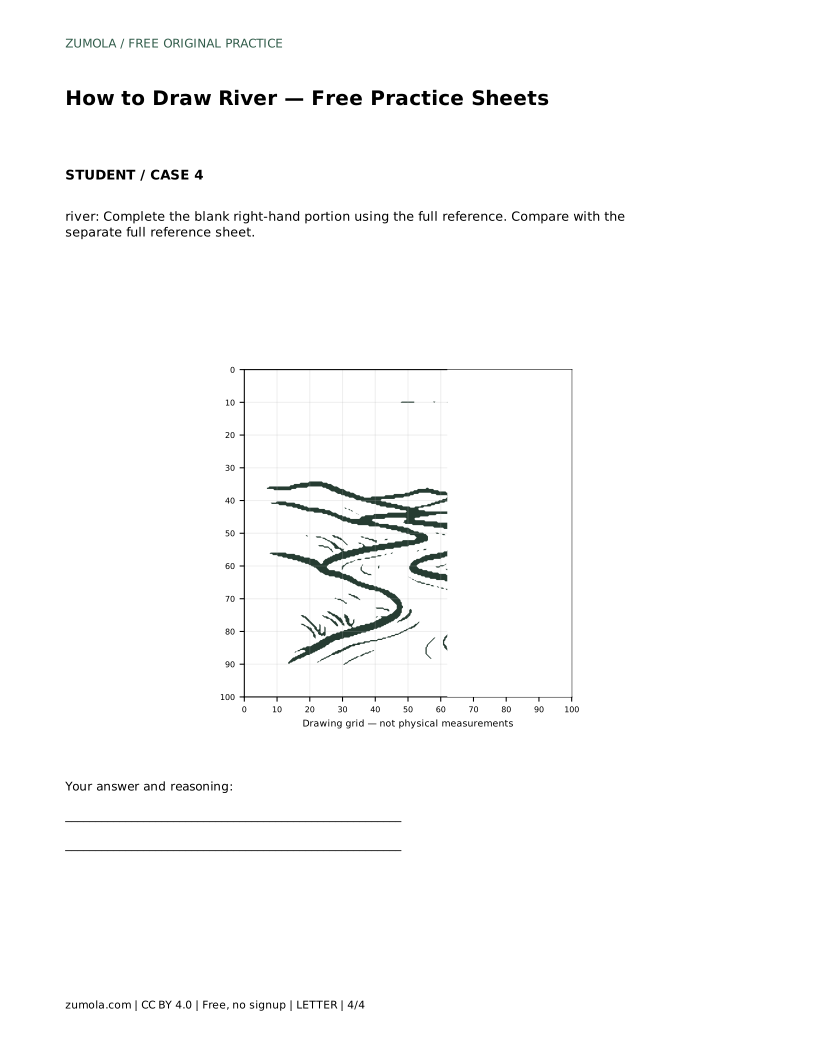
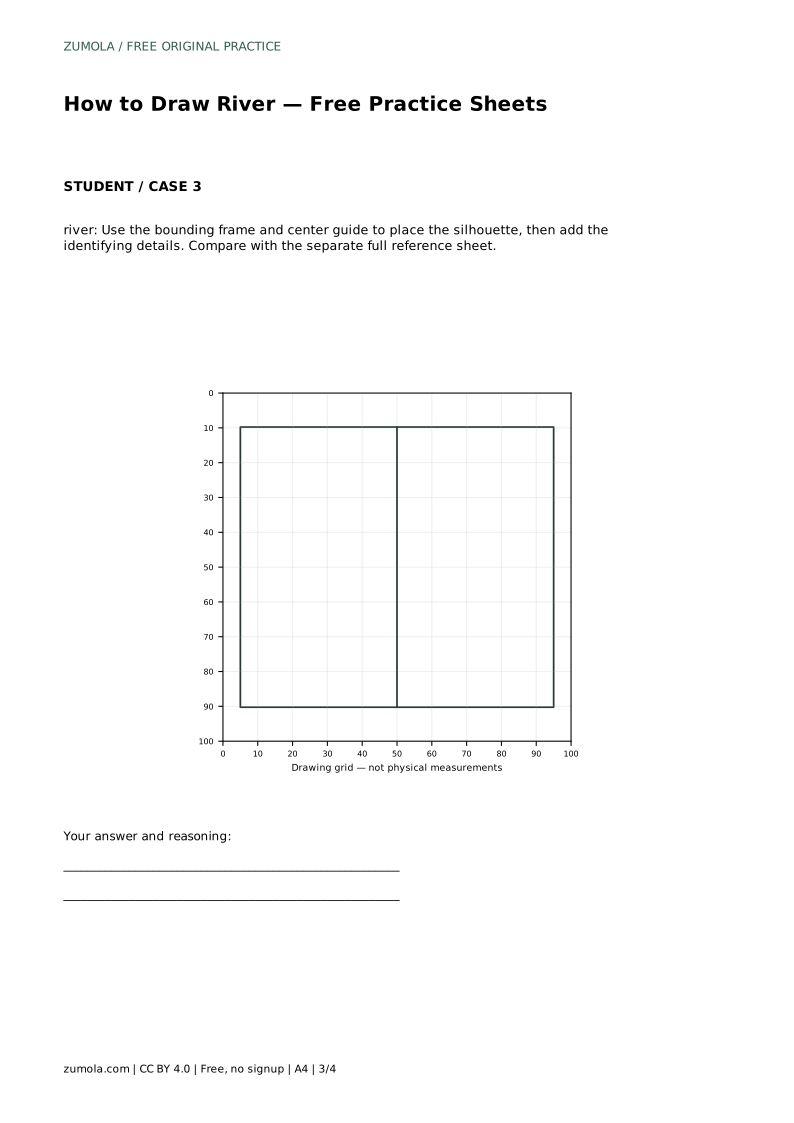
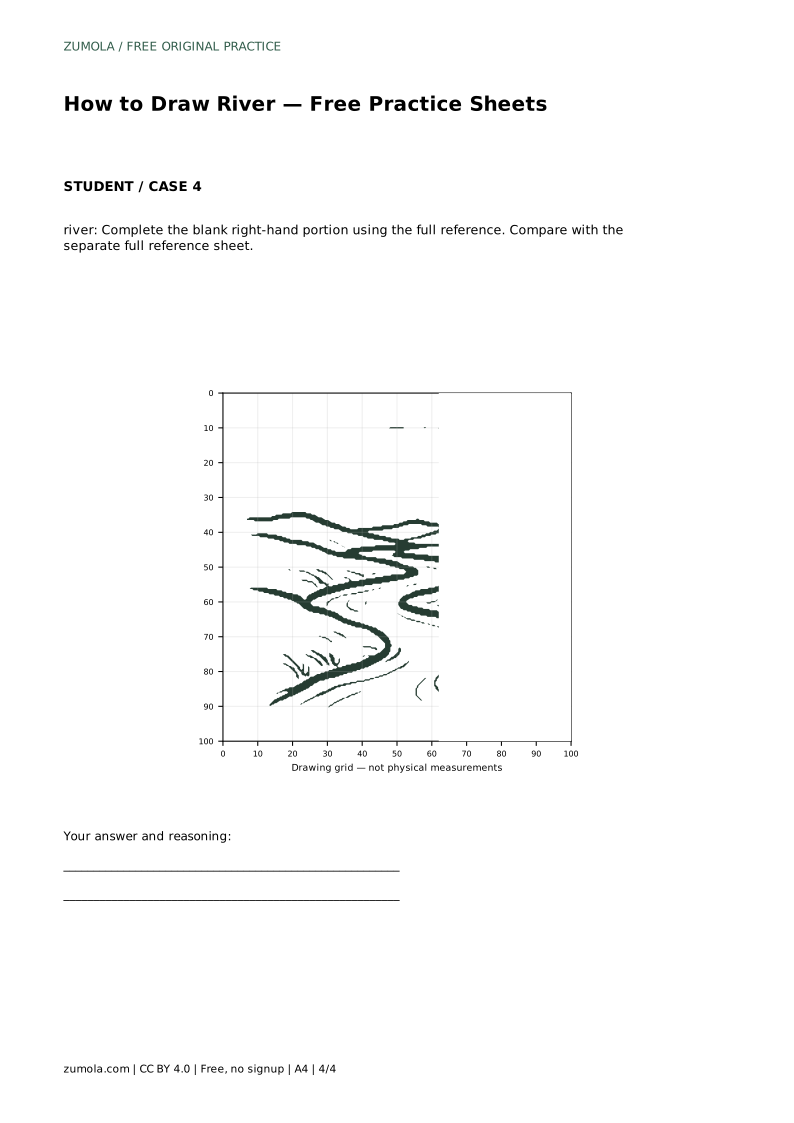
Each practice format rehearses a different decision. Tracing the reference outline lets you feel the bank curves before practising the contour independently. Copying onto a blank grid asks you to match grid intersections, which trains placement and proportion. Using the bounding frame and center guide helps you place the silhouette before adding identifying details. Completing the blank right-hand portion asks you to continue the channel using the full reference.
In every format, the goal is the same set of visible features, not an identical copy. After each attempt, compare with the separate full reference sheet and note one proportion or path decision to adjust next time.
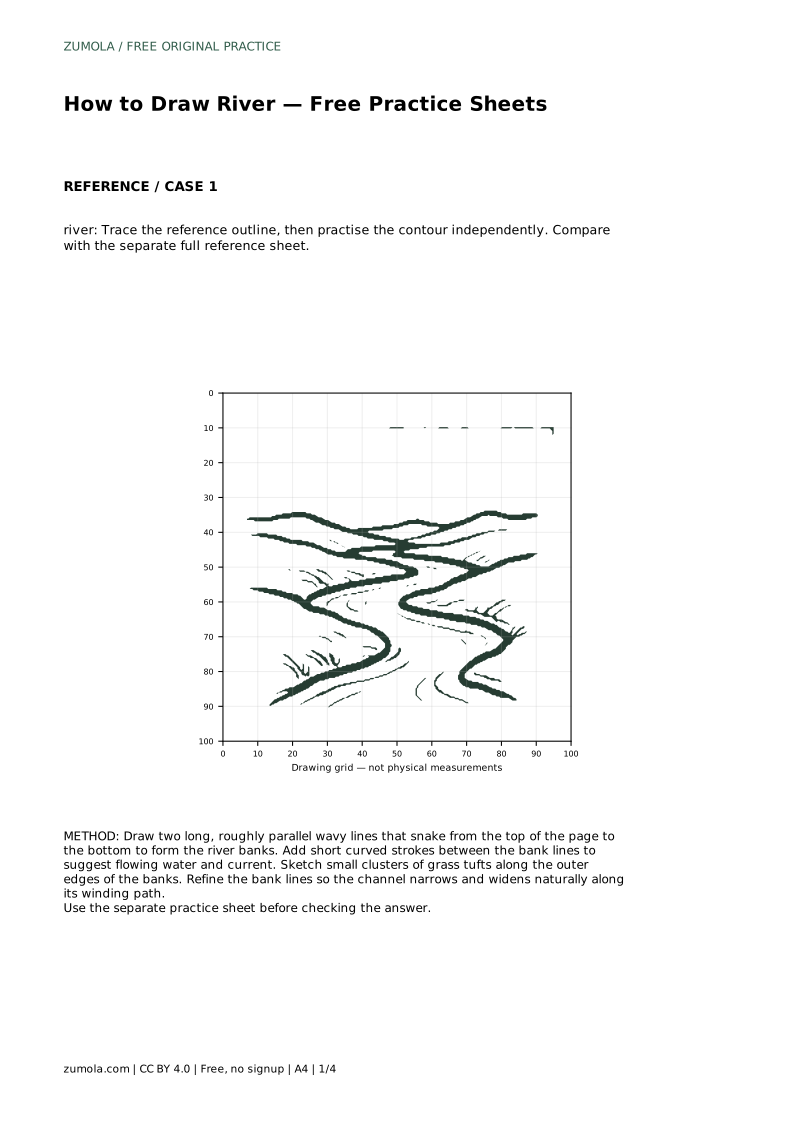
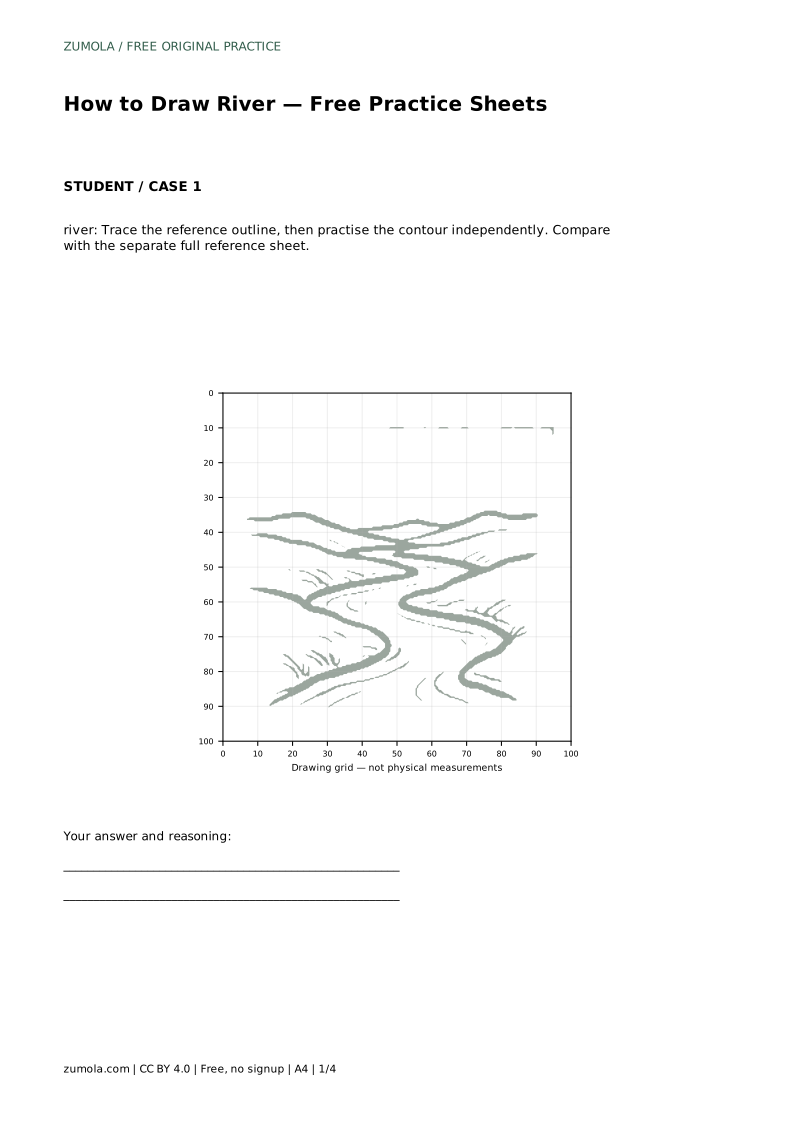
river: Trace the reference outline, then practise the contour independently. Compare with the separate full reference sheet.
Example solution: preserve winding channel formed by two thick sinuous bank lines, flowing water indicated by short curved interior strokes, small grass tufts along the banks. Other drawings can be correct; assess the visible features and proportions rather than pixel-perfect matching. Draw two long, roughly parallel wavy lines that snake from the top of the page to the bottom to form the river banks. Add short curved strokes between the bank lines to suggest flowing water and current. Sketch small clusters of grass tufts along the outer edges of the banks. Refine the bank lines so the channel narrows and widens naturally along its winding path.
No. They should be roughly parallel so the channel reads as water, but the gap between them should narrow and widen gradually along the winding path.
Between the bank lines. Keep them short, curved, and roughly aligned with the channel's direction at that point.
Compare visible features and proportions: the winding channel, the interior current strokes, and the grass tufts along the banks. Other drawings can be correct, so avoid pixel-perfect matching.
All drawing practice · Free coordinate paper
Original resources · CC BY 4.0 · Free for personal and classroom use with attribution.