Reference diagrams
LETTER · Download PDF
A4 · Download PDF
Free original resources
Learn to draw a campfire with a crisscross log base and pointed flame tongues. Trace, grid, and complete practice sheets build shape and proportion skills.
Four original cases, with reference diagrams, practice sheets and worked answers. Everything is free; no signup required.
LETTER · Download PDF
A4 · Download PDF
LETTER · Download PDF
A4 · Download PDF
LETTER · Download PDF
A4 · Download PDF
Use A4 or US Letter to match your printer. Use the stated values and conditions to solve each exercise; diagrams are not physical measuring rulers.
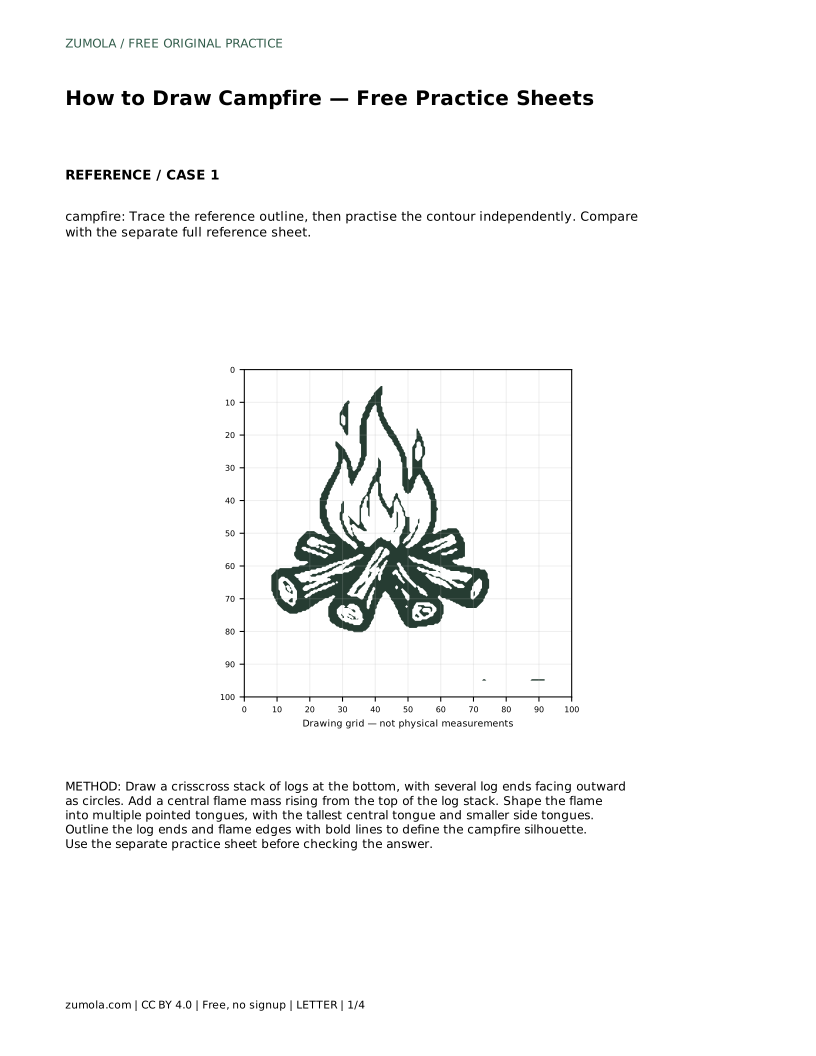
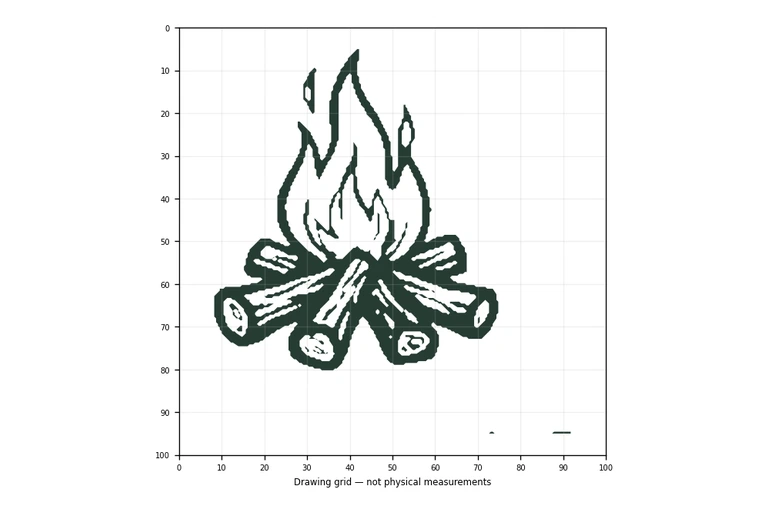
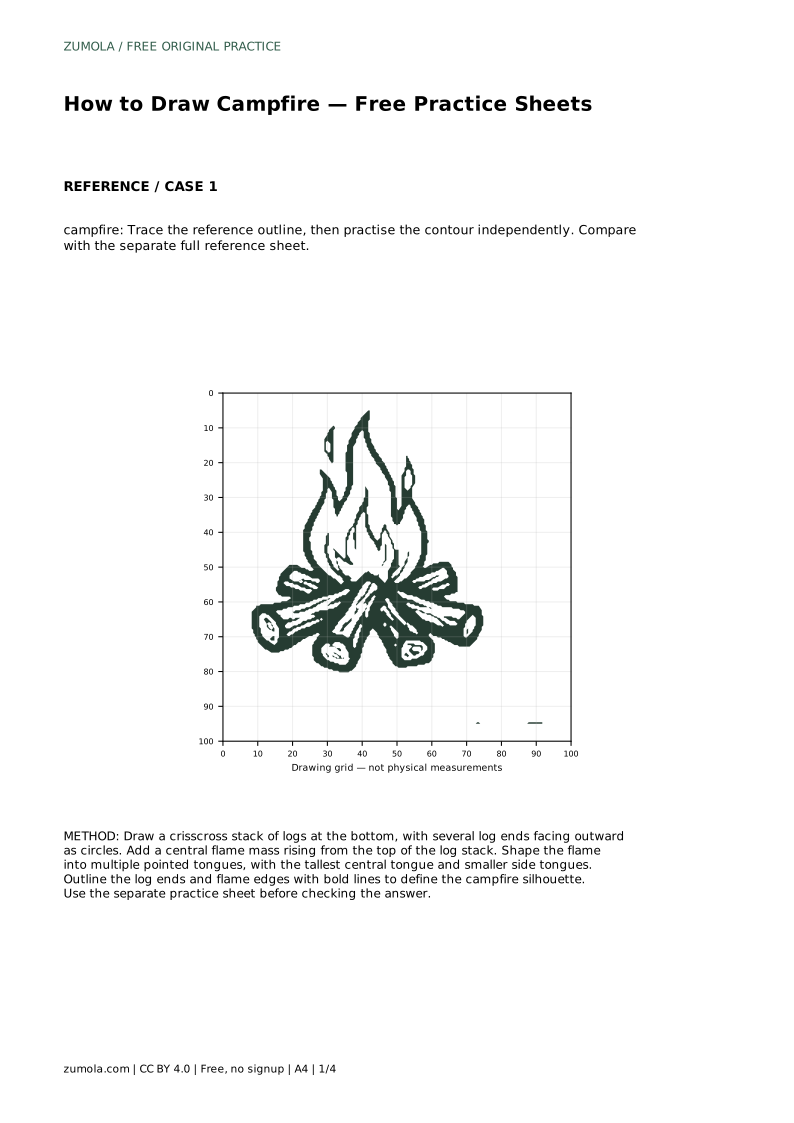
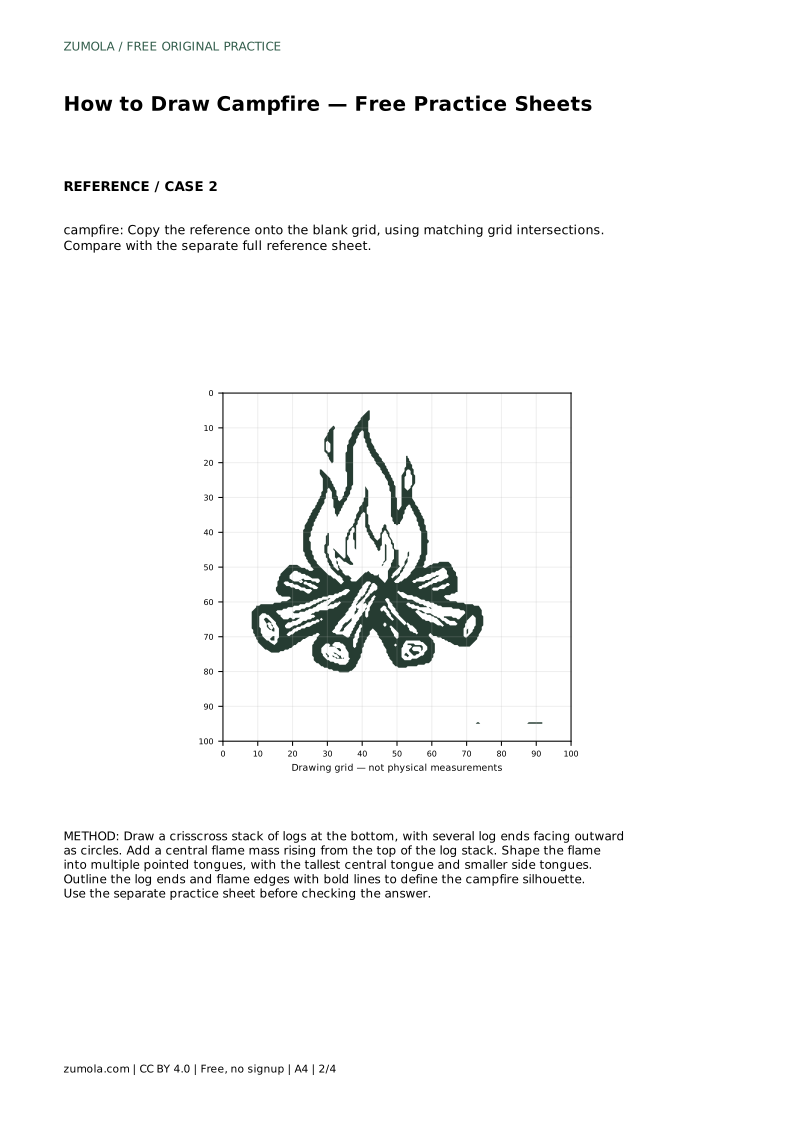
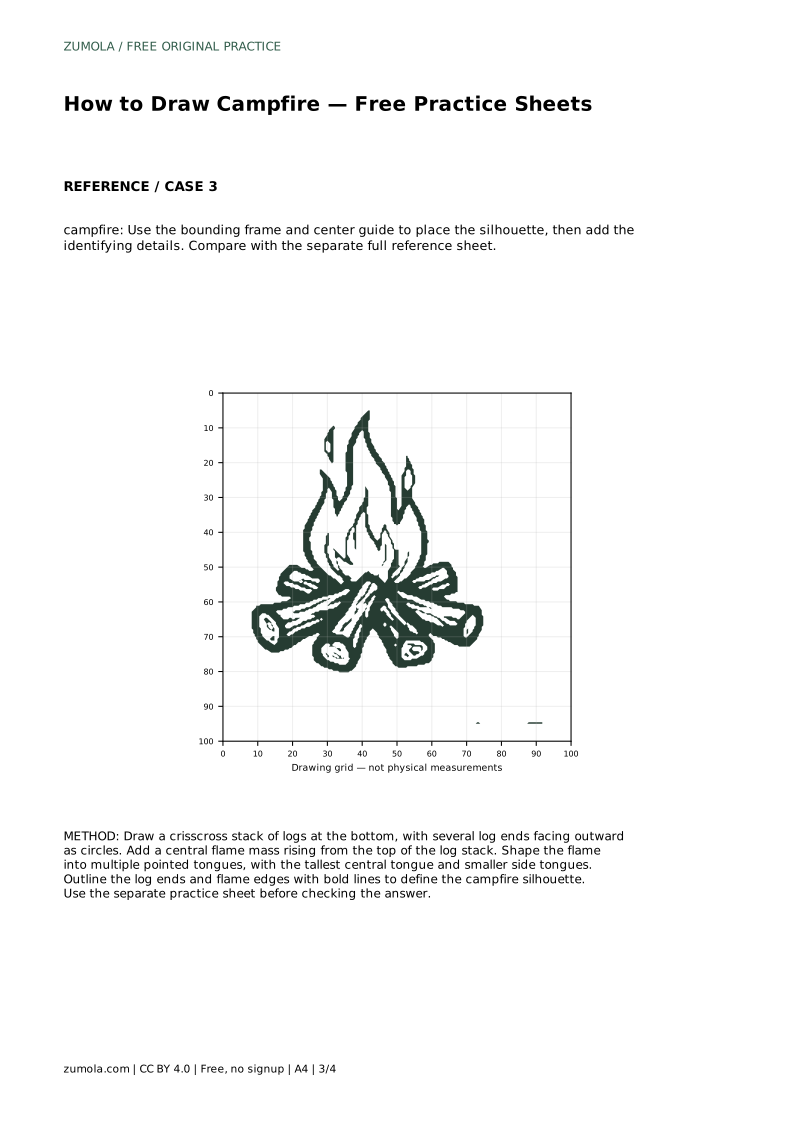
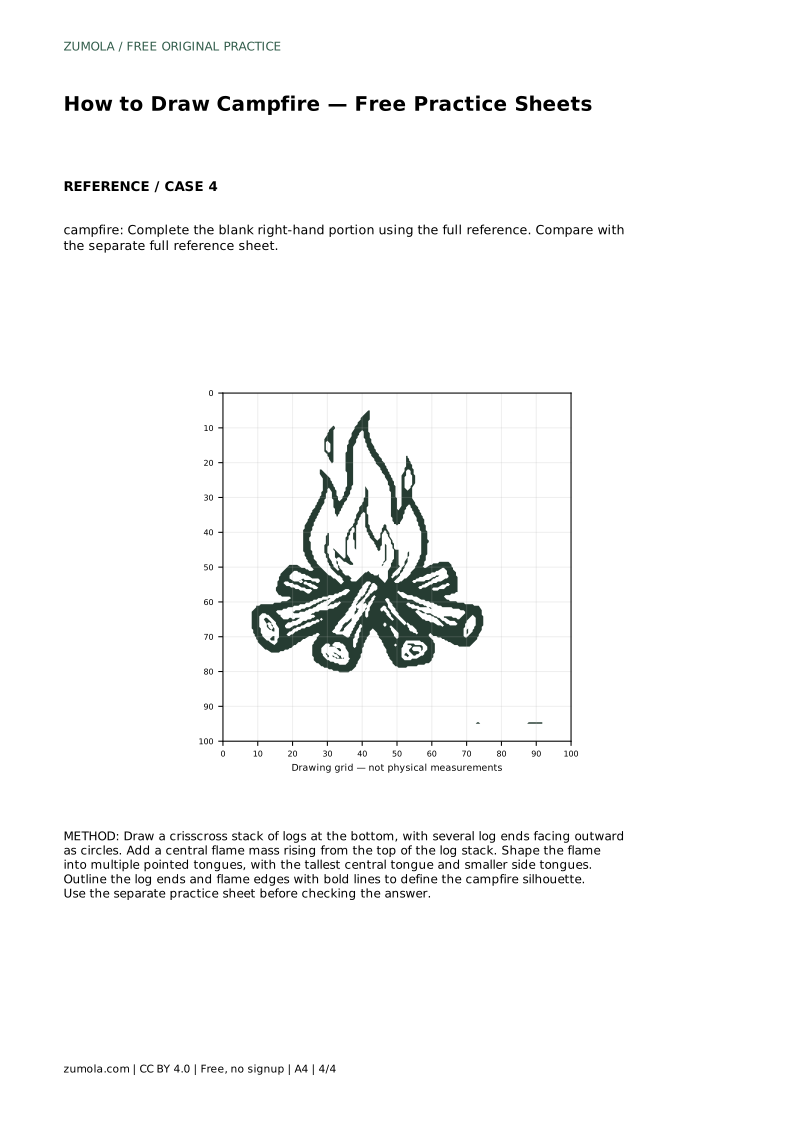
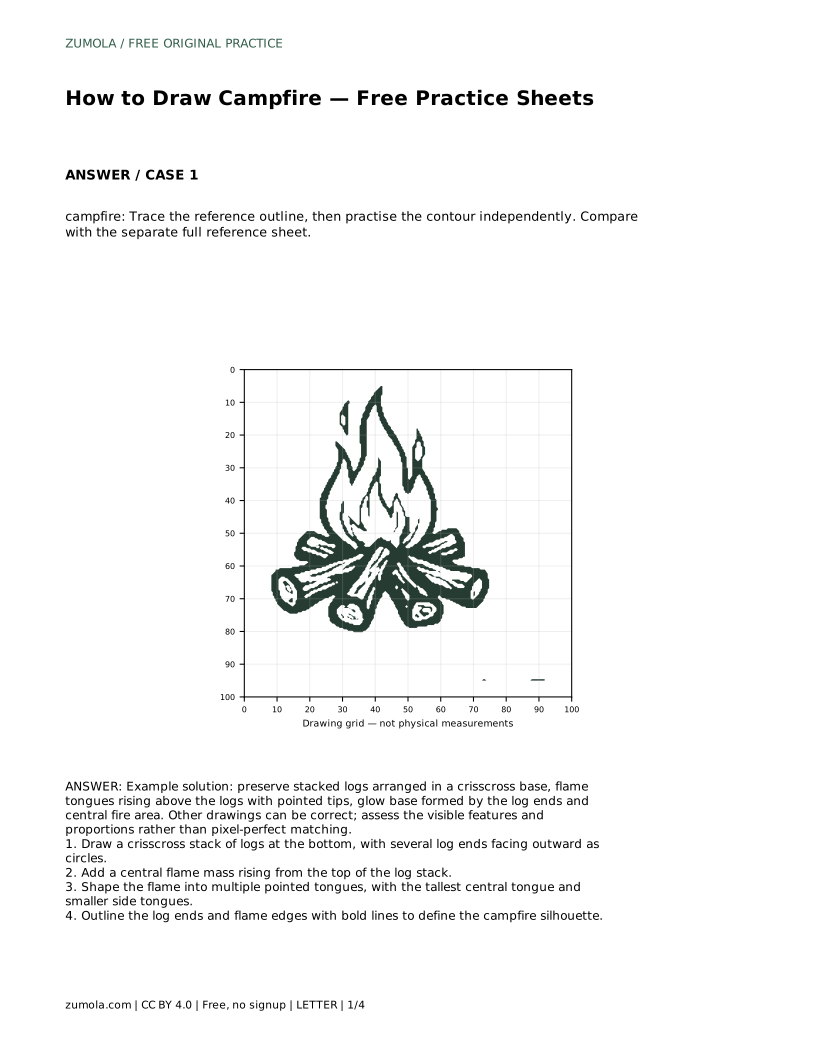
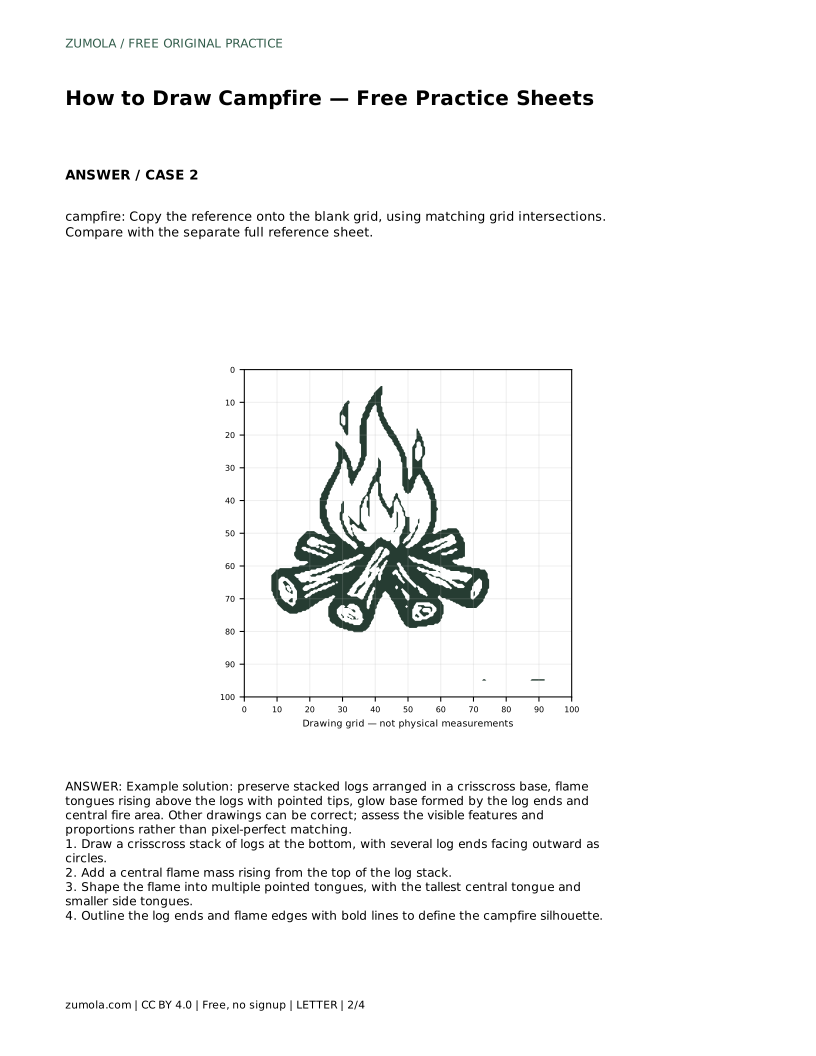
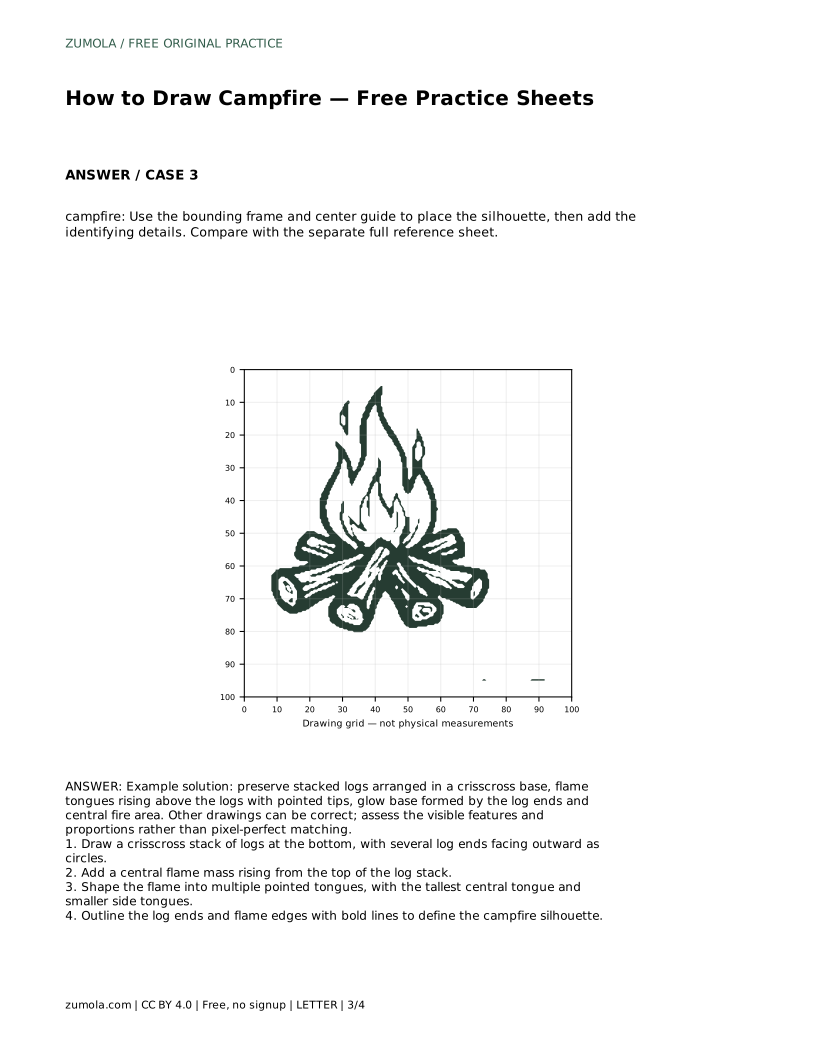
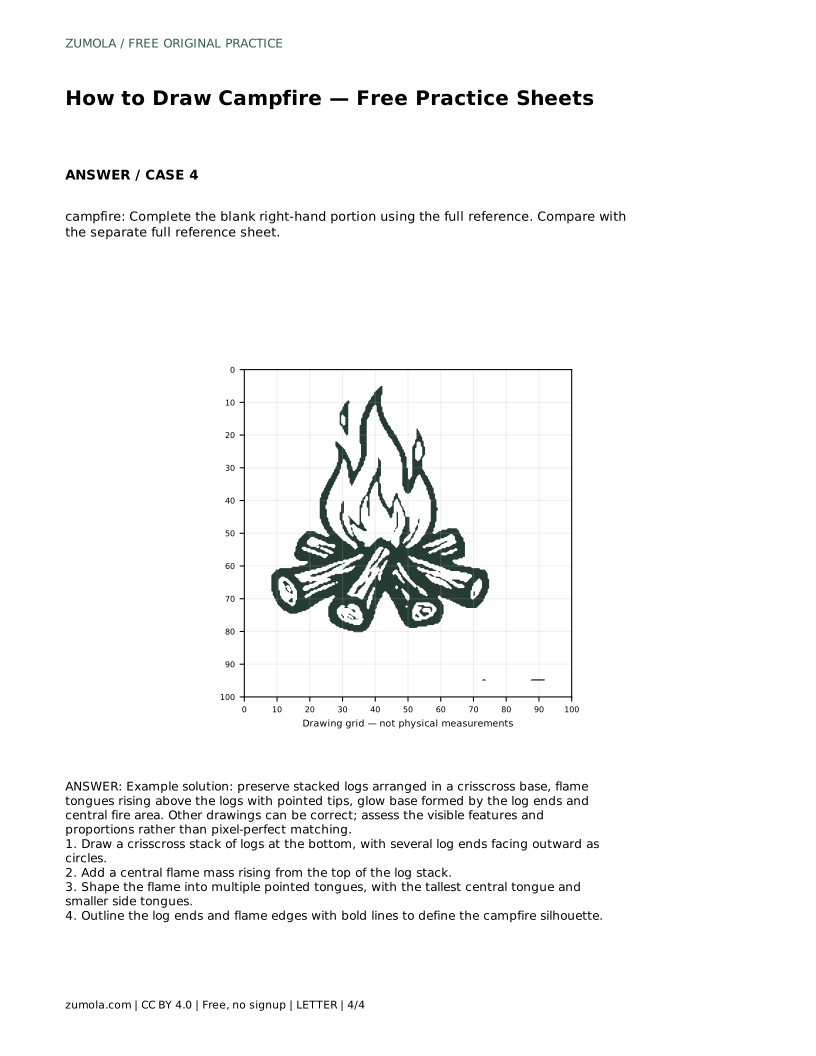
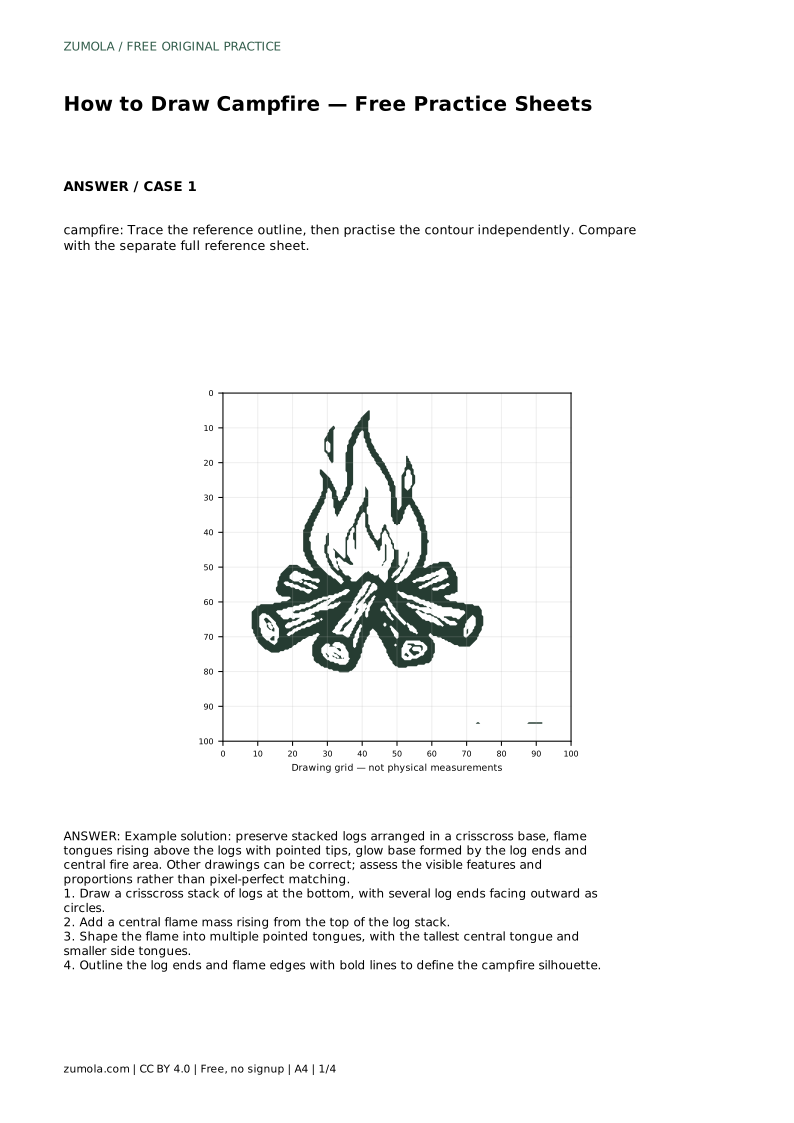
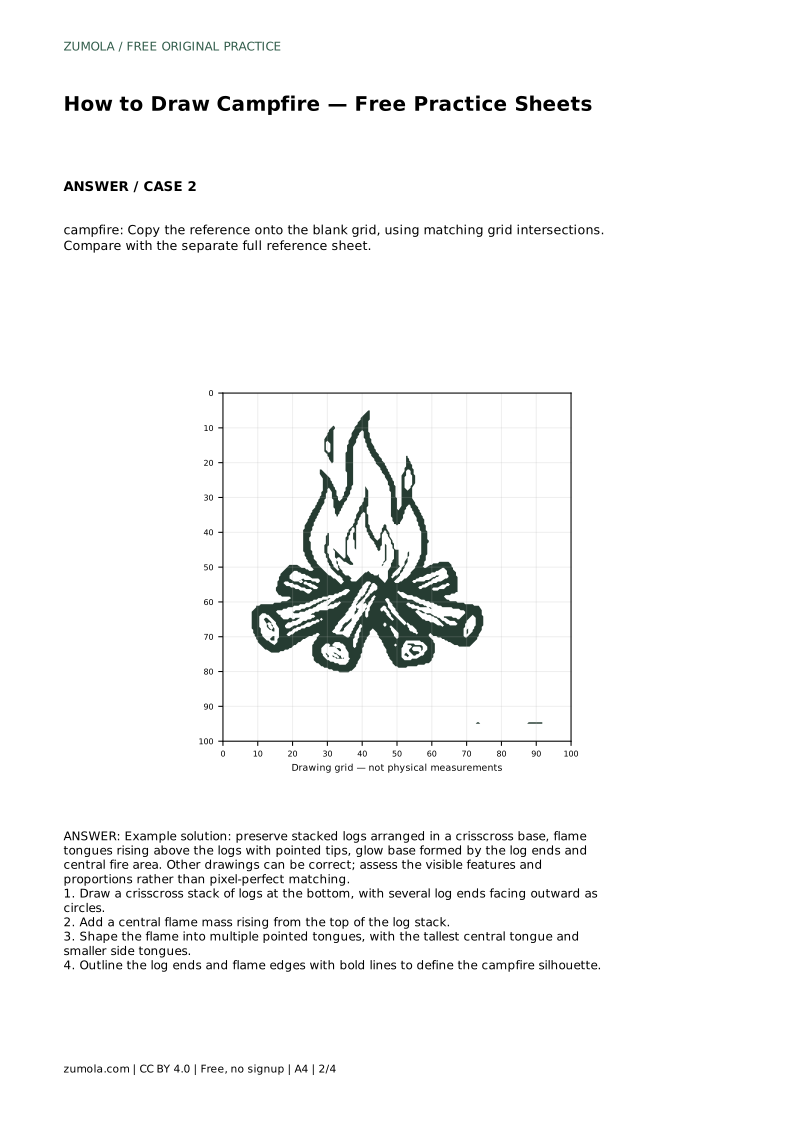
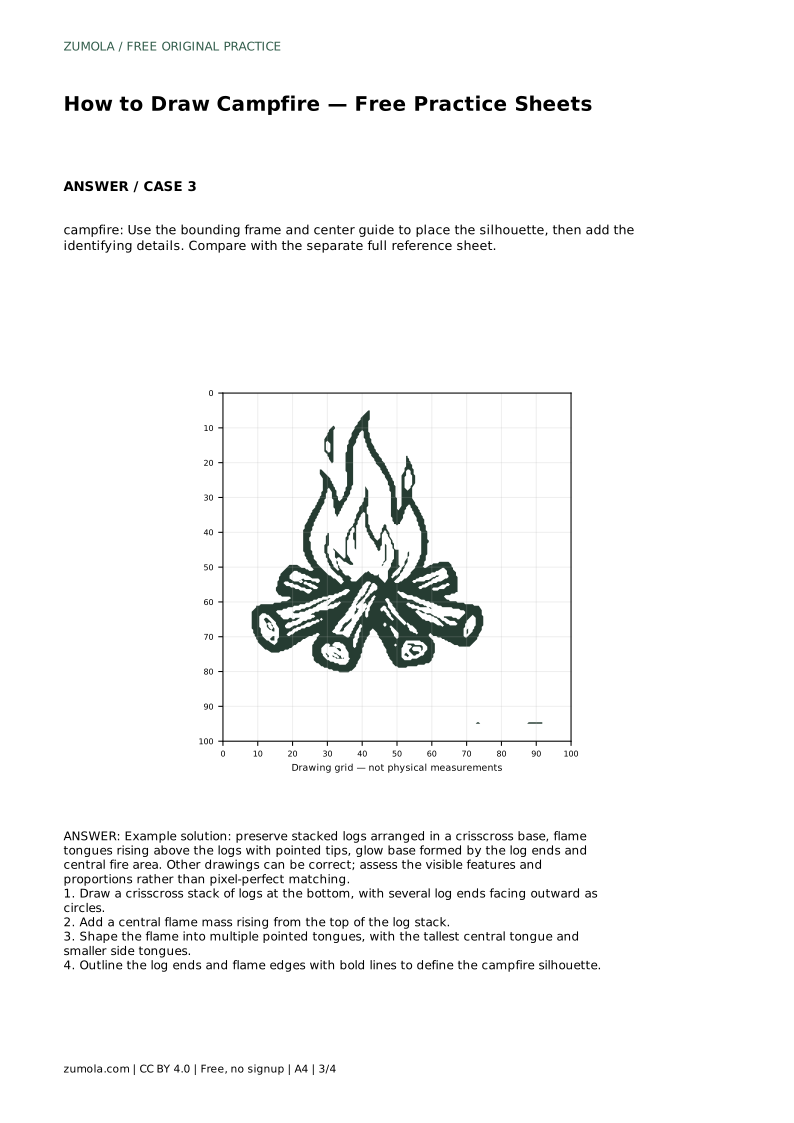
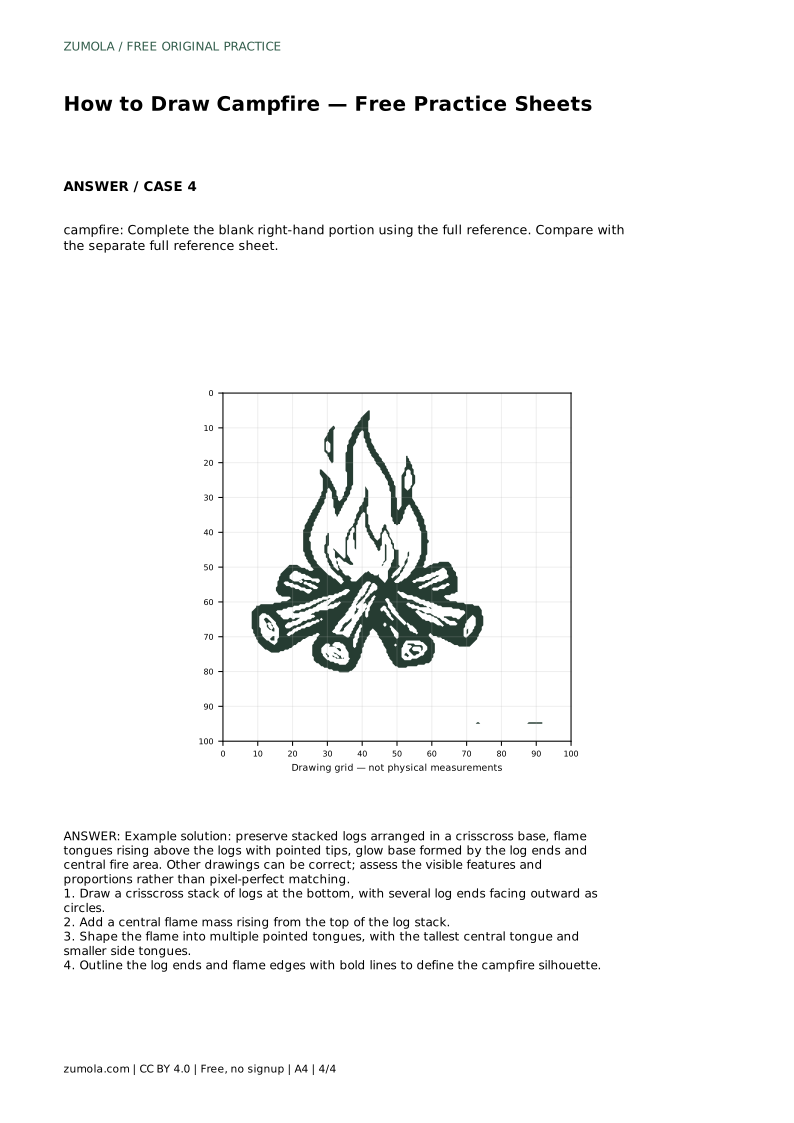
A campfire is a compact drawing built from two clear parts: a stacked log base and a flame mass above it. The logs cross each other, and their round ends face outward. The flames rise in pointed tongues, with the tallest tongue near the center. This page explains how to build those parts in order, then use the practice sheets to compare your drawing with a separate full reference.
Start at the bottom of the page and draw the log stack before any flame. A campfire base reads clearly when the logs cross in a crisscross arrangement rather than lying parallel. Draw two logs angled one way, then two logs angled the other way so they overlap near the middle.
Give several logs a visible round end facing outward. These circles are the strongest clue that the shape is a stack of wood, not a pile of lines. Keep the log ends roughly similar in size so the base looks balanced. Leave the top of the stack open enough for flames to rise from it.
The flame begins as one central mass rising from the top of the log stack. Keep its base wide enough to sit on the logs, then narrow it as it rises. From that mass, pull out separate tongues with pointed tips.
Use one tall central tongue and smaller tongues on each side. Vary the heights slightly so the flame looks active rather than symmetrical. Point every tip upward or slightly outward; rounded tips read as smoke or cloud rather than fire. Keep the flame width narrower than the log base so the campfire stays stable.
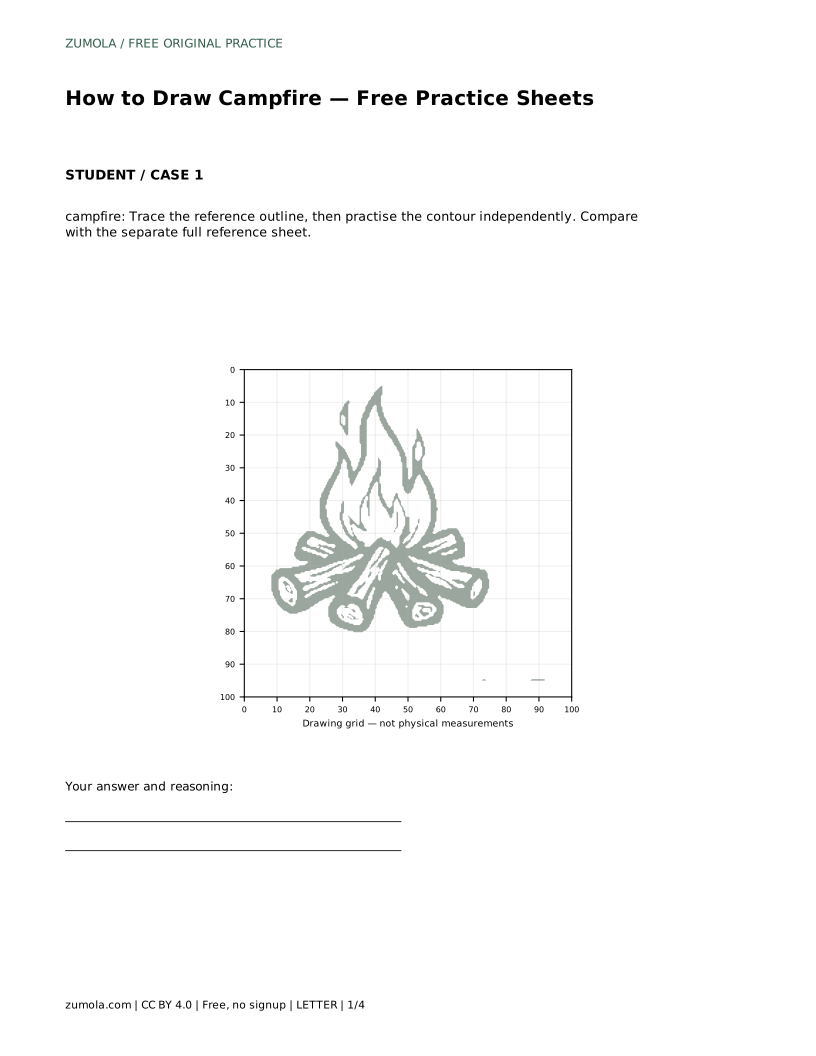
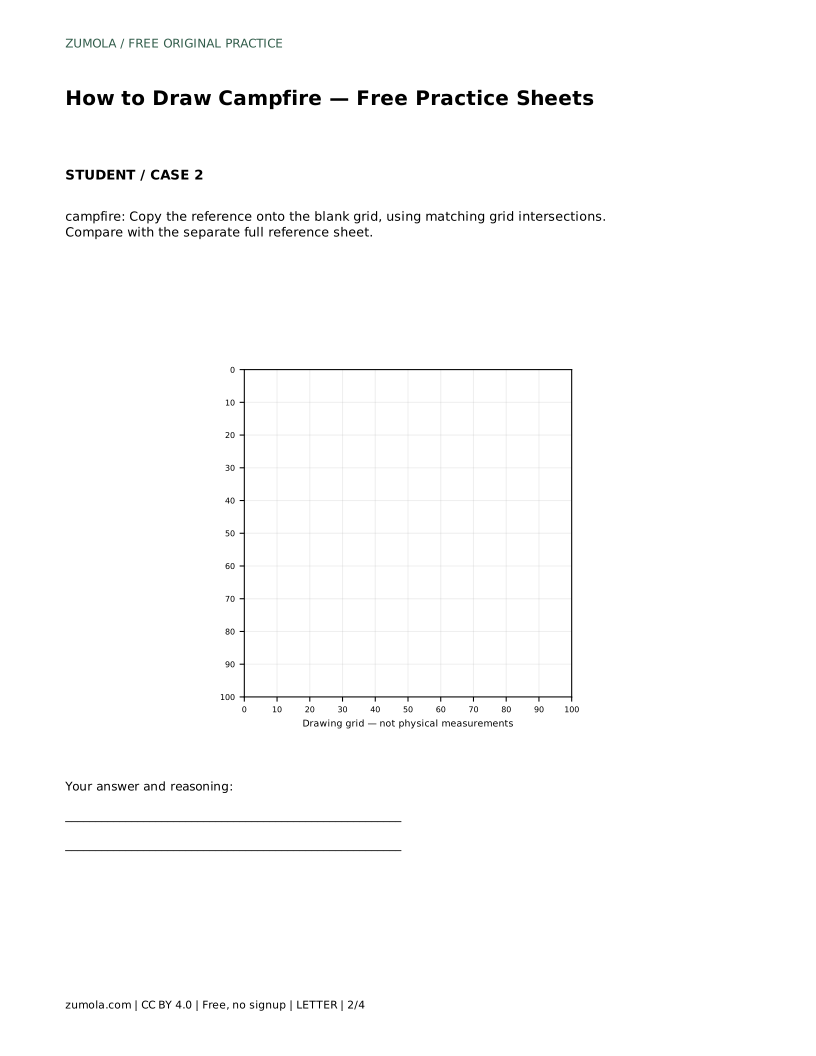
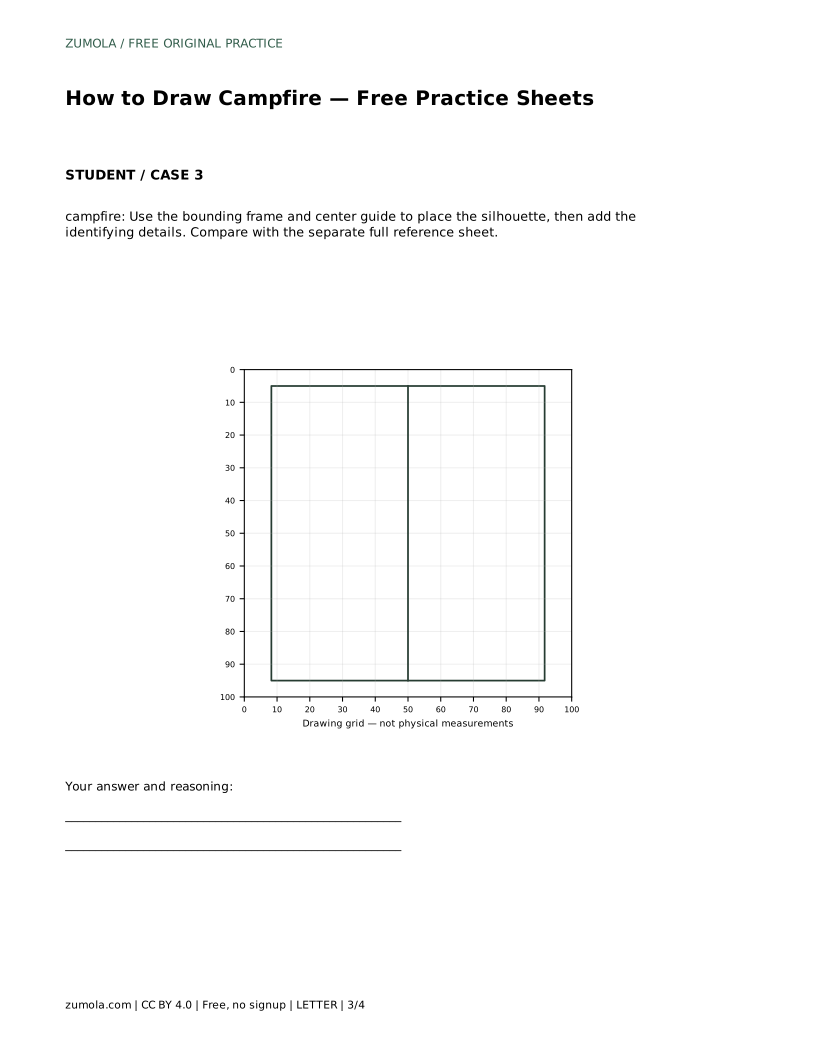
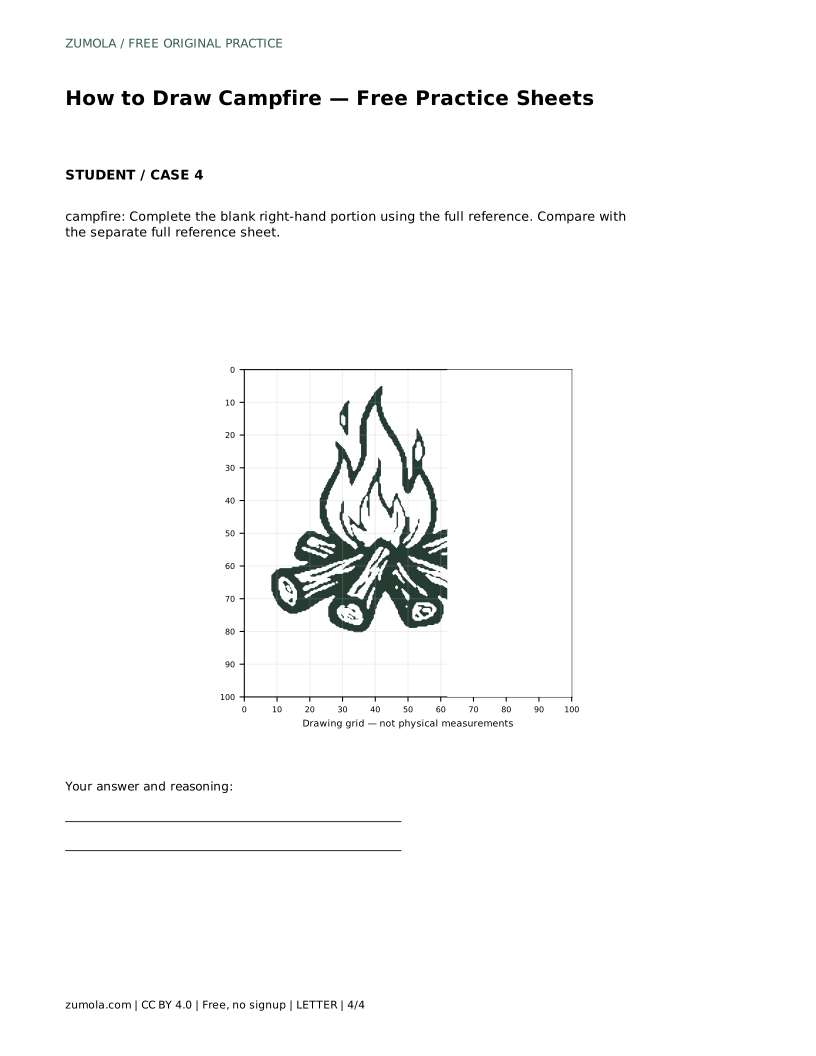
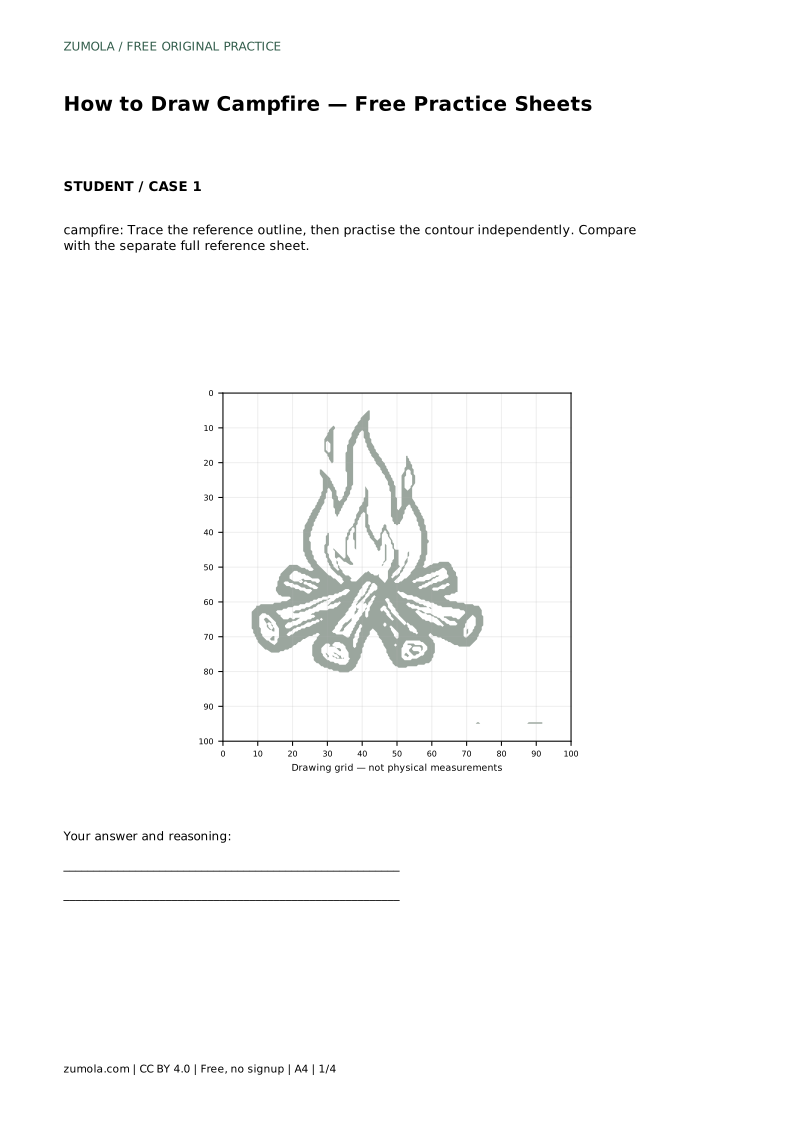
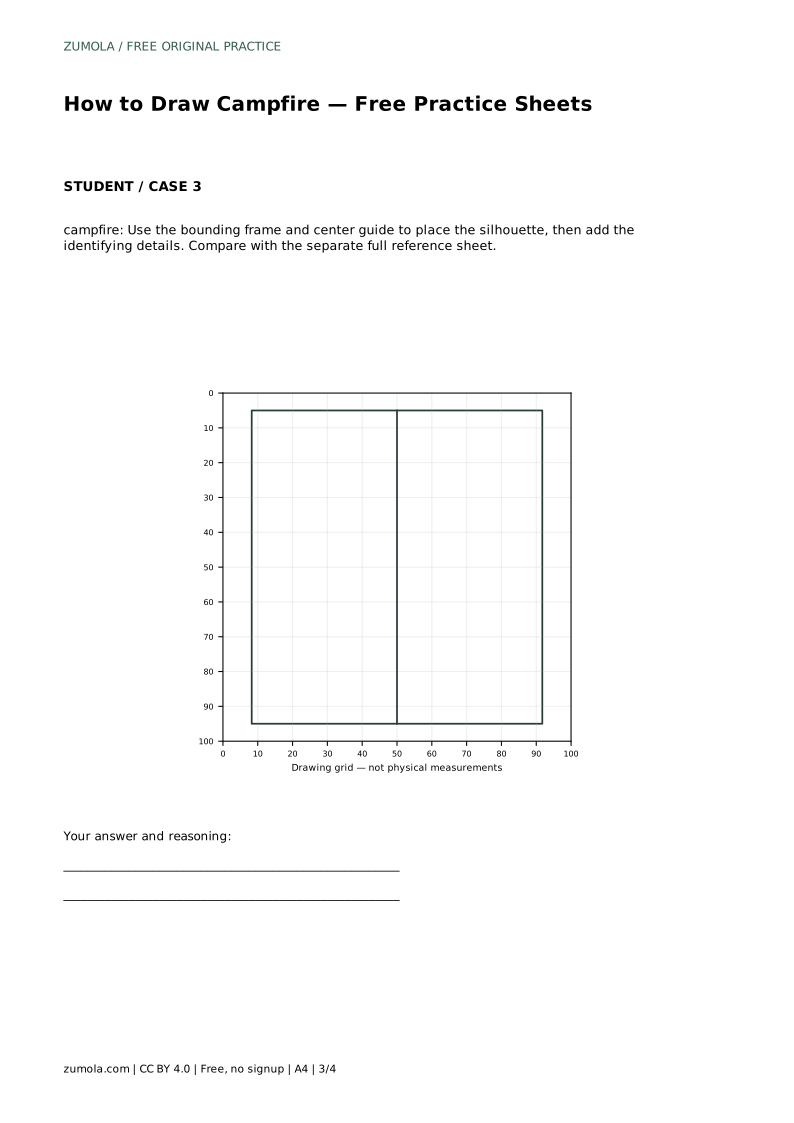
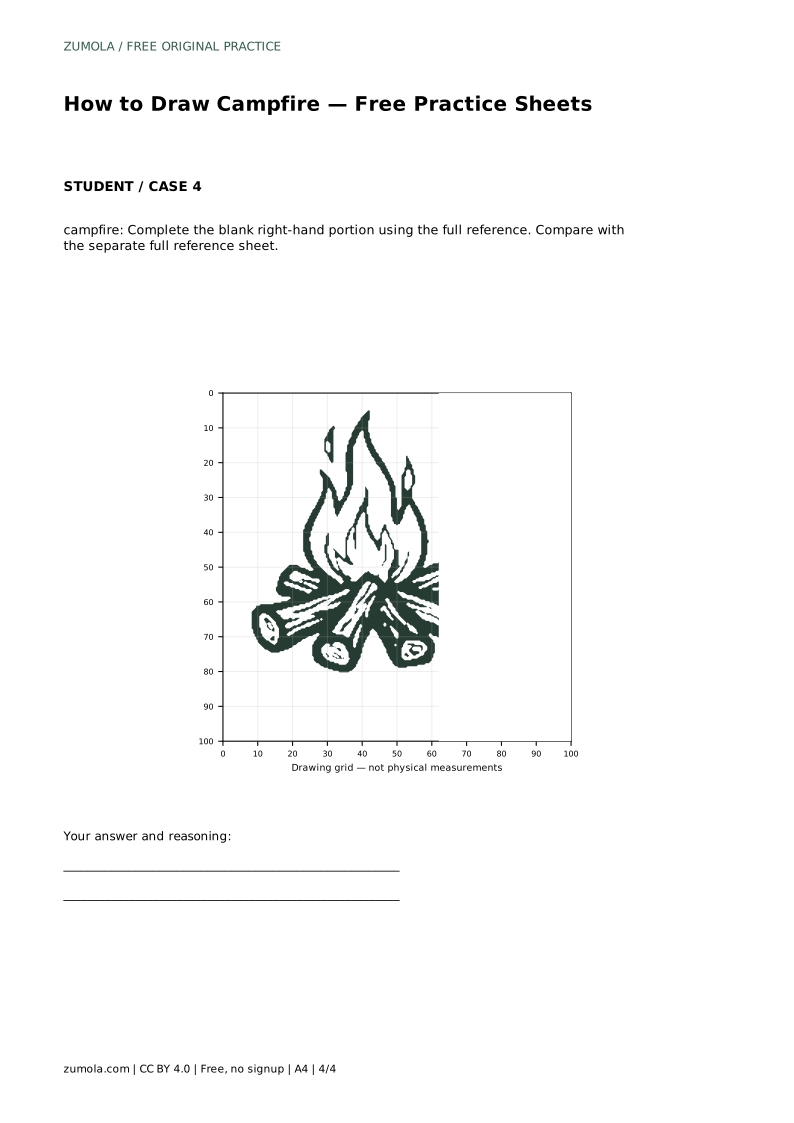
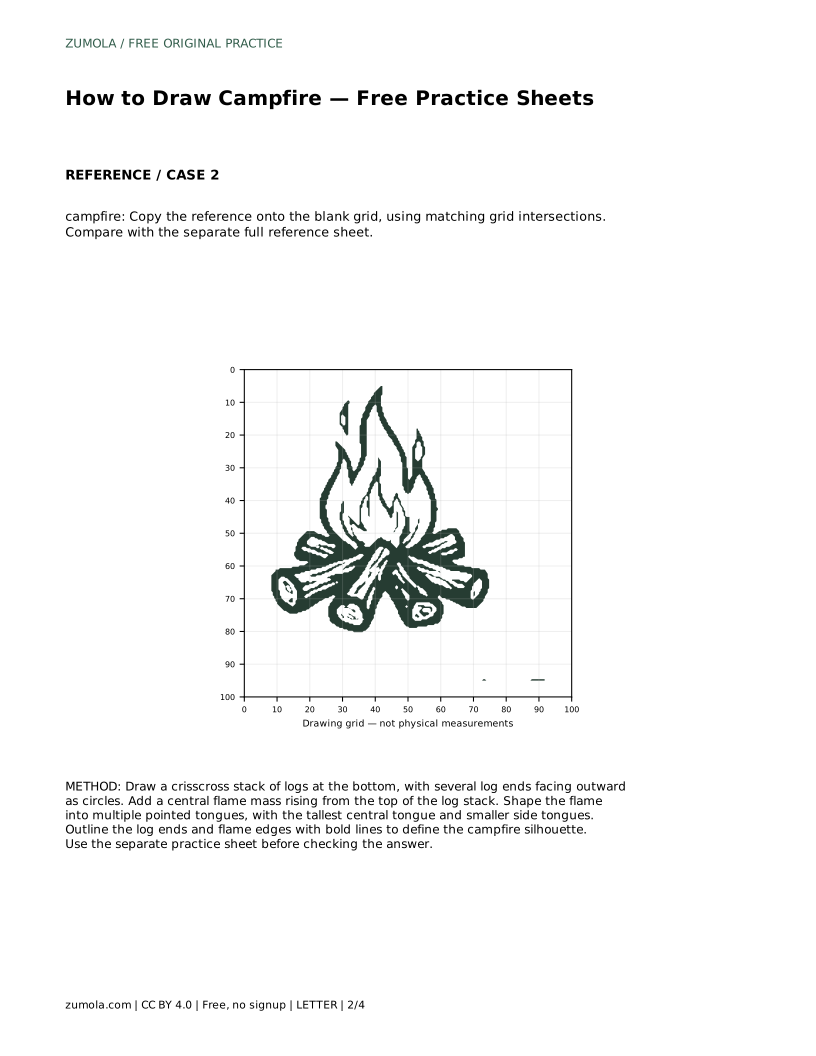
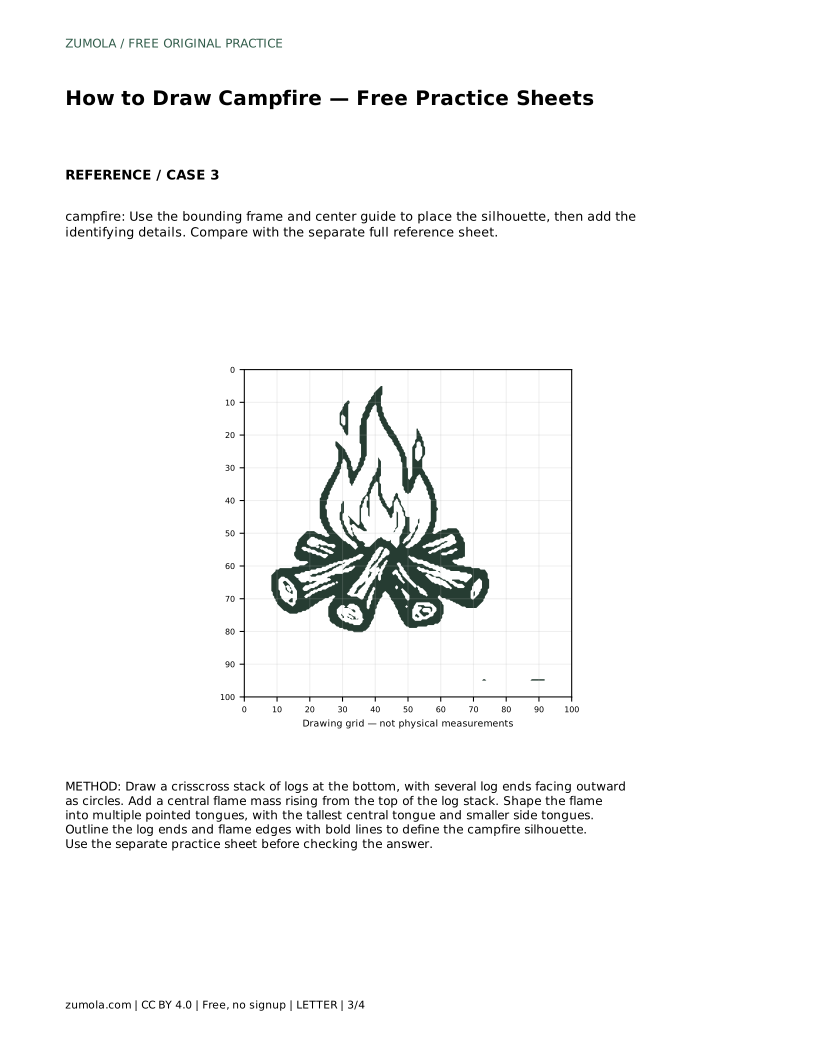
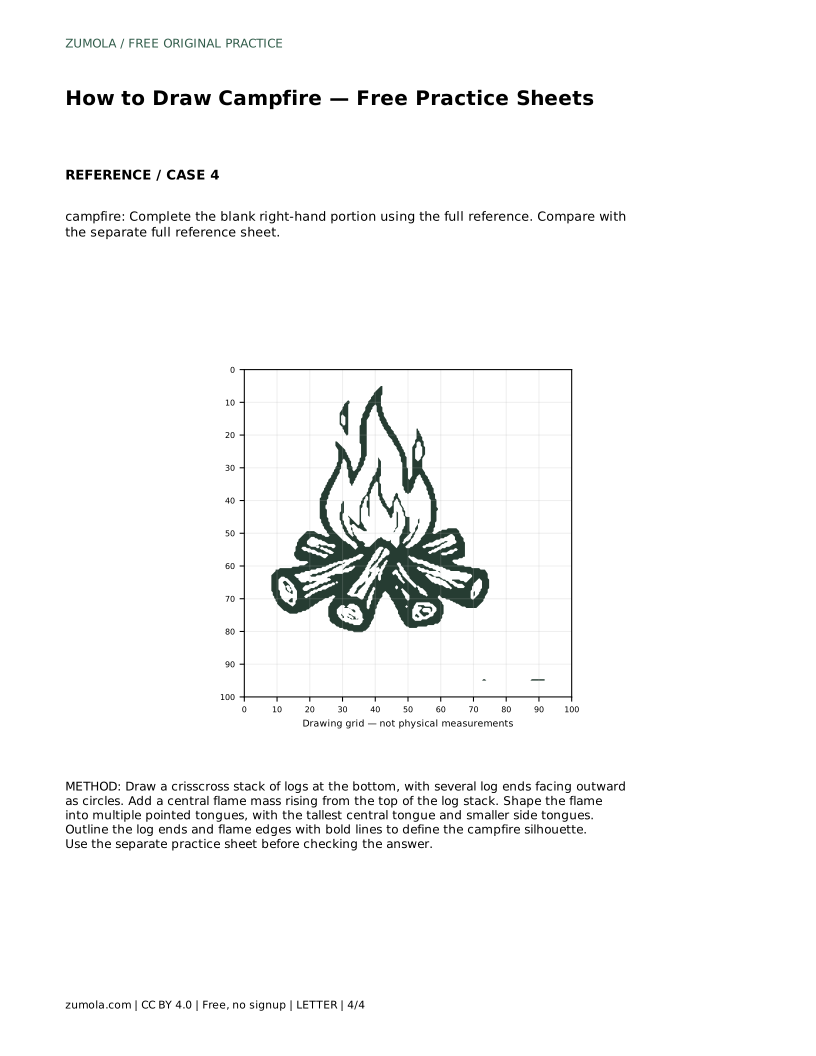
The trace sheet asks you to follow the reference outline, then practise the contour independently. The grid sheet asks you to copy the reference onto a blank grid using matching intersections. The frame sheet uses a bounding frame and center guide to place the silhouette before adding details. The partial sheet asks you to complete the blank right-hand portion from the full reference.
After each attempt, compare your drawing with the separate full reference sheet. Check the crisscross base, the outward-facing log ends, the pointed flame tips, and the overall proportions. Other drawings can be correct, so assess the visible features and proportions rather than pixel-perfect matching.
Once the parts are placed, outline the log ends and flame edges with bold lines. A clear silhouette helps you judge whether the campfire reads at a glance. Step back and ask whether the base looks like stacked wood and the top looks like fire.
If the flame looks too wide, narrow the side tongues. If the base looks flat, angle the logs more steeply. If the log ends disappear, redraw them as clear circles facing outward. Small adjustments to angle and width fix most proportion problems.
campfire: Trace the reference outline, then practise the contour independently. Compare with the separate full reference sheet.
Example solution: preserve stacked logs arranged in a crisscross base, flame tongues rising above the logs with pointed tips, glow base formed by the log ends and central fire area. Other drawings can be correct; assess the visible features and proportions rather than pixel-perfect matching. Draw a crisscross stack of logs at the bottom, with several log ends facing outward as circles. Add a central flame mass rising from the top of the log stack. Shape the flame into multiple pointed tongues, with the tallest central tongue and smaller side tongues. Outline the log ends and flame edges with bold lines to define the campfire silhouette.
No. Other drawings can be correct. Assess the visible features and proportions rather than pixel-perfect matching.
Draw the crisscross log base first, then add the central flame mass and pointed tongues above it.
Outline the log ends and flame edges with bold lines, then check that the base looks like stacked wood and the top looks like pointed fire.
All drawing practice · Free coordinate paper
Original resources · CC BY 4.0 · Free for personal and classroom use with attribution.