Reference diagrams
LETTER · Download PDF
A4 · Download PDF
Free original resources
Learn to draw a conch shell by building its teardrop outline, spiral whorls, ridges, flared lip, and siphonal notch. Free printable practice sheets support each step.
Four original cases, with reference diagrams, practice sheets and worked answers. Everything is free; no signup required.
LETTER · Download PDF
A4 · Download PDF
LETTER · Download PDF
A4 · Download PDF
LETTER · Download PDF
A4 · Download PDF
Use A4 or US Letter to match your printer. Use the stated values and conditions to solve each exercise; diagrams are not physical measuring rulers.
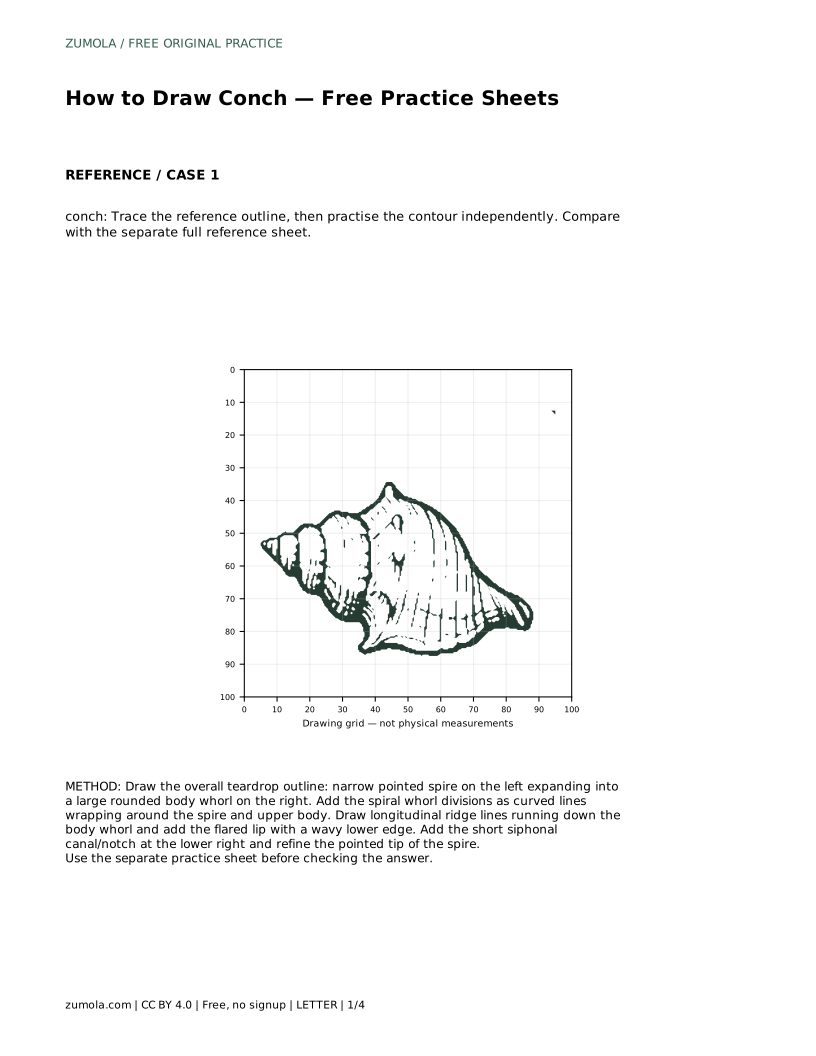
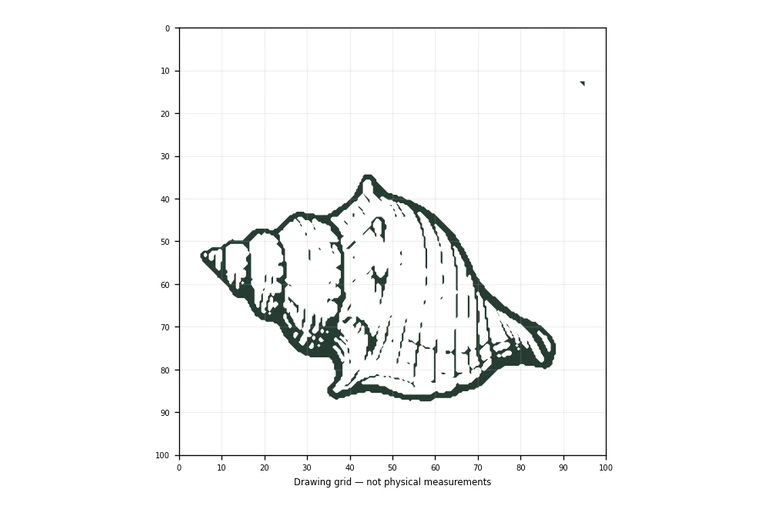
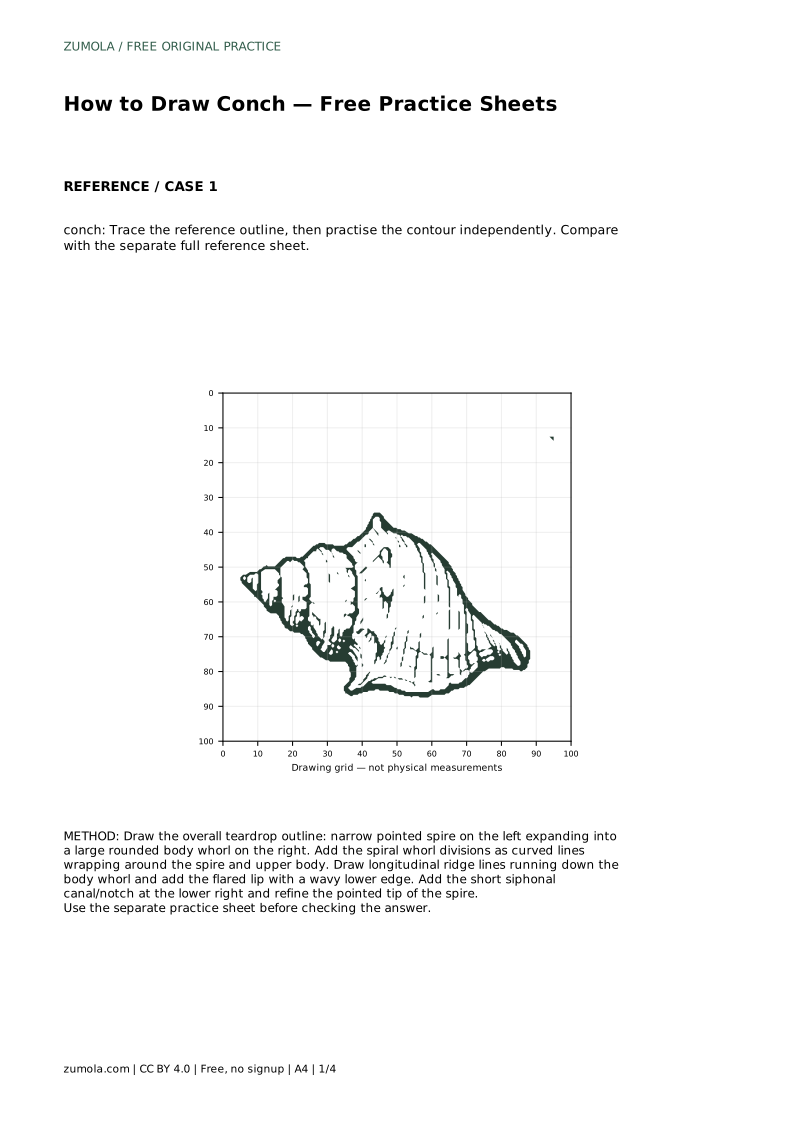
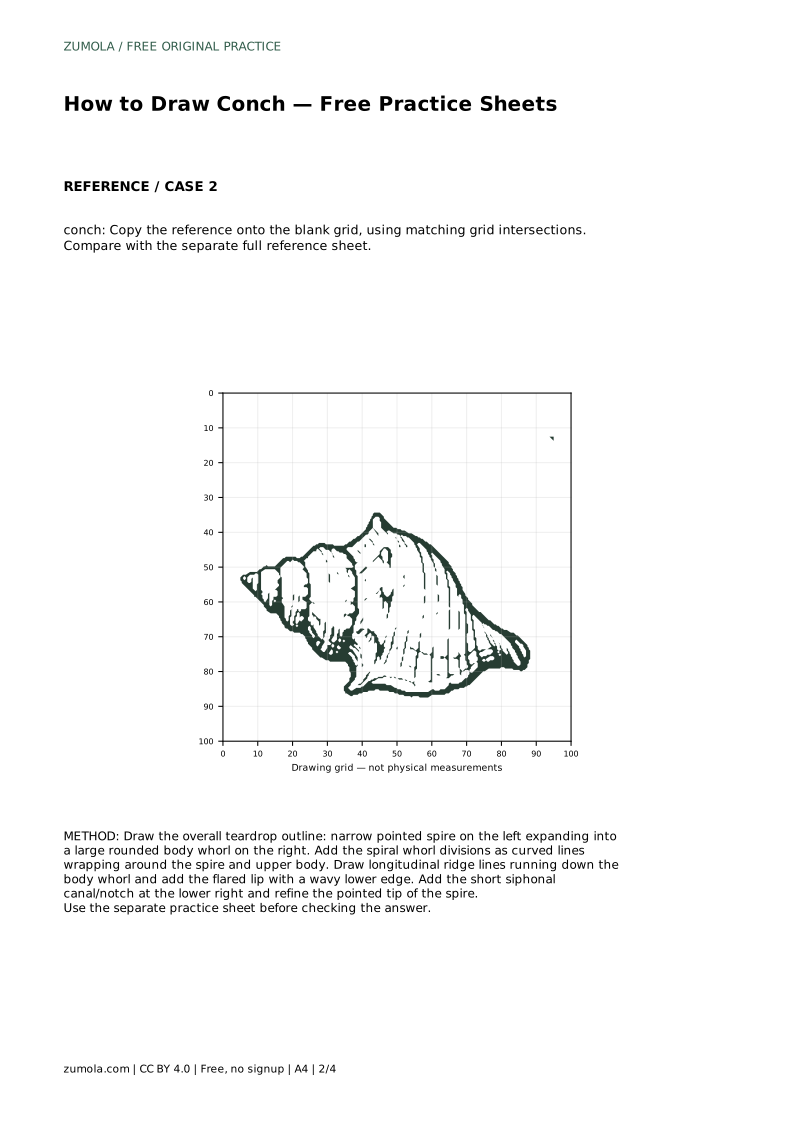
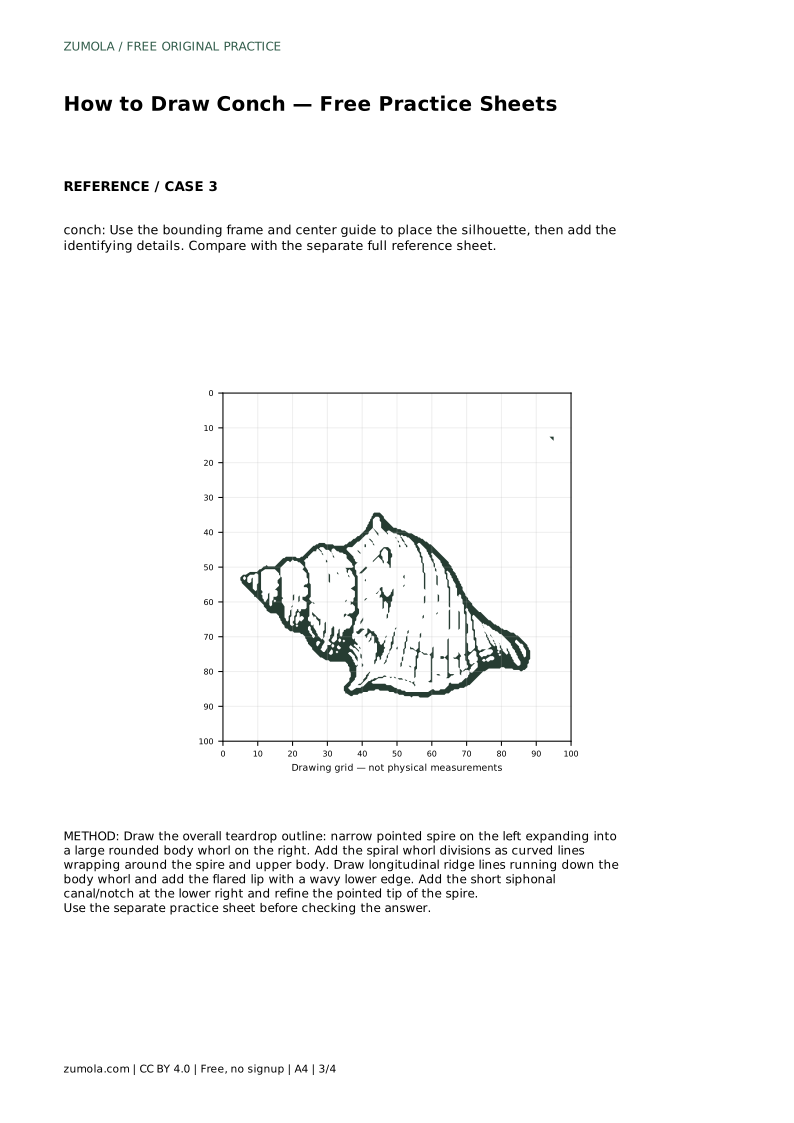
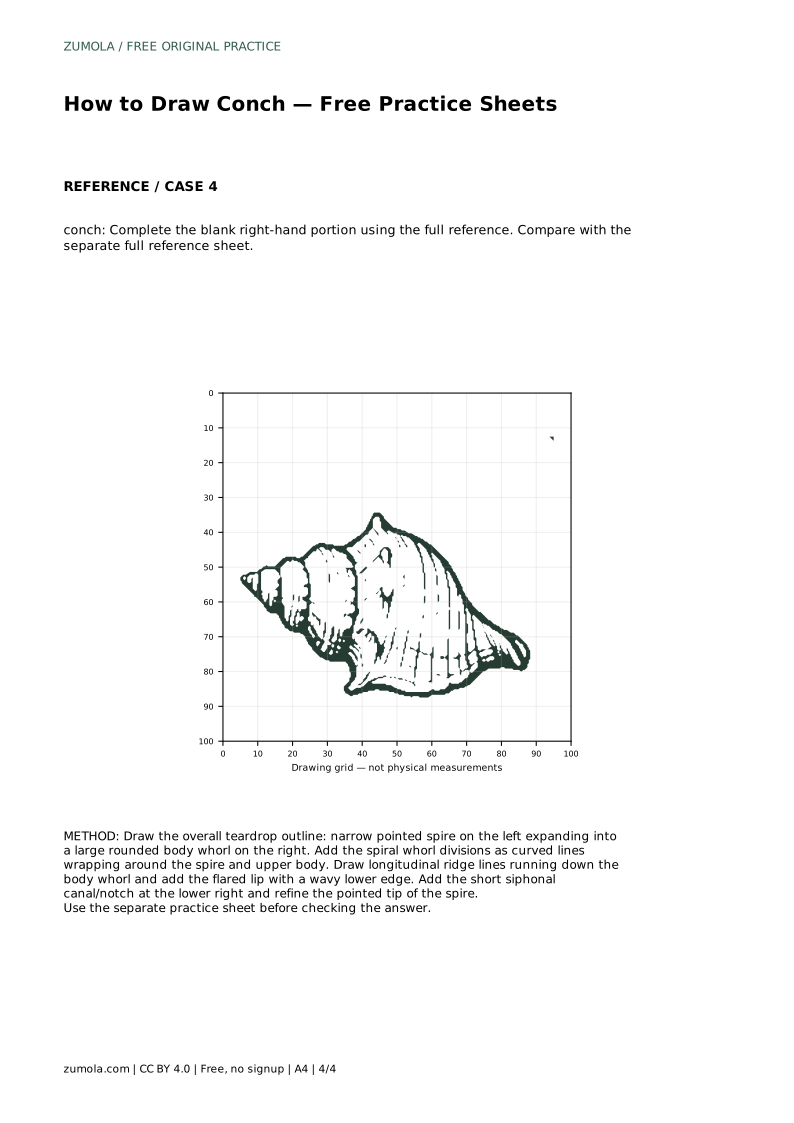
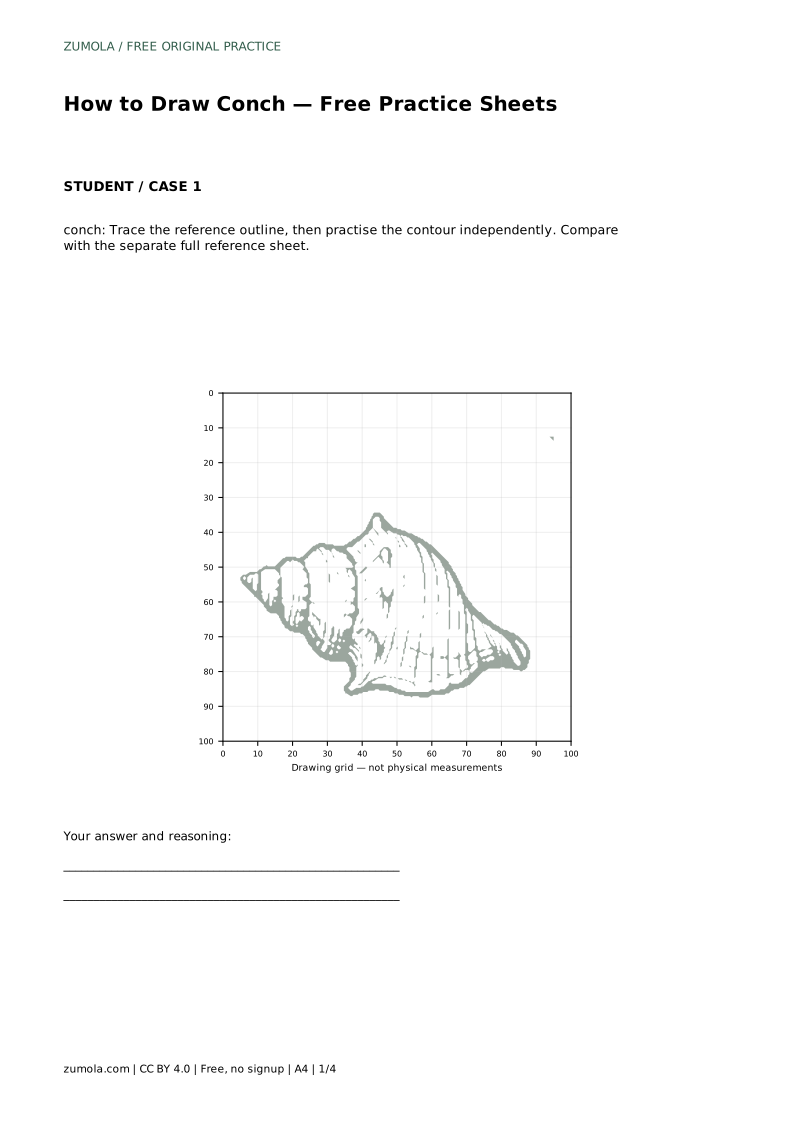
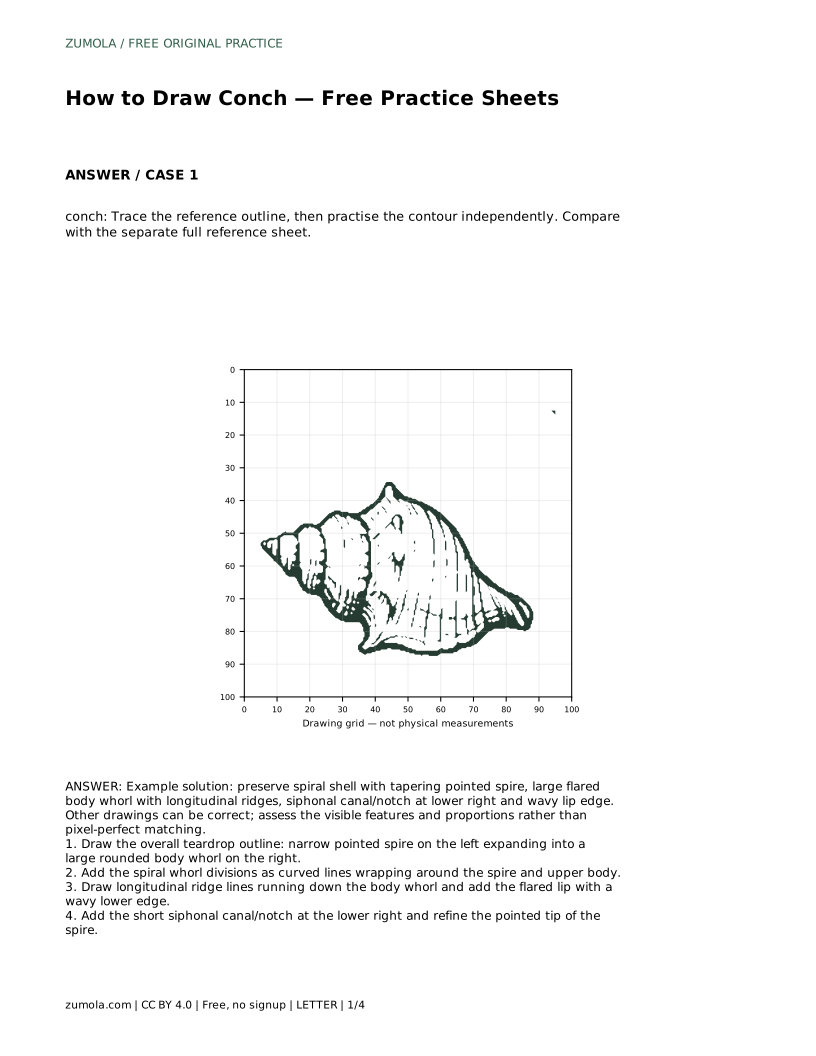
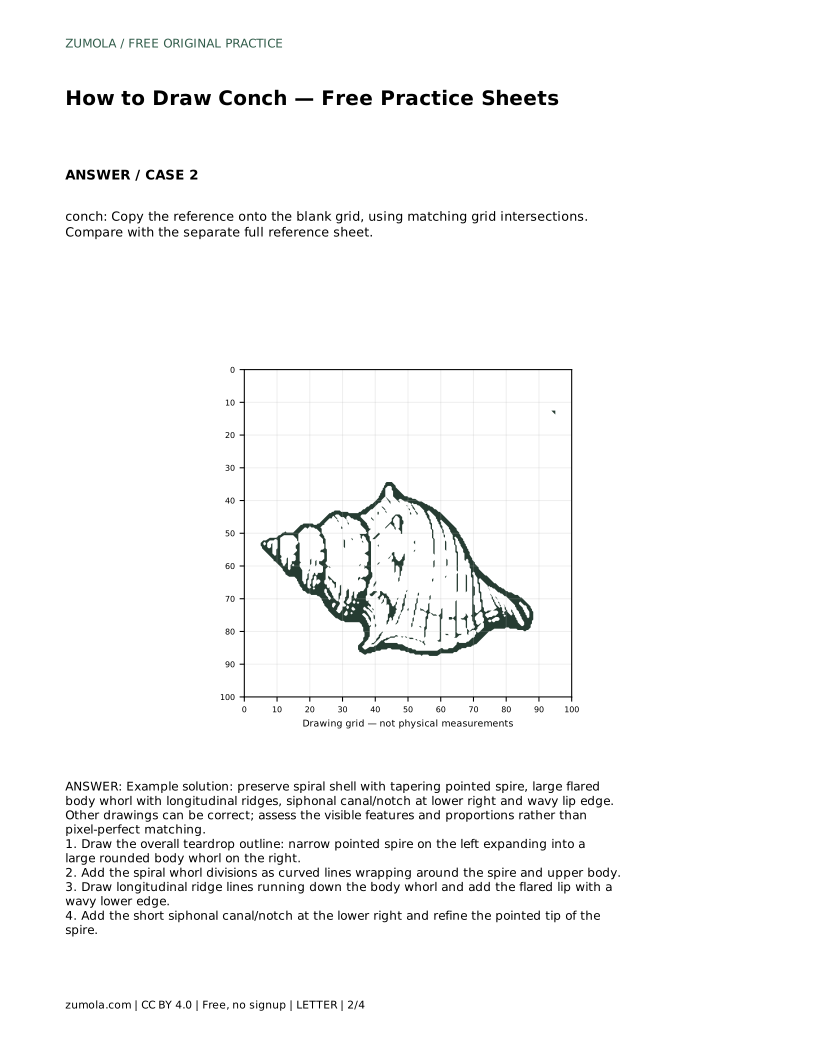
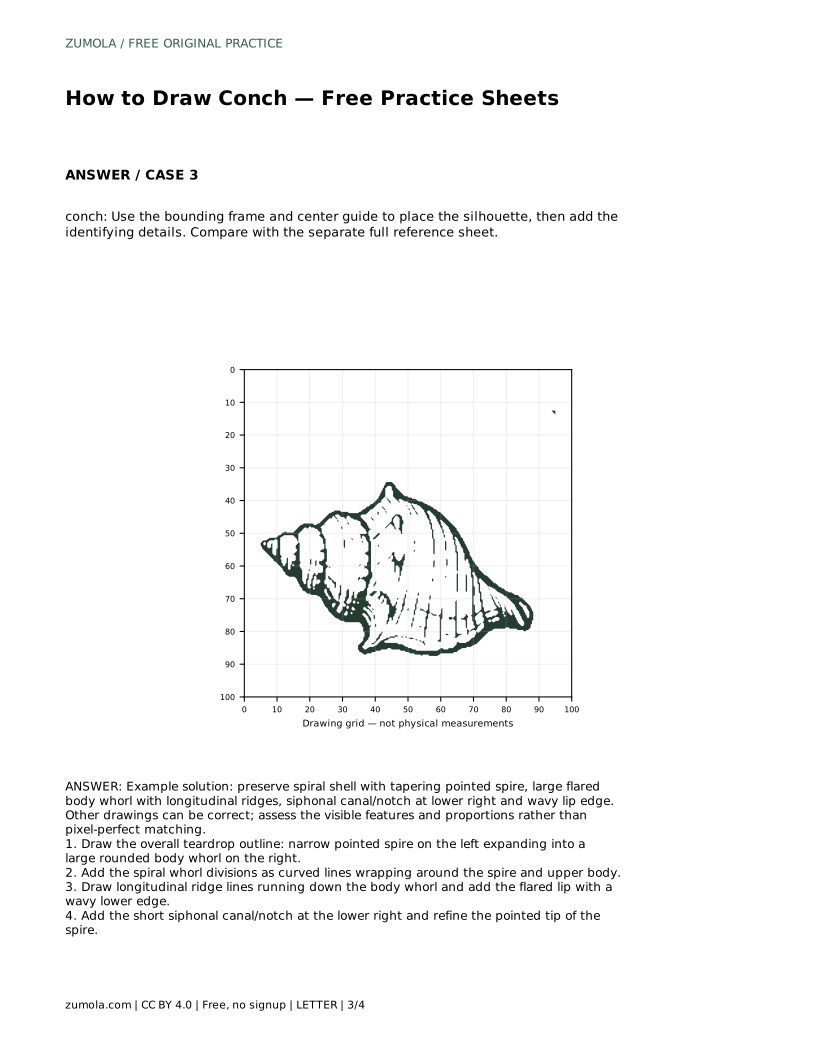
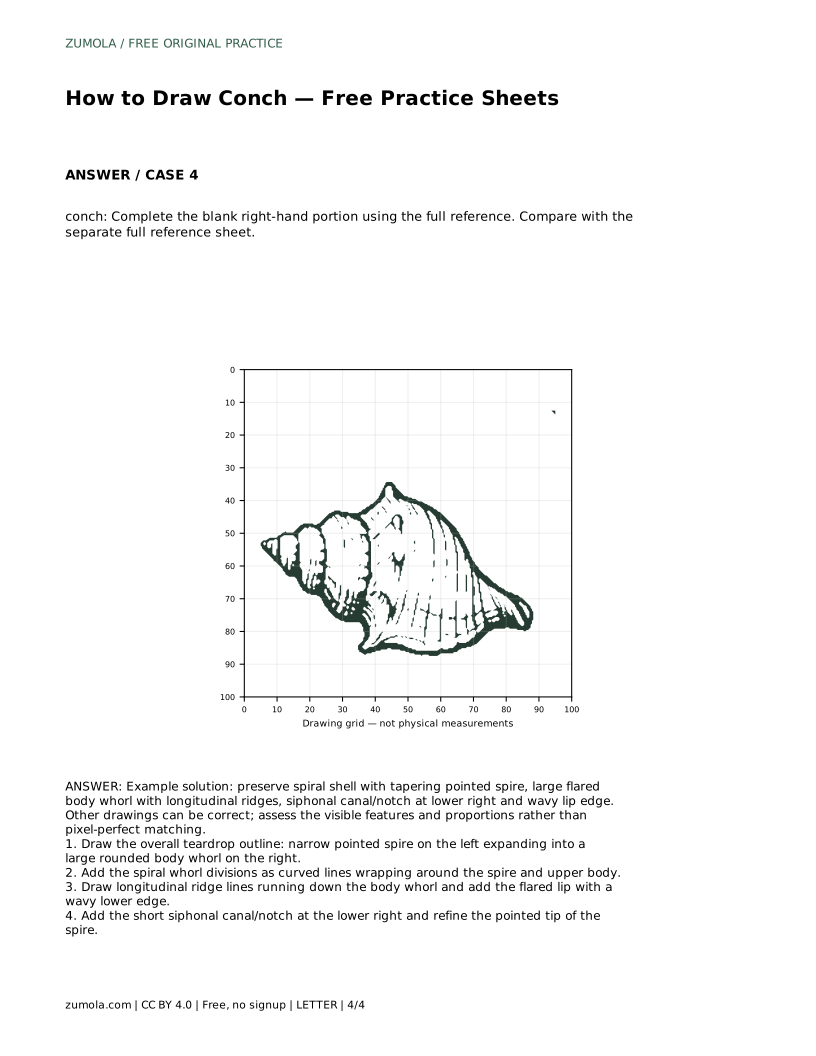
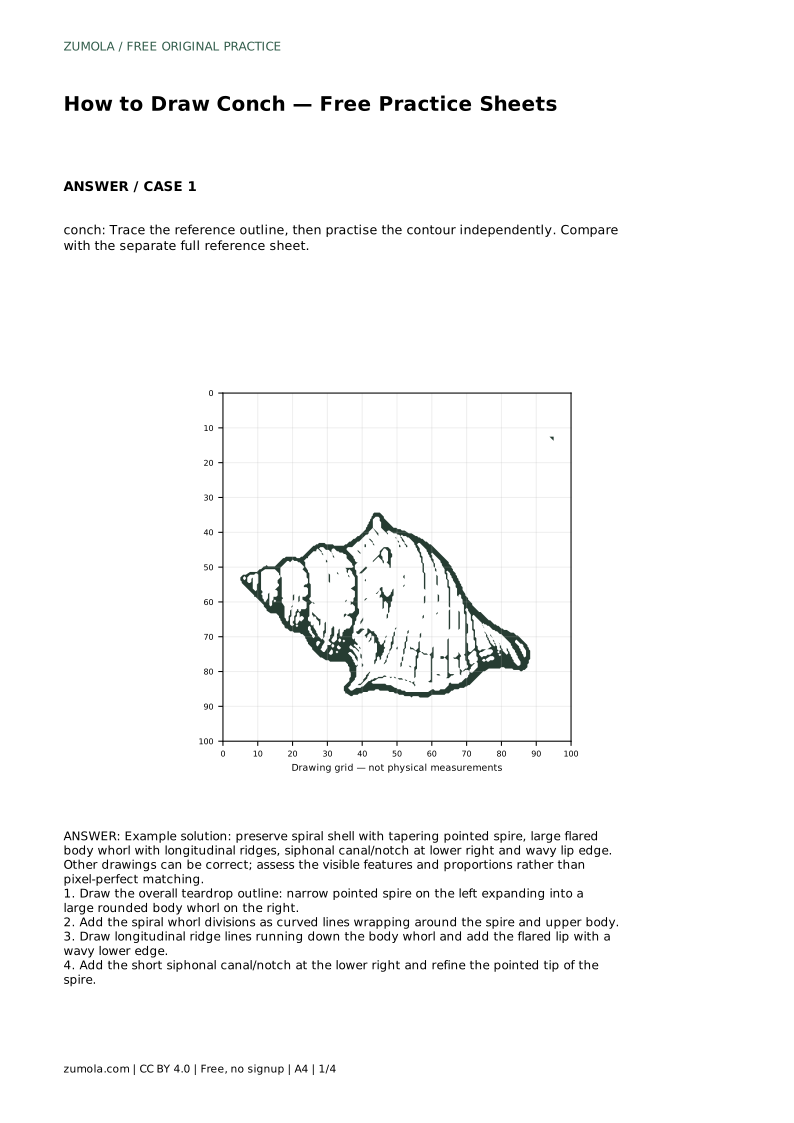
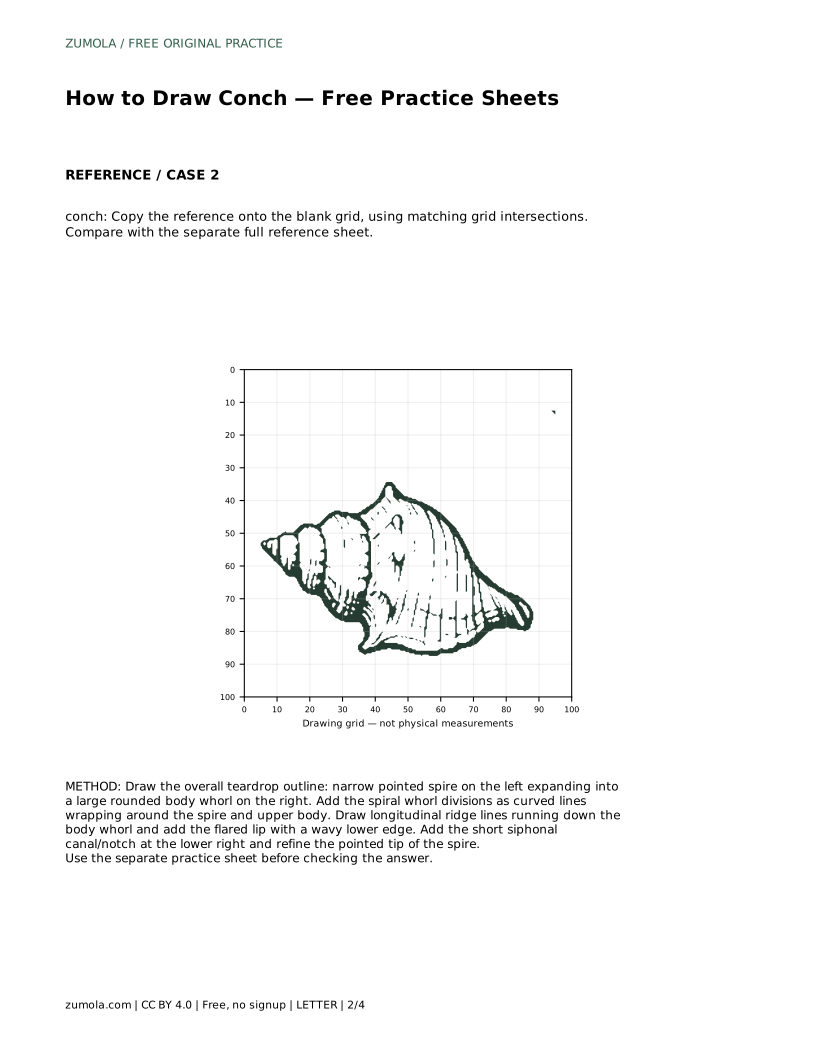
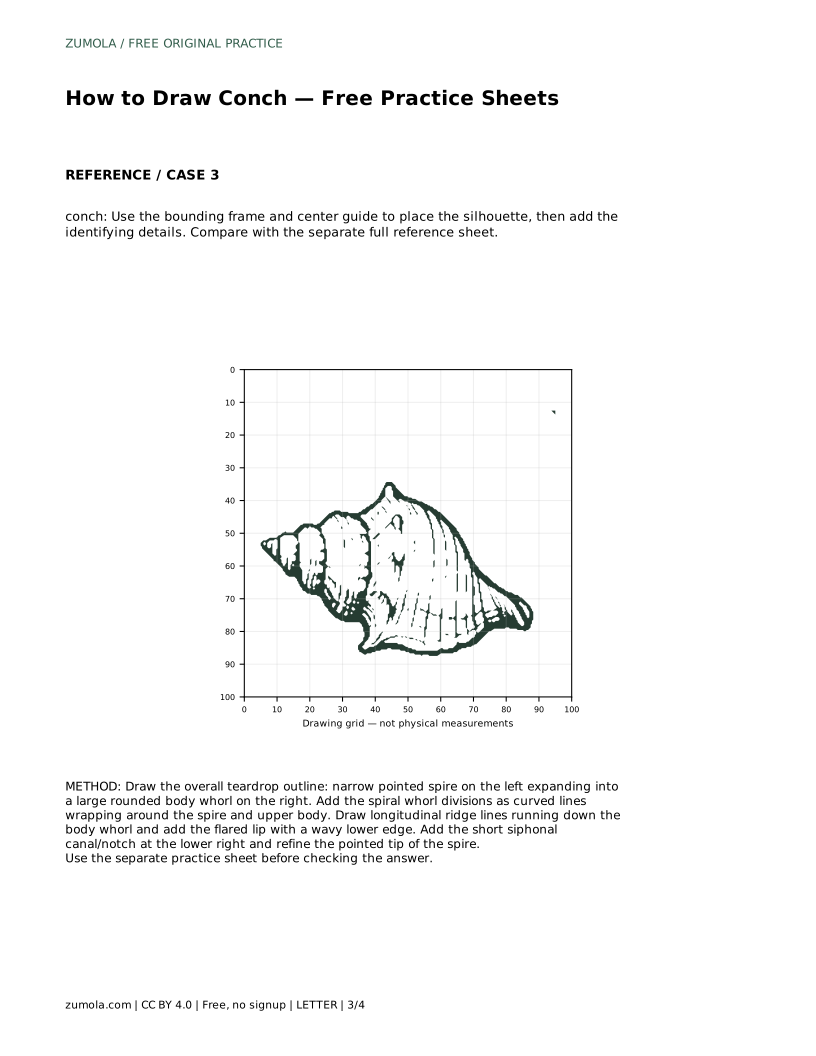
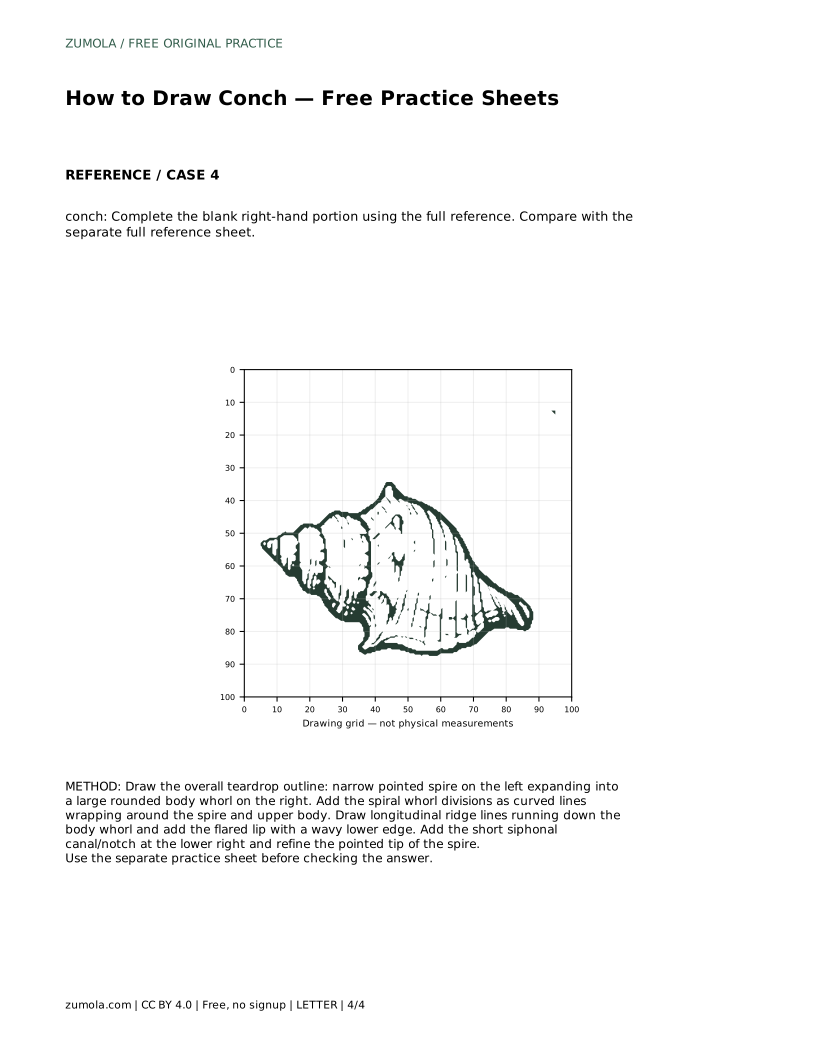
A conch is recognizable by its shape before any surface detail: a narrow pointed spire, a large rounded body whorl, a flared lip, and a short canal or notch at the lower right. This page teaches a reliable order for drawing those features, then explains how to use the practice sheets to trace, copy, or complete the same shell. Because drawings can differ and still be correct, judge your work by visible features and proportions rather than an exact match.
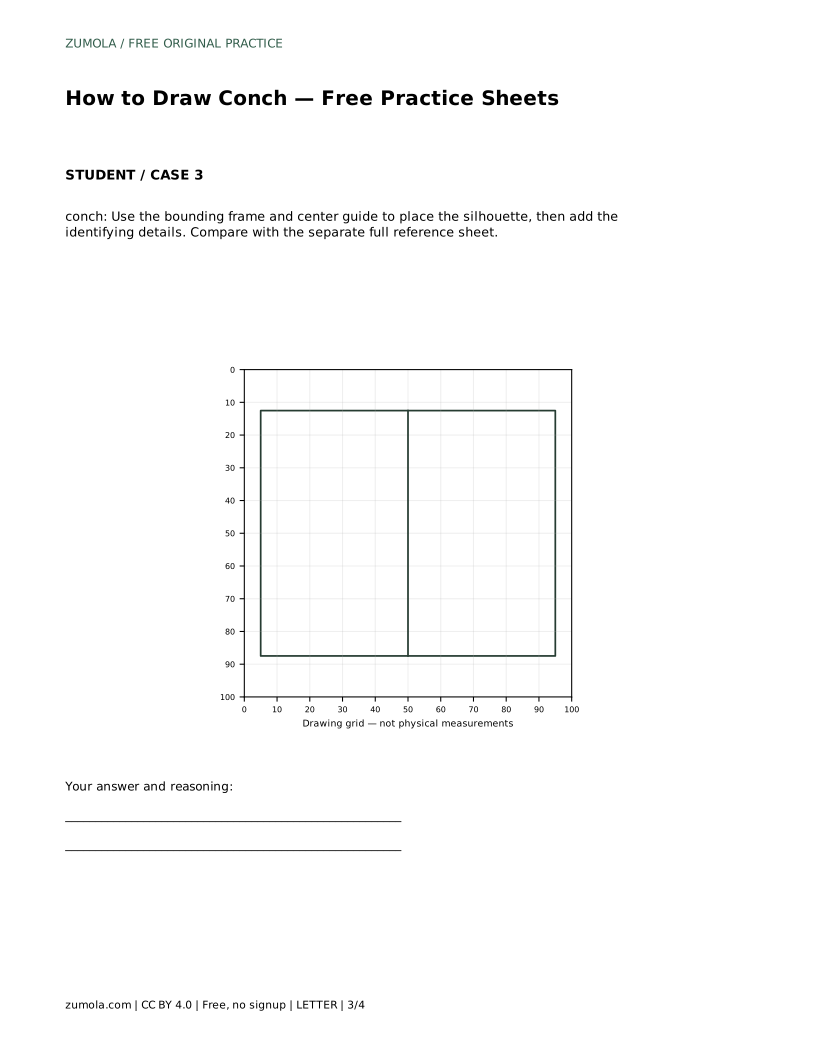
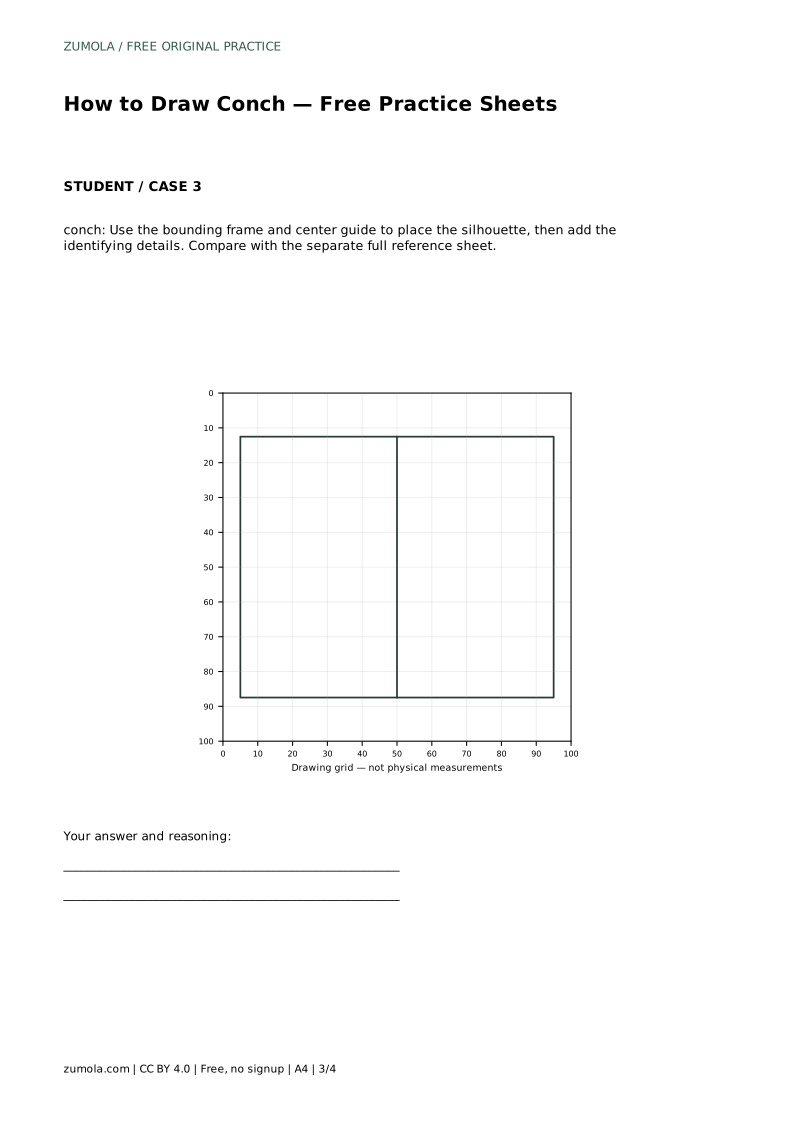
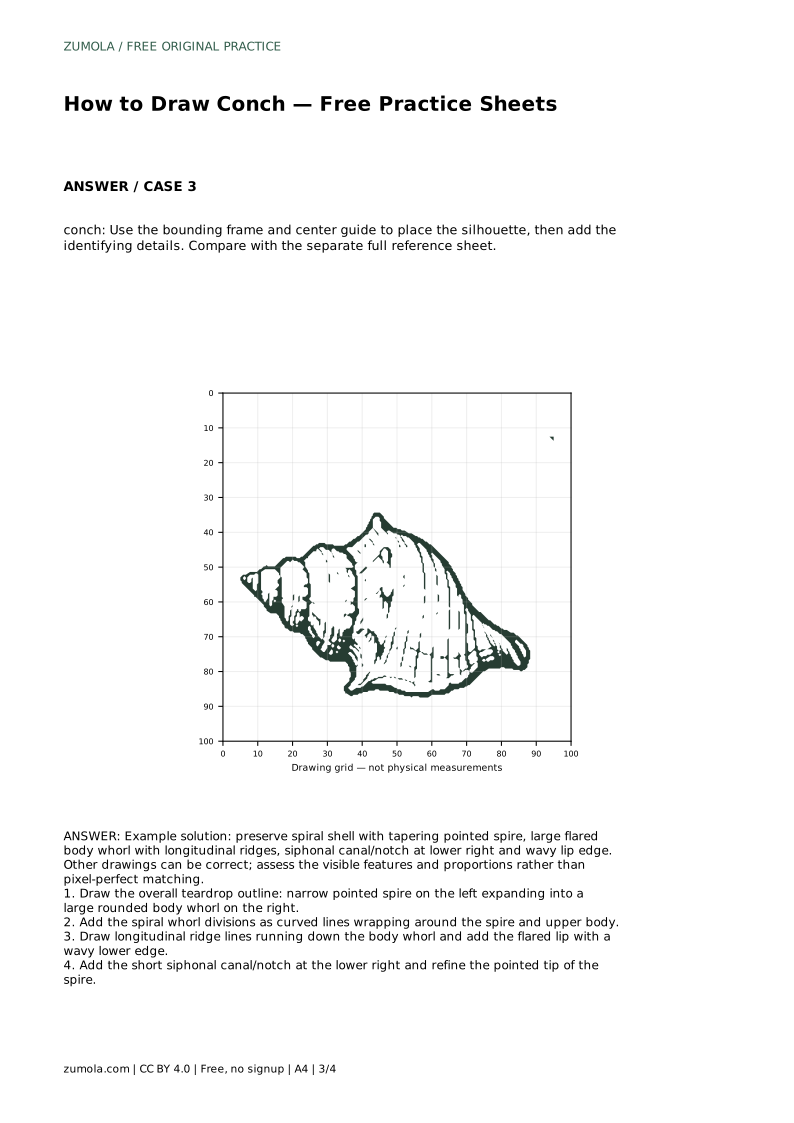
Begin with the overall teardrop outline. Place the narrow pointed spire on the left and let the shape expand into a large rounded body whorl on the right. Keep the widest part of the body whorl below the midline so the shell looks weighted rather than symmetrical. A light bounding frame or center guide can help you position this silhouette before adding detail.
Check the silhouette before continuing. The spire should taper gradually, not end in a blunt stub, and the body whorl should read as one large rounded mass. If the outline looks like an oval or a circle, adjust the taper and the lower curve until the teardrop shape is clear.
Spiral whorl divisions are curved lines that wrap around the spire and upper body. They should follow the shell's curve rather than run straight across it. Space them closer together near the pointed tip and wider apart as they approach the body whorl, because the whorls grow as the shell expands.
Keep these lines light at first. A whorl line that crosses the outline or doubles back sharply will make the spiral look broken. Step back and compare the spacing on both sides of the spire before darkening anything.
Longitudinal ridge lines run down the body whorl, roughly parallel to its curve. They are surface features, not separate whorls, so keep them inside the body whorl and let them fade near the lip. The flared lip sits on the right side and has a wavy lower edge; draw the wave gently so it reads as a natural edge rather than a zigzag.
Finish with the short siphonal canal or notch at the lower right, then refine the pointed tip of the spire. These two details are the strongest identifying marks after the overall shape, so give them a clear, deliberate line.
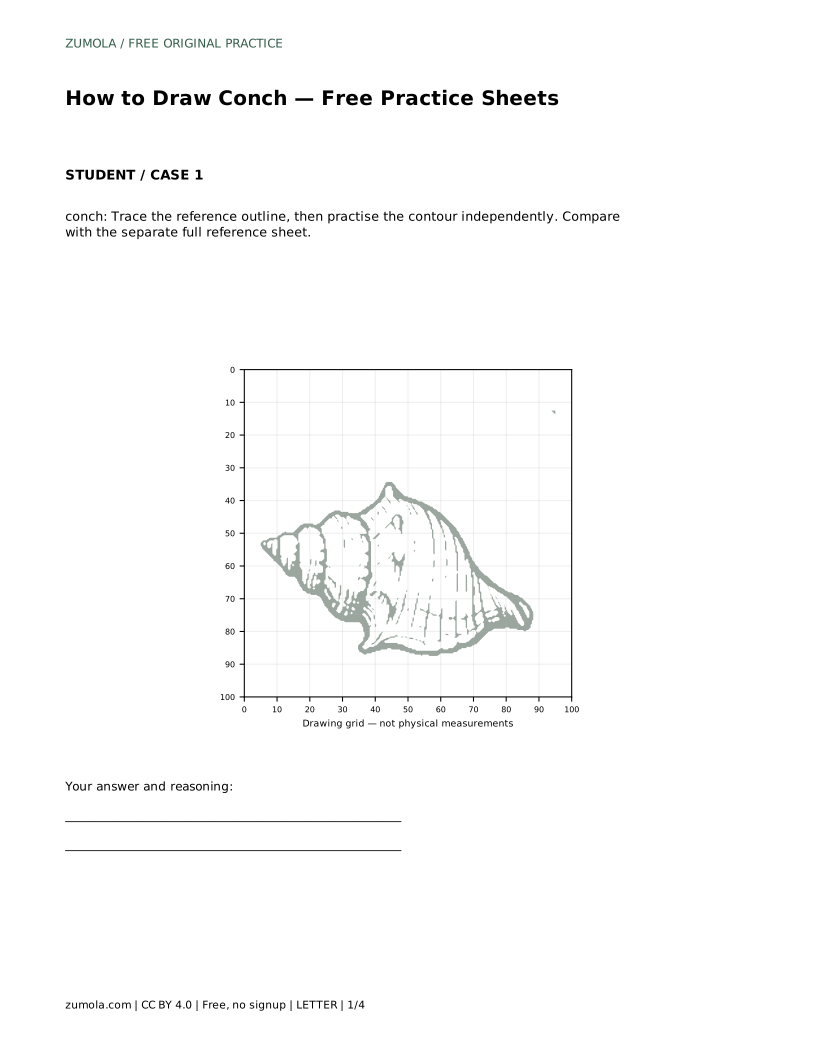
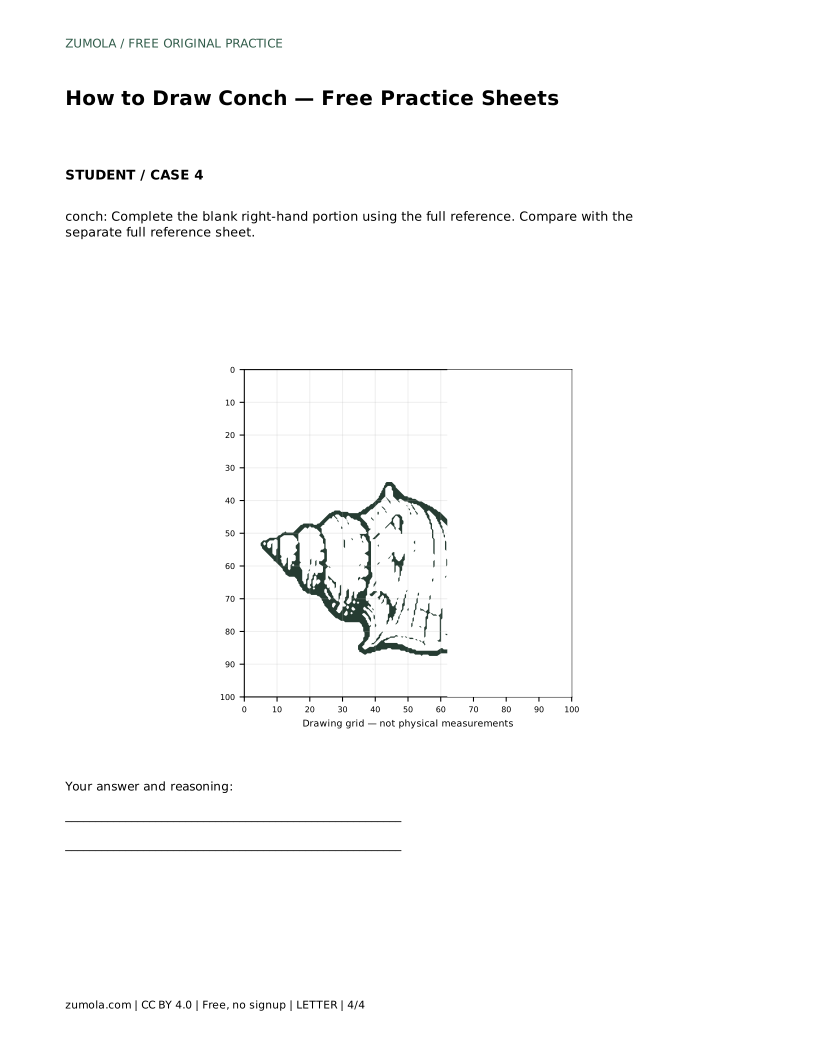
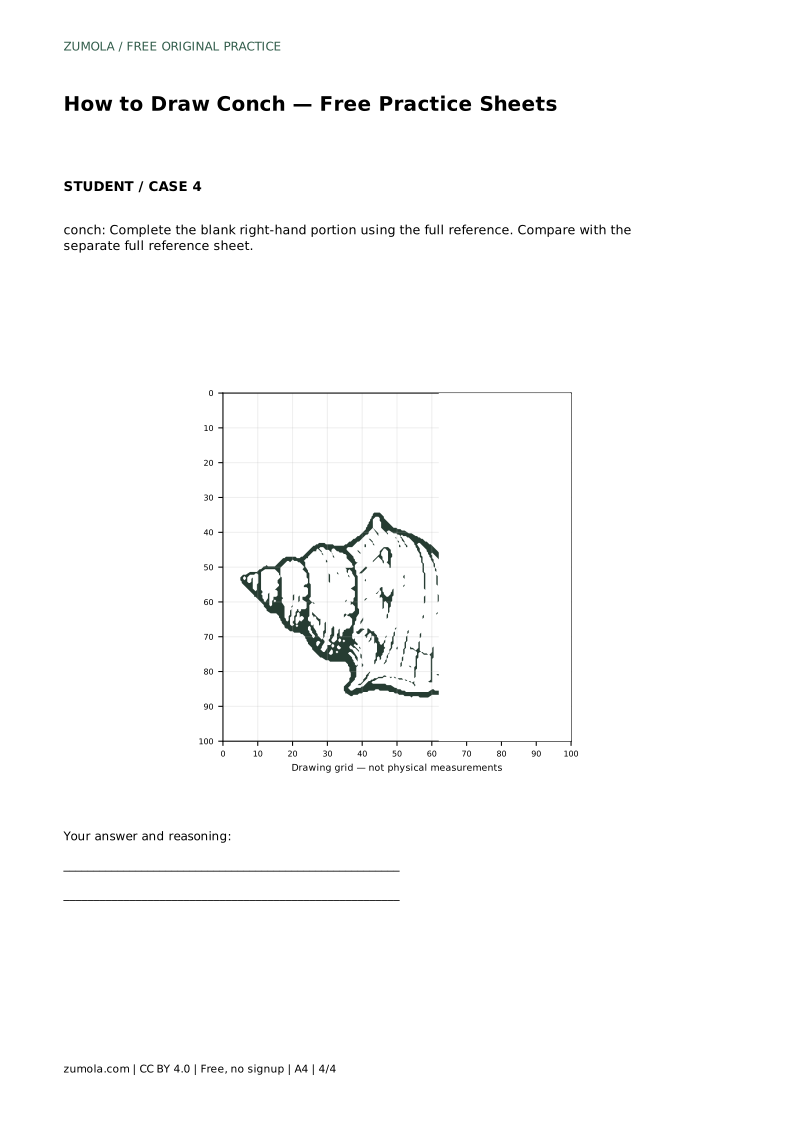
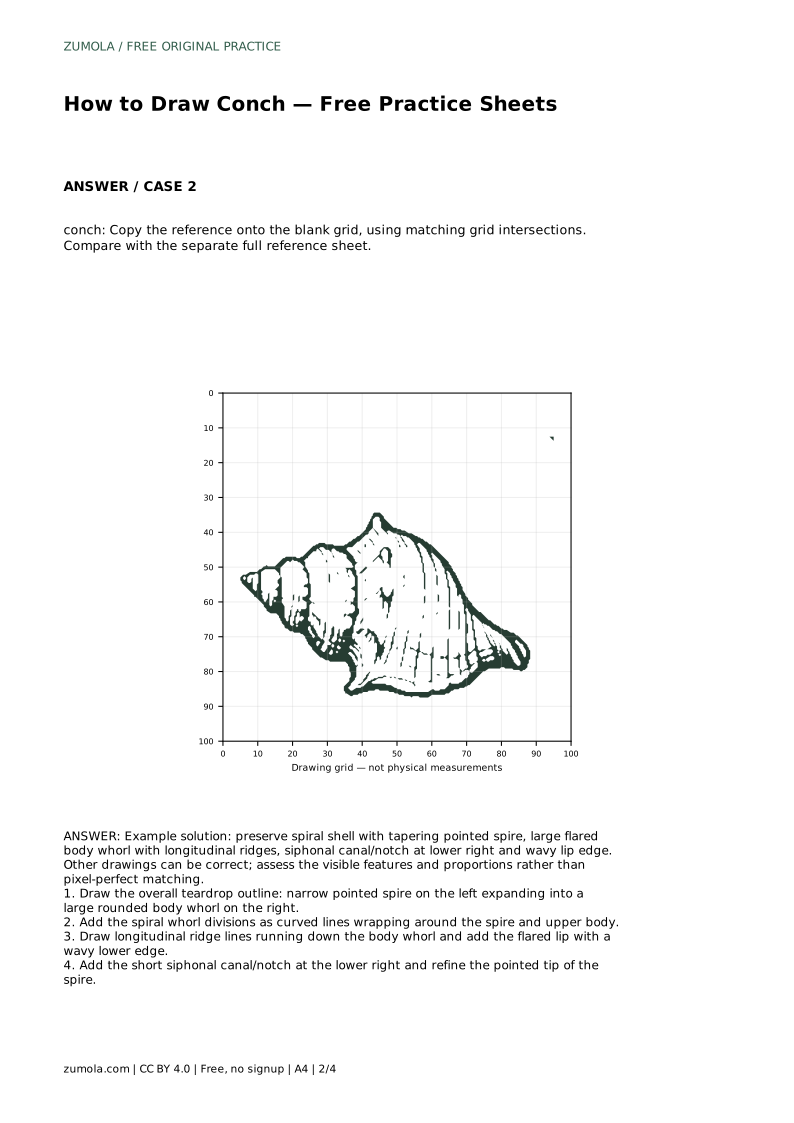
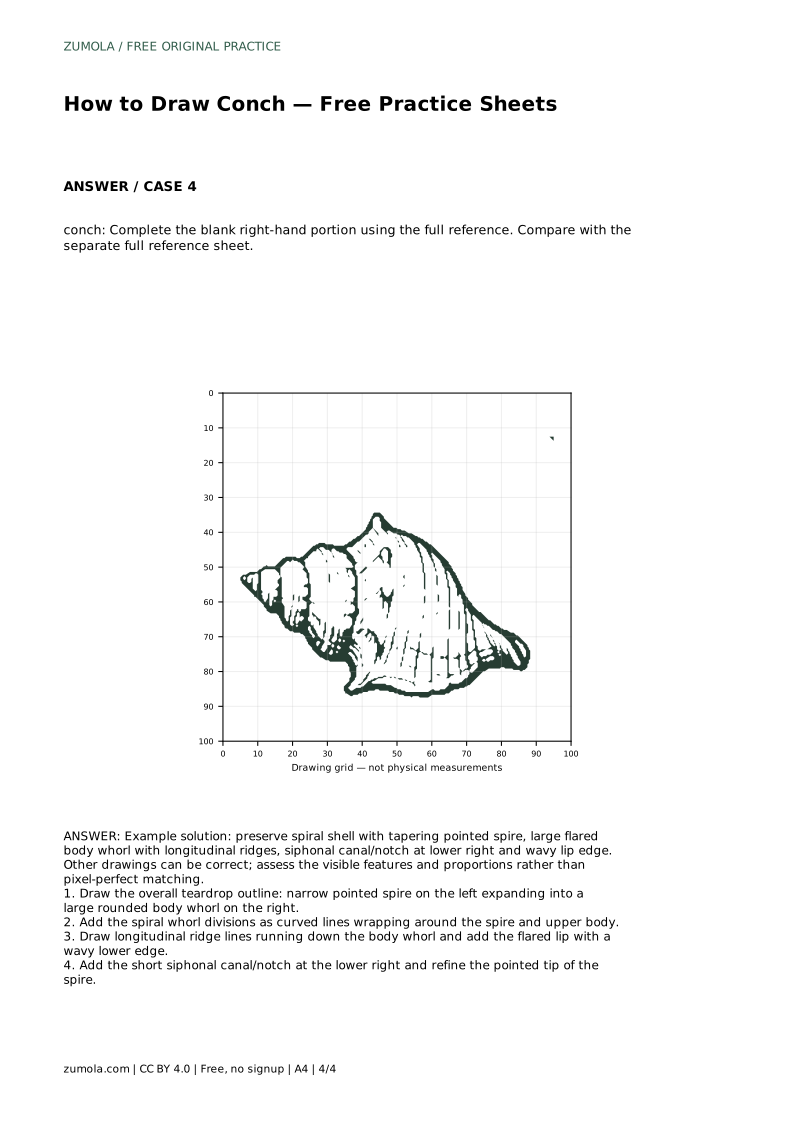
The sheets offer different ways to practise the same shell. One asks you to trace the reference outline, then draw the contour independently. Another uses a blank grid with matching intersections. A third uses a bounding frame and center guide to place the silhouette before adding details. A fourth gives a full reference and asks you to complete the blank right-hand portion.
Each sheet is paired with a separate full reference sheet, so compare your finished drawing against that reference rather than against a single expected answer. Different line weights, ridge counts, and lip waves can all be correct if the main features and proportions hold.
Use a rubric instead of hunting for an exact answer. A strong conch drawing shows a tapering pointed spire, a large flared body whorl, curved whorl divisions, longitudinal ridges, a wavy lip edge, and a siphonal canal or notch at the lower right. Proportions matter more than pixel-perfect matching.
conch: Trace the reference outline, then practise the contour independently. Compare with the separate full reference sheet.
Example solution: preserve spiral shell with tapering pointed spire, large flared body whorl with longitudinal ridges, siphonal canal/notch at lower right and wavy lip edge. Other drawings can be correct; assess the visible features and proportions rather than pixel-perfect matching. Draw the overall teardrop outline: narrow pointed spire on the left expanding into a large rounded body whorl on the right. Add the spiral whorl divisions as curved lines wrapping around the spire and upper body. Draw longitudinal ridge lines running down the body whorl and add the flared lip with a wavy lower edge. Add the short siphonal canal/notch at the lower right and refine the pointed tip of the spire.
No. Several drawings can be correct. Assess whether the pointed spire, large body whorl, curved whorls, ridges, wavy lip, and lower-right notch are visible and in sensible proportion.
Add the siphonal canal or notch at the lower right and refine the pointed spire tip after the body whorl, whorls, ridges, and lip are in place.
Copy the reference onto the blank grid using matching grid intersections, then compare your drawing with the separate full reference sheet.
All drawing practice · Free coordinate paper
Original resources · CC BY 4.0 · Free for personal and classroom use with attribution.