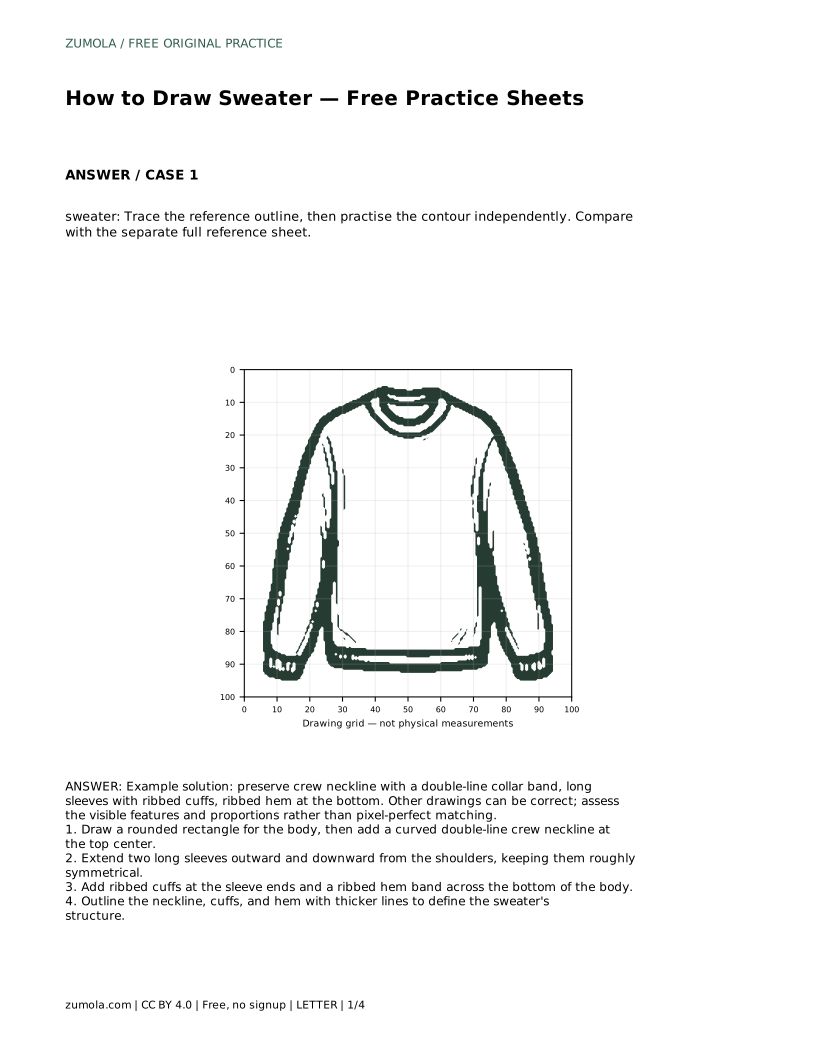
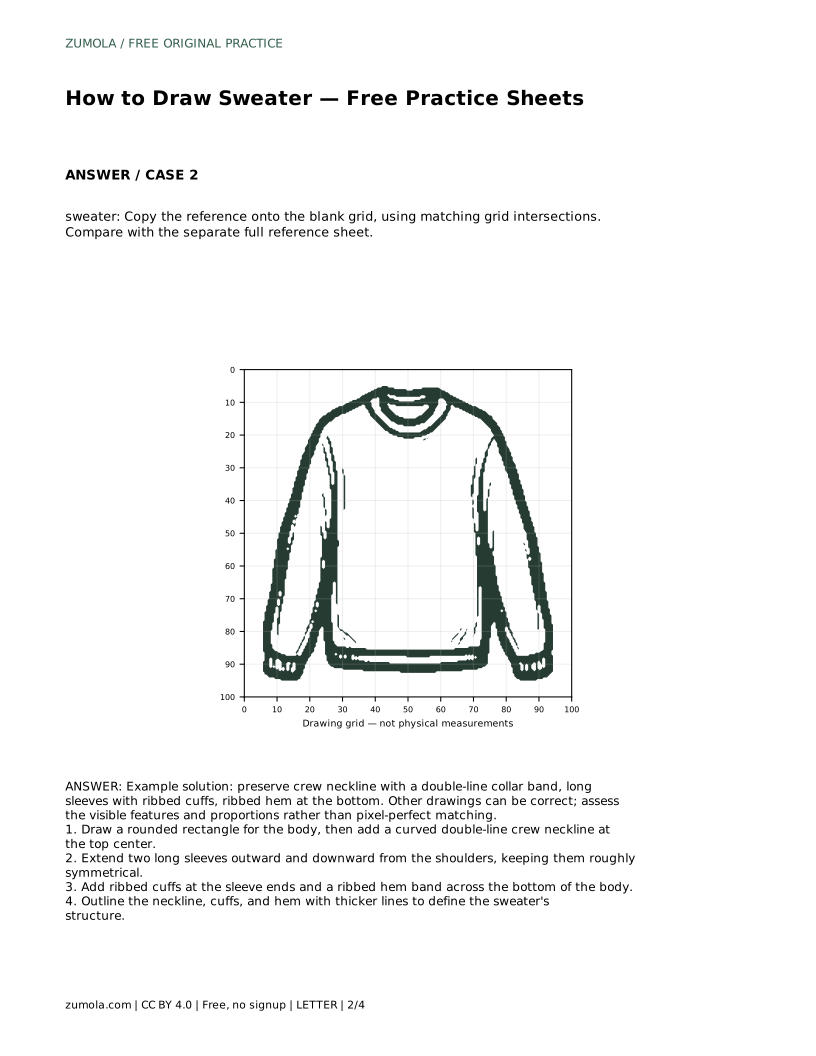
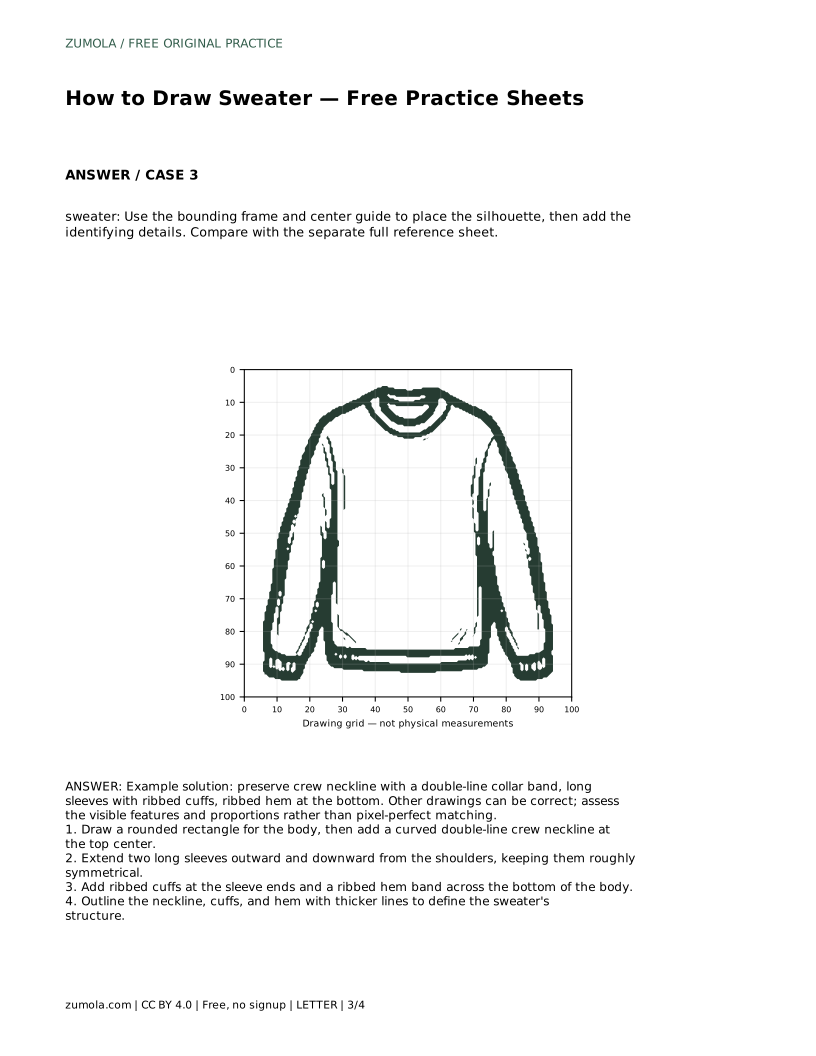
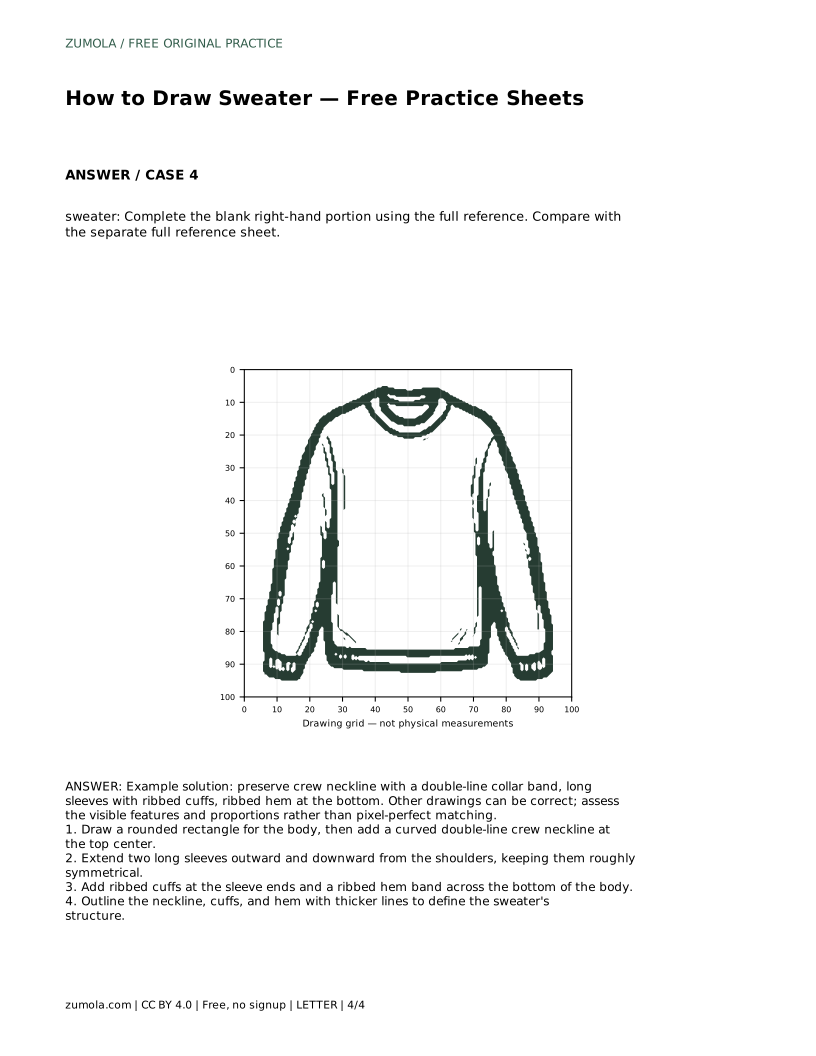
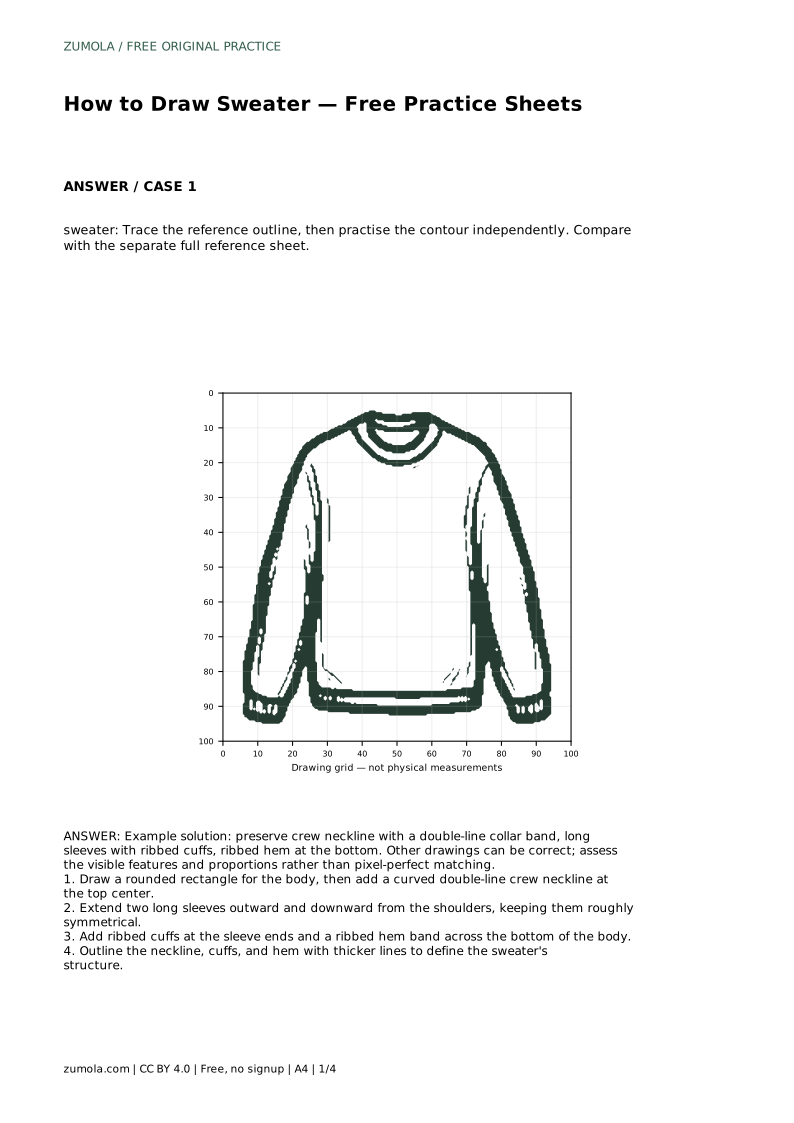
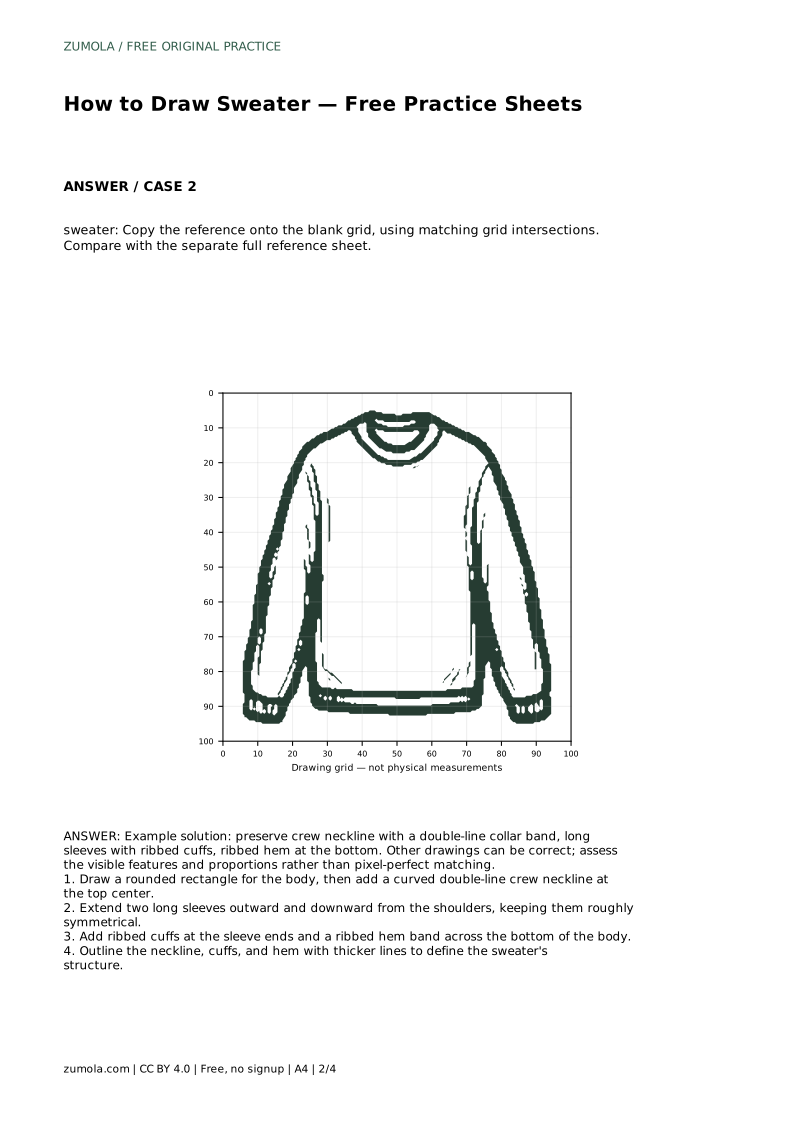
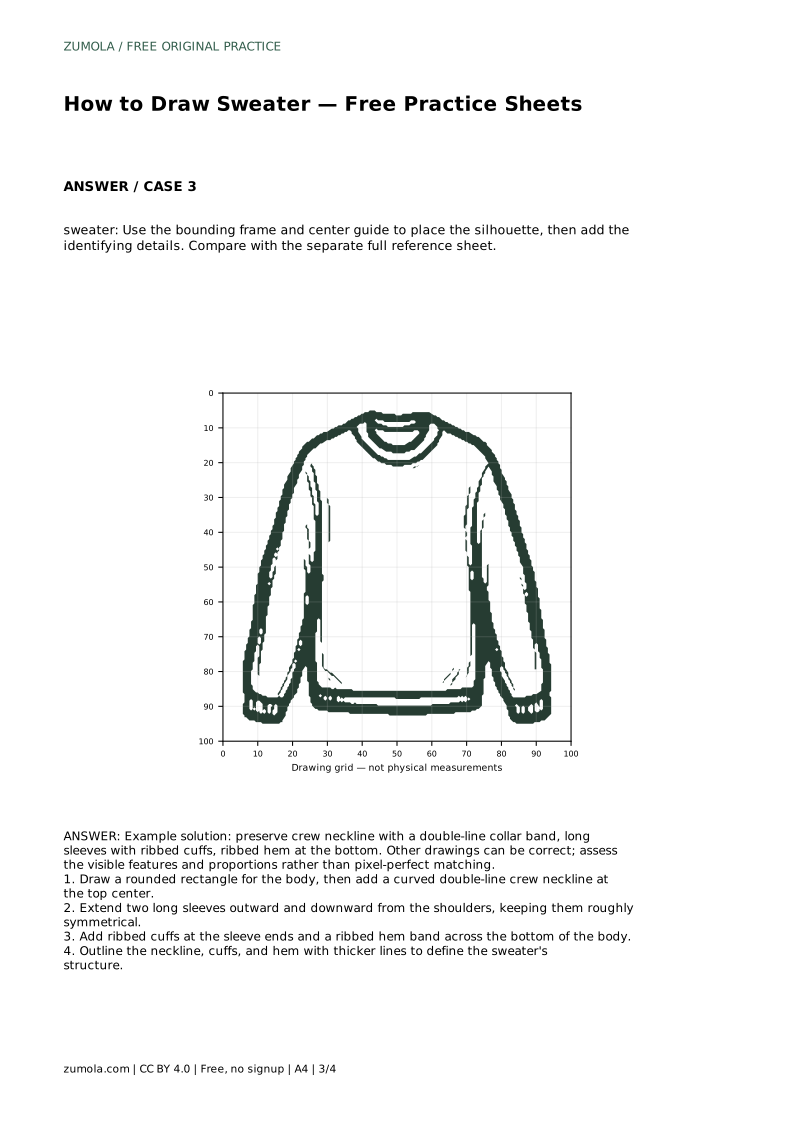
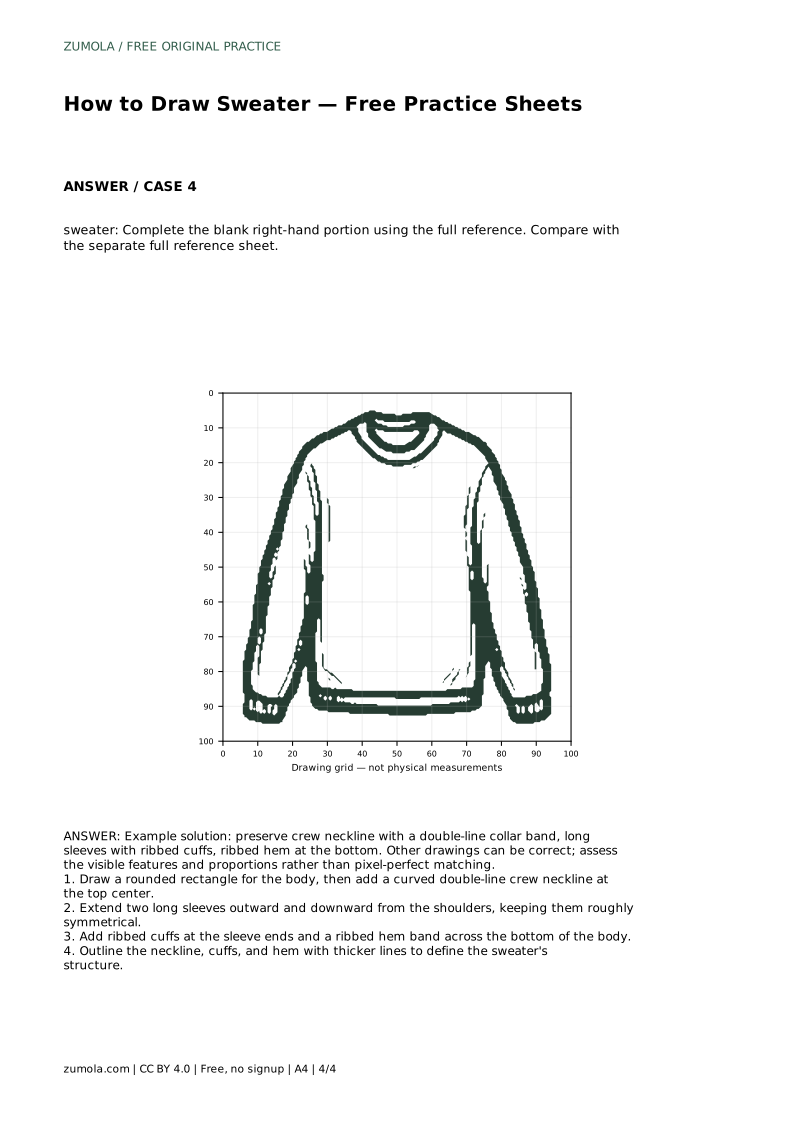
Reference diagrams
LETTER · Download PDF
A4 · Download PDF
Free original resources
Learn to draw a sweater with a crew neckline, long sleeves, ribbed cuffs, and a ribbed hem. Use free practice sheets to trace, copy, or complete the outline.
Four original cases, with reference diagrams, practice sheets and worked answers. Everything is free; no signup required.
LETTER · Download PDF
A4 · Download PDF
LETTER · Download PDF
A4 · Download PDF
LETTER · Download PDF
A4 · Download PDF
Use A4 or US Letter to match your printer. Use the stated values and conditions to solve each exercise; diagrams are not physical measuring rulers.
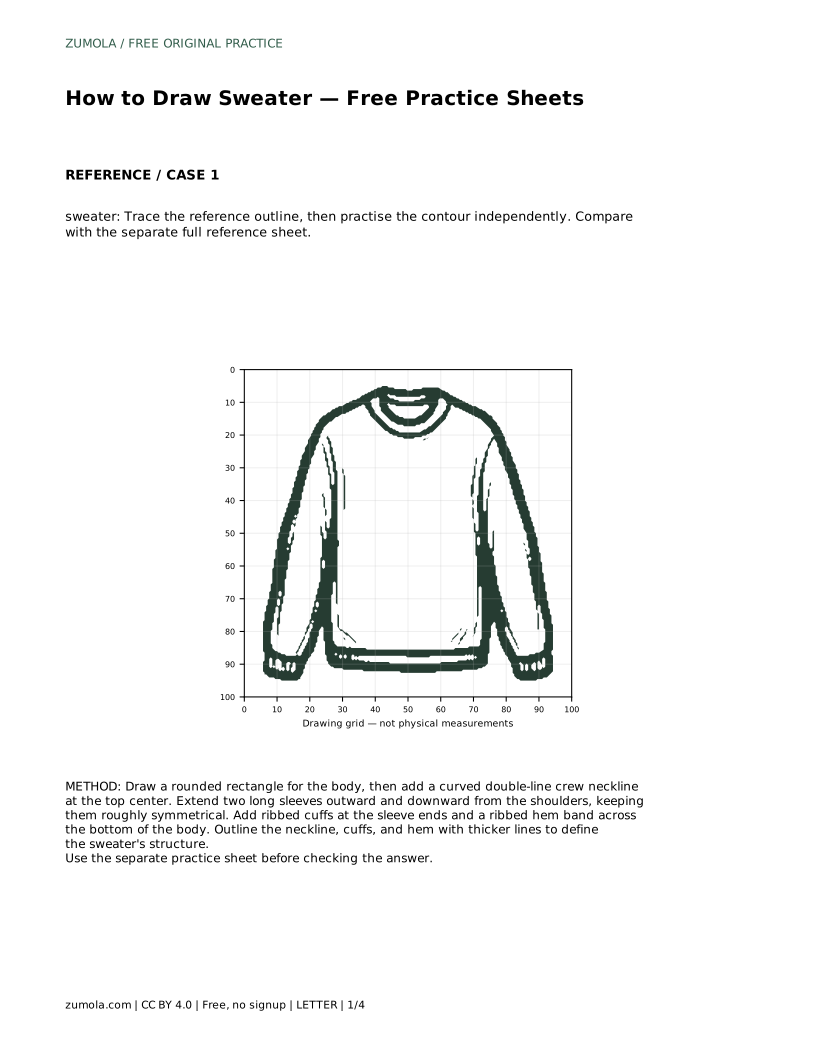
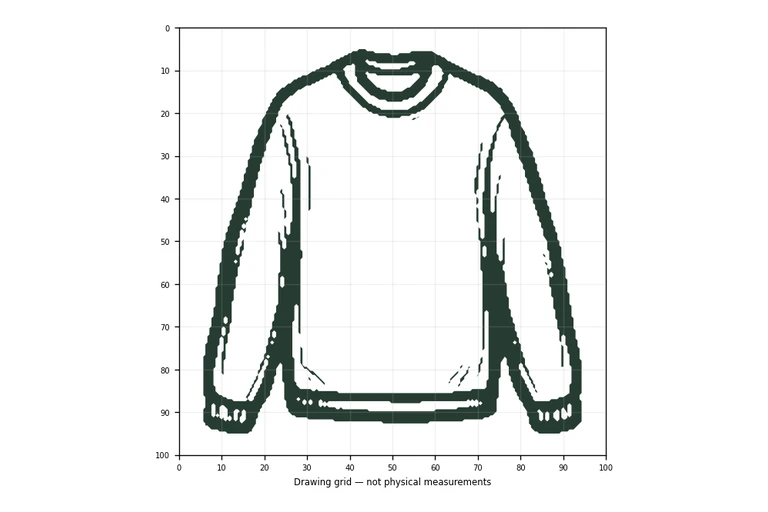
Drawing a sweater is a useful exercise in combining simple shapes with clothing details. The goal is not a pixel-perfect copy but a clear, recognizable garment with consistent proportions. This guide explains how to build the body, neckline, sleeves, cuffs, and hem step by step. You can apply the same method to tracing, grid copying, or completing a partial outline on the free practice sheets.
Begin by drawing a rounded rectangle for the sweater body. This shape sets the overall width and height. Keep the sides gently curved rather than perfectly straight, so the garment looks soft. At the top center, add a curved double-line crew neckline. The two lines represent the collar band: an inner curve for the opening and an outer curve for the band’s edge. The neckline should sit slightly below the top edge of the body, leaving a small shoulder area on each side.
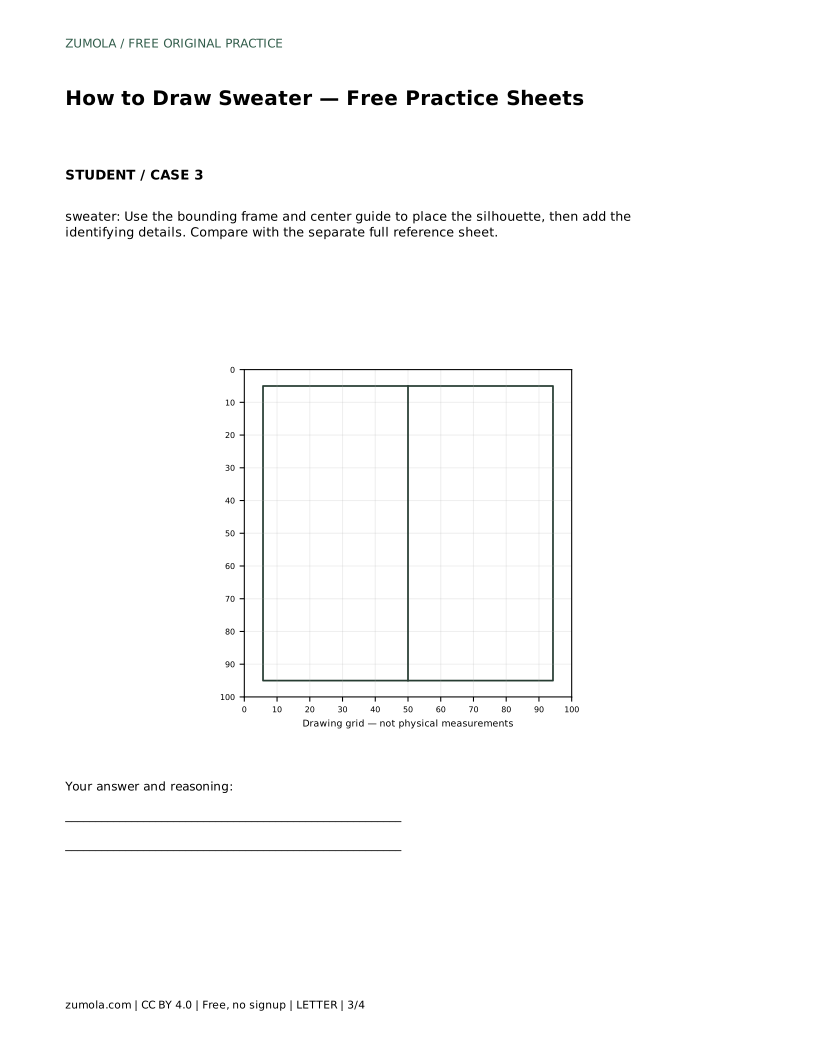
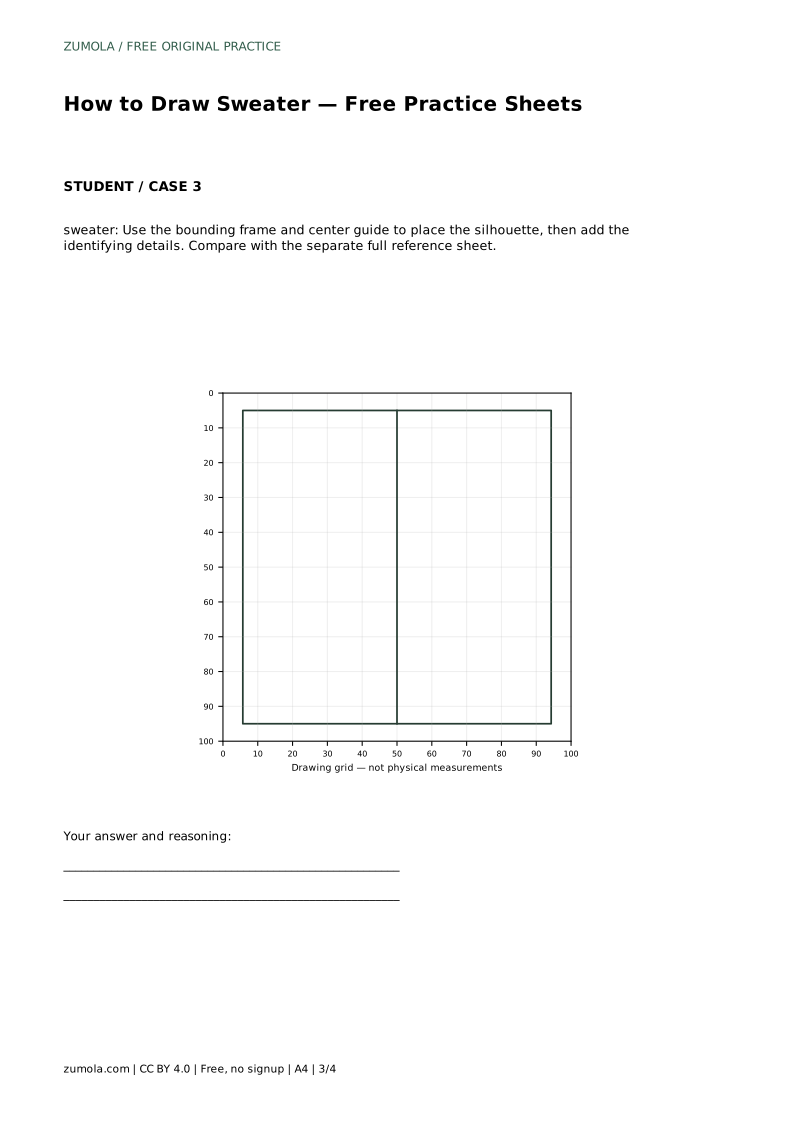
Check that the neckline is centered. A common error is placing it too far left or right, which makes the shoulders look uneven. If you are using a grid or bounding frame, use the center guide to position the neckline before adding other details.
From the shoulders, extend two long sleeves outward and downward. Keep them roughly symmetrical in length and angle. The sleeves should attach at the upper corners of the body, not at the neckline. A slight taper toward the wrist is natural, but avoid making the sleeves too narrow or too wide. If one sleeve looks longer, compare the distance from the shoulder to the cuff on each side.
Symmetry does not mean identical curves. Small differences are acceptable, but the overall balance should read as a pair. Use the center line of the body as a reference to judge left and right placement.
Add ribbed cuffs at the sleeve ends and a ribbed hem band across the bottom of the body. Ribbing can be shown with short parallel lines or a simple band with a few vertical marks. The hem should run across the full width of the body, and the cuffs should wrap around the sleeve ends. Finally, outline the neckline, cuffs, and hem with thicker lines to define the sweater’s structure. These thicker lines separate the garment’s edges from the body fabric.
When copying from a reference, compare the relative sizes: the hem band is usually narrower than the body, and the cuffs are narrower than the sleeve. Do not add details that are not visible in the reference unless the task asks for them.
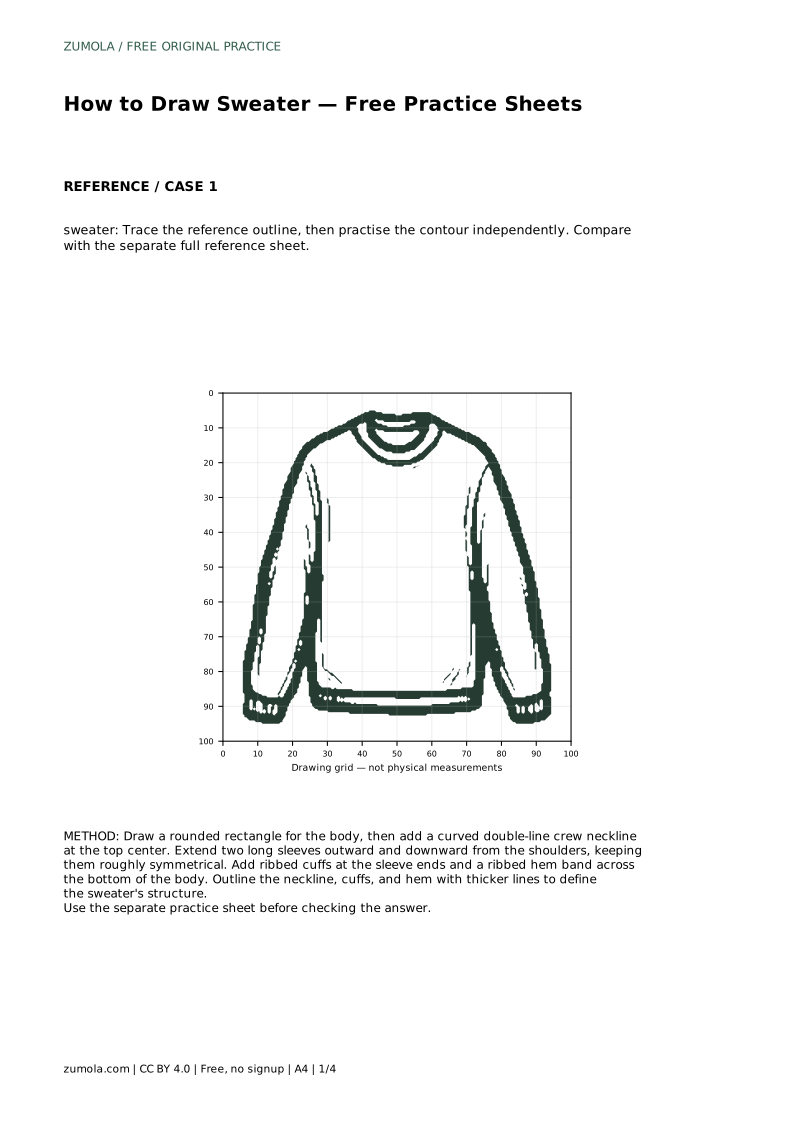
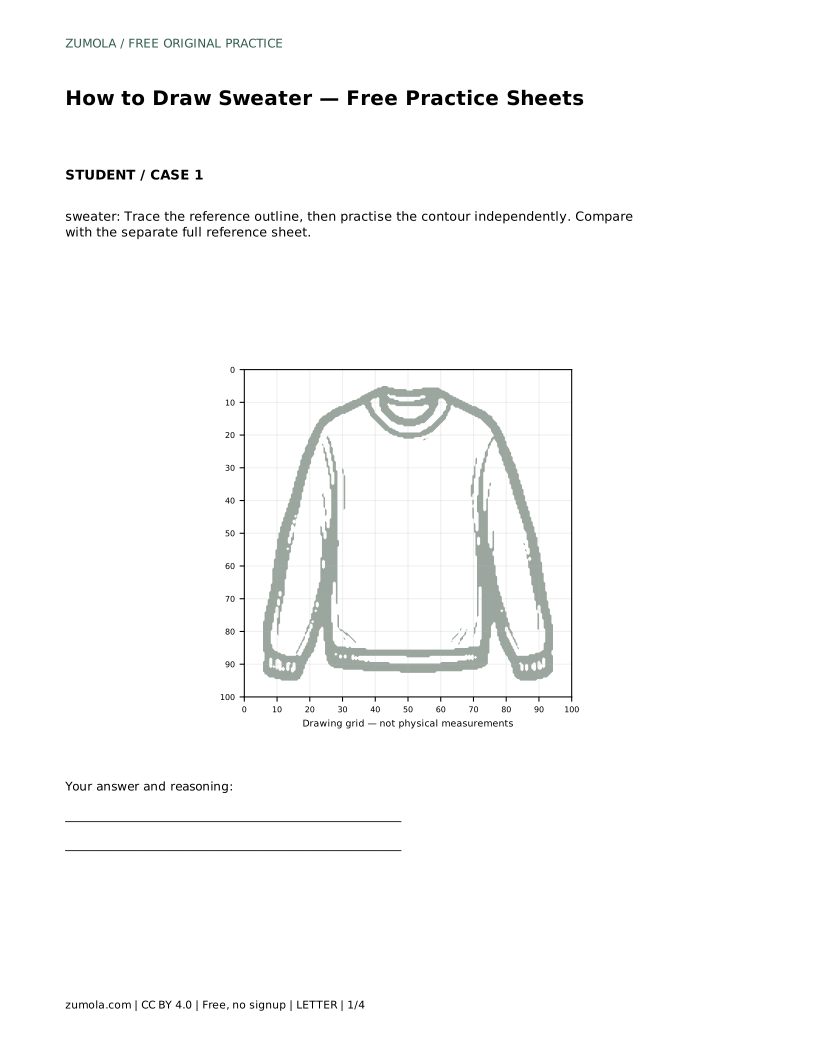
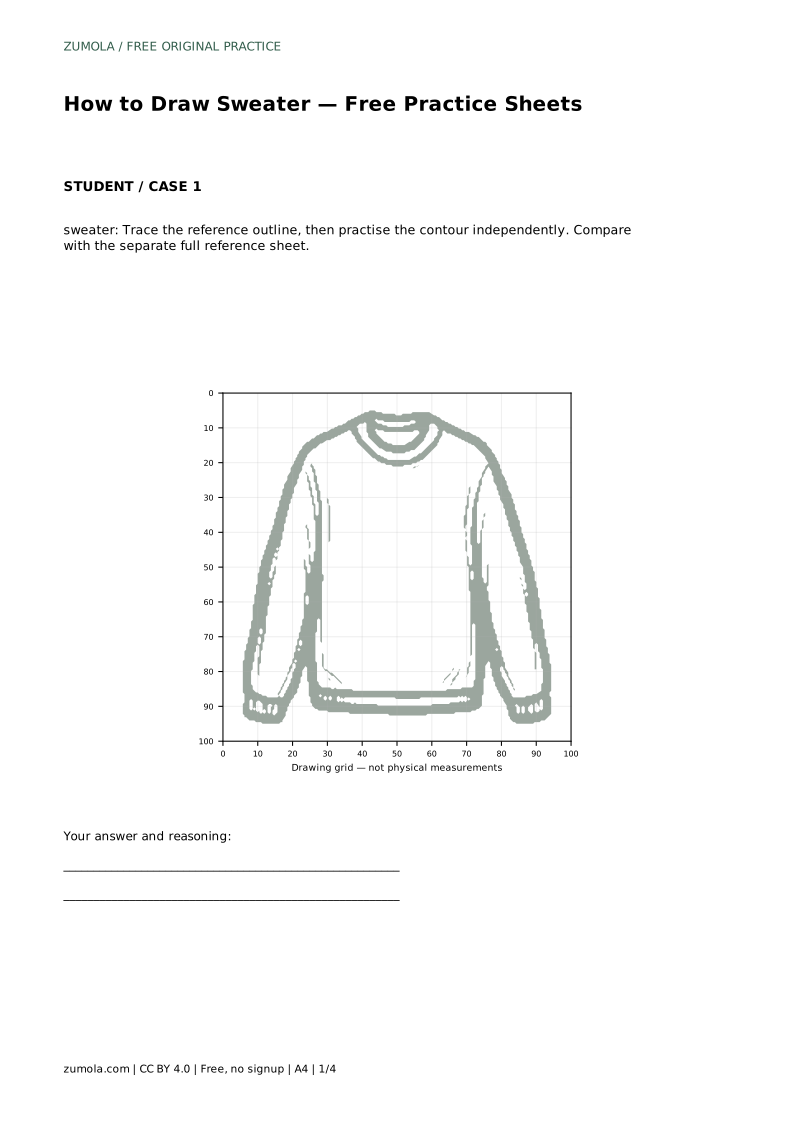
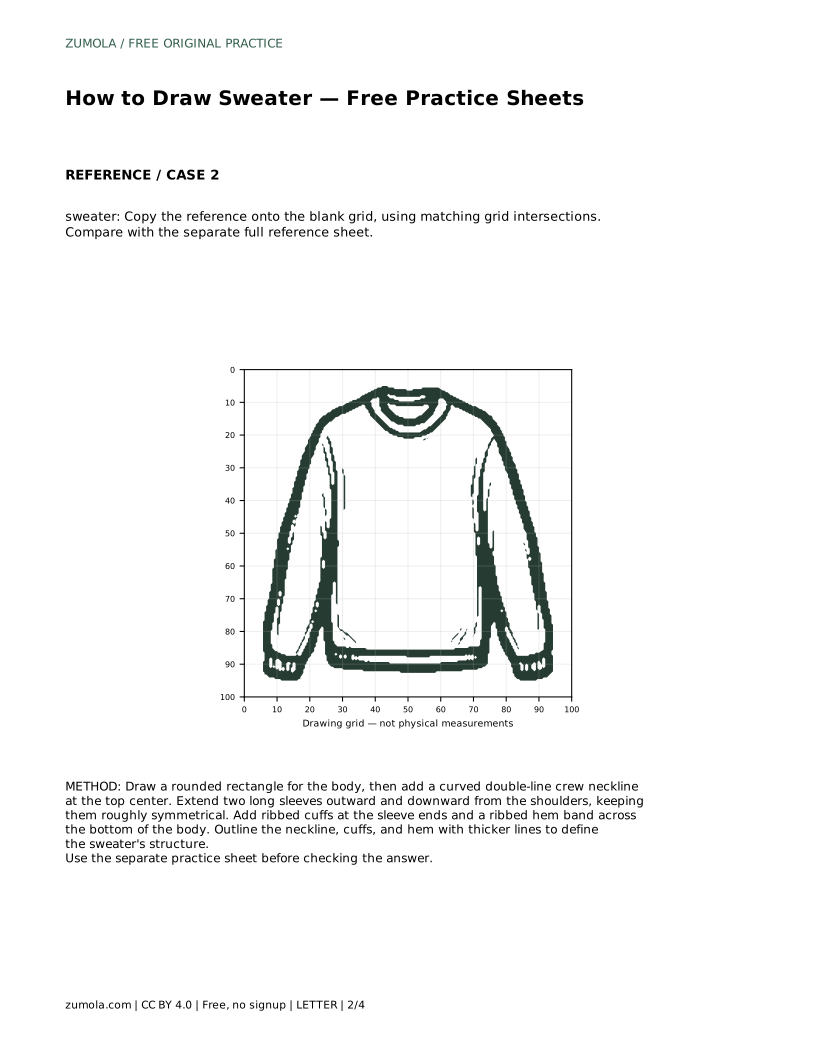
sweater: Trace the reference outline, then practise the contour independently. Compare with the separate full reference sheet.
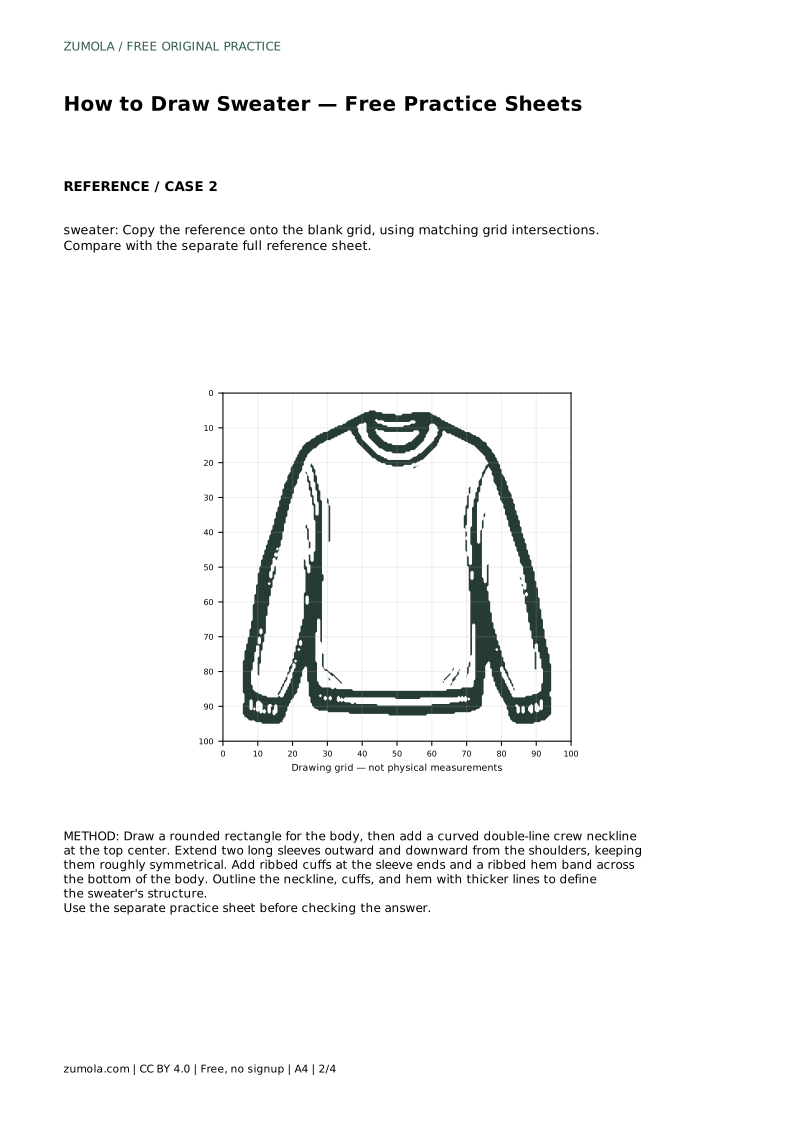
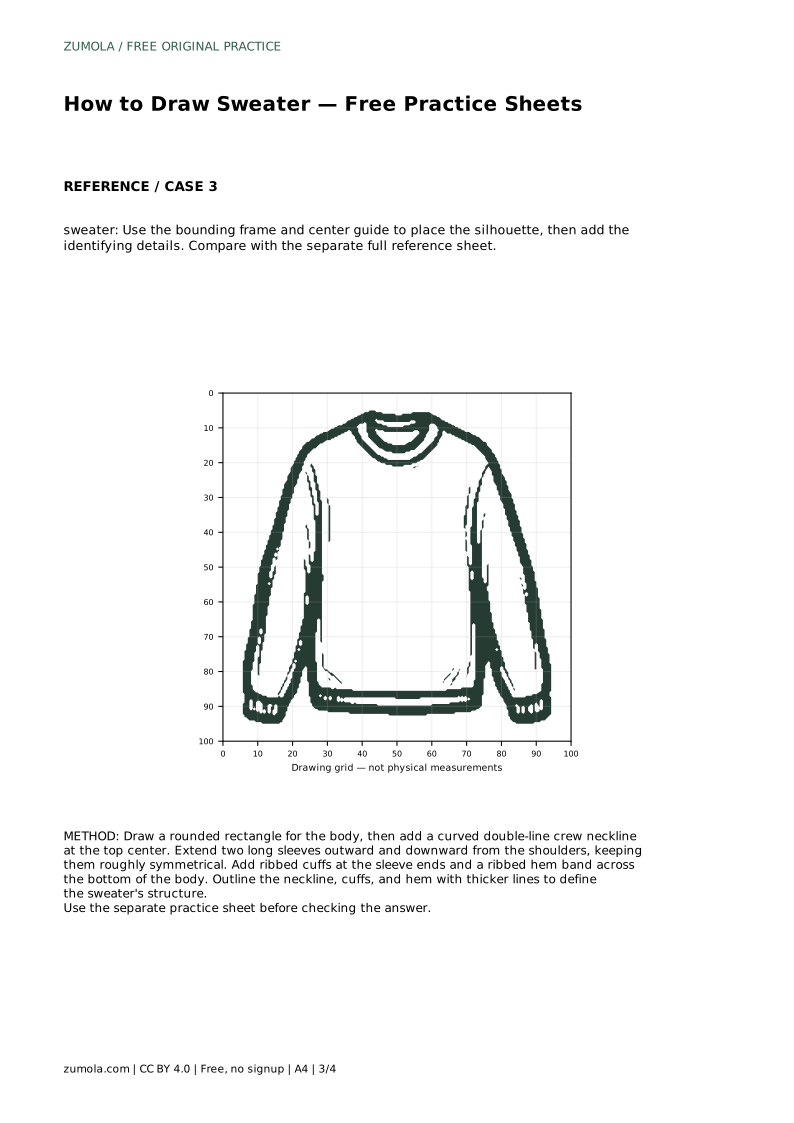
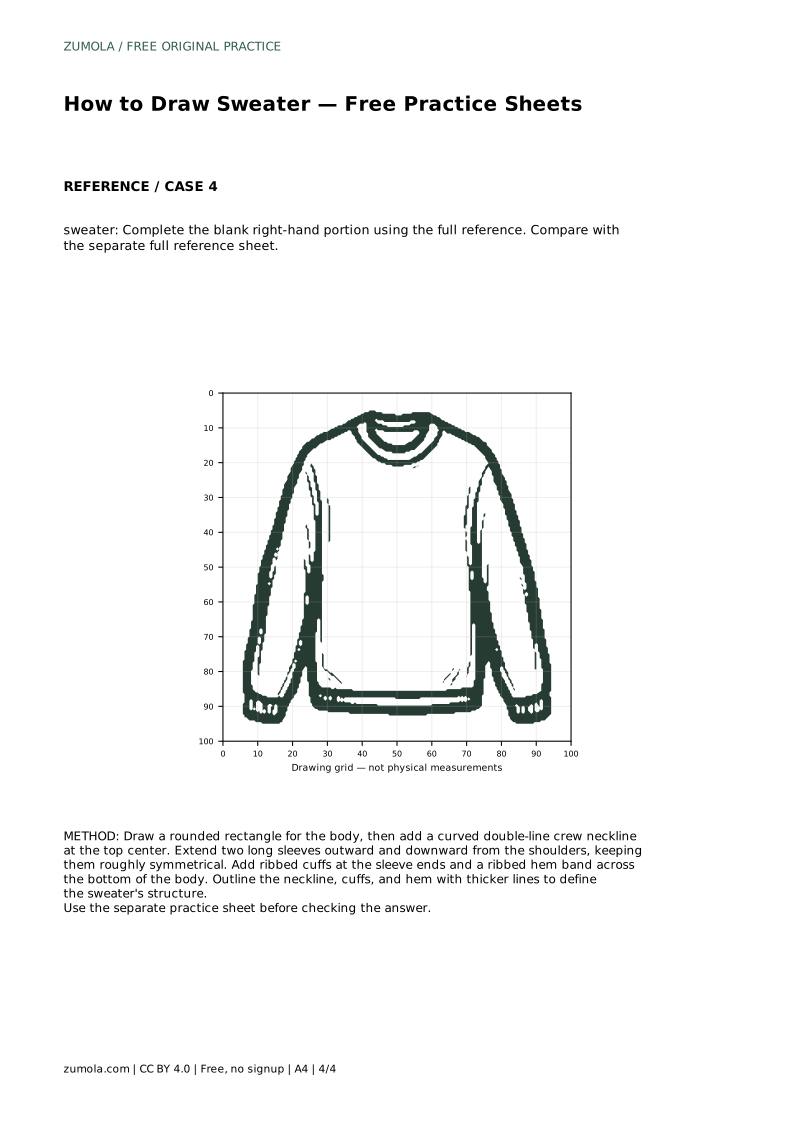
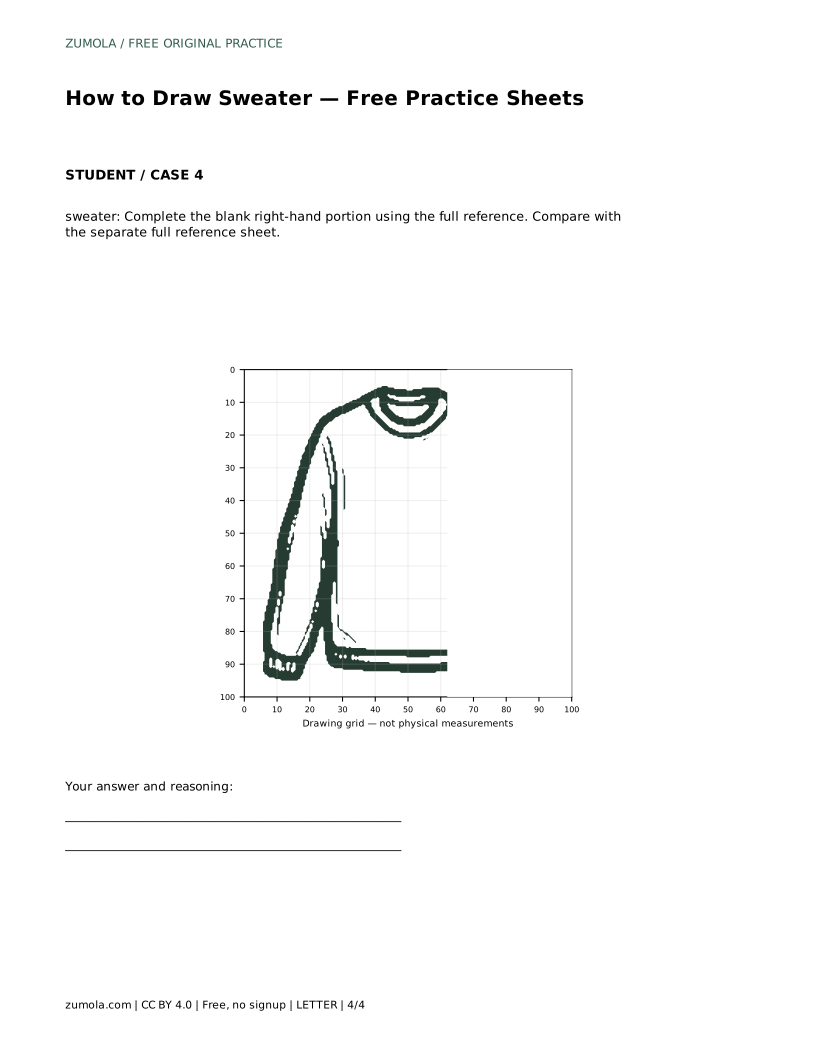
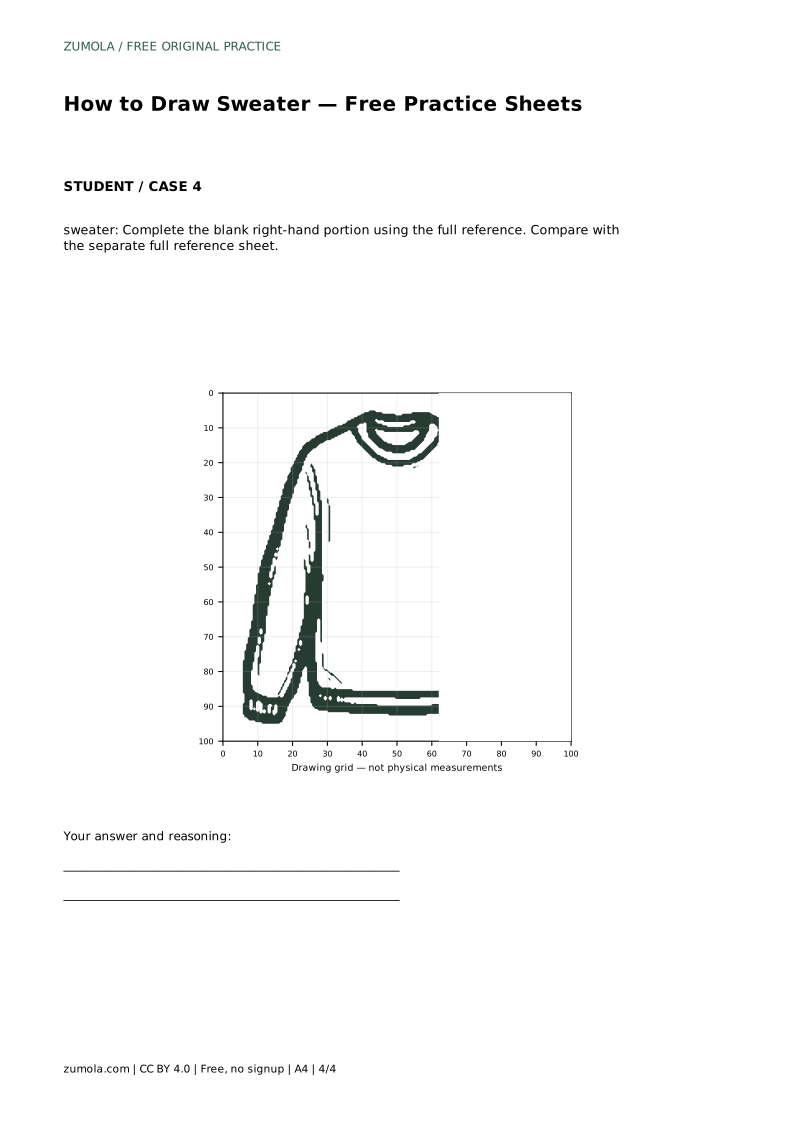
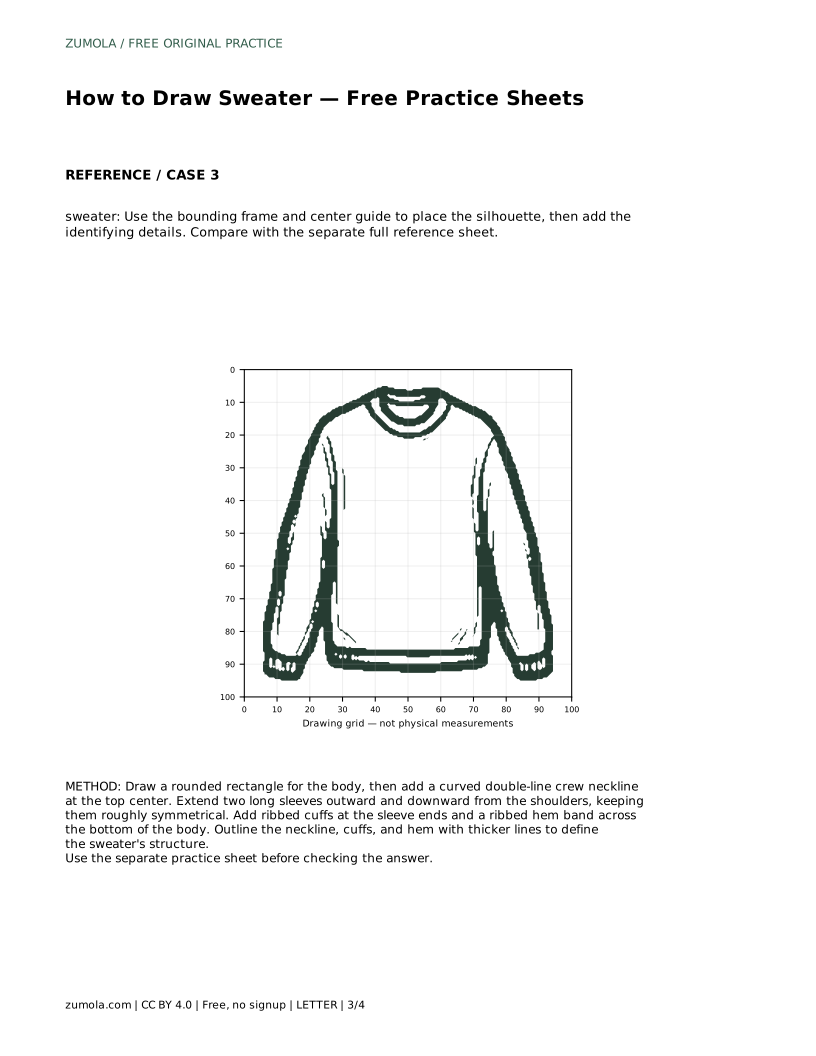
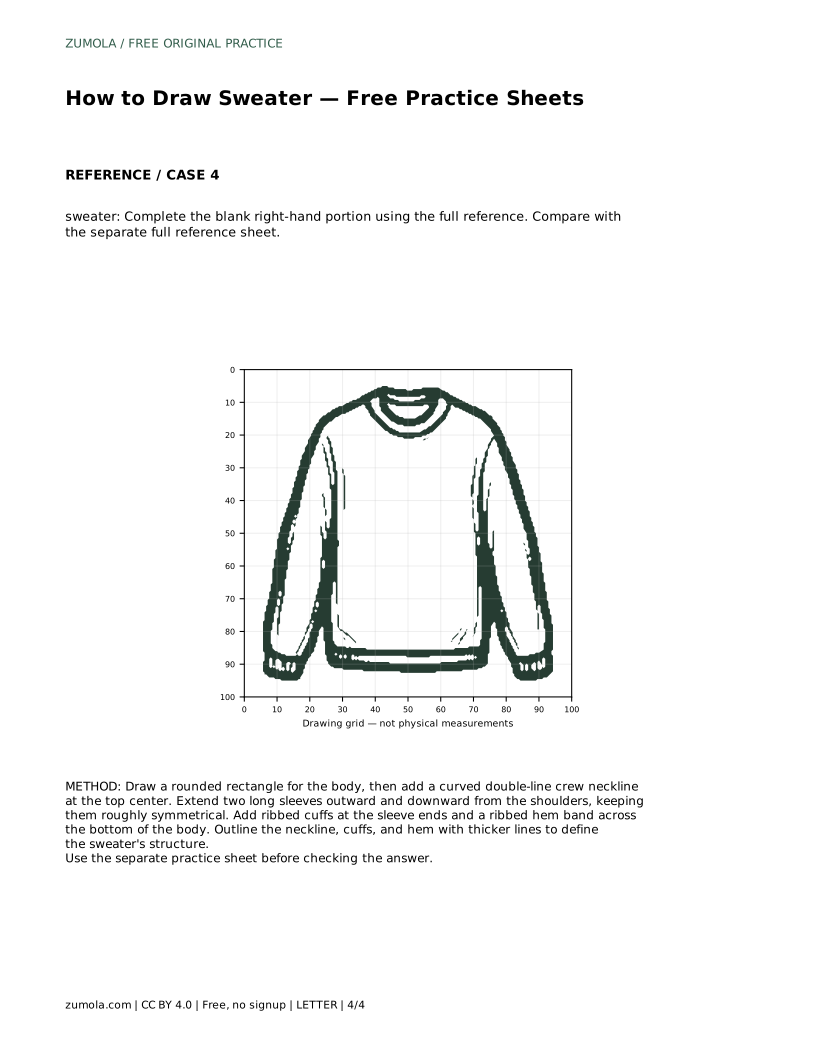
Example solution: preserve crew neckline with a double-line collar band, long sleeves with ribbed cuffs, ribbed hem at the bottom. Other drawings can be correct; assess the visible features and proportions rather than pixel-perfect matching. Draw a rounded rectangle for the body, then add a curved double-line crew neckline at the top center. Extend two long sleeves outward and downward from the shoulders, keeping them roughly symmetrical. Add ribbed cuffs at the sleeve ends and a ribbed hem band across the bottom of the body. Outline the neckline, cuffs, and hem with thicker lines to define the sweater's structure.
No. Other drawings can be correct. Assess the visible features and proportions rather than pixel-perfect matching.
Check the center of the neckline and the symmetry of the sleeves. These two areas most often cause an uneven look.
Yes. The order of body, neckline, sleeves, cuffs, and hem works for all three practice formats. Adjust your starting point to the format you are using.
All drawing practice · Free coordinate paper
Original resources · CC BY 4.0 · Free for personal and classroom use with attribution.