Reference diagrams
LETTER · Download PDF
A4 · Download PDF
Free original resources
Learn to draw a gear by tracing its outline, copying it on a grid, using a bounding frame, and completing a partial drawing. Free printable practice sheets.
Four original cases, with reference diagrams, practice sheets and worked answers. Everything is free; no signup required.
LETTER · Download PDF
A4 · Download PDF
LETTER · Download PDF
A4 · Download PDF
LETTER · Download PDF
A4 · Download PDF
Use A4 or US Letter to match your printer. Use the stated values and conditions to solve each exercise; diagrams are not physical measuring rulers.
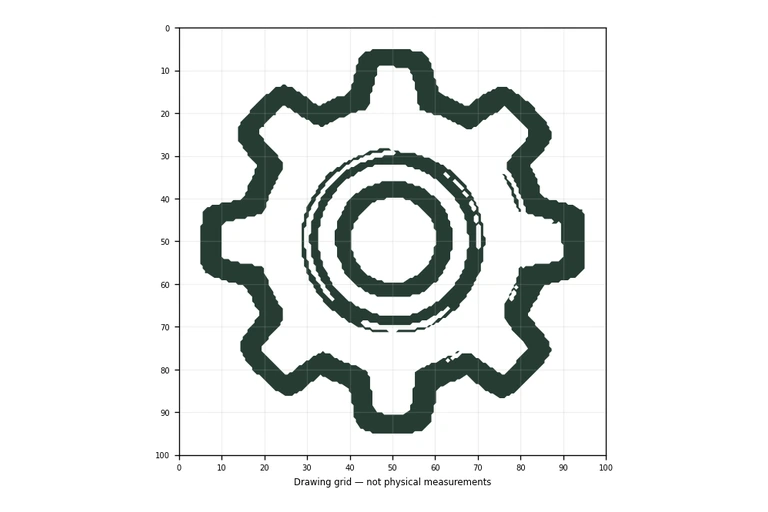
Drawing a gear is a useful exercise in combining a circular body with evenly spaced teeth and a central hub. This page explains the visible features to preserve and gives a clear sequence for four practice formats: tracing, grid copying, using a bounding frame and center guide, and completing a partial drawing. Each format asks you to compare your work with a separate full reference sheet. Because drawings can vary, assess the visible features and proportions rather than expecting a pixel-perfect match.
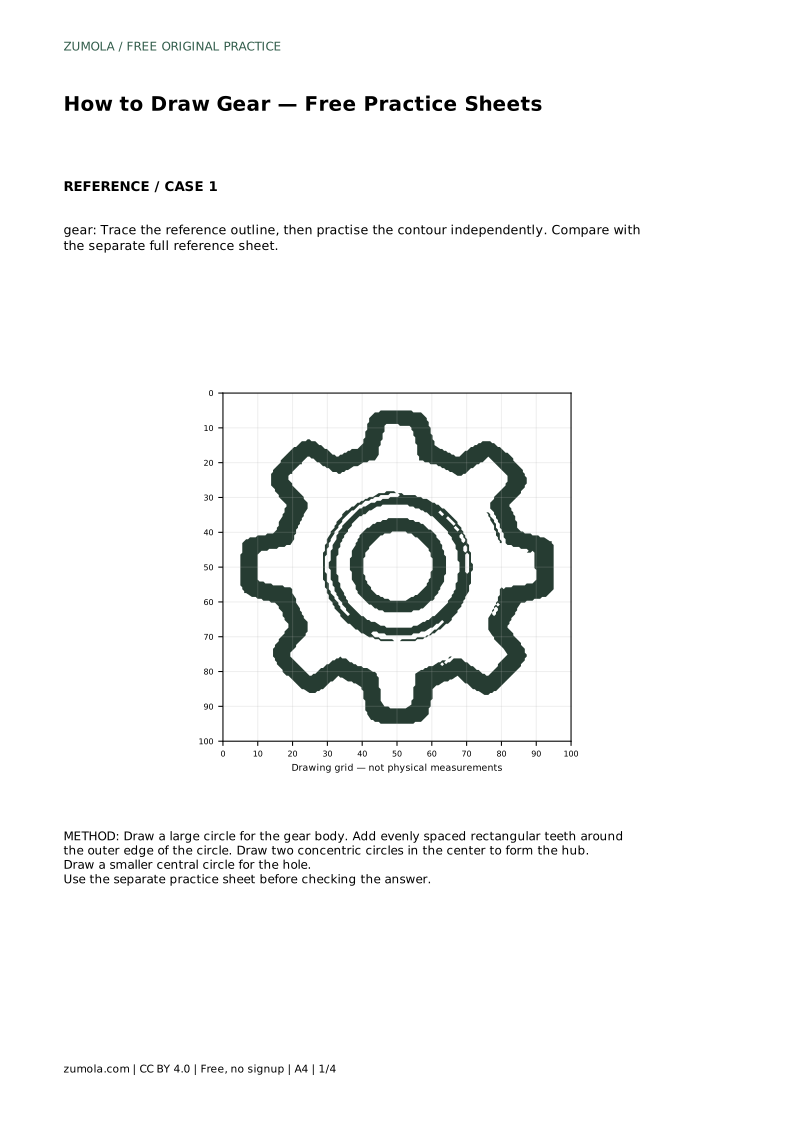
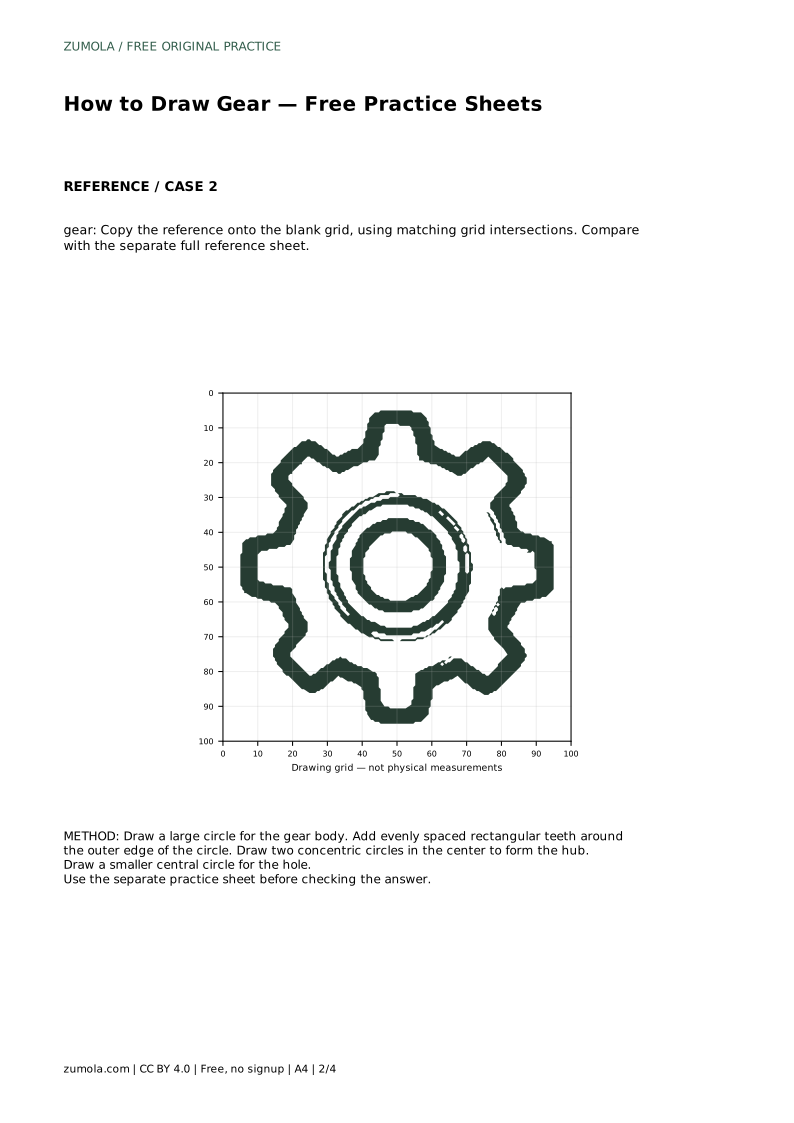
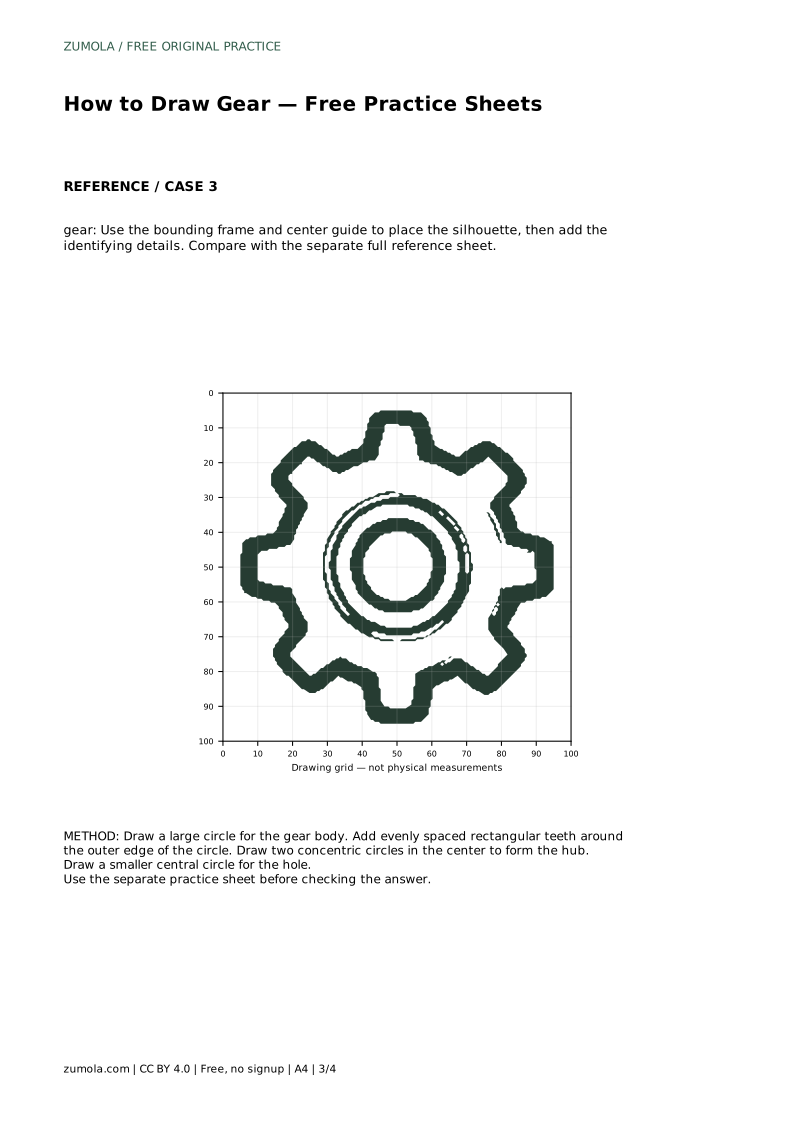
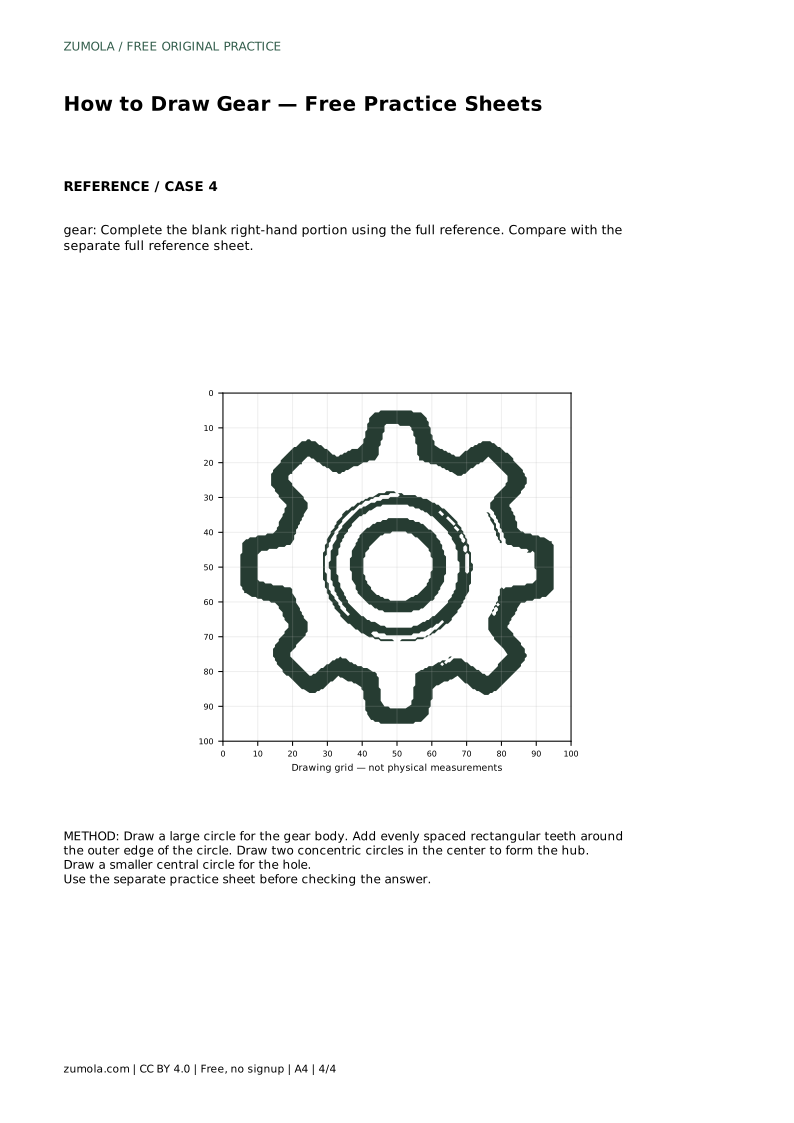
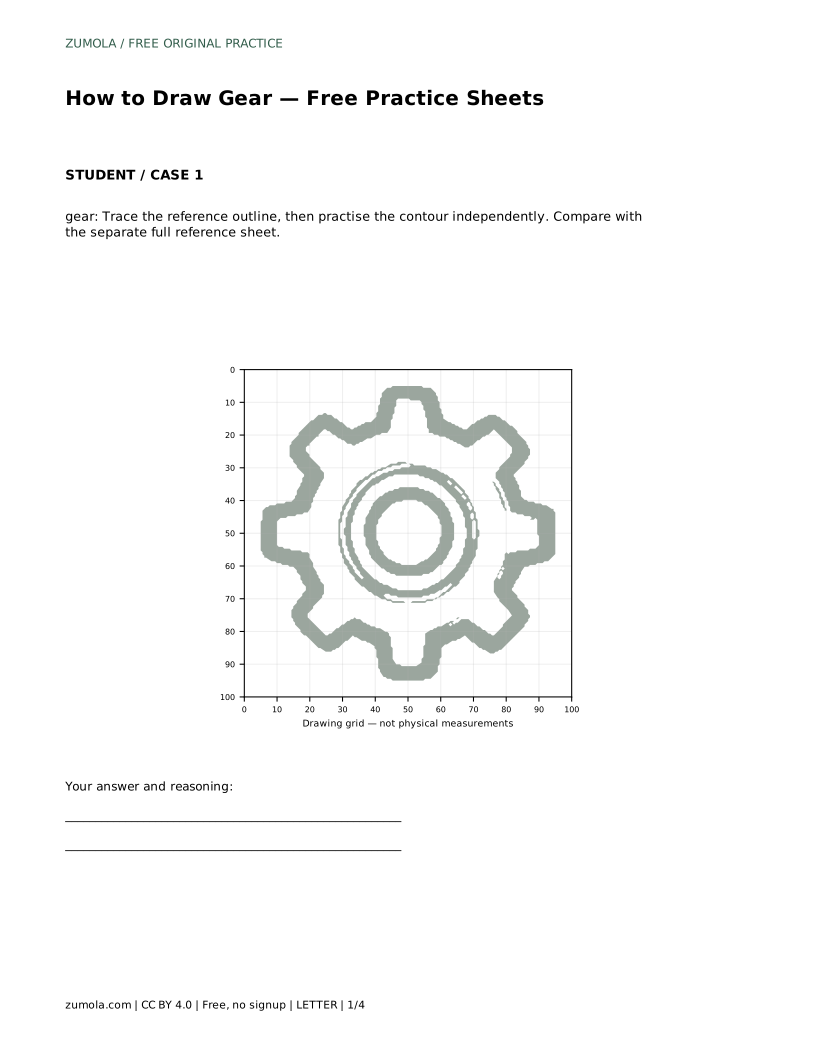
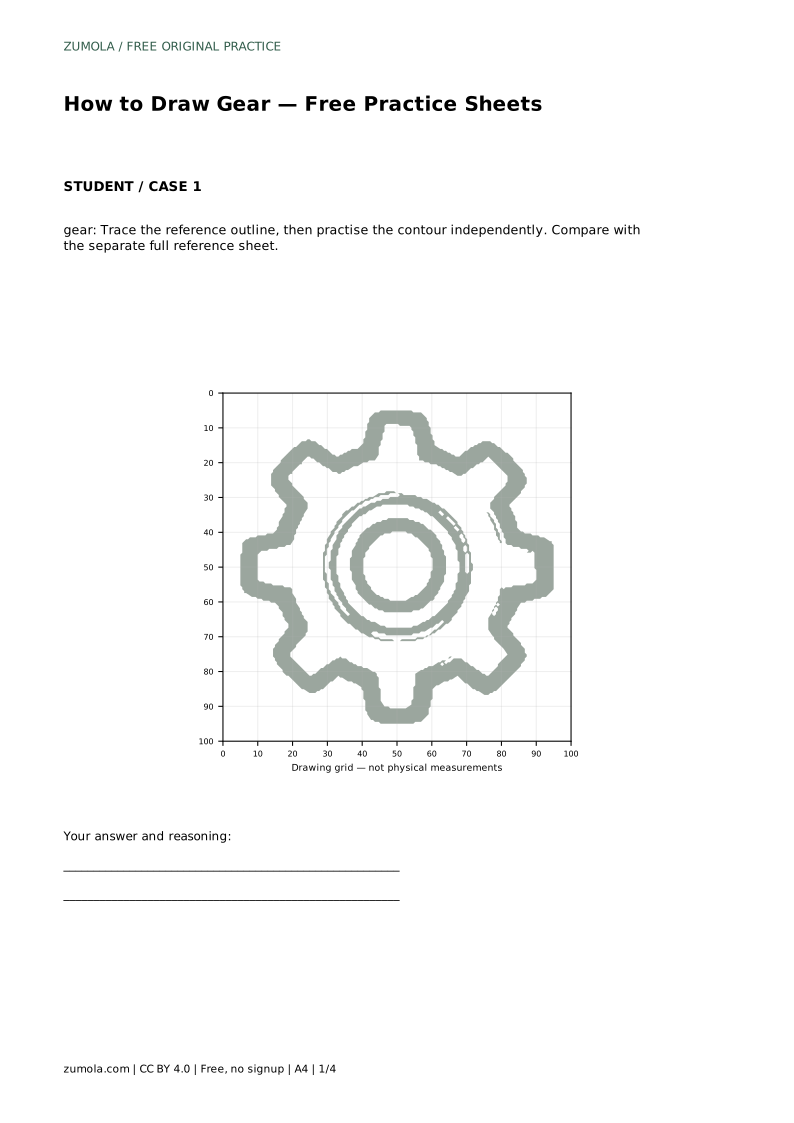
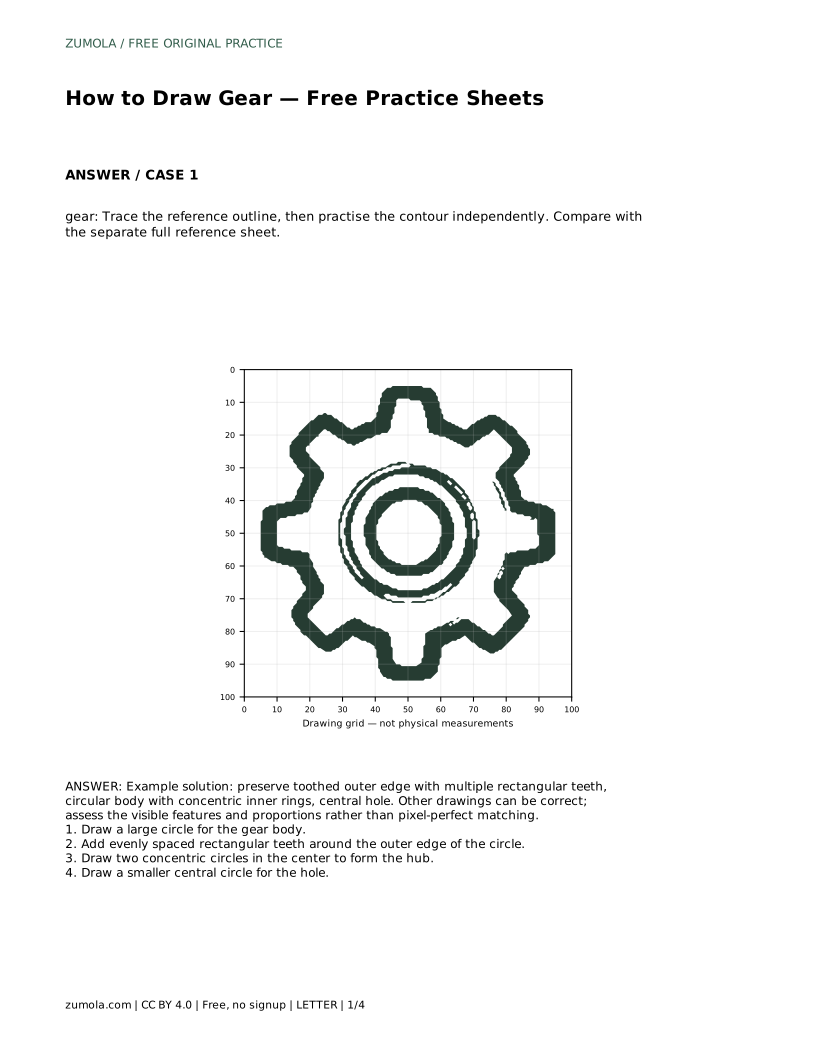
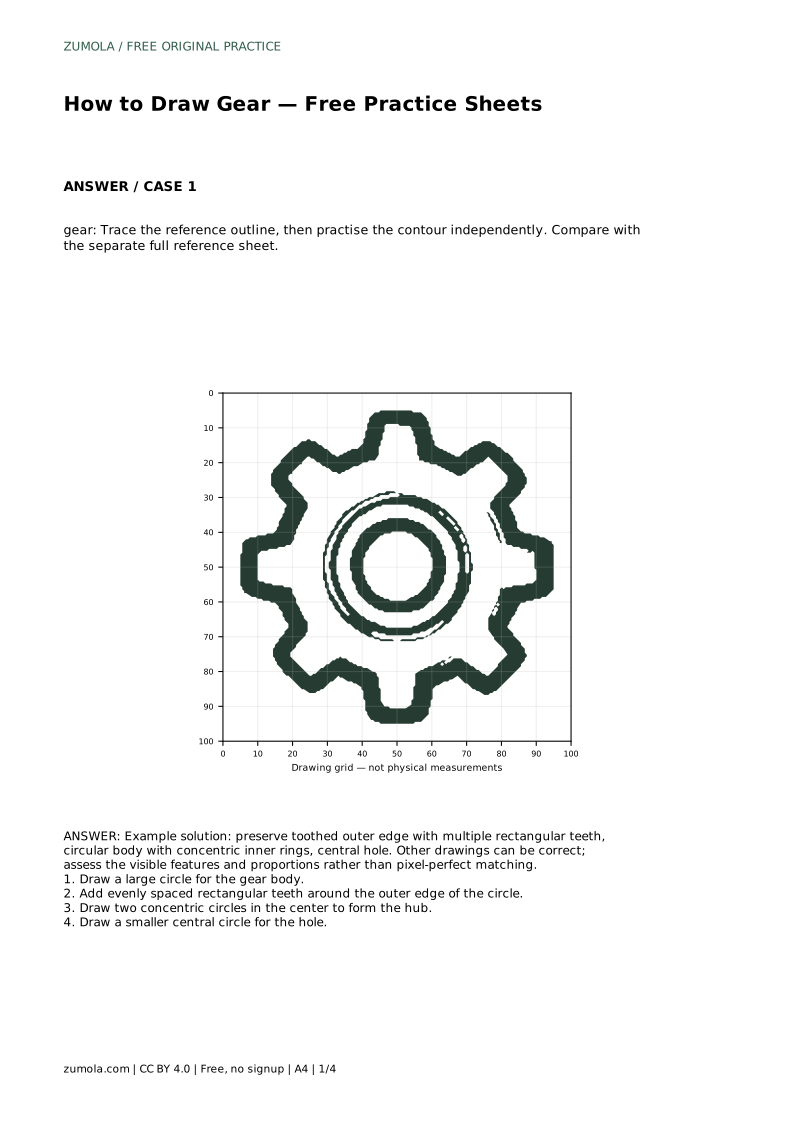
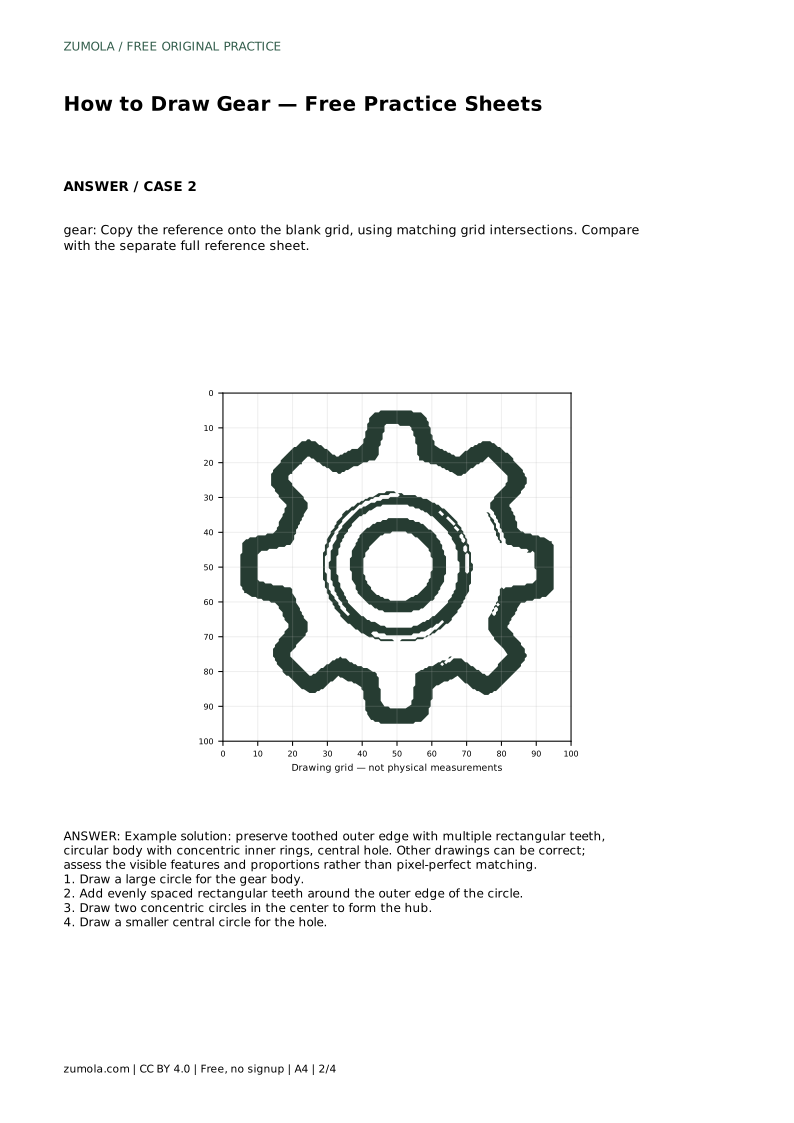
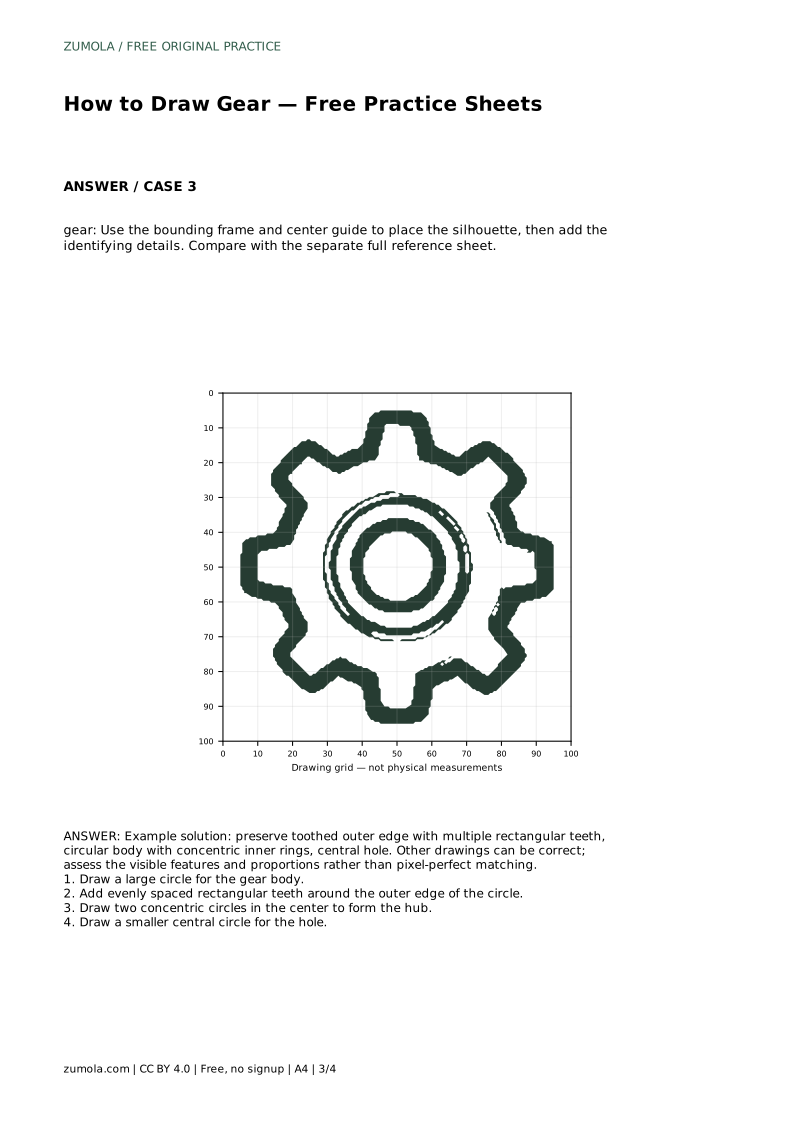
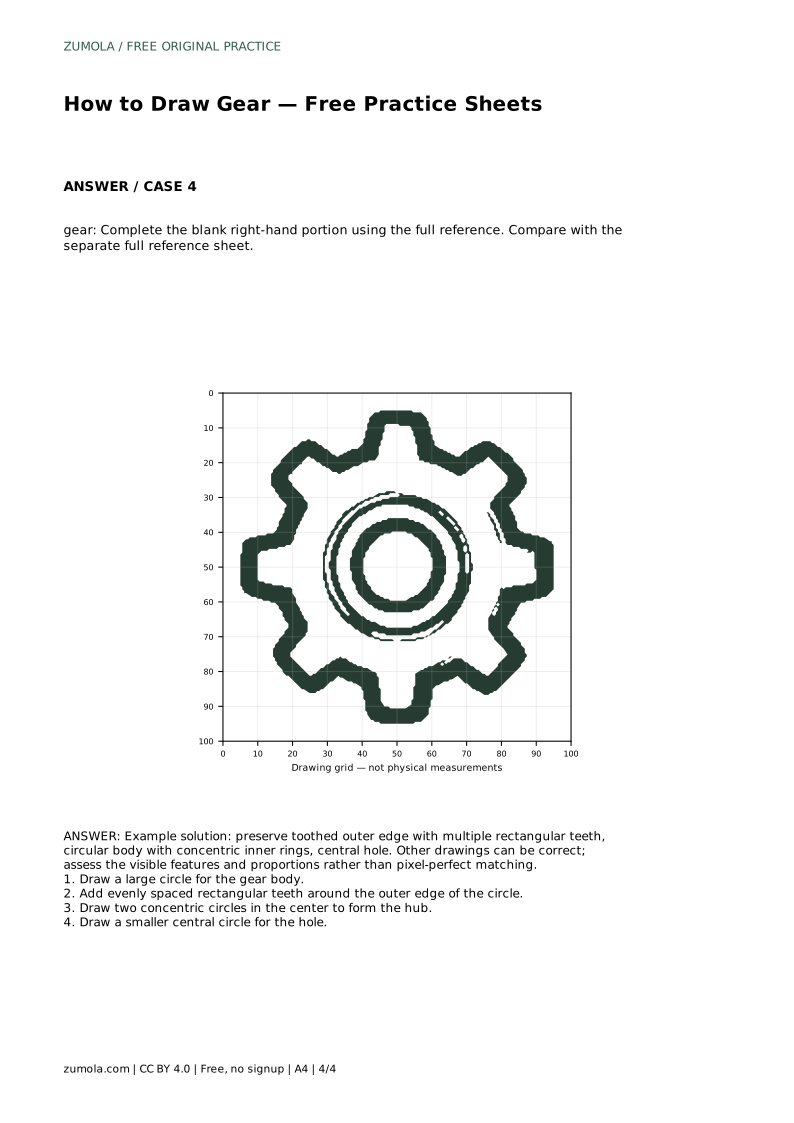
A gear drawing typically shows a toothed outer edge, a circular body, concentric inner rings and a central hole. The teeth are often drawn as evenly spaced rectangular projections around the outer circle. The body is the large circle that carries the teeth. Inside it, two concentric circles form the hub, and a smaller central circle marks the hole.
These features are visual conventions for a simple gear drawing, not a clinical or engineering specification. Keep the teeth evenly spaced and similar in size, and keep the inner circles centered on the body. Slight differences in tooth count or exact proportions are acceptable if the overall structure is clear.
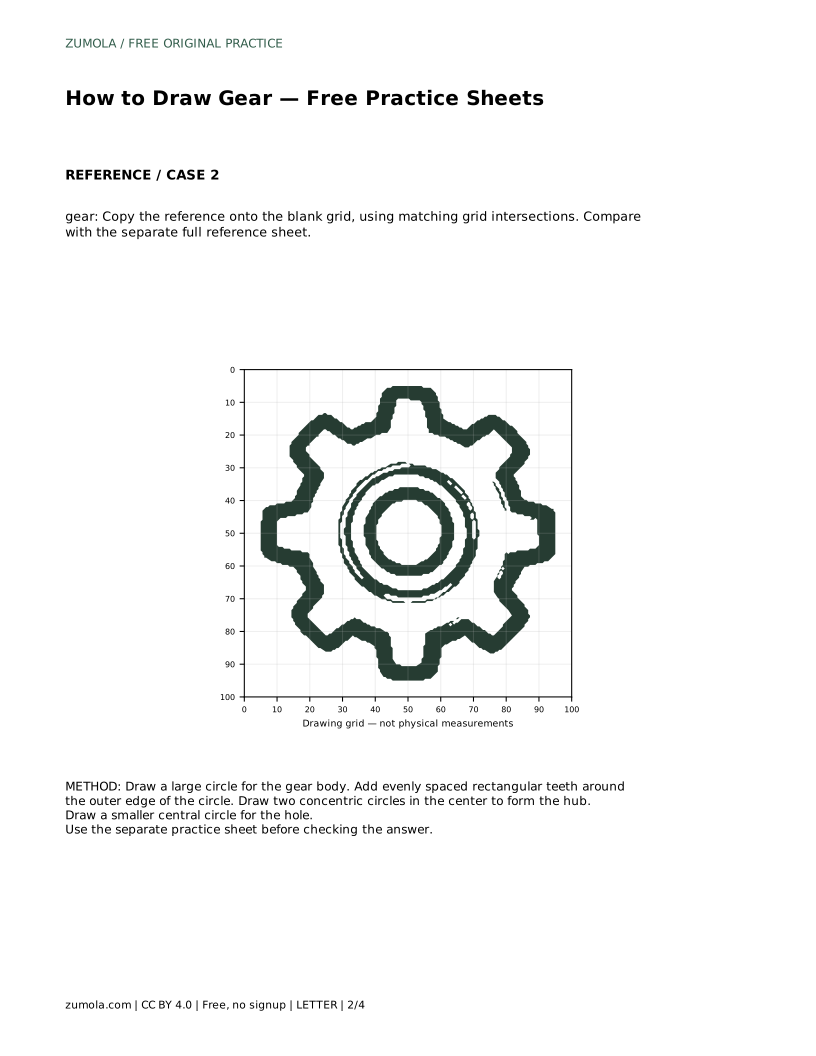
In this format, trace the reference outline first, then practise the contour independently on the same sheet or a separate area. The tracing step helps you feel the spacing of the teeth and the placement of the inner circles. The independent step asks you to reproduce the contour without tracing.
After drawing, compare your work with the separate full reference sheet. Check that the toothed outer edge is present, that the teeth are multiple and rectangular, that the body is circular, that two concentric inner rings are visible and that a central hole is drawn. Other drawings can be correct; assess the visible features and proportions rather than pixel-perfect matching.
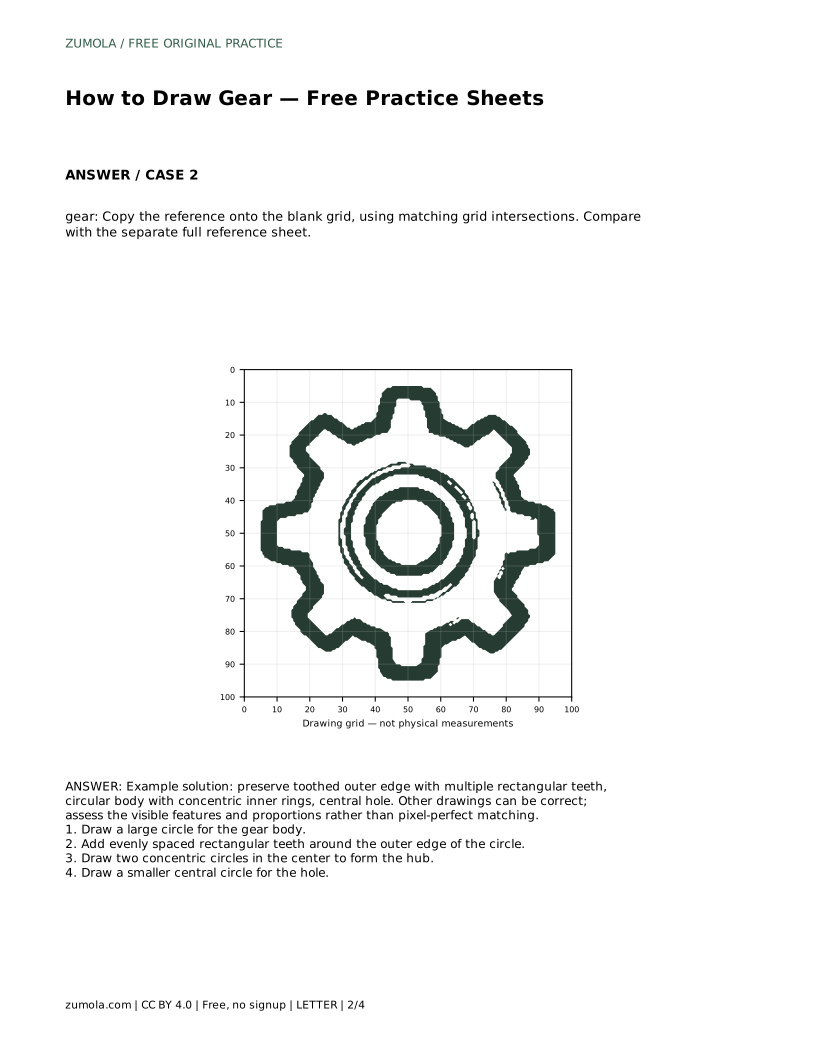
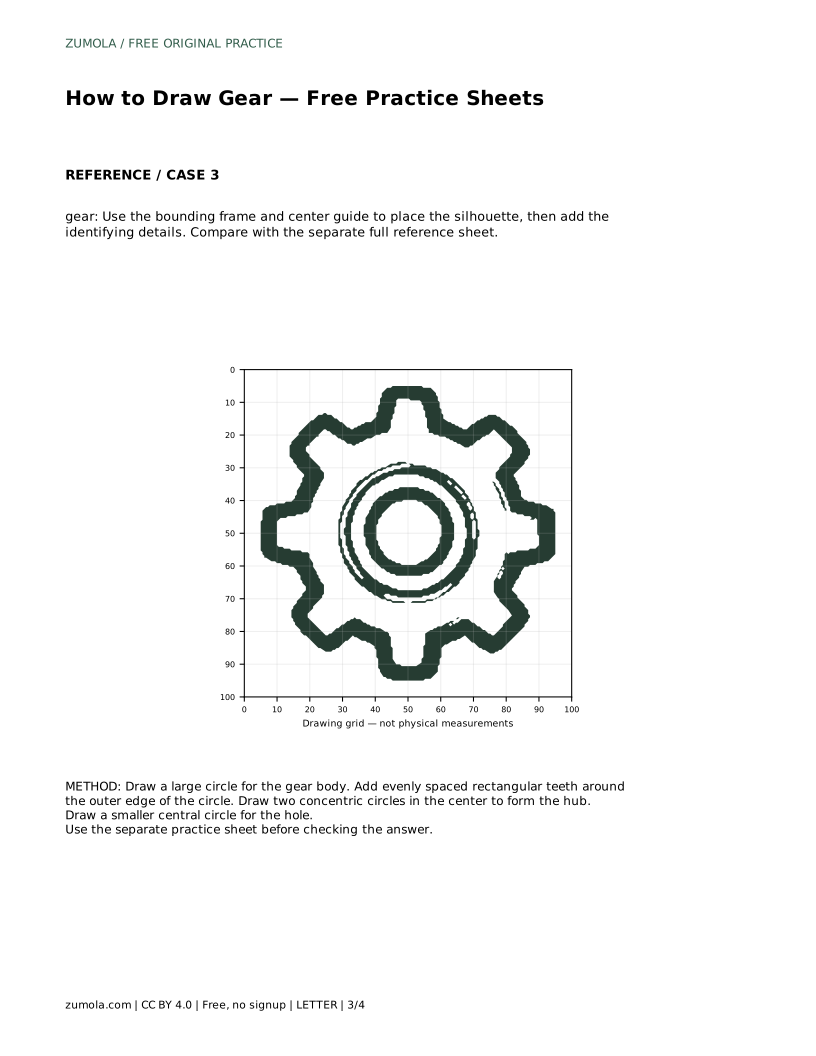
Grid copying uses matching grid intersections to help you place the gear. Look at where the outer circle crosses grid lines, where the teeth begin and end, and where the inner circles sit relative to the same grid. Copy the reference onto the blank grid by matching those intersections.
Work feature by feature: first the body circle, then the teeth, then the hub rings and finally the central hole. Keep the teeth evenly spaced around the body. When finished, compare with the separate full reference sheet and assess the visible features and proportions rather than expecting an exact match.
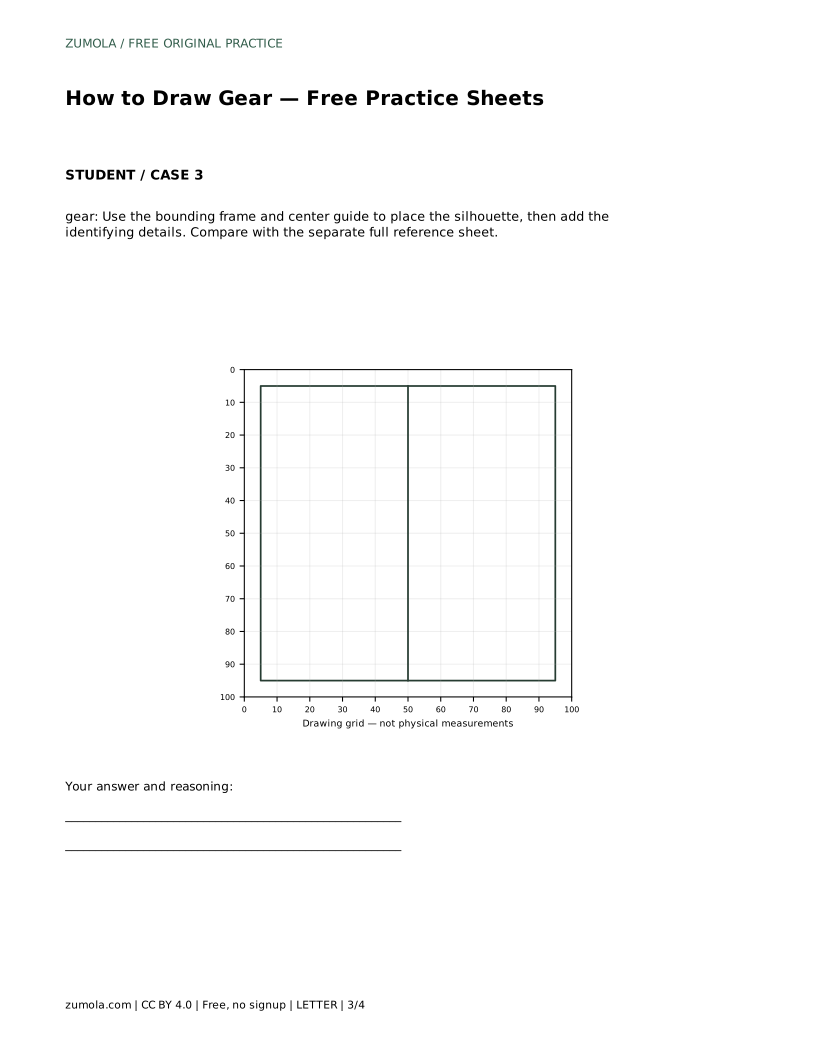
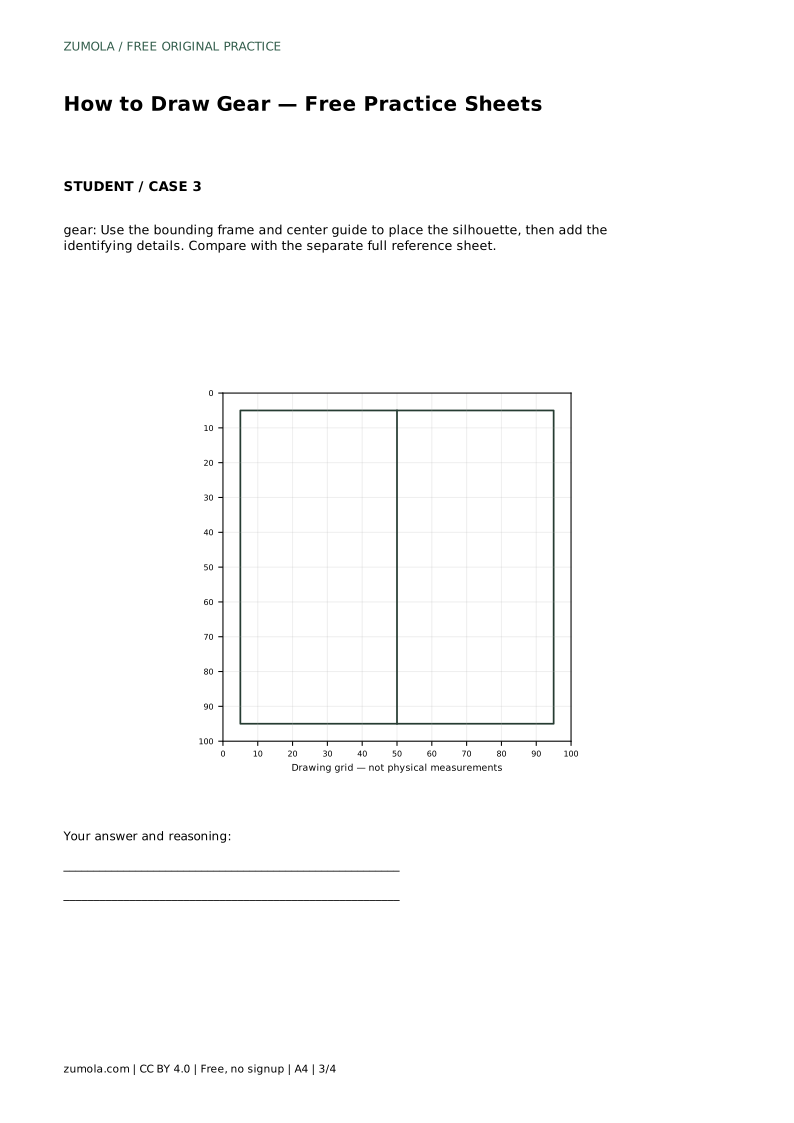
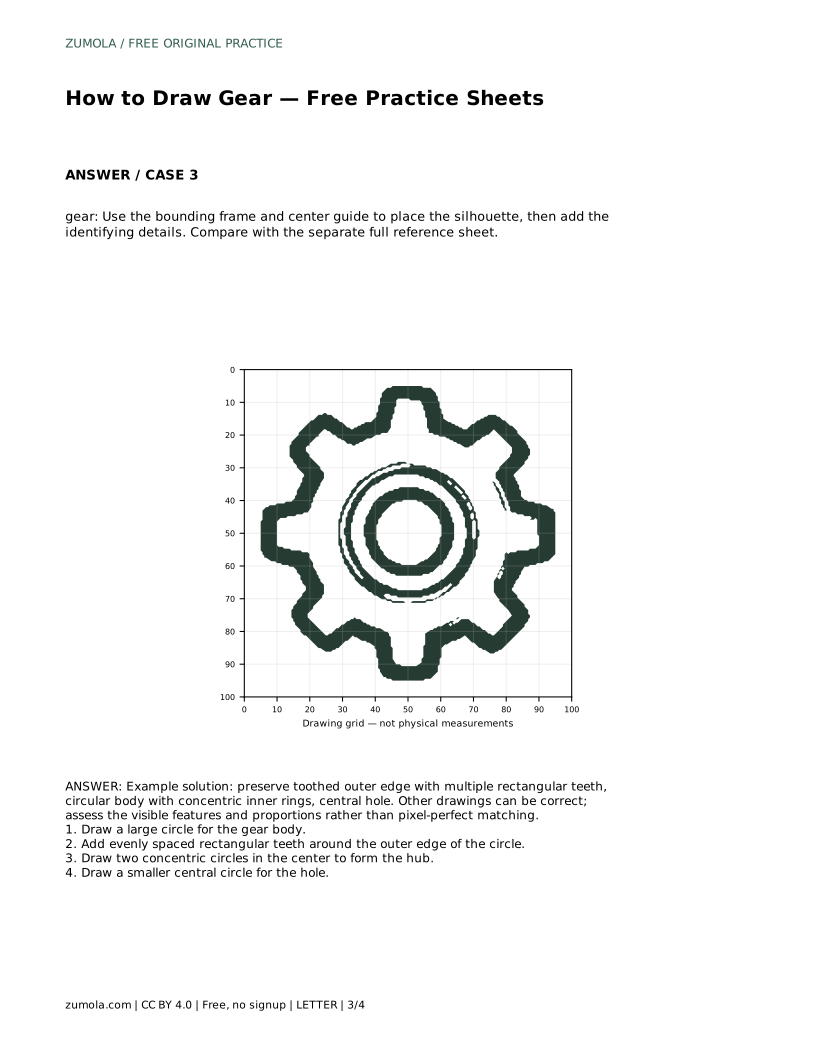
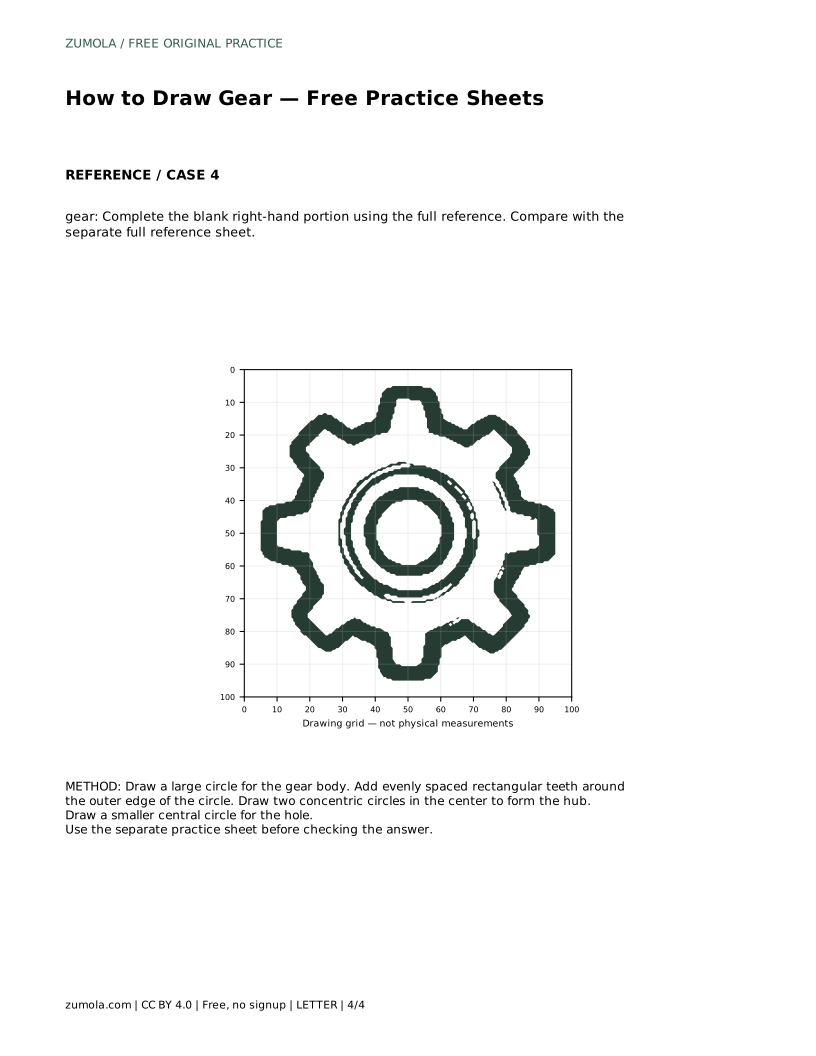
The bounding frame and center guide format gives you an outer frame and a center mark. Use the frame to place the silhouette so the gear sits within the intended area, and use the center guide to keep the hub and hole centered. Then add the identifying details: the teeth, the two concentric hub rings and the central hole.
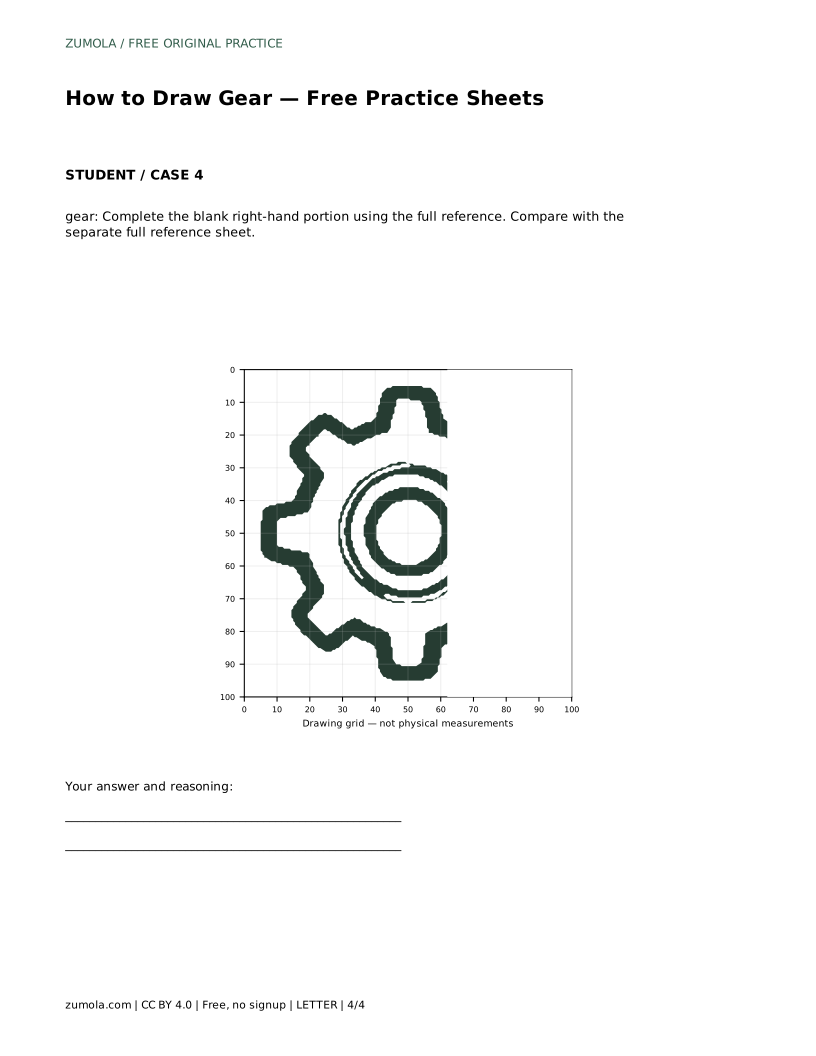
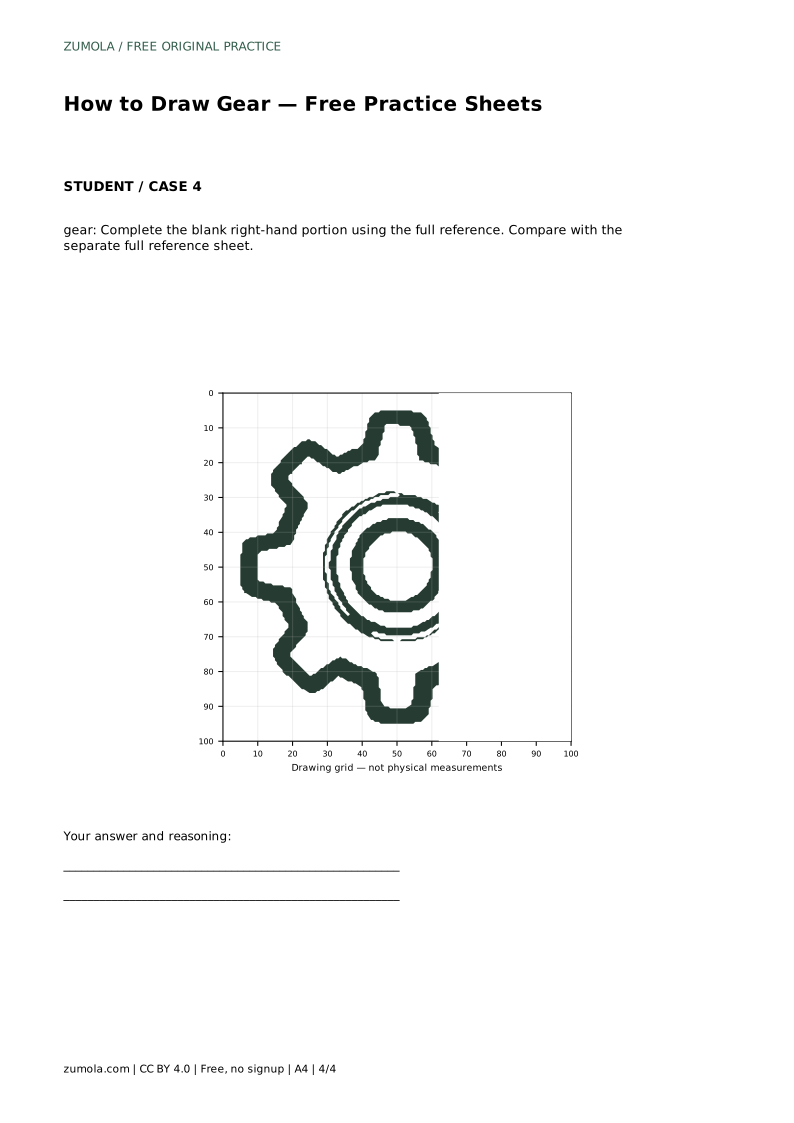
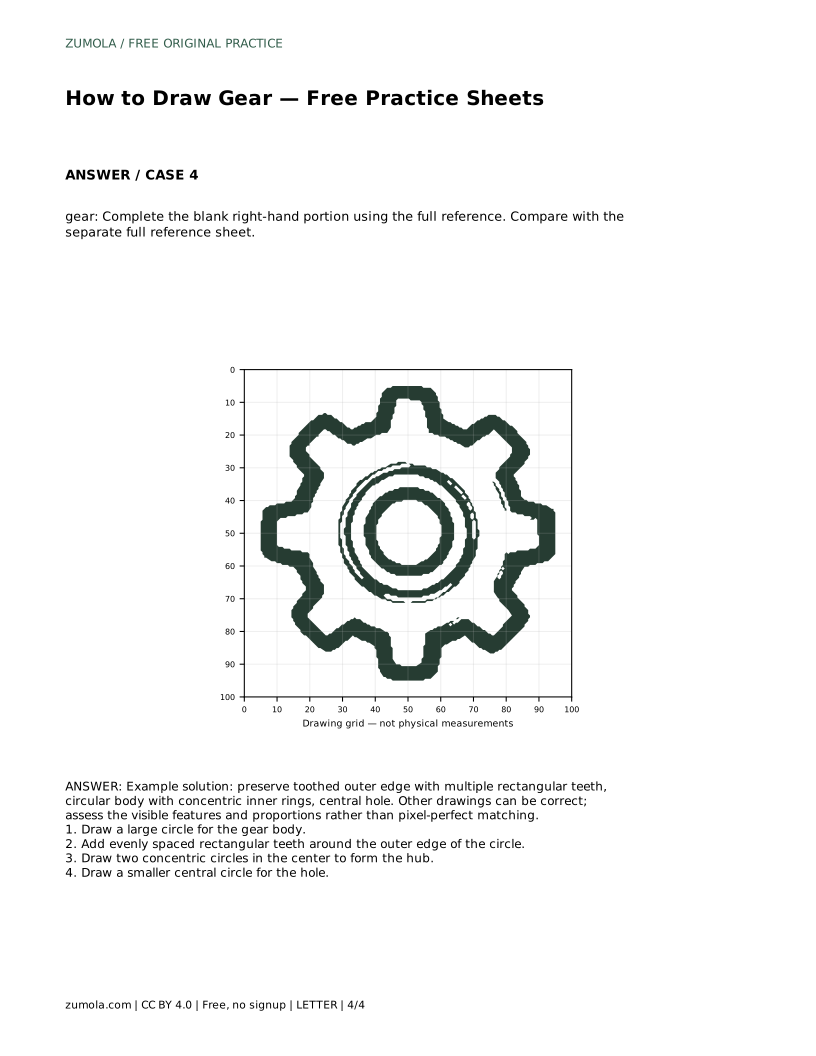
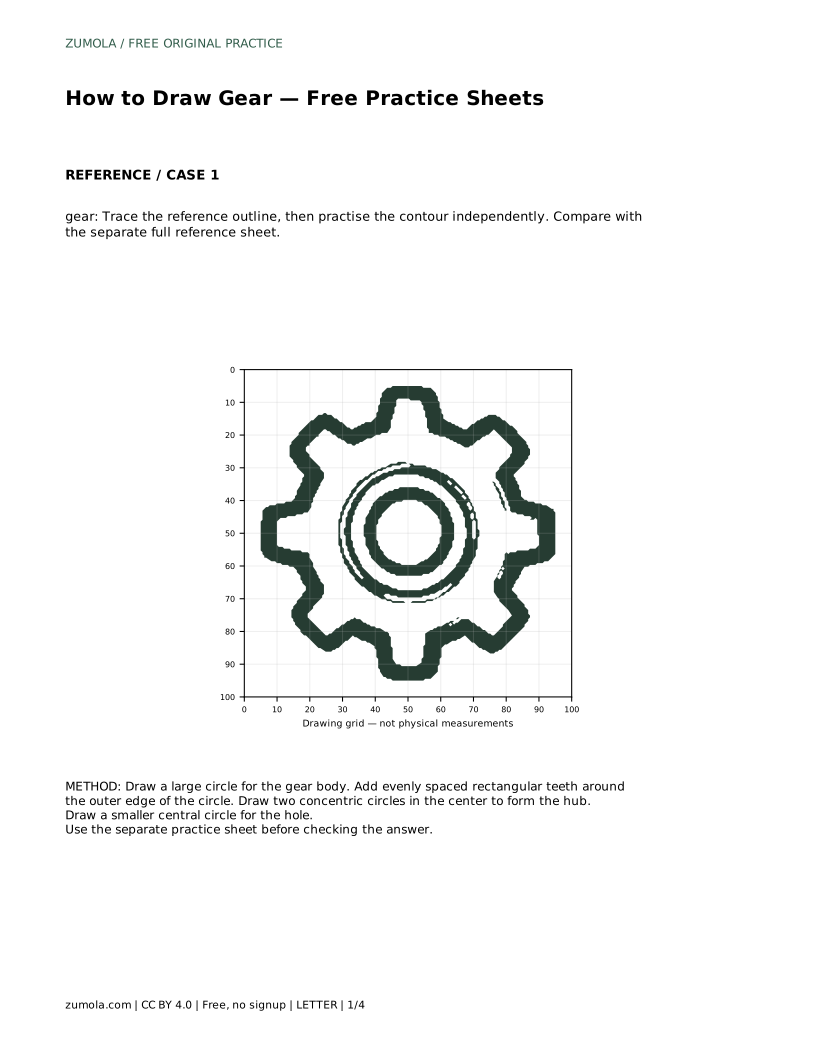
The partial drawing format shows only part of the gear, often the left side, and asks you to complete the blank right-hand portion using the full reference. Match the spacing of the teeth and the radius of the inner circles across the missing portion. In both formats, compare with the separate full reference sheet and judge the visible features and proportions rather than pixel-perfect matching.
gear: Trace the reference outline, then practise the contour independently. Compare with the separate full reference sheet.
Example solution: preserve toothed outer edge with multiple rectangular teeth, circular body with concentric inner rings, central hole. Other drawings can be correct; assess the visible features and proportions rather than pixel-perfect matching. Draw a large circle for the gear body. Add evenly spaced rectangular teeth around the outer edge of the circle. Draw two concentric circles in the center to form the hub. Draw a smaller central circle for the hole.
There is no fixed number for this practice. Use multiple rectangular teeth spaced evenly around the outer edge. The reference sheet shows one valid arrangement, but other counts can also be correct if the teeth are evenly spaced and the overall structure is clear.
Aim for concentric circles that share the same center. Small differences are acceptable, but the two hub rings and the central hole should clearly appear centered within the body circle.
Check that the toothed outer edge is present with multiple rectangular teeth, that the body is circular, that two concentric inner rings form the hub and that a smaller central hole is drawn. Assess proportions and visible features rather than pixel-perfect matching.
All drawing practice · Free coordinate paper
Original resources · CC BY 4.0 · Free for personal and classroom use with attribution.