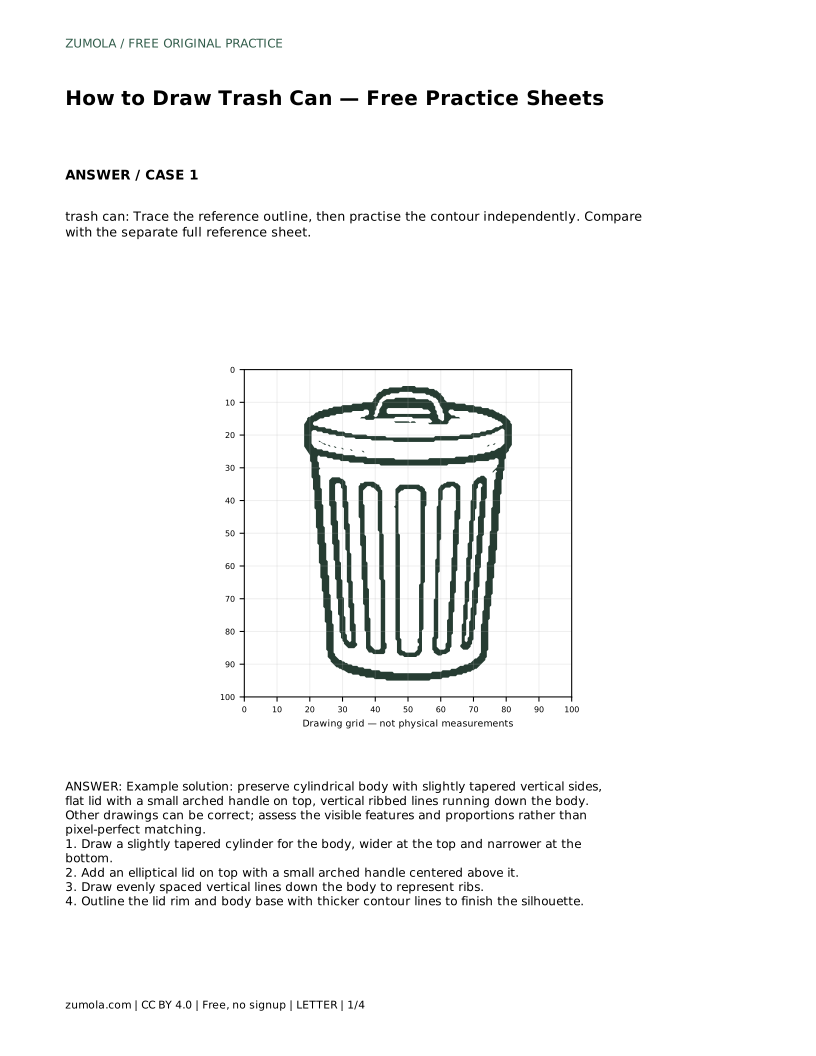
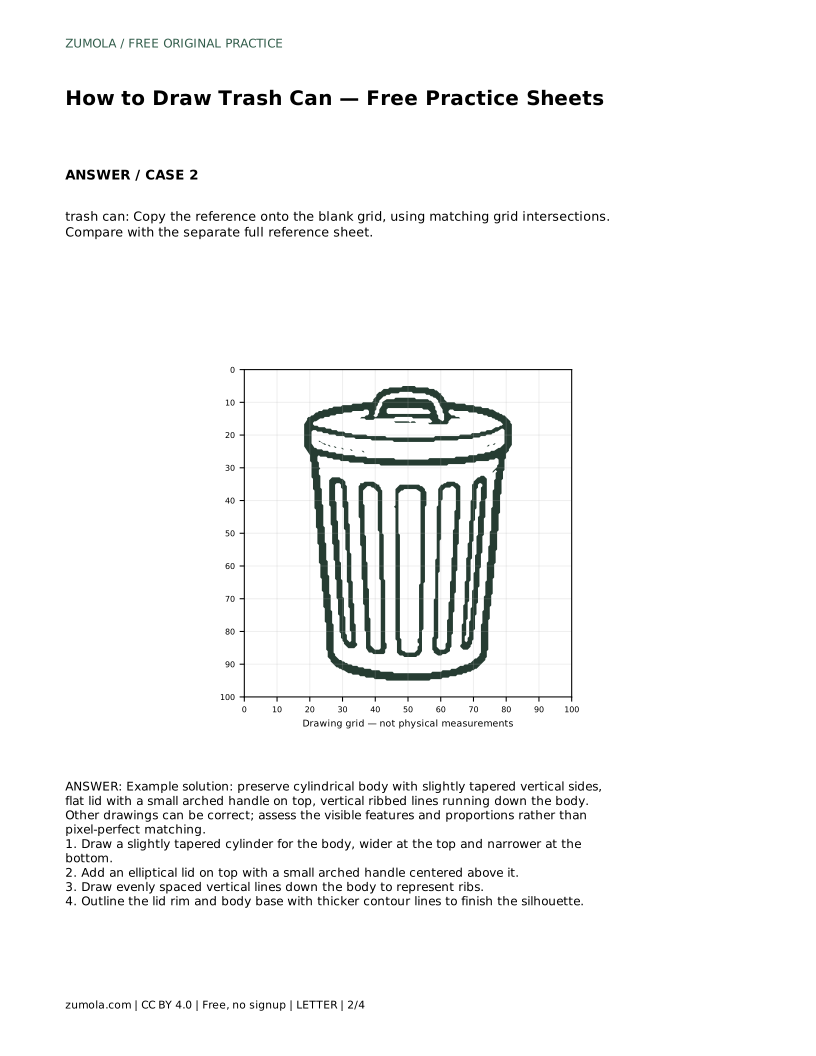
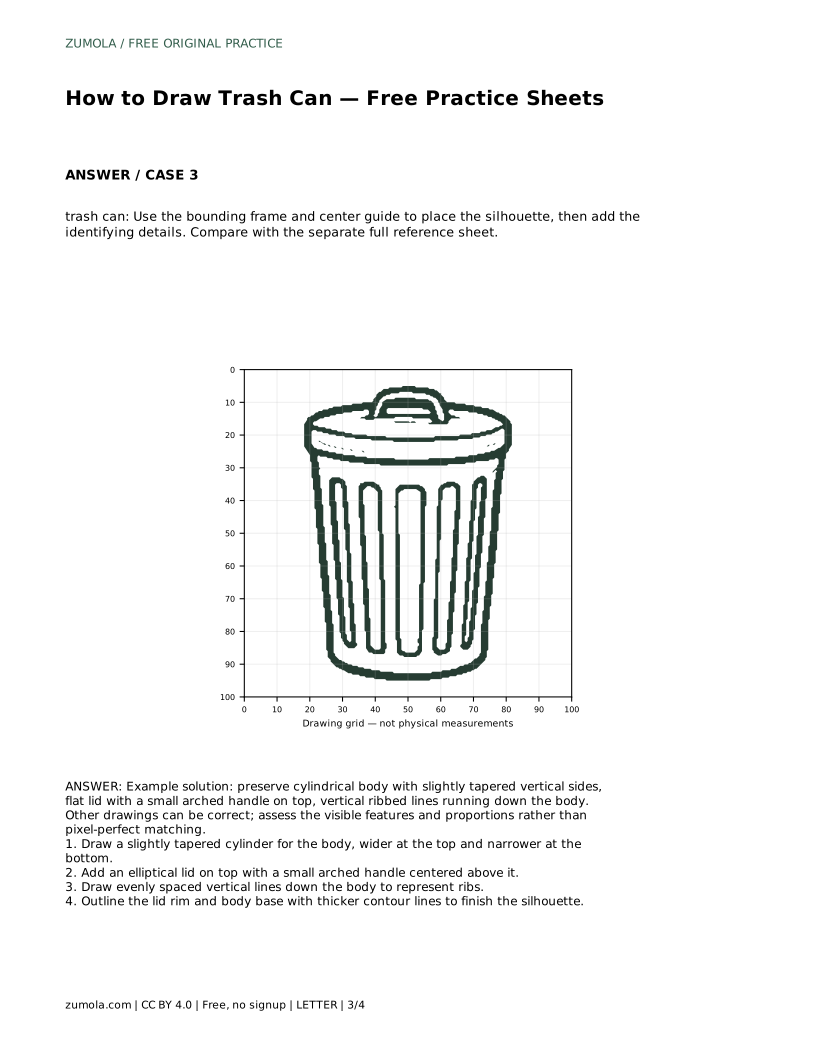
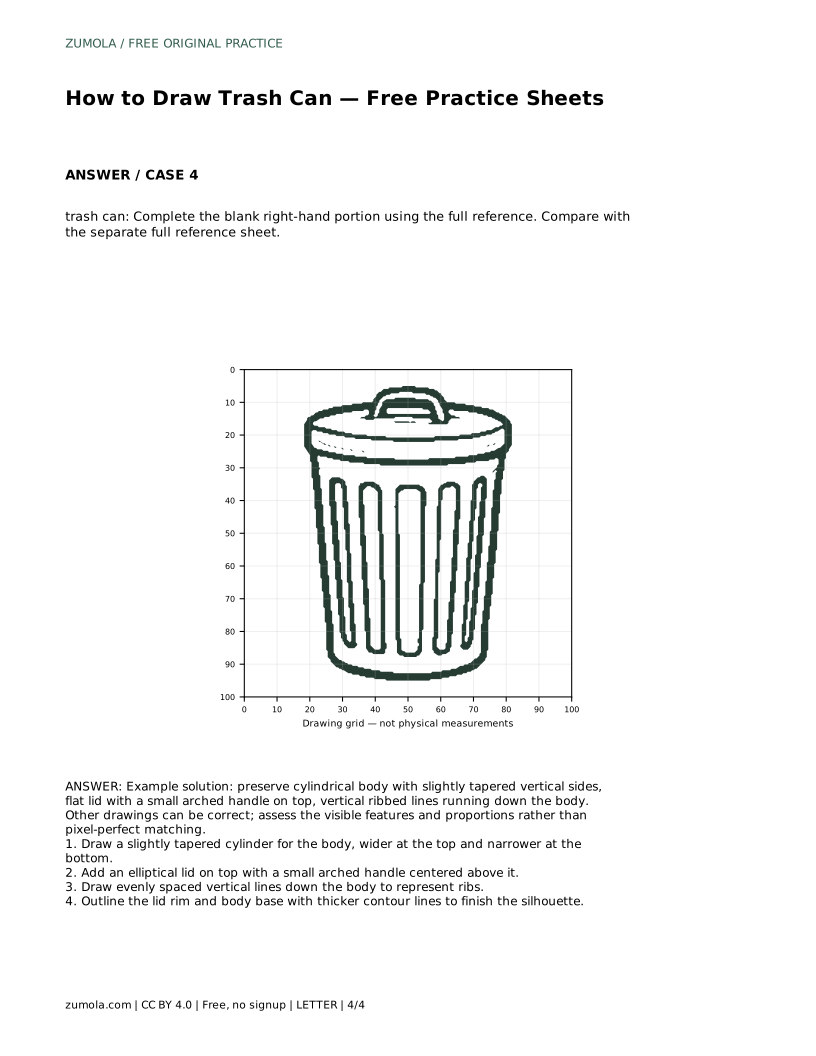
Reference diagrams
LETTER · Download PDF
A4 · Download PDF
Free original resources
Learn to draw a trash can with a tapered cylindrical body, elliptical lid, arched handle, and vertical ribs. Free printable practice sheets support tracing, grids, and guided outlines.
Four original cases, with reference diagrams, practice sheets and worked answers. Everything is free; no signup required.
LETTER · Download PDF
A4 · Download PDF
LETTER · Download PDF
A4 · Download PDF
LETTER · Download PDF
A4 · Download PDF
Use A4 or US Letter to match your printer. Use the stated values and conditions to solve each exercise; diagrams are not physical measuring rulers.
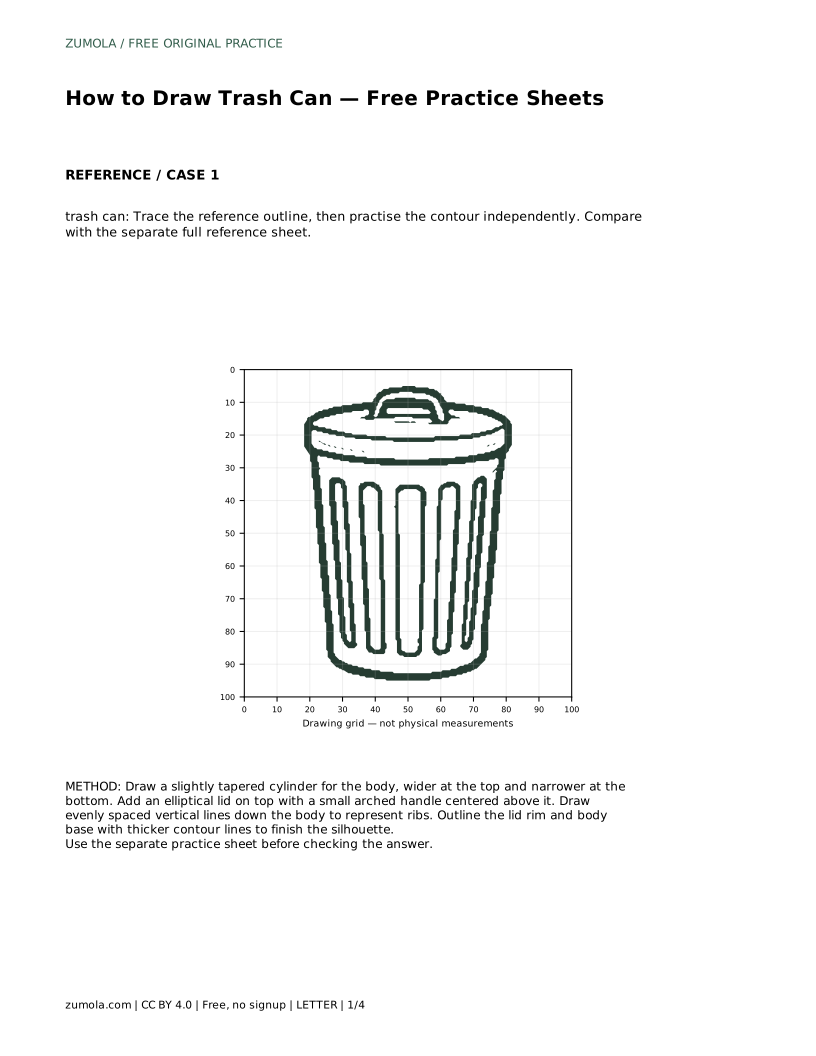
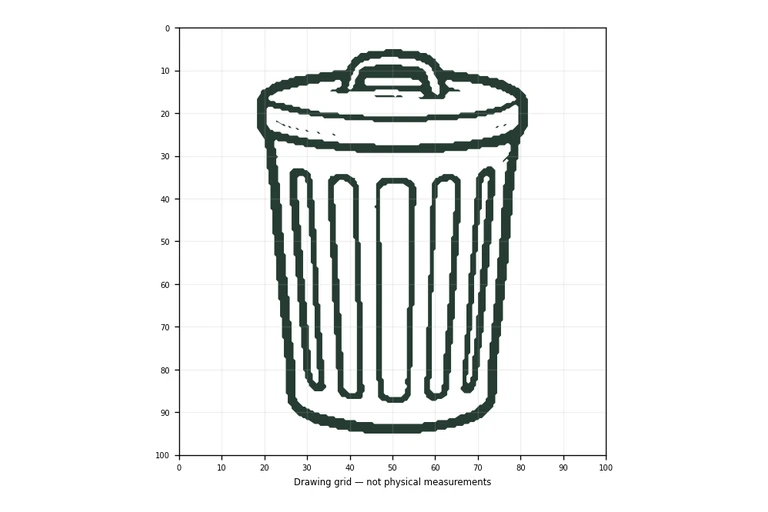
A trash can is a useful subject for learning to combine simple three-dimensional forms with clear surface details. The body is a slightly tapered cylinder, the lid is an ellipse, and the ribs are evenly spaced vertical lines. This page explains how to build the silhouette first, then add the identifying features. The printable practice sheets offer tracing, grid copying, center-guide placement, and partial-outline completion, so you can practise the same drawing in different ways.
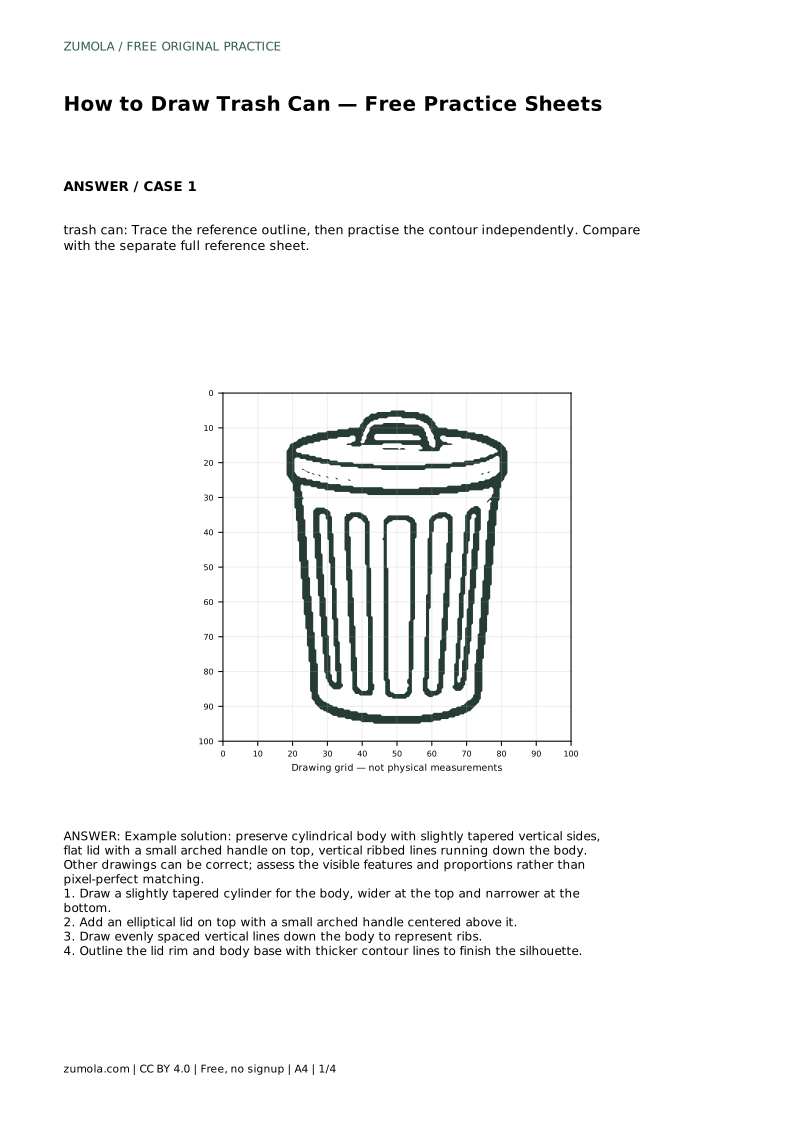
Begin by treating the trash can as two connected forms: a body and a lid. The body is a cylinder that is wider at the top and narrower at the bottom. Draw two nearly vertical side lines that lean slightly inward as they descend, then close the bottom with a shallow curve. The top opening should be an ellipse, not a straight line, because we see the rim from a slight angle.
Place the lid above that opening. The lid is a flatter ellipse with a rim that overlaps the body slightly. A small arched handle sits centered on top. Keep the handle simple: two short uprights joined by a curve. Check that the lid's widest point matches the body's widest point before adding details.
Vertical ribs give the can its recognizable surface pattern. Space them evenly across the front of the body, following the same slight taper as the side lines. Ribs near the outer edges should curve gently with the cylinder, while ribs near the center stay straighter. Avoid crowding them; a few clear lines read better than many cramped ones.
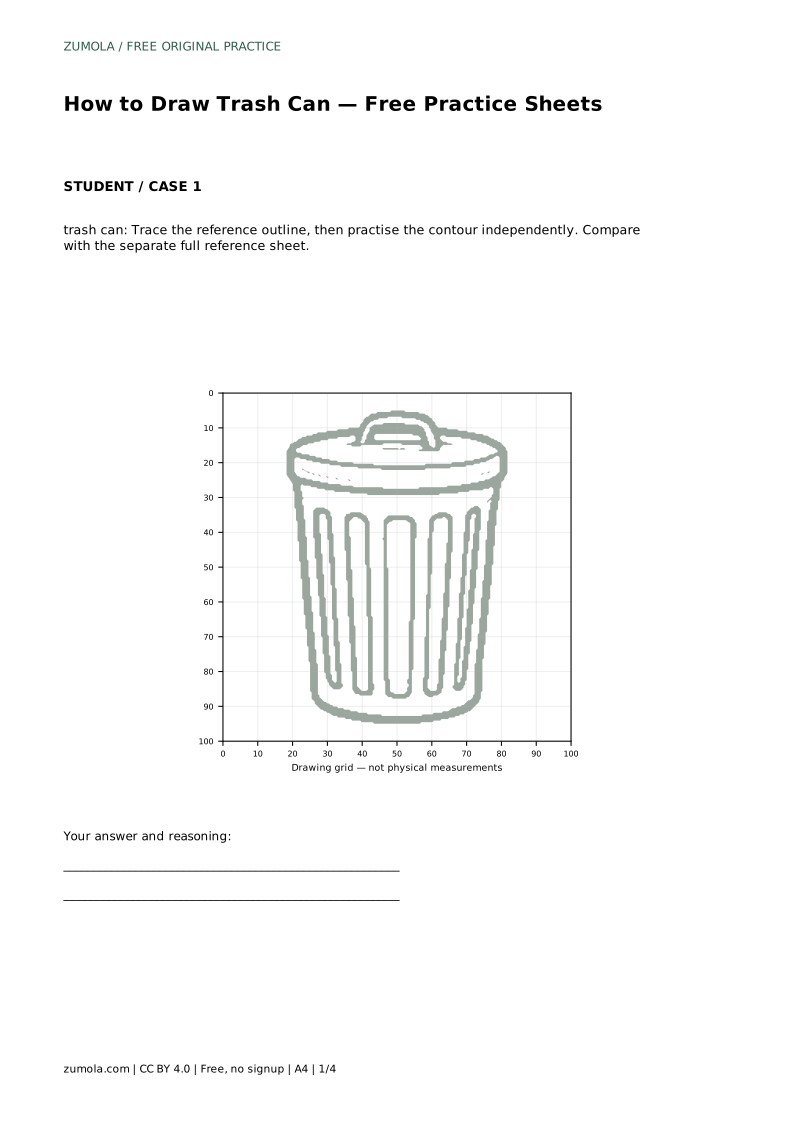
Finish by strengthening the outer contour. A thicker line along the lid rim, the body sides, and the base separates the object from the background. Keep interior rib lines lighter so the silhouette stays dominant. If you are tracing a reference outline, complete the contour first, then practise the same shape independently on a blank area of the sheet.
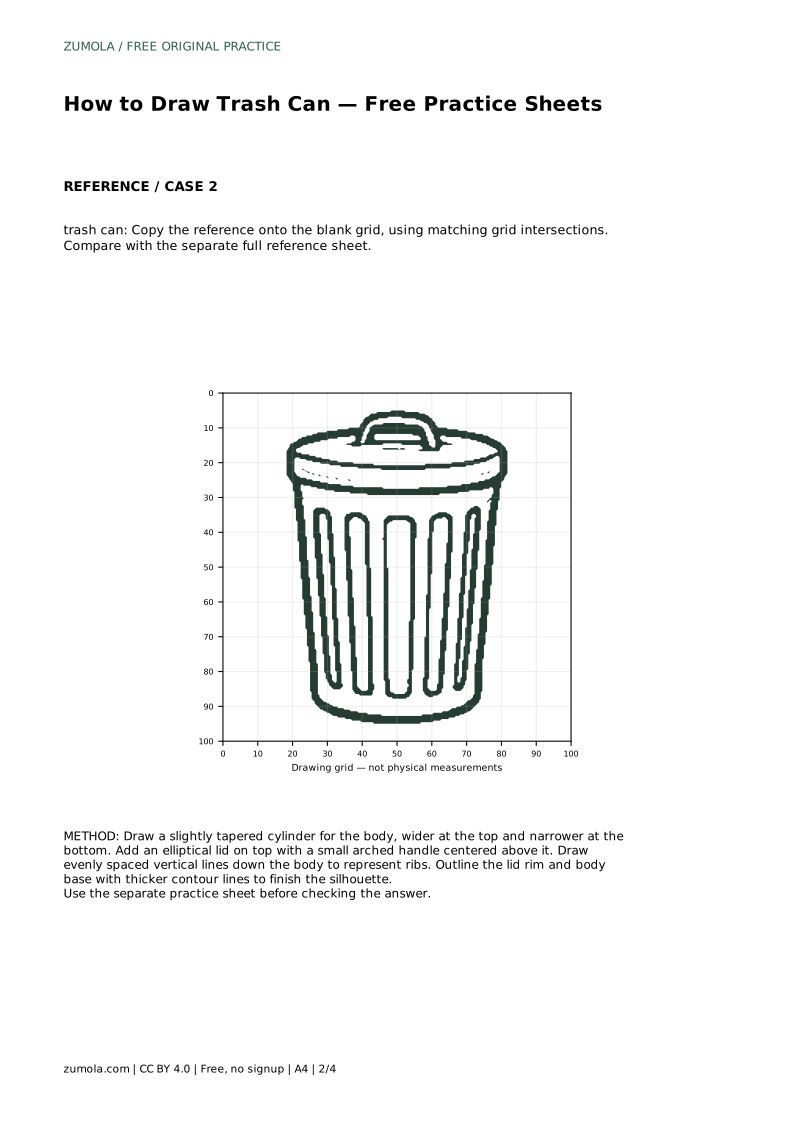
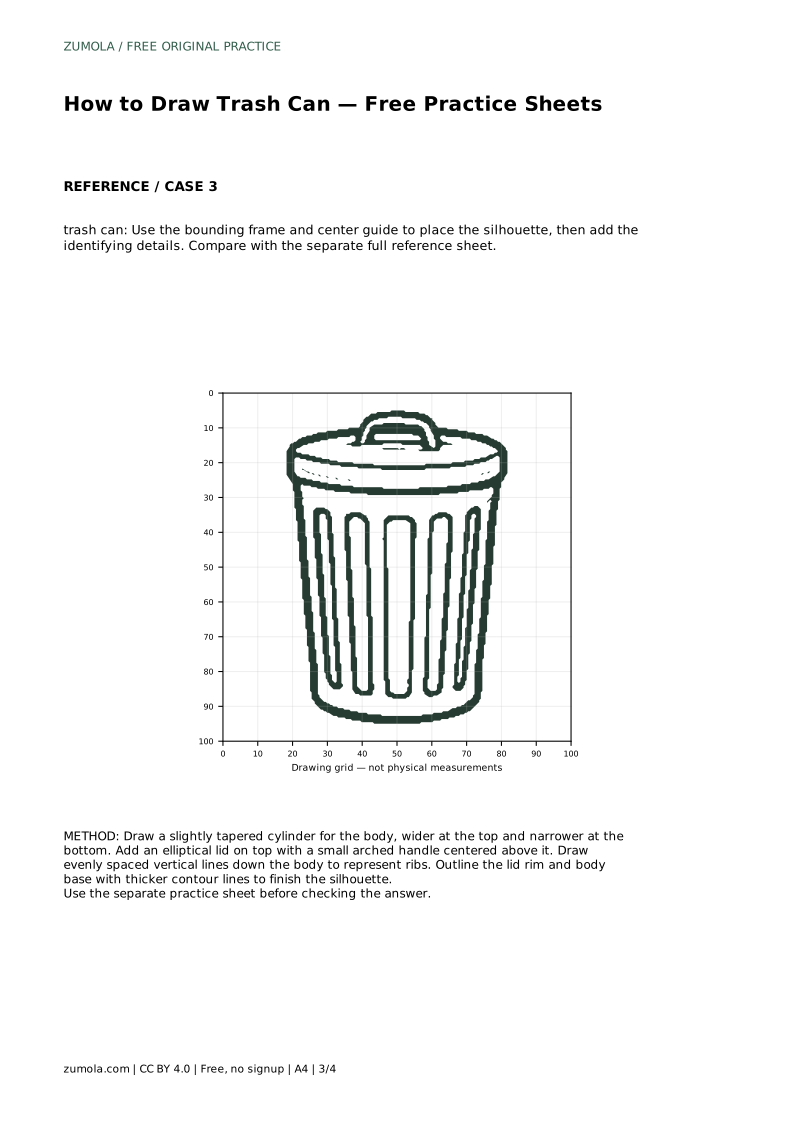
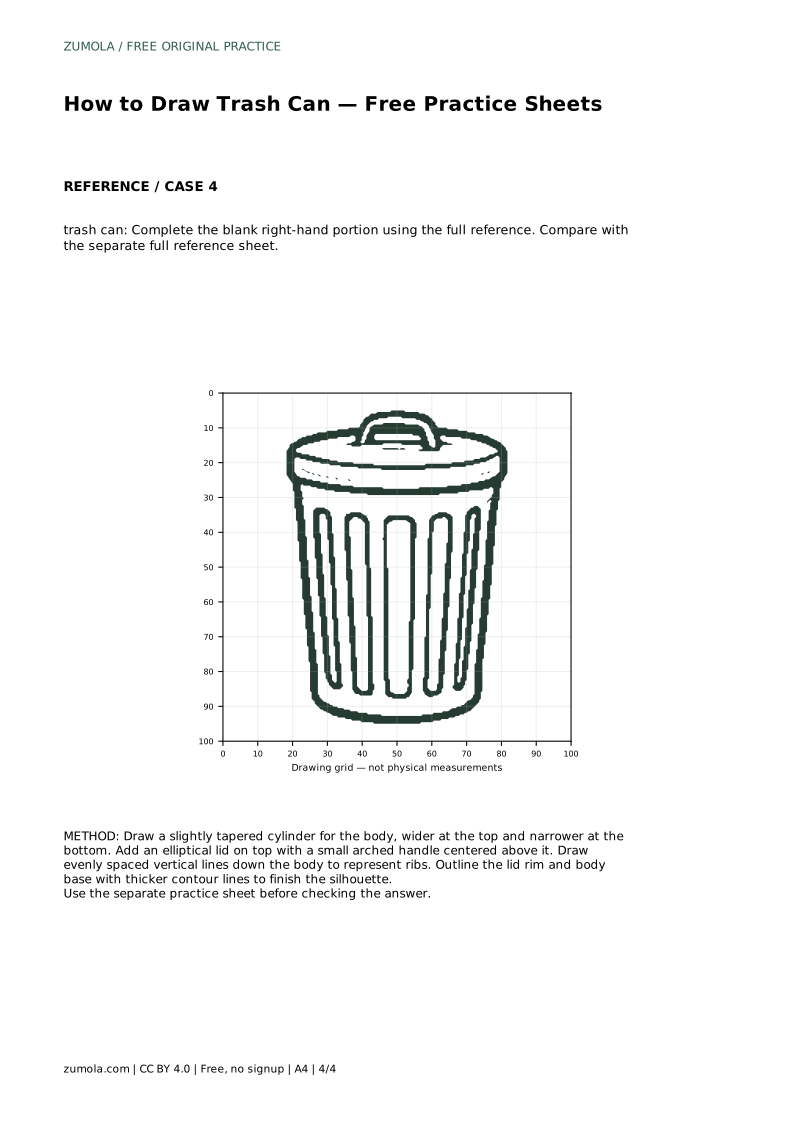
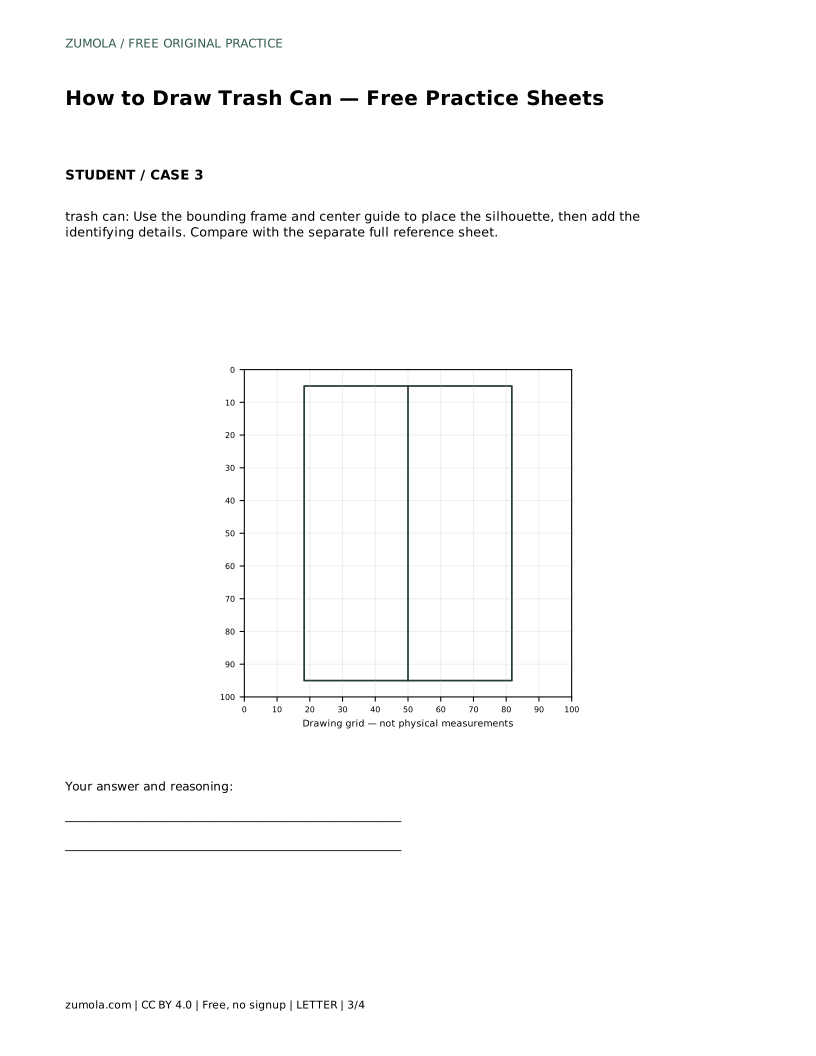
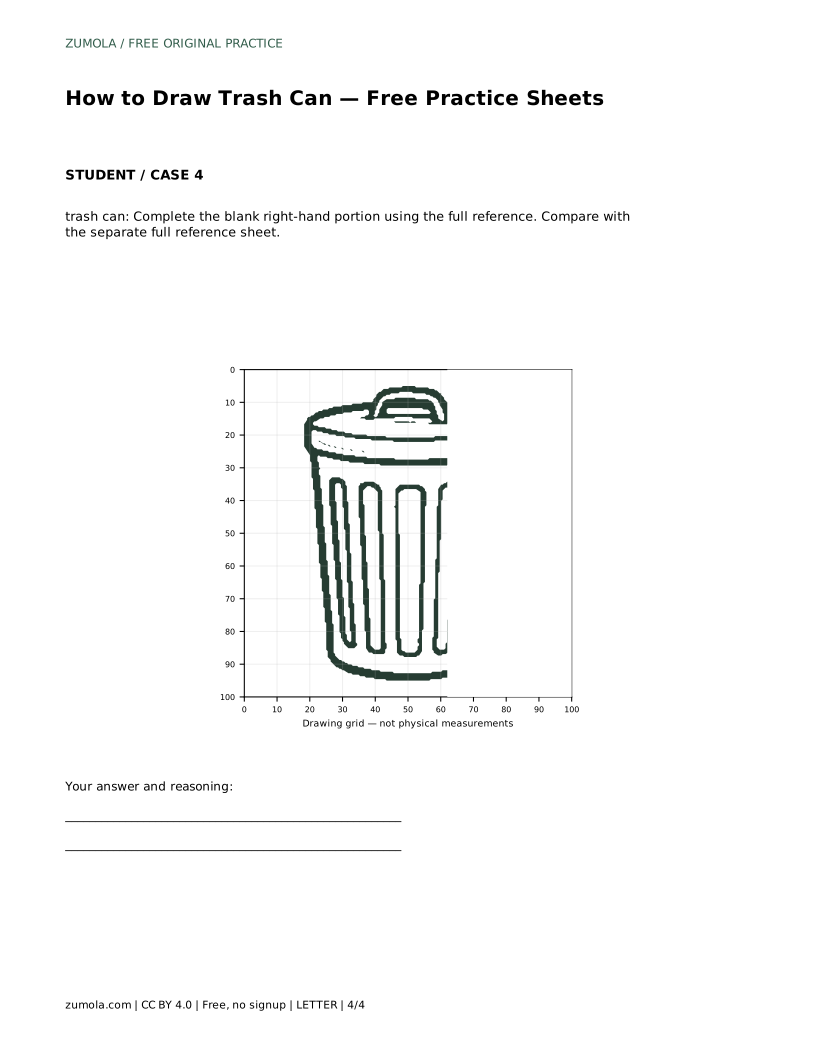
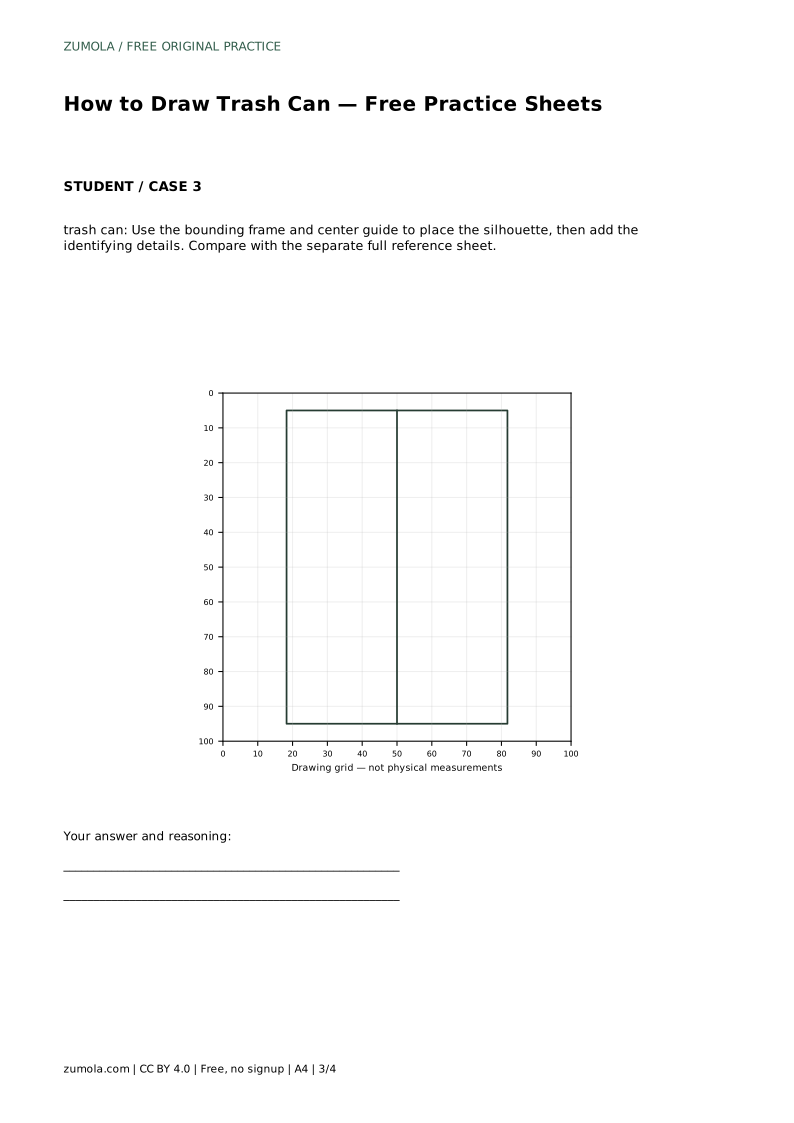
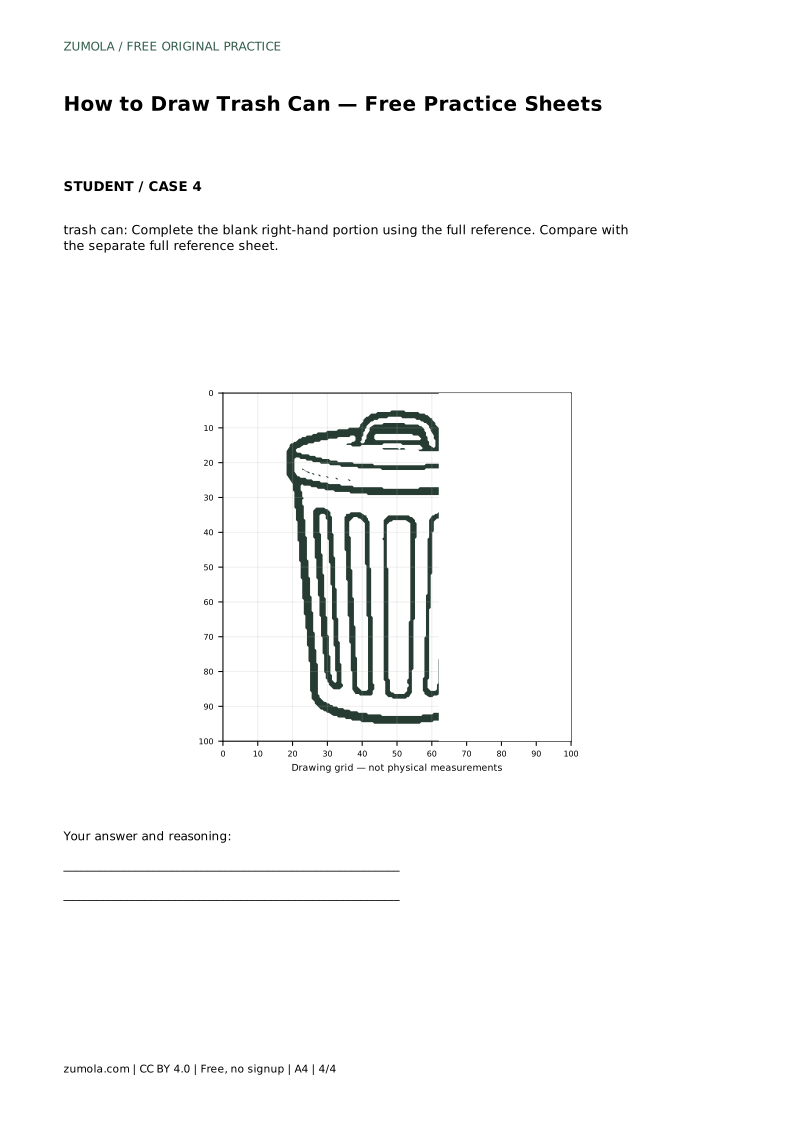
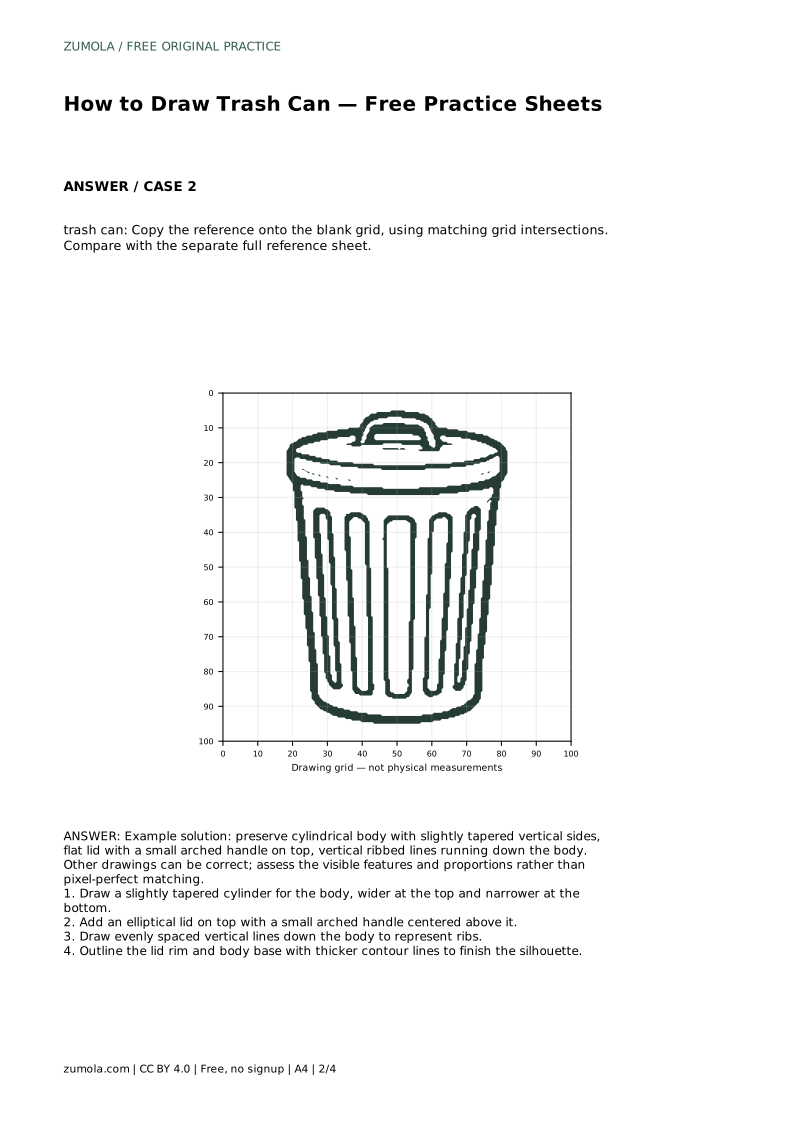
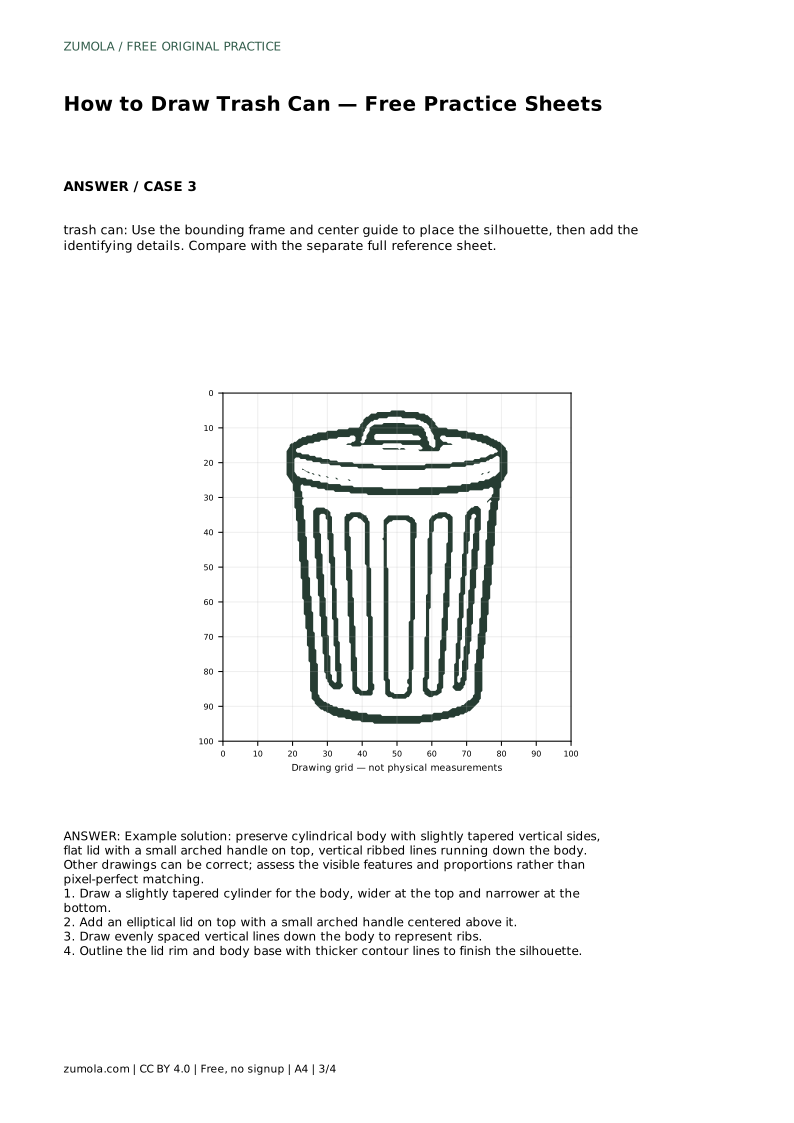
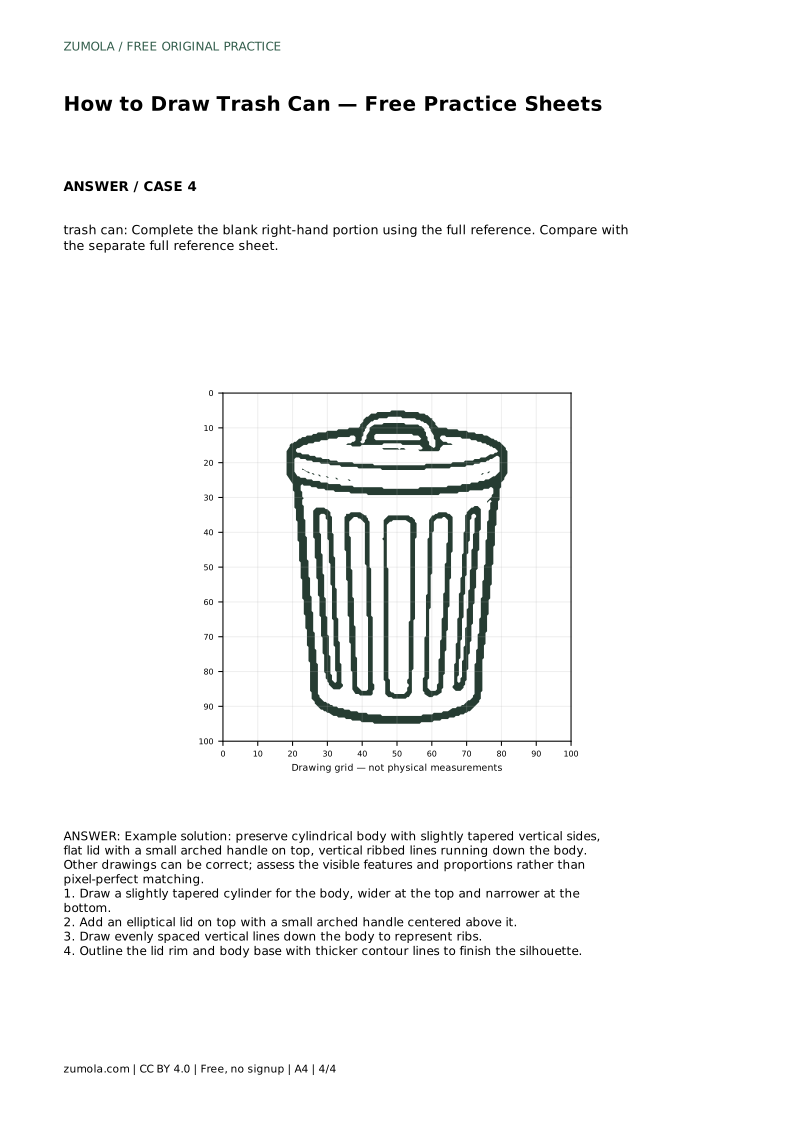
Each printable format isolates a different drawing skill. Tracing builds familiarity with the contour. Grid copying asks you to match intersections and proportions. The bounding frame and center guide help you place the silhouette before adding details. The partial-outline version asks you to complete the blank right-hand portion using the full reference.
Compare your finished drawing with the separate full reference sheet rather than expecting a pixel-perfect match. Multiple drawings can be correct. Assess whether the tapered body, elliptical lid, centered handle, and vertical ribs are all visible and proportionally placed.
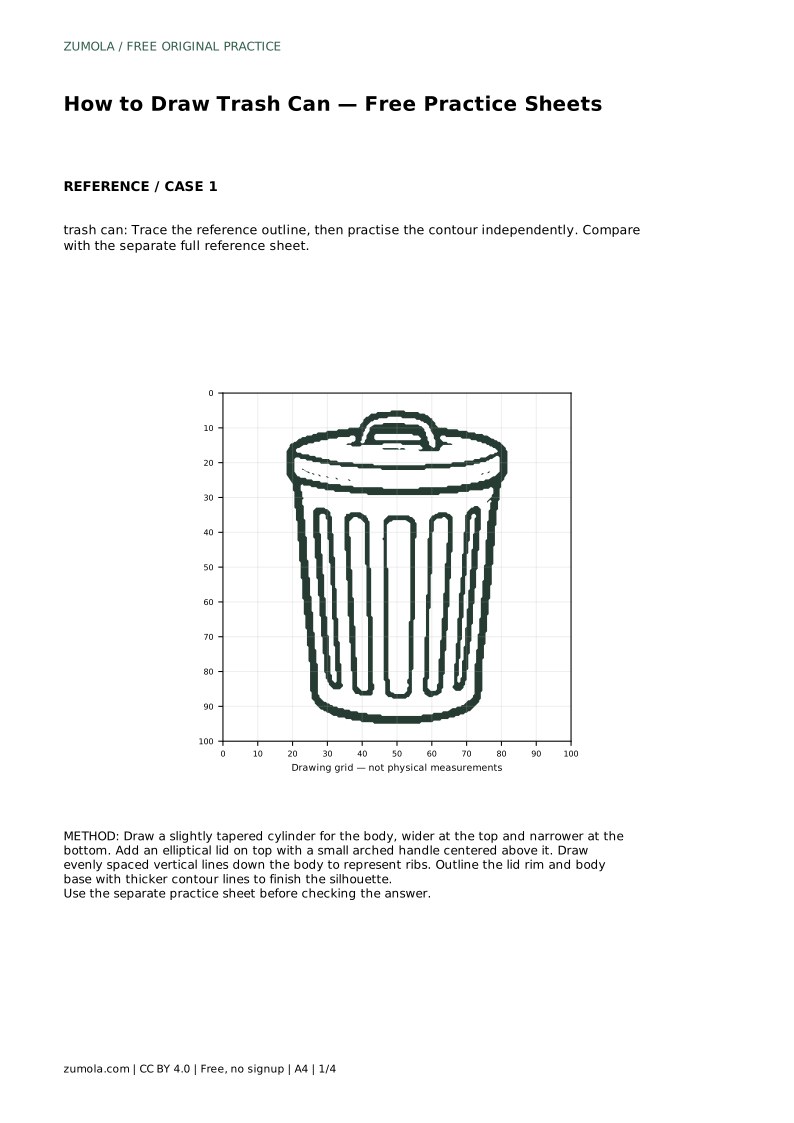
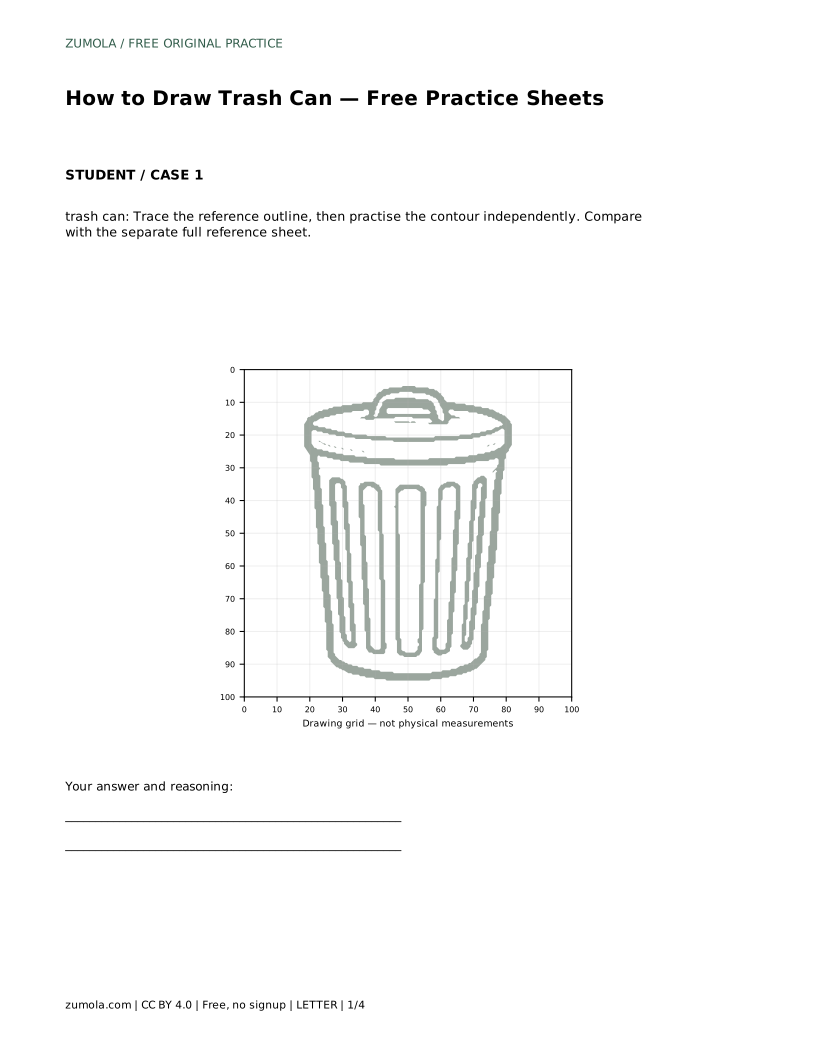
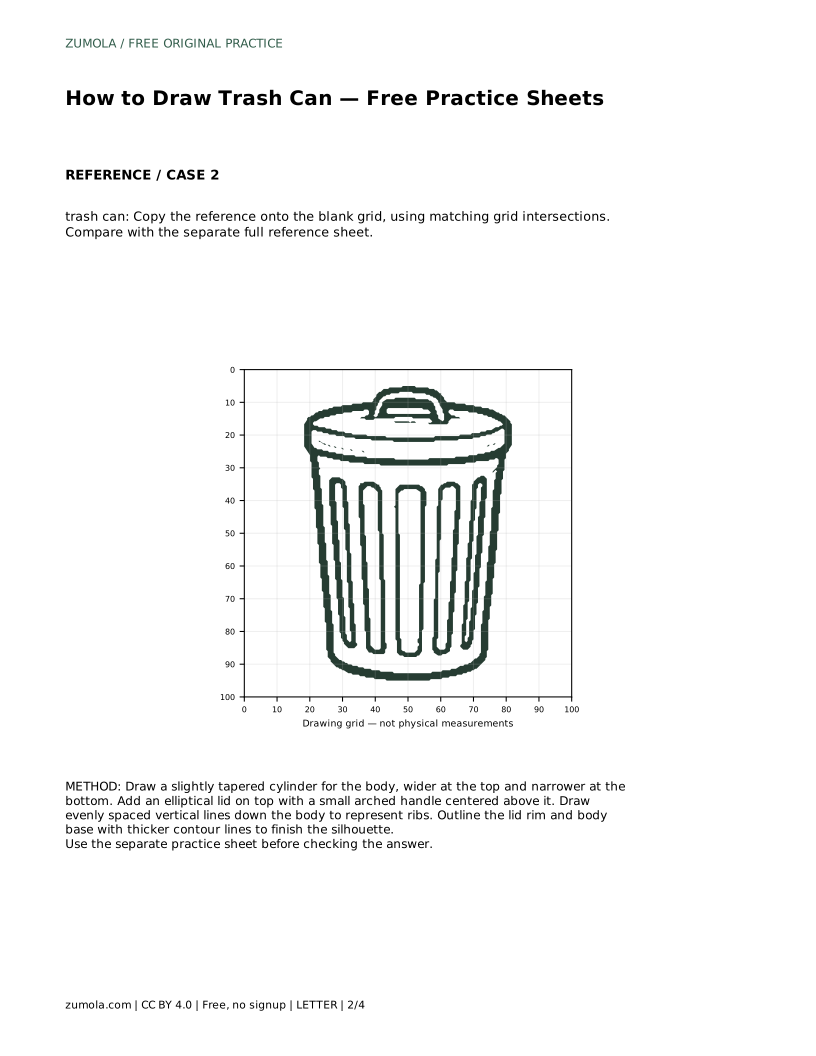
trash can: Trace the reference outline, then practise the contour independently. Compare with the separate full reference sheet.
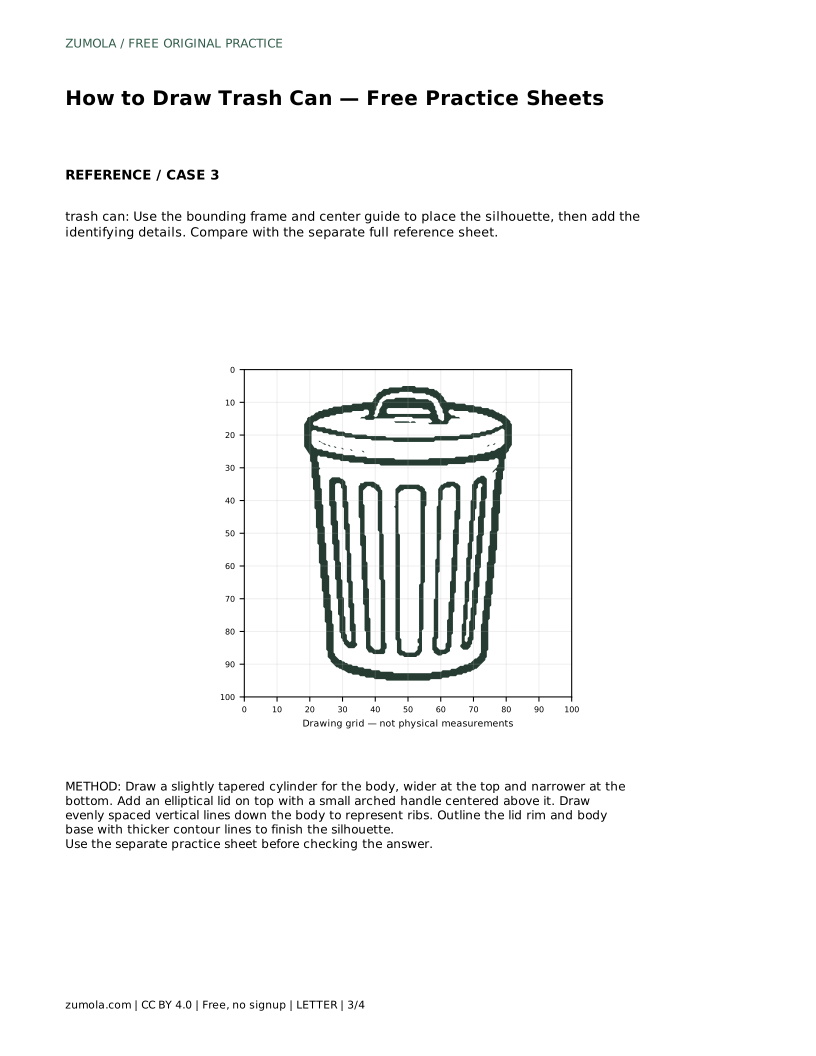
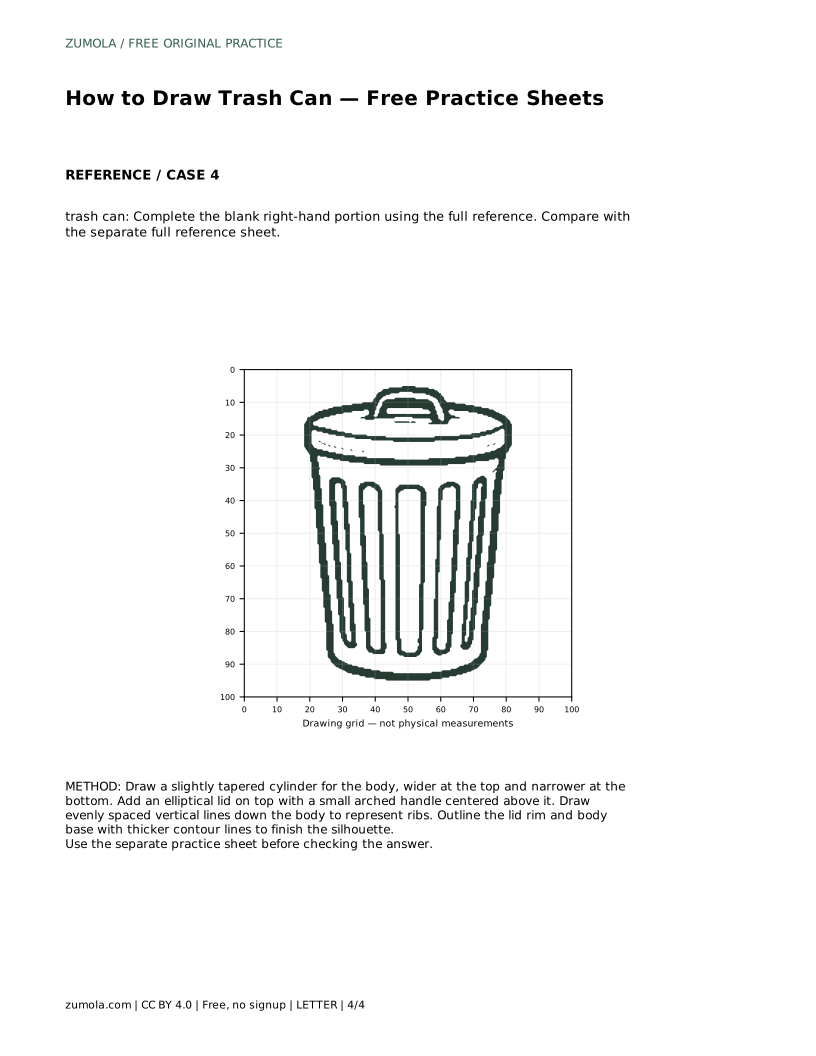
Example solution: preserve cylindrical body with slightly tapered vertical sides, flat lid with a small arched handle on top, vertical ribbed lines running down the body. Other drawings can be correct; assess the visible features and proportions rather than pixel-perfect matching. Draw a slightly tapered cylinder for the body, wider at the top and narrower at the bottom. Add an elliptical lid on top with a small arched handle centered above it. Draw evenly spaced vertical lines down the body to represent ribs. Outline the lid rim and body base with thicker contour lines to finish the silhouette.
No. Several drawings can be correct. Check that the tapered body, elliptical lid, centered arched handle, and vertical ribs are present and proportioned sensibly.
Start with the tracing sheet to learn the contour, then move to the grid or center-guide version to practise placing the shape independently.
There is no fixed number. Use a few evenly spaced lines that follow the body's taper; clarity matters more than quantity.
All drawing practice · Free coordinate paper
Original resources · CC BY 4.0 · Free for personal and classroom use with attribution.