Reference diagrams
LETTER · Download PDF
A4 · Download PDF
Free original resources
Learn to draw a sombrero by building a wide oval brim, an upturned rim, a tall rounded crown with a top dip, and a dark band. Free practice sheets included.
Four original cases, with reference diagrams, practice sheets and worked answers. Everything is free; no signup required.
LETTER · Download PDF
A4 · Download PDF
LETTER · Download PDF
A4 · Download PDF
LETTER · Download PDF
A4 · Download PDF
Use A4 or US Letter to match your printer. Use the stated values and conditions to solve each exercise; diagrams are not physical measuring rulers.
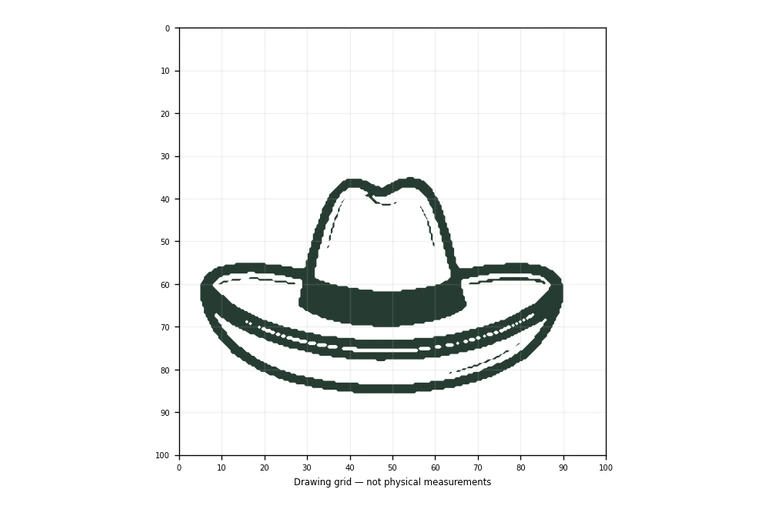
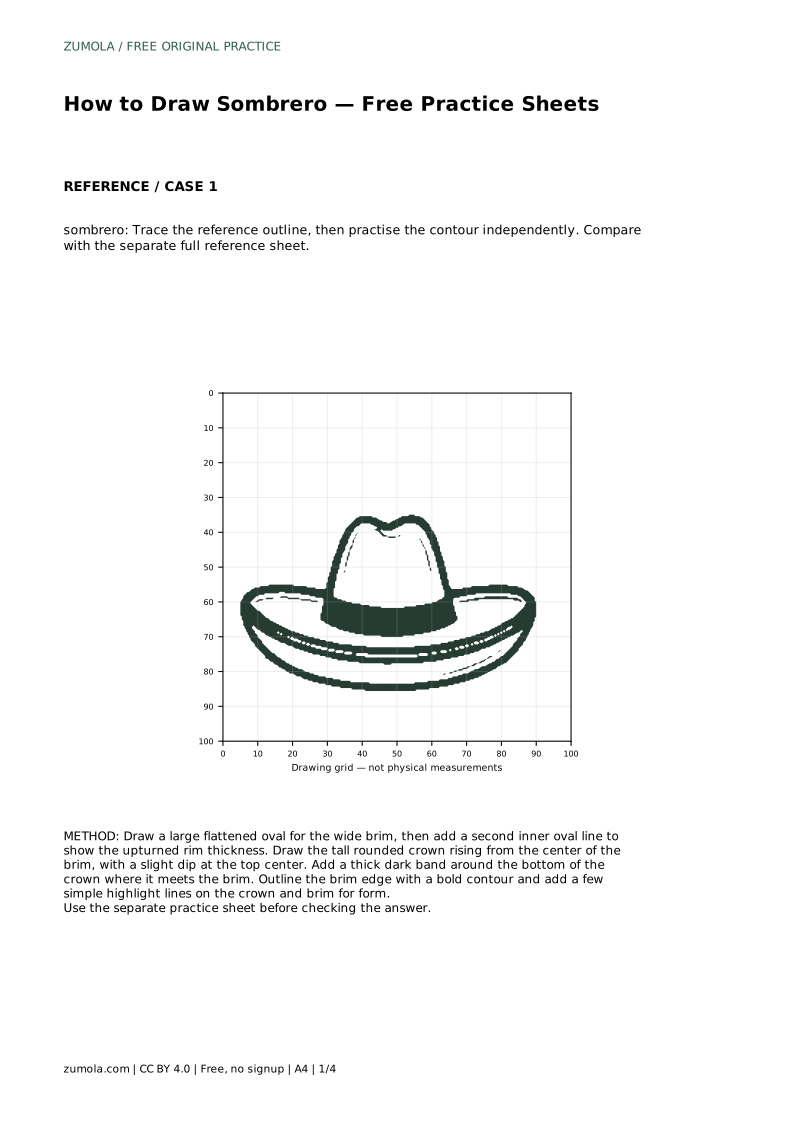
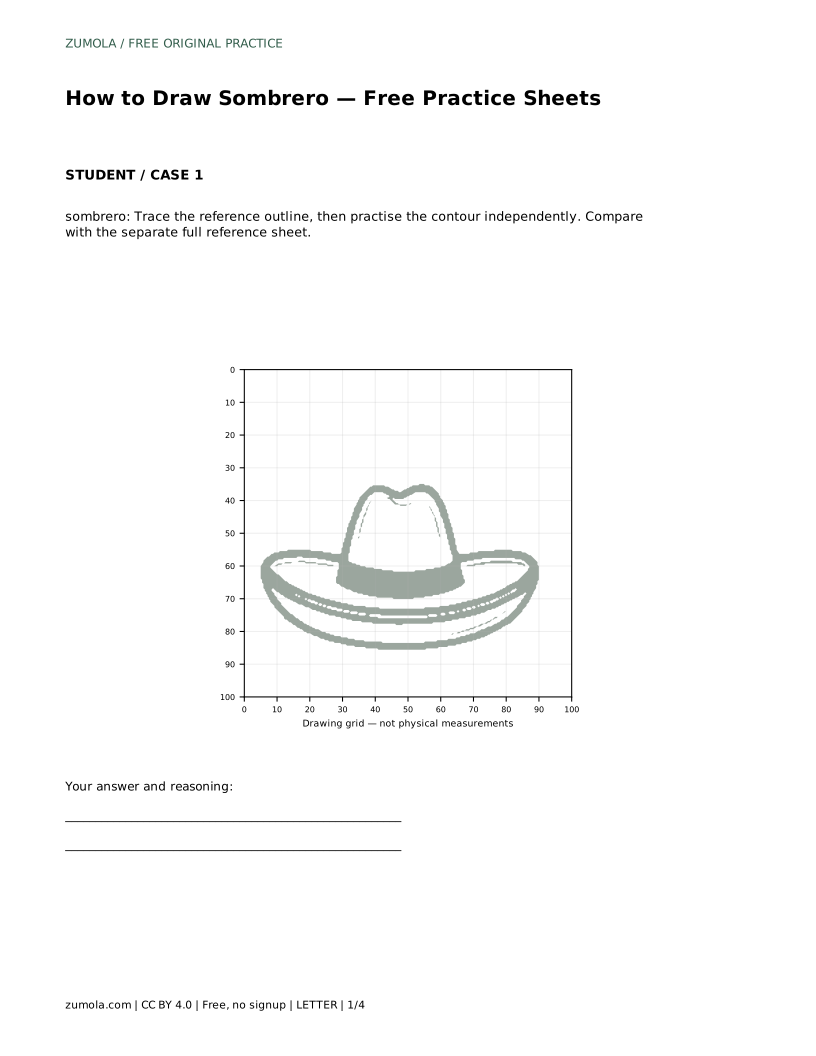
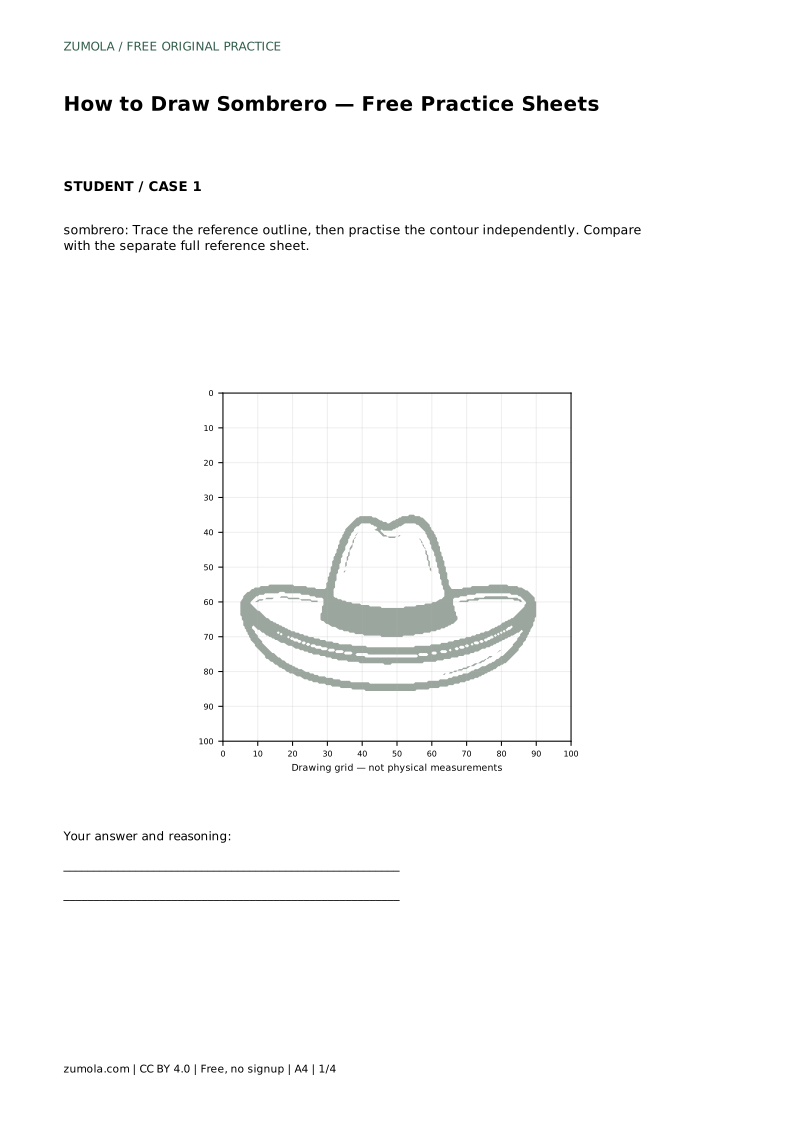
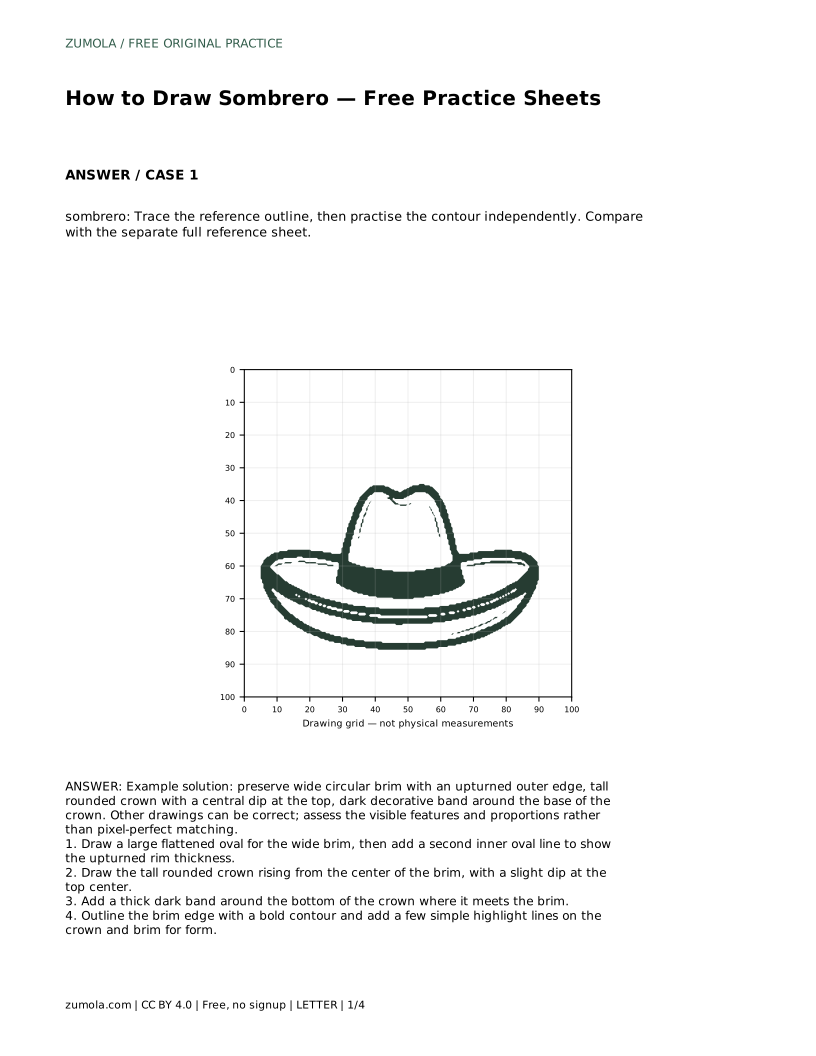
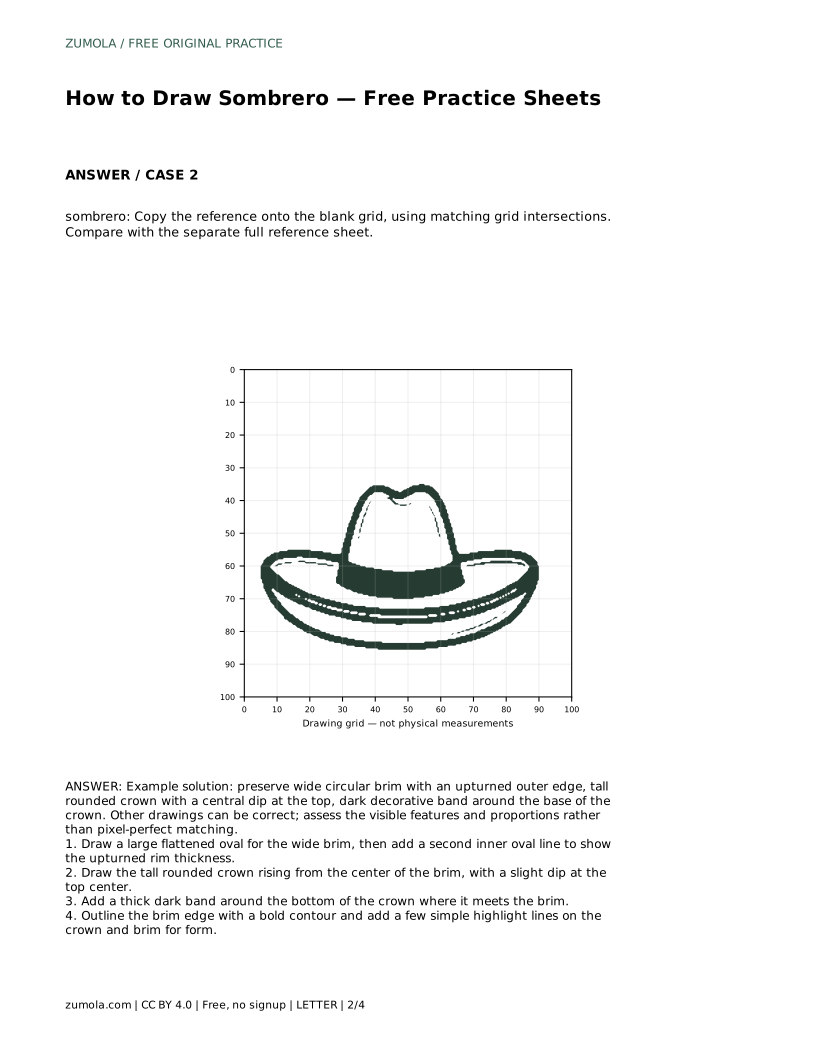
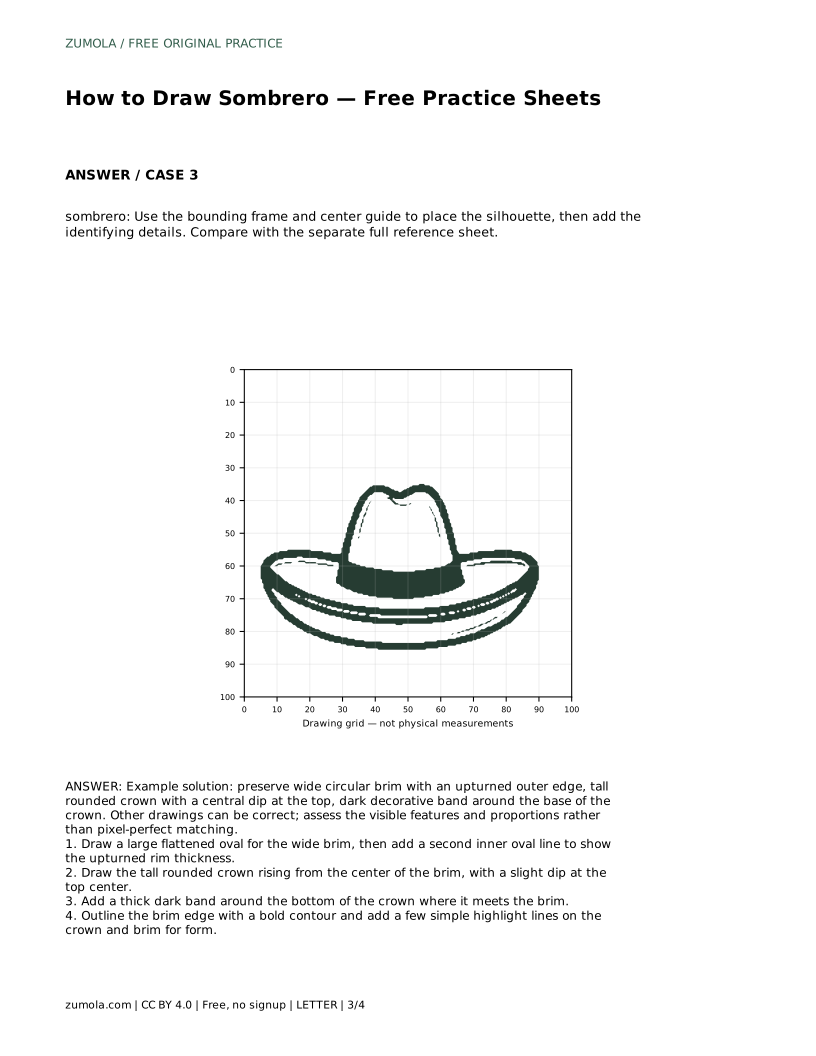
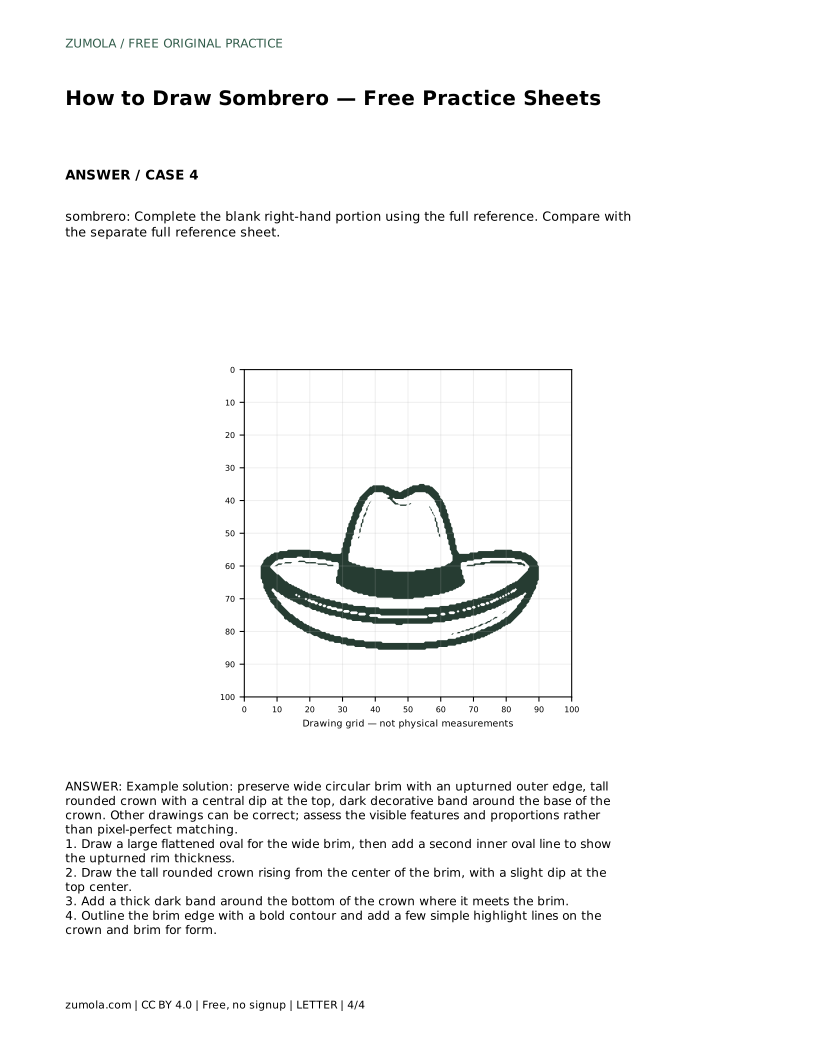
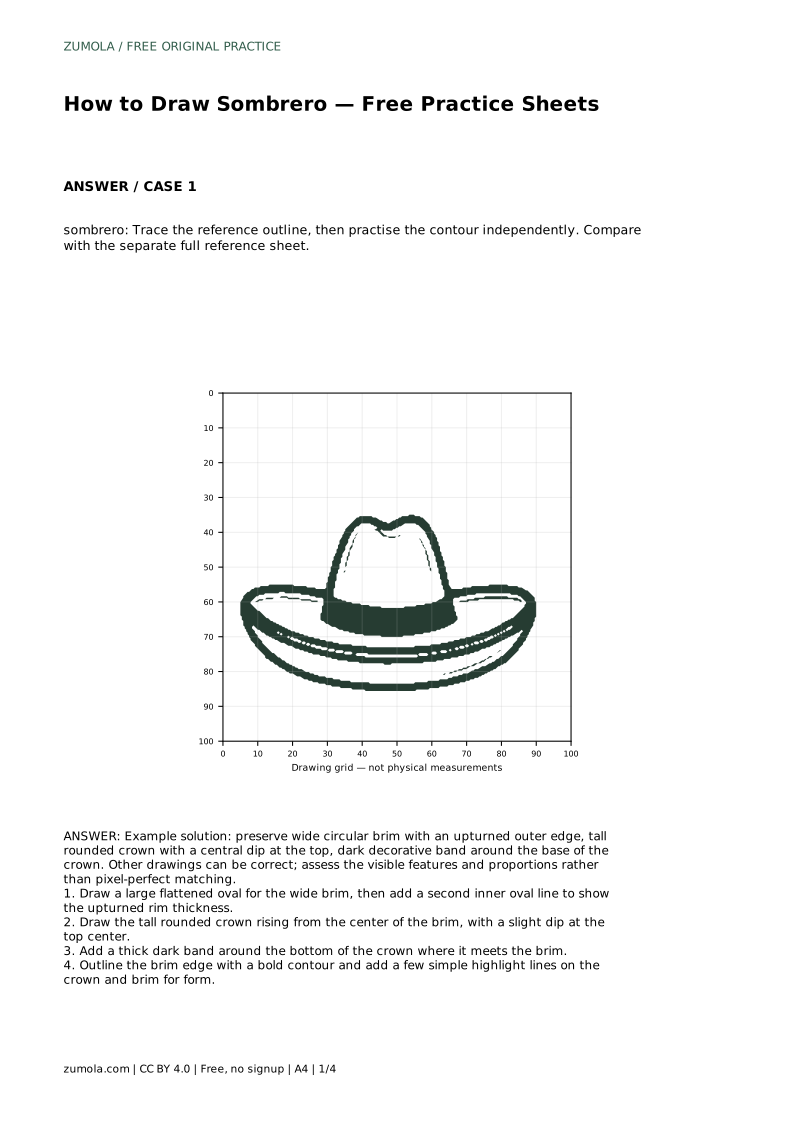
A sombrero is easy to recognise because of two shapes working together: a very wide brim and a tall rounded crown. If either shape is off, the drawing stops looking like a sombrero, even when the lines are neat. This guide breaks the hat into a simple order: brim first, crown second, band third, contour and highlights last. Practise the sequence on the free sheets, then draw the hat independently and compare your result with the full reference.
The brim is the largest and most distinctive part of a sombrero, so it should be placed first. Draw a large flattened oval. Flattened means the oval is wider than it is tall, which suggests the brim seen from a slight angle rather than straight above. Keep the oval generous: a narrow brim reads as a different hat.
Add a second oval line just inside the outer edge. This inner line shows the upturned rim, the raised lip that runs around the brim. The gap between the two lines is the visible thickness of that upturn. Keep the gap fairly even all the way around so the rim looks deliberate rather than wobbly.
Find the centre of the brim oval and draw the crown rising from there. The crown is tall and rounded, not a flat cylinder and not a sharp cone. Give it gently curved sides that narrow slightly as they rise, then close the top with a soft curve.
At the top centre, add a slight dip. This small inward curve is a recognisable feature of many sombrero crowns and stops the top from looking like a plain dome. Keep the dip shallow; a deep notch changes the silhouette into something else.
Draw a thick dark band around the bottom of the crown, where it meets the brim. The band should follow the curve of the crown rather than sit as a straight stripe. Its lower edge can overlap slightly onto the brim, which helps the crown look seated rather than floating.
Finish by outlining the brim edge with a bold contour. A confident outer line separates the hat from the background. Then add a few simple highlight lines on the crown and brim to suggest form. Keep highlights sparse: two or three short curves are enough to show that the surfaces are rounded.
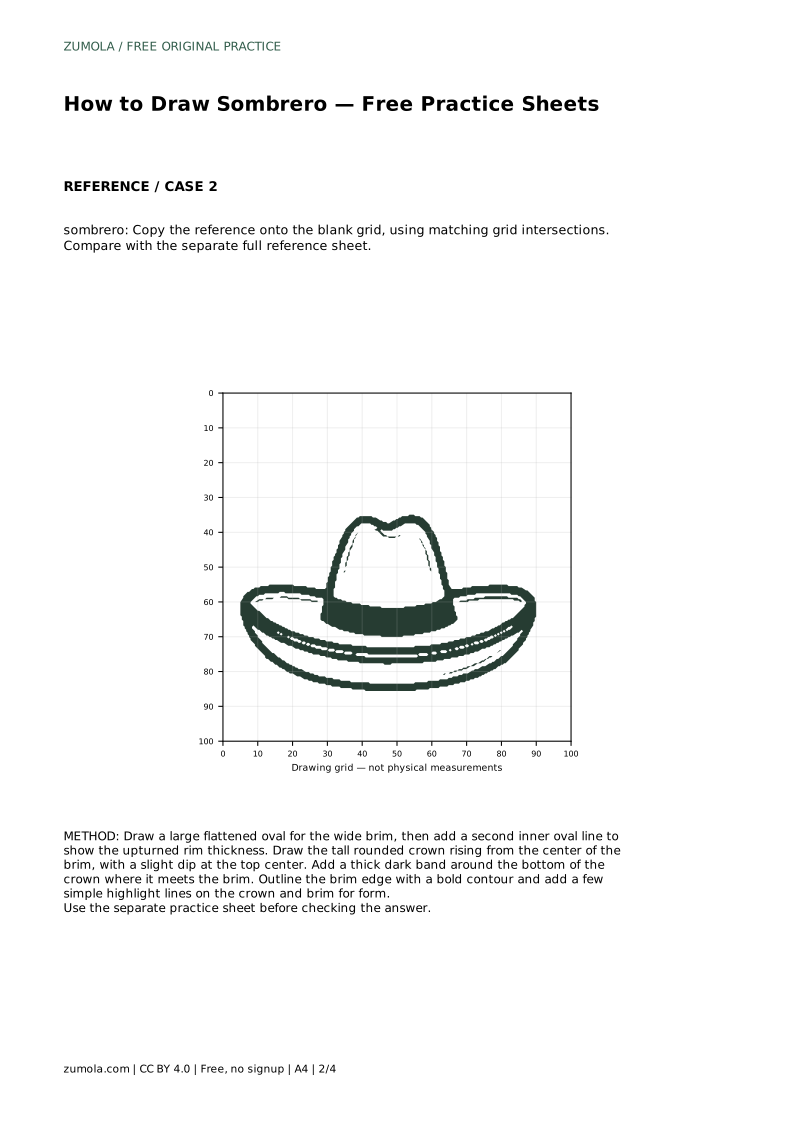
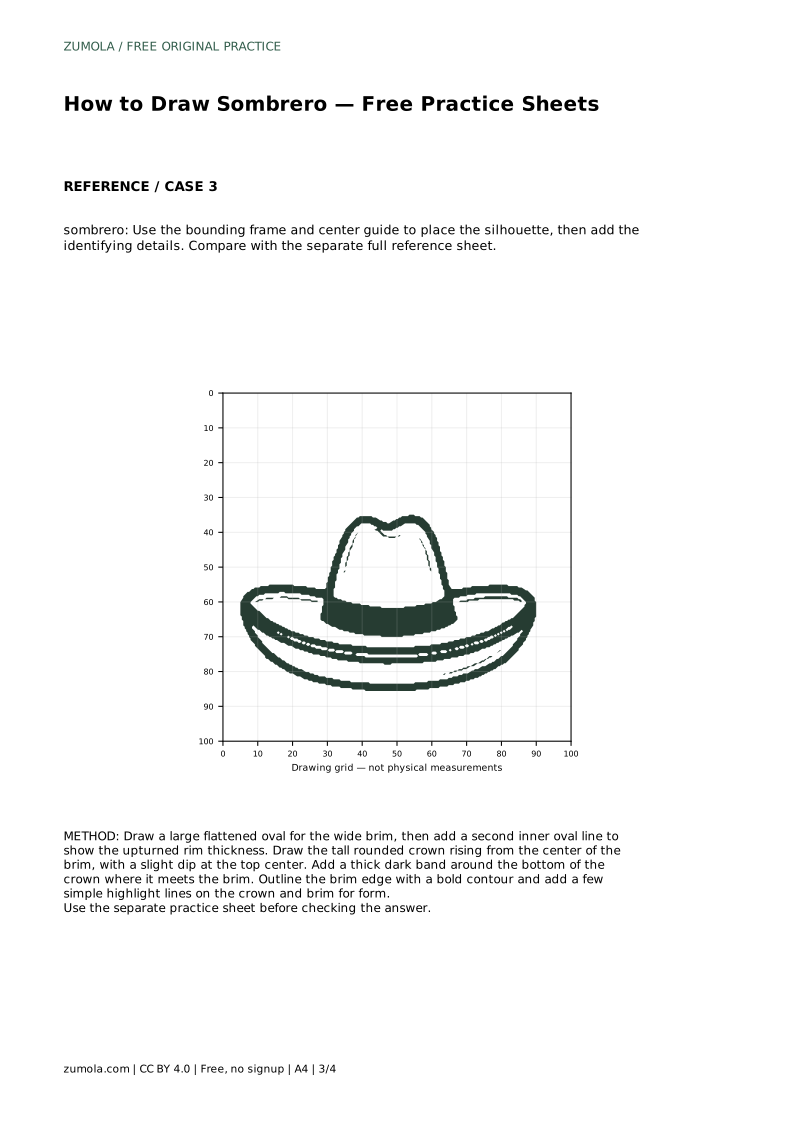
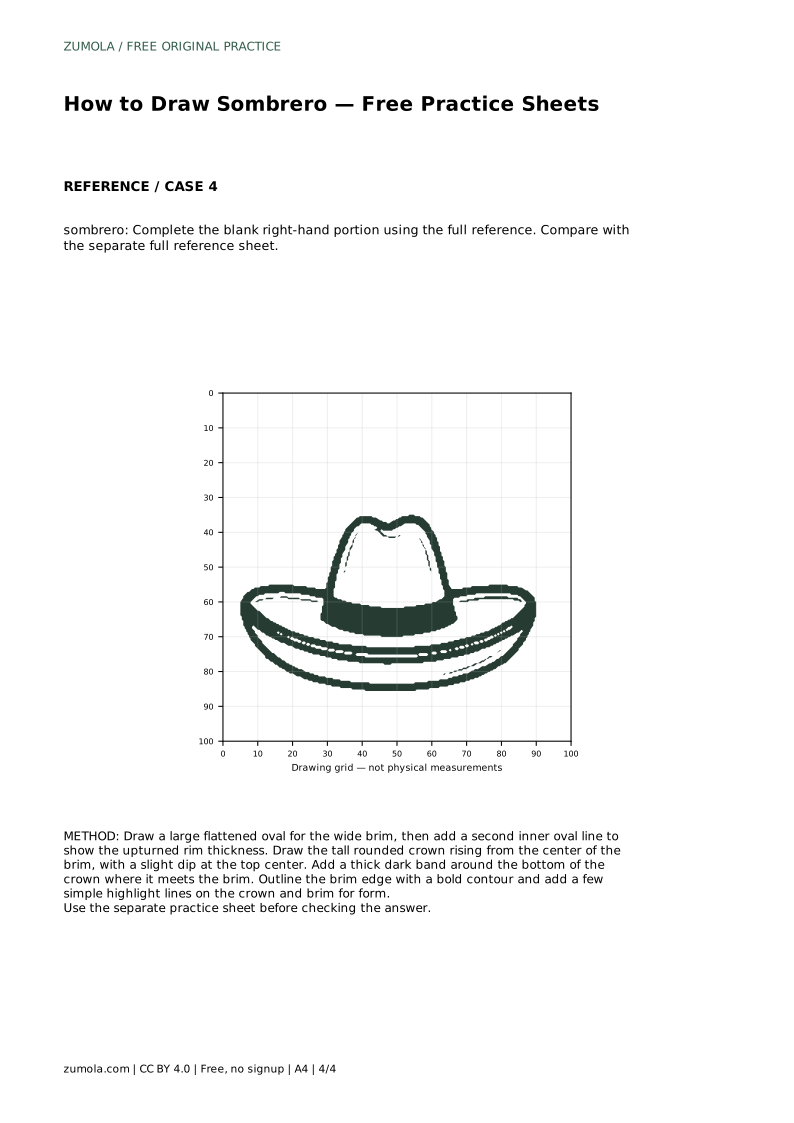
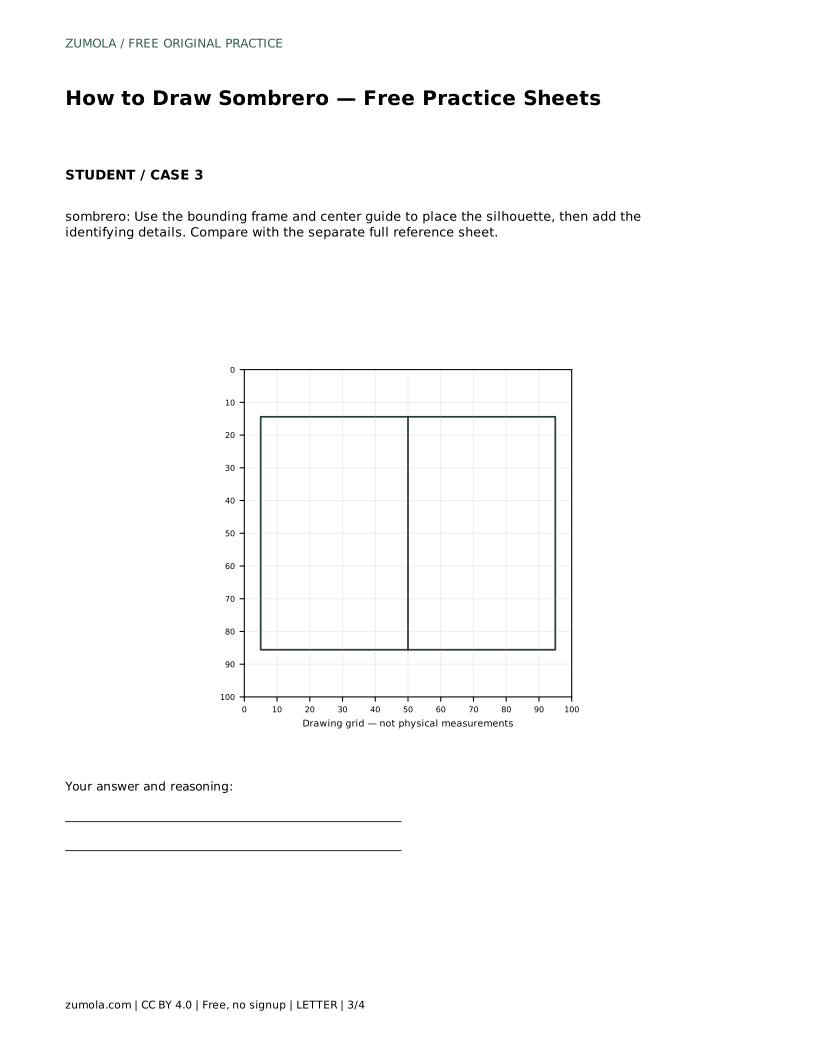
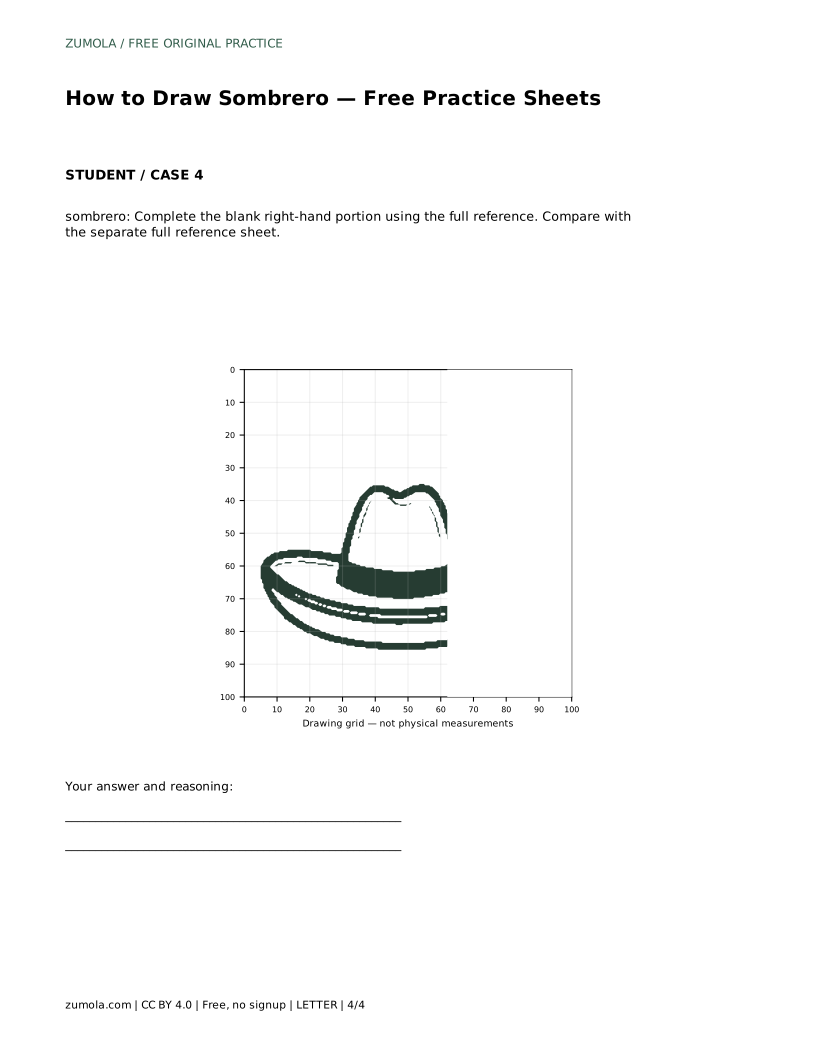
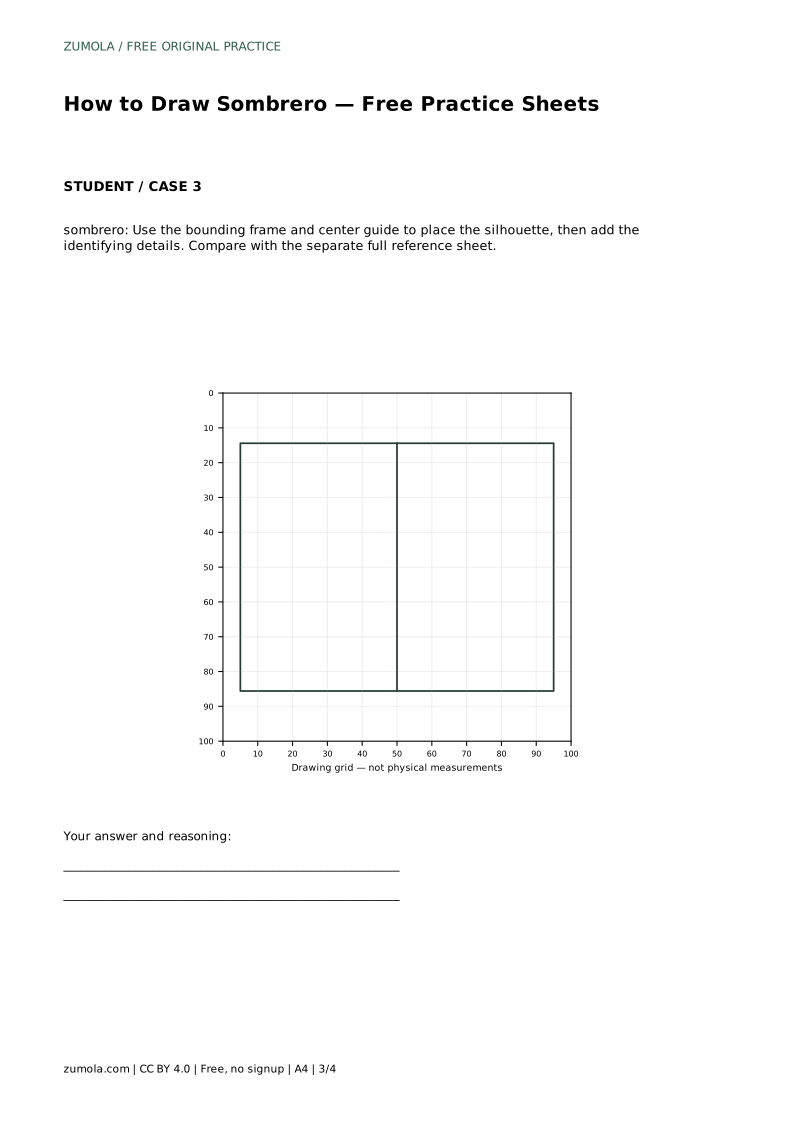
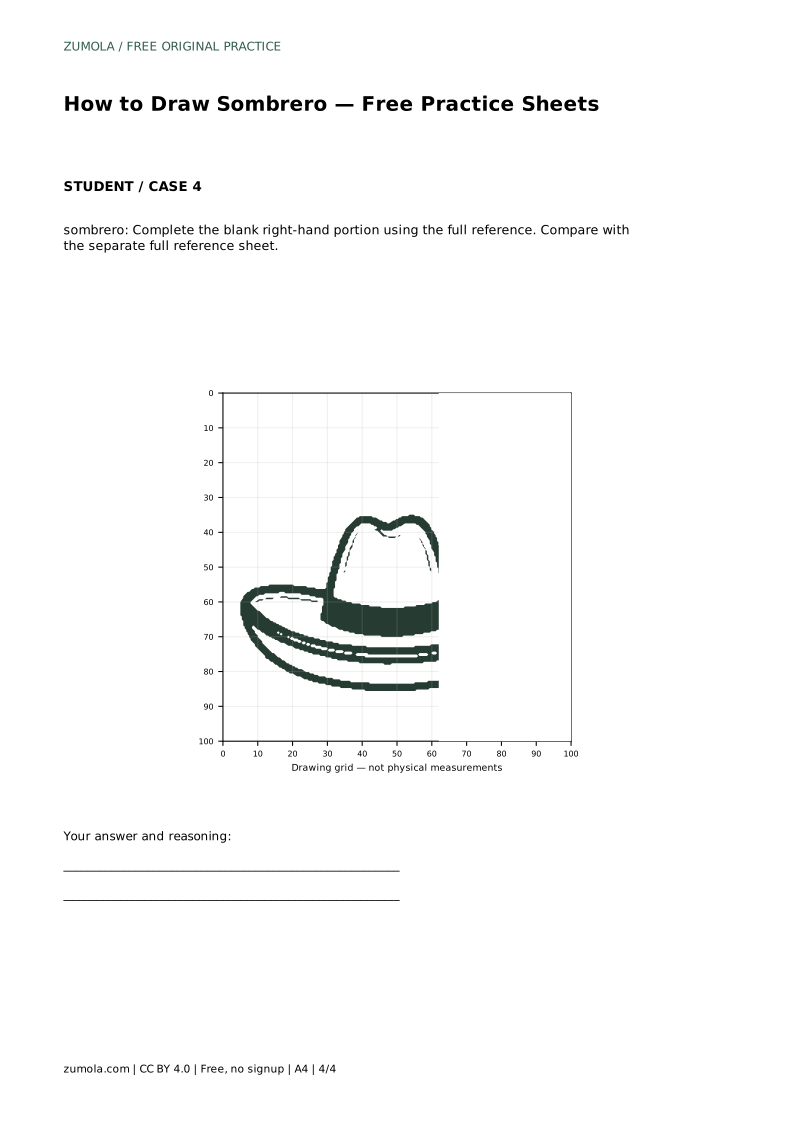
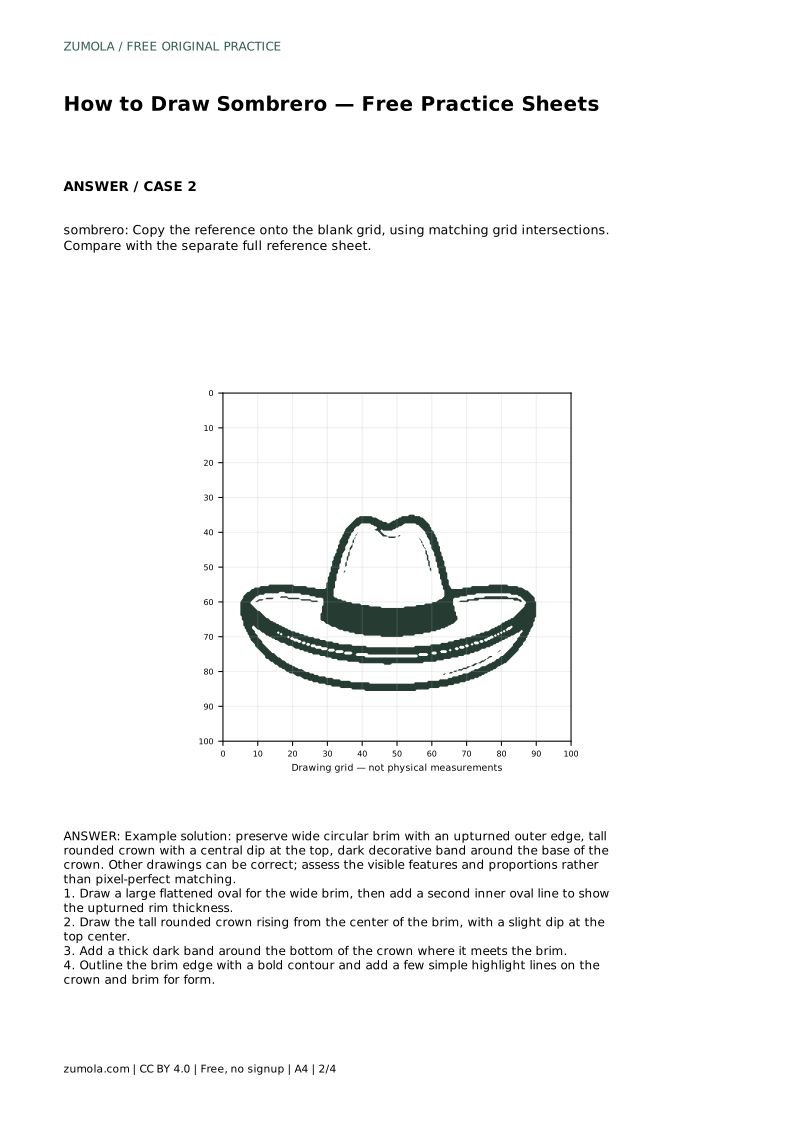
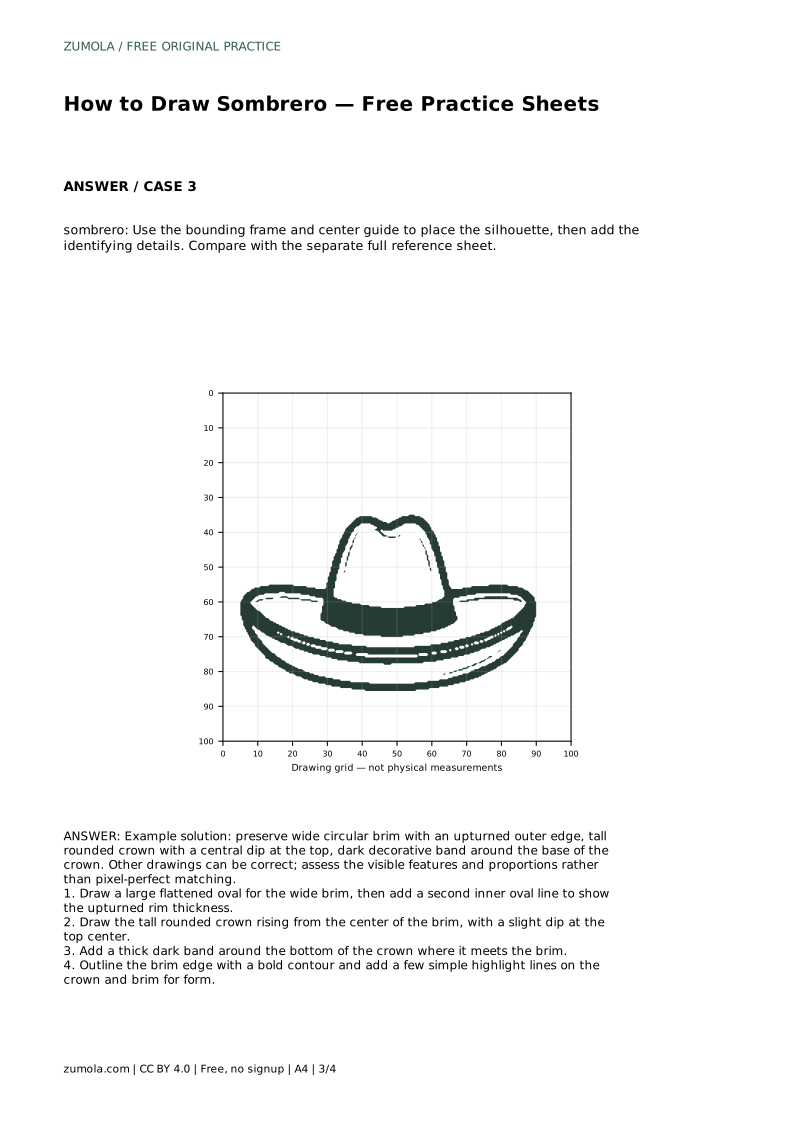
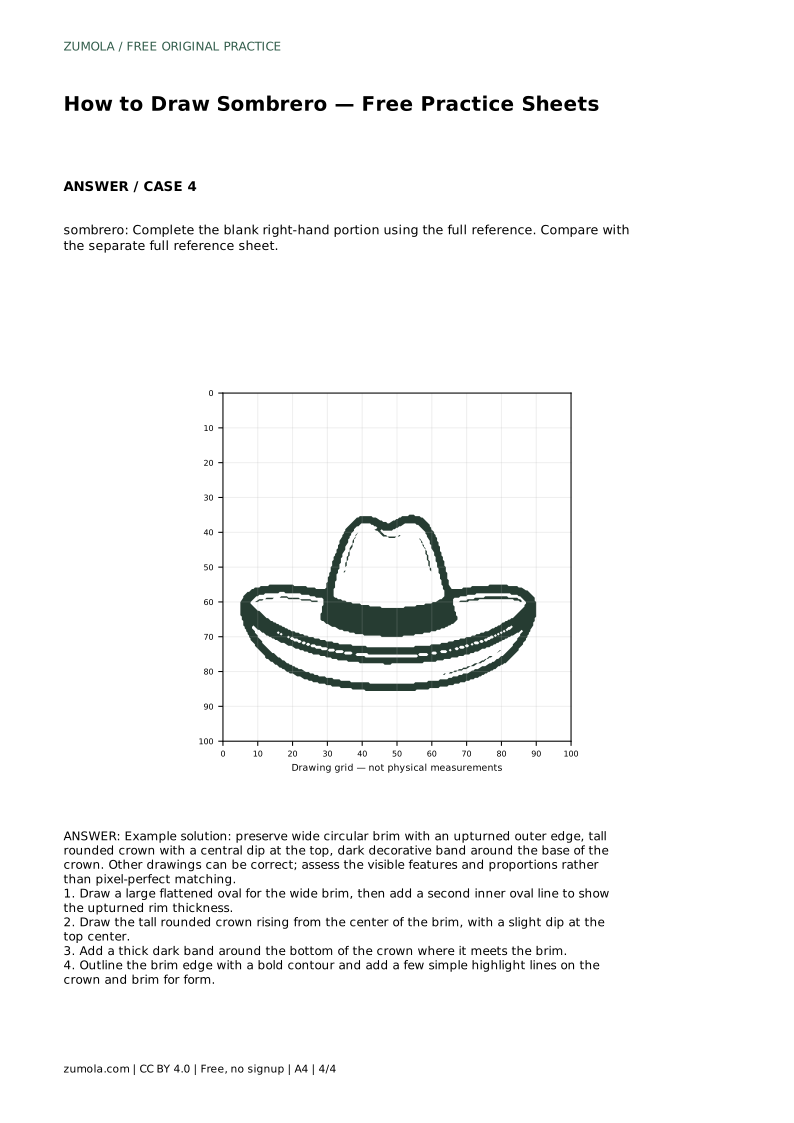
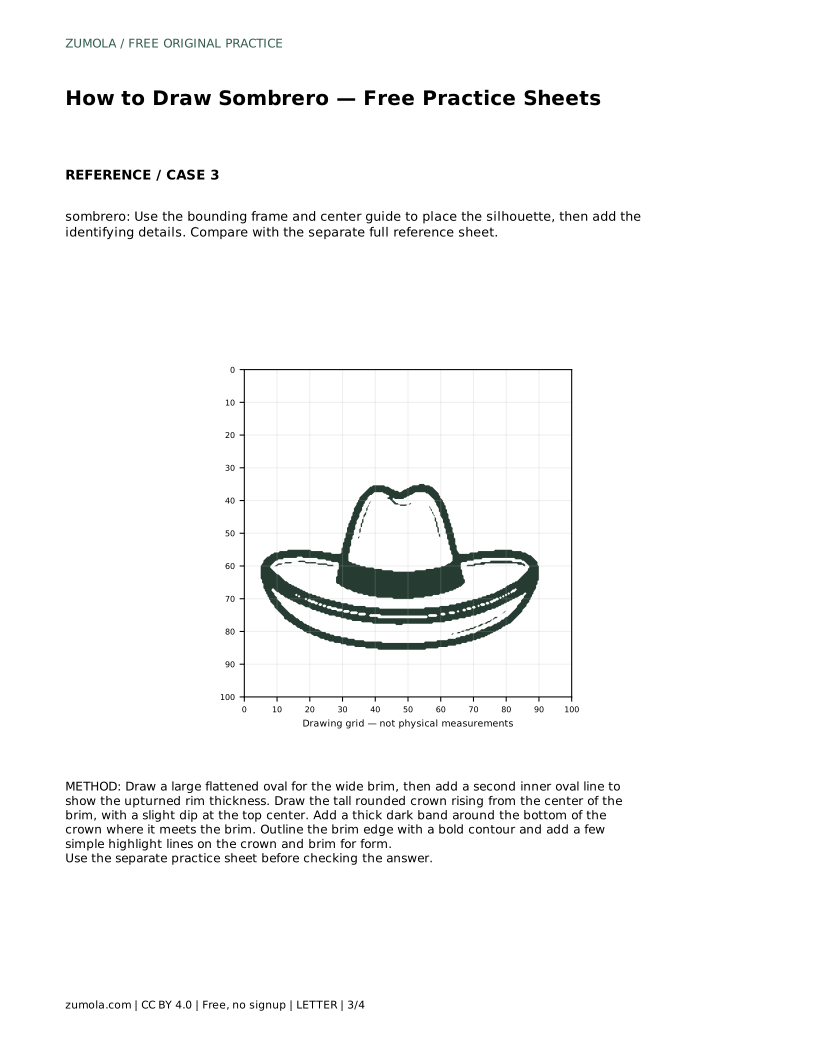
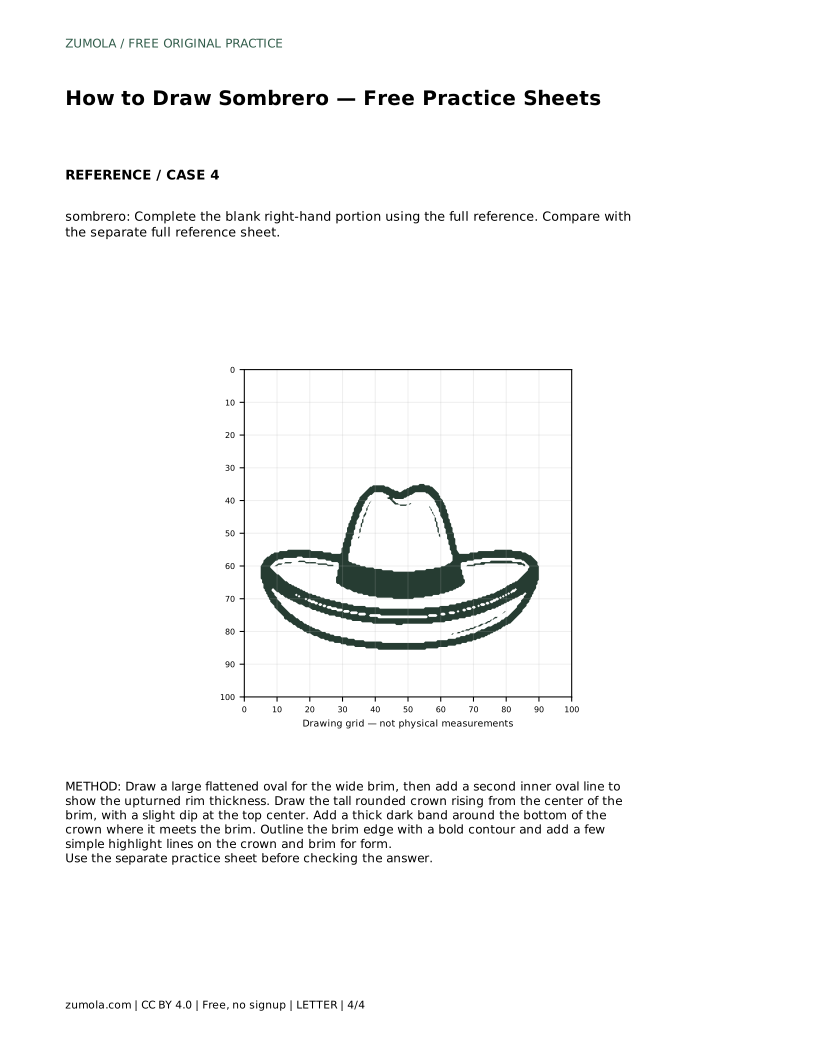
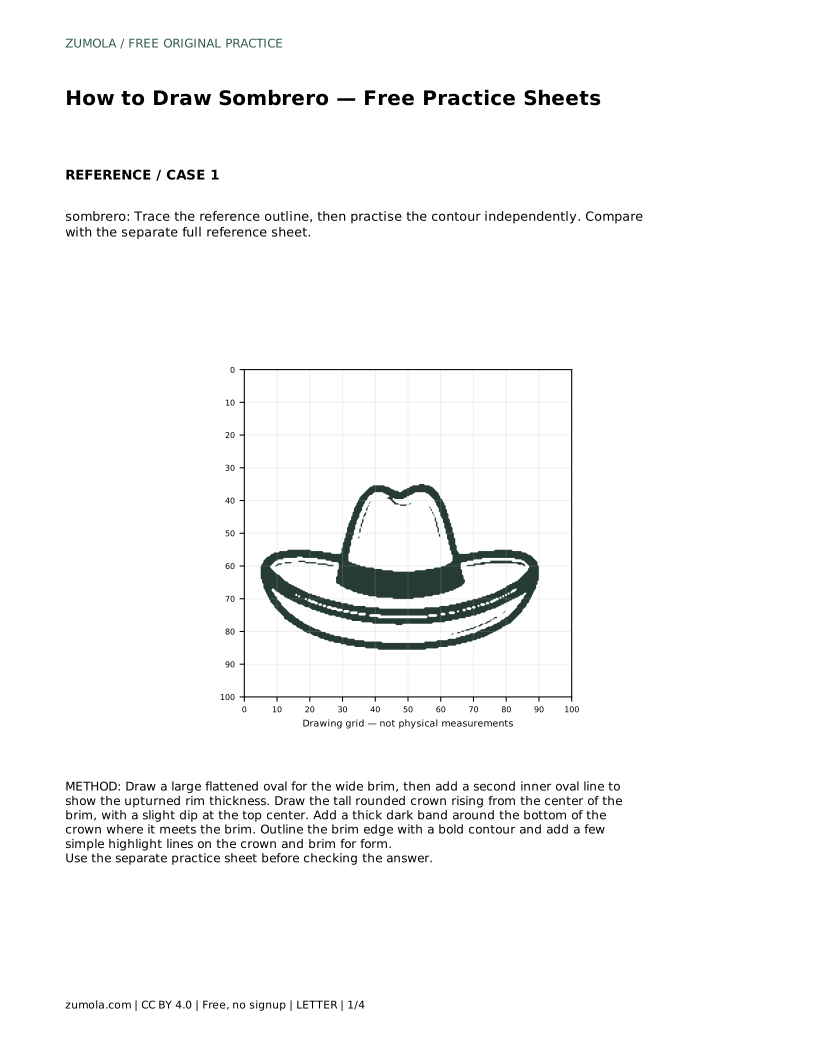
The sheets offer different ways into the same drawing. One asks you to trace the reference outline, then practise the contour independently. Another uses a grid: copy the reference onto the blank grid, matching grid intersections so proportions stay consistent. A third uses a bounding frame and centre guide to place the silhouette before adding details. A fourth gives the full reference and asks you to complete the blank right-hand portion.
Whichever sheet you use, compare your finished drawing with the separate full reference sheet. Look for the wide circular brim, the upturned outer edge, the tall rounded crown with its central dip, and the dark band at the base of the crown. Drawings will differ in small ways, and that is fine. Judge the visible features and their proportions rather than expecting a pixel-perfect match.
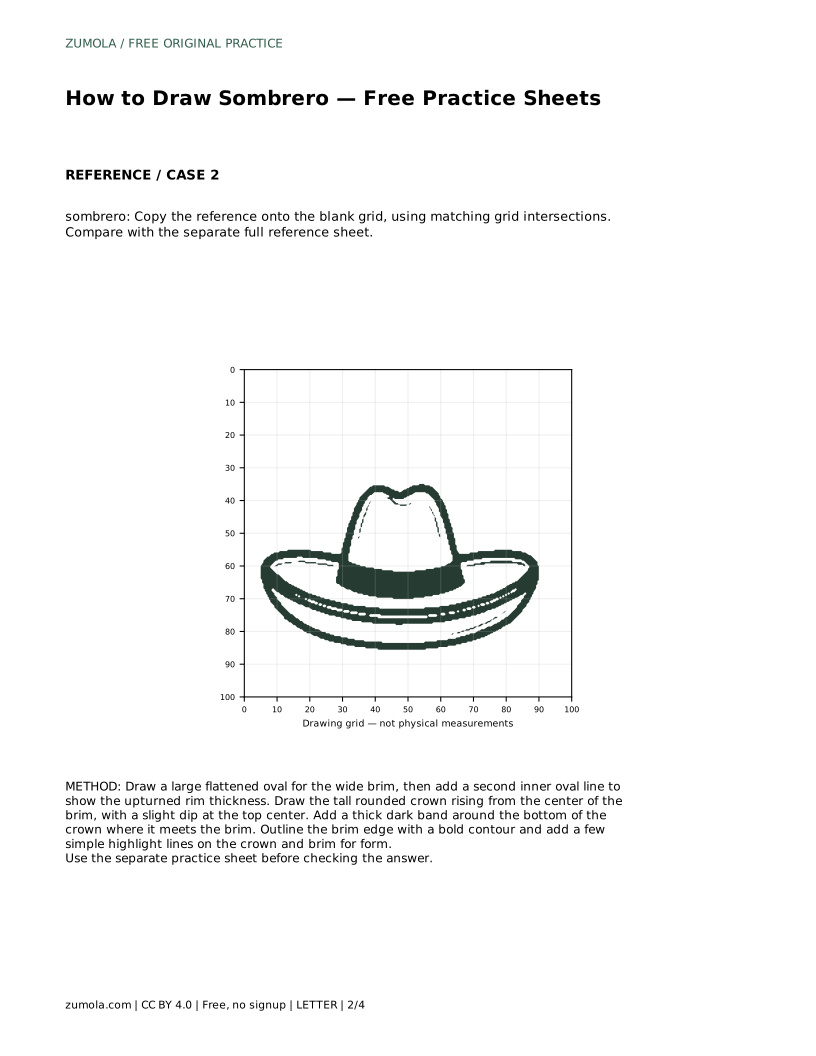
sombrero: Trace the reference outline, then practise the contour independently. Compare with the separate full reference sheet.
Example solution: preserve wide circular brim with an upturned outer edge, tall rounded crown with a central dip at the top, dark decorative band around the base of the crown. Other drawings can be correct; assess the visible features and proportions rather than pixel-perfect matching. Draw a large flattened oval for the wide brim, then add a second inner oval line to show the upturned rim thickness. Draw the tall rounded crown rising from the center of the brim, with a slight dip at the top center. Add a thick dark band around the bottom of the crown where it meets the brim. Outline the brim edge with a bold contour and add a few simple highlight lines on the crown and brim for form.
No. A slightly irregular oval still reads correctly. What matters is that the brim is wide, flattened and clearly larger than the crown.
Tall enough to look distinct from the brim, with rounded sides and a shallow dip at the top centre. Compare your crown height with the full reference sheet and adjust if it looks squat or pointed.
Yes. The band is the natural place for pattern. Keep the band's curved shape and position at the base of the crown, then vary the decoration as you like.
All drawing practice · Free coordinate paper
Original resources · CC BY 4.0 · Free for personal and classroom use with attribution.