Reference diagrams
LETTER · Download PDF
A4 · Download PDF
Free original resources
Learn to draw a rotary phone with a trapezoidal base, circular dial, handset on cradle, and coiled cord. Free printable practice sheets for tracing, grids, and frames.
Four original cases, with reference diagrams, practice sheets and worked answers. Everything is free; no signup required.
LETTER · Download PDF
A4 · Download PDF
LETTER · Download PDF
A4 · Download PDF
LETTER · Download PDF
A4 · Download PDF
Use A4 or US Letter to match your printer. Use the stated values and conditions to solve each exercise; diagrams are not physical measuring rulers.
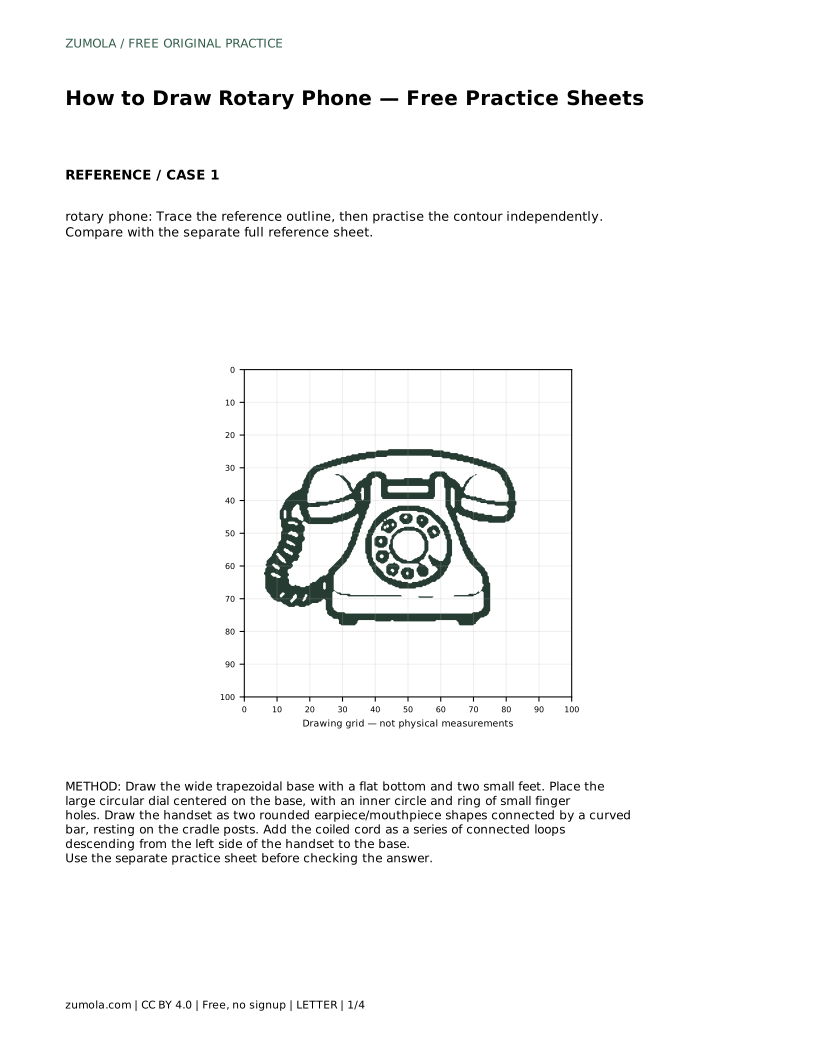
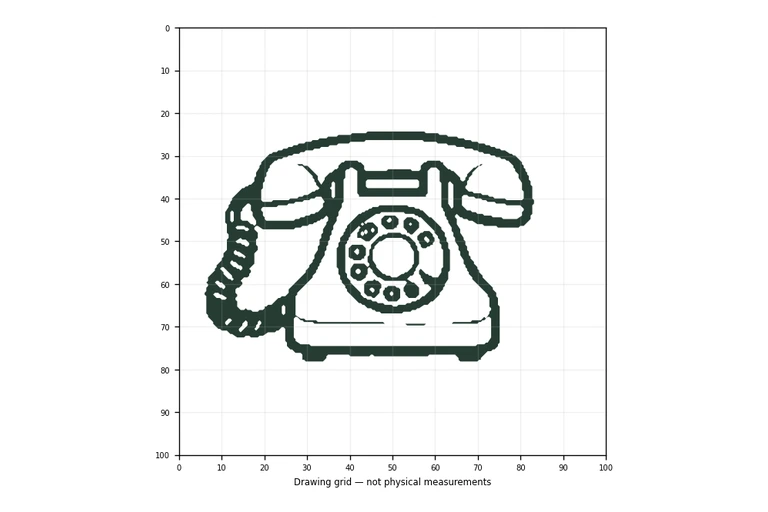
Drawing a rotary phone is a satisfying exercise in combining simple geometric shapes with recognizable details. This guide breaks the process into four clear steps: the wide base, the circular dial with finger holes, the handset resting on its cradle, and the coiled cord. You can practise by tracing a reference outline, copying onto a grid, using a bounding frame and center guide, or completing a partially drawn sheet. Each method builds the same core skill: placing the main forms accurately, then adding the features that make the object unmistakably an old phone.
Begin by drawing the base as a wide trapezoid with a flat bottom and two small feet. The trapezoid should be wider at the bottom than at the top, giving the phone a stable, grounded look. Keep the sides gently sloped rather than vertical. Next, place a large circle centered on the front face of the base. This is the dial. Inside it, draw a smaller concentric circle, then arrange a ring of small finger holes evenly around the inner circle. The holes should sit between the outer edge of the dial and the inner circle, not on the rim itself. Spacing them by eye is fine; aim for consistency rather than perfect measurement.
The handset sits on top of the base, resting on two cradle posts. Draw the handset as two rounded shapes—one for the earpiece and one for the mouthpiece—connected by a curved bar. The earpiece is usually slightly smaller and rounder; the mouthpiece can be a little wider. The connecting bar should curve gently upward in the middle, like a shallow arch. Place the handset so that its ends rest on the cradle posts, which are small raised shapes on the top of the base. The handset should look balanced and horizontal, not tilted. Check that the earpiece and mouthpiece are roughly the same size and that the bar between them is smooth and continuous.
The coiled cord hangs from the left side of the handset down to the base. Draw it as a series of connected loops, like a spring. Start at the handset, make a small loop, then continue downward with evenly sized loops until you reach the base. The loops should overlap slightly to suggest coil depth. Keep the cord on the left side as shown in the reference; this placement helps the drawing read clearly. The cord should not cross over the dial or the handset. If your loops become uneven, adjust the spacing rather than erasing the whole cord—small variations are normal in hand drawing.
After drawing the main parts, compare your phone to the reference sheet. Check that the dial is large and centered, the handset rests on the cradle, and the cord is on the left. The base should be wider at the bottom, and the feet should be visible. Look at the overall silhouette: the phone should look stable and balanced. If the dial seems too small, enlarge it slightly; if the handset floats above the cradle, lower it. Remember that multiple correct drawings are possible—assess the visible features and proportions rather than aiming for a pixel-perfect match. Use the rubric below to guide your self-check.
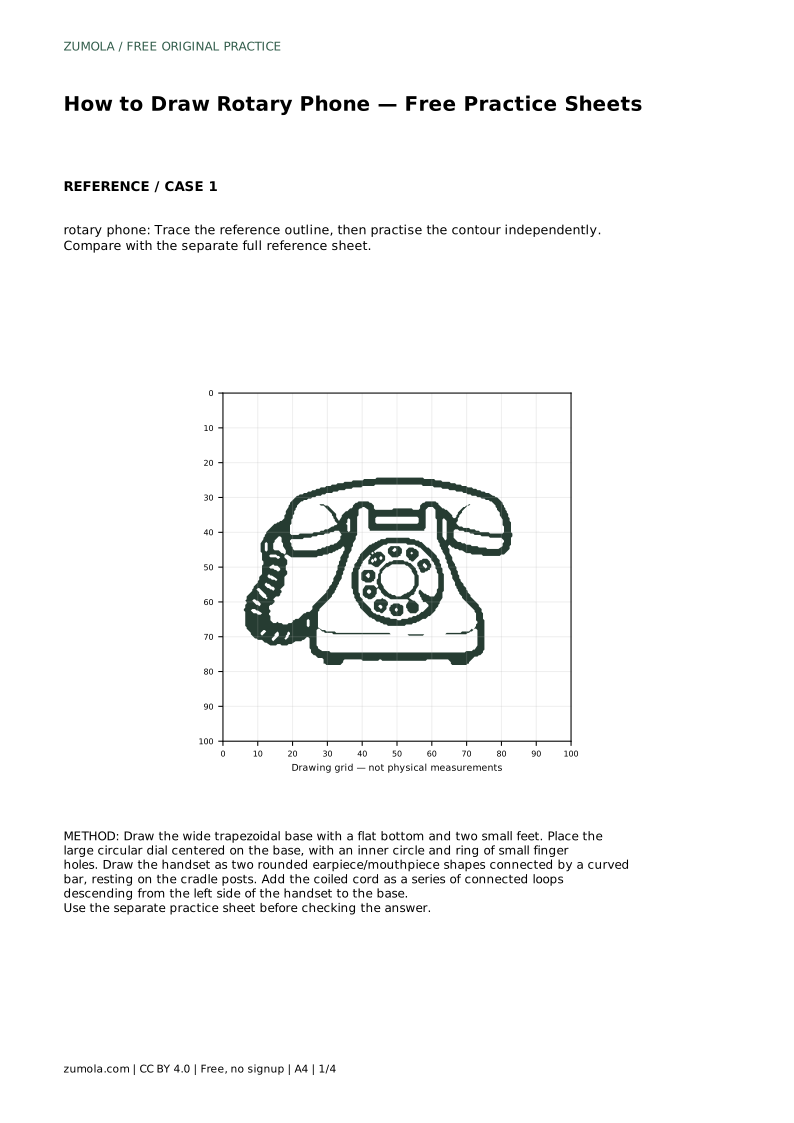
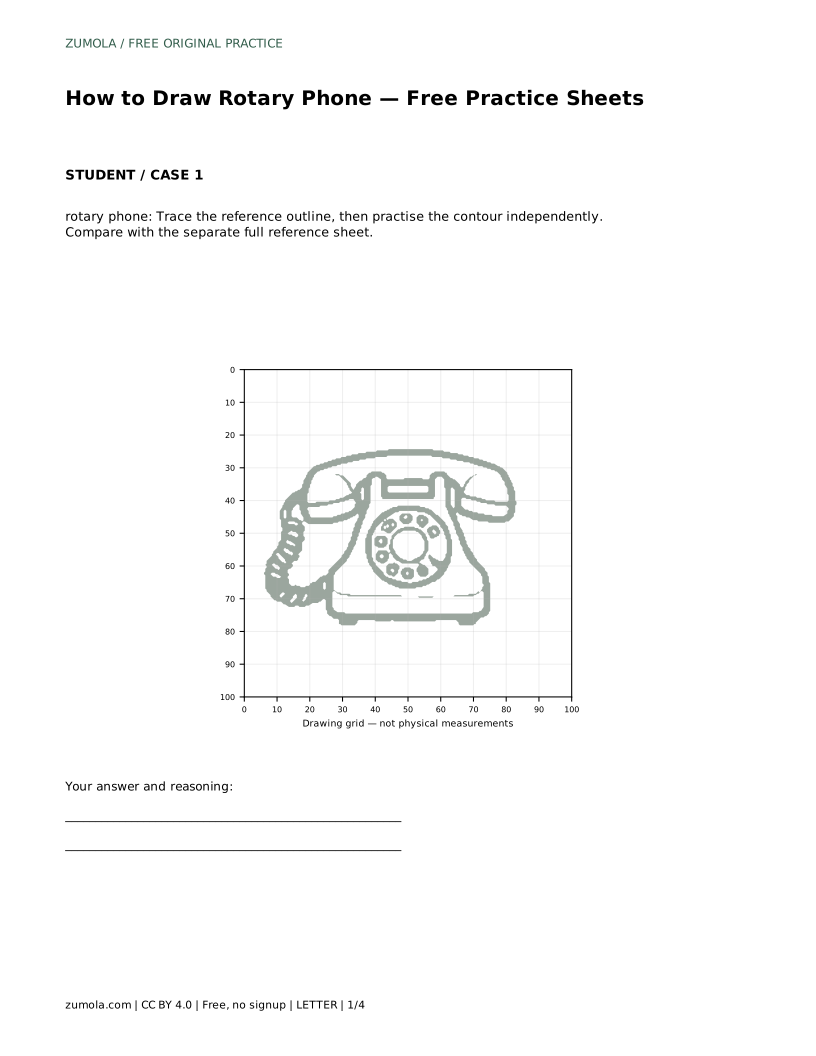
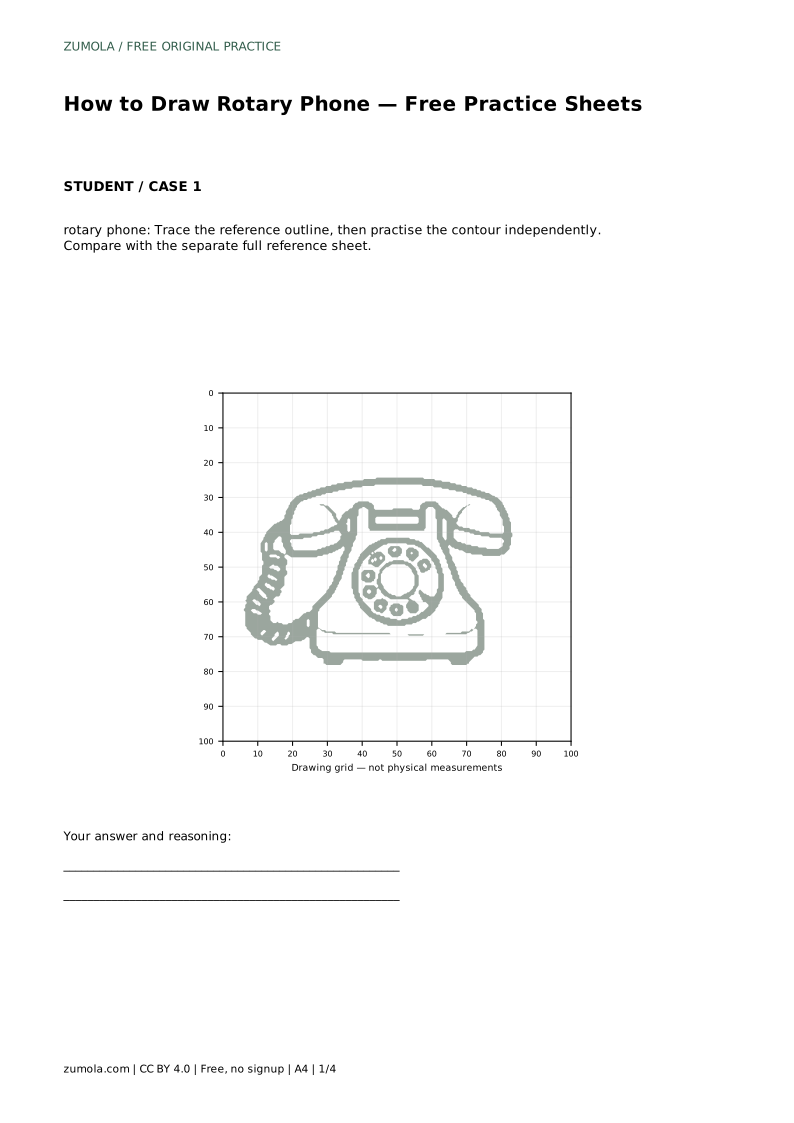
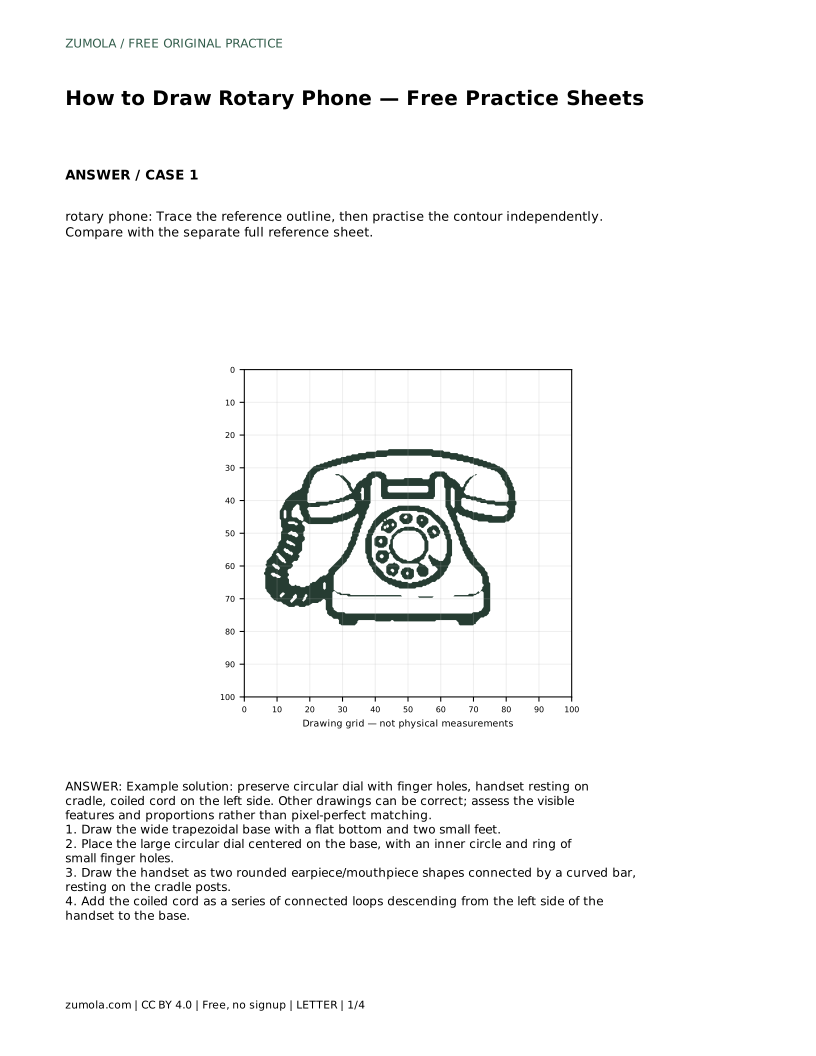
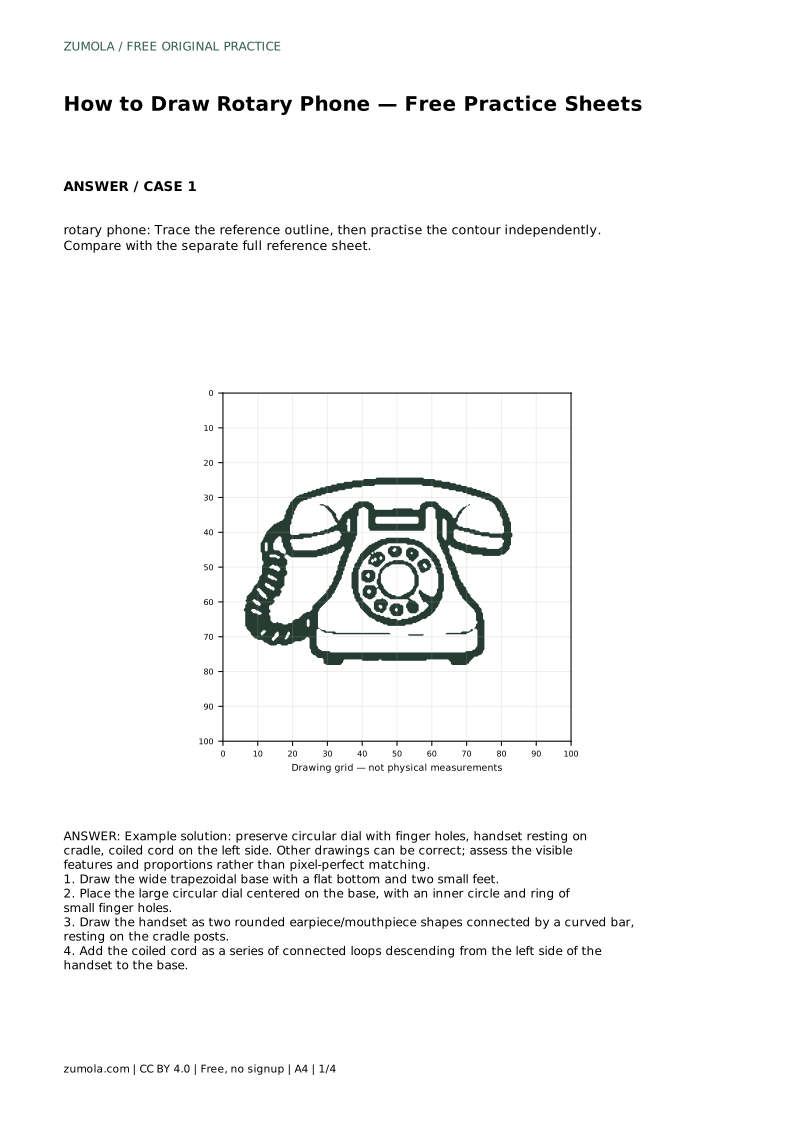
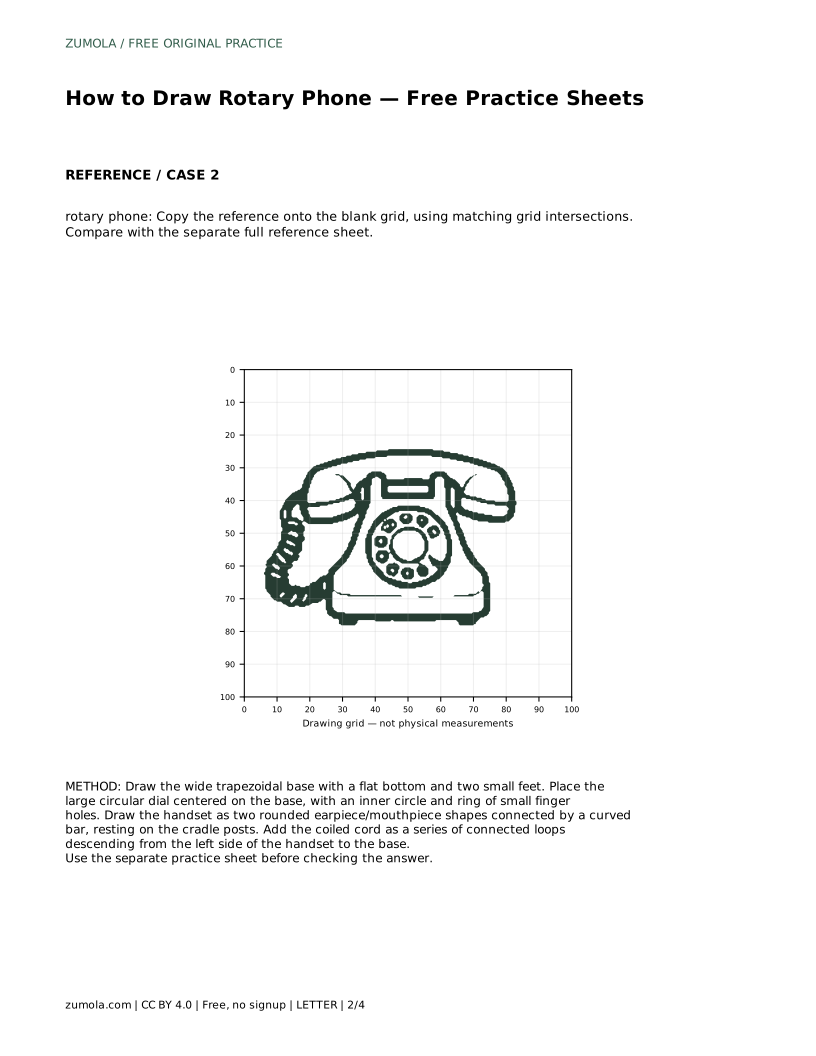
rotary phone: Trace the reference outline, then practise the contour independently. Compare with the separate full reference sheet.
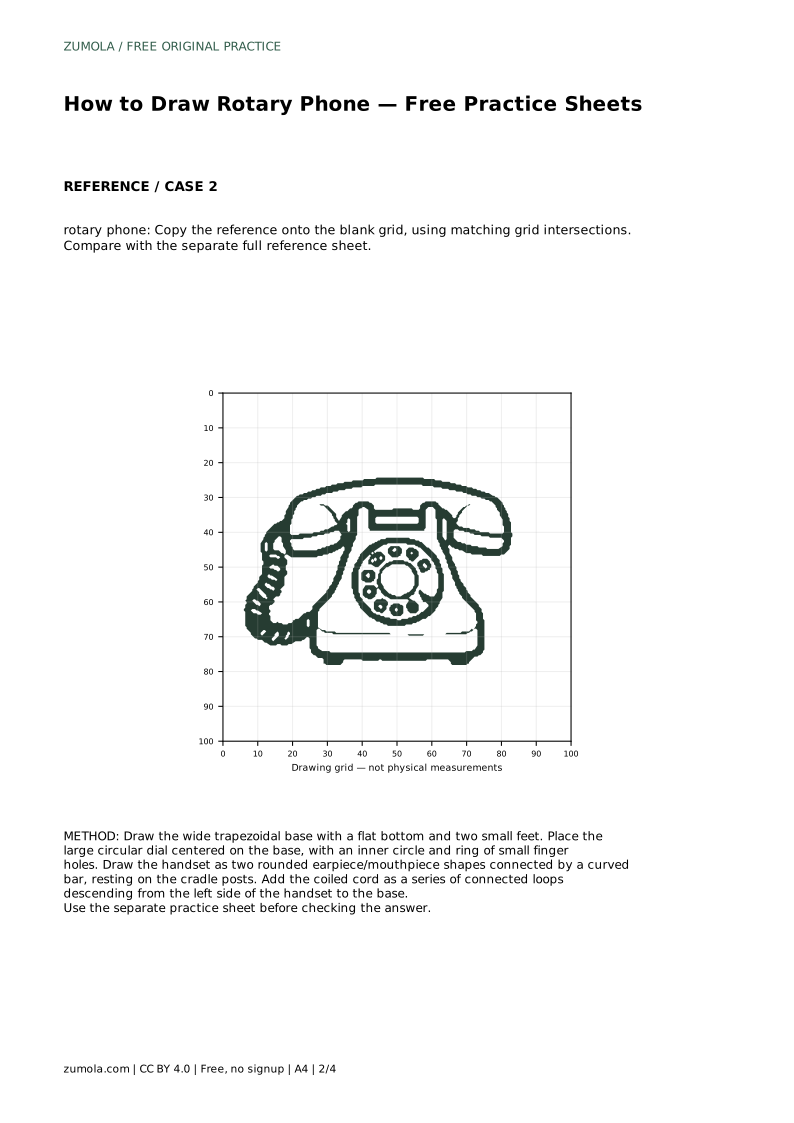
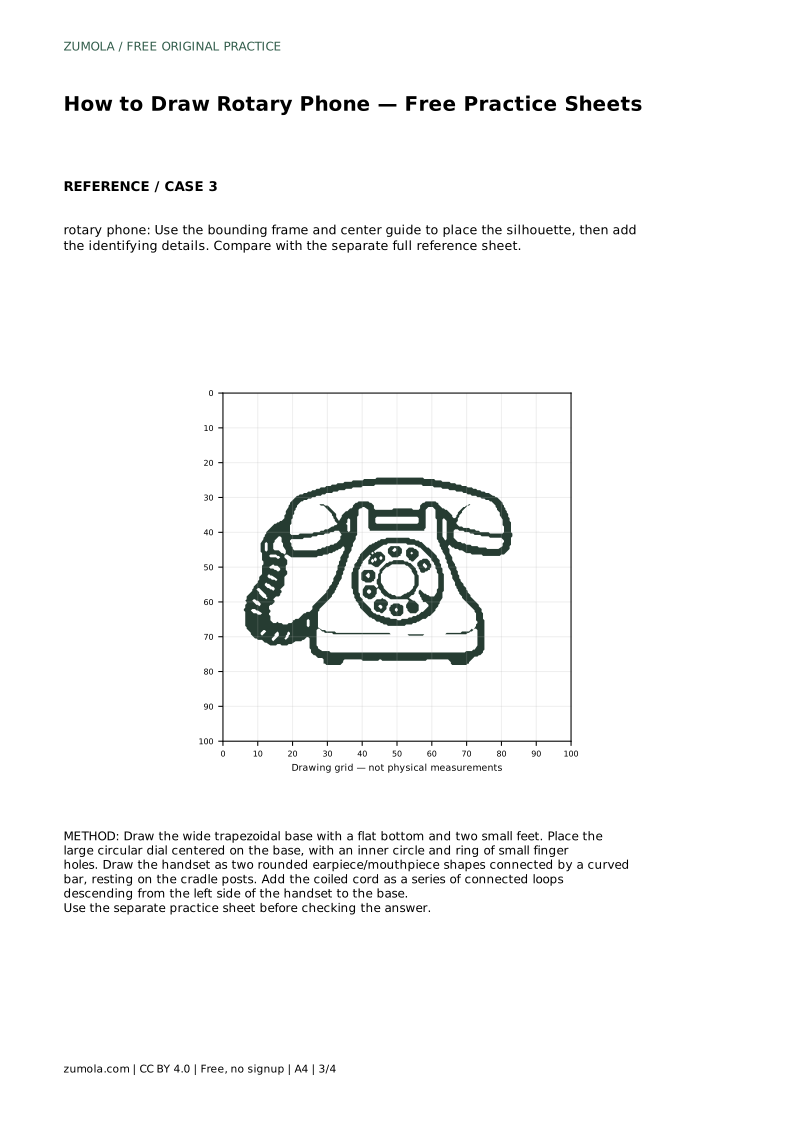
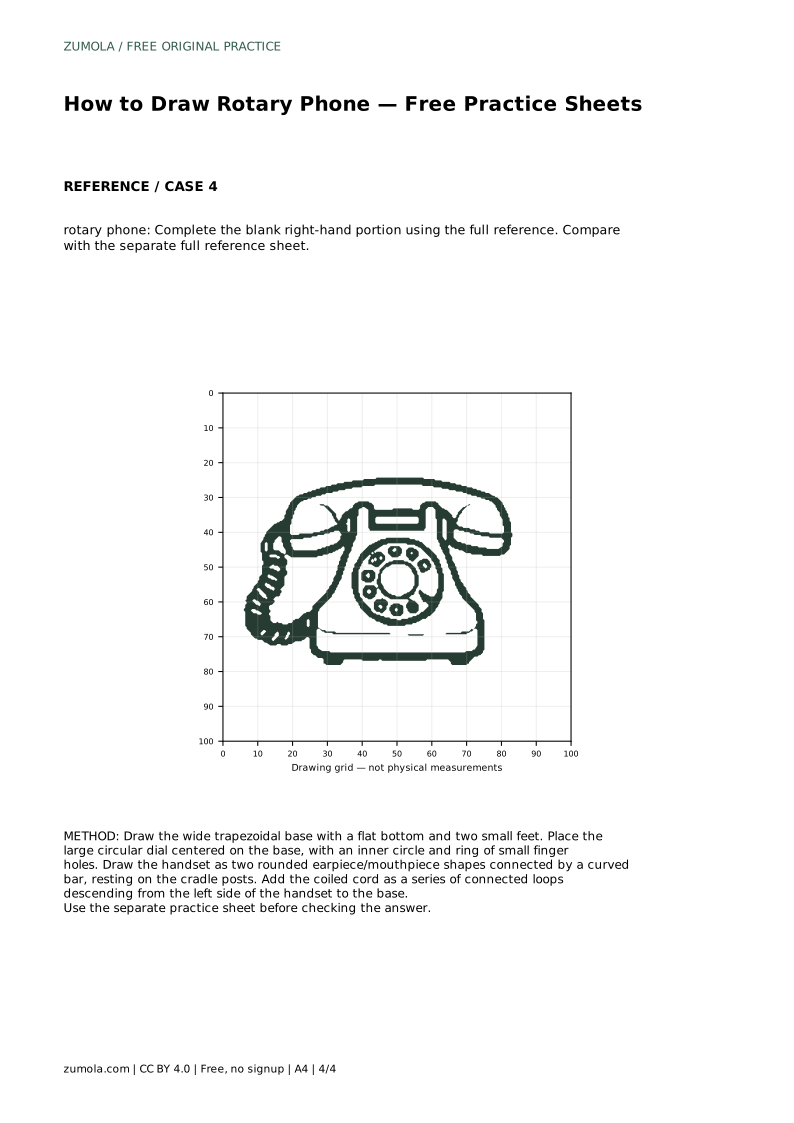
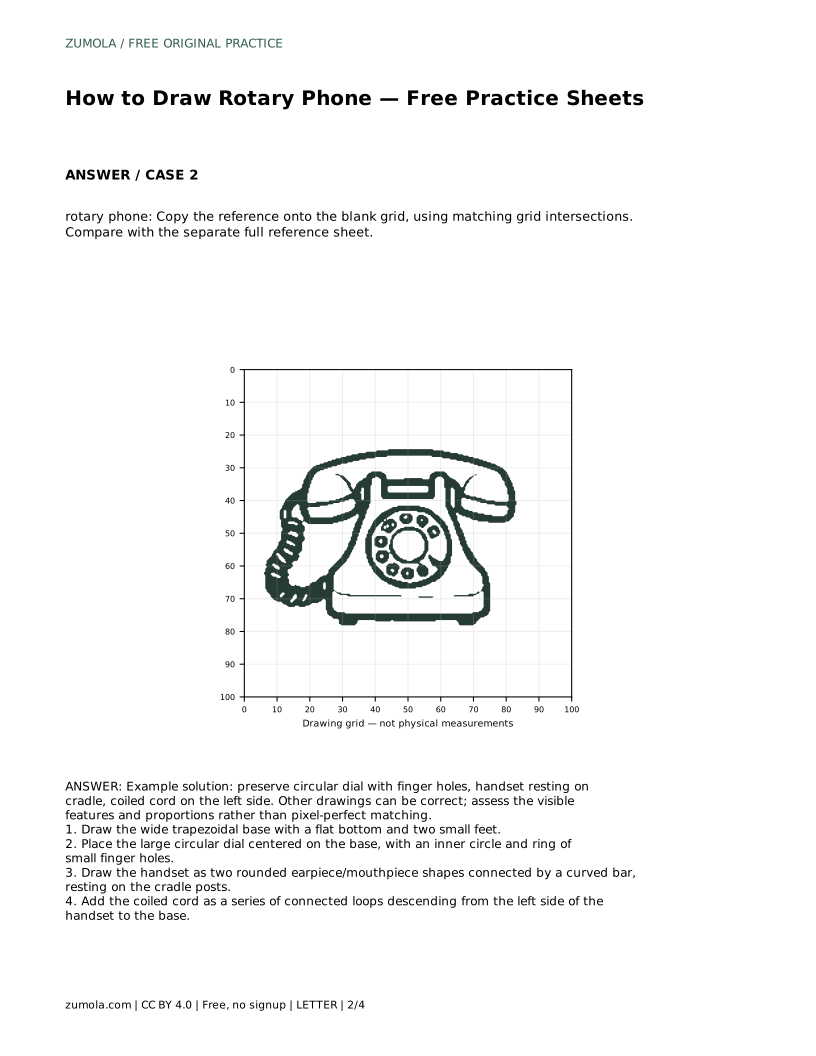
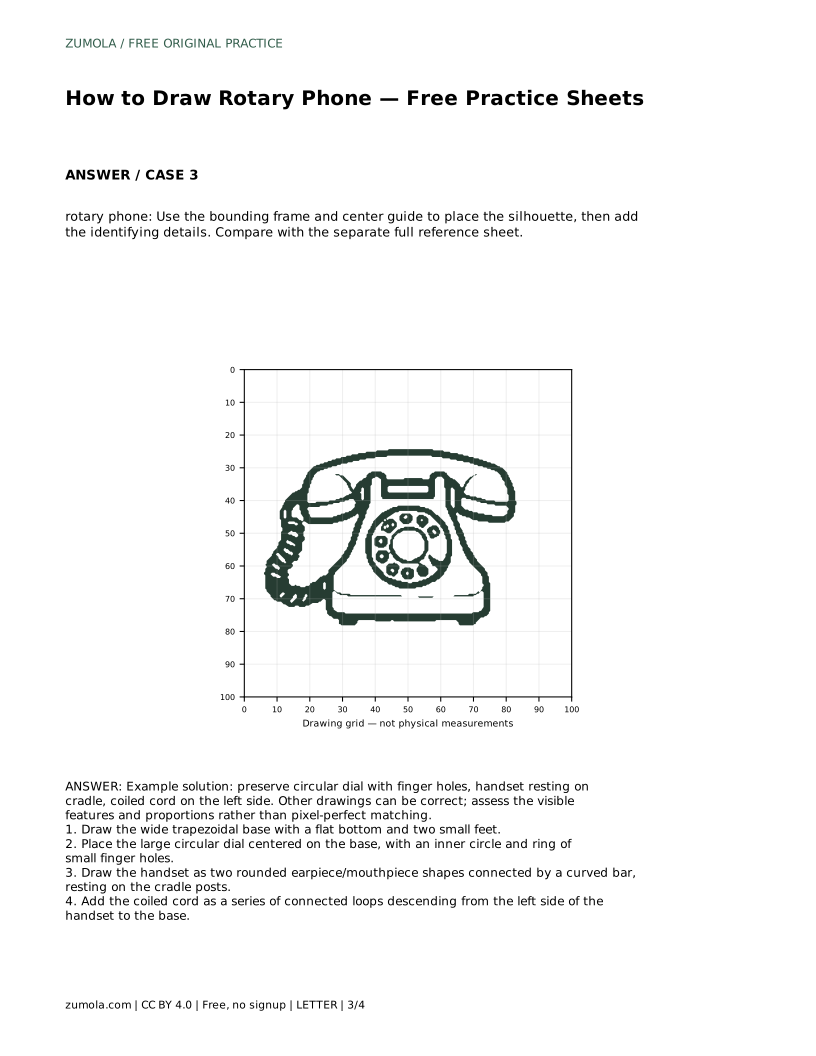
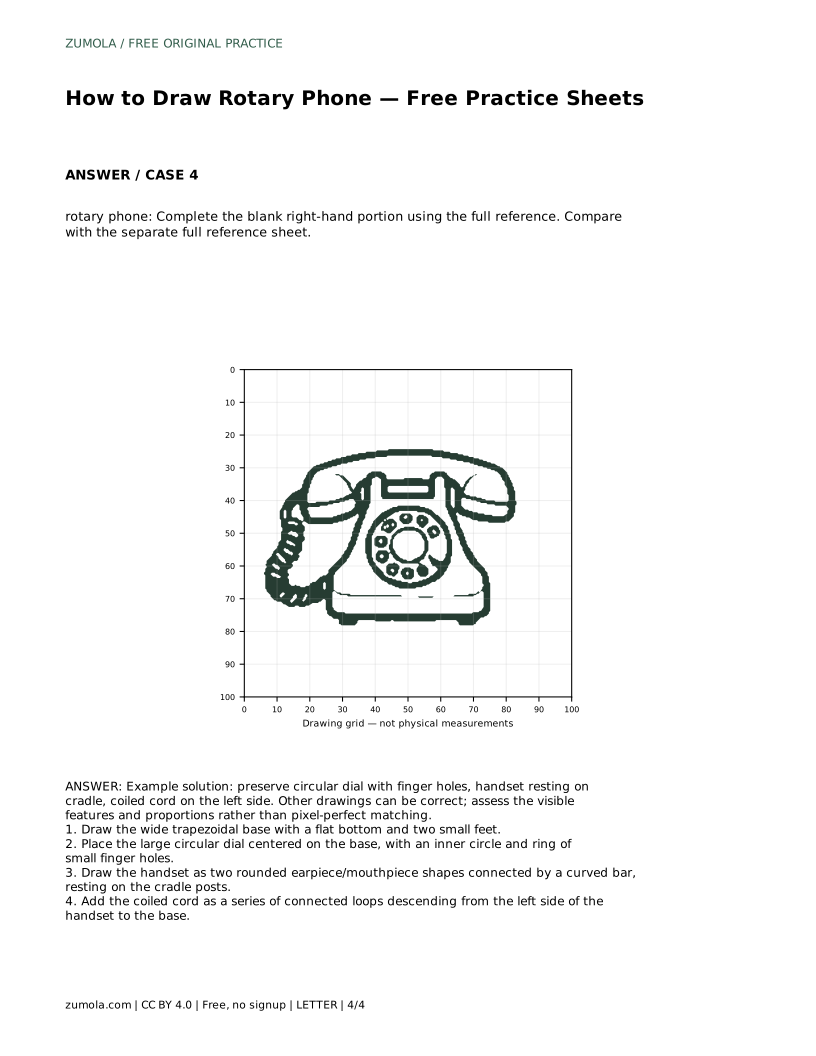
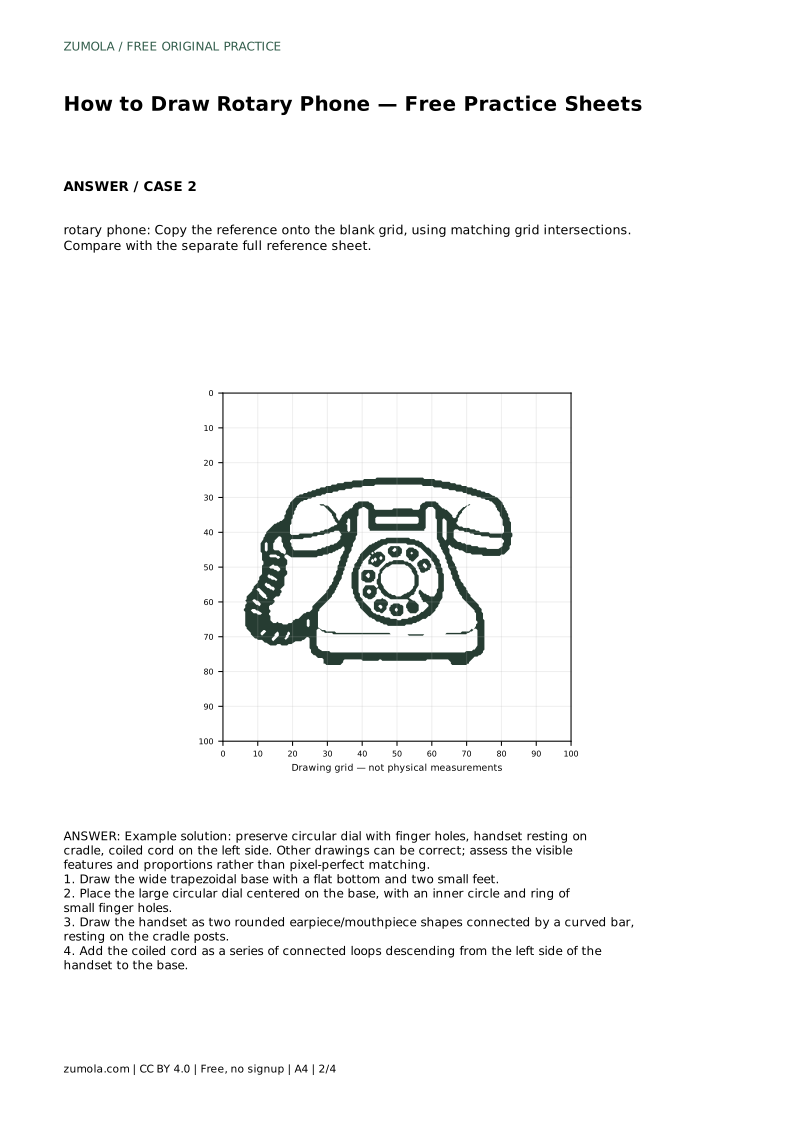
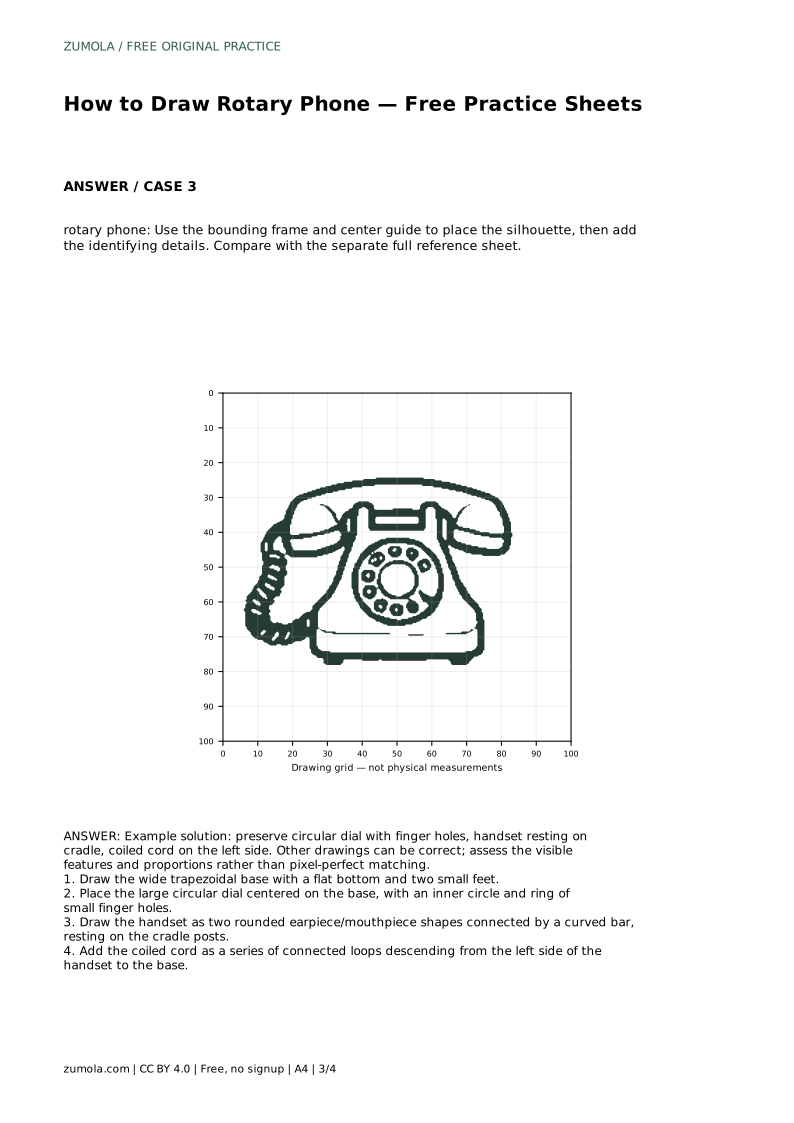
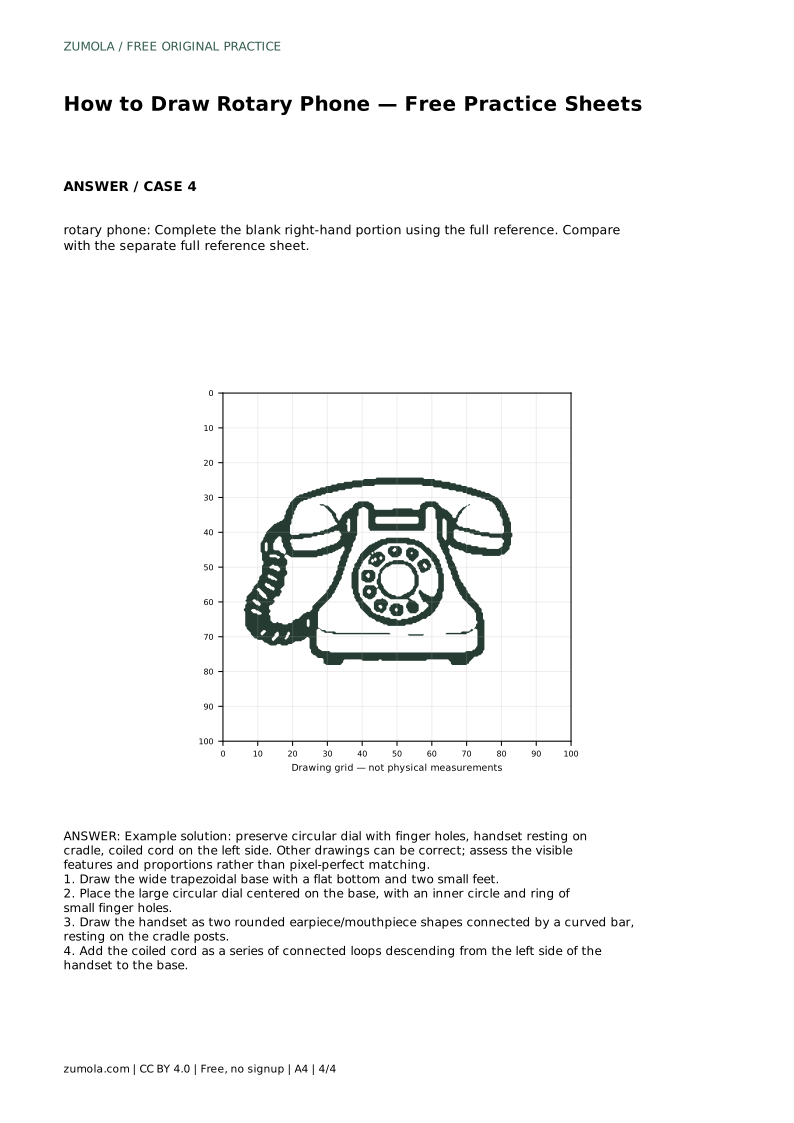
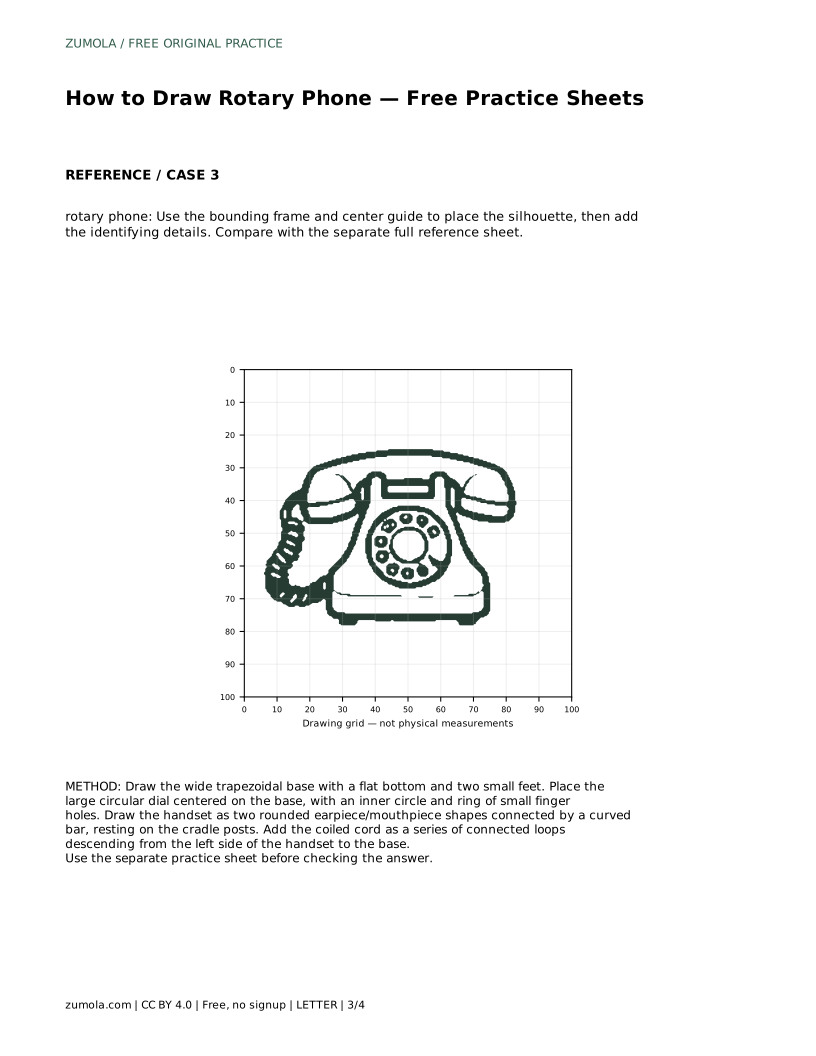
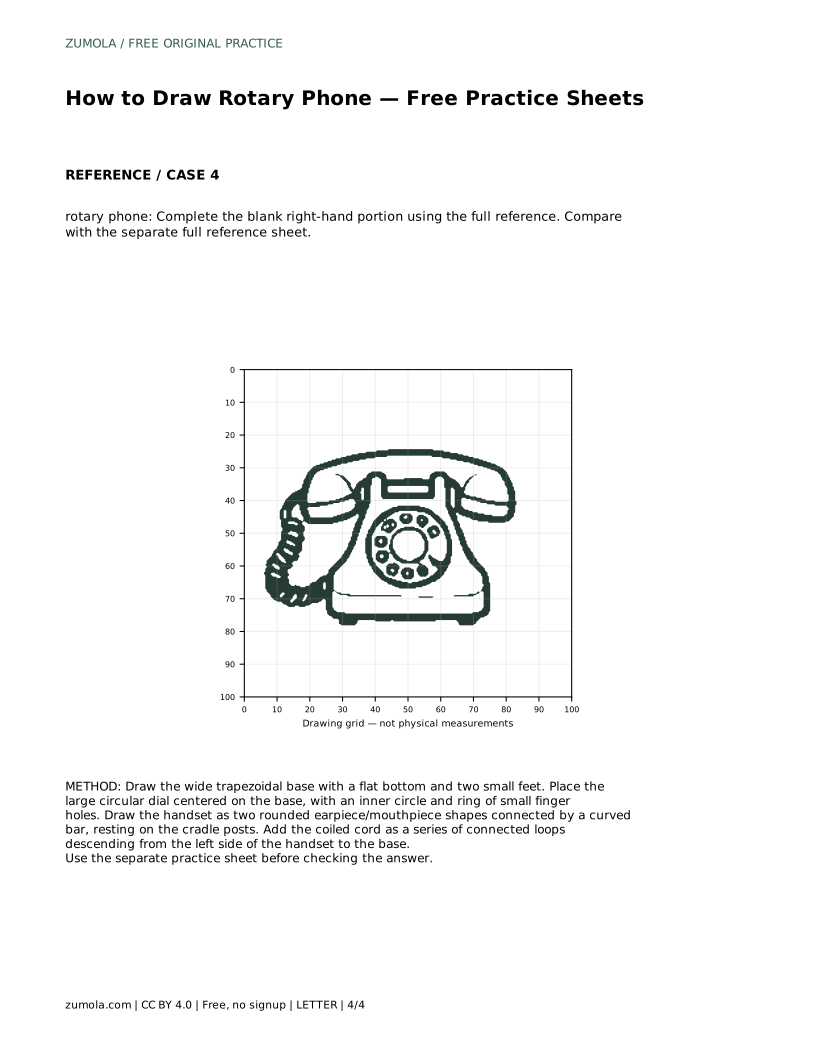
Example solution: preserve circular dial with finger holes, handset resting on cradle, coiled cord on the left side. Other drawings can be correct; assess the visible features and proportions rather than pixel-perfect matching. Draw the wide trapezoidal base with a flat bottom and two small feet. Place the large circular dial centered on the base, with an inner circle and ring of small finger holes. Draw the handset as two rounded earpiece/mouthpiece shapes connected by a curved bar, resting on the cradle posts. Add the coiled cord as a series of connected loops descending from the left side of the handset to the base.
No. Aim for a consistent ring of small holes, but slight variation is normal and acceptable. The key is that the holes are visible and arranged around the dial.
The reference shows the cord on the left. For practice, follow the reference placement. If you draw your own version, either side can work, but keep the cord clear of the dial and handset.
Use the rubric to check the main features: trapezoidal base with feet, centered circular dial with finger holes, handset resting on cradle, and coiled cord on the left. Multiple correct drawings are possible.
All drawing practice · Free coordinate paper
Original resources · CC BY 4.0 · Free for personal and classroom use with attribution.