Reference diagrams
LETTER · Download PDF
A4 · Download PDF
Free original resources
Learn to draw a picnic basket with a tapered body, crosshatch weave, slatted lid, and arched side handle. Free printable practice sheets for tracing, grids, and completion.
Four original cases, with reference diagrams, practice sheets and worked answers. Everything is free; no signup required.
LETTER · Download PDF
A4 · Download PDF
LETTER · Download PDF
A4 · Download PDF
LETTER · Download PDF
A4 · Download PDF
Use A4 or US Letter to match your printer. Use the stated values and conditions to solve each exercise; diagrams are not physical measuring rulers.
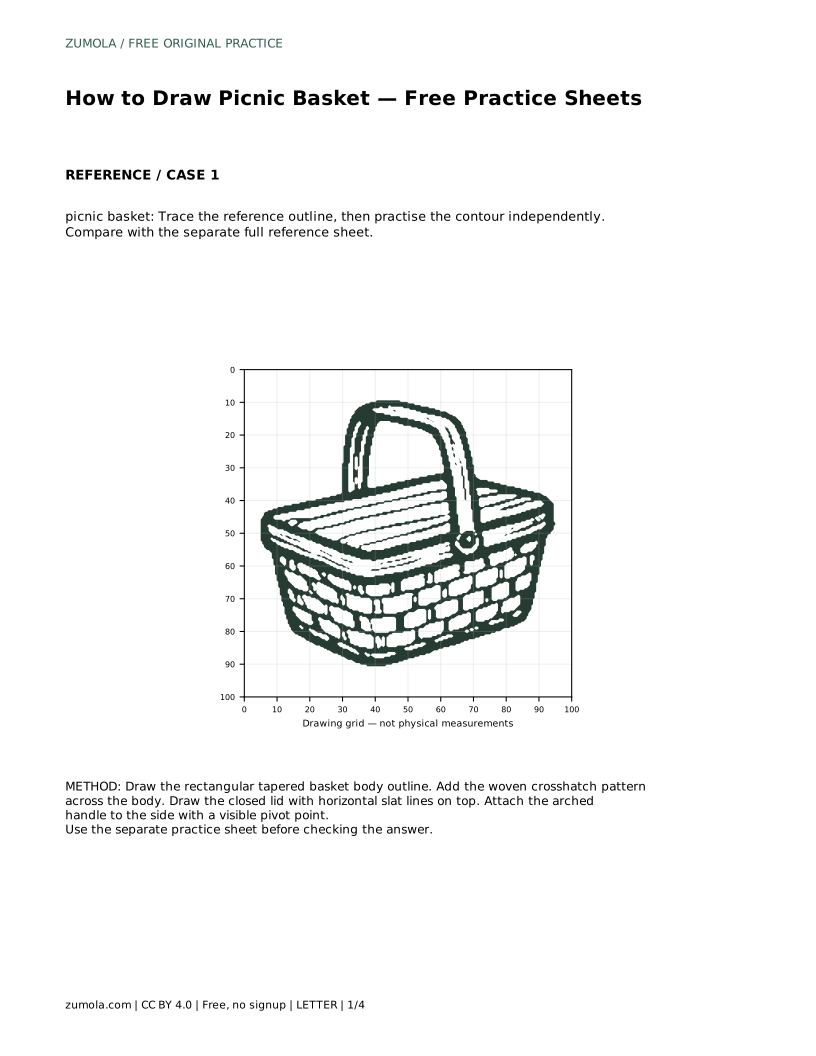
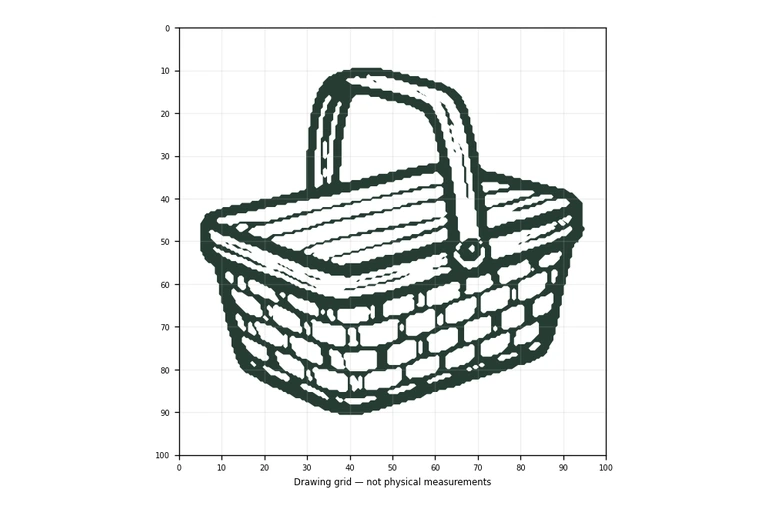
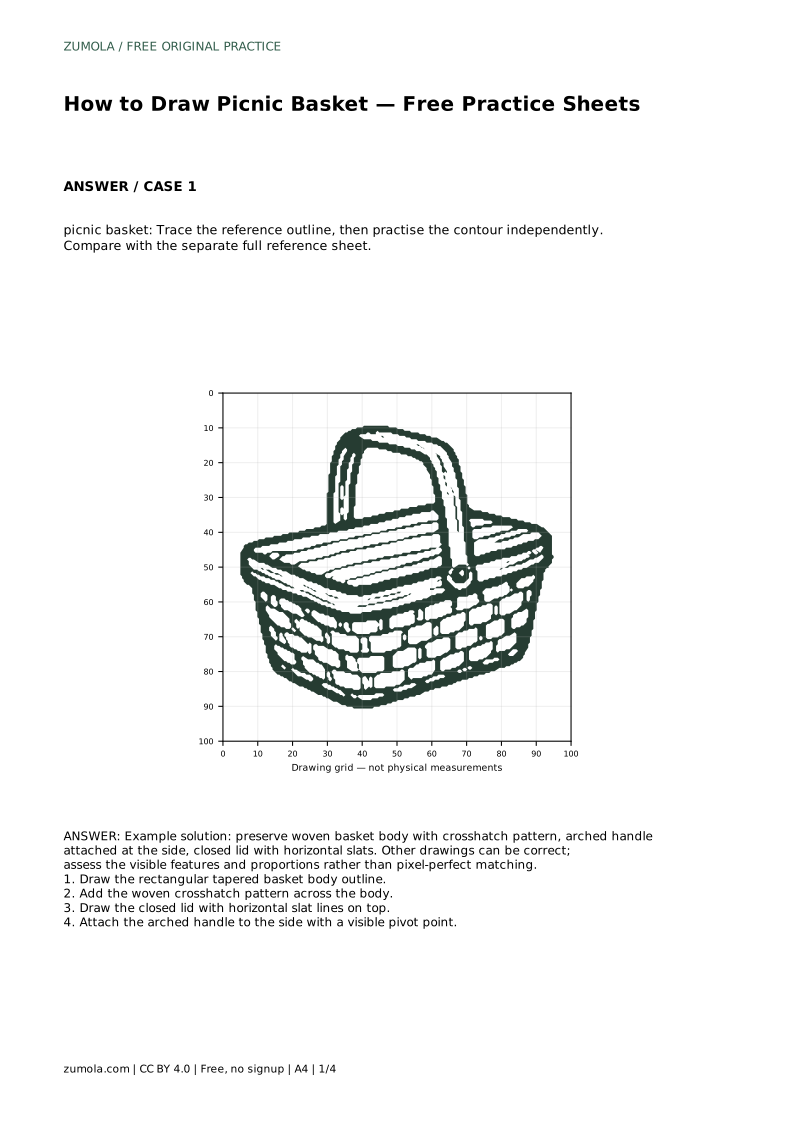
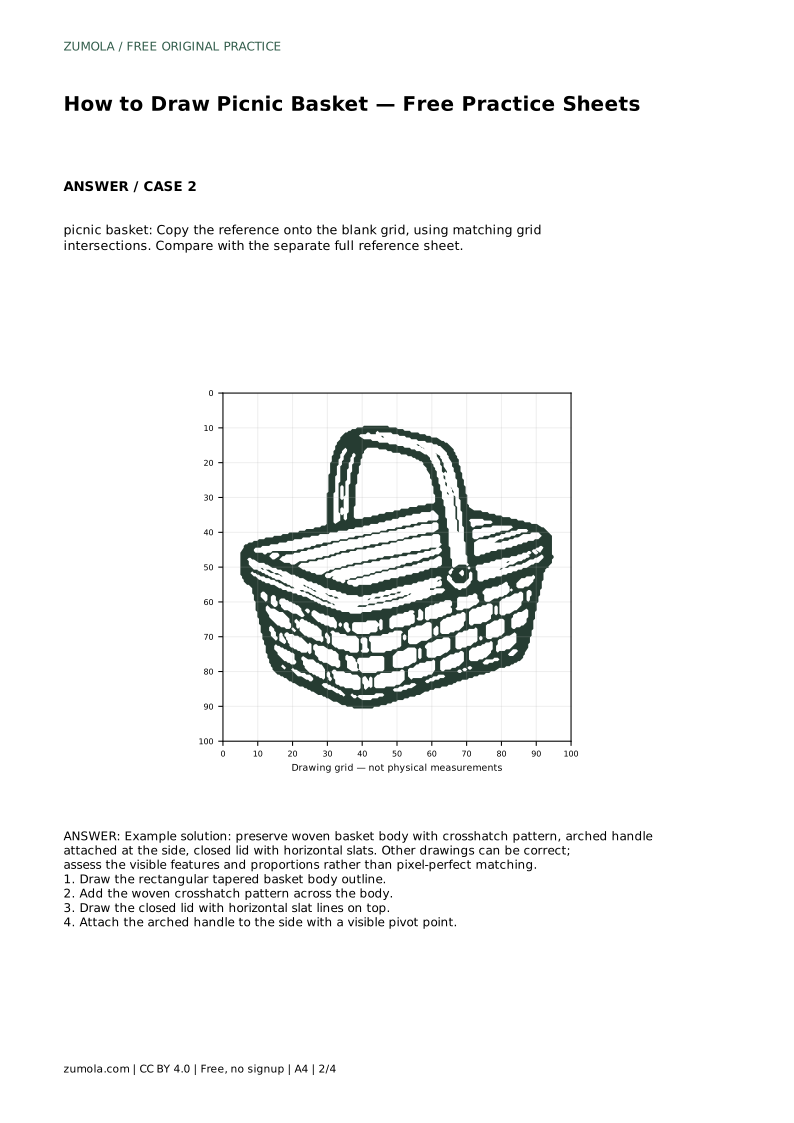
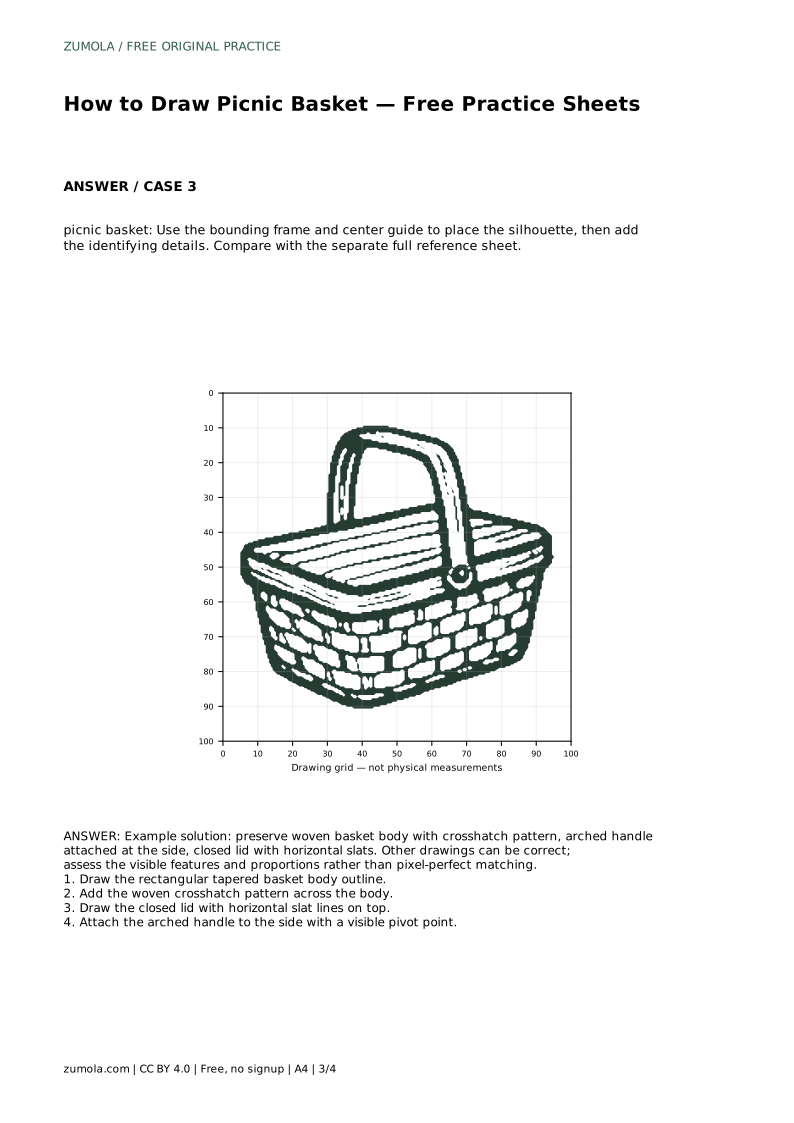
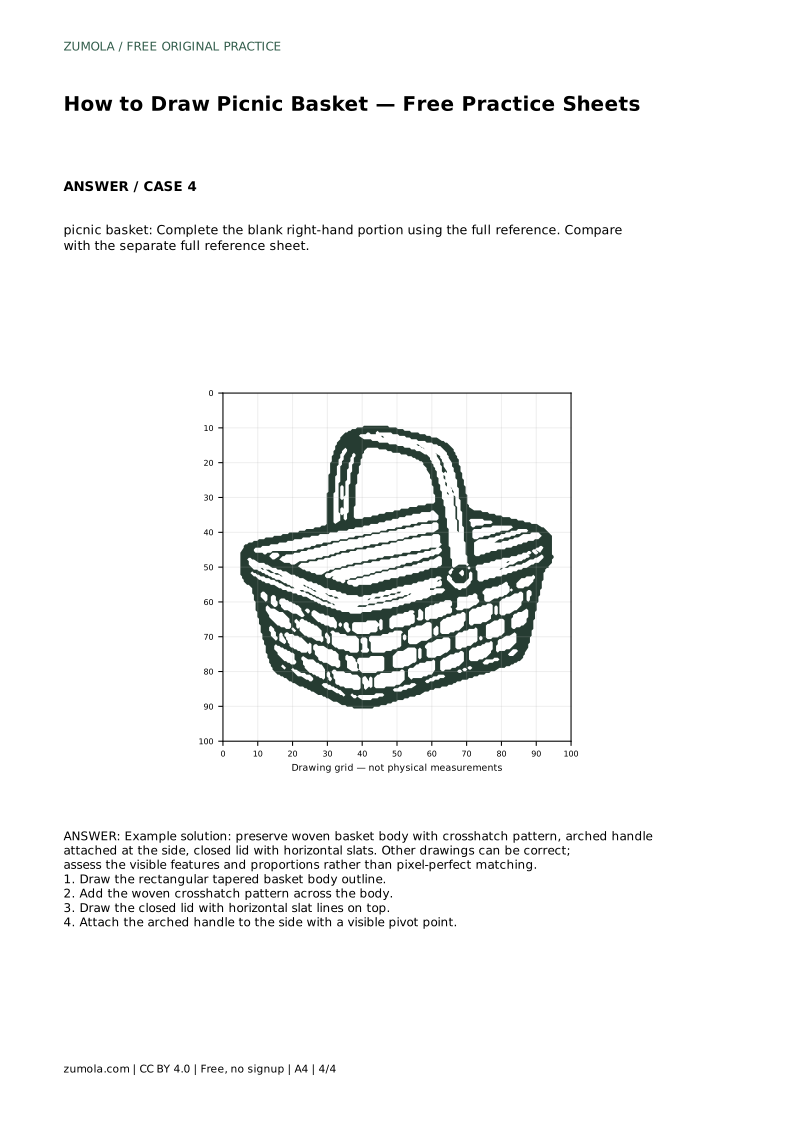
Drawing a picnic basket is a useful exercise in combining a simple tapered shape with repeating surface patterns and a curved handle. This page explains the key visible features—woven body, closed lid with horizontal slats, and an arched handle attached at the side—and how to practise them using trace, grid, and completion sheets. The goal is not a pixel-perfect copy but a drawing that preserves the basket's identifying structure and proportions. Work through the steps below, then use the rubric to assess your own result.
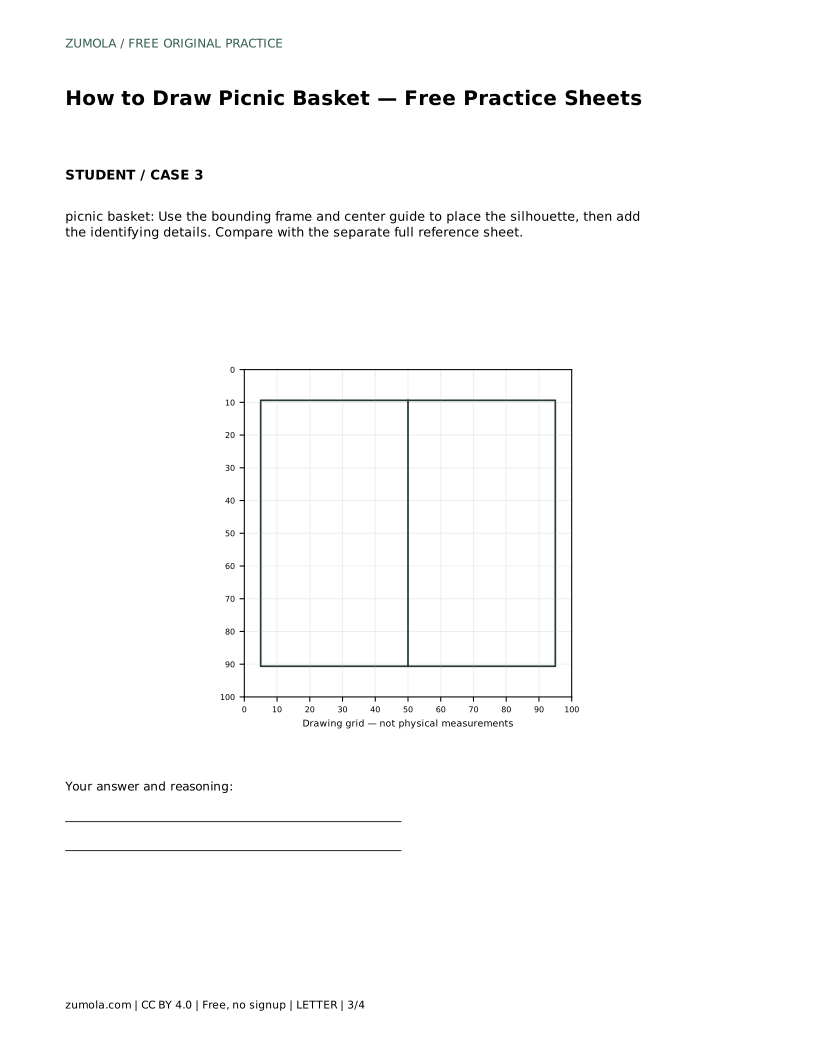
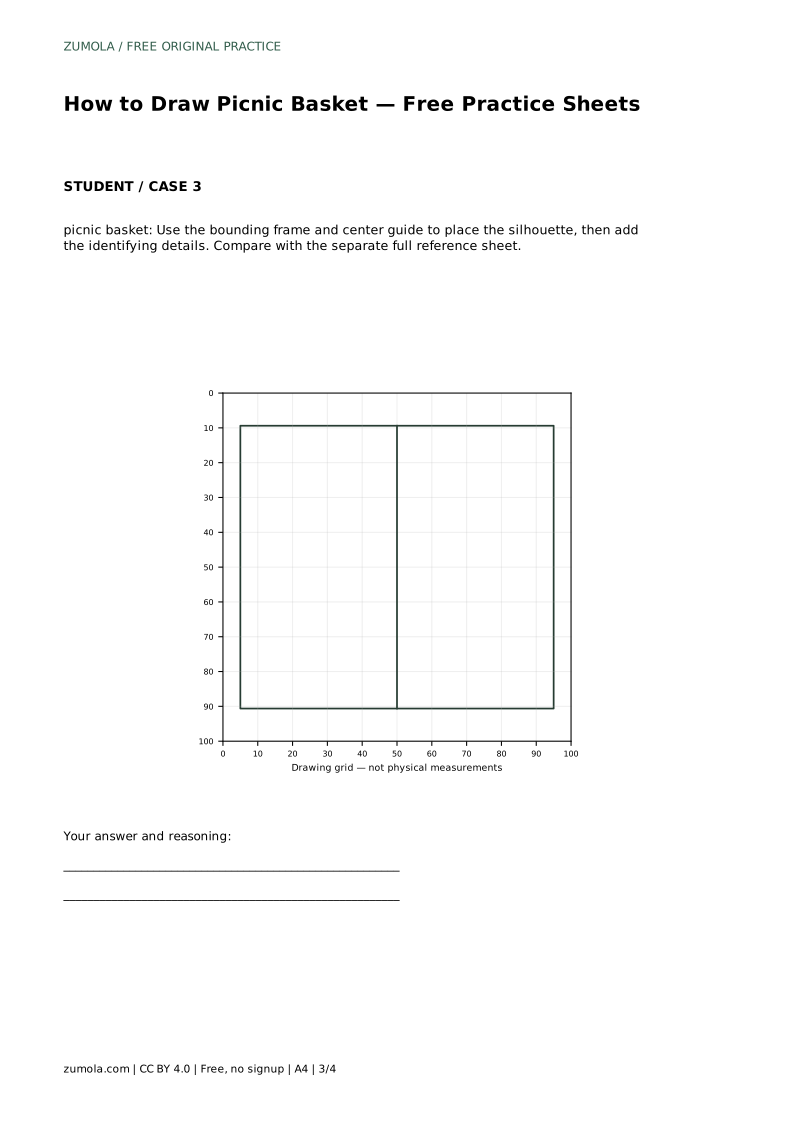
Begin by placing the overall silhouette. The basket body is a rectangular form that tapers slightly toward the base: the top edge is wider than the bottom edge, and the sides slant inward as they descend. Keep the front face roughly rectangular in proportion, but do not make it a perfect square unless your reference shows that. The closed lid sits on top of the body, so its front edge aligns with the top edge of the basket. Draw the lid as a shallow horizontal band above the body, then add horizontal slat lines across it to show the lid's construction. These slats run parallel to the lid's front edge and should be evenly spaced. Avoid drawing the lid as a separate floating rectangle; it should read as a cover that fits the basket opening.
The woven texture is what makes the basket read as woven rather than as a plain box. Use a crosshatch pattern: a set of diagonal lines in one direction crossed by a set of diagonal lines in the other direction. Keep the lines within the basket body and let them follow the taper slightly—lines near the bottom can be a little closer together if the body narrows. Do not draw the crosshatch over the lid or handle. The pattern should be regular enough to suggest weaving but does not need to be mechanically perfect. If you are copying from a grid reference, use the grid intersections to keep the spacing consistent. A common mistake is to make the crosshatch too dense or too sparse; aim for a spacing that lets each line remain visible at normal viewing size.
The handle is an arch that rises above the lid and attaches to the side of the basket at a visible pivot point. Draw the arch as a smooth curve, not a straight line or a perfect semicircle unless your reference shows that. The handle should start at one side of the basket, curve upward and over the lid, and end at the opposite side. At each attachment point, draw a small circle or short line to indicate the pivot where the handle meets the basket. The handle should not float above the basket; it must connect clearly to the side. If the handle crosses in front of the lid, draw it after the lid so the overlap is clear. Keep the handle's thickness consistent along its length.
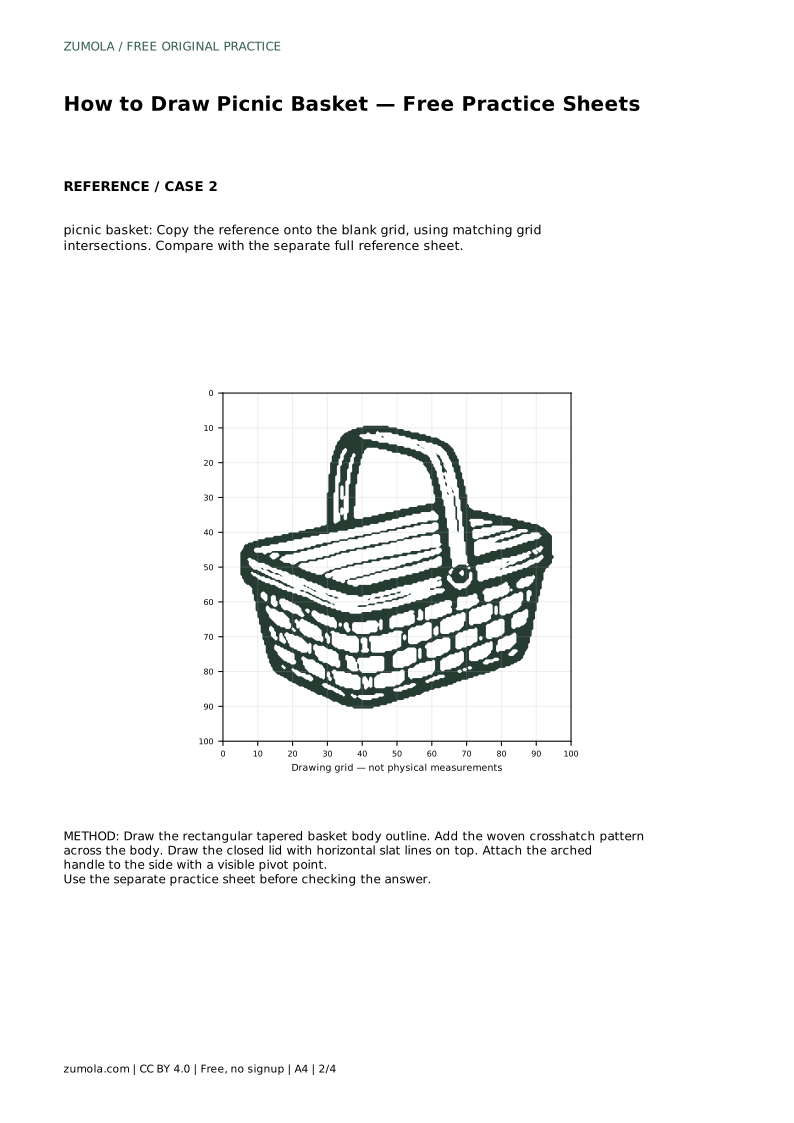
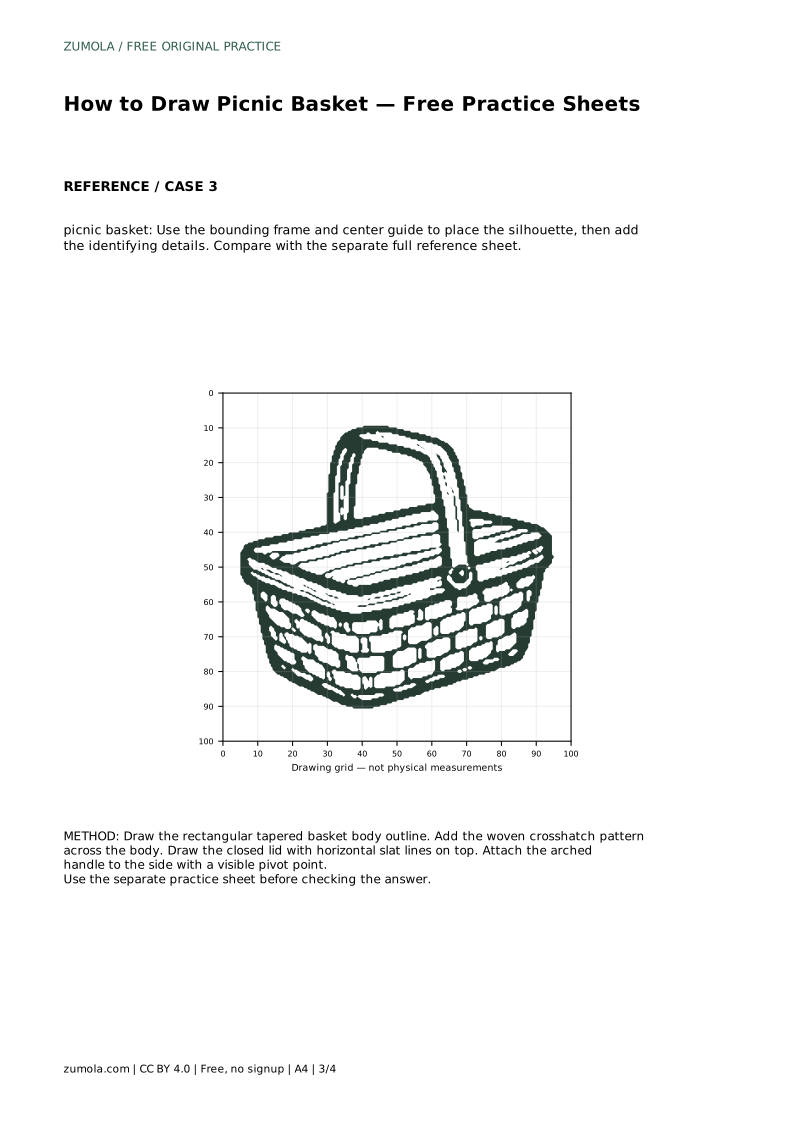
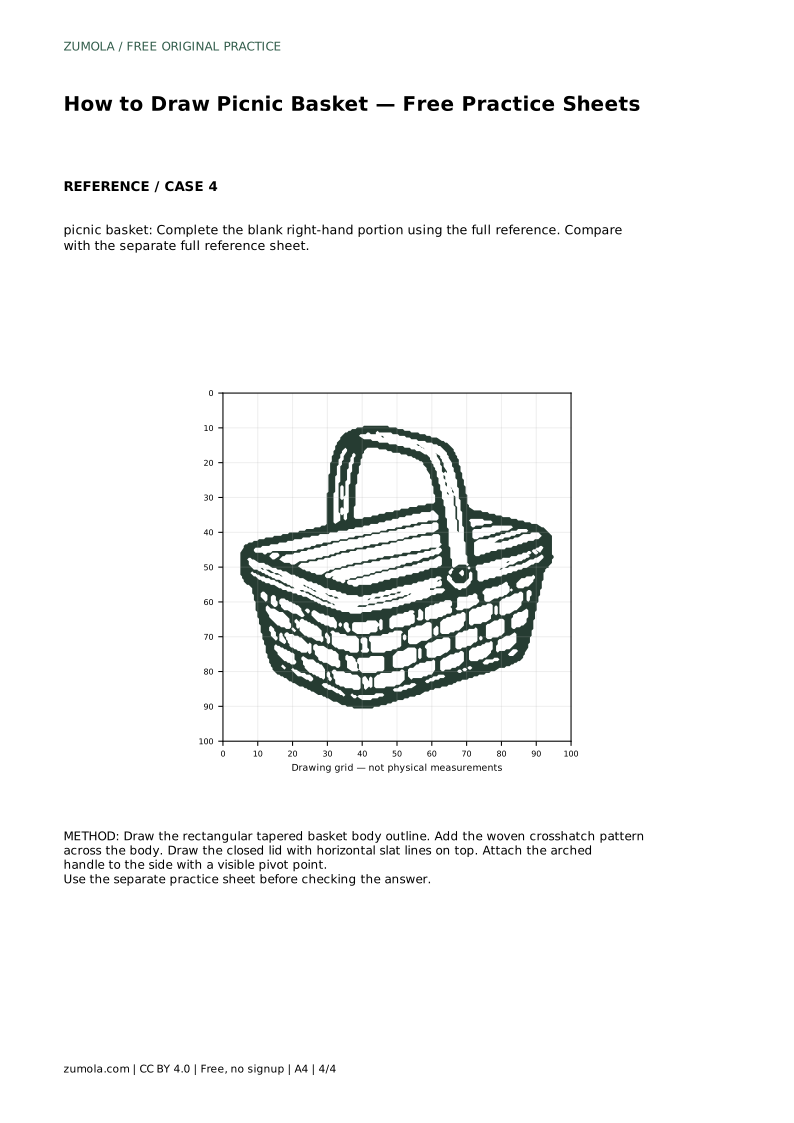
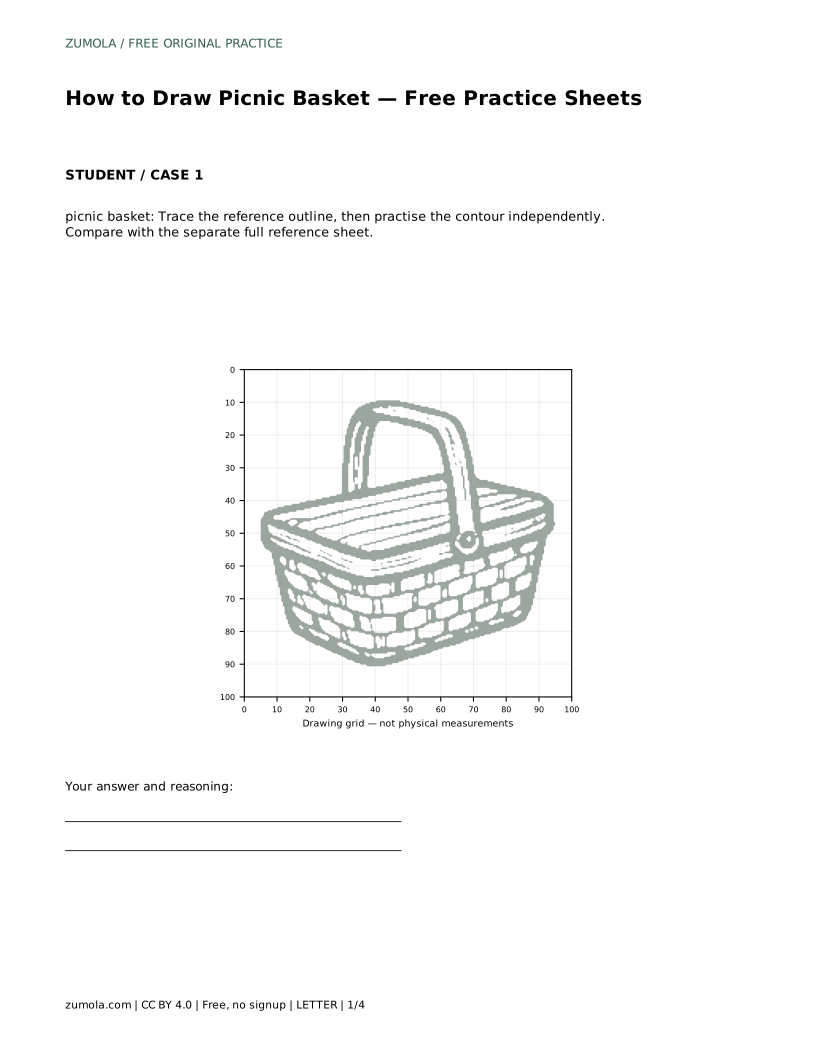
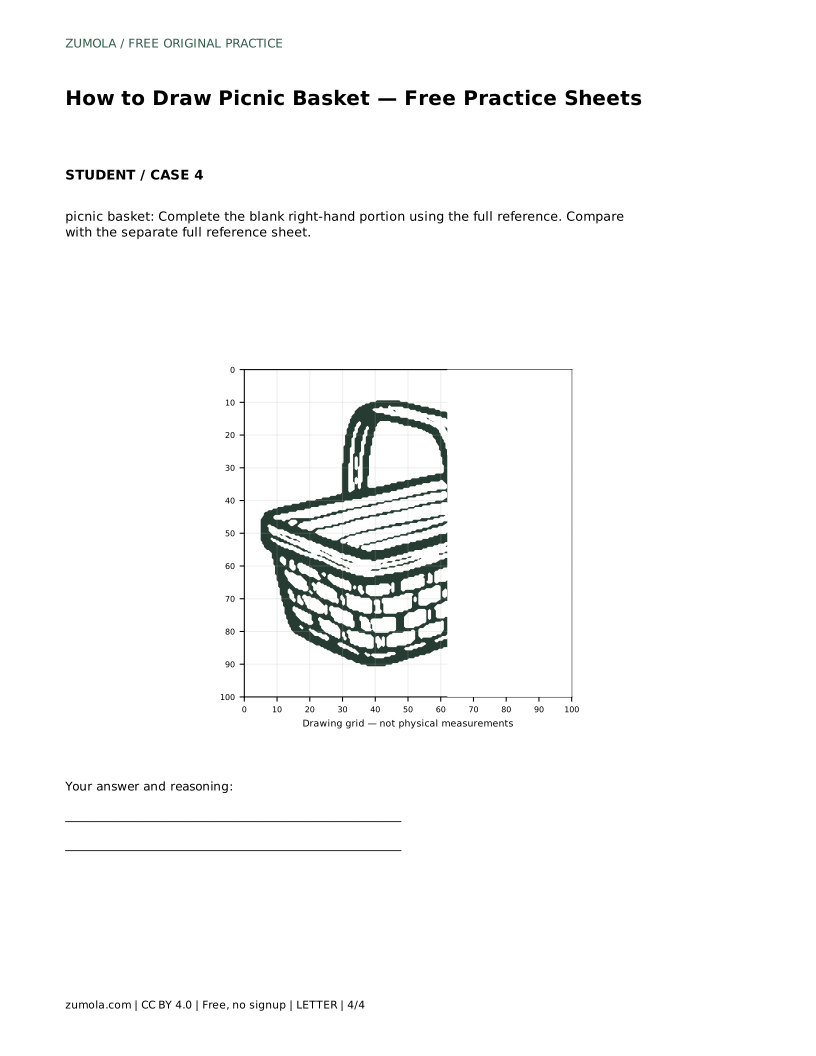
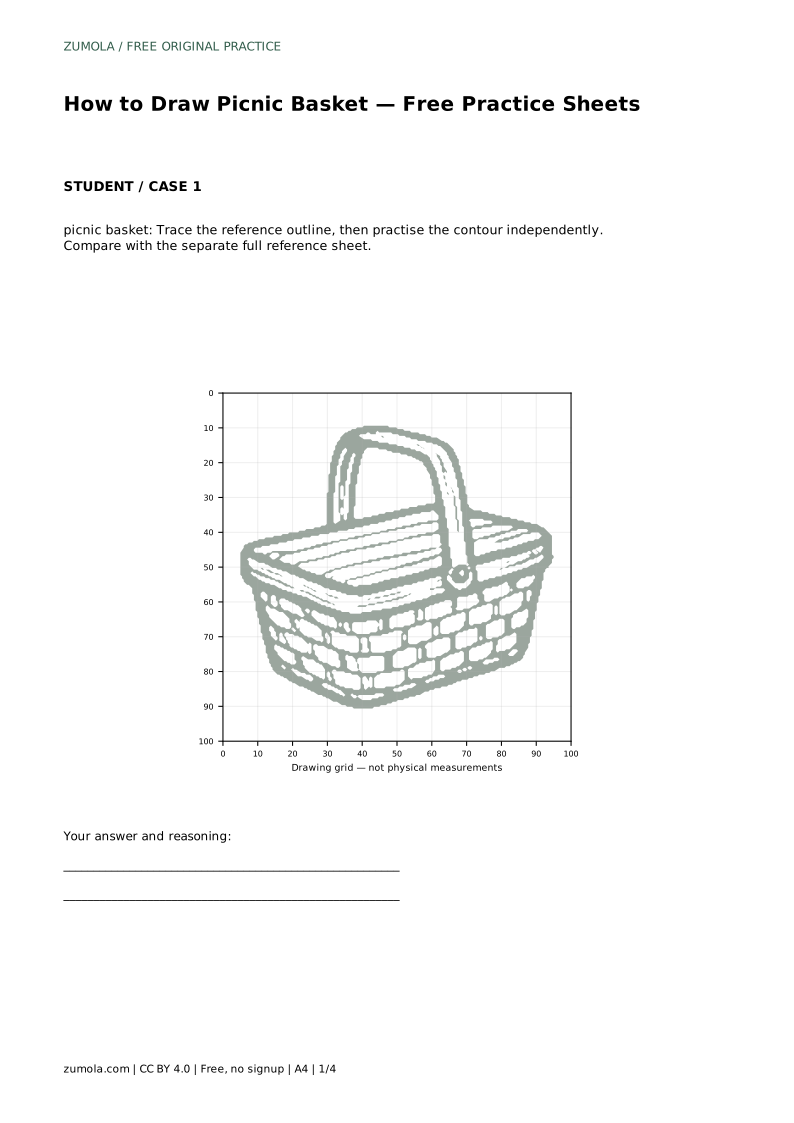
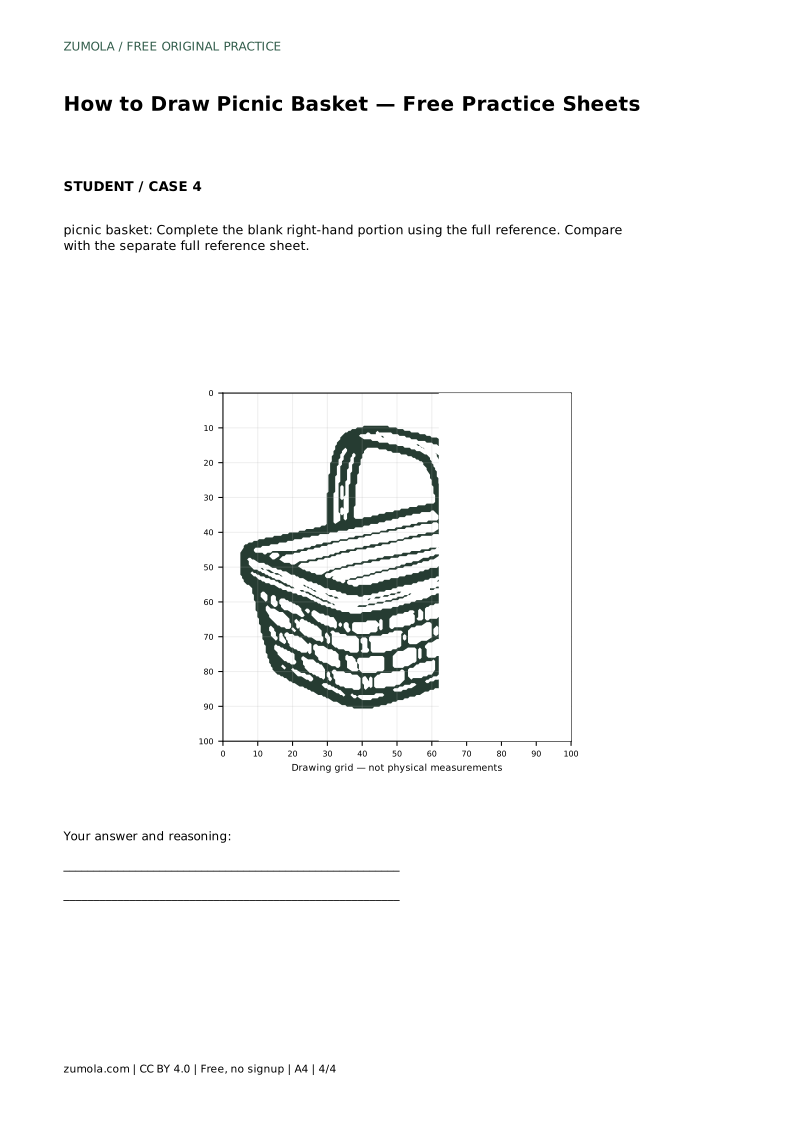
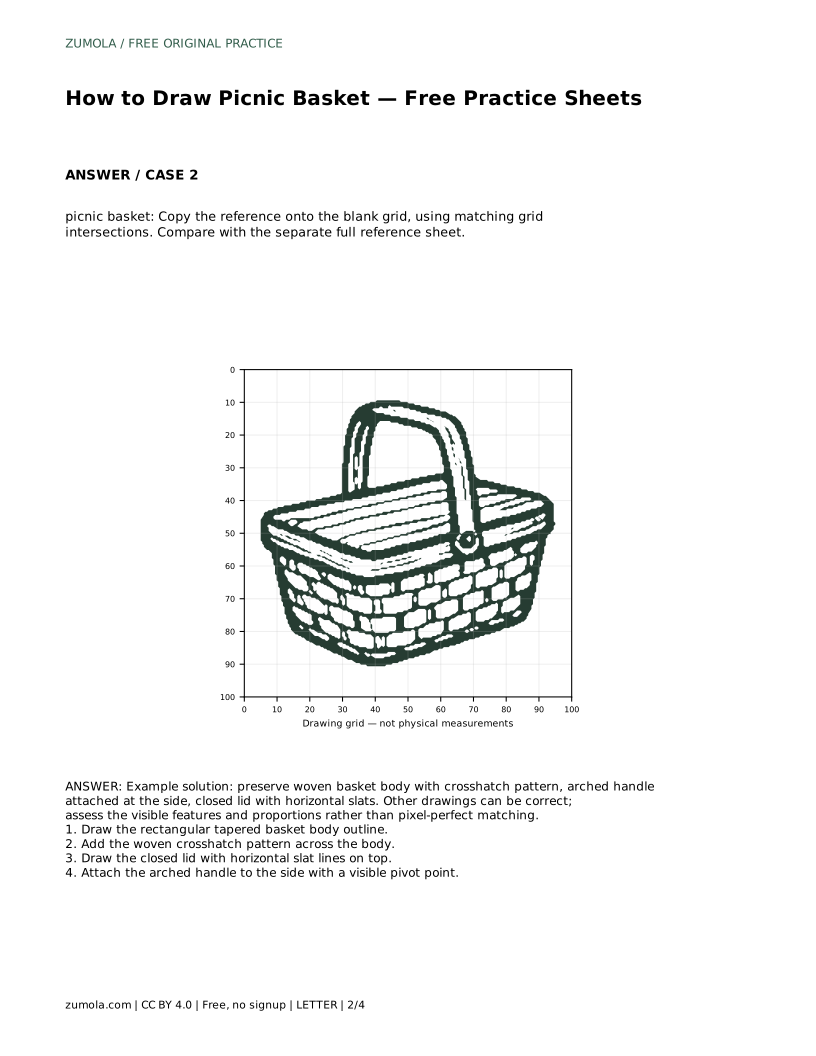
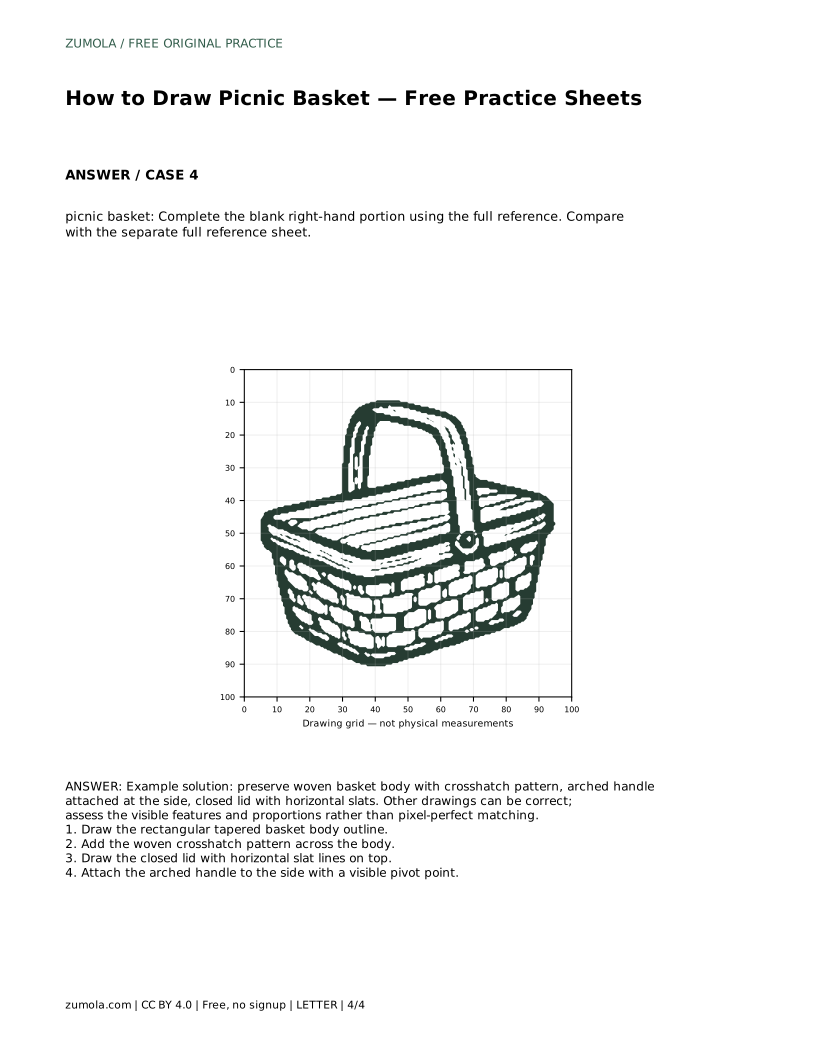
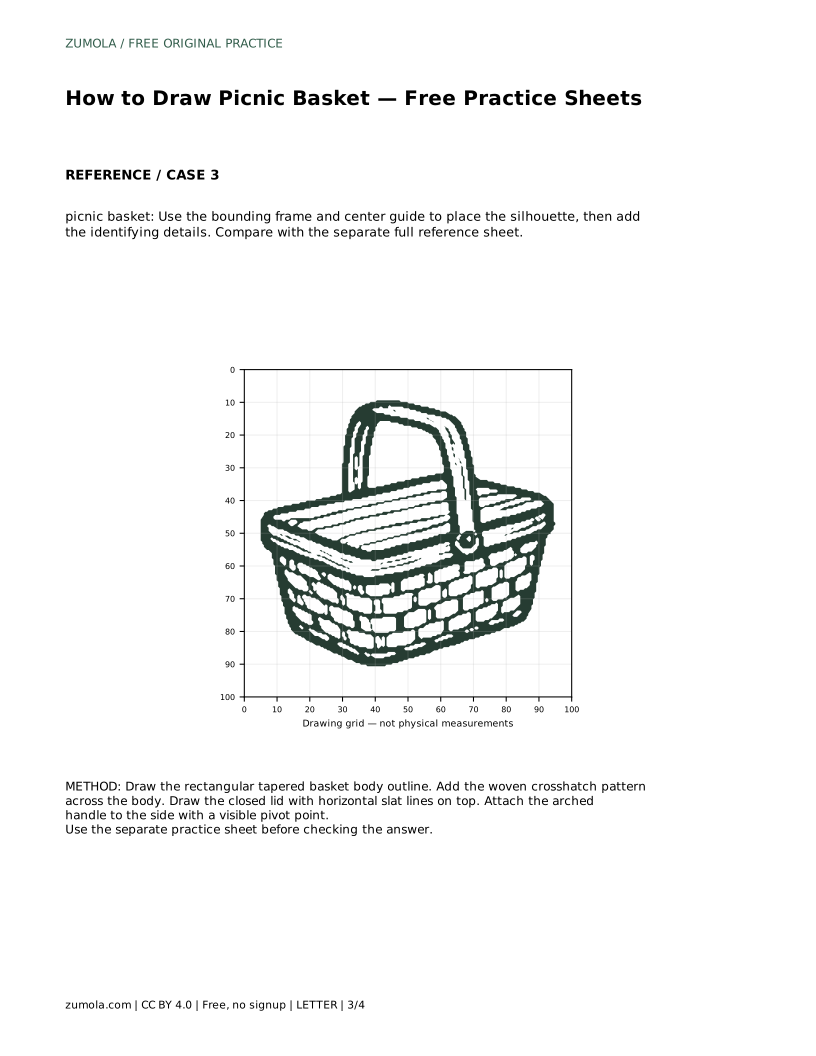
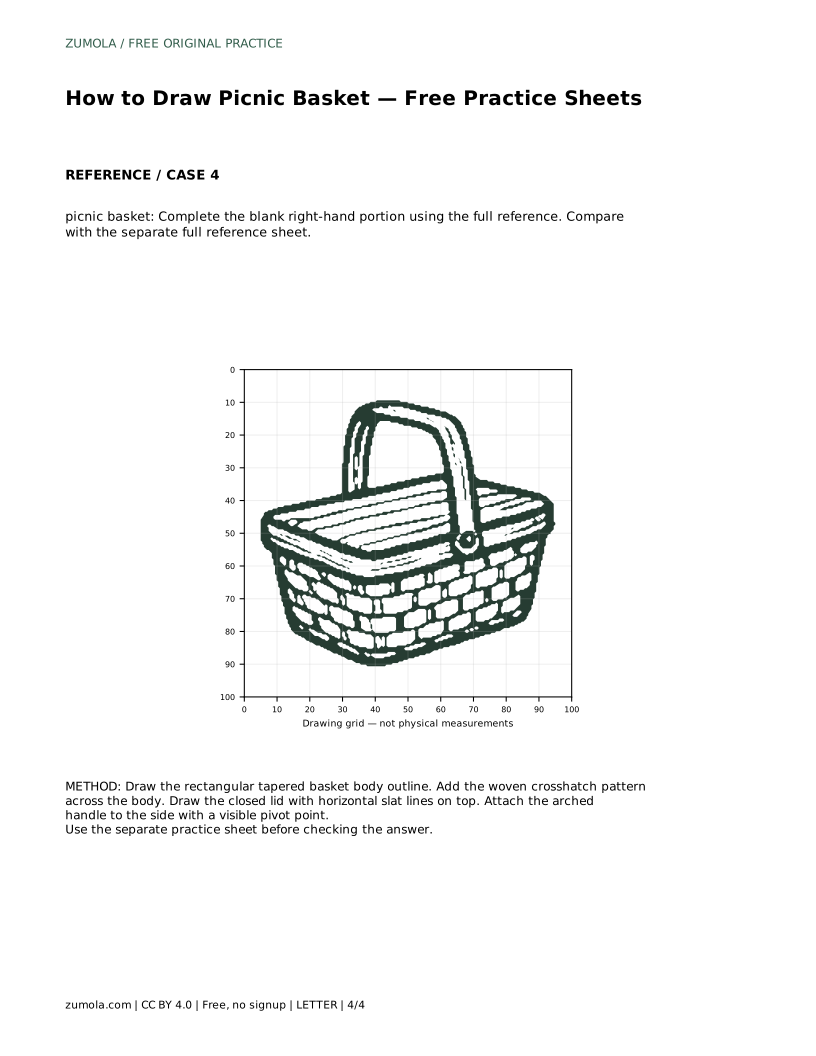
The practice sheets offer different levels of support. On the trace sheet, follow the reference outline first, then try the contour independently and compare with the separate full reference sheet. On the grid sheet, copy the reference onto the blank grid by matching grid intersections; this helps you keep proportions and placement consistent. On the completion sheet, the right-hand portion is blank, so use the full reference to complete the missing part. In all cases, compare your drawing with the reference by checking the four key features: tapered body, crosshatch weave, slatted lid, and arched side handle with pivot. Other drawings can be correct even if they differ in small details; assess the visible features and proportions rather than pixel-perfect matching.
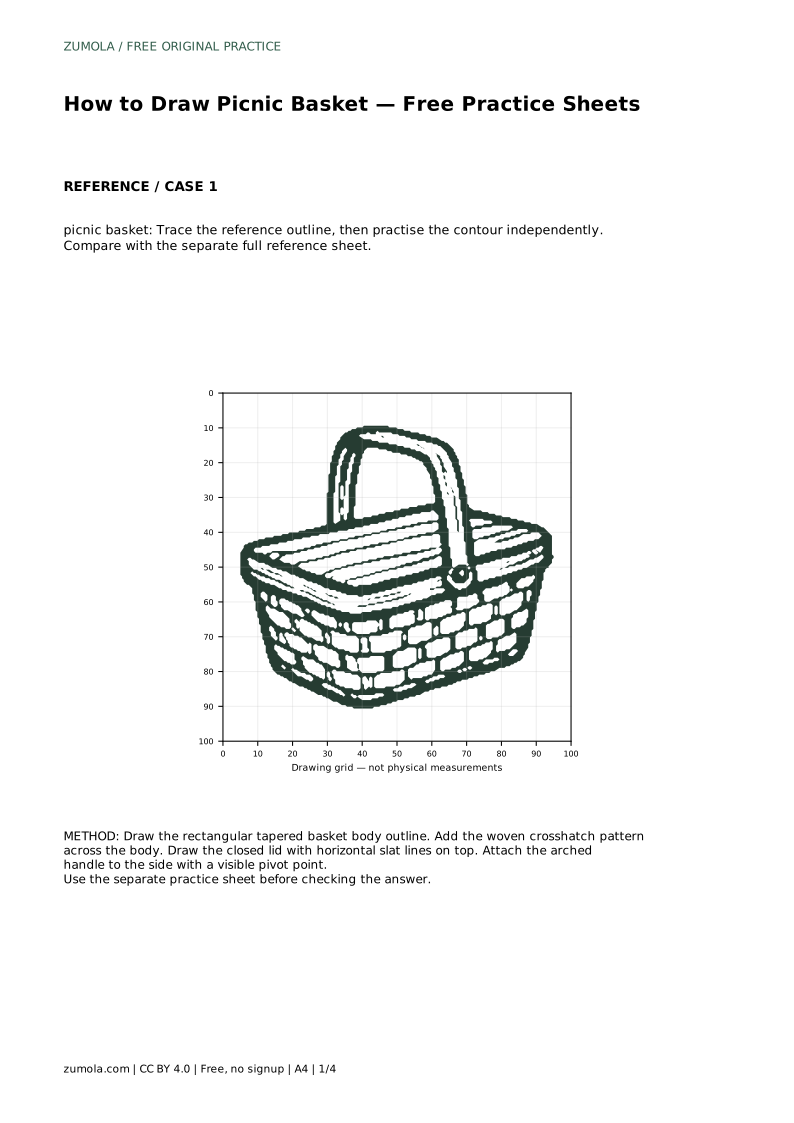
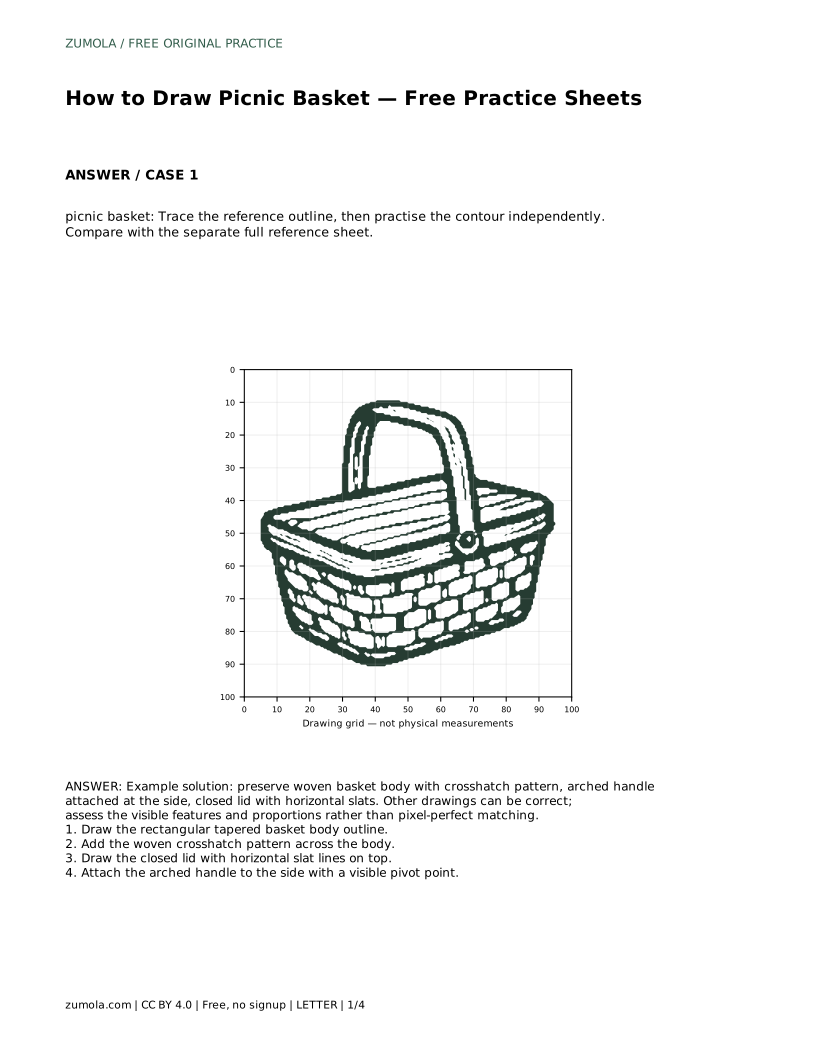
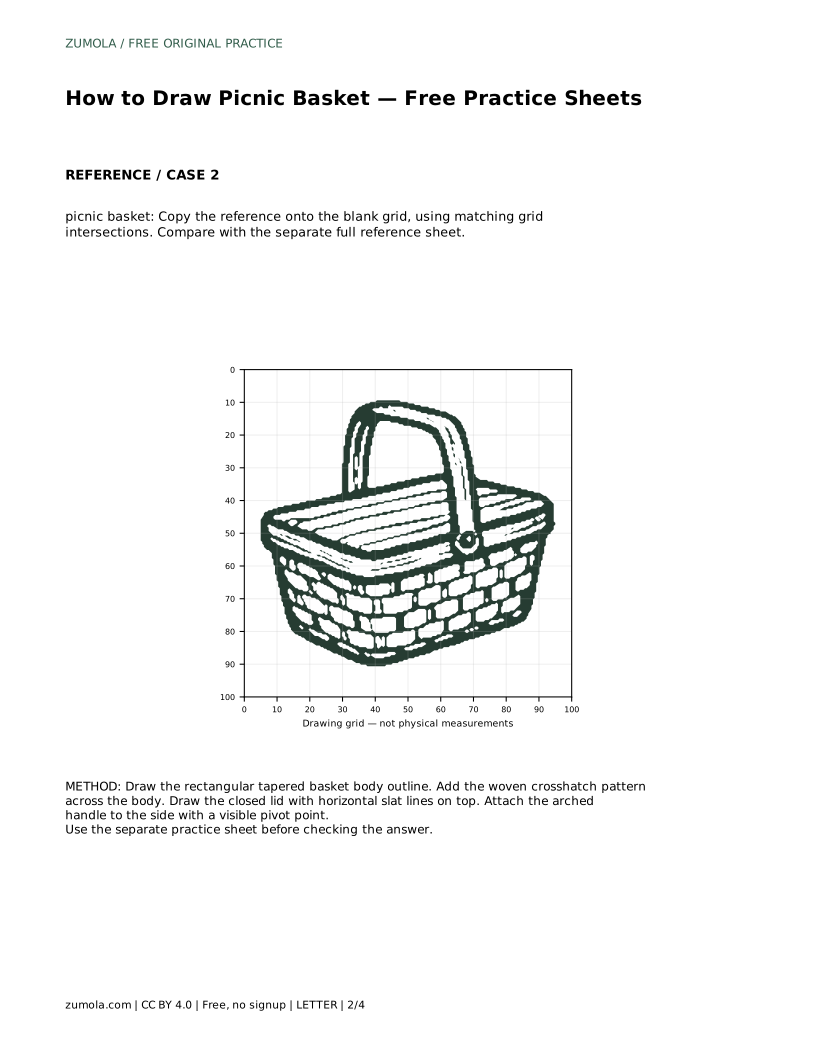
picnic basket: Trace the reference outline, then practise the contour independently. Compare with the separate full reference sheet.
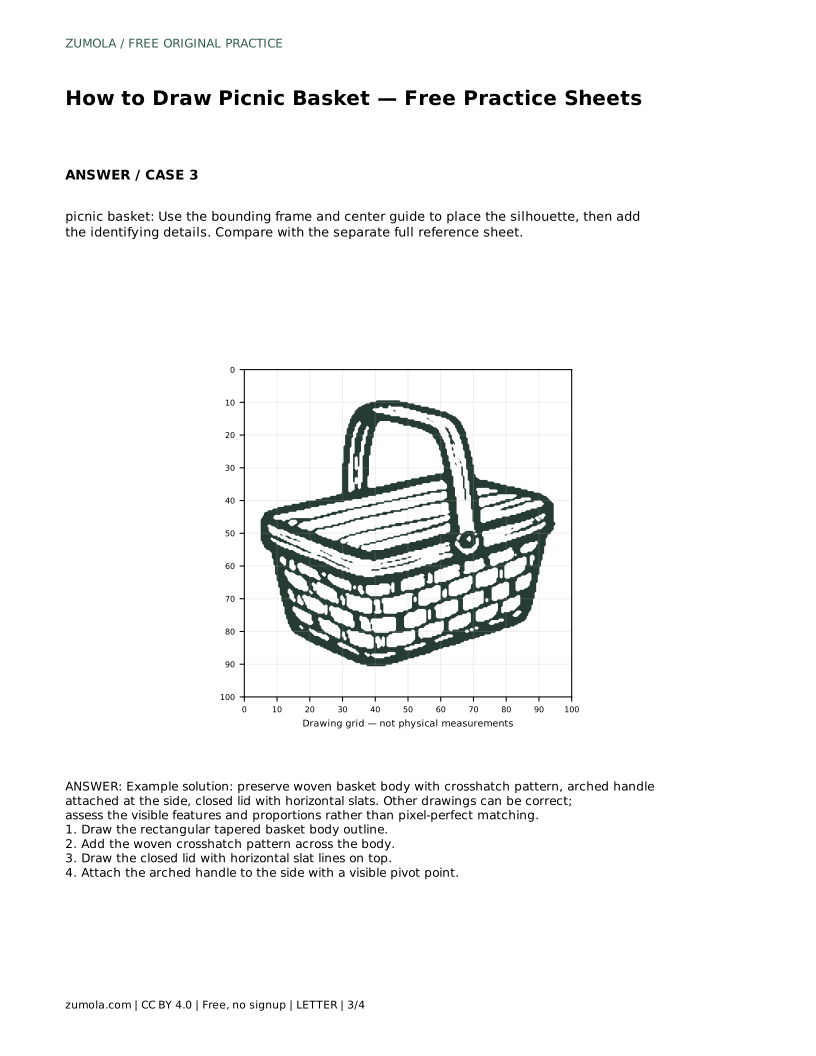
Example solution: preserve woven basket body with crosshatch pattern, arched handle attached at the side, closed lid with horizontal slats. Other drawings can be correct; assess the visible features and proportions rather than pixel-perfect matching. Draw the rectangular tapered basket body outline. Add the woven crosshatch pattern across the body. Draw the closed lid with horizontal slat lines on top. Attach the arched handle to the side with a visible pivot point.
No. The crosshatch should suggest weaving, but small variations in spacing are acceptable. Focus on keeping the pattern inside the body and visible at normal viewing size.
Yes, as long as it reads as an arched handle attached at the side with a visible pivot point. The exact curve can vary, but it should connect to the basket and rise above the lid.
Check that the four key features are present: a tapered body, a crosshatch weave, a closed lid with horizontal slats, and an arched handle attached at the side. Proportions should be close to the reference, but pixel-perfect matching is not required.
All drawing practice · Free coordinate paper
Original resources · CC BY 4.0 · Free for personal and classroom use with attribution.