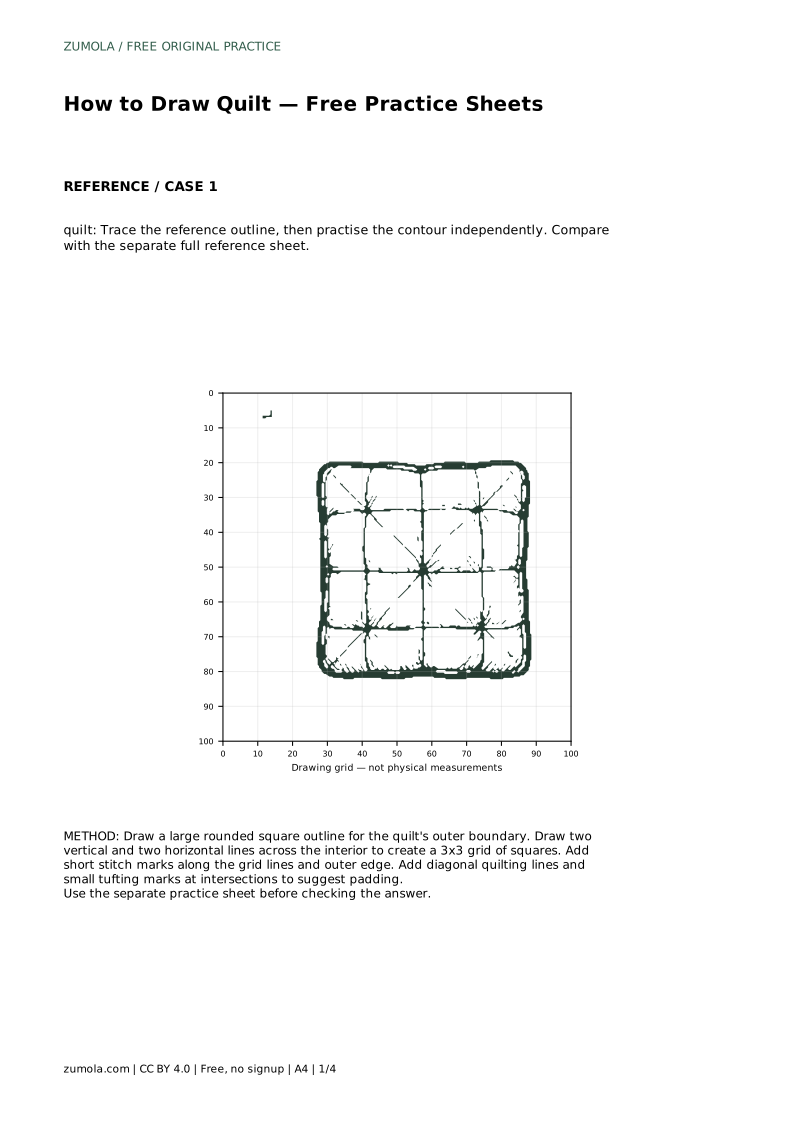
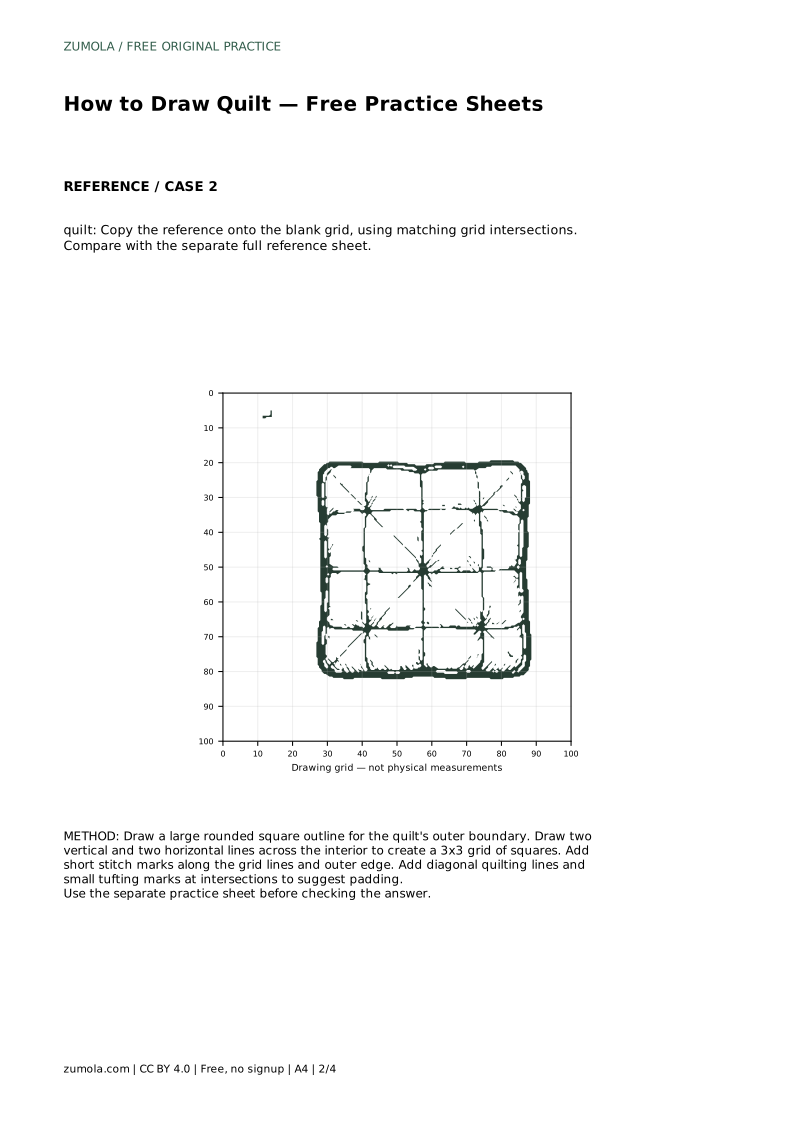
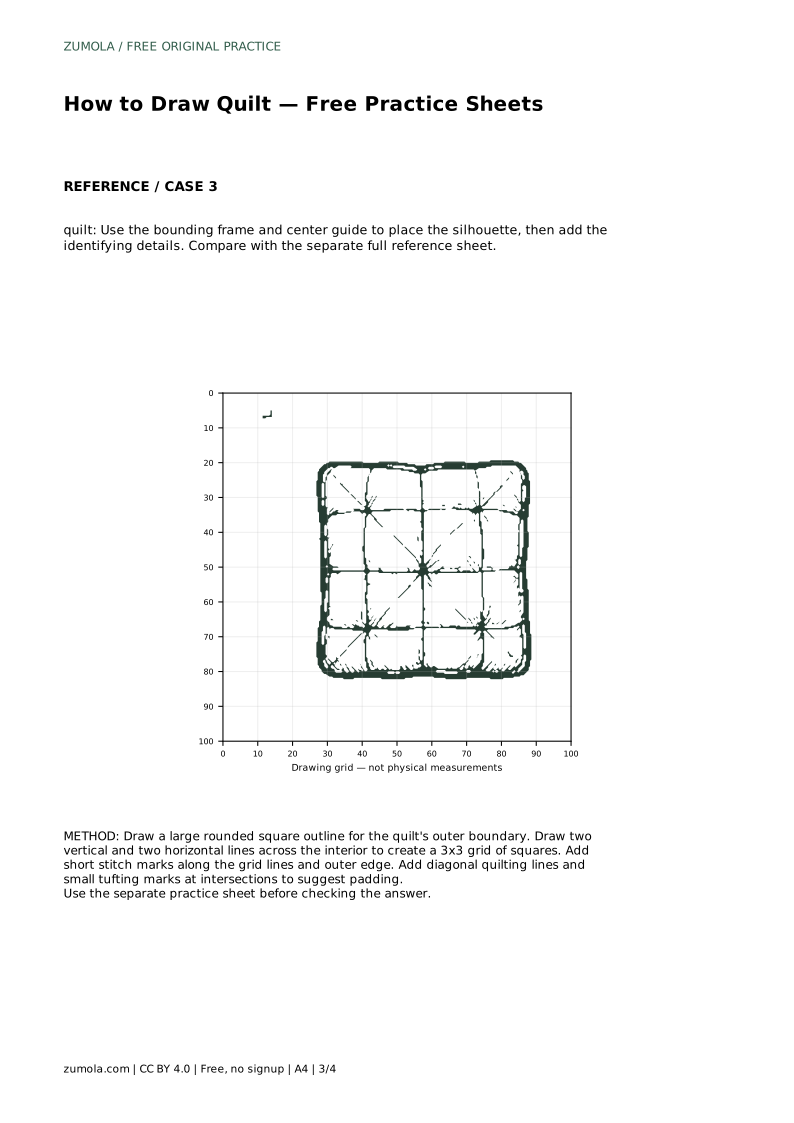
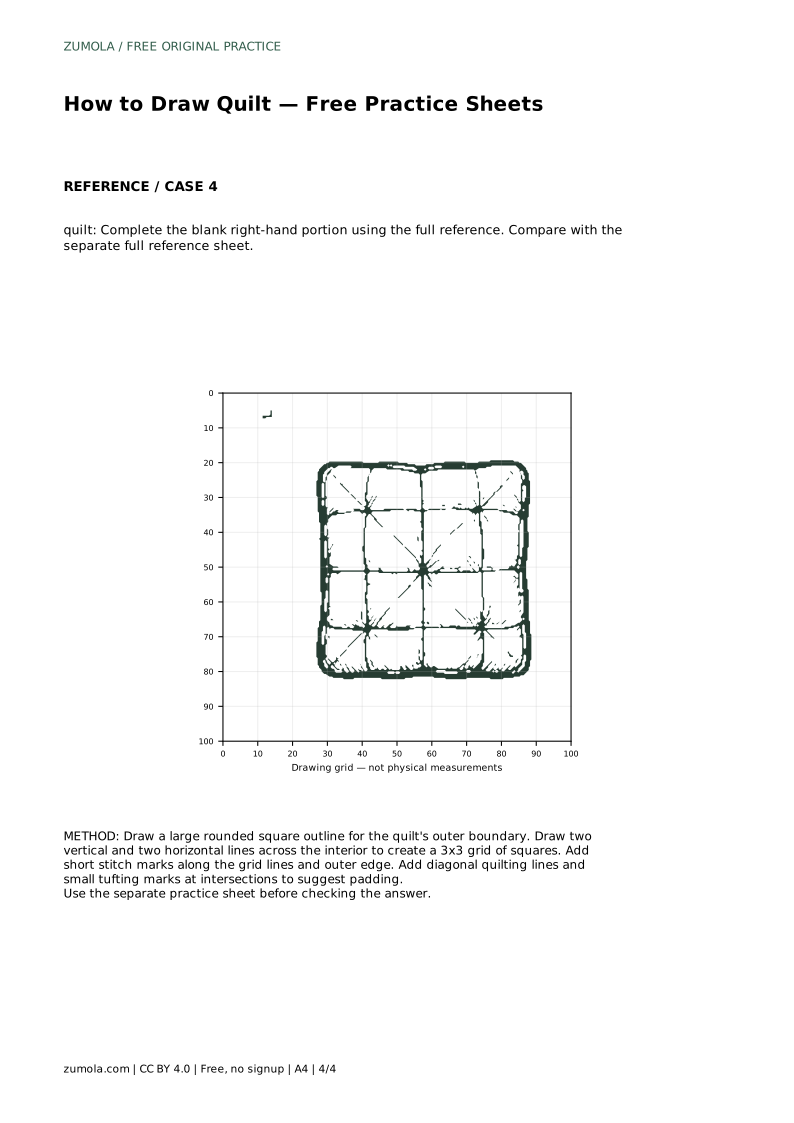
Reference diagrams
LETTER · Download PDF
A4 · Download PDF
Free original resources
Learn to draw a quilt with a rounded outer edge, a grid of seam lines, stitch marks, and tufting details. Free printable practice sheets support each step.
Four original cases, with reference diagrams, practice sheets and worked answers. Everything is free; no signup required.
LETTER · Download PDF
A4 · Download PDF
LETTER · Download PDF
A4 · Download PDF
LETTER · Download PDF
A4 · Download PDF
Use A4 or US Letter to match your printer. Use the stated values and conditions to solve each exercise; diagrams are not physical measuring rulers.
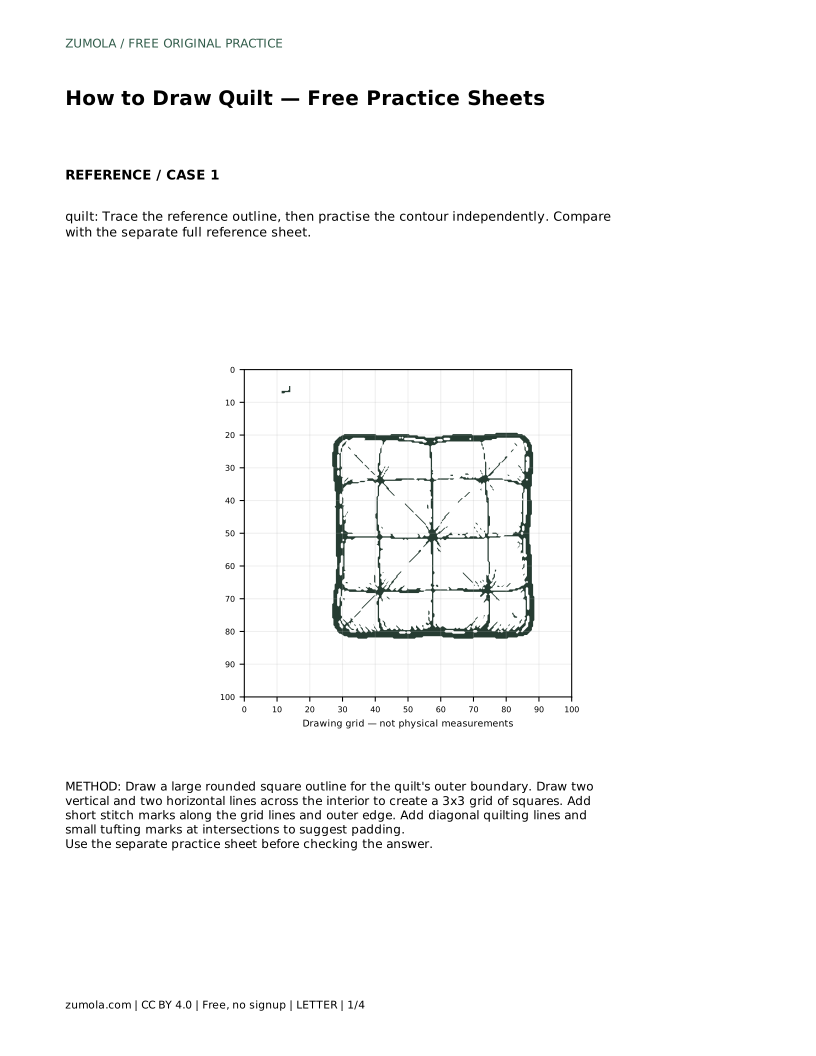
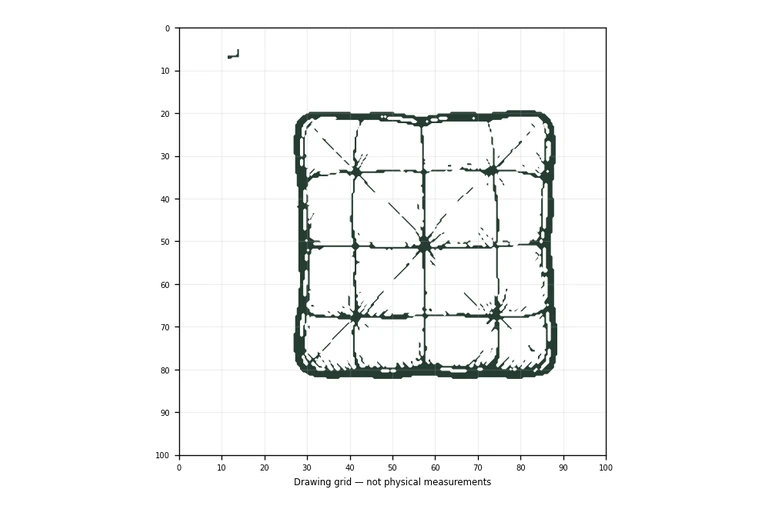
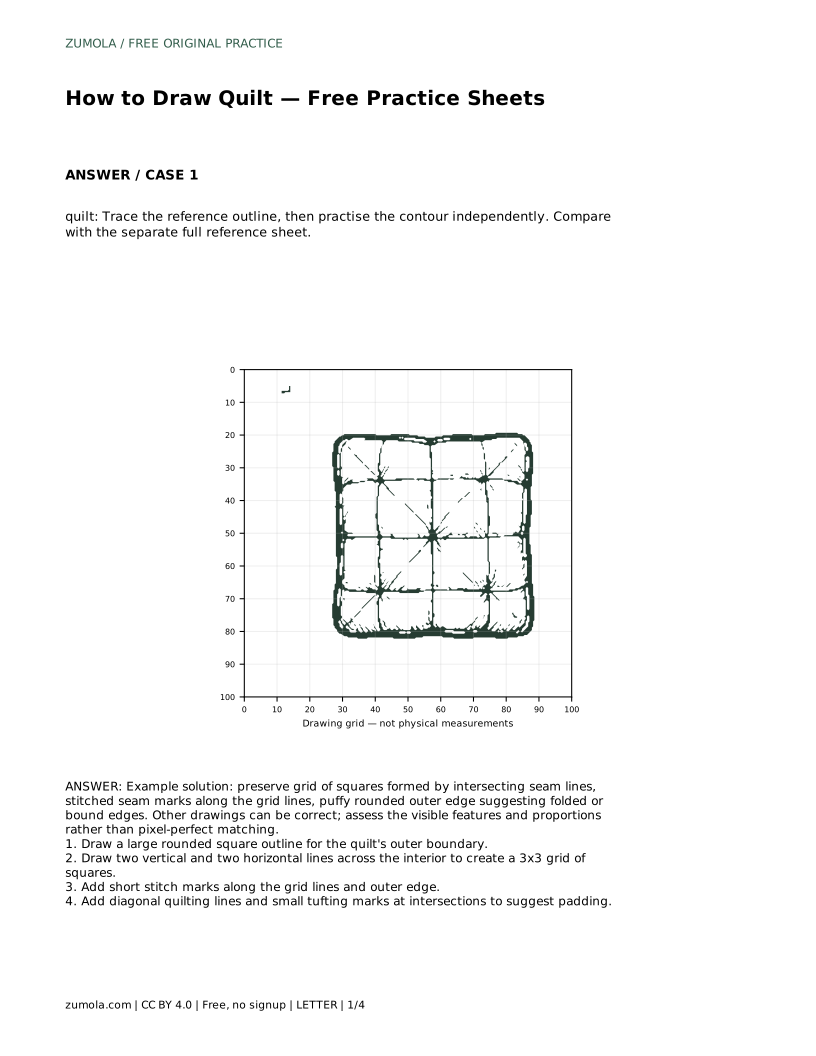
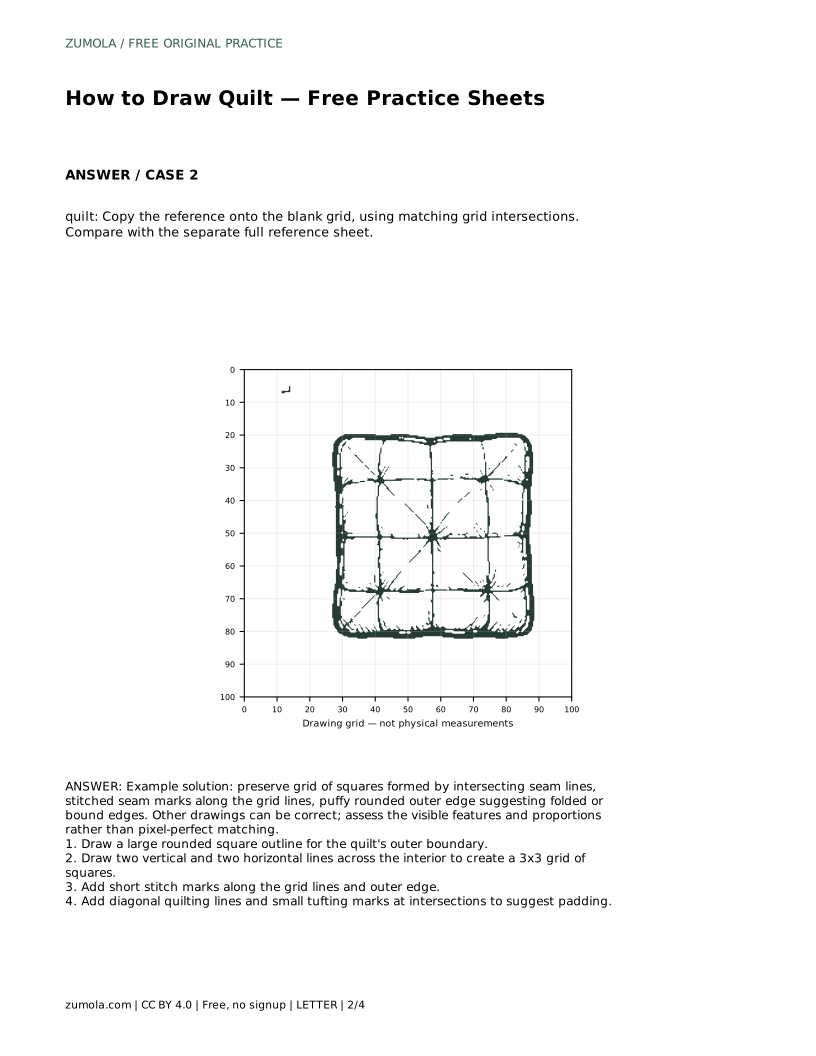
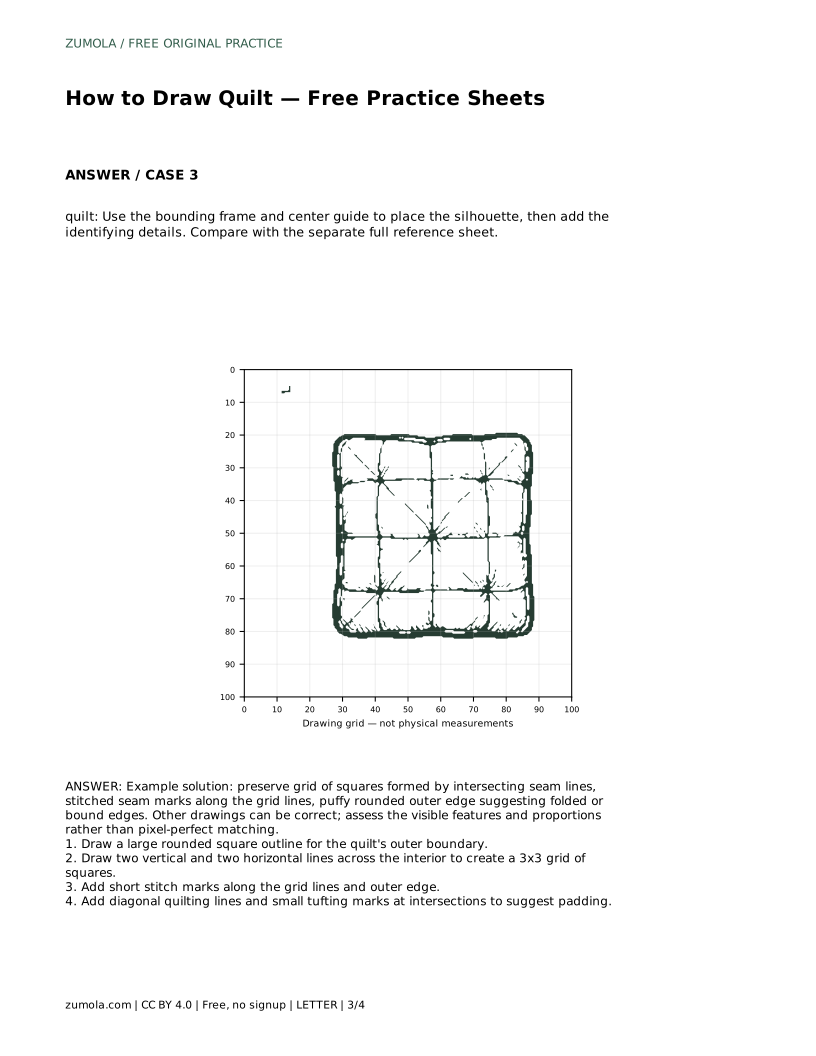
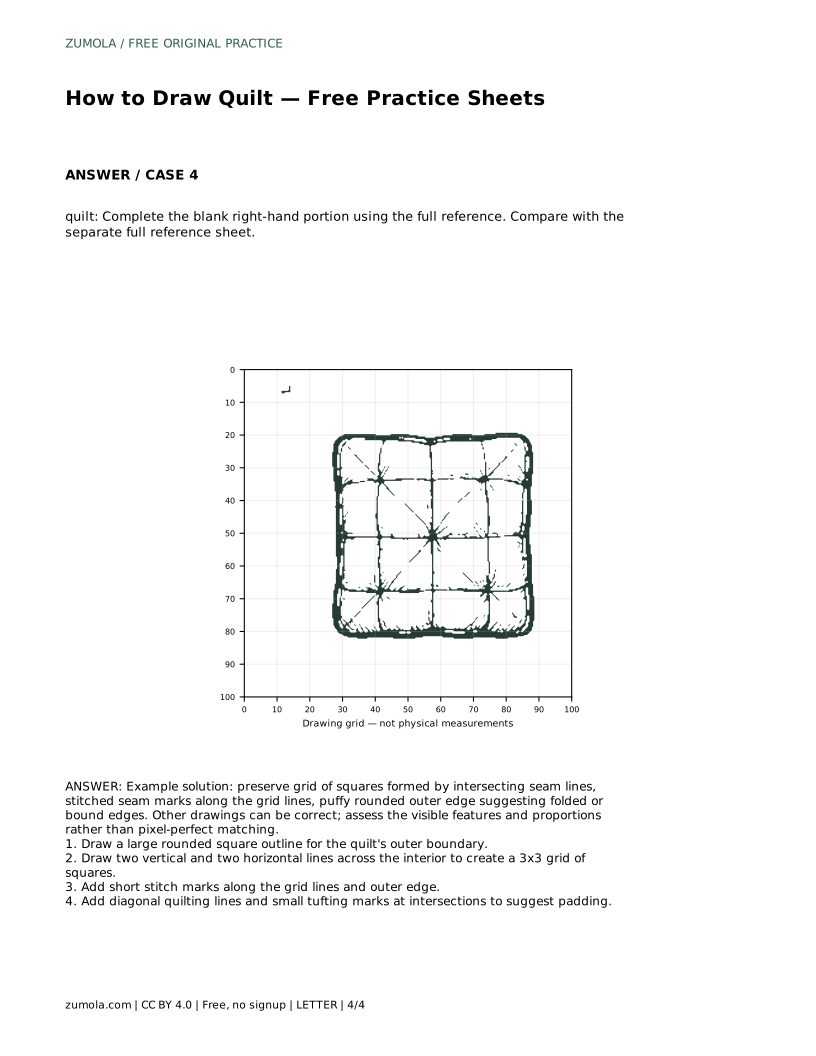
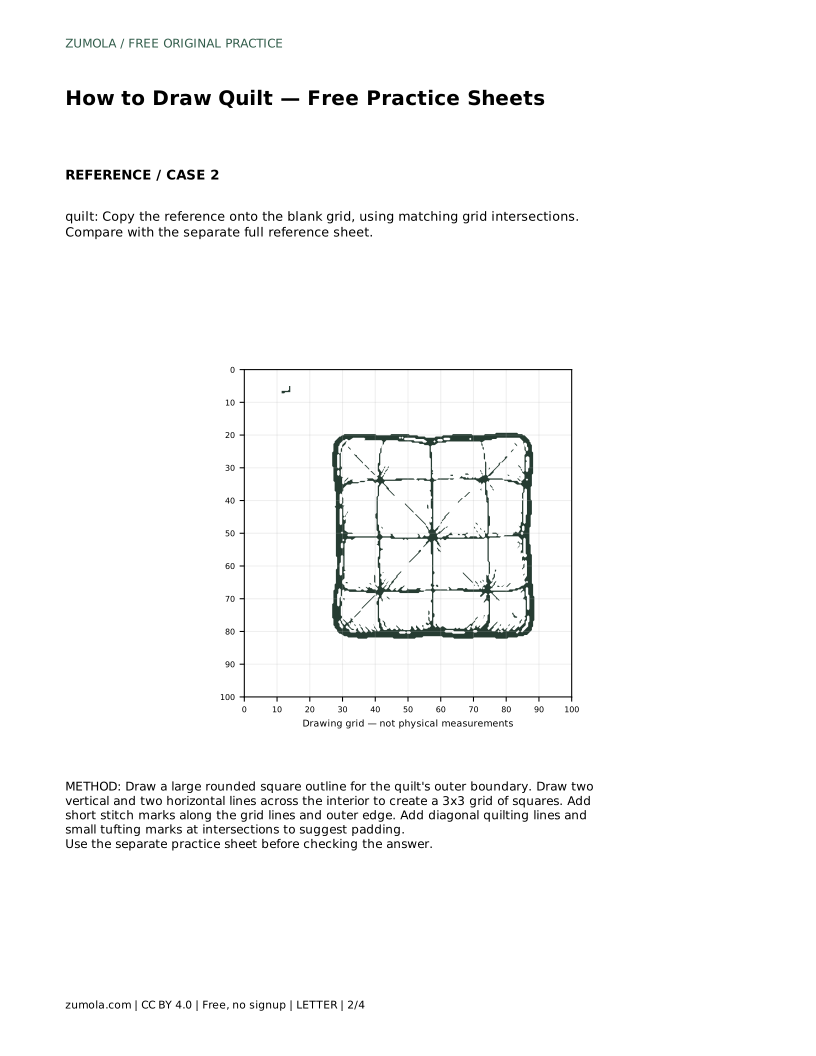
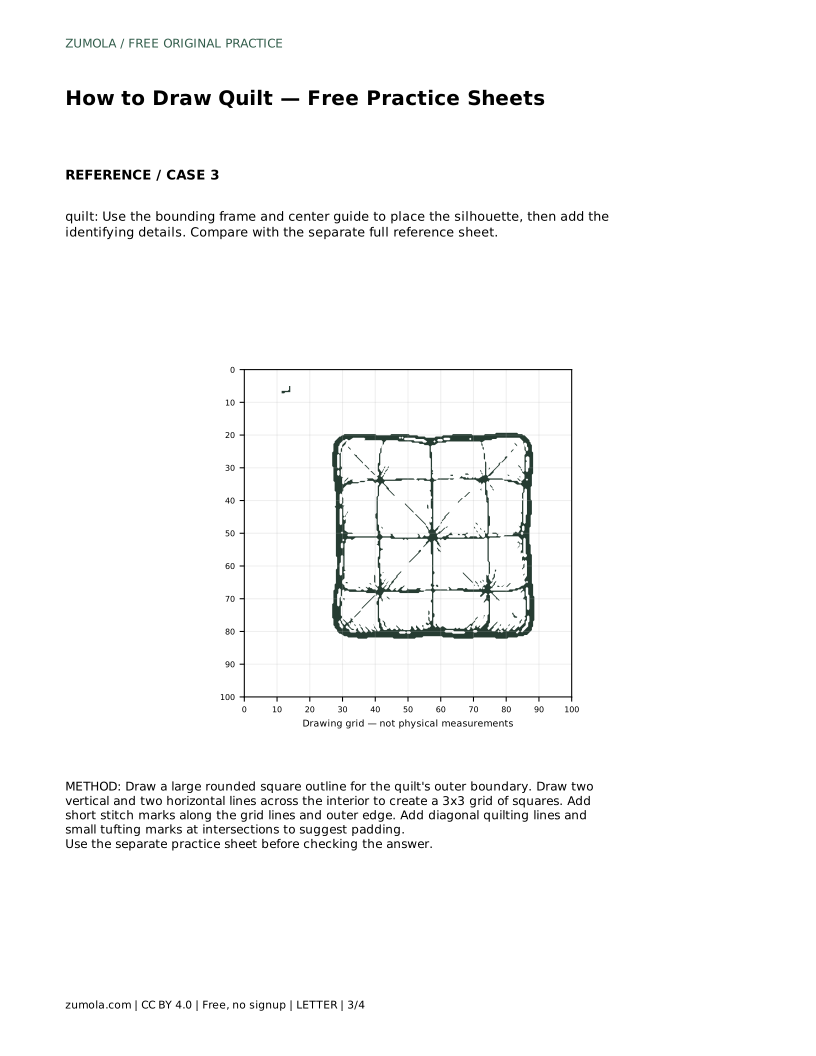
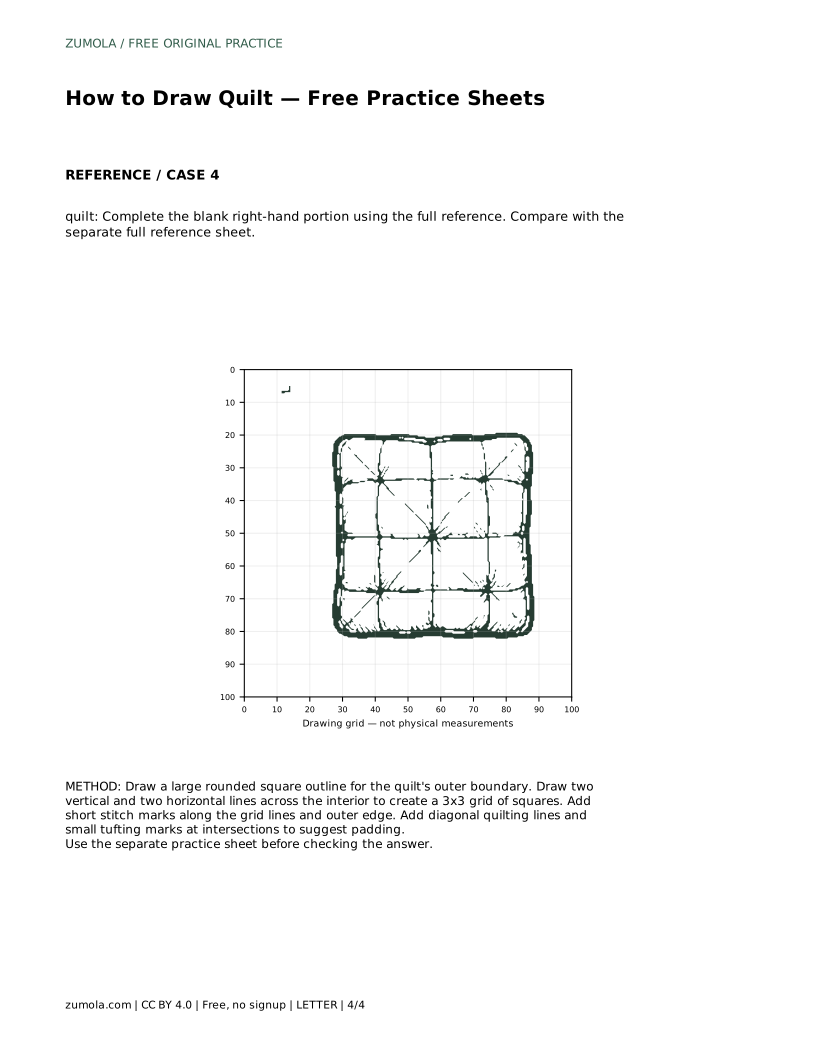
A quilt drawing reads clearly when the viewer can see three things: the padded outer shape, the seam grid that divides the surface into patches, and the small stitch or tuft marks that suggest soft filling. This page explains how to build those features in order, starting with the outer boundary and working inward. The practice sheets let you trace a reference outline, copy it onto a blank grid, or complete a partially drawn version, so you can rehearse the same construction at different levels of support.
Begin by drawing a large rounded square for the quilt's outer edge. The corners should curve rather than meet at sharp points, because a quilted fabric edge usually looks slightly puffed or bound. Keep the four sides roughly equal in length so the shape reads as a square rather than a rectangle. Leave enough space inside the outline for the seam grid you will add next.
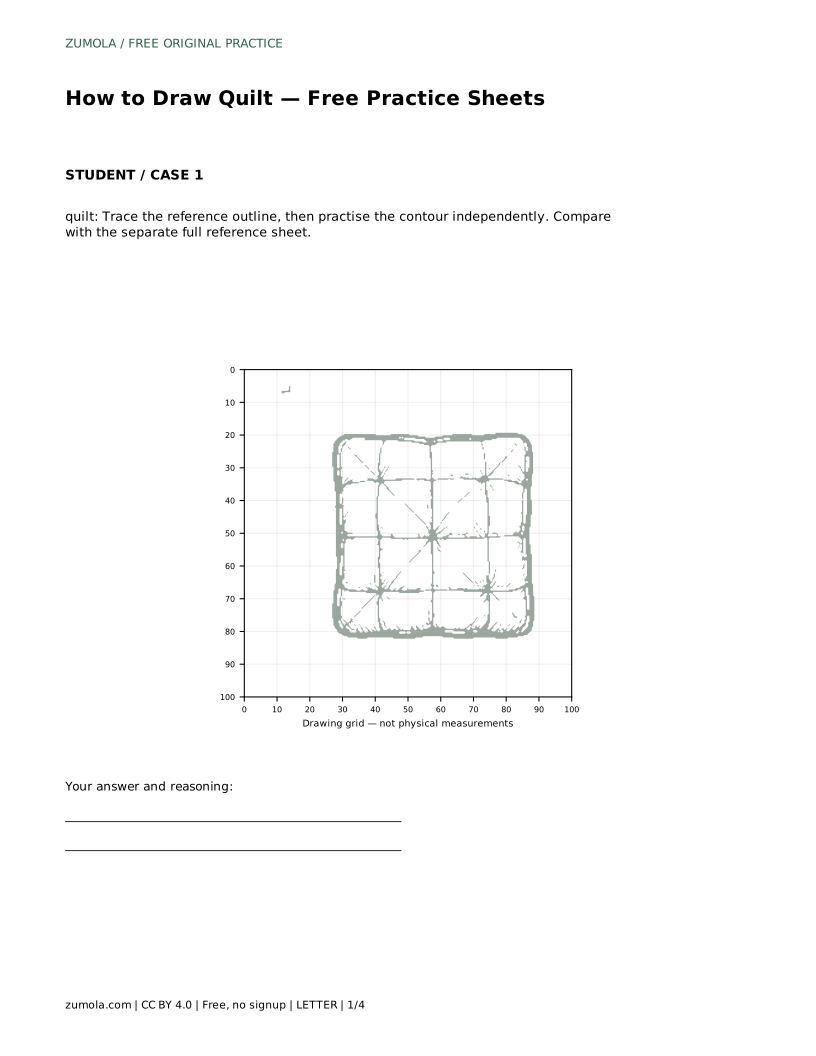
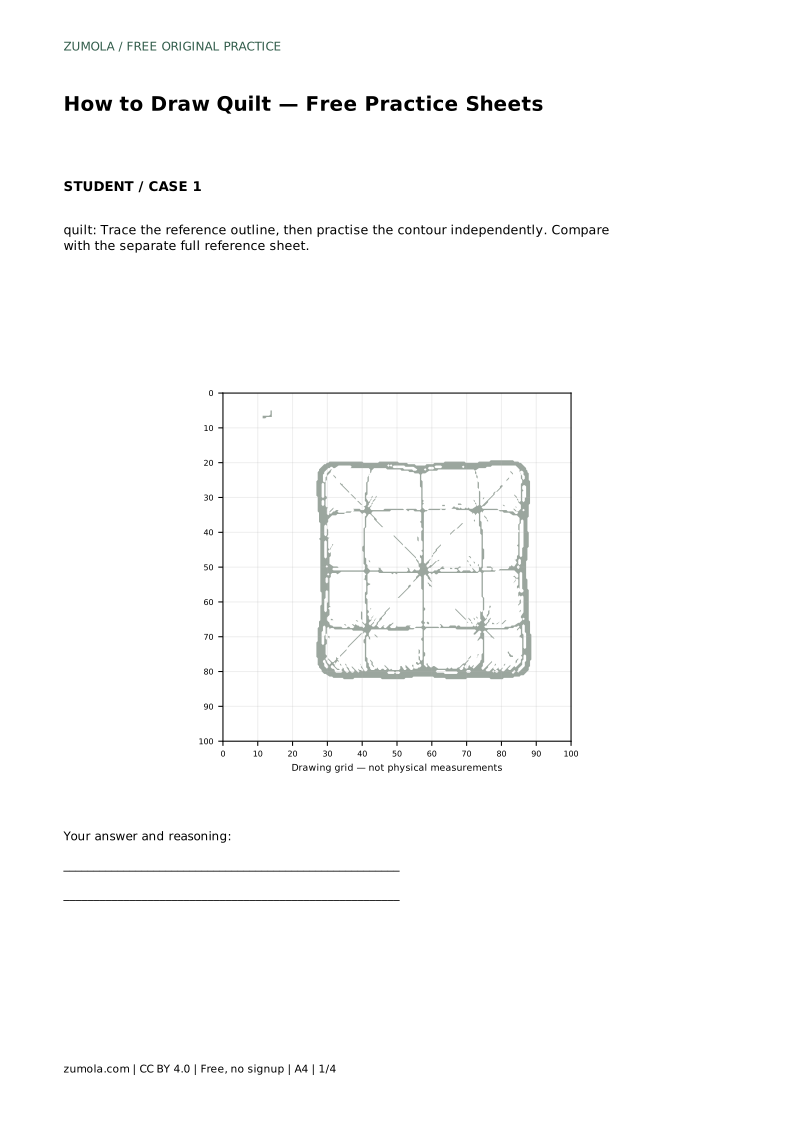
If you are using a practice sheet, the reference outline shows where this boundary sits. Trace it once to feel the curve of the corners, then draw it again beside the reference without tracing. Compare the two versions and check whether your corners are similarly rounded and your sides similarly even.
Inside the boundary, draw two vertical lines and two horizontal lines that cross the interior. These create a three-by-three grid of squares. Space the lines evenly so the nine patches look balanced. The lines should stop short of the outer edge or meet it cleanly, depending on how you want the binding to read.
The grid is the main identifying feature of a quilt drawing. Without it, the shape can look like a cushion or a folded blanket. Keep the lines straight and parallel to the outer sides so the patch pattern stays orderly.
Add short stitch marks along the grid lines and around the outer edge. These small dashes suggest thread passing through fabric. Then add diagonal quilting lines across some or all of the squares to show the stitched pattern that holds the layers together. Finally, place small tufting marks at the intersections of the grid lines to suggest padding and softness.
Keep the stitch marks consistent in length and spacing. Too many marks can make the drawing busy; a moderate number along the main lines is enough to communicate stitching. The tufting marks should be small and placed at crossing points rather than scattered randomly.
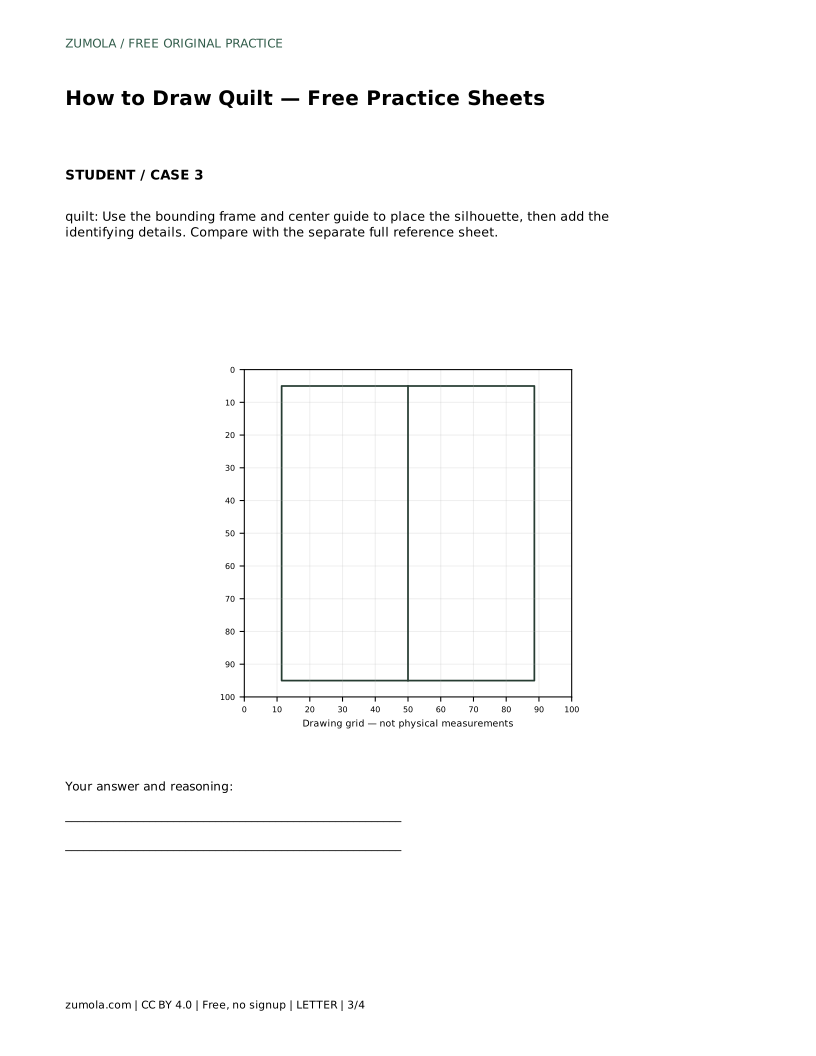
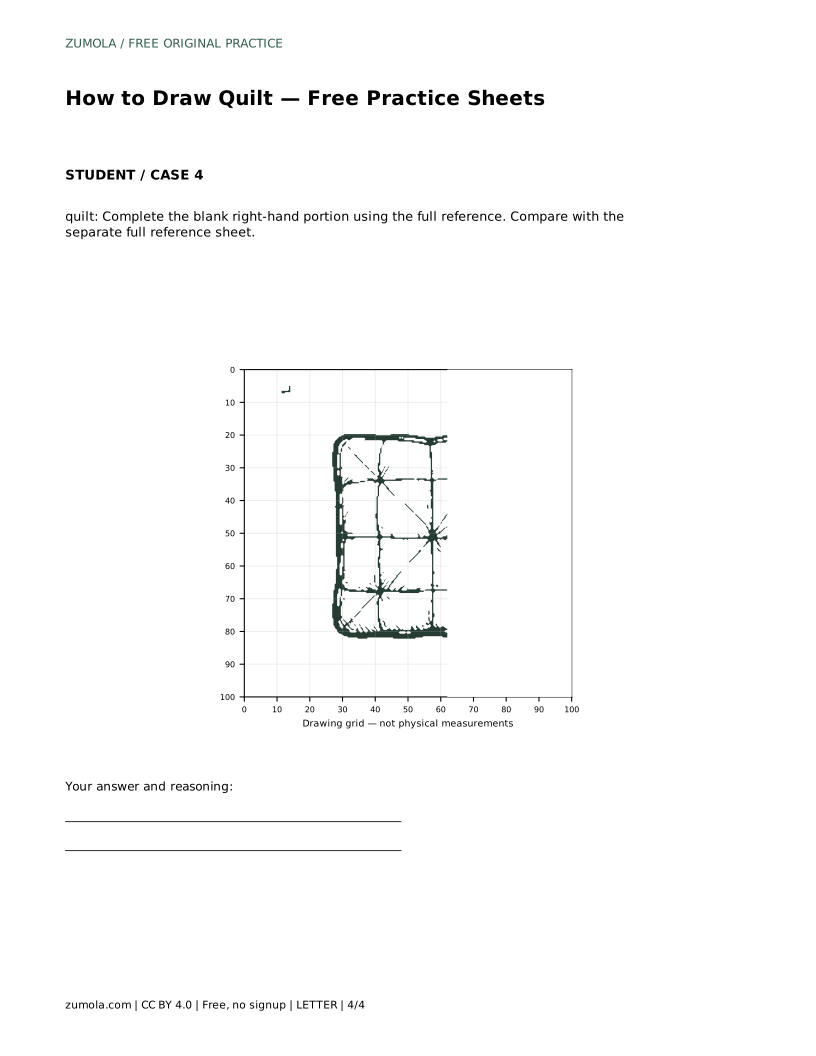
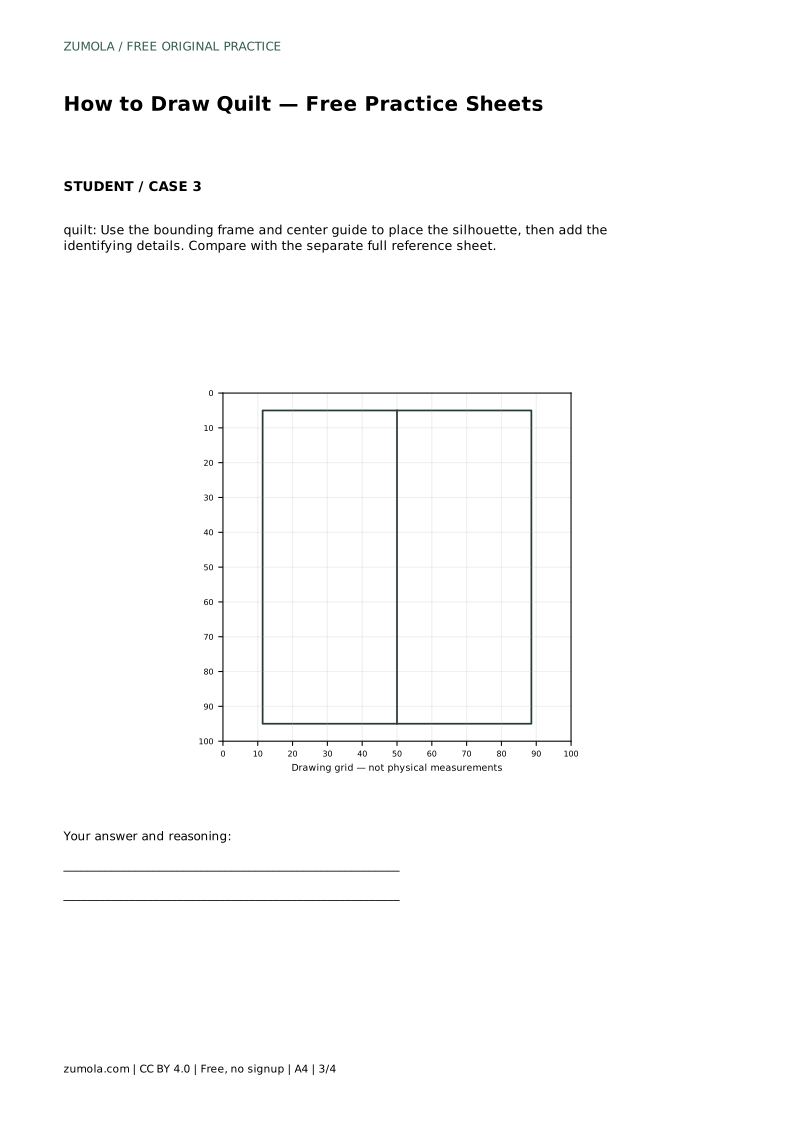
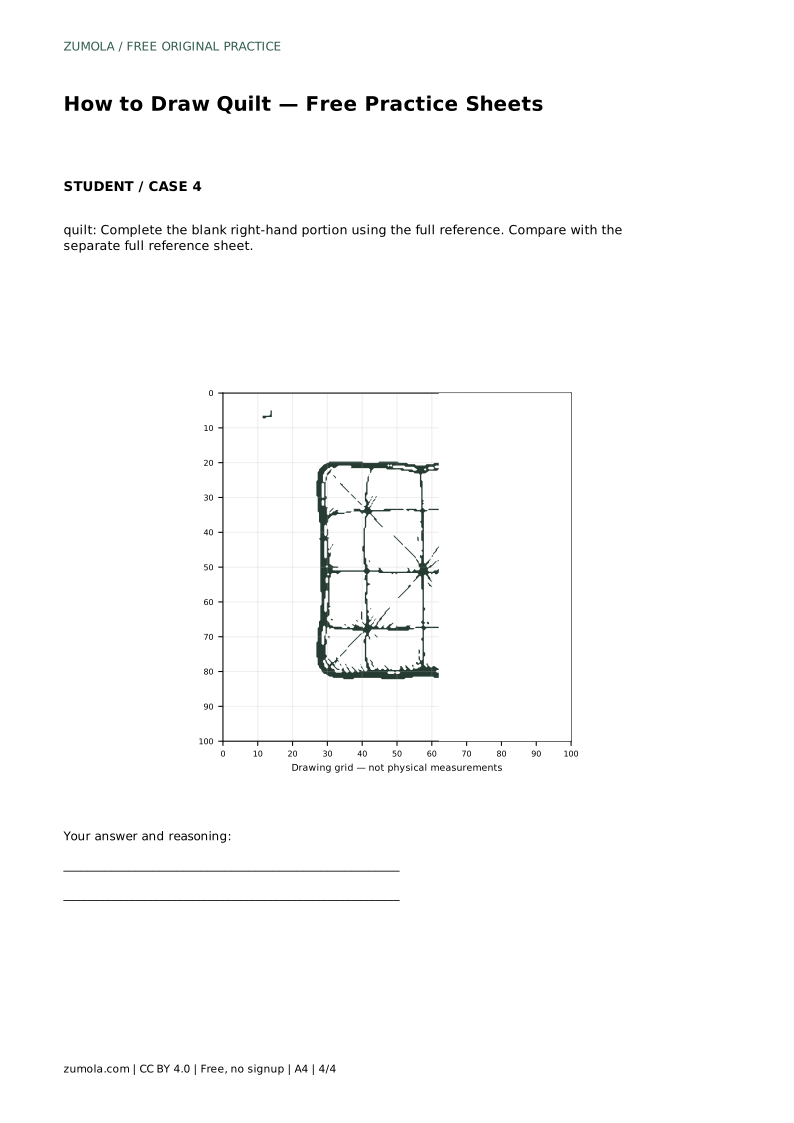
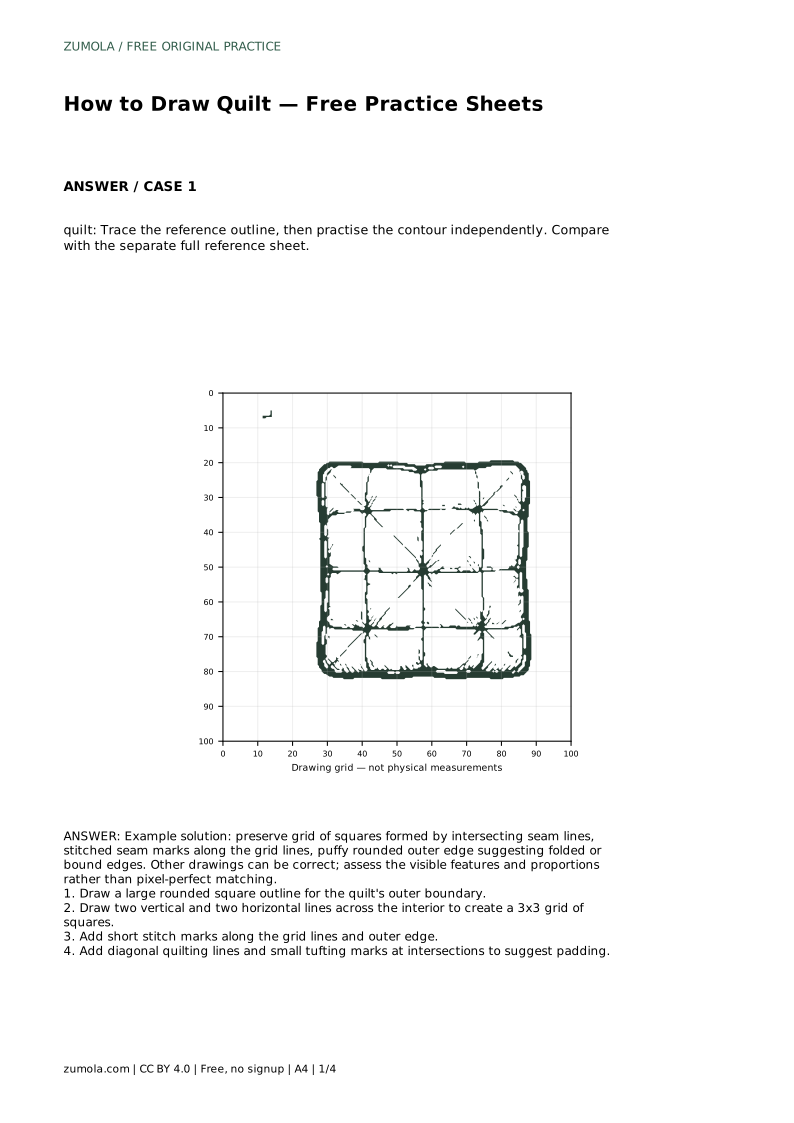
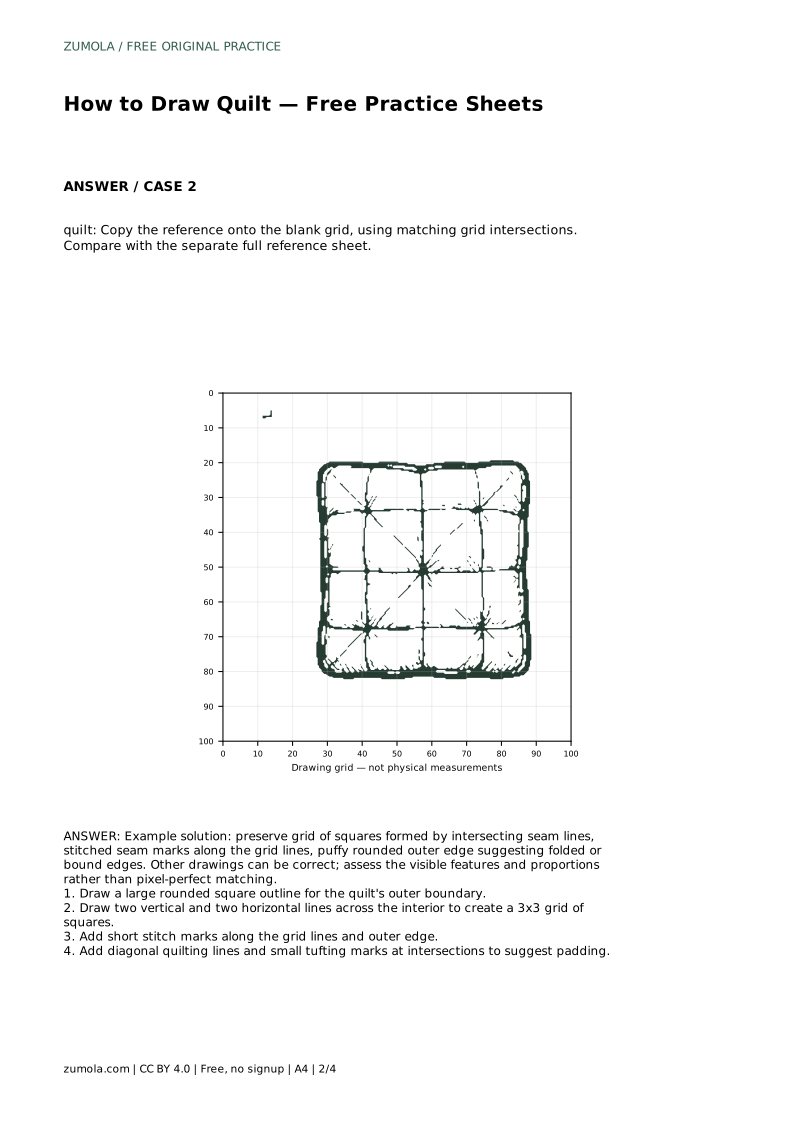
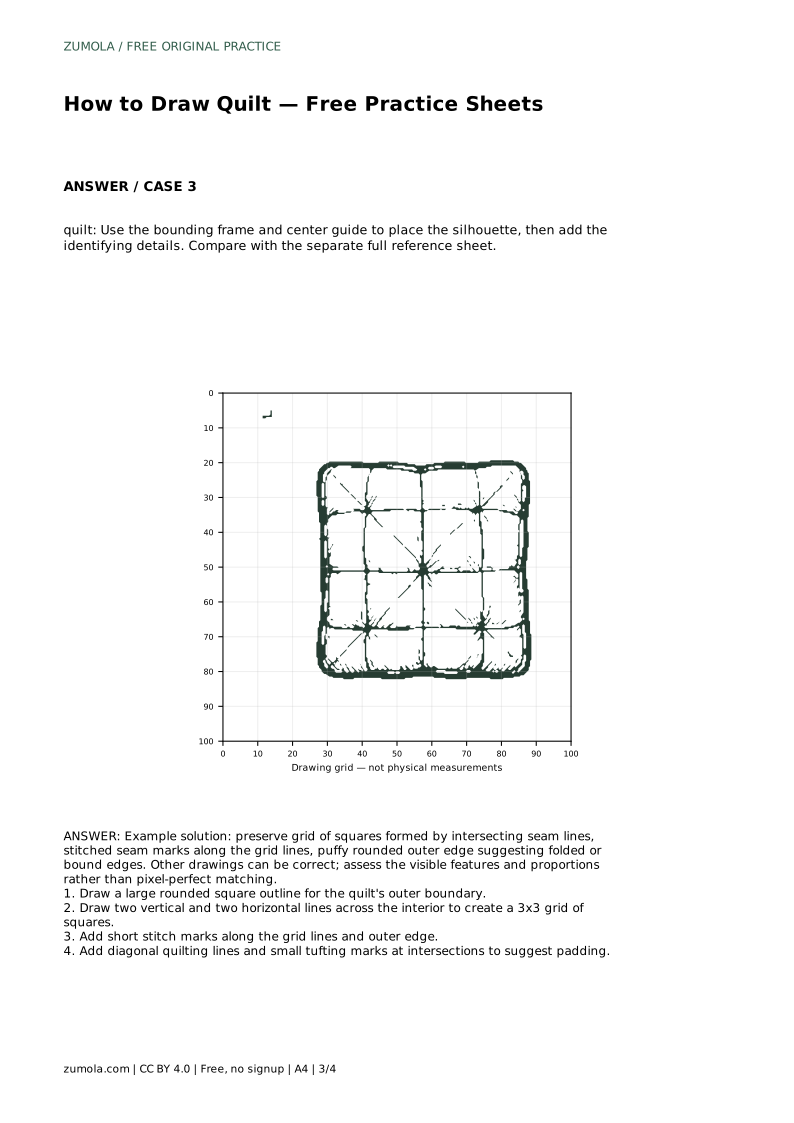
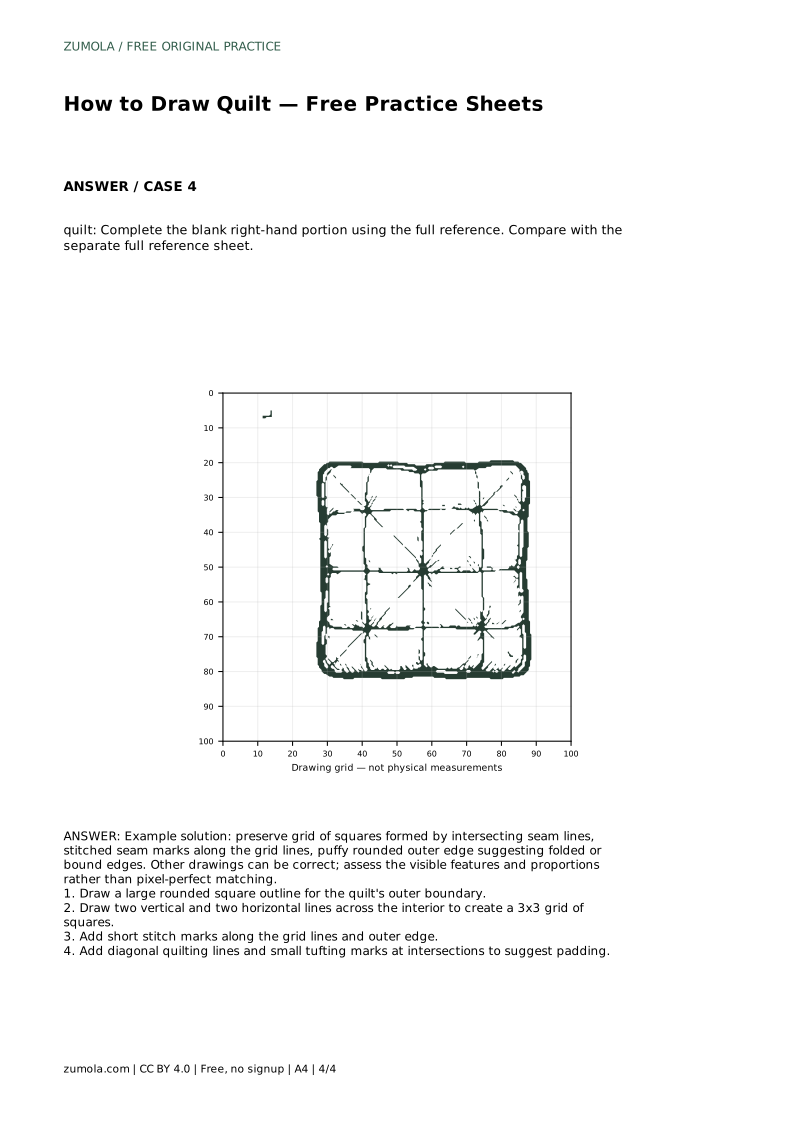
The sheets offer different levels of support. One asks you to trace the reference outline and then practise the contour independently. Another asks you to copy the reference onto a blank grid using matching intersections. A third provides a bounding frame and center guide for placing the silhouette before adding details. A fourth leaves the right-hand portion blank so you complete it from the full reference.
After each attempt, compare your drawing with the separate full reference sheet. Check the grid of squares formed by intersecting seam lines, the stitched seam marks along those lines, and the puffy rounded outer edge. Other drawings can be correct; assess the visible features and proportions rather than pixel-perfect matching.
A finished quilt drawing should show a rounded outer boundary, an even grid of seam lines, visible stitch marks, and small tufting details. Use the rubric below to review your work. Because drawing has many valid outcomes, treat the rubric as a guide to visible features rather than a single correct answer.
quilt: Trace the reference outline, then practise the contour independently. Compare with the separate full reference sheet.
Example solution: preserve grid of squares formed by intersecting seam lines, stitched seam marks along the grid lines, puffy rounded outer edge suggesting folded or bound edges. Other drawings can be correct; assess the visible features and proportions rather than pixel-perfect matching. Draw a large rounded square outline for the quilt's outer boundary. Draw two vertical and two horizontal lines across the interior to create a 3x3 grid of squares. Add short stitch marks along the grid lines and outer edge. Add diagonal quilting lines and small tufting marks at intersections to suggest padding.
The worked example uses a three-by-three grid made by two vertical and two horizontal lines. You can use a different number, but keep the spacing even so the patches look balanced.
Tracing is optional practice. One sheet asks you to trace the outline and then draw it independently, but you can start with the blank-grid or partial-completion sheet if you prefer.
Rounded outer corners, short stitch marks along the seams, diagonal quilting lines, and small tufting marks at intersections all suggest soft filling.
All drawing practice · Free coordinate paper
Original resources · CC BY 4.0 · Free for personal and classroom use with attribution.