Reference diagrams
LETTER · Download PDF
A4 · Download PDF
Free original resources
Learn to draw a crutch by building its underarm pad, parallel support poles, hand grip bar, lower shaft and rubber foot, then check your work with a clear rubric.
Four original cases, with reference diagrams, practice sheets and worked answers. Everything is free; no signup required.
LETTER · Download PDF
A4 · Download PDF
LETTER · Download PDF
A4 · Download PDF
LETTER · Download PDF
A4 · Download PDF
Use A4 or US Letter to match your printer. Use the stated values and conditions to solve each exercise; diagrams are not physical measuring rulers.
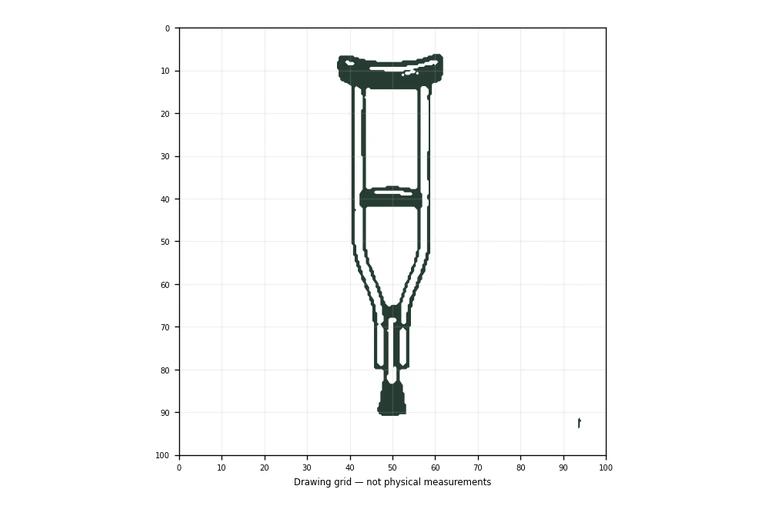
A crutch is a useful drawing subject because its shape is easy to recognise but still asks you to control symmetry, spacing and proportion. This page explains how to construct a crutch from simple parts, then how to use the practice sheets to trace, copy onto a grid, place within a bounding frame or complete a partially drawn version. The goal is not a pixel-perfect copy; it is a drawing that keeps the identifying features and believable proportions.
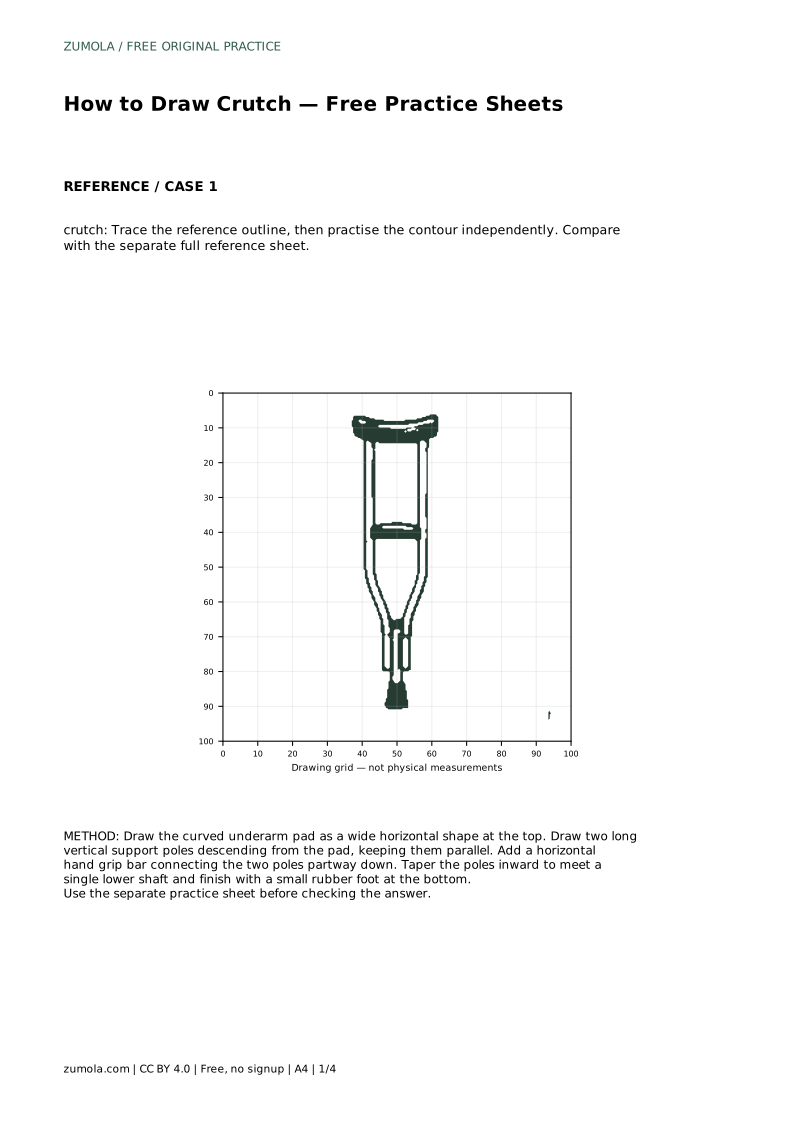
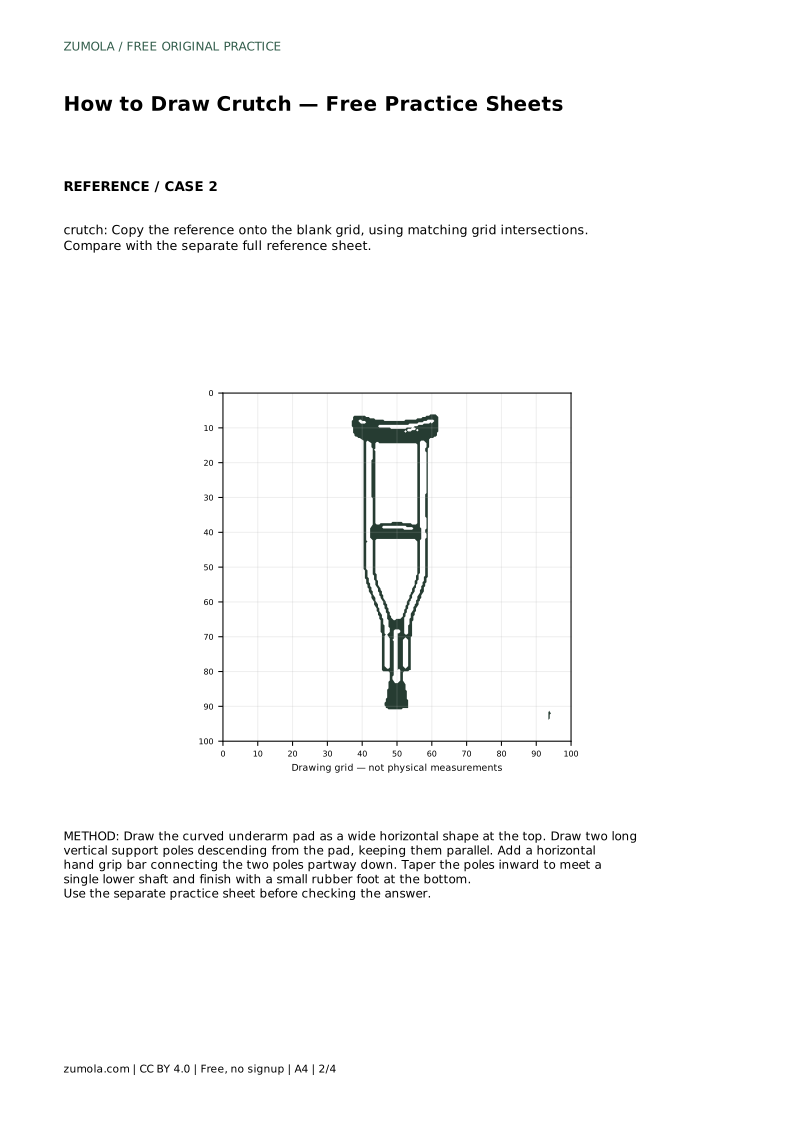
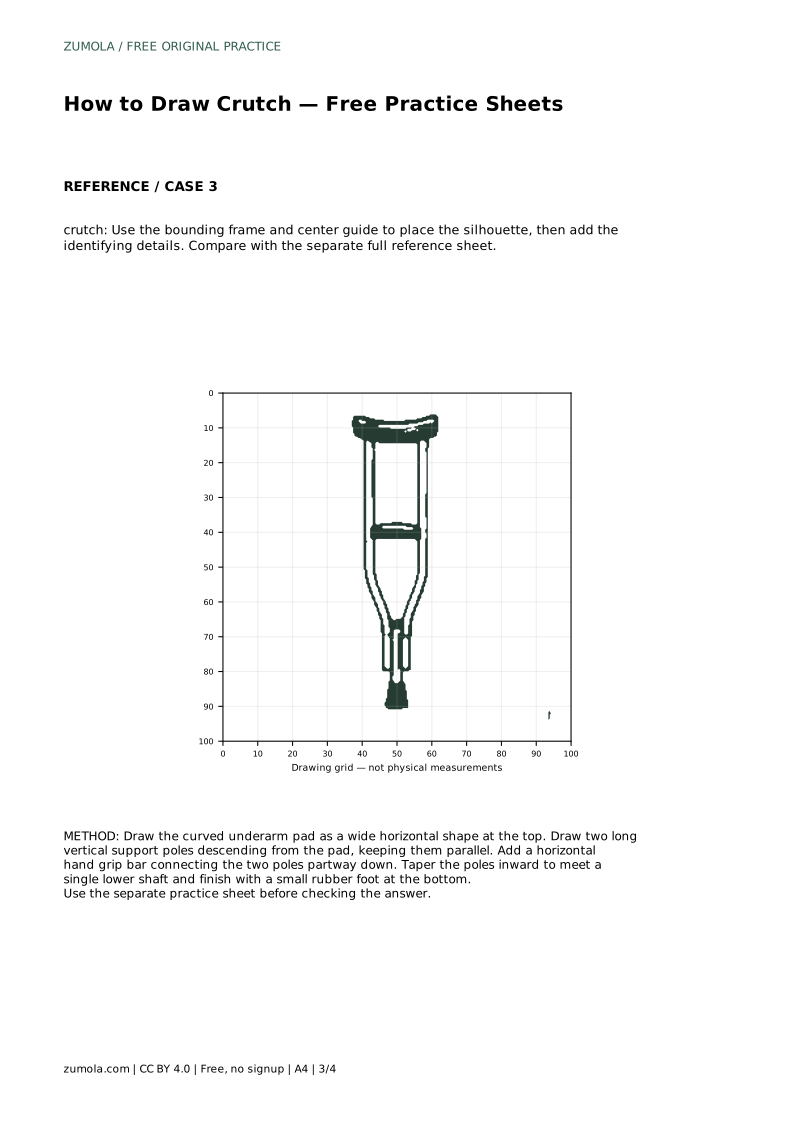
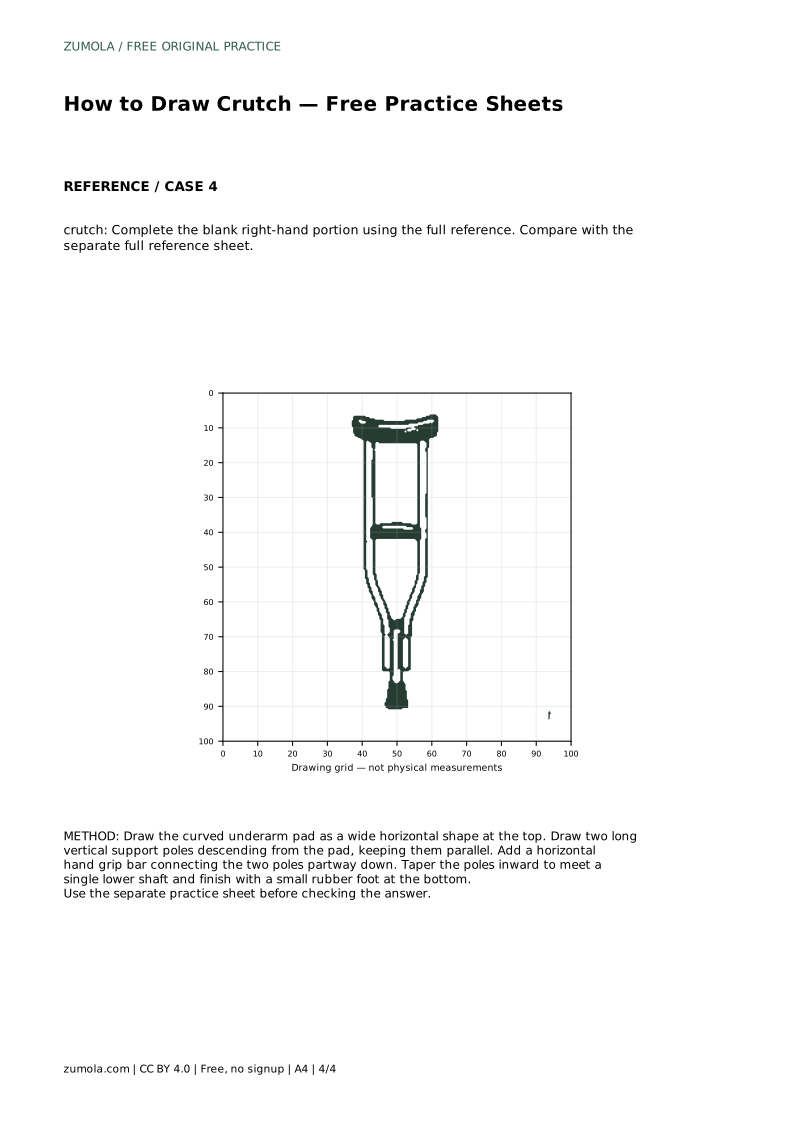
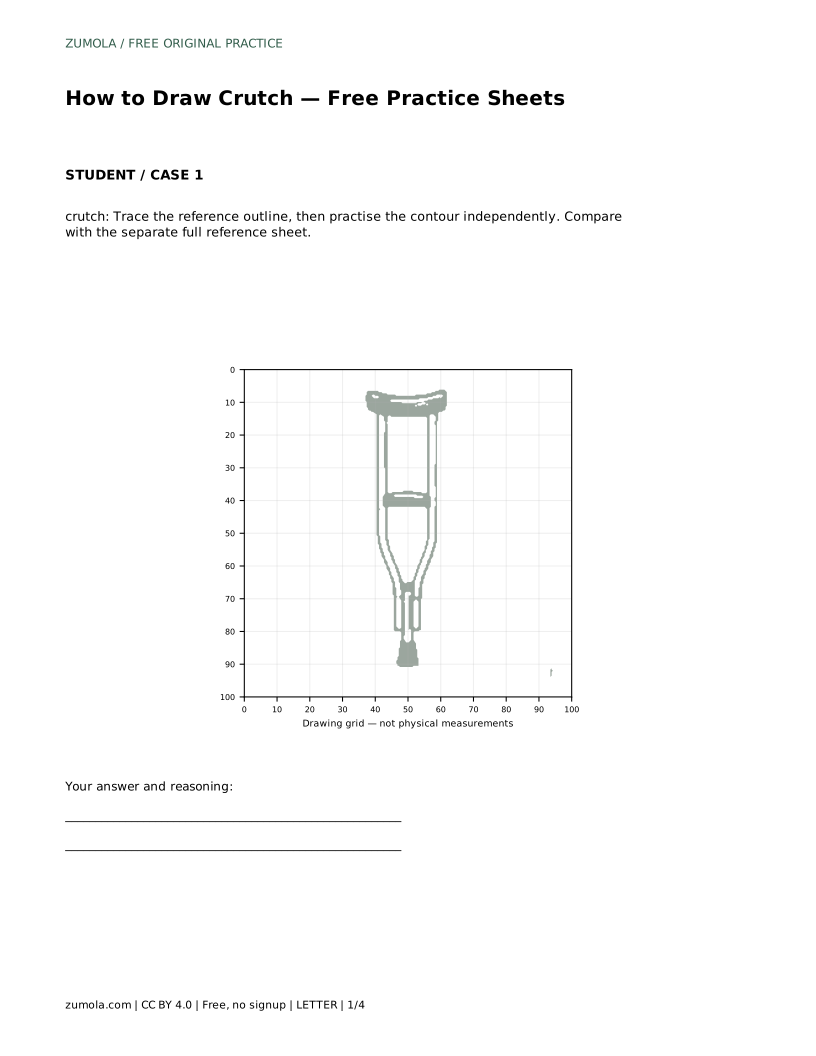
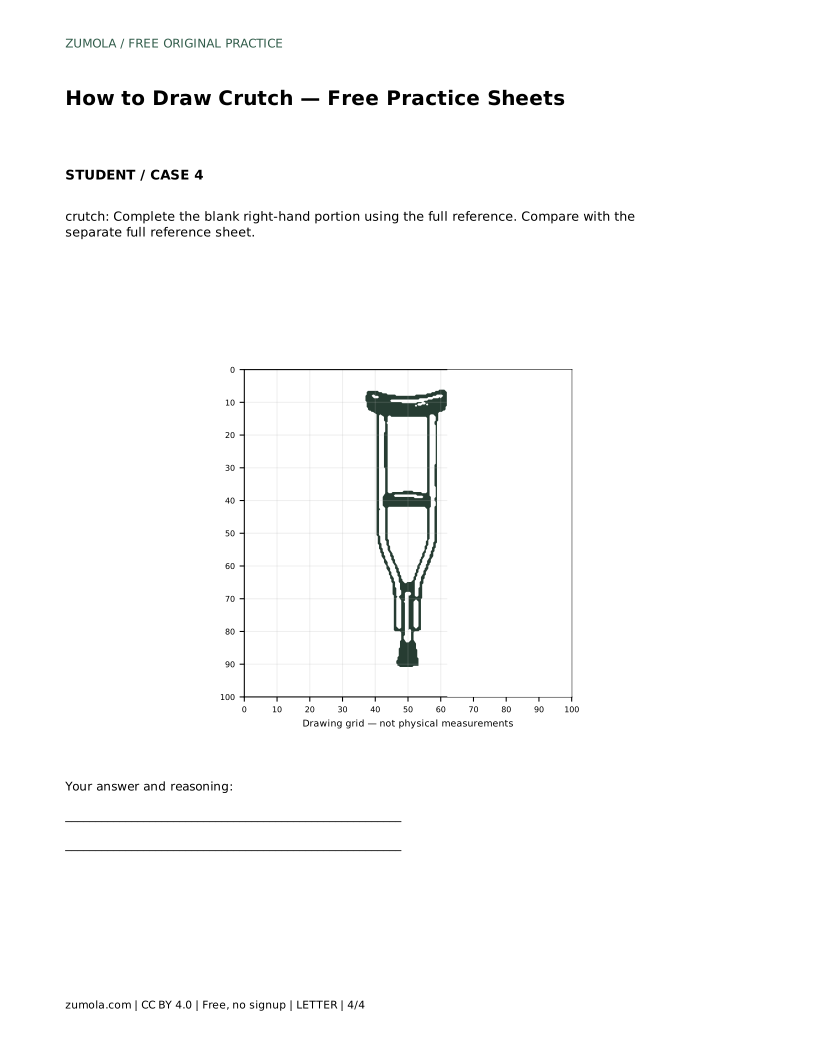
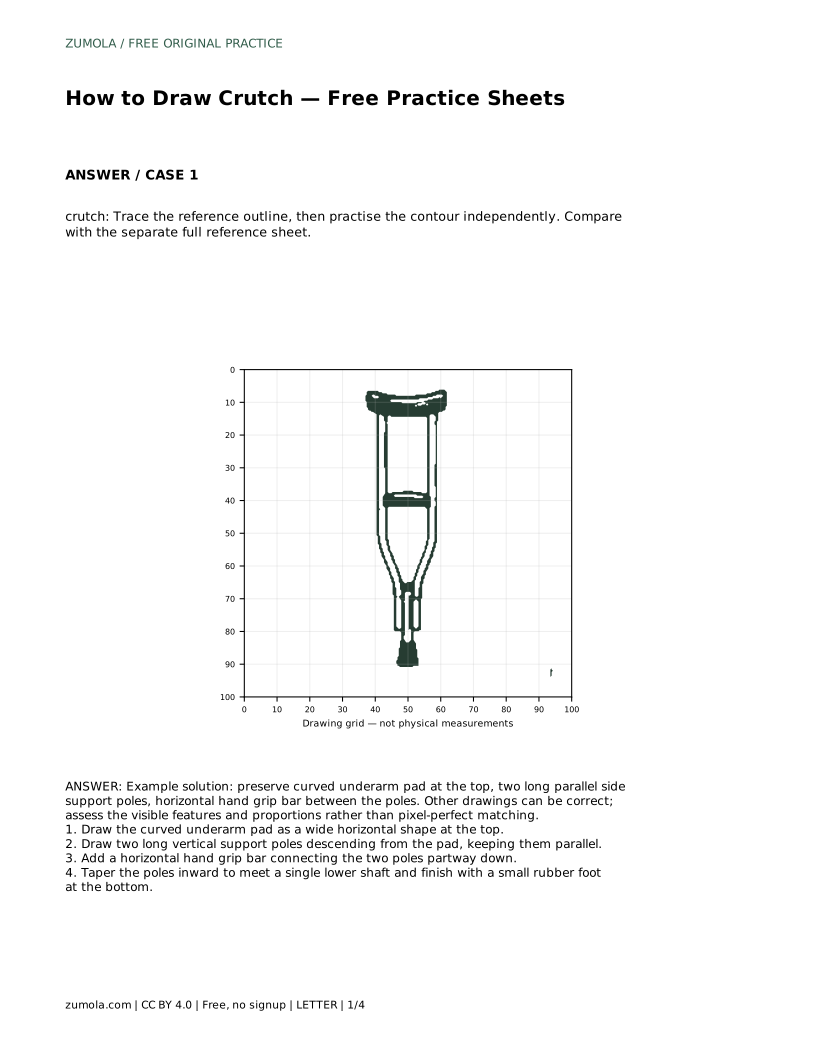
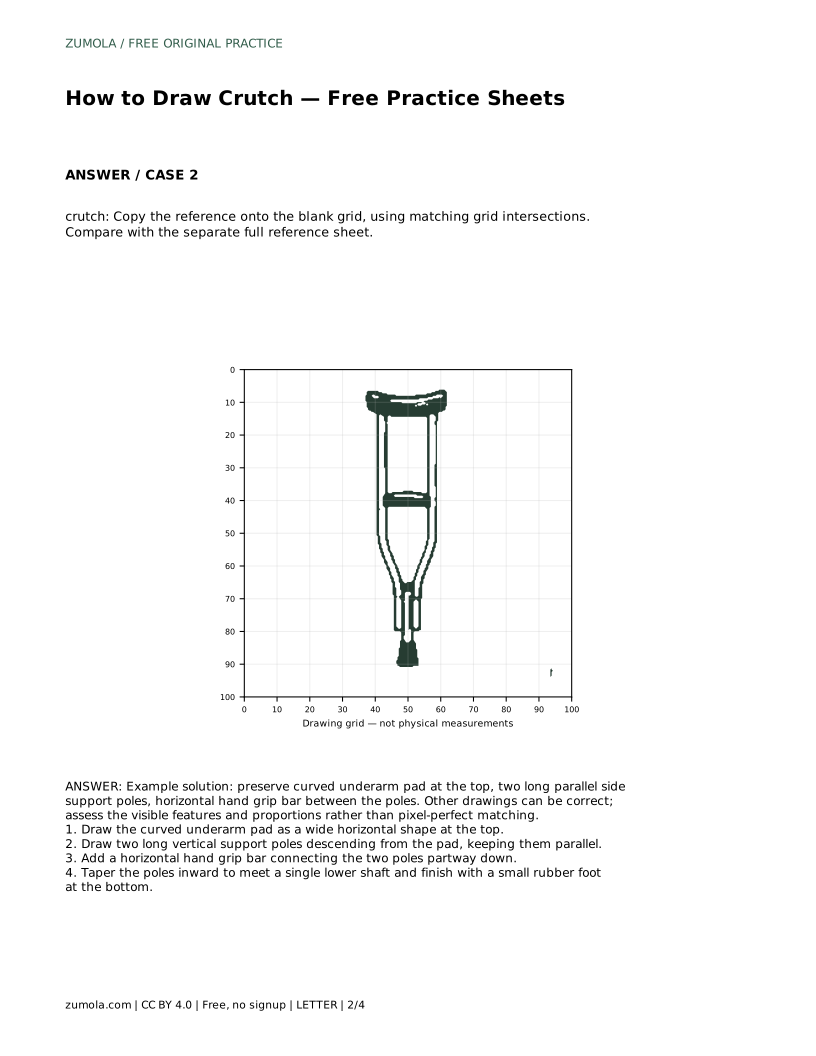
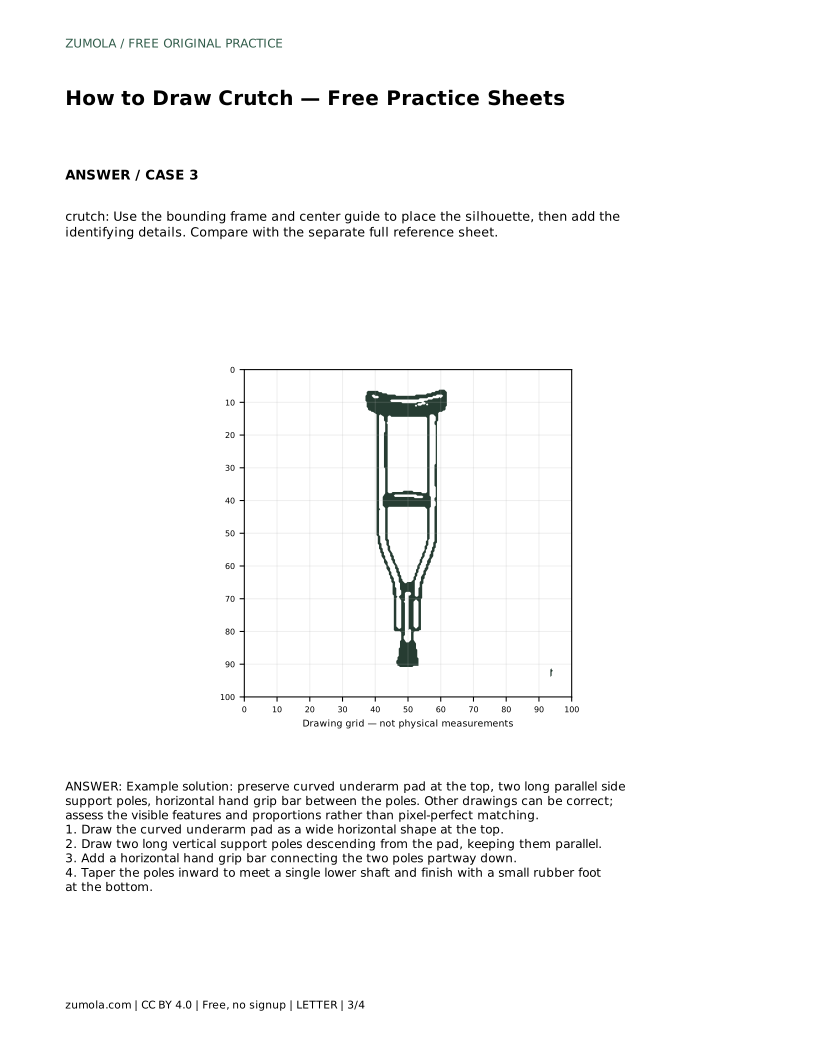
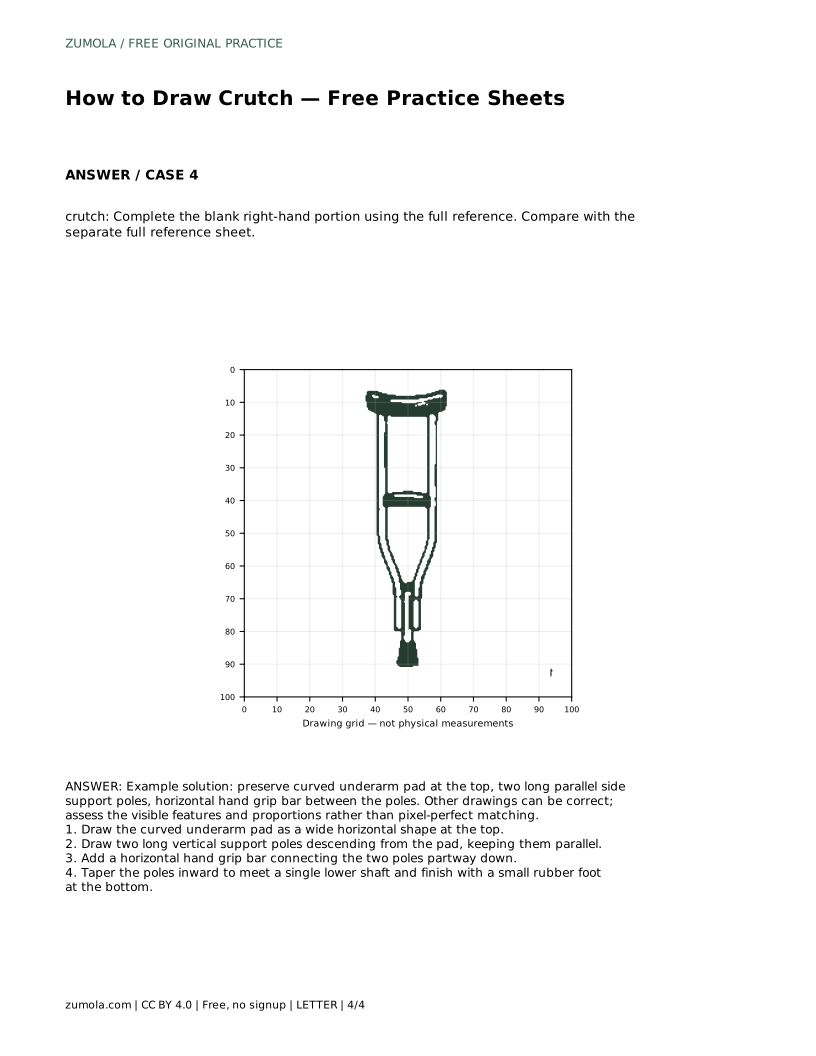
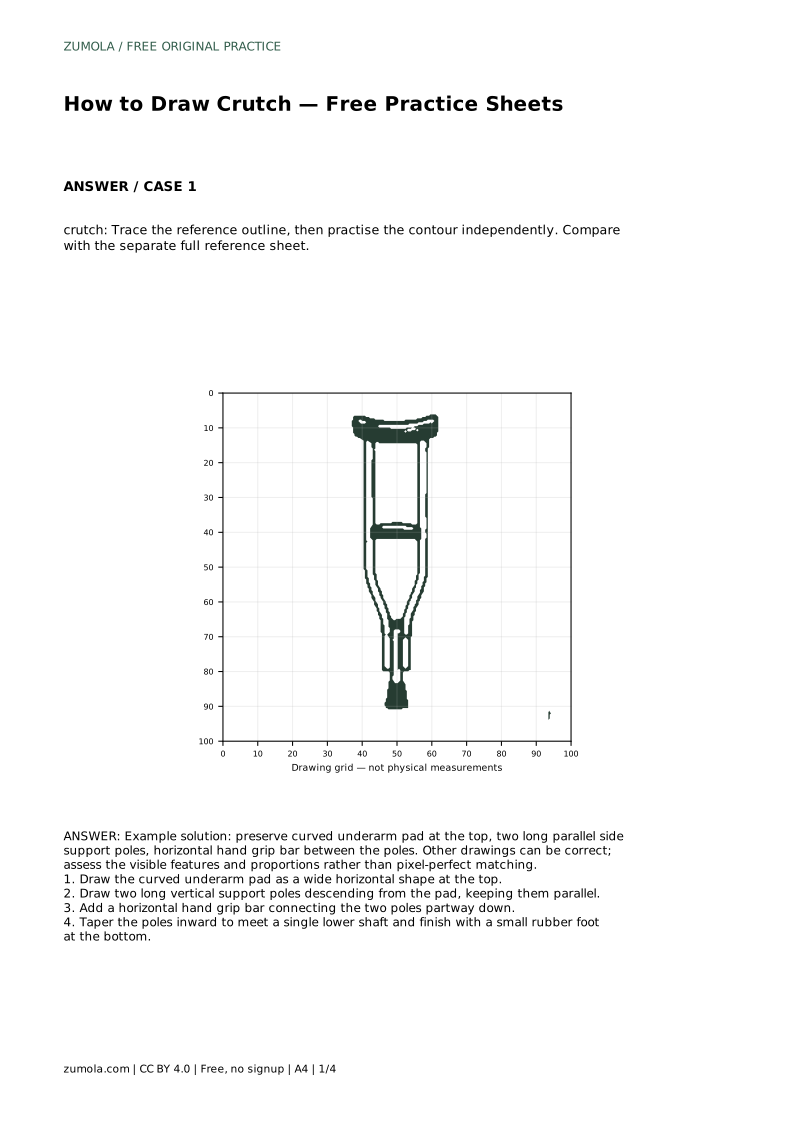
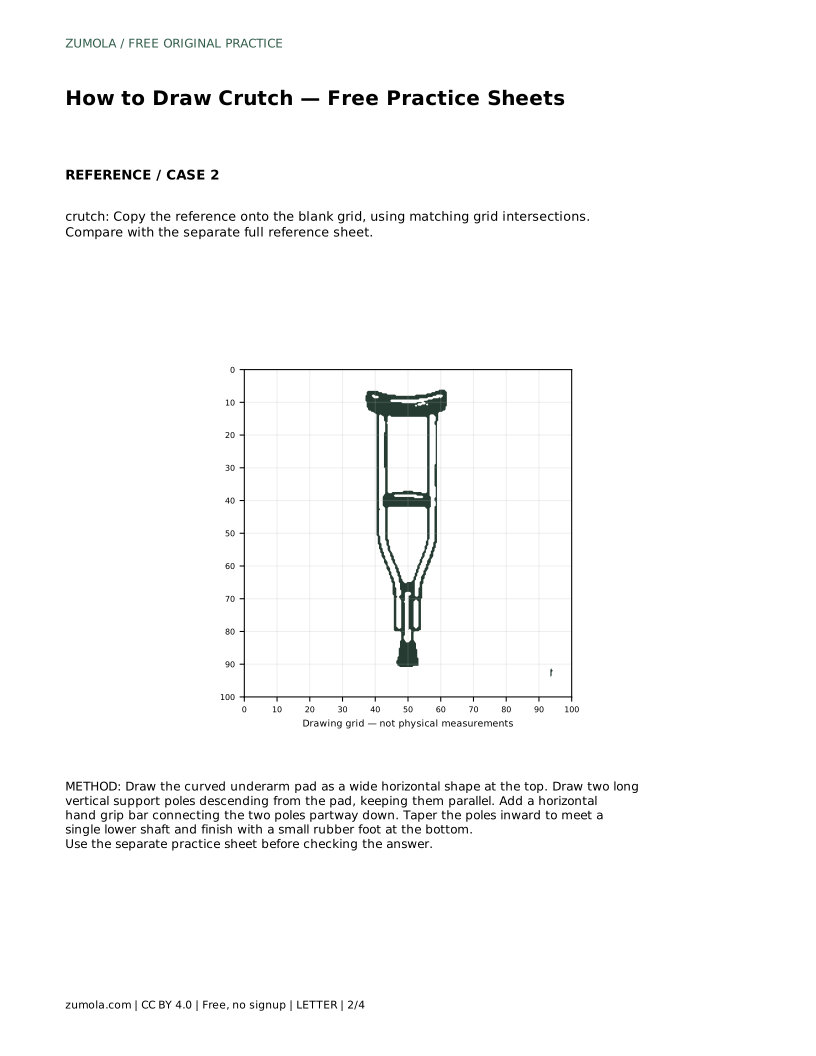
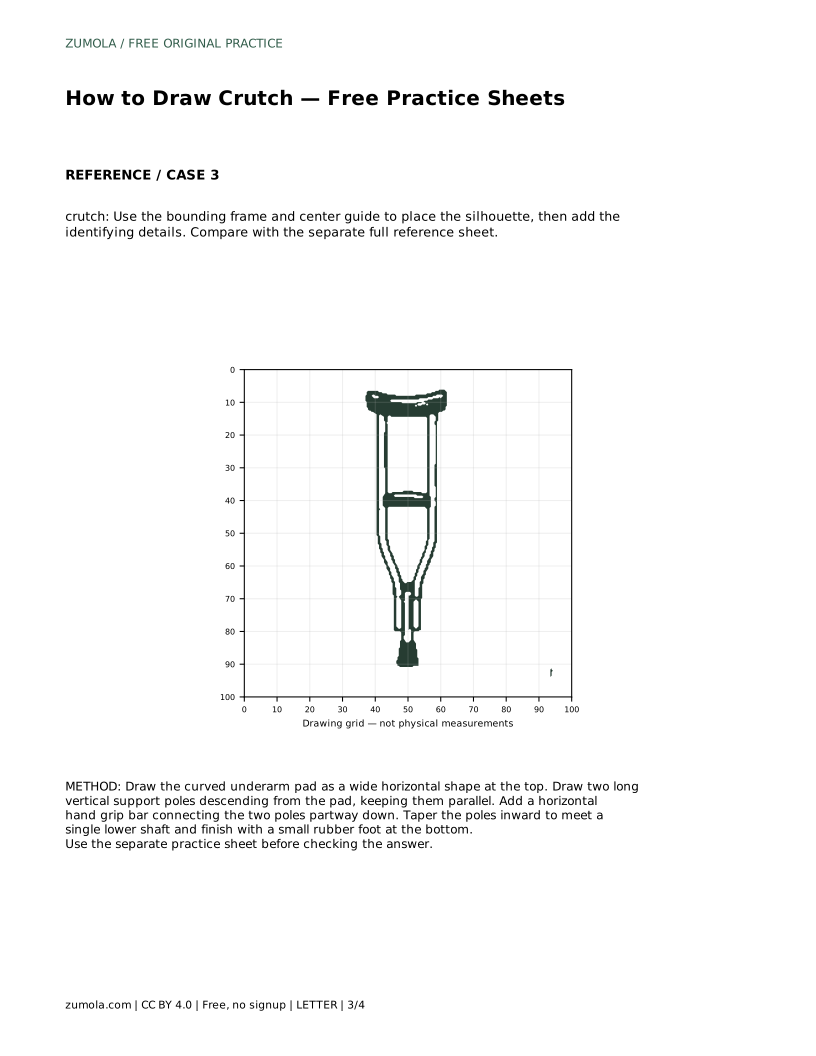
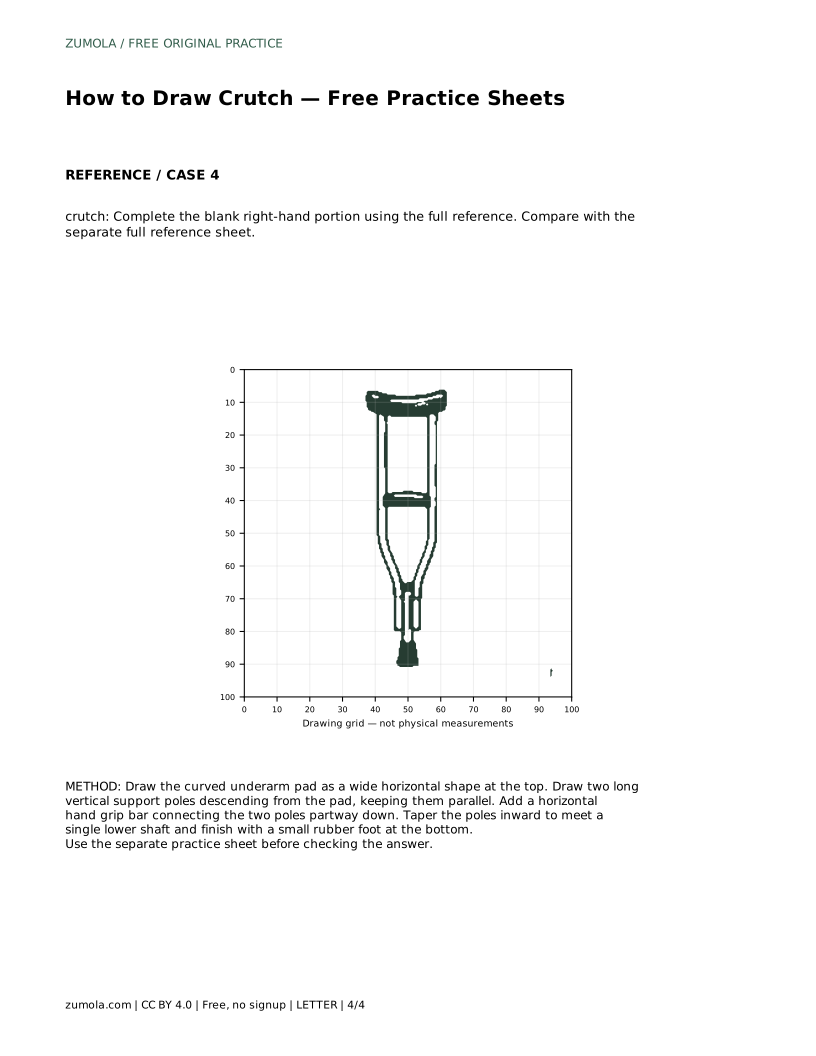
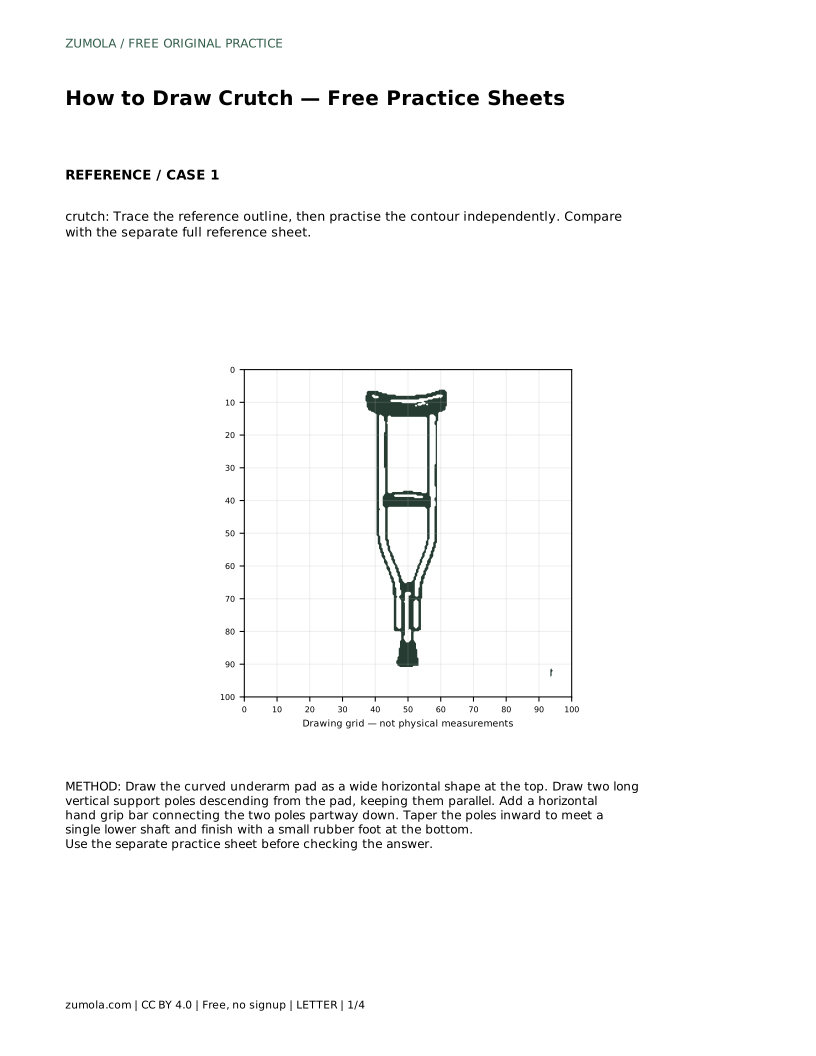
Start by thinking of the crutch as a stack of connected shapes rather than one outline. At the top sits a wide, curved underarm pad. Below it, two long support poles run downward and stay roughly parallel for most of their length. A horizontal hand grip bar bridges the two poles partway down. Near the bottom, the poles taper inward and meet a single lower shaft, which ends in a small rubber foot.
Keep the vertical axis in mind as you draw. The pad, the gap between the poles and the lower shaft should feel centred on the same line. Check the spacing between the two poles early, because a narrow or uneven gap changes the whole silhouette. The hand grip bar should sit clearly between the poles, not float outside them.
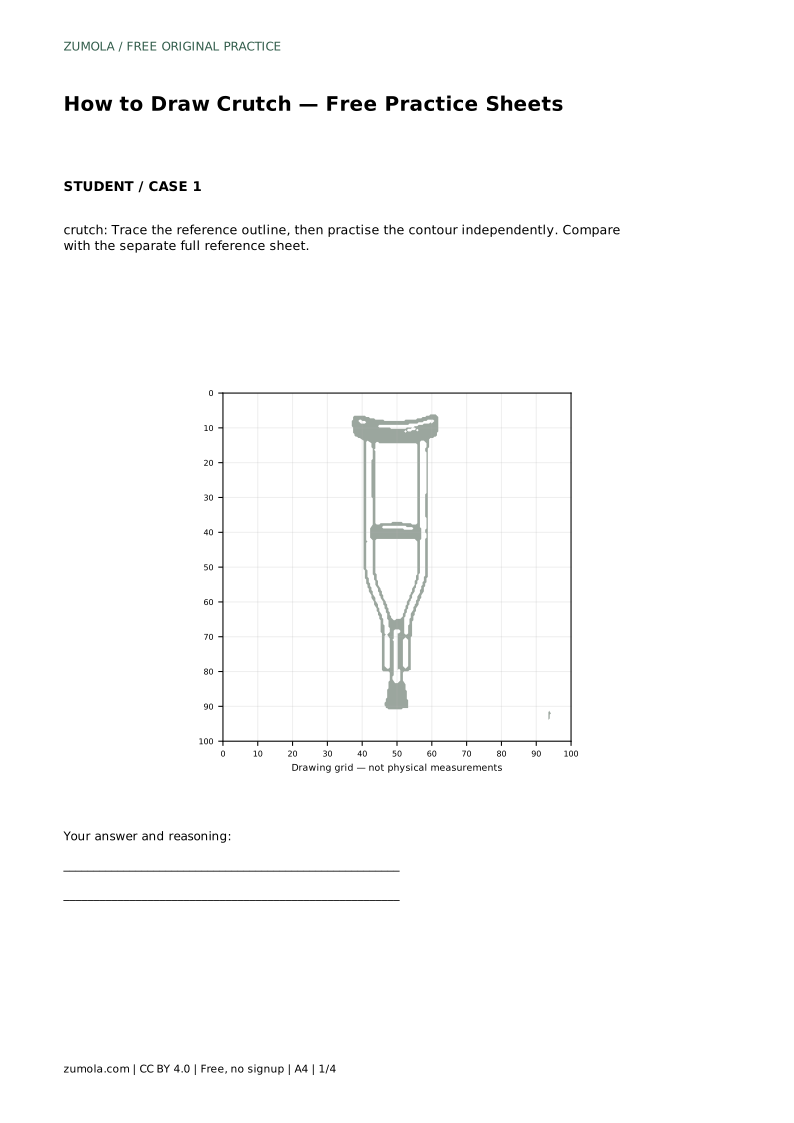
The tracing sheet asks you to follow the reference outline first, then attempt the contour independently on the same page. Tracing builds familiarity with the sequence of parts; the independent attempt shows what you can recall without guidance. Compare your free drawing with the separate full reference sheet rather than with your traced line, so you are judging the shape itself.
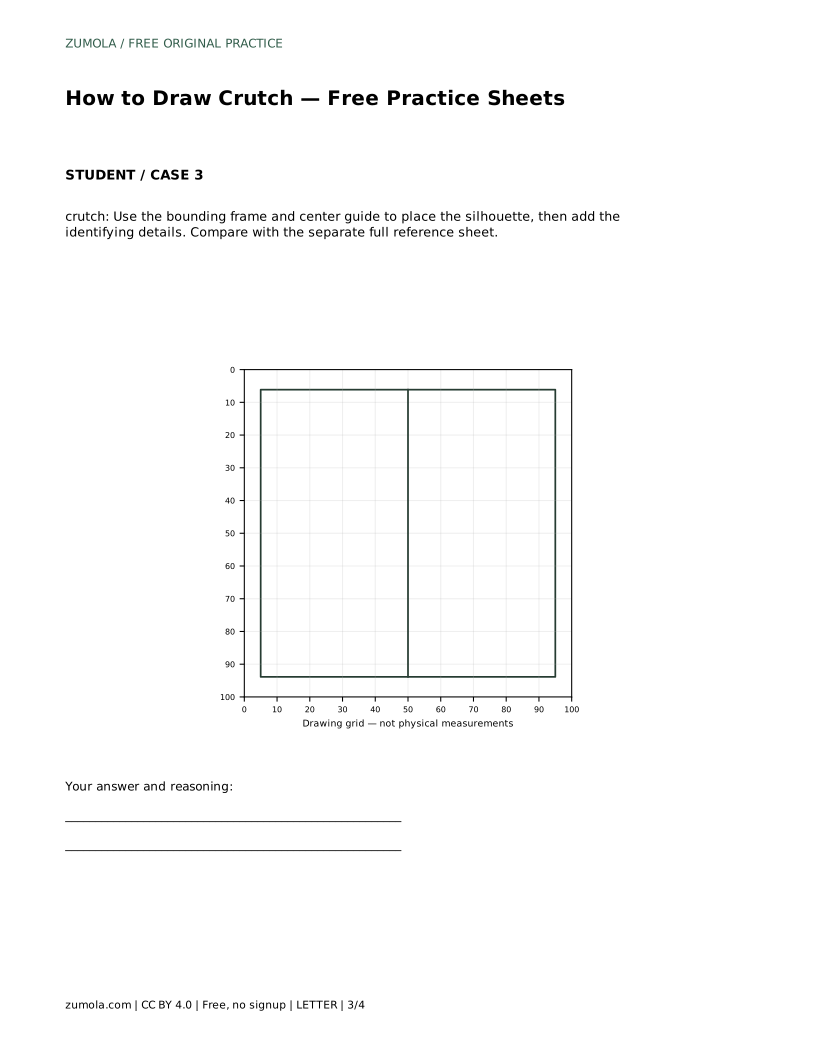
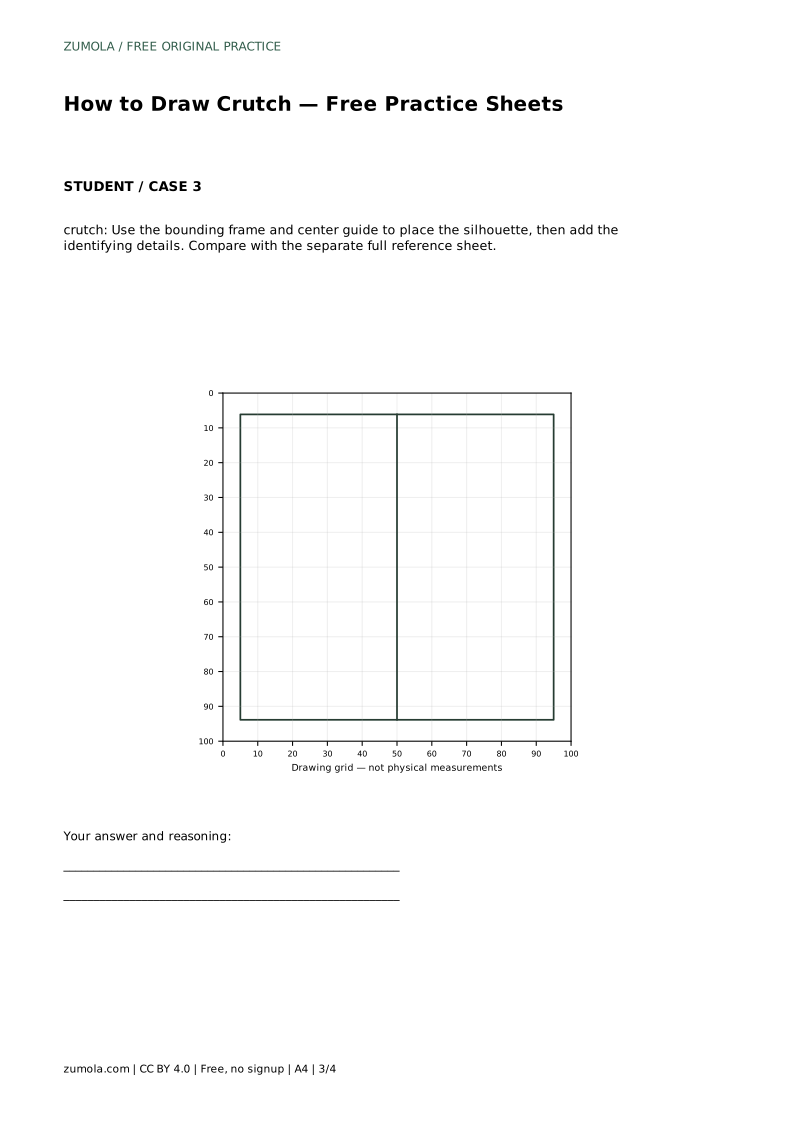
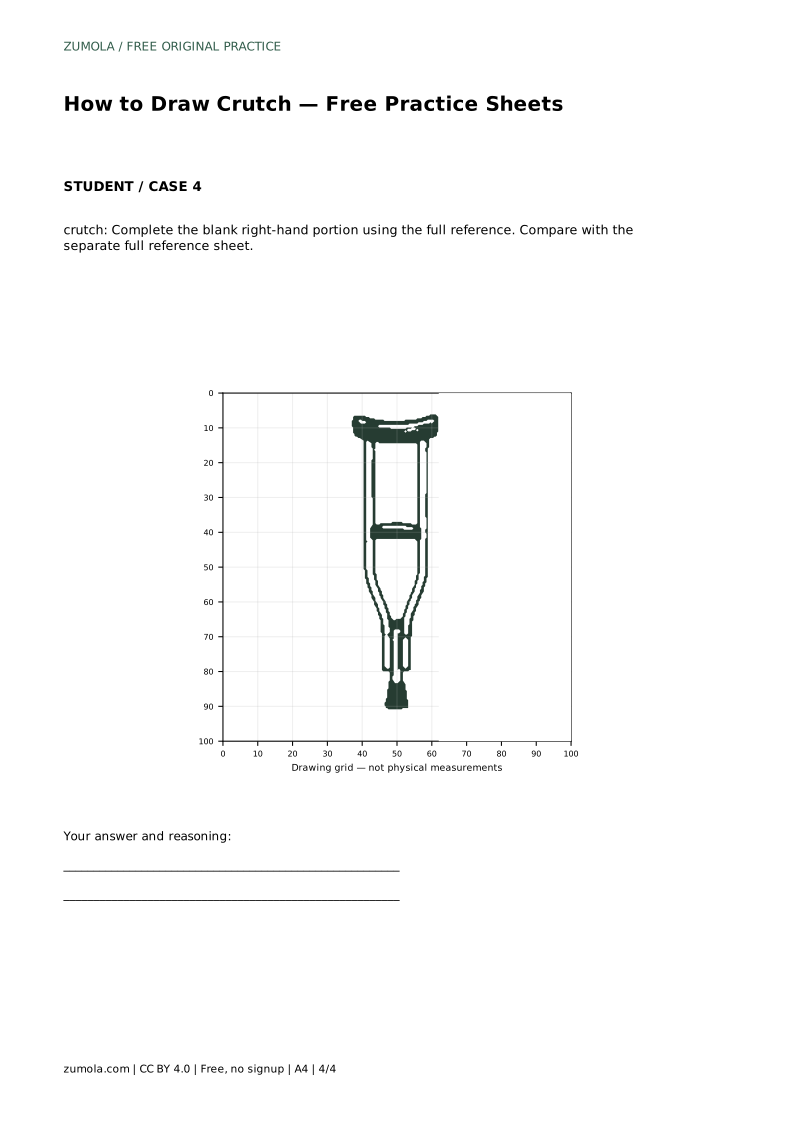
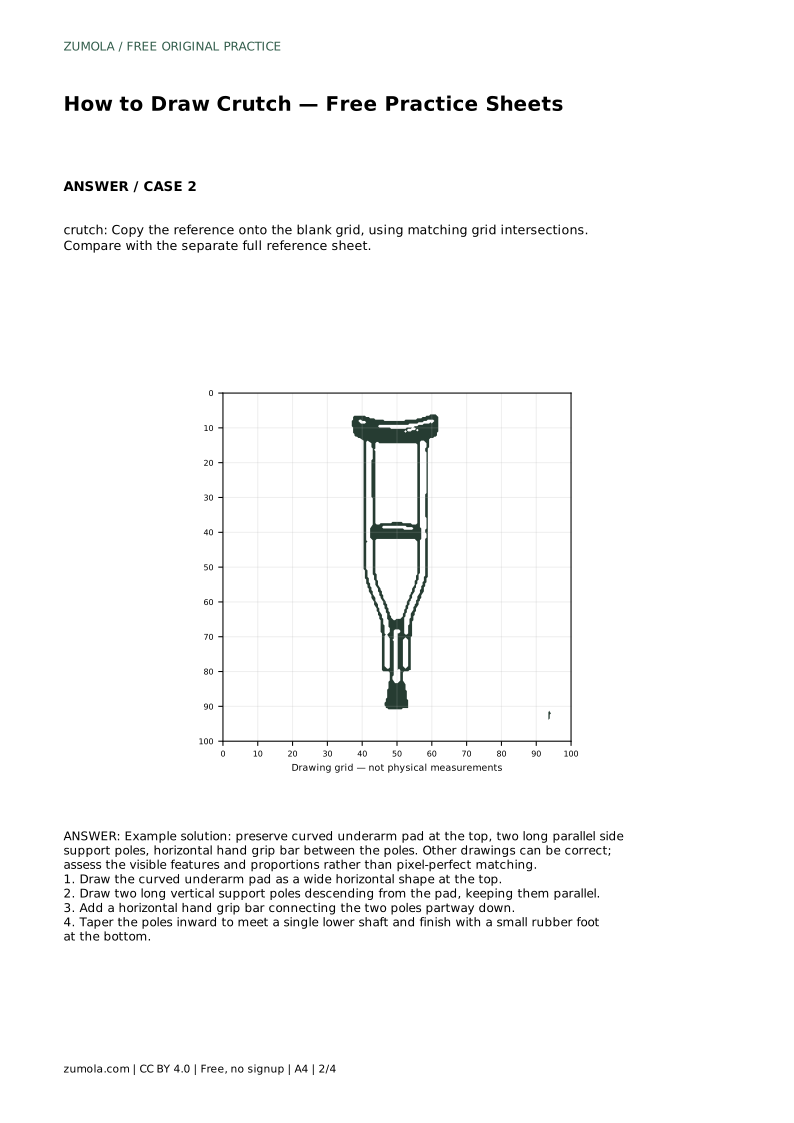
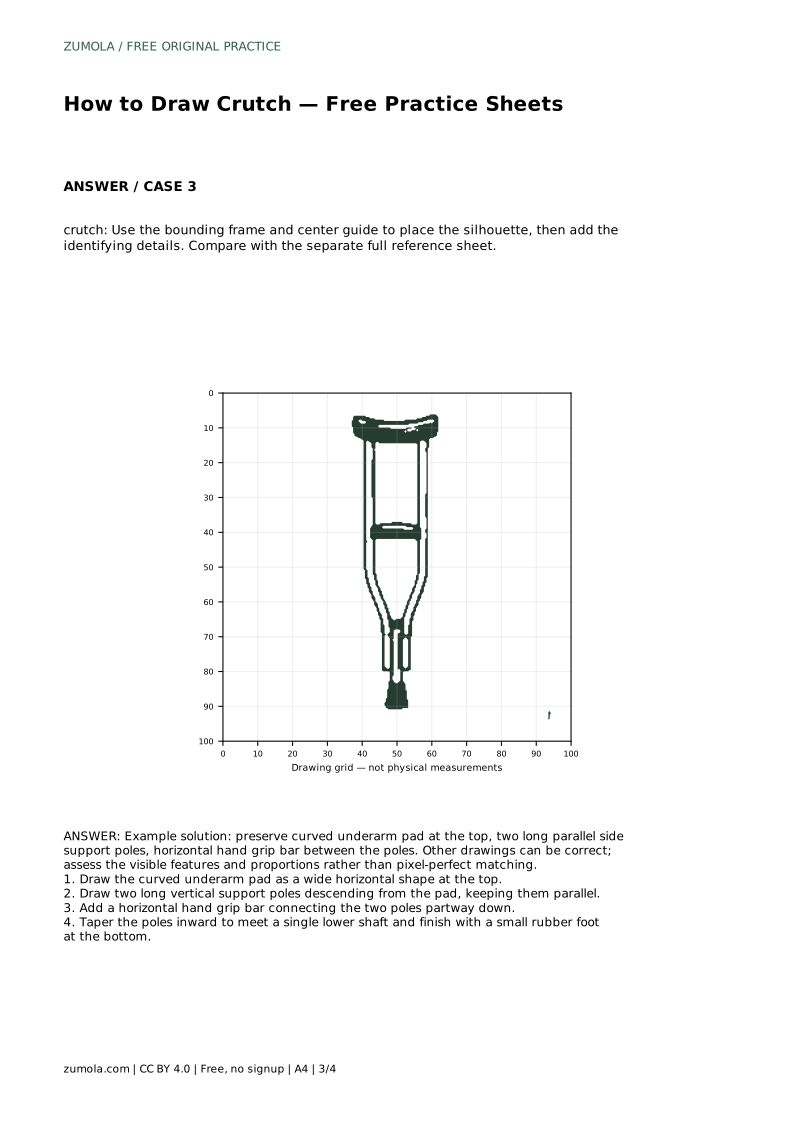
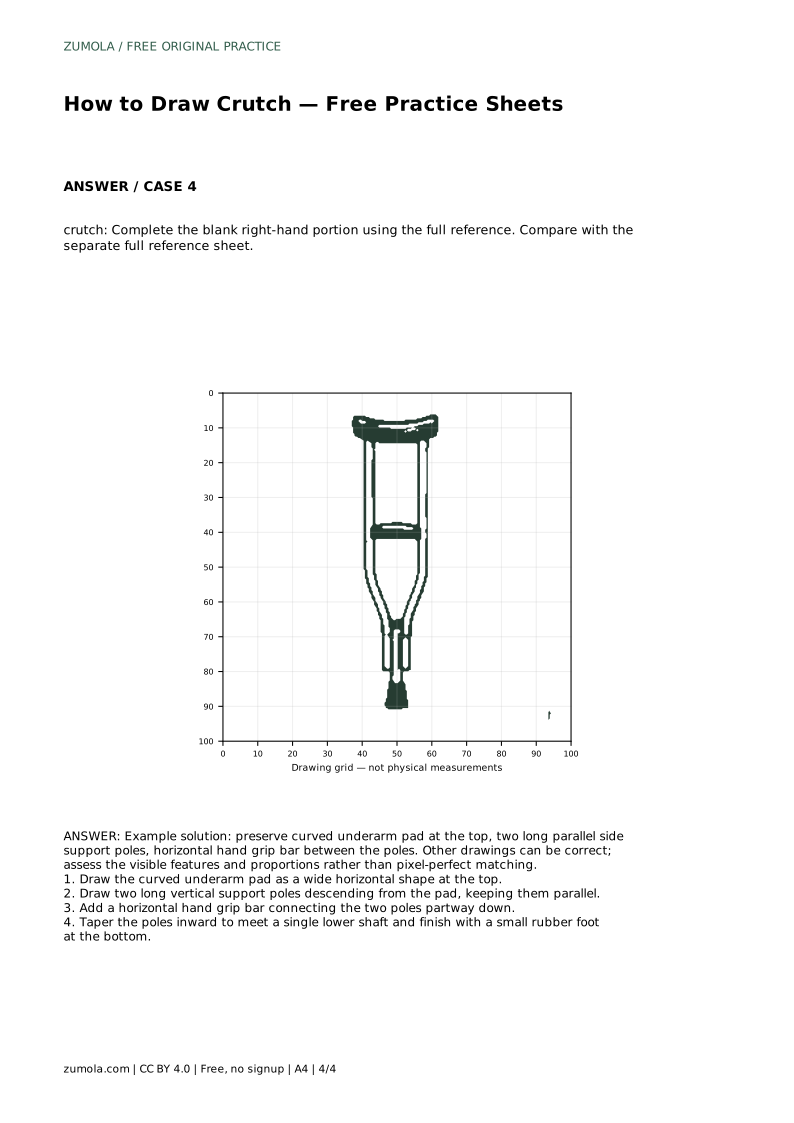
The grid sheet works differently. Copy the reference onto the blank grid by matching where lines cross grid intersections. Use the grid to compare distances, such as how far the hand grip sits below the pad or how long the lower shaft is relative to the poles. The bounding frame and centre guide sheet helps you place the overall silhouette before adding details, which is useful if your drawings tend to drift off-centre or come out too tall. The partial sheet gives you the left side and asks you to complete the right, so use the full reference to judge symmetry and the position of the hand grip.
Compare the width of the underarm pad with the width between the two poles. The pad is usually the widest horizontal element, while the poles form a narrower, even channel beneath it. Look at the hand grip: it should be horizontal and should connect both poles at the same height. If one end sits higher, the crutch will look twisted.
Finally, check the lower section. The two poles should narrow toward a single shaft without crossing each other, and the rubber foot should be small and sit at the very bottom. A common problem is making the lower shaft too short, which makes the crutch look top-heavy. Step back from your drawing and compare the length of the poles with the length of the shaft below the taper.
Crutch drawings can be correct in more than one way. A slightly wider pad or a longer hand grip can still read clearly as a crutch. Instead of chasing an exact match, assess whether the visible features are present and whether the proportions are believable. Use the rubric below to review your own sheet or a class set consistently.
crutch: Trace the reference outline, then practise the contour independently. Compare with the separate full reference sheet.
Example solution: preserve curved underarm pad at the top, two long parallel side support poles, horizontal hand grip bar between the poles. Other drawings can be correct; assess the visible features and proportions rather than pixel-perfect matching. Draw the curved underarm pad as a wide horizontal shape at the top. Draw two long vertical support poles descending from the pad, keeping them parallel. Add a horizontal hand grip bar connecting the two poles partway down. Taper the poles inward to meet a single lower shaft and finish with a small rubber foot at the bottom.
No. Preserve the curved underarm pad, two long parallel support poles, horizontal hand grip bar, tapered lower shaft and small rubber foot, then judge proportions with the rubric.
Start with the tracing sheet to learn the order of parts, then move to the grid or bounding frame sheet to practise placement without tracing.
Check that the pad is the widest part, the poles stay parallel, the grip is level and connects both poles, and the lower shaft ends in a small foot.
All drawing practice · Free coordinate paper
Original resources · CC BY 4.0 · Free for personal and classroom use with attribution.