Reference diagrams
LETTER · Download PDF
A4 · Download PDF
Free original resources
Learn to draw a clothespin by building two tapered wooden halves, a central coiled spring, and rounded handles. Practice with tracing, grid, and frame sheets.
Four original cases, with reference diagrams, practice sheets and worked answers. Everything is free; no signup required.
LETTER · Download PDF
A4 · Download PDF
LETTER · Download PDF
A4 · Download PDF
LETTER · Download PDF
A4 · Download PDF
Use A4 or US Letter to match your printer. Use the stated values and conditions to solve each exercise; diagrams are not physical measuring rulers.
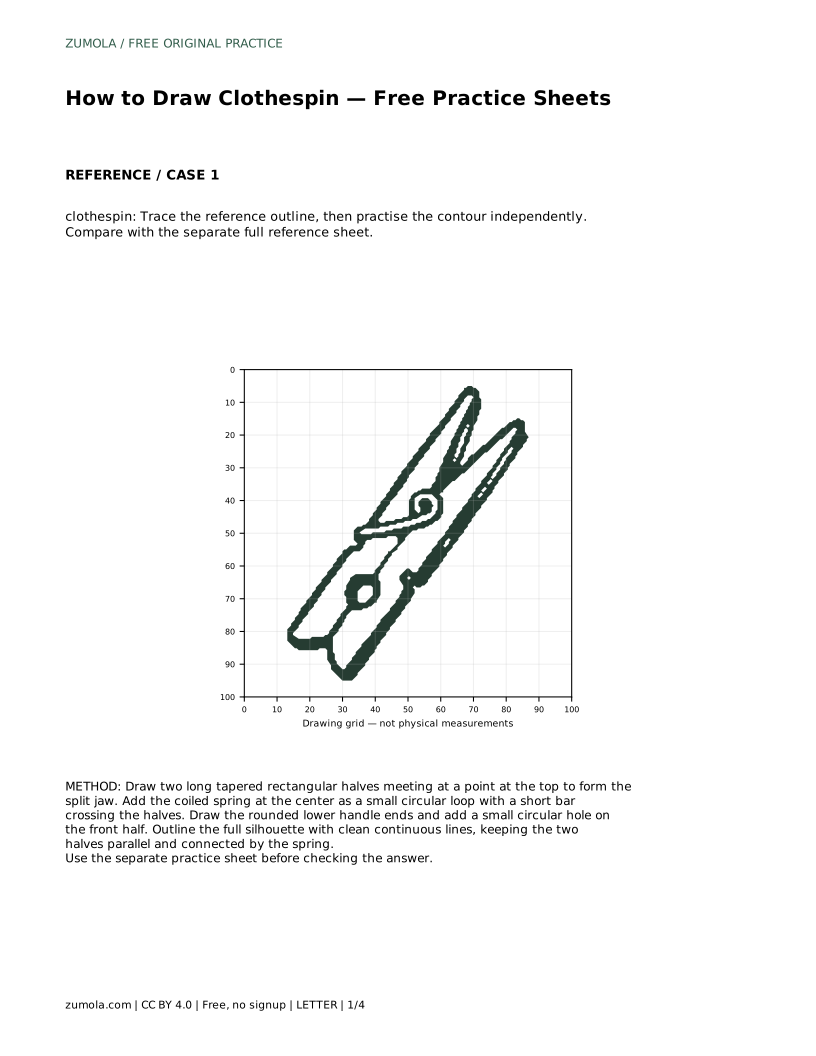
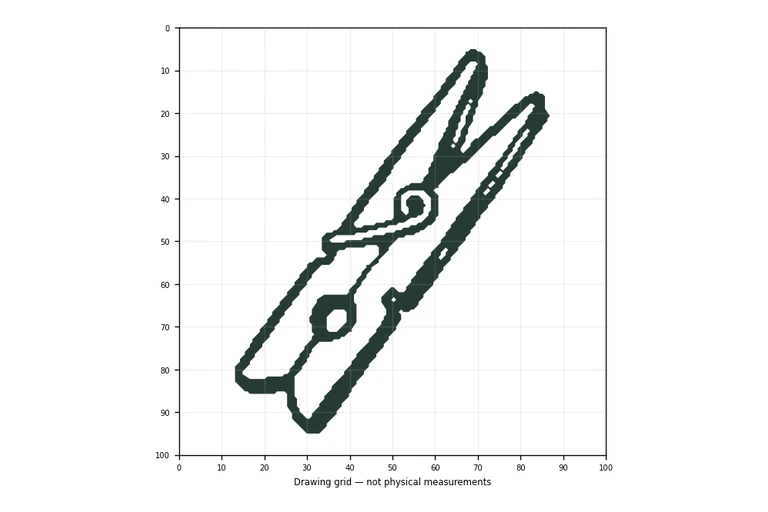
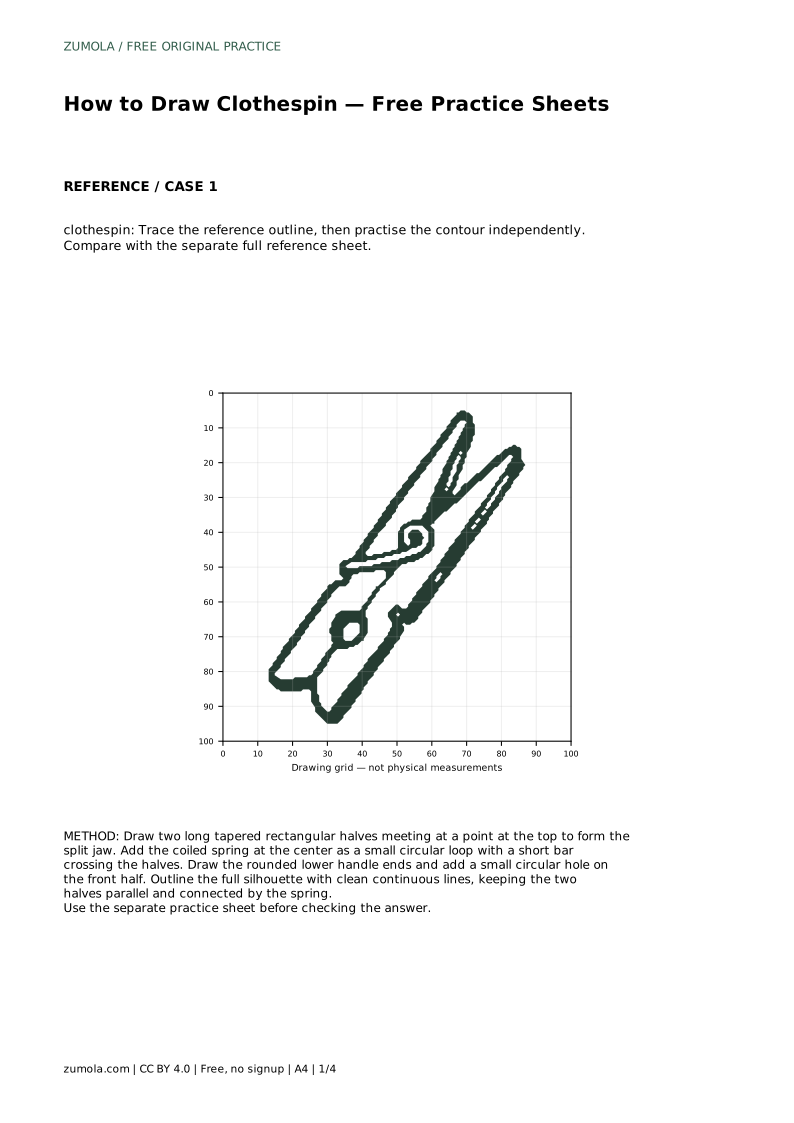
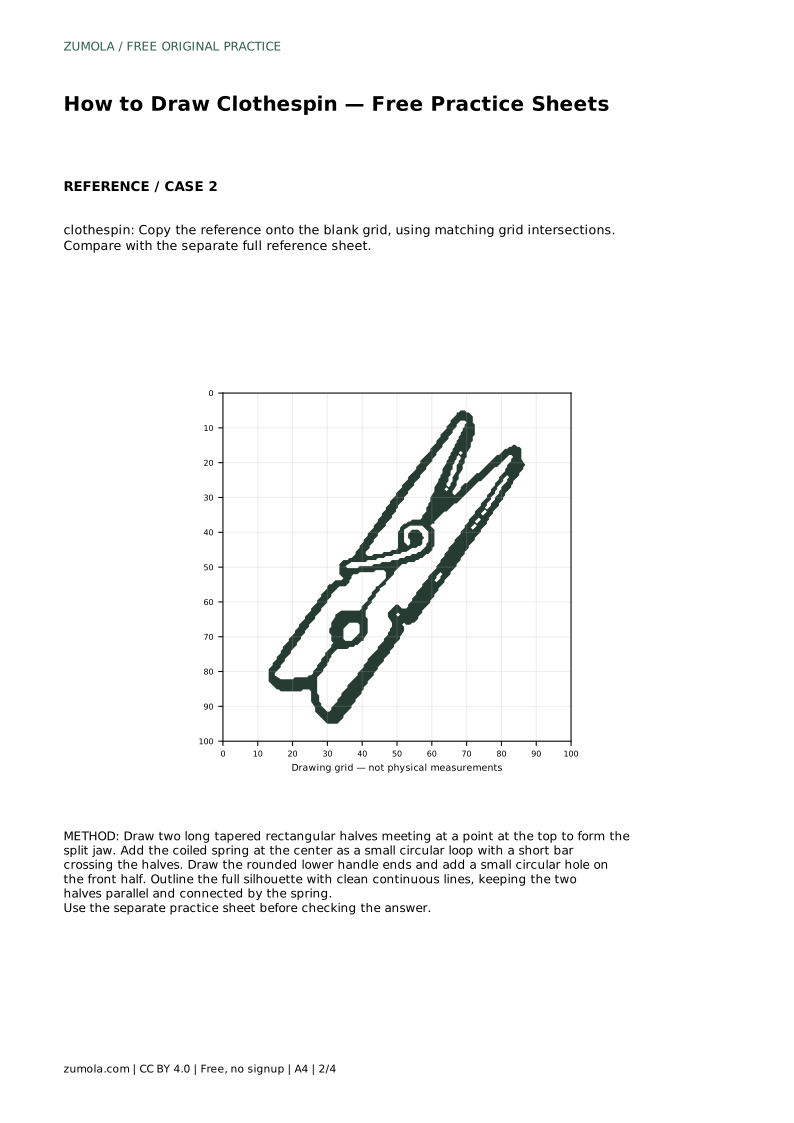
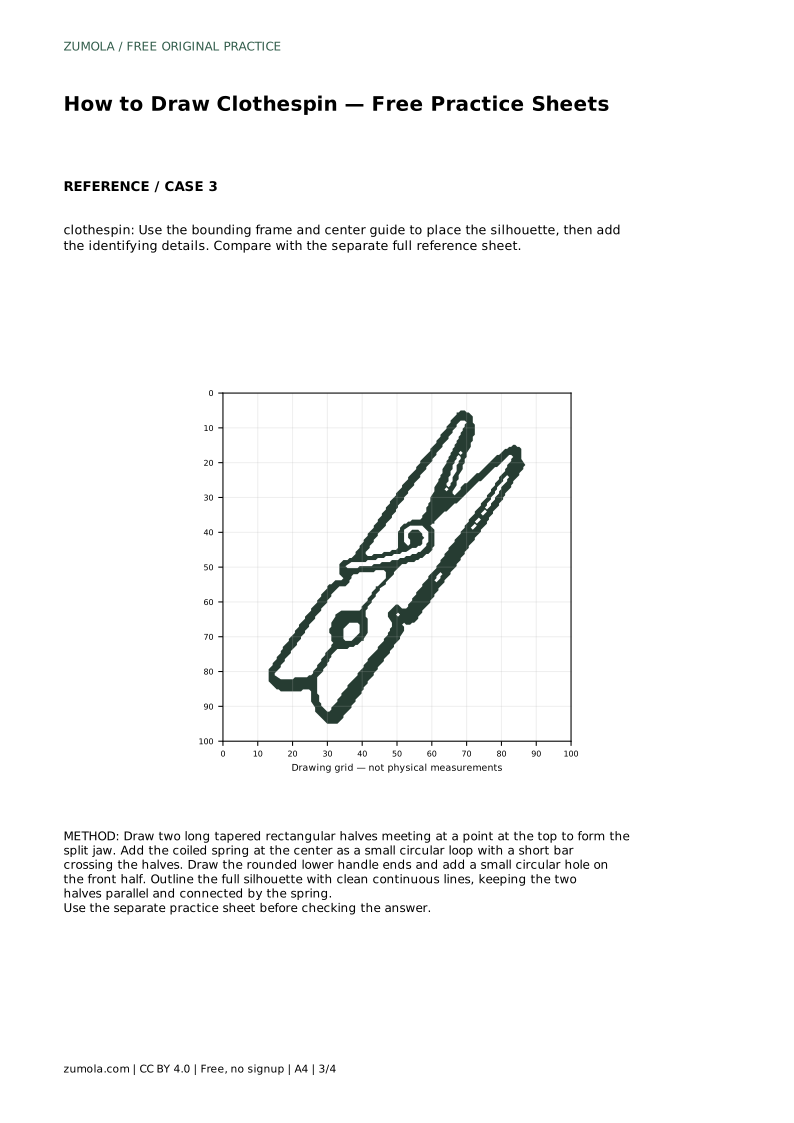
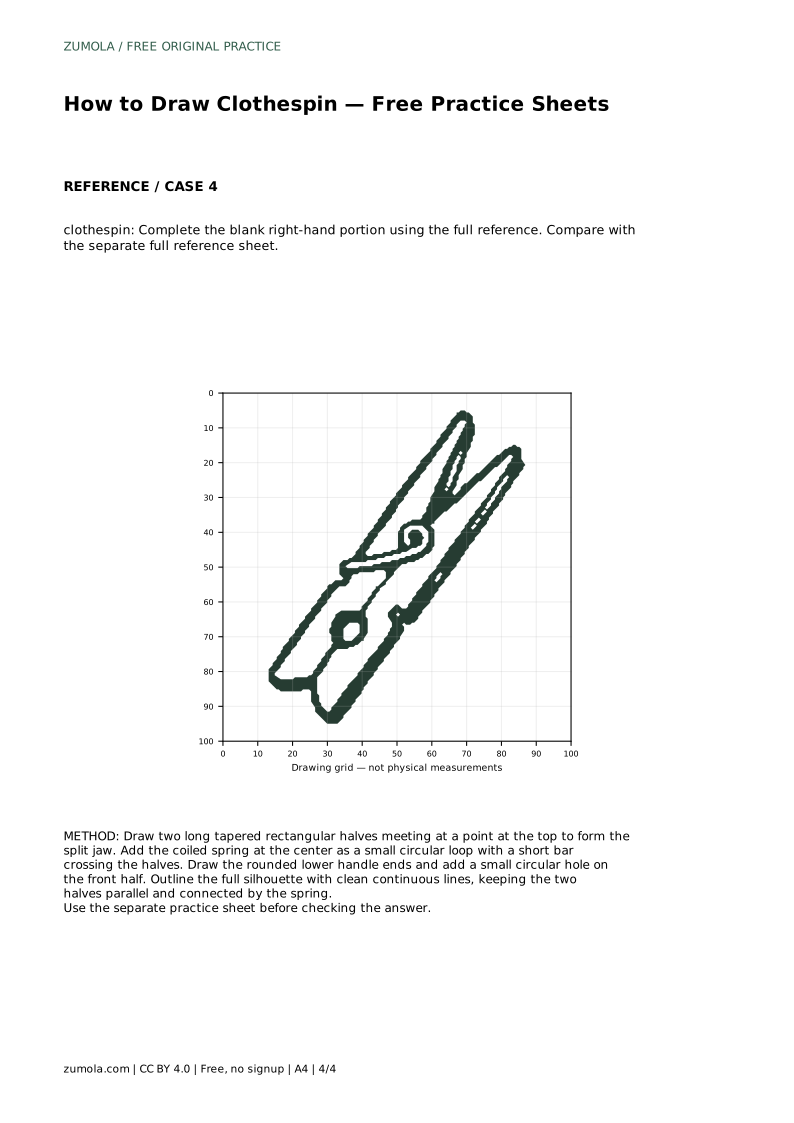
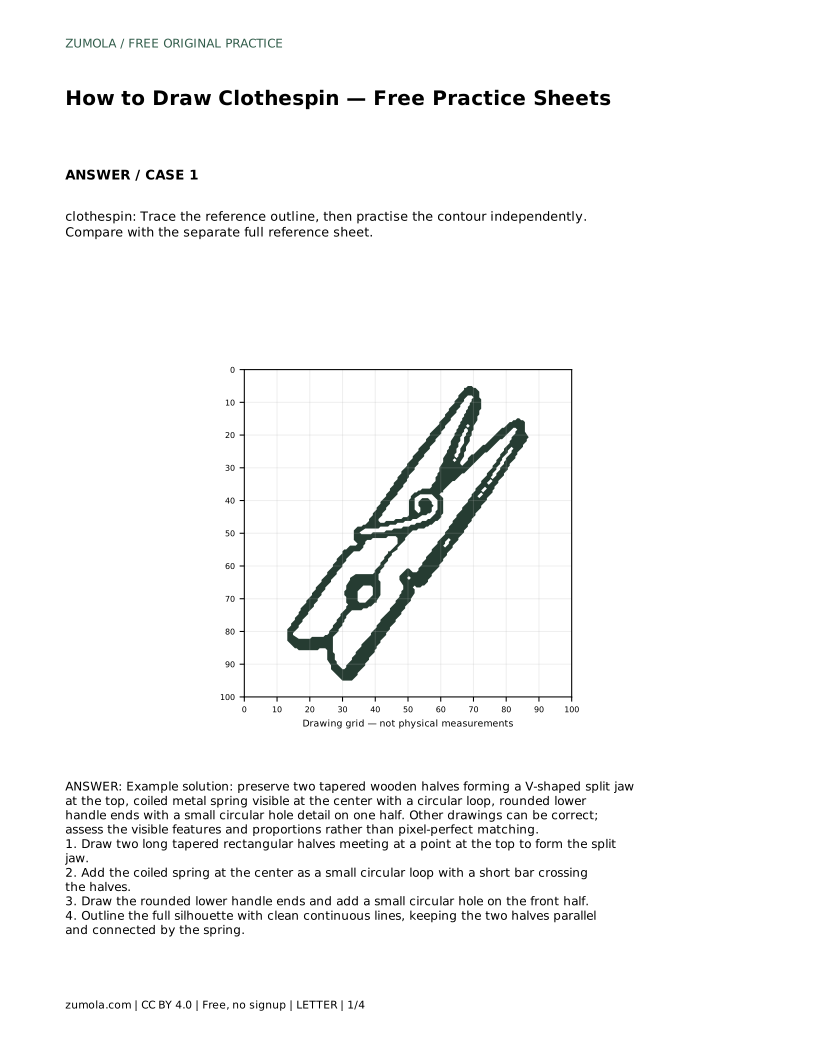
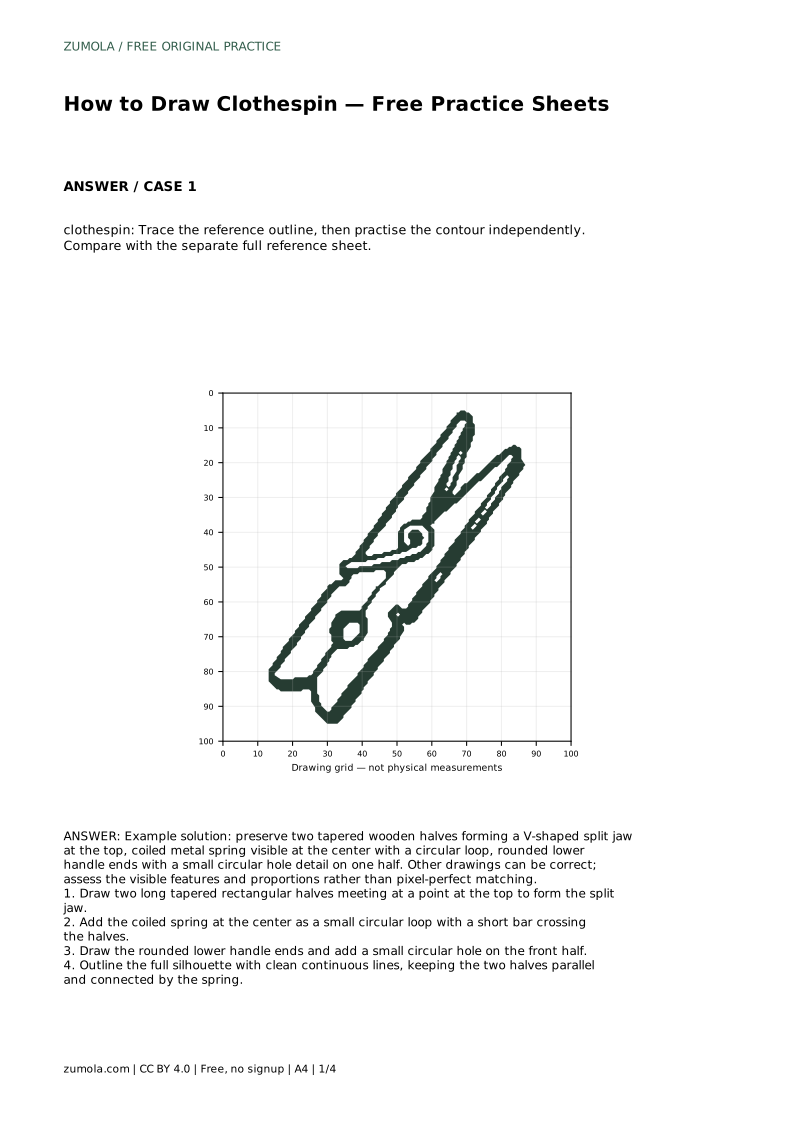
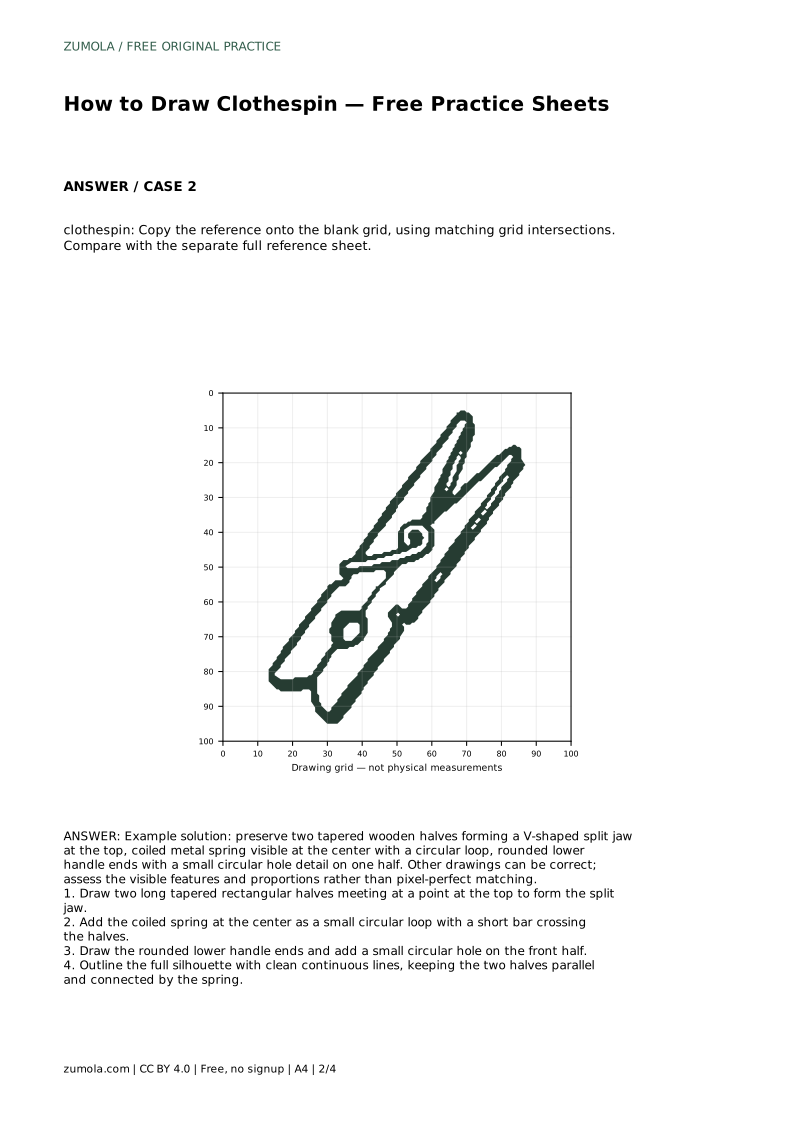
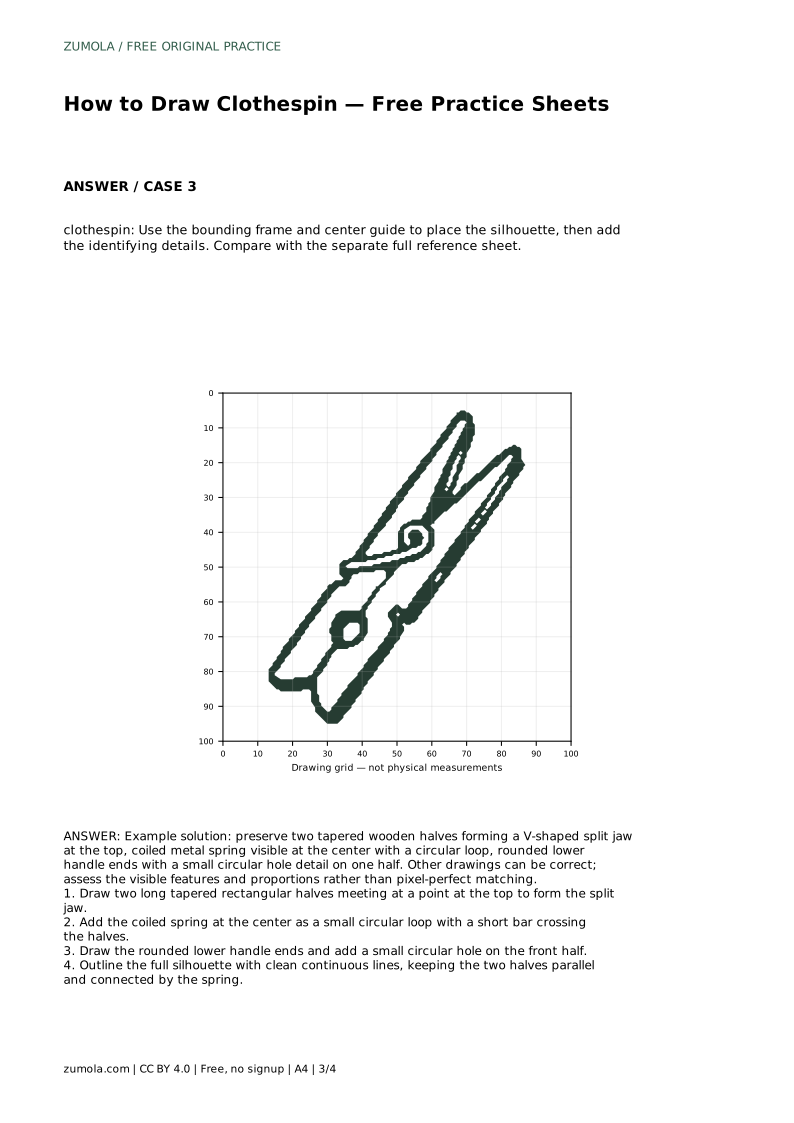
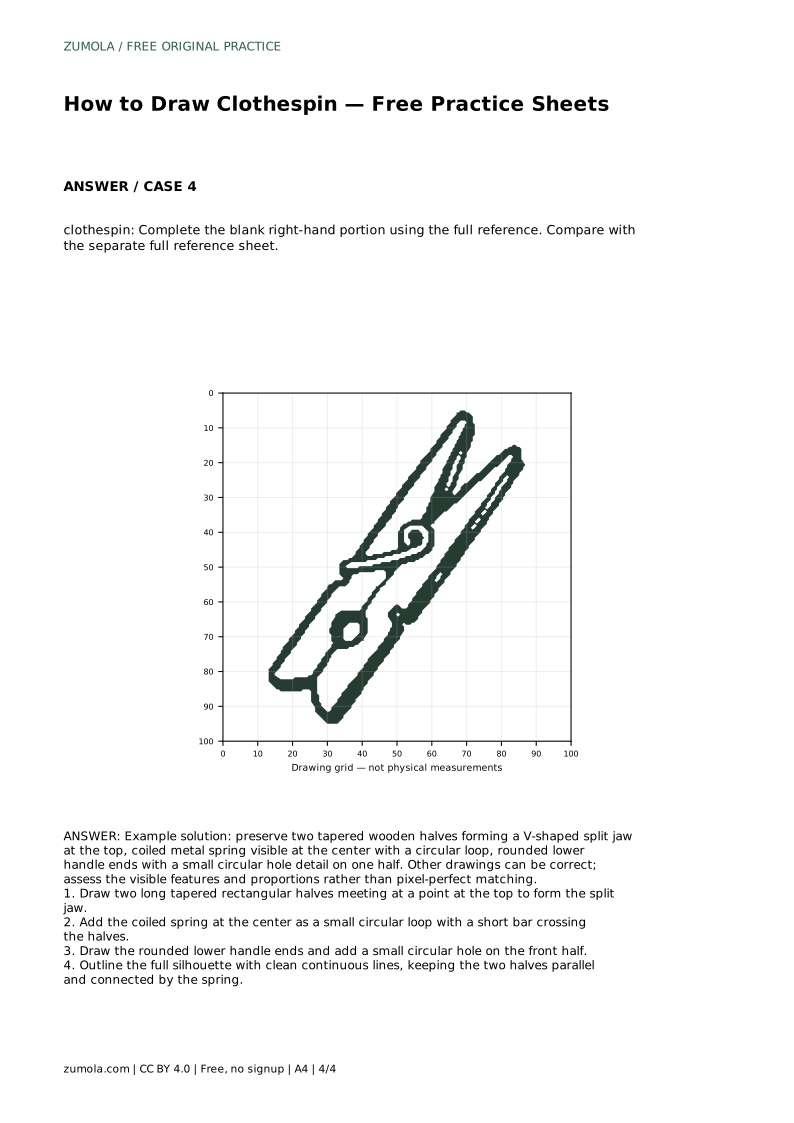
A clothespin is a simple object with a clear structure, which makes it a useful drawing exercise. The goal is not to copy every pixel but to capture the visible features: two long tapered wooden halves that meet at a split jaw, a coiled metal spring at the center, and rounded lower handle ends. This guide explains how to build the shape in order, then check your drawing against a reference sheet.
Begin by drawing the overall silhouette as two long, tapered rectangular halves. At the top, the halves meet at a point to form the split jaw. Keep the two halves roughly parallel along their length, with a narrow gap between them. The taper should be gradual: wider near the spring area and narrowing toward the jaw.
Before adding details, check the basic proportions. The jaw should sit at the top, the spring near the middle, and the handles at the bottom. If the halves look uneven, adjust the outline first rather than adding the spring and hole.
The coiled metal spring is the central identifying feature. Draw it as a small circular loop at the center, with a short bar crossing the two halves. The loop should sit where the halves pivot, not at the jaw or the handle ends.
Next, round the lower handle ends. Add a small circular hole detail on one half, usually the front half. This hole is a common feature of wooden clothespins, but check your reference sheet because placement can vary. Finish by outlining the full silhouette with clean continuous lines, keeping the two halves connected by the spring.
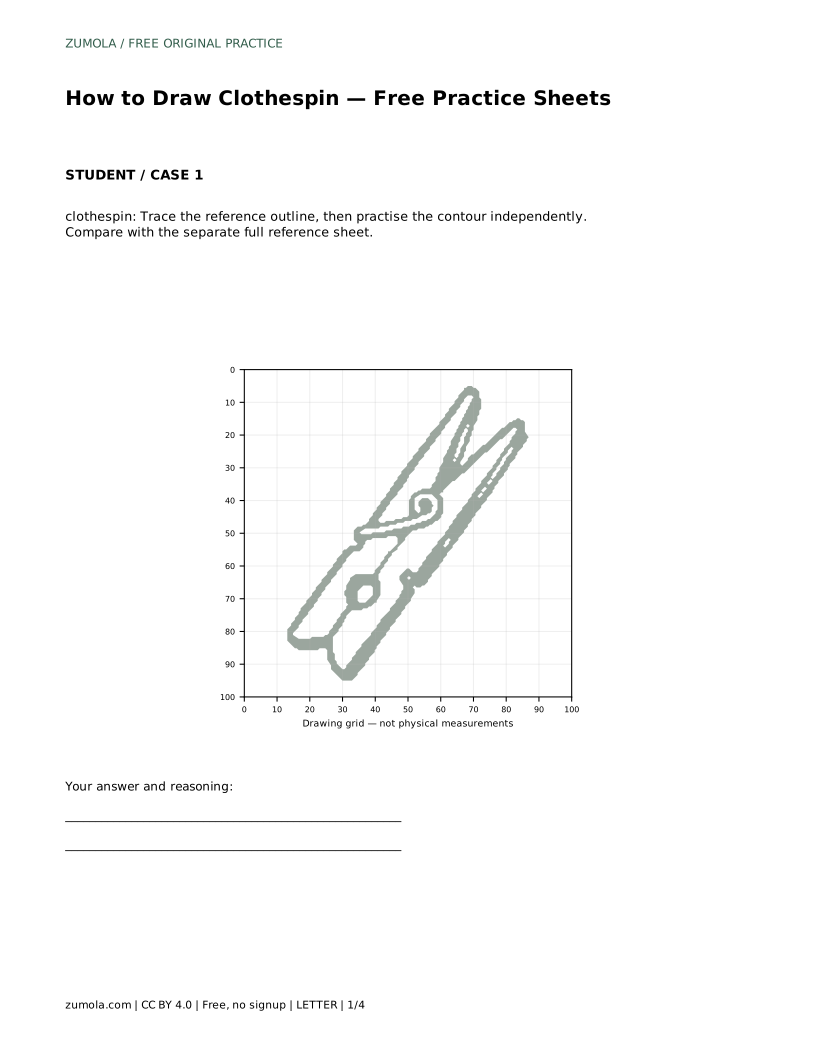
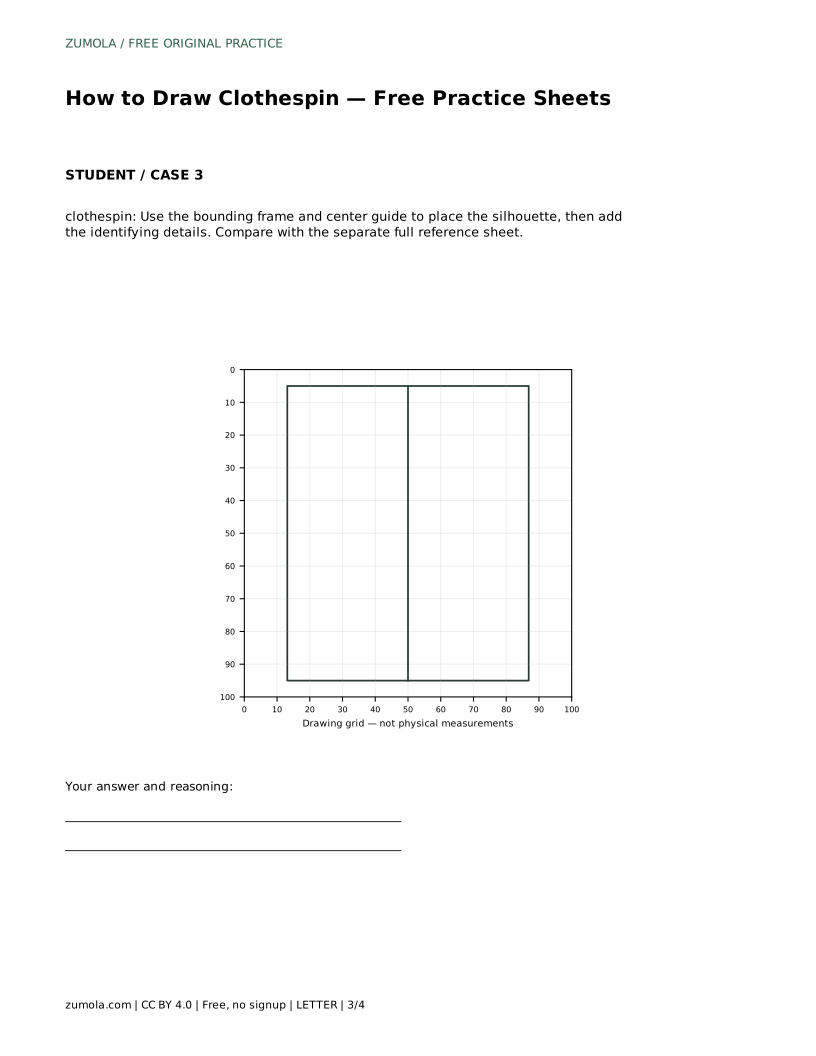
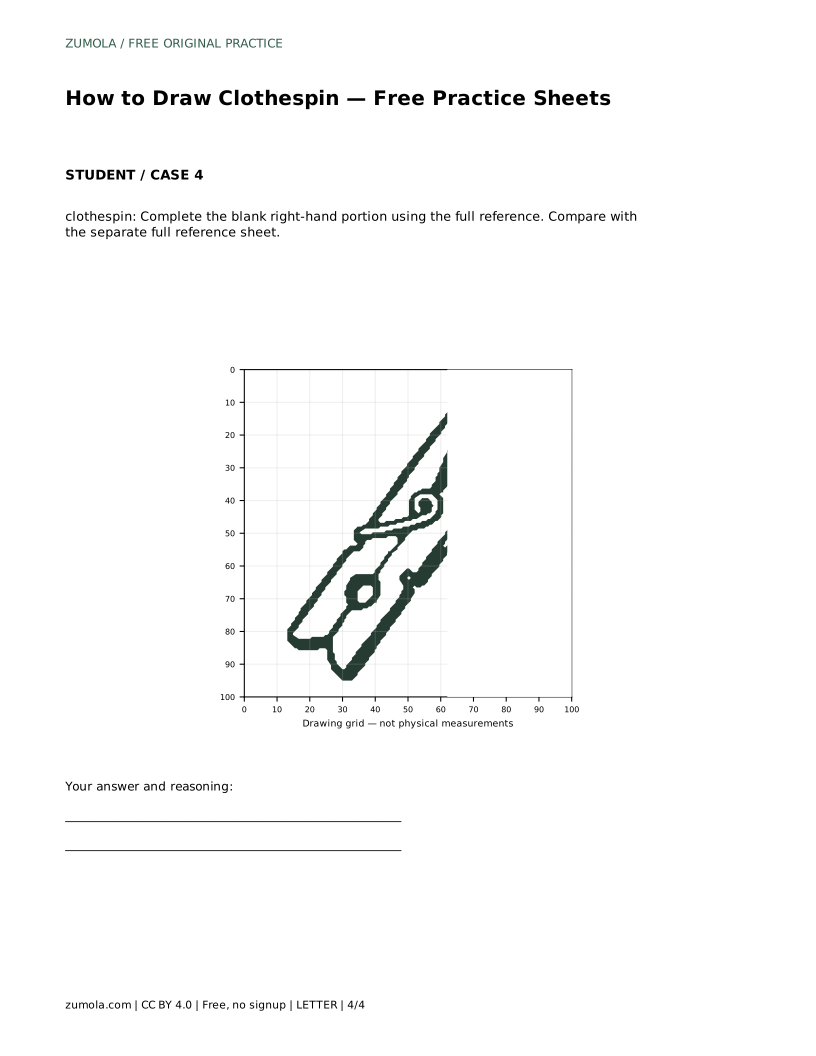
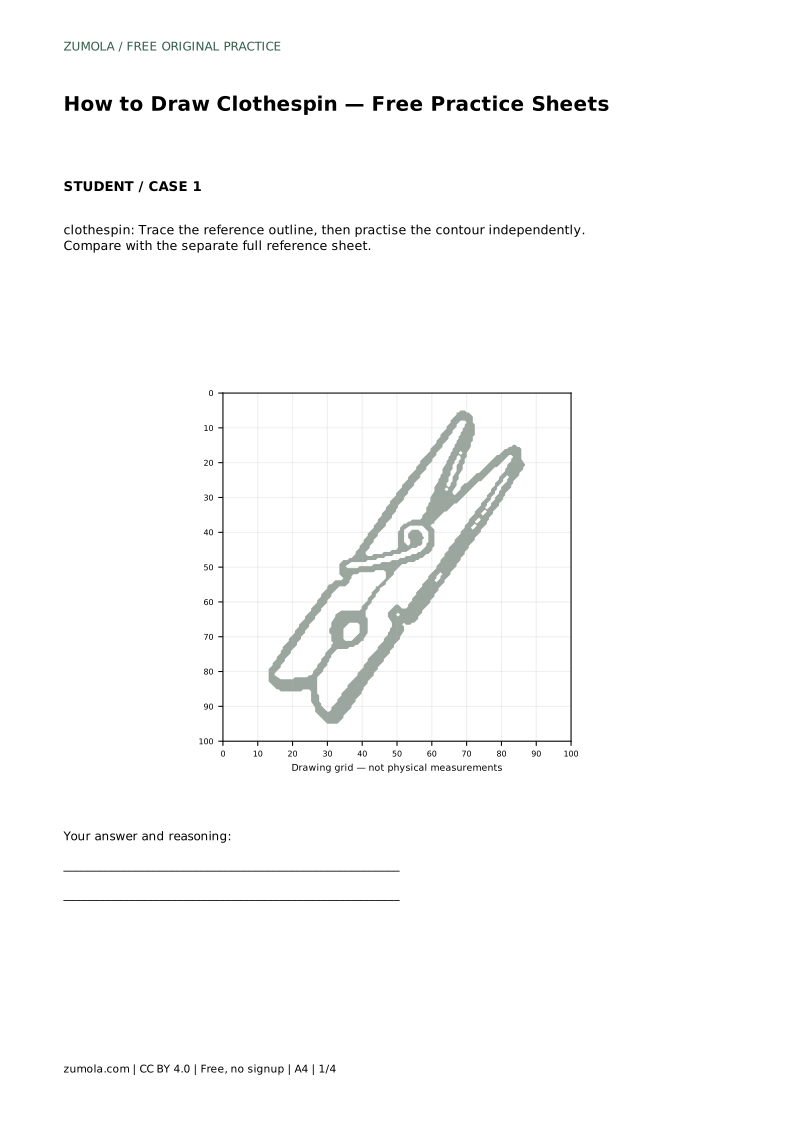
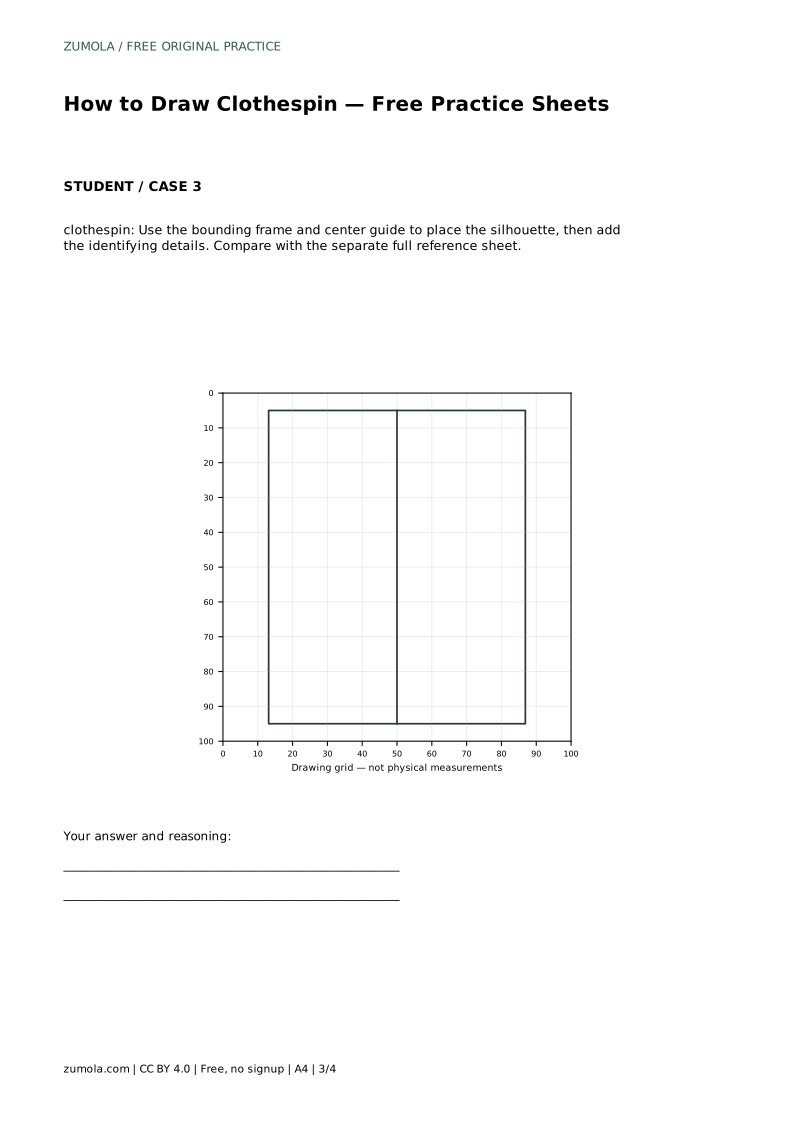
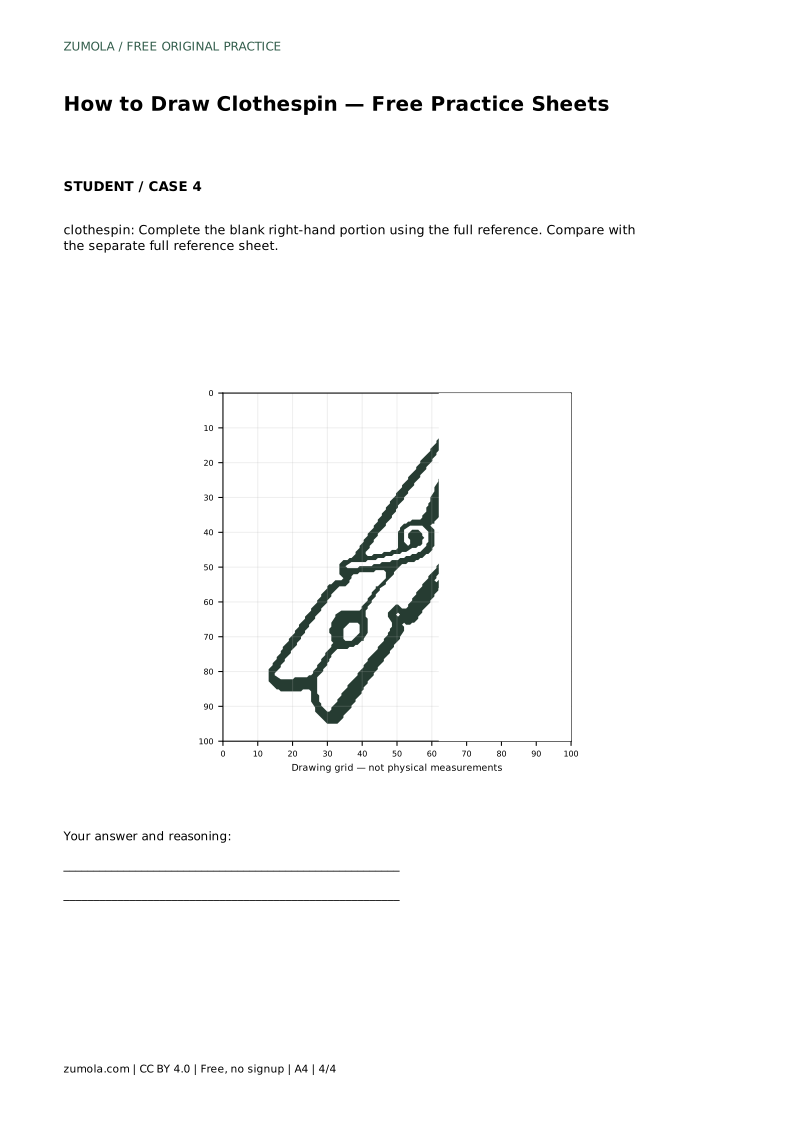
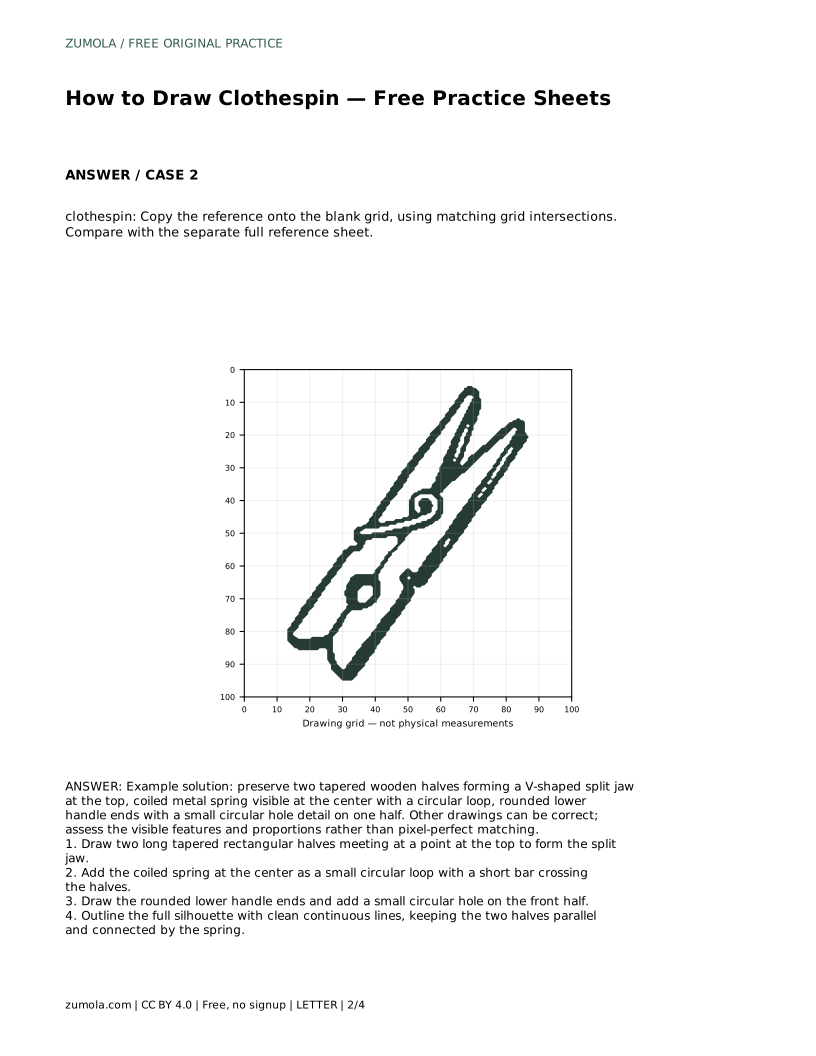
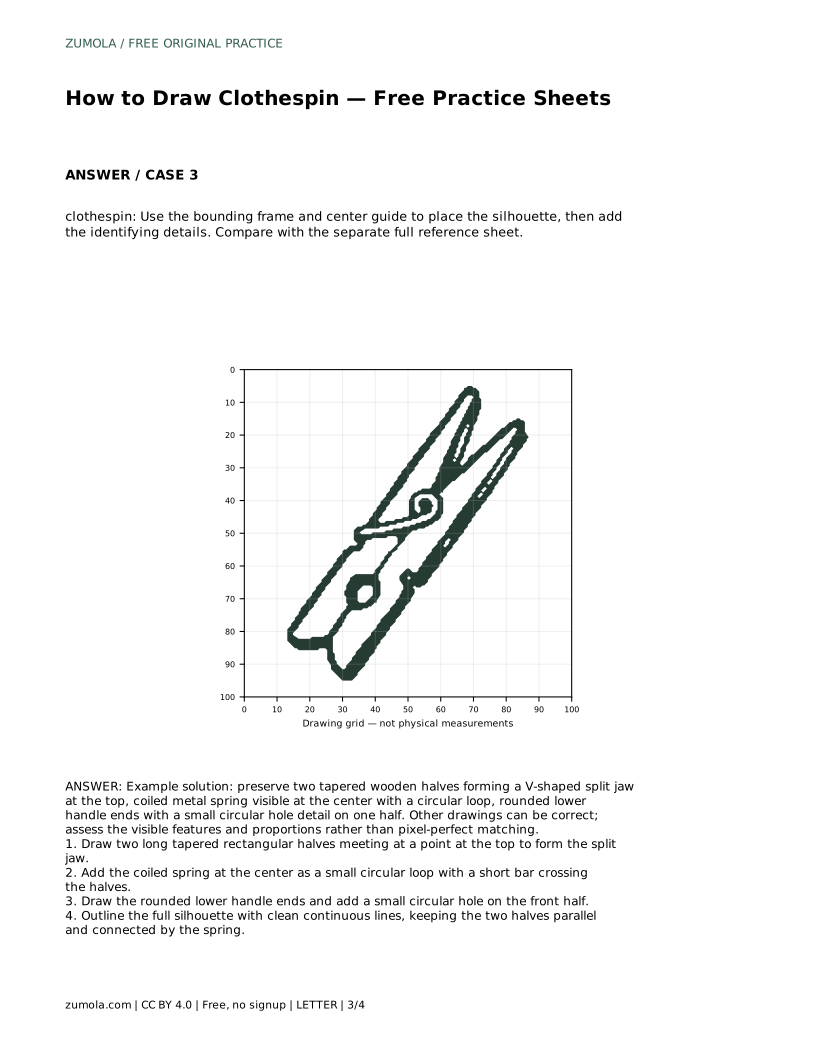
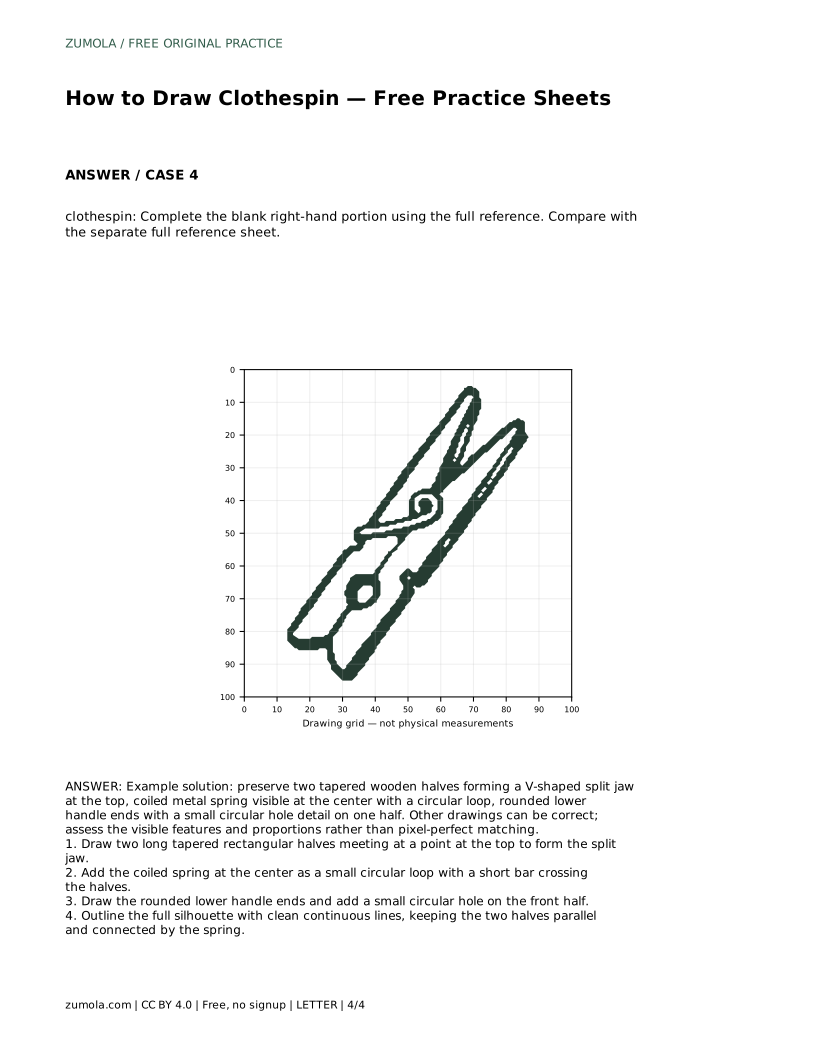
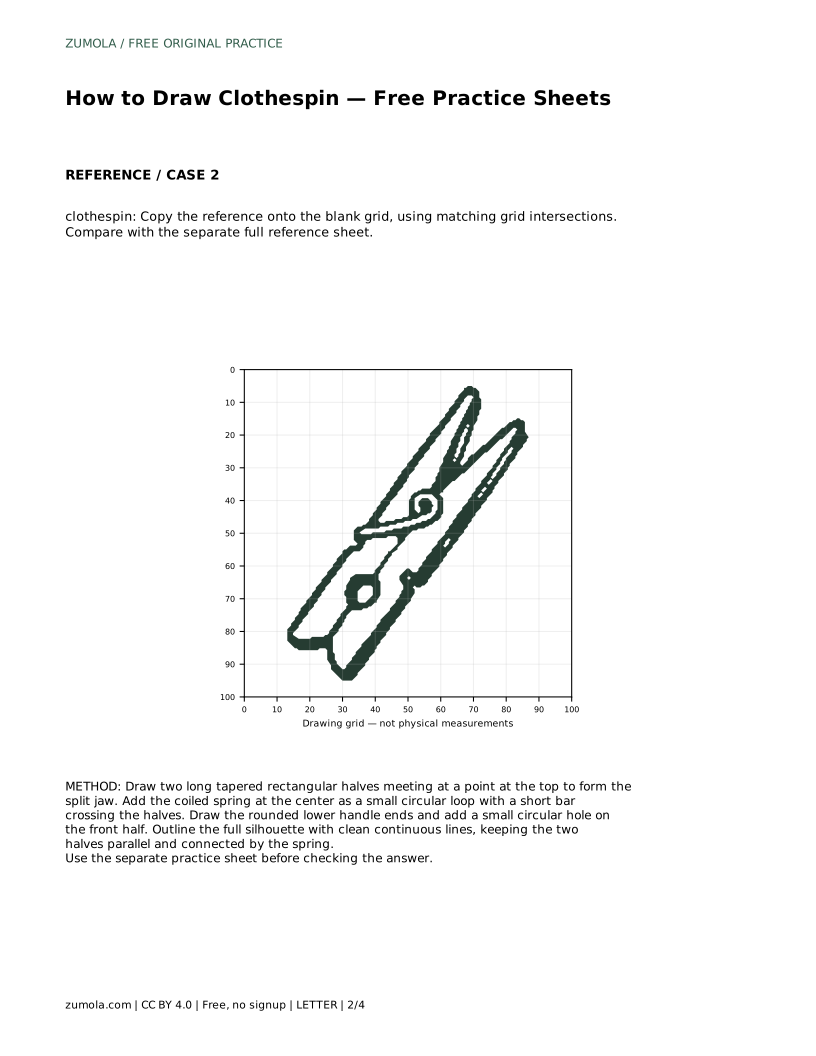
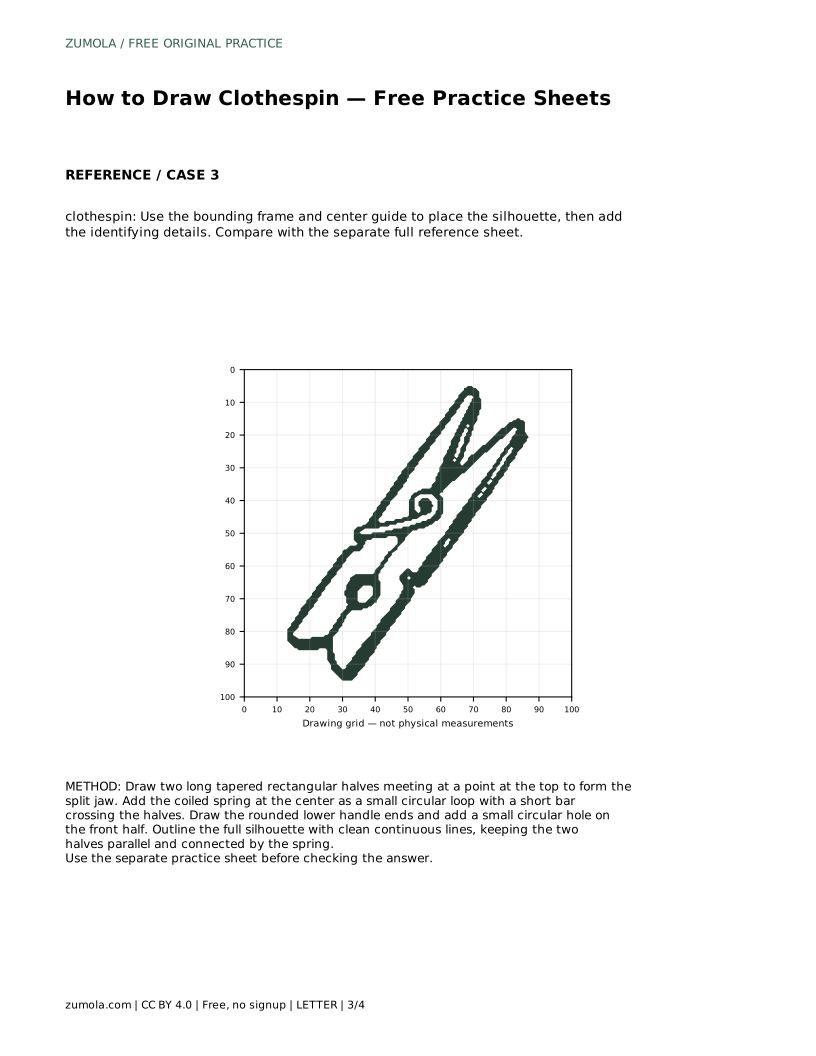
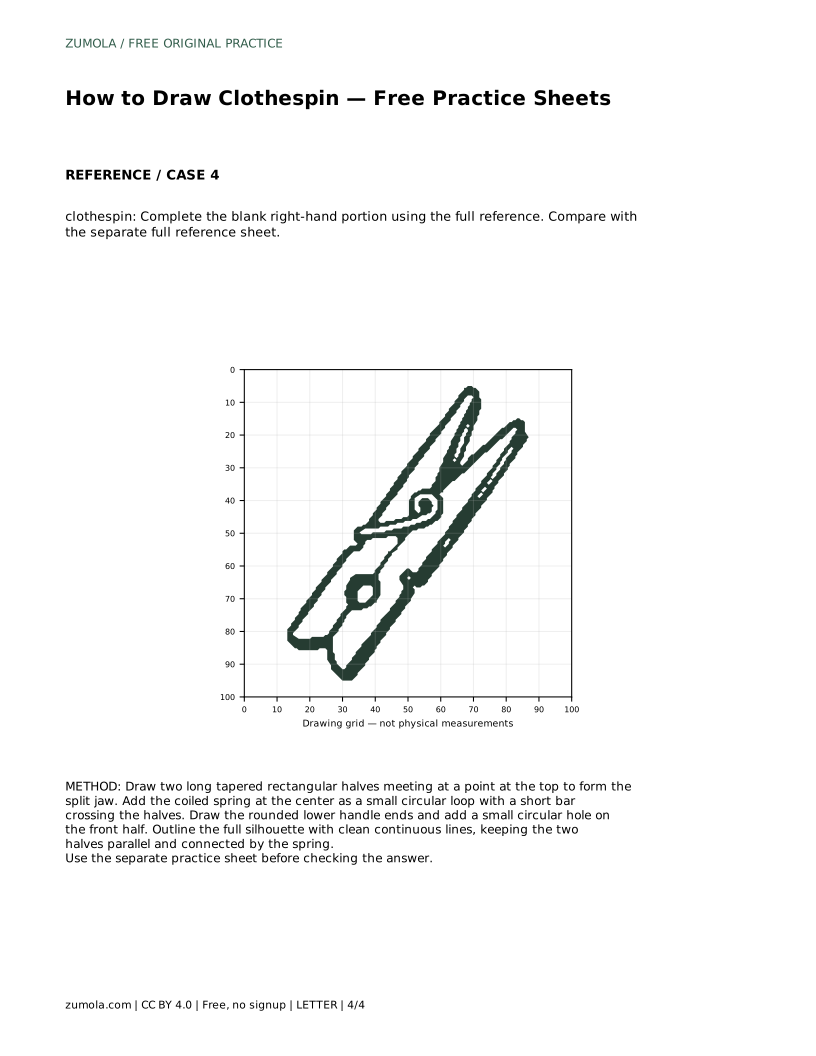
The tracing sheet asks you to follow the reference outline first, then practise the contour independently. Compare your result with the separate full reference sheet. The grid sheet asks you to copy the reference onto the blank grid using matching grid intersections. The bounding-frame sheet uses a frame and center guide to place the silhouette before adding details. The partial sheet asks you to complete the blank right-hand portion using the full reference.
Each format trains a different skill: tracing builds familiarity, the grid supports proportion, the frame supports placement, and the partial sheet supports completion. Use the format that matches the difficulty you want to practise.
Compare your drawing with the separate full reference sheet. Check that the two tapered halves form a V-shaped split jaw at the top, the coiled spring appears at the center with a circular loop, and the lower handle ends are rounded with a small circular hole on one half. Other drawings can be correct, so assess the visible features and proportions rather than pixel-perfect matching.
clothespin: Trace the reference outline, then practise the contour independently. Compare with the separate full reference sheet.
Example solution: preserve two tapered wooden halves forming a V-shaped split jaw at the top, coiled metal spring visible at the center with a circular loop, rounded lower handle ends with a small circular hole detail on one half. Other drawings can be correct; assess the visible features and proportions rather than pixel-perfect matching. Draw two long tapered rectangular halves meeting at a point at the top to form the split jaw. Add the coiled spring at the center as a small circular loop with a short bar crossing the halves. Draw the rounded lower handle ends and add a small circular hole on the front half. Outline the full silhouette with clean continuous lines, keeping the two halves parallel and connected by the spring.
No. Other drawings can be correct. Assess the visible features and proportions rather than pixel-perfect matching.
At the center, where the two halves pivot. Draw it as a small circular loop with a short bar crossing the halves.
Start with the tracing sheet to learn the contour, then move to the grid or frame sheet for proportion and placement.
All drawing practice · Free coordinate paper
Original resources · CC BY 4.0 · Free for personal and classroom use with attribution.