Reference diagrams
LETTER · Download PDF
A4 · Download PDF
Free original resources
Learn to draw a magnetic compass with a circular casing, concentric dial rim, centered compass rose, and top loop. Includes practice guidance and a drawing rubric.
Four original cases, with reference diagrams, practice sheets and worked answers. Everything is free; no signup required.
LETTER · Download PDF
A4 · Download PDF
LETTER · Download PDF
A4 · Download PDF
LETTER · Download PDF
A4 · Download PDF
Use A4 or US Letter to match your printer. Use the stated values and conditions to solve each exercise; diagrams are not physical measuring rulers.
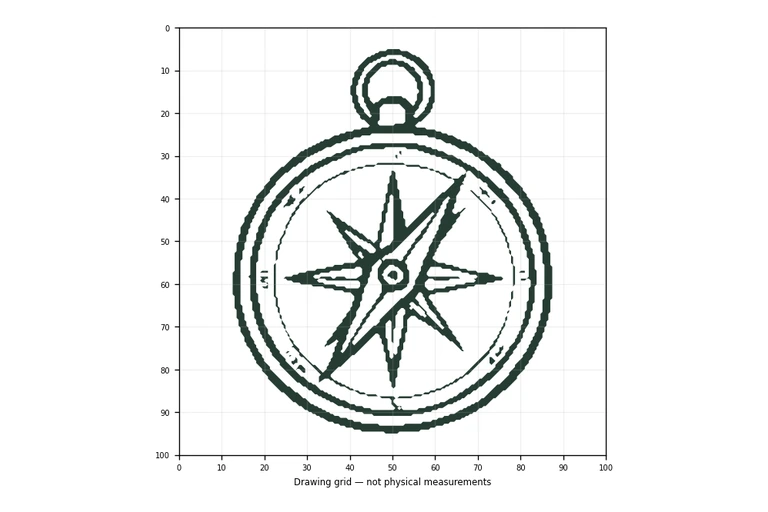
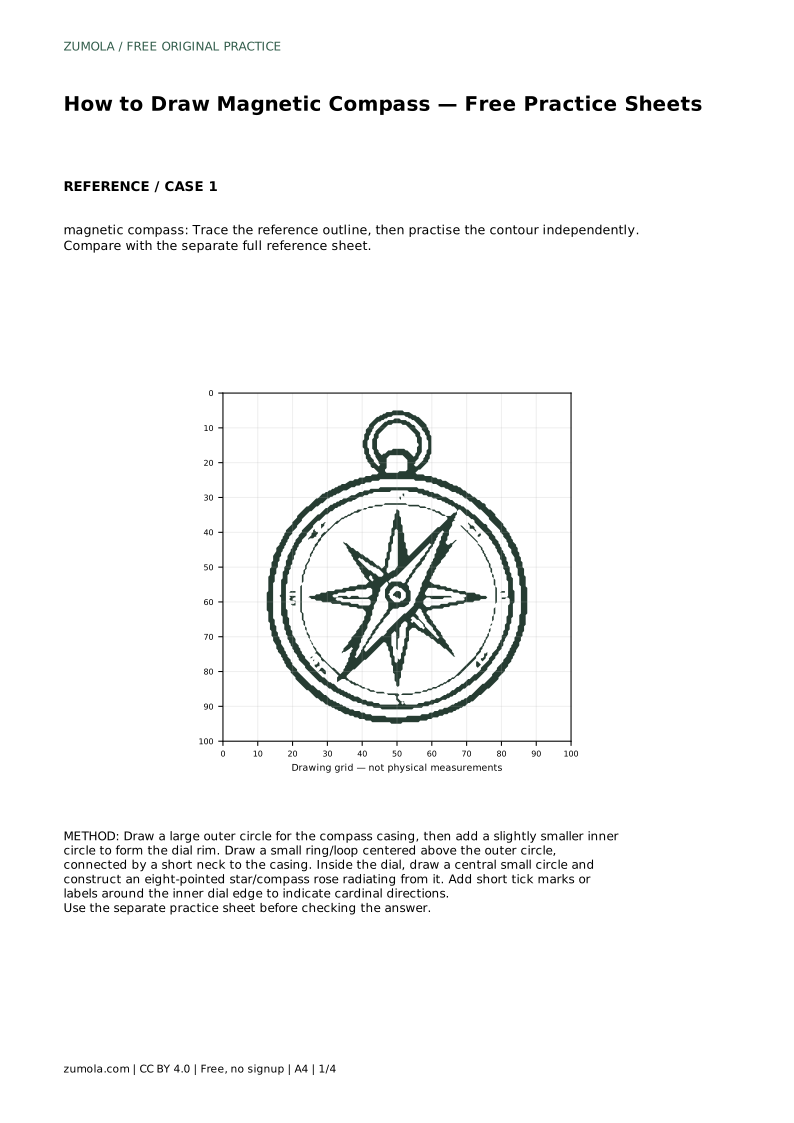
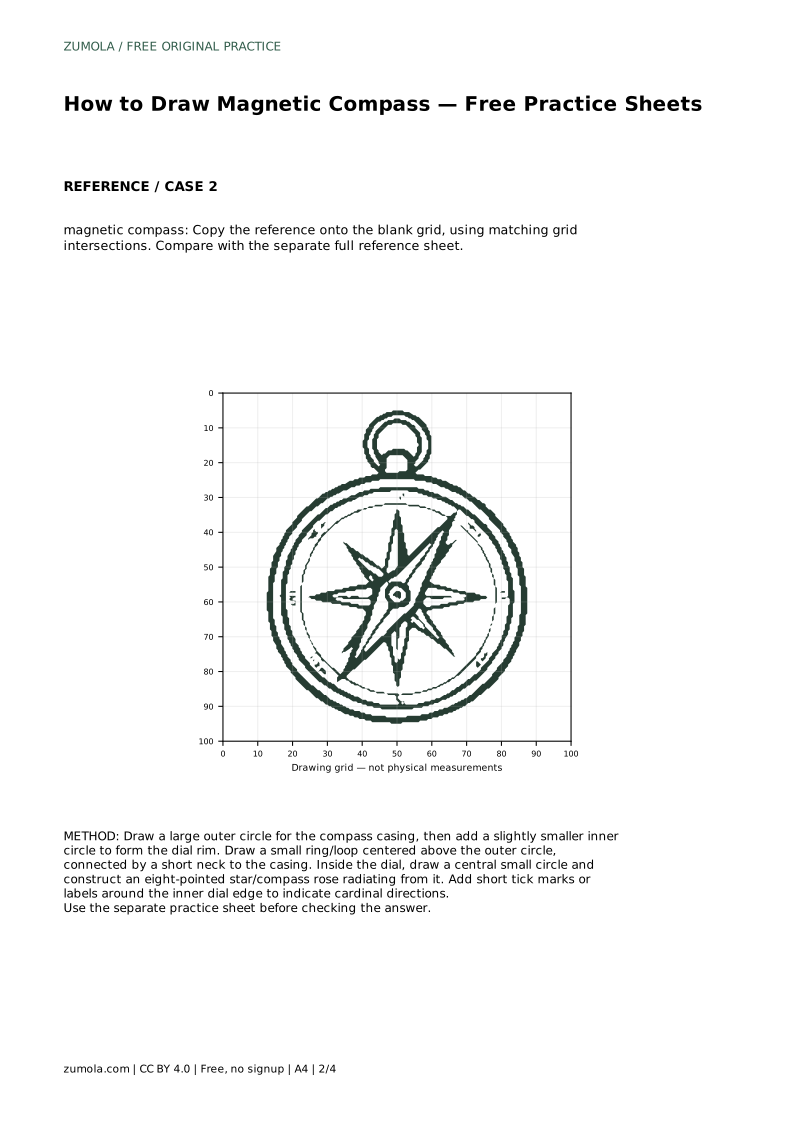
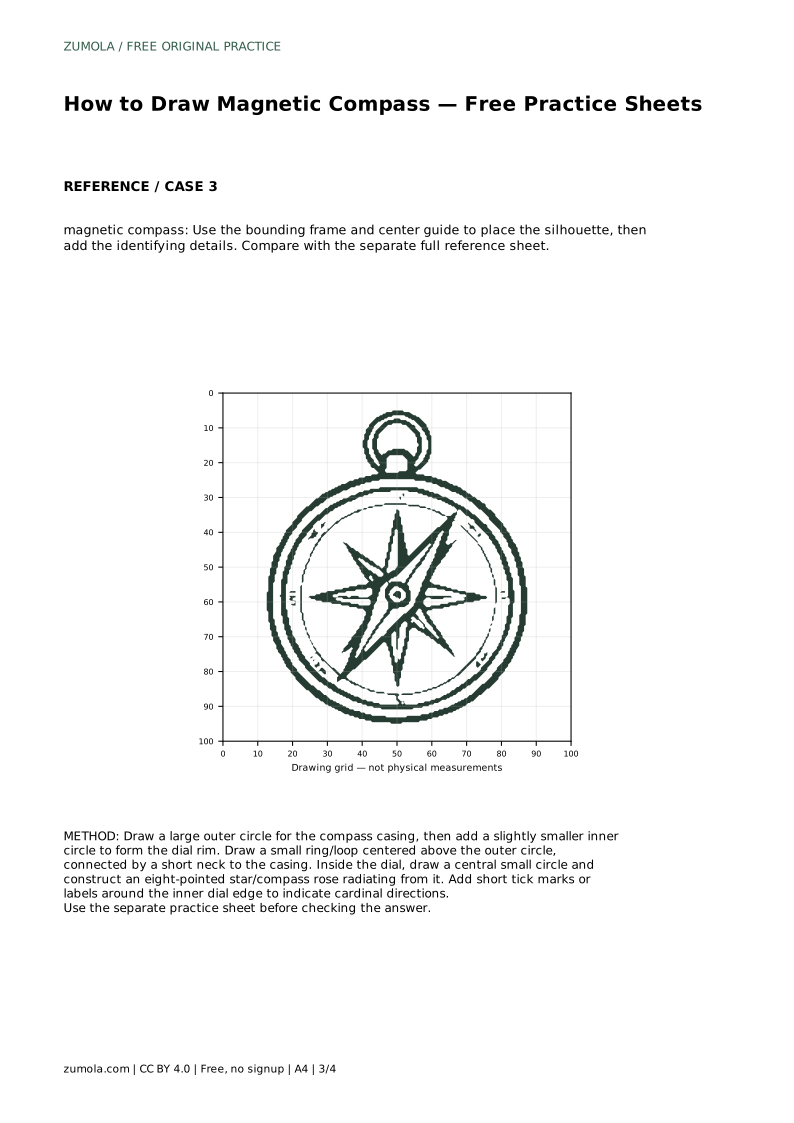
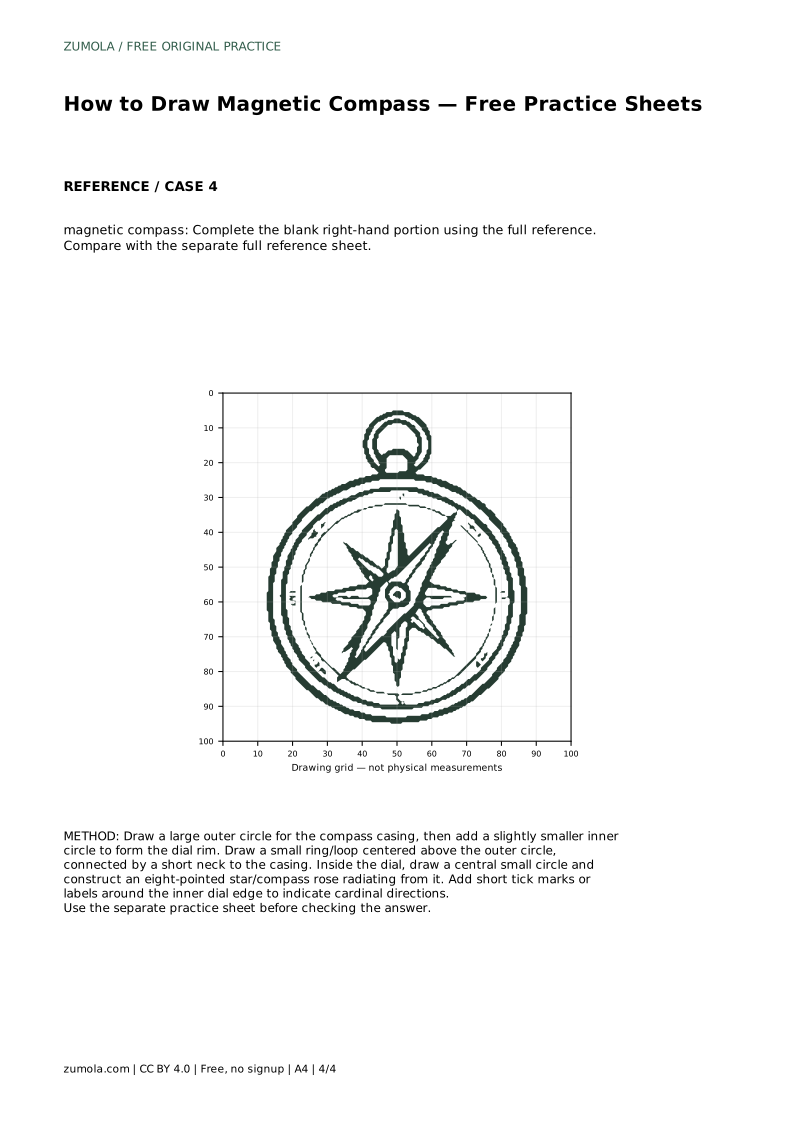
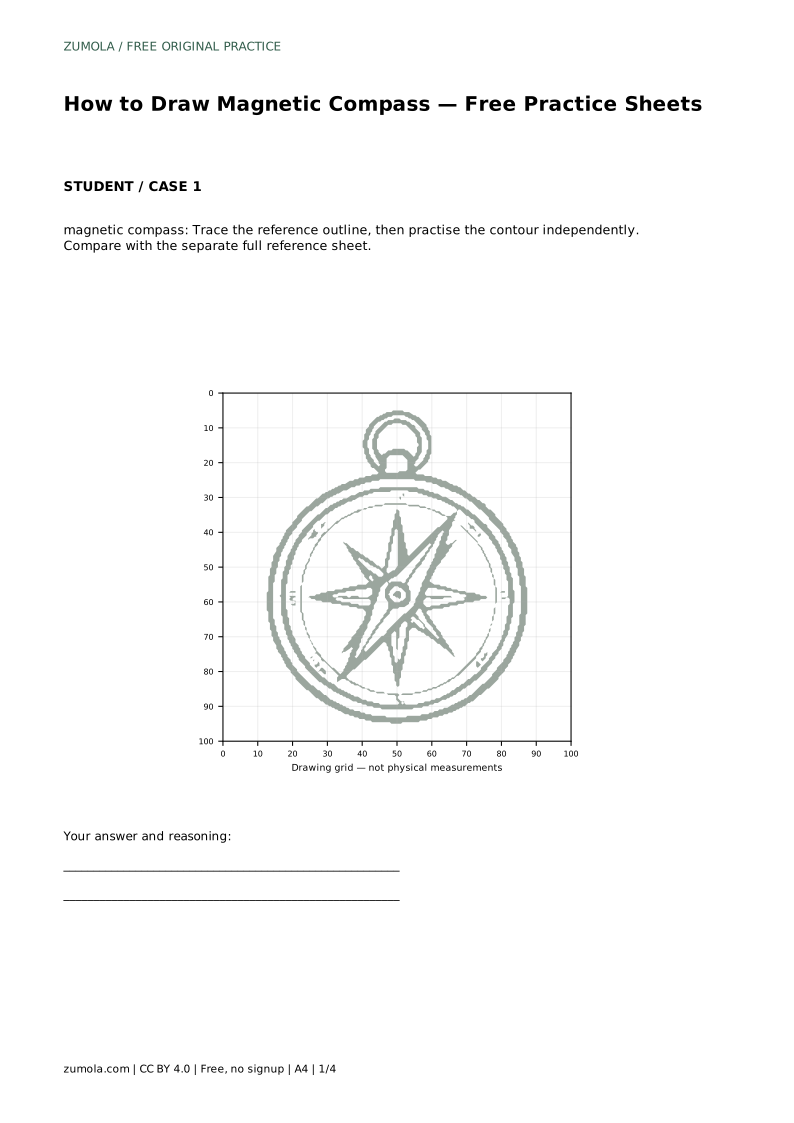
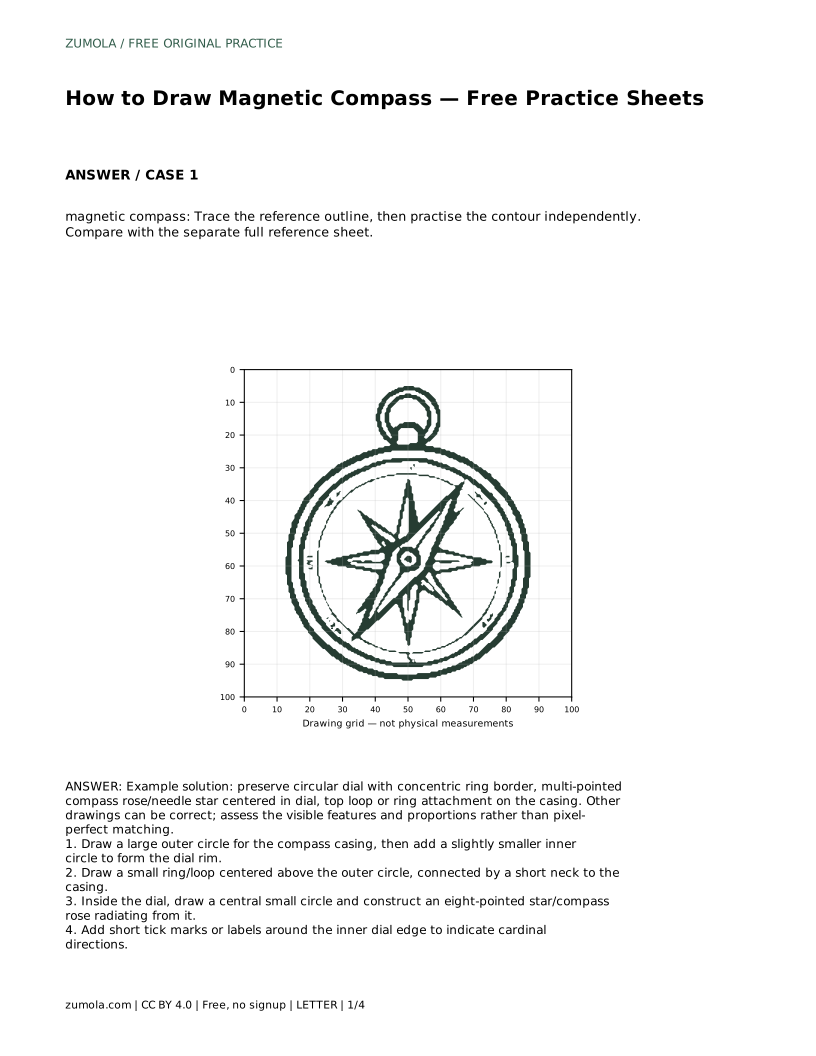
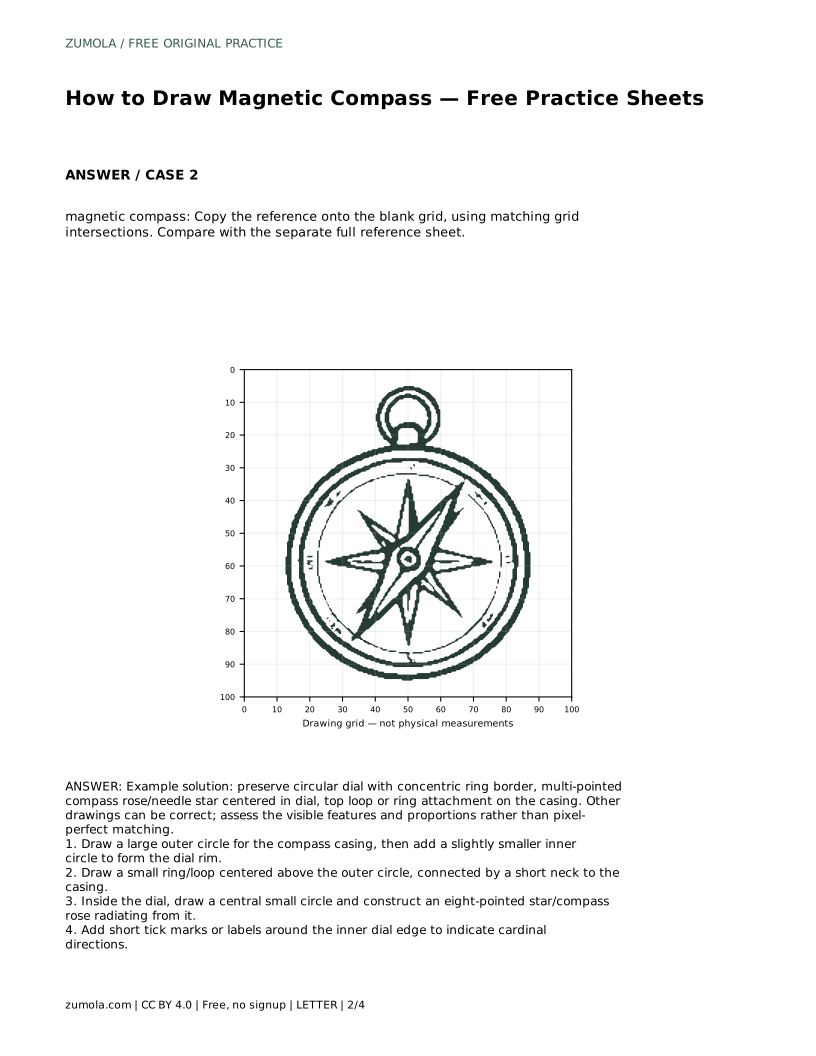
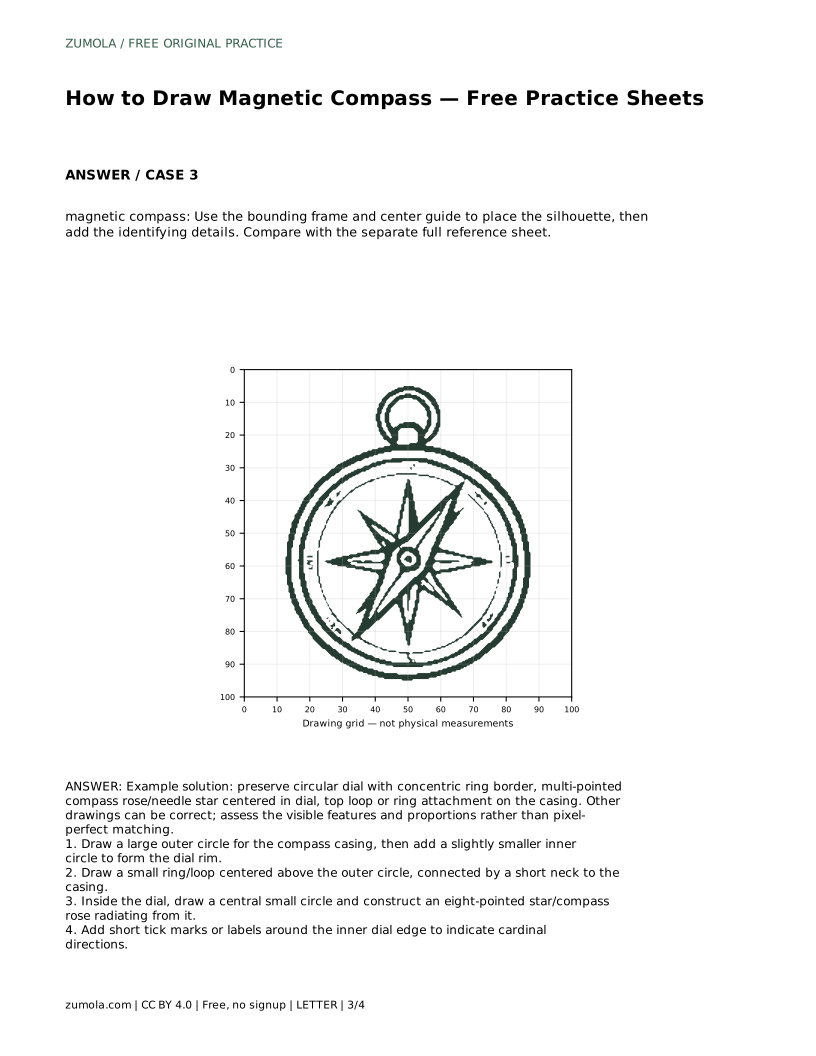
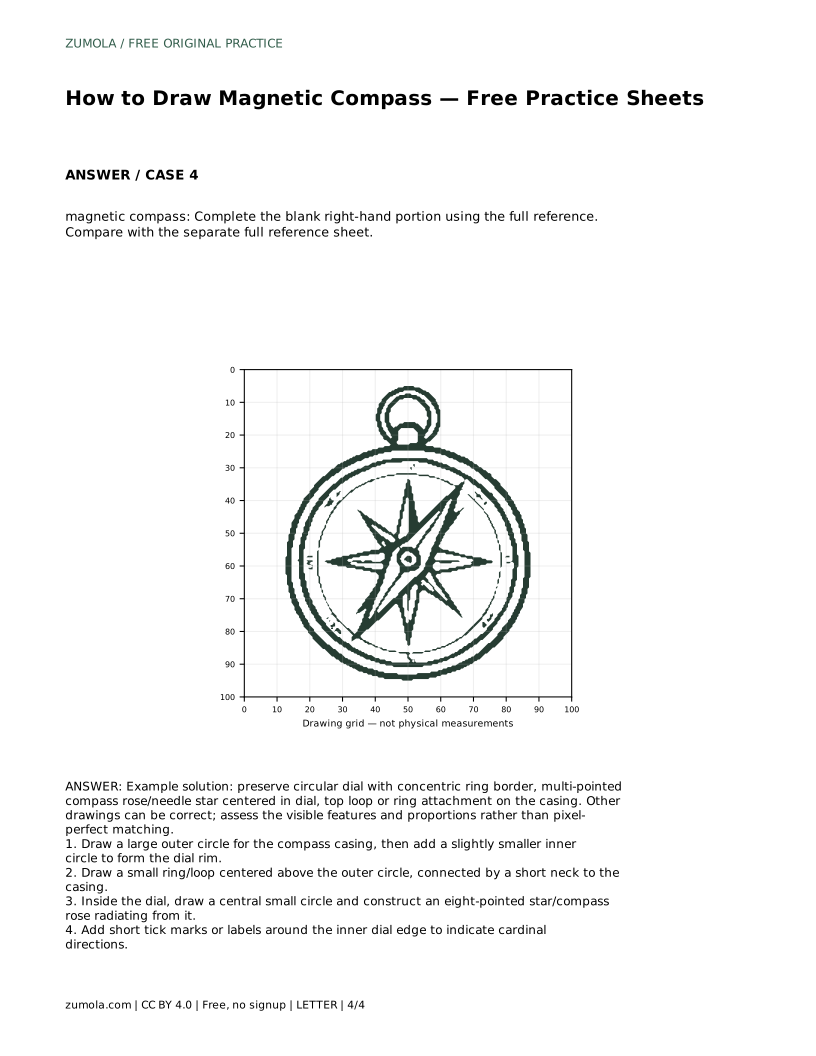
A magnetic compass drawing is built from a few clear shapes: a large circular casing, a smaller concentric dial rim, a centered compass rose or needle star, and a loop or ring attached above the casing. This page explains how to construct those parts in order, how to use tracing, grid, and partial-outline practice sheets, and how to judge your drawing by visible features and proportions rather than pixel-perfect matching.
Start with the largest shape so the smaller details have a stable home. Draw a large outer circle for the compass casing, then add a slightly smaller inner circle to form the dial rim. Keeping both circles centered on the same point makes the dial look balanced and gives you a clear band for tick marks or direction labels.
Next, draw a small ring or loop centered above the outer circle, connected by a short neck to the casing. The loop should sit on the vertical center line of the dial, not off to one side. Inside the dial, draw a central small circle and construct an eight-pointed star or compass rose radiating from it. Finish by adding short tick marks or labels around the inner dial edge to indicate cardinal directions.
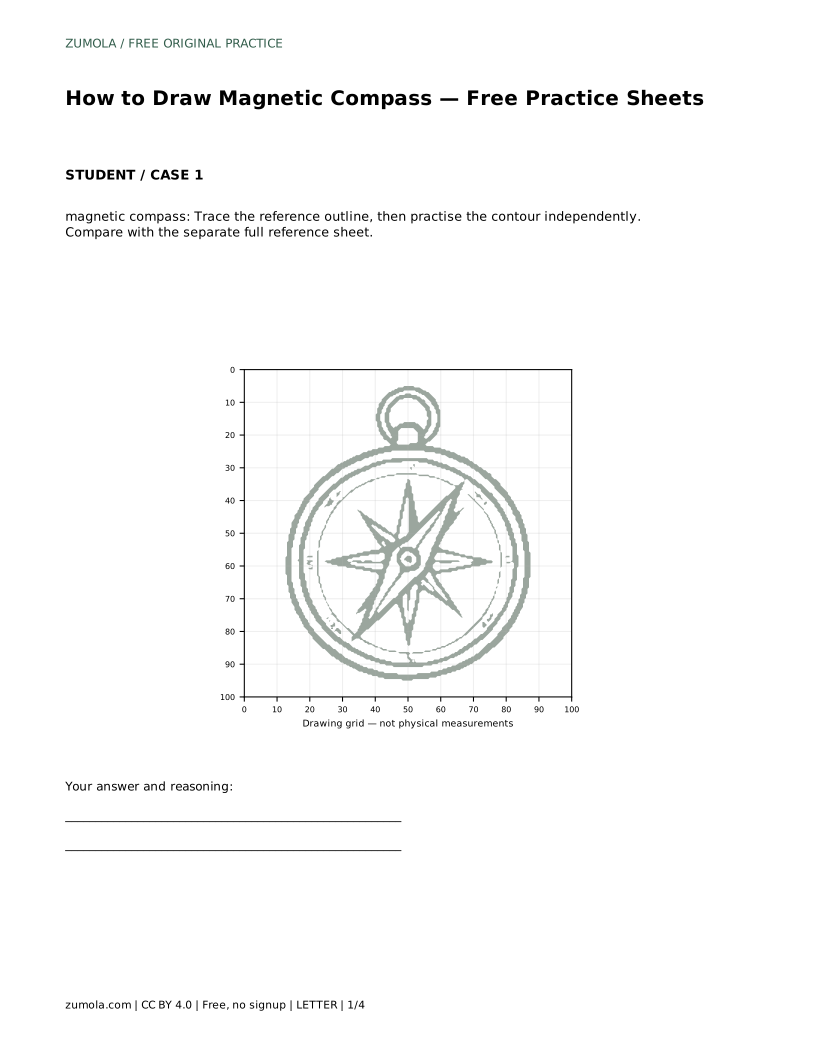
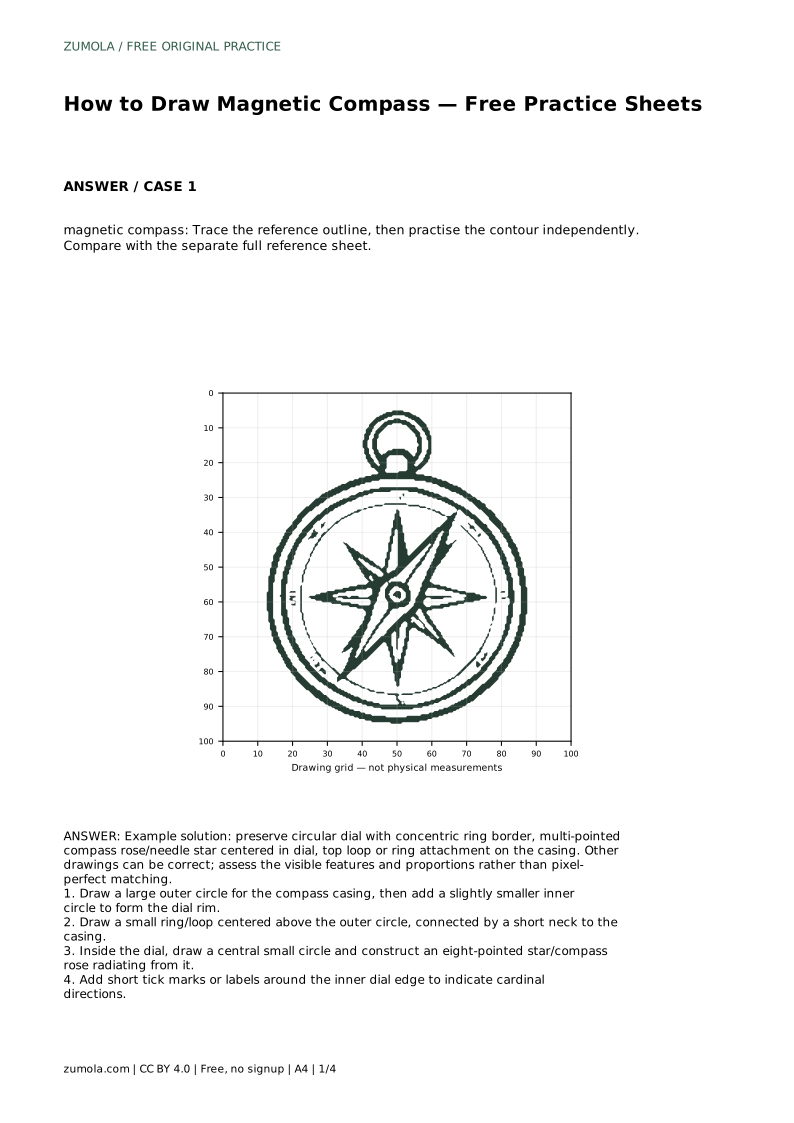
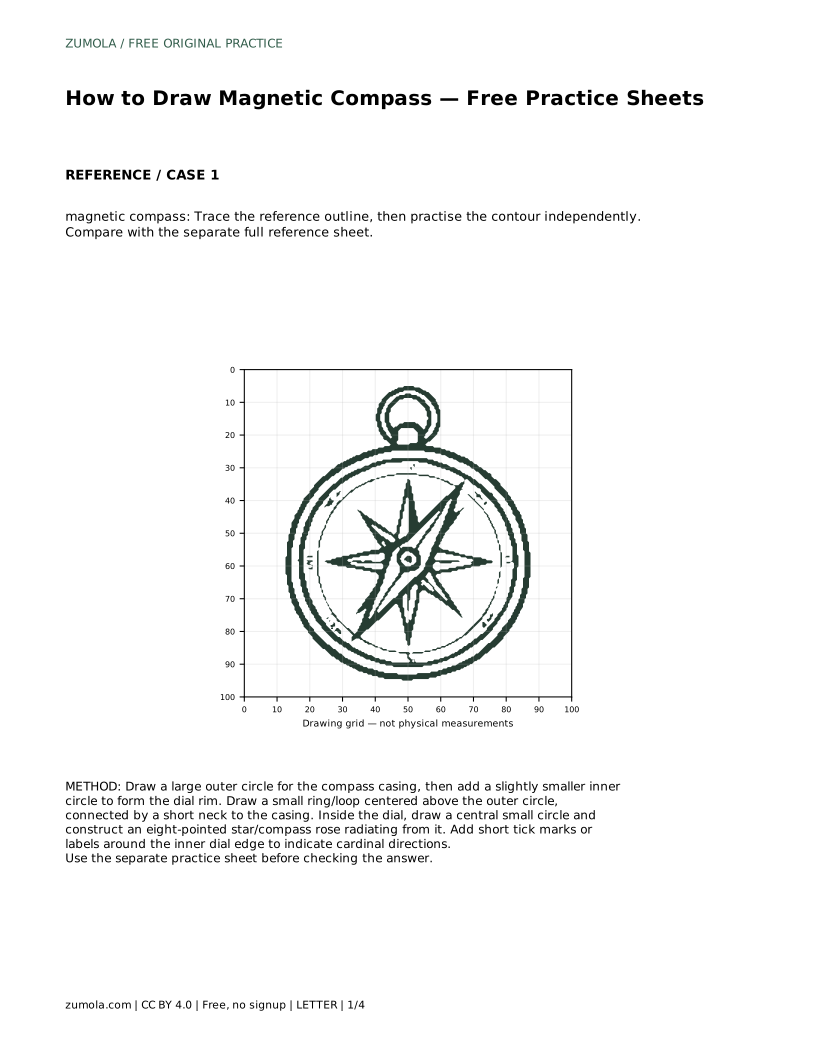
The tracing sheet asks you to trace the reference outline first, then practise the contour independently. Compare your result with the separate full reference sheet. Tracing builds the hand motion; the independent pass shows whether you can reproduce the contour without guidance.
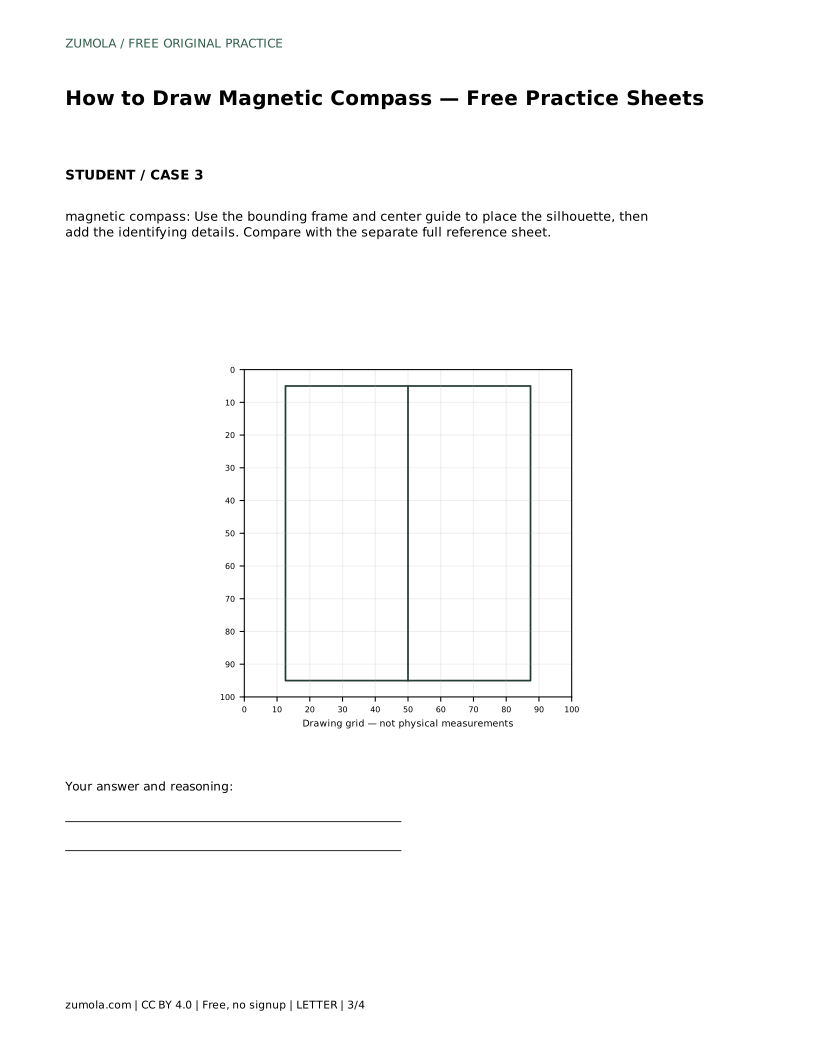
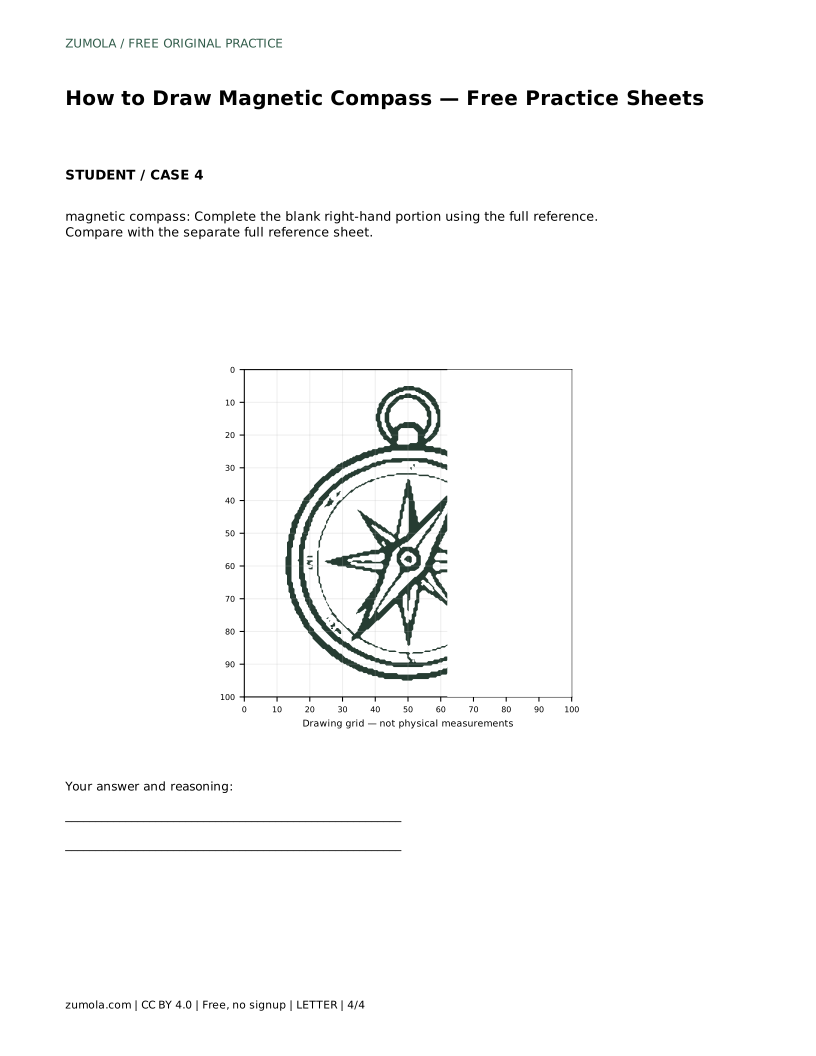
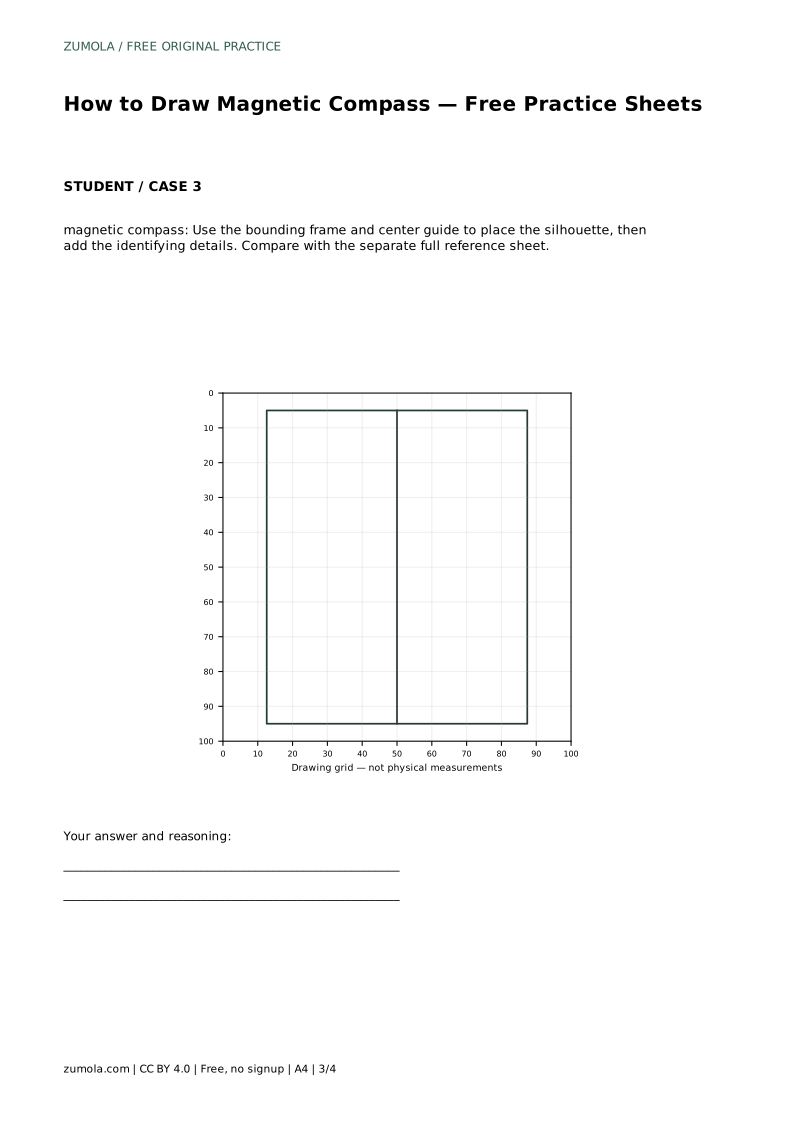
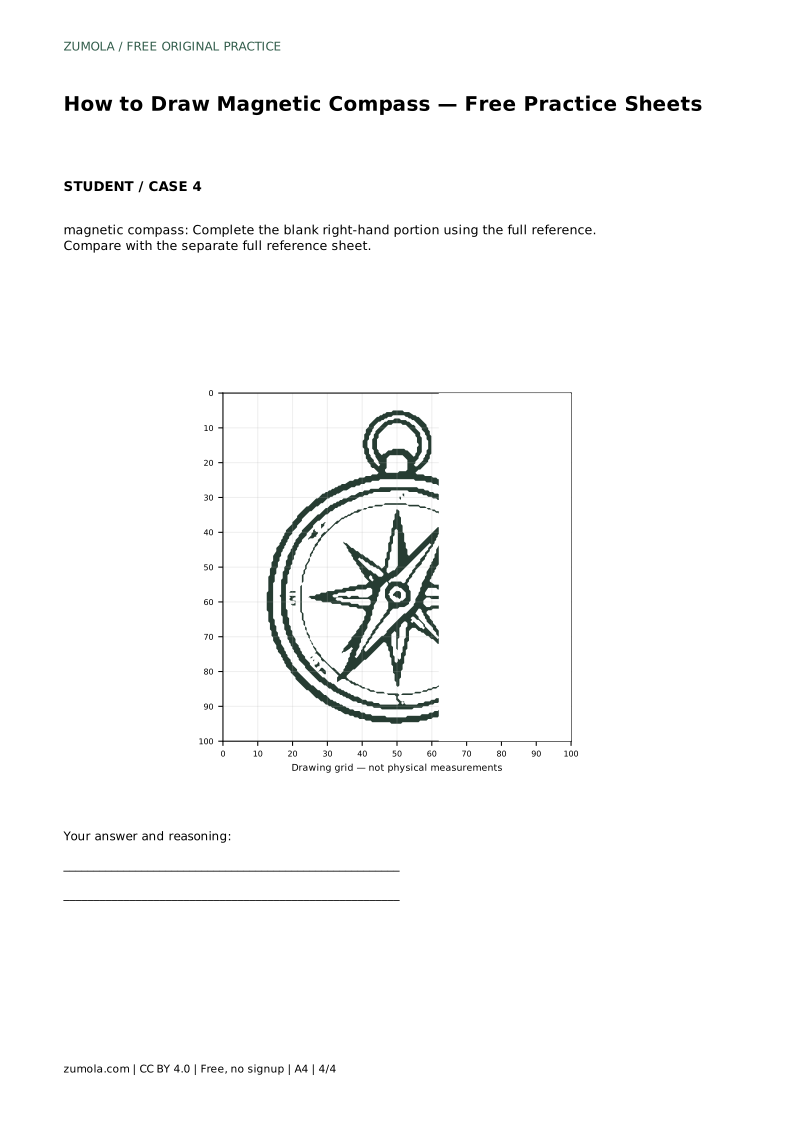
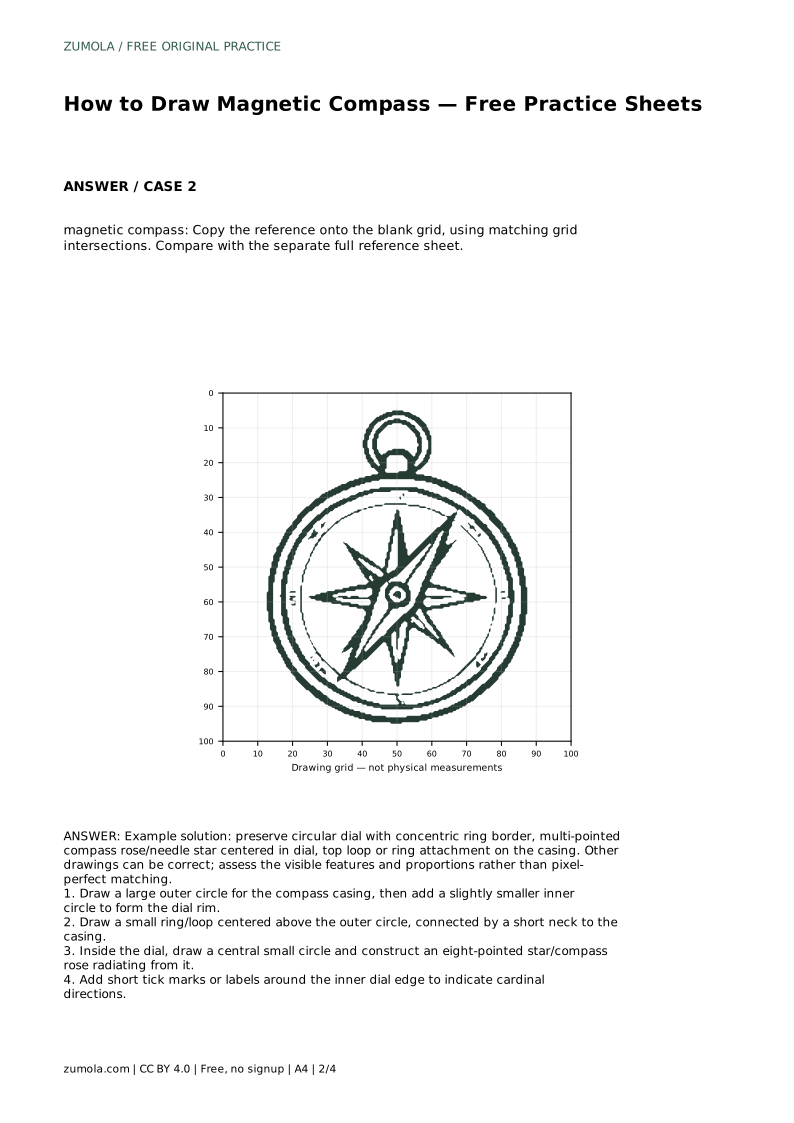
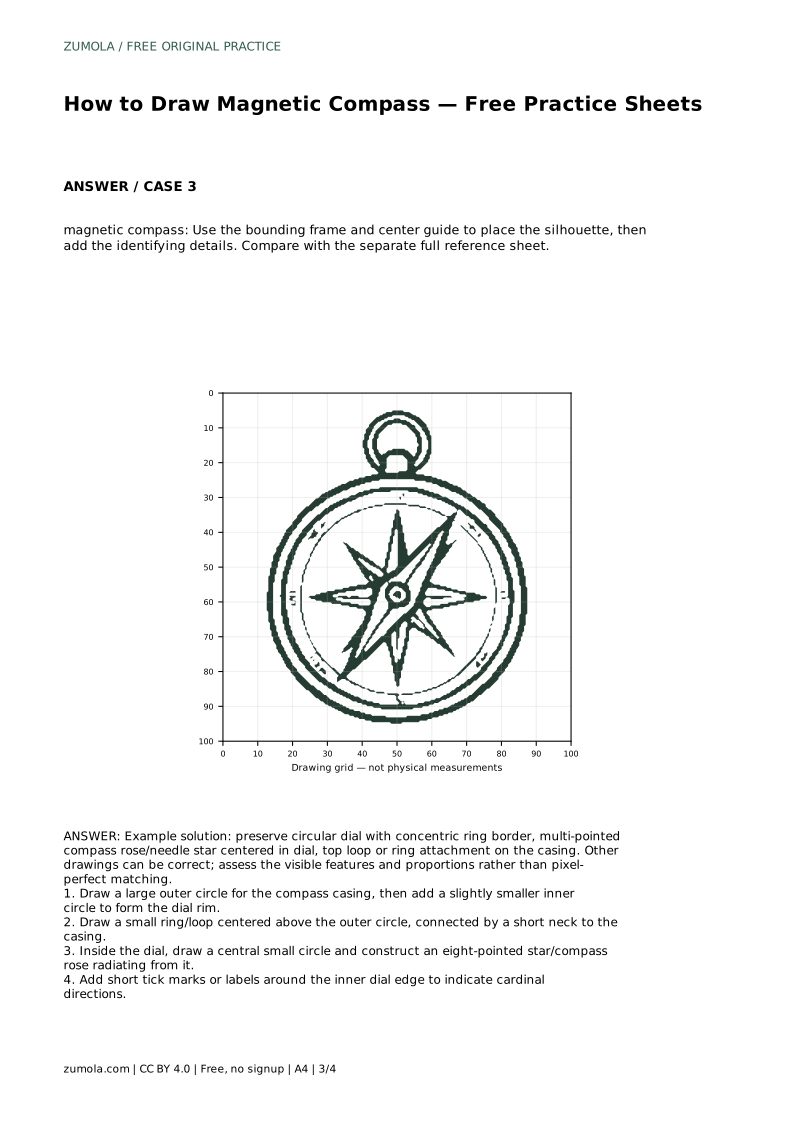
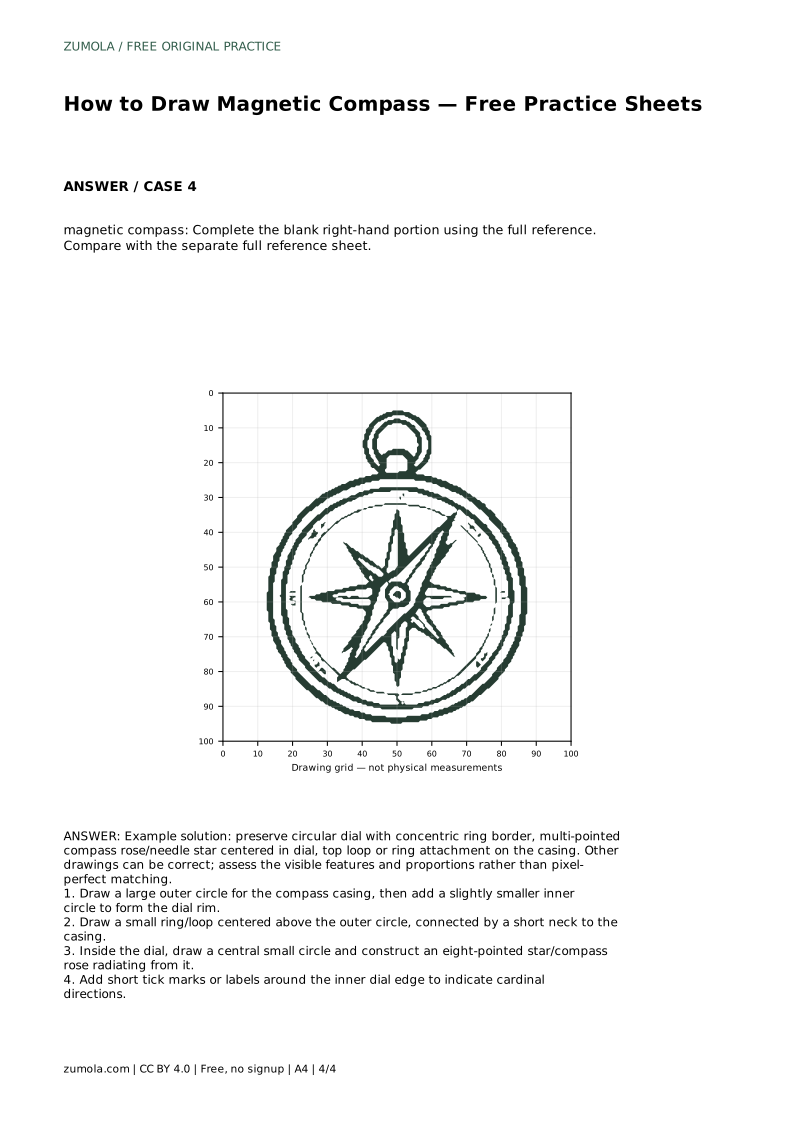
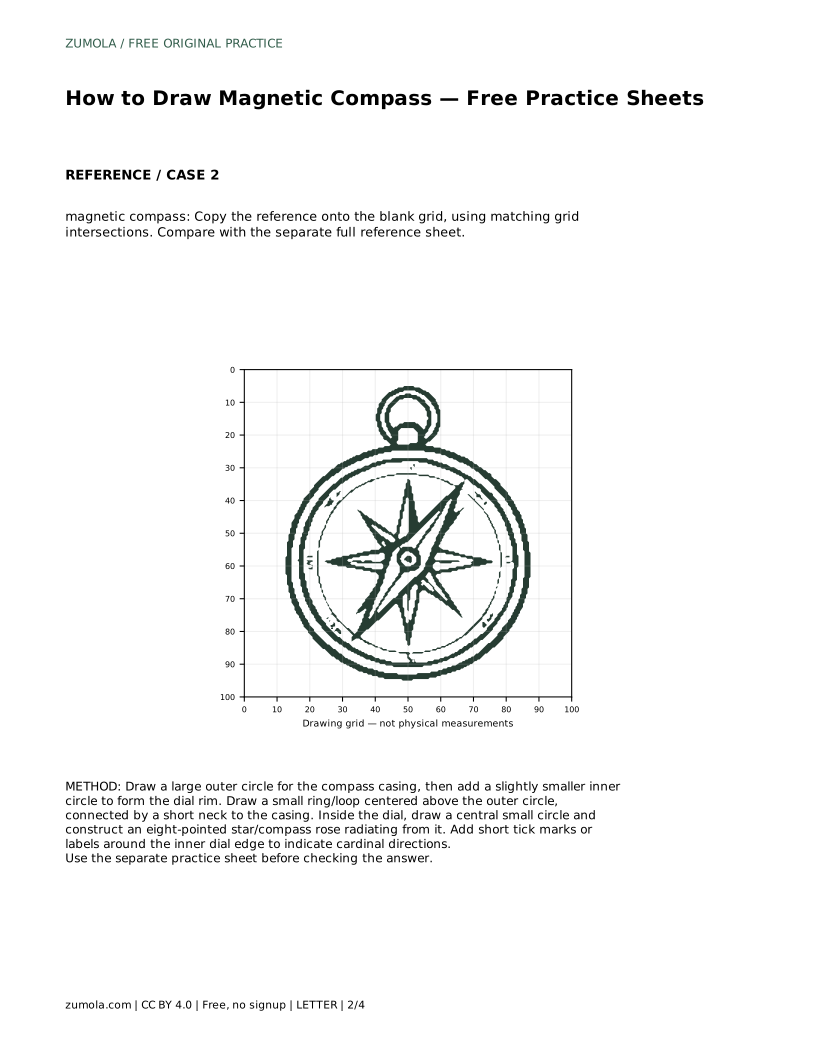
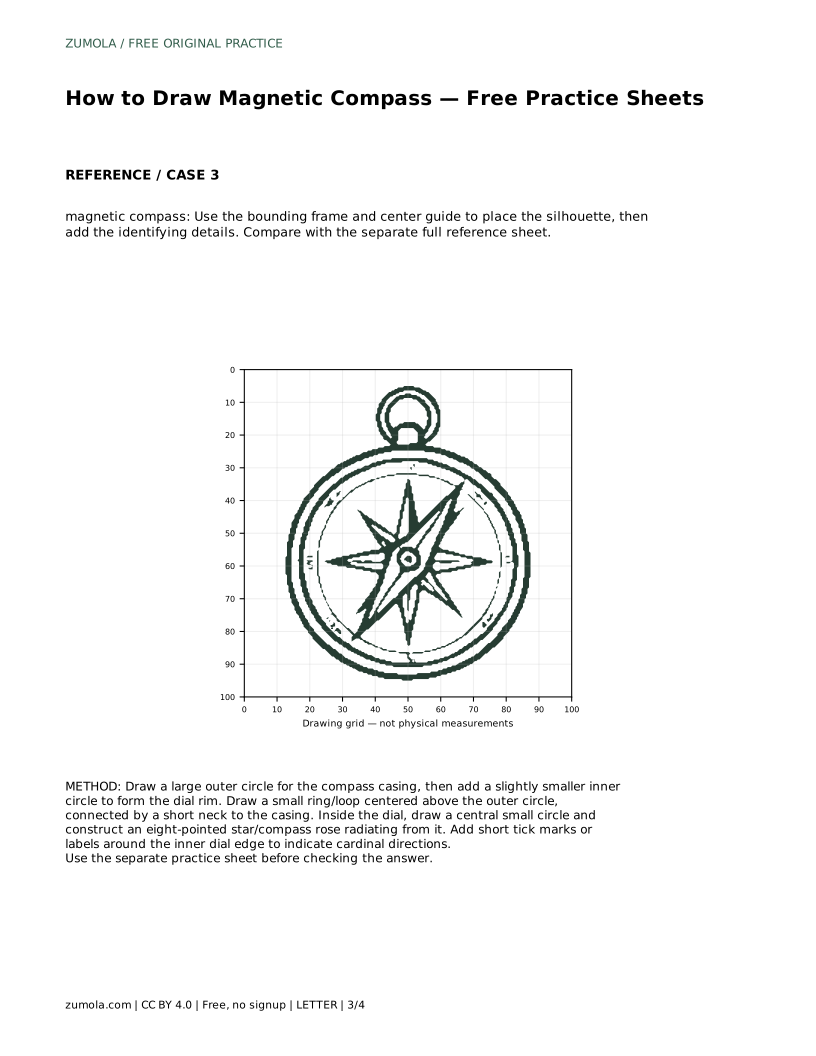
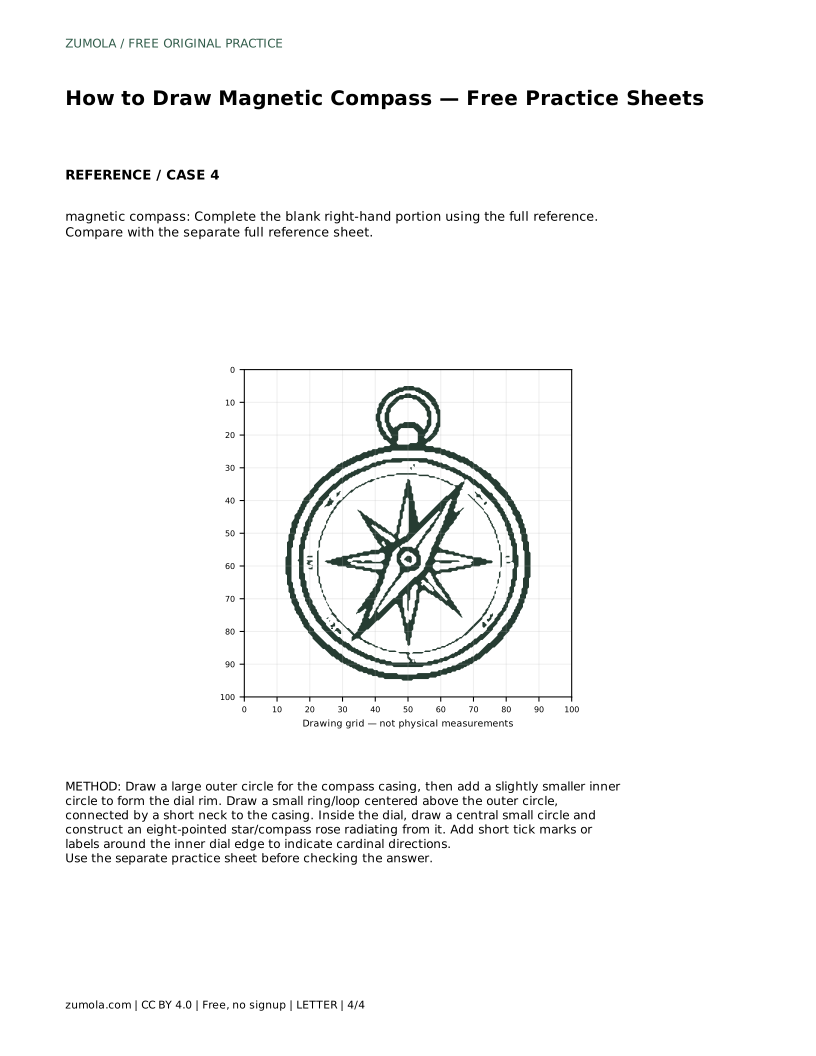
The grid sheet asks you to copy the reference onto the blank grid using matching grid intersections. This helps you place the outer circle, the inner rim, the top loop, and the star points at consistent relative positions. The bounding-frame sheet gives you a frame and center guide so you can place the silhouette first, then add the identifying details. The partial-outline sheet leaves the right-hand portion blank; complete it using the full reference, checking that the dial stays circular and the rose stays centered.
A compass drawing reads clearly when the casing is the dominant circle, the dial rim is visibly narrower than the casing, and the compass rose sits at the center rather than drifting toward an edge. The top loop should be small relative to the casing and aligned with the vertical center. Tick marks should be evenly spaced around the inner dial edge.
Because drawing has multiple valid outcomes, judge your work against the visible features and proportions rather than expecting an exact match. A slightly different star style or label placement can still be correct if the circular dial, concentric rim, centered rose, and top loop are all present and clearly related.
Most problems come from drawing details before the main circles are settled. If the dial looks lopsided, redraw the outer and inner circles from the same center point. If the star points look uneven, mark the eight directions first, then connect them. If the loop looks detached, shorten the neck and align it with the dial center.
magnetic compass: Trace the reference outline, then practise the contour independently. Compare with the separate full reference sheet.
Example solution: preserve circular dial with concentric ring border, multi-pointed compass rose/needle star centered in dial, top loop or ring attachment on the casing. Other drawings can be correct; assess the visible features and proportions rather than pixel-perfect matching. Draw a large outer circle for the compass casing, then add a slightly smaller inner circle to form the dial rim. Draw a small ring/loop centered above the outer circle, connected by a short neck to the casing. Inside the dial, draw a central small circle and construct an eight-pointed star/compass rose radiating from it. Add short tick marks or labels around the inner dial edge to indicate cardinal directions.
No. Preserve the circular dial with a concentric ring border, a multi-pointed compass rose or needle star centered in the dial, and a top loop or ring attachment on the casing. Other drawings can be correct; assess visible features and proportions rather than pixel-perfect matching.
Draw the large outer circle, then the smaller inner circle for the dial rim, then the top loop and neck, then the central small circle and eight-pointed star, and finally the tick marks or labels around the inner dial edge.
Complete the blank right-hand portion using the full reference, then compare the finished side with the completed side to check that the dial stays circular and the rose stays centered.
All drawing practice · Free coordinate paper
Original resources · CC BY 4.0 · Free for personal and classroom use with attribution.