Reference diagrams
LETTER · Download PDF
A4 · Download PDF
Free original resources
Learn to draw a grand piano with a case, keyboard strip, open lid, prop stick, three legs and pedals. Use the practice sheets to compare proportions and details.
Four original cases, with reference diagrams, practice sheets and worked answers. Everything is free; no signup required.
LETTER · Download PDF
A4 · Download PDF
LETTER · Download PDF
A4 · Download PDF
LETTER · Download PDF
A4 · Download PDF
Use A4 or US Letter to match your printer. Use the stated values and conditions to solve each exercise; diagrams are not physical measuring rulers.
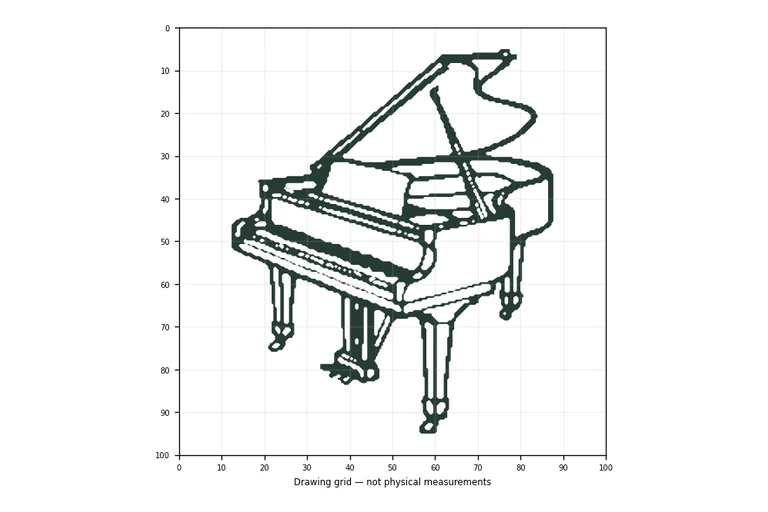
Drawing a piano is mostly a problem of arranging a few clear shapes in the right order. Start with the body, place the keyboard along the front, then add the open lid, its prop stick, three legs and the pedal box. The practice sheets let you trace, copy onto a grid, use a center guide, or complete a missing portion. Because drawings can vary, compare visible features and proportions rather than expecting an exact match.
Begin with the largest shape: the piano case. Treat it as a rounded rectangular body with a curved right side. Keep the case wide enough that the keyboard strip can sit along the front edge without looking cramped. Lightly sketch this outline first, because the lid and legs will attach to it.
Next, add the keyboard strip along the front edge. Draw a long narrow band, then mark small black keys at regular intervals. You do not need to draw every key precisely; the goal is a readable row of black and white keys. After the keyboard, draw the open lid as a large angled shape and support it with a thin prop stick. Finish with three tapered legs and a central pedal box beneath the body.
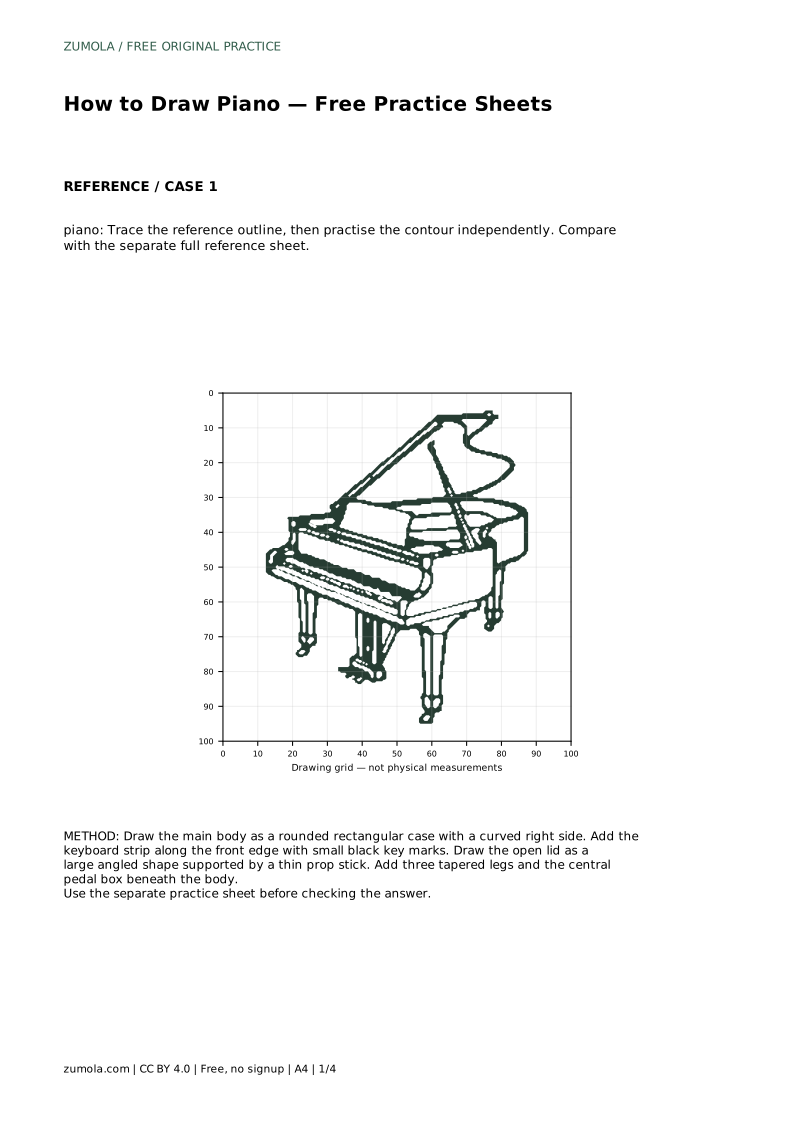
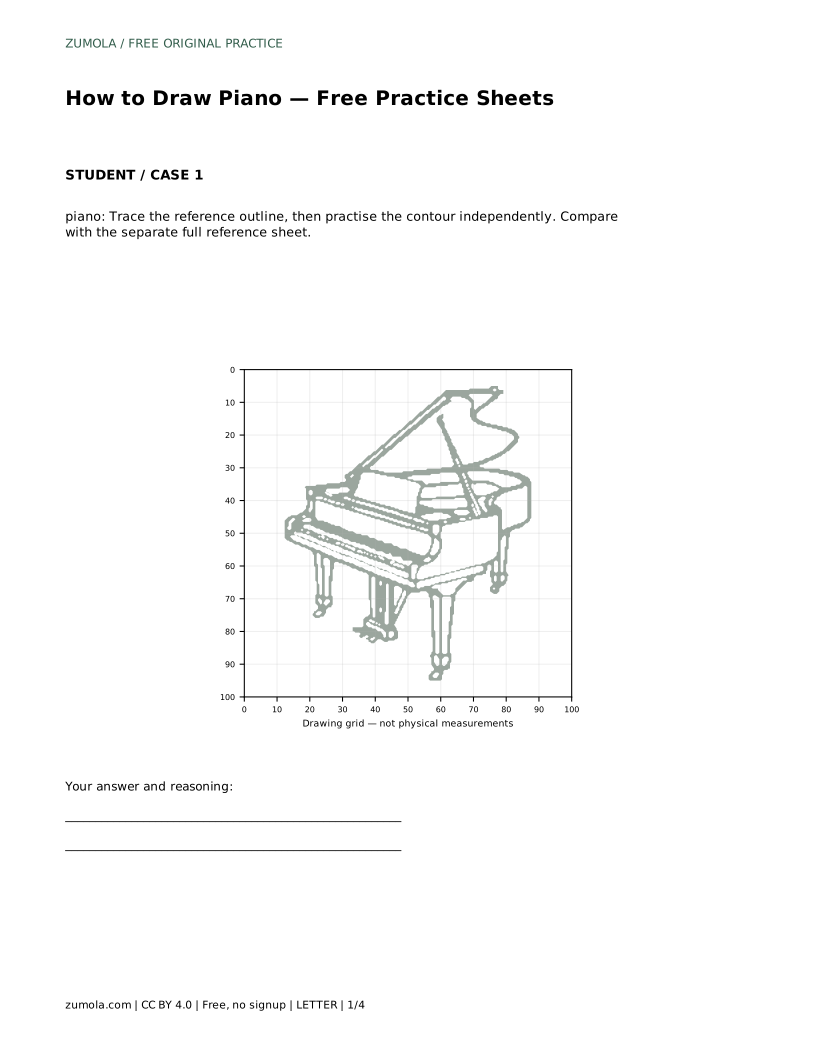
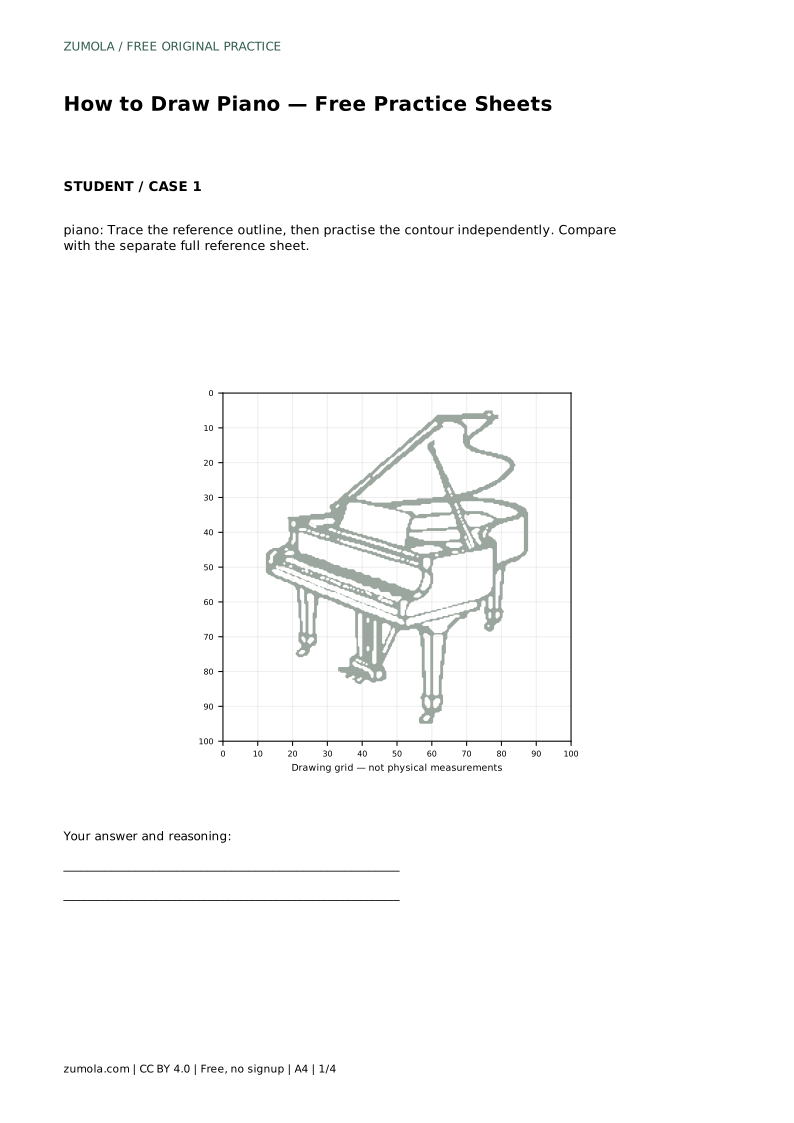
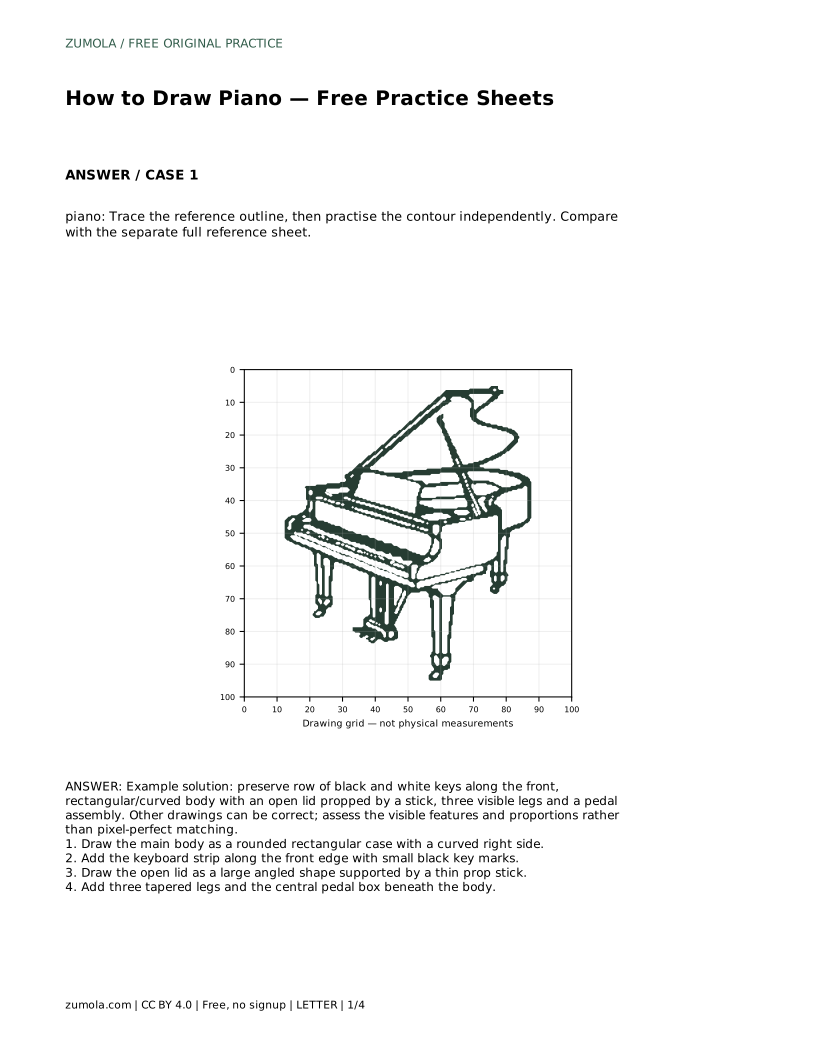
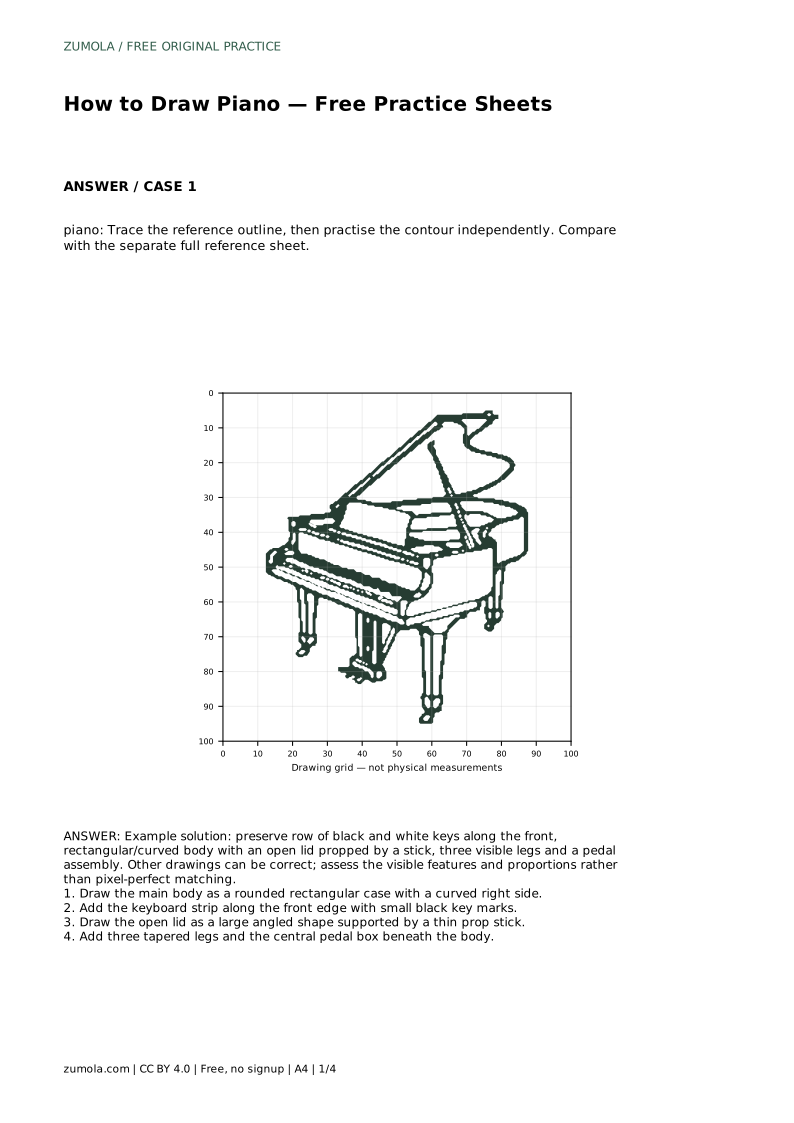
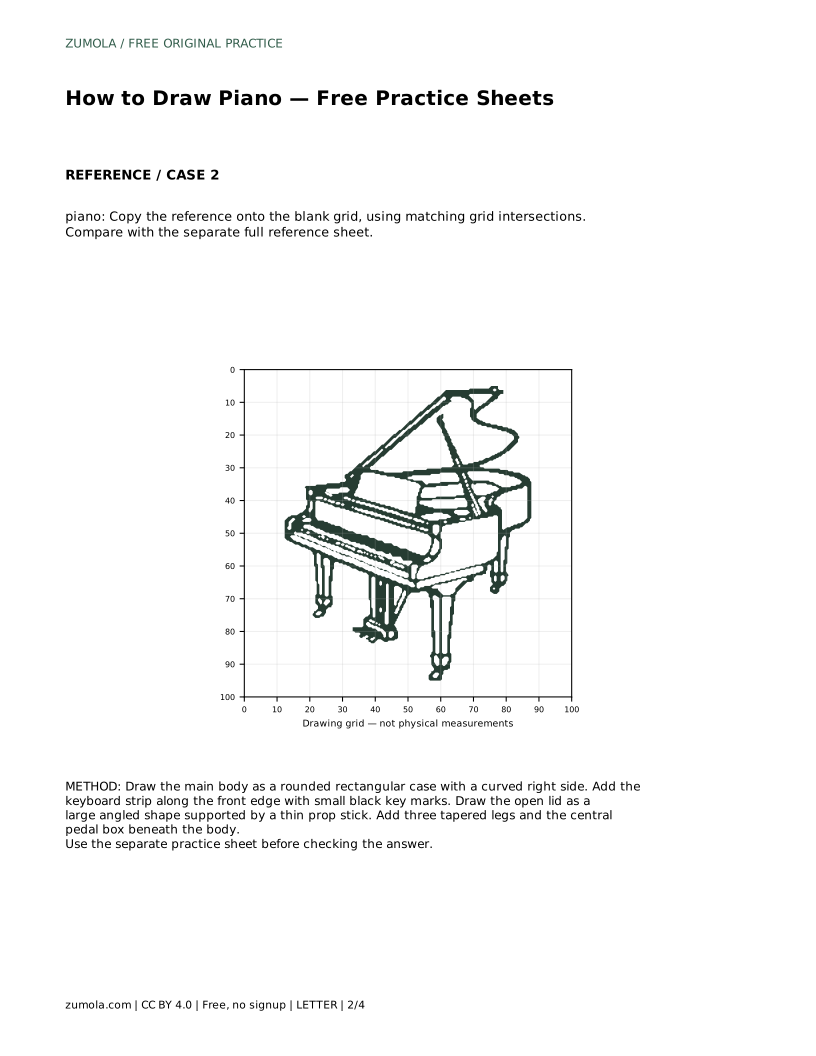
The trace sheet asks you to follow the reference outline, then practise the contour independently. Tracing helps you feel the sequence of the case, keyboard, lid and legs; the independent pass checks whether you can reproduce that sequence without the outline underneath.
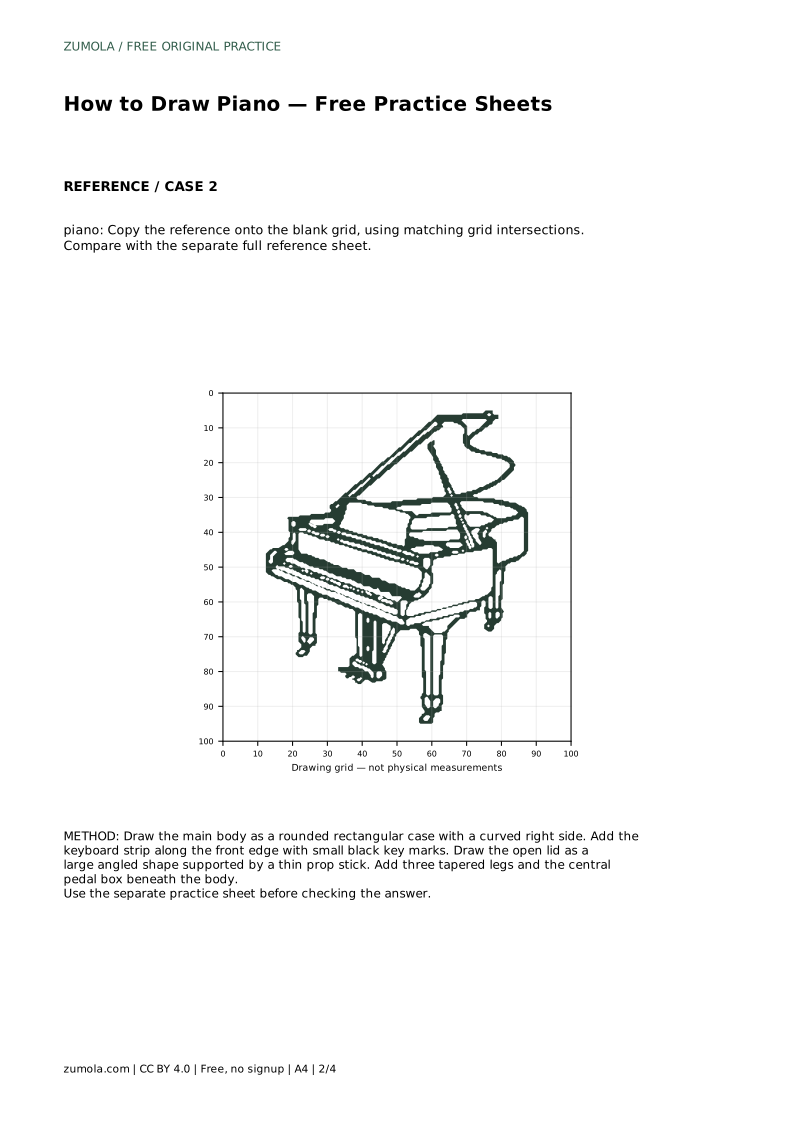
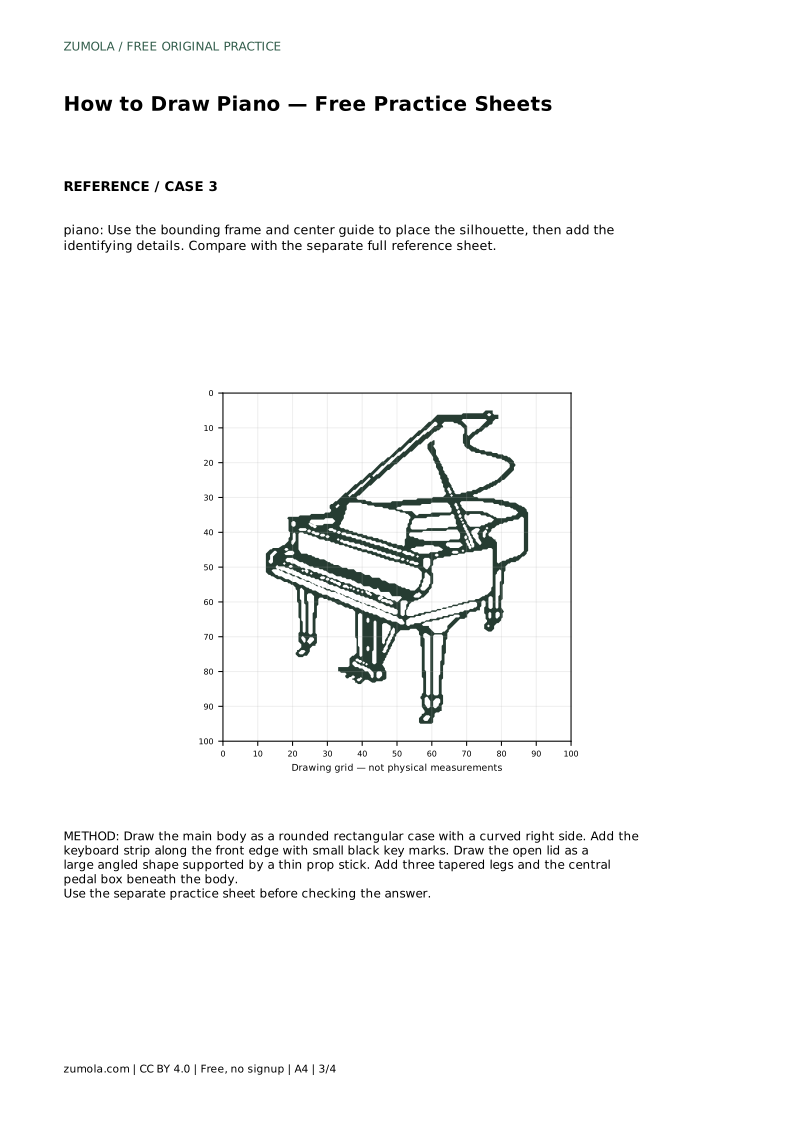
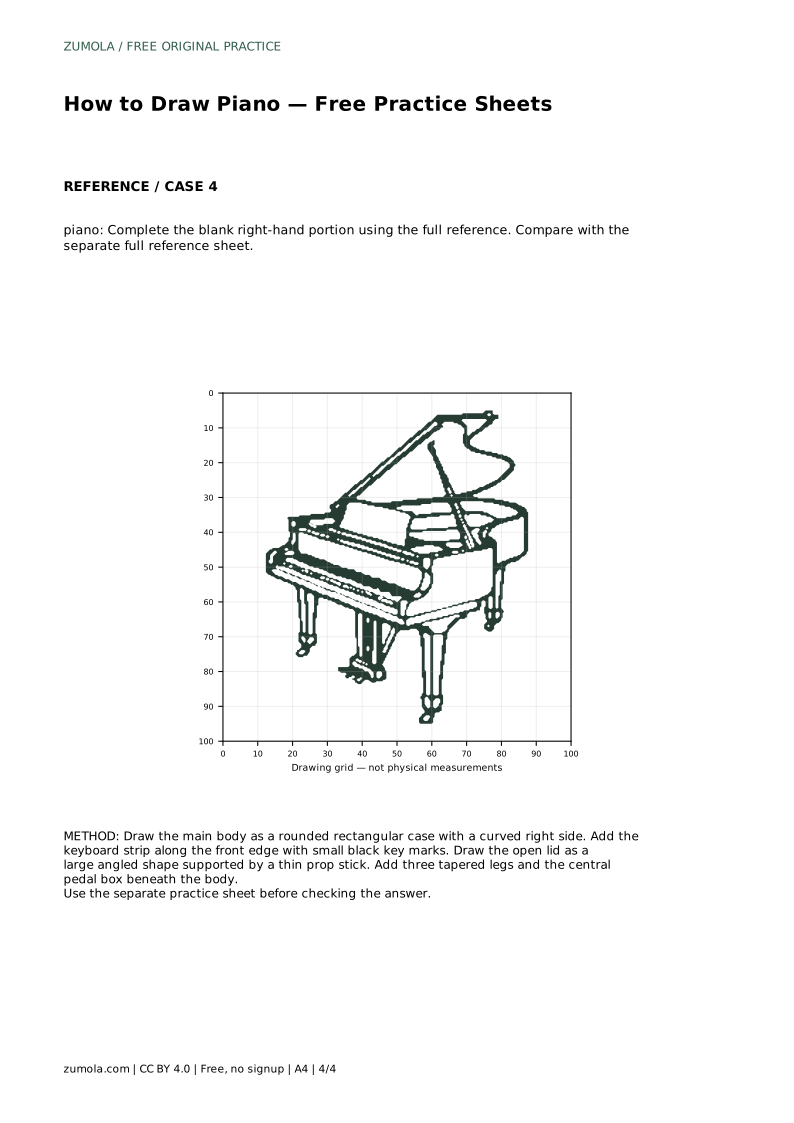
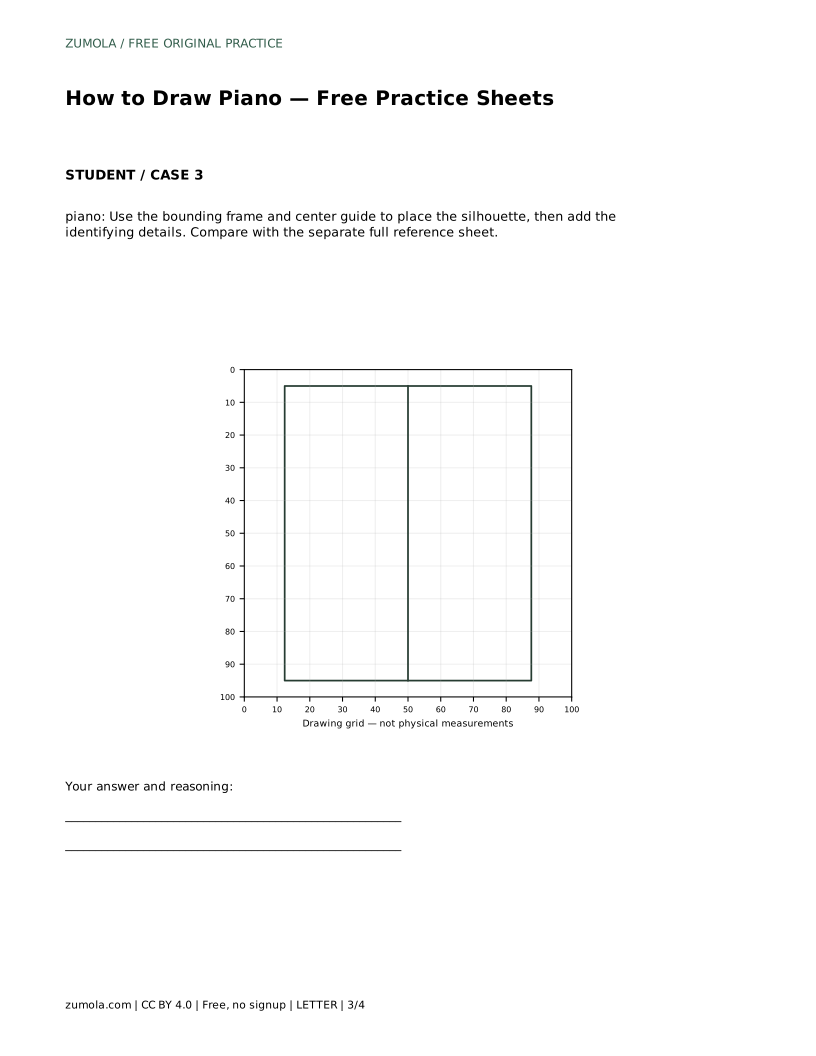
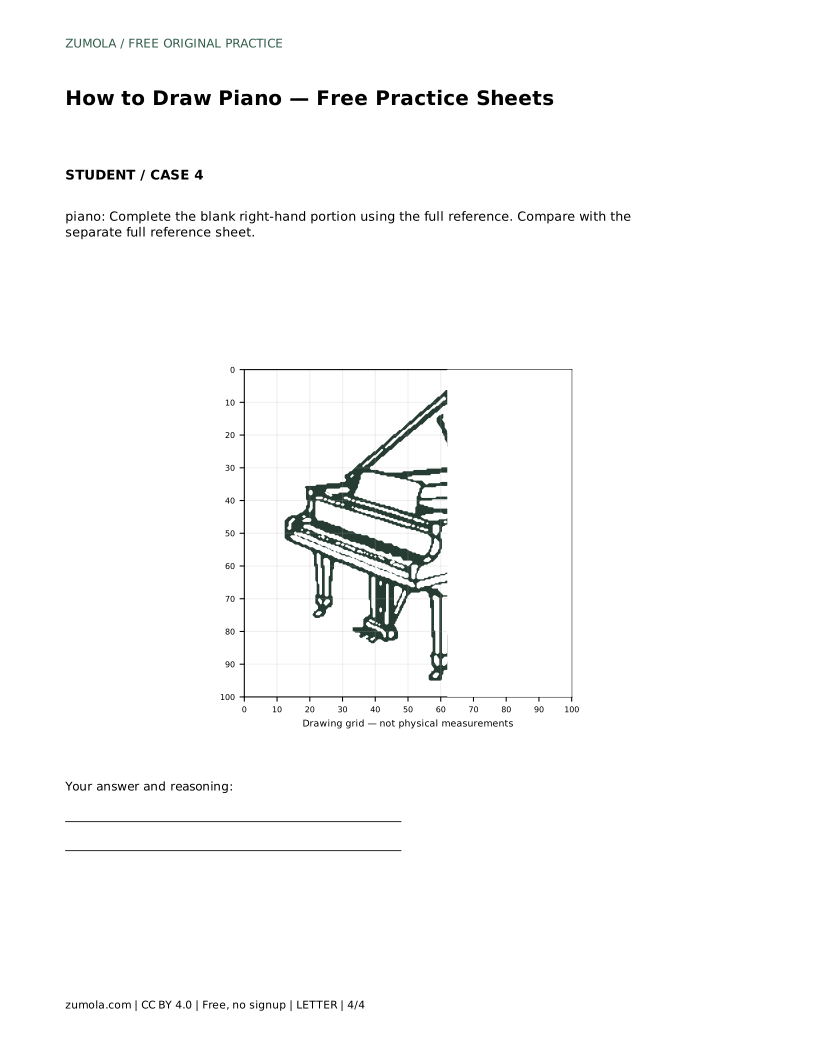
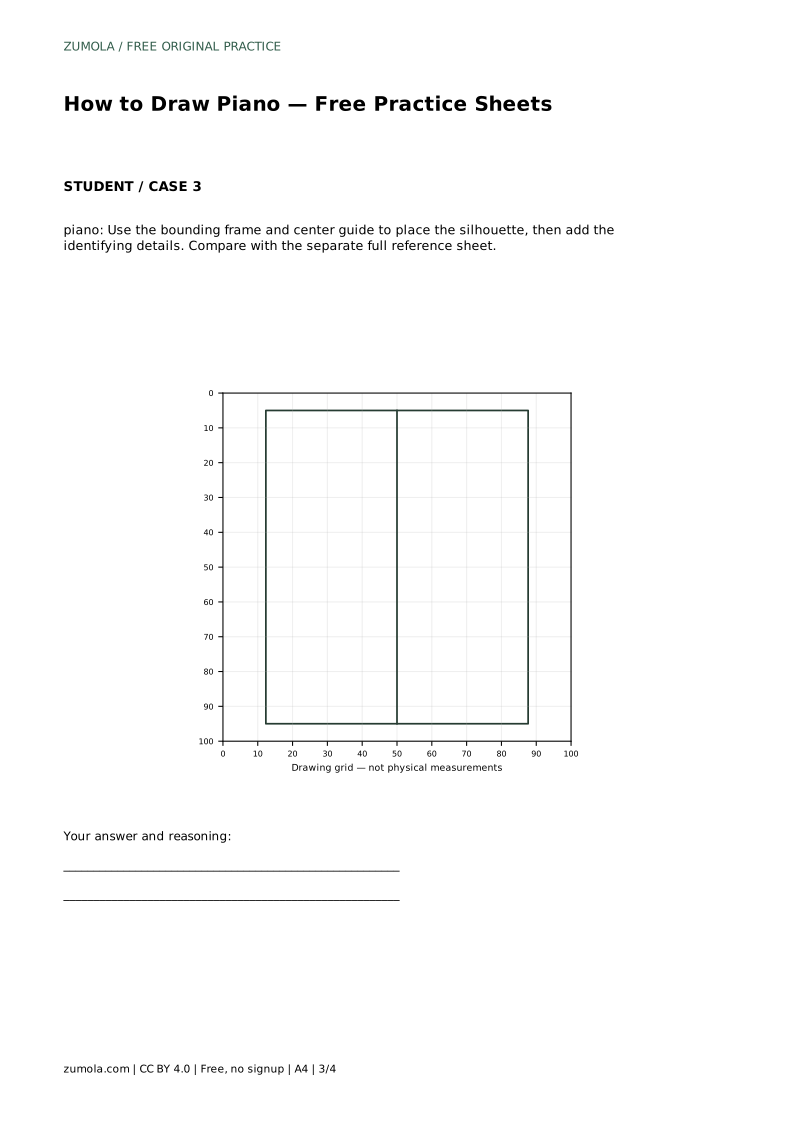
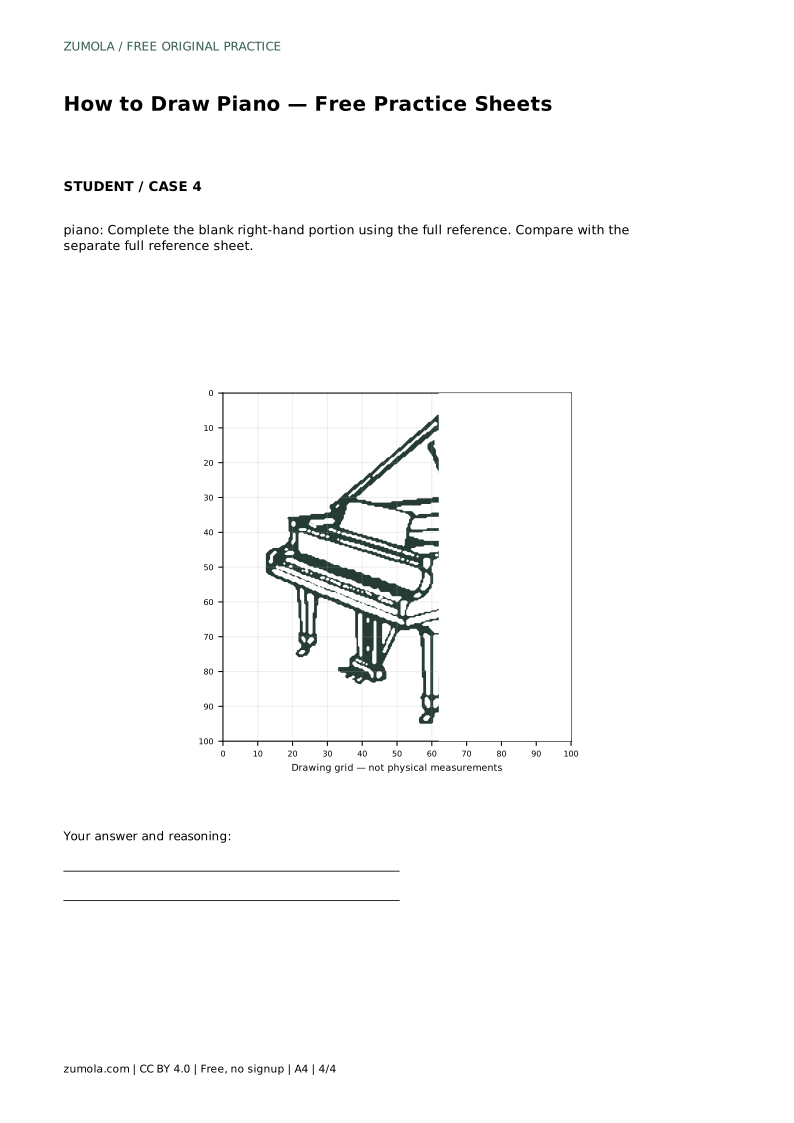
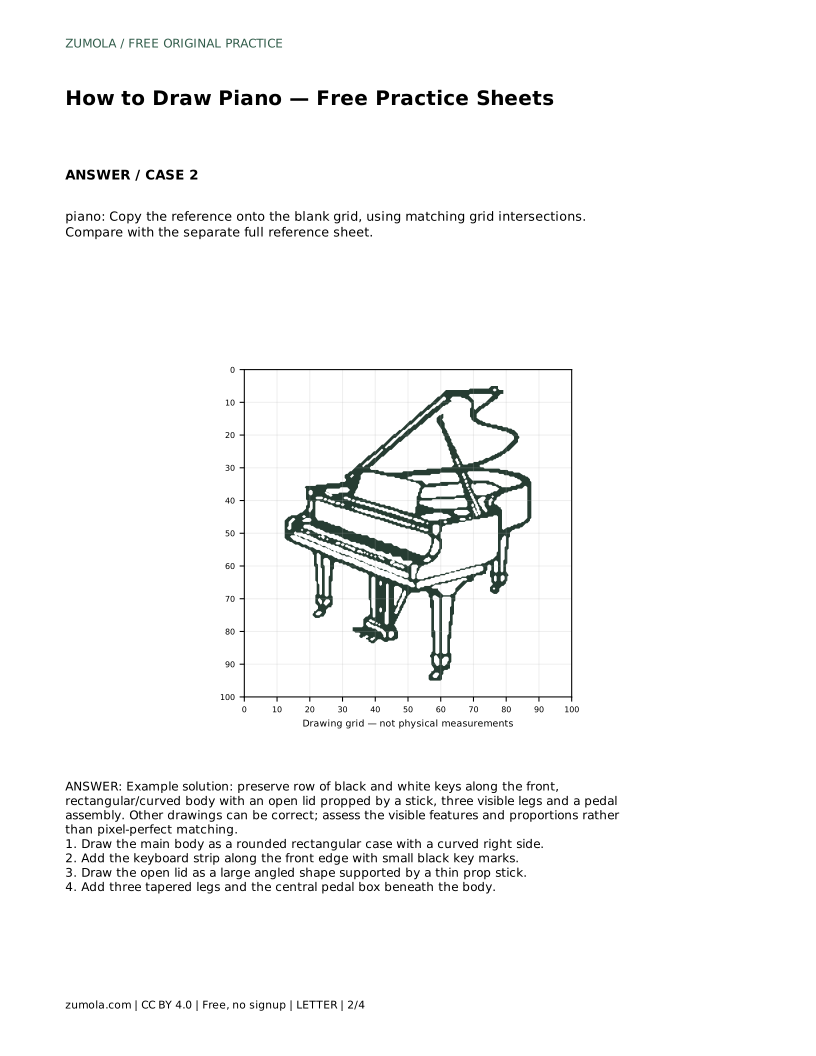
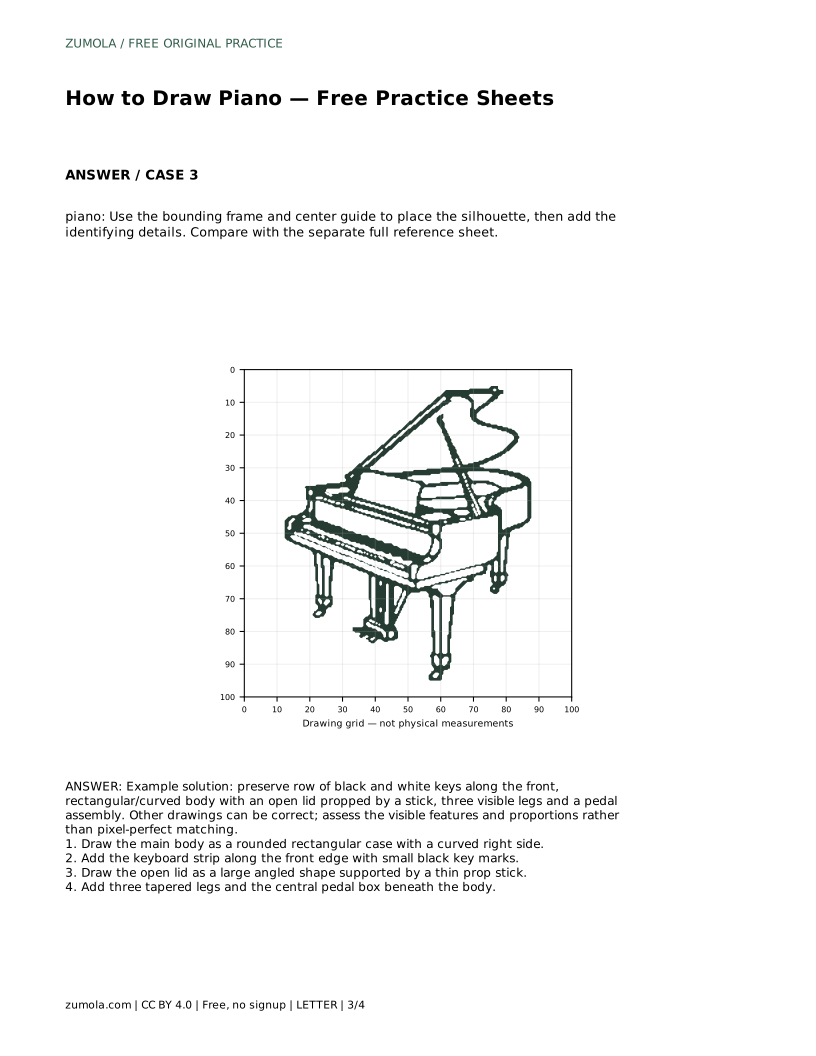
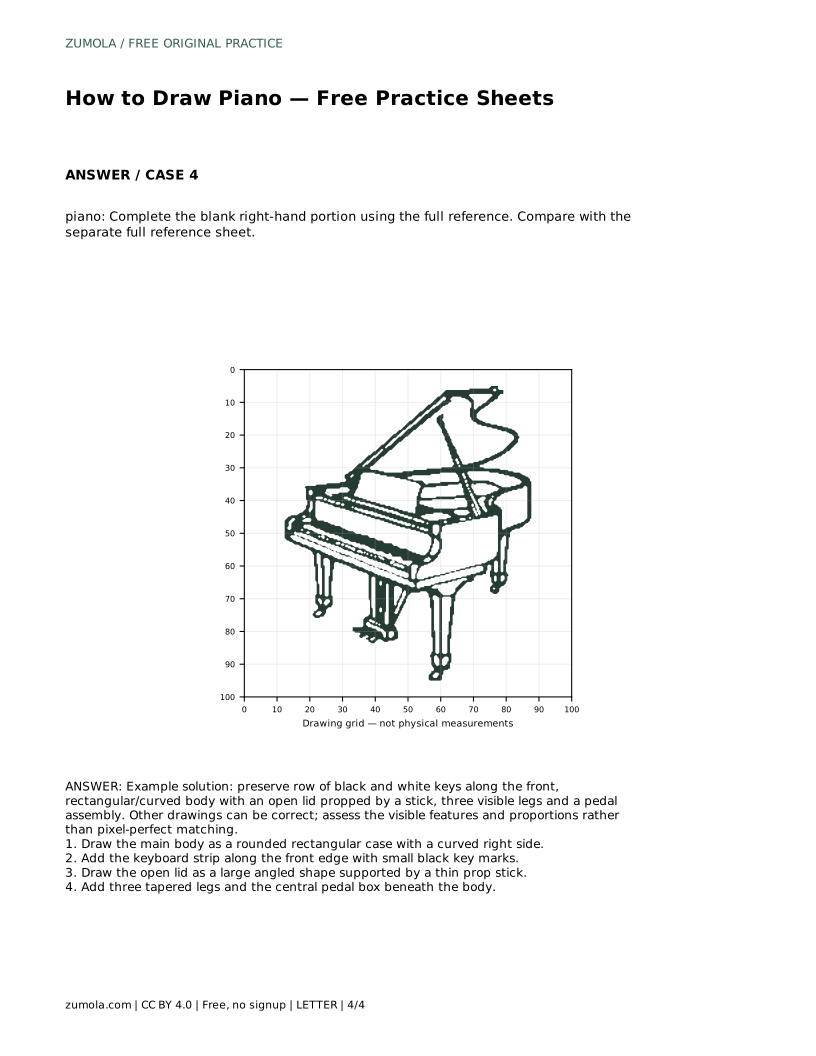
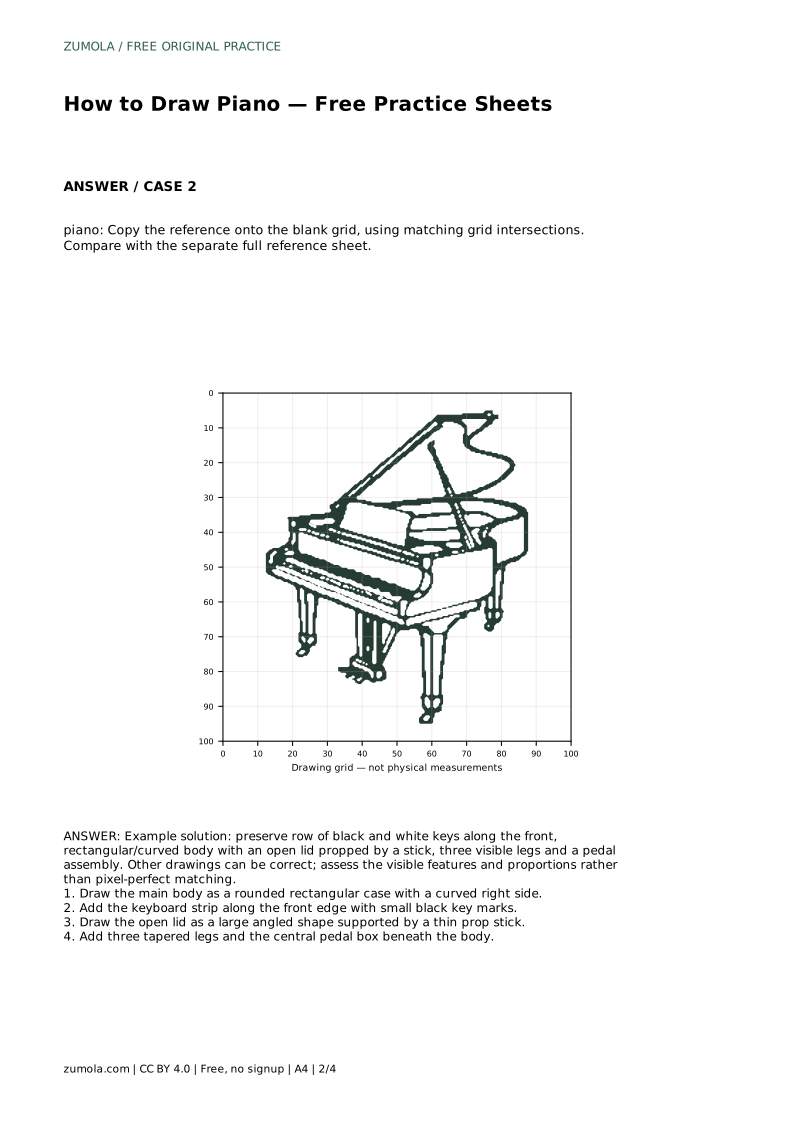
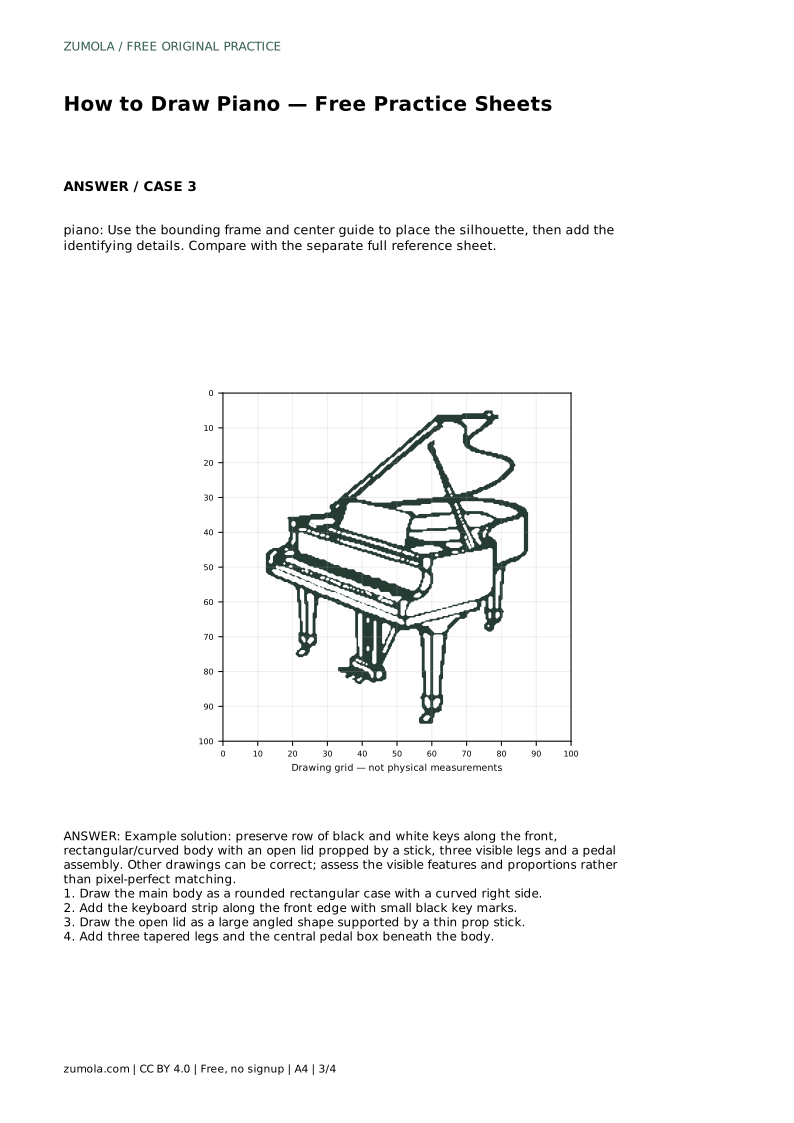
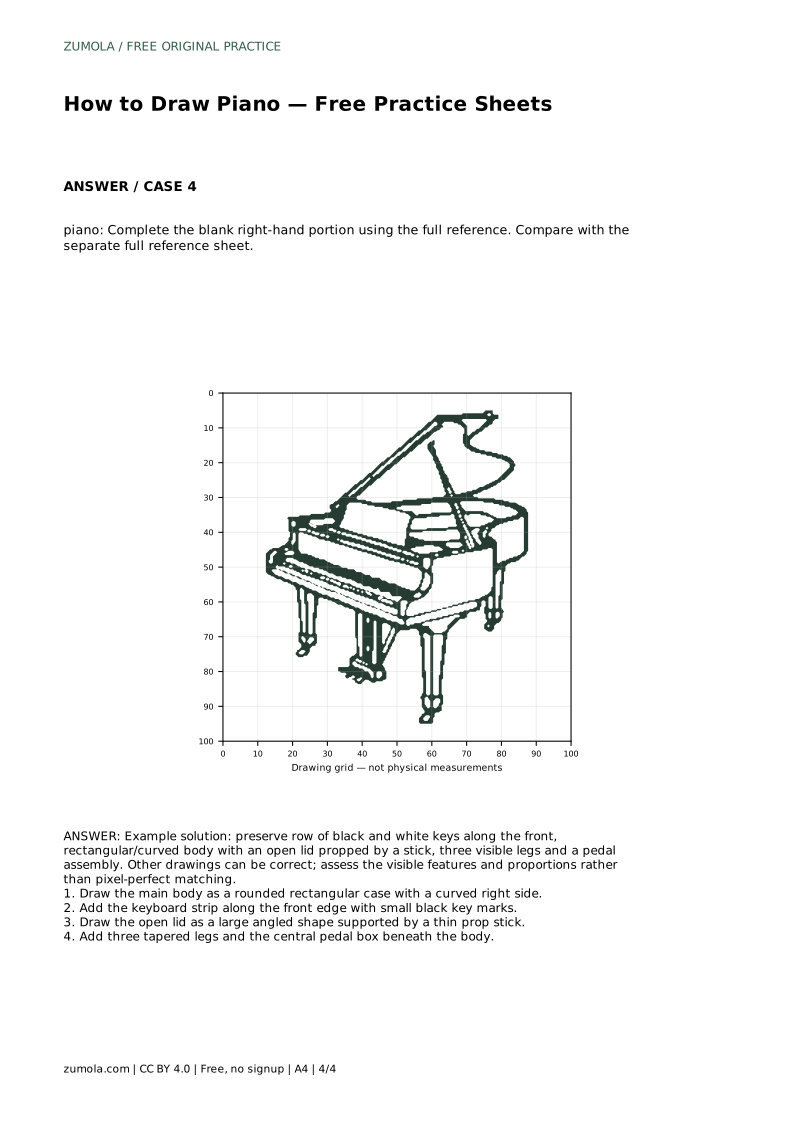
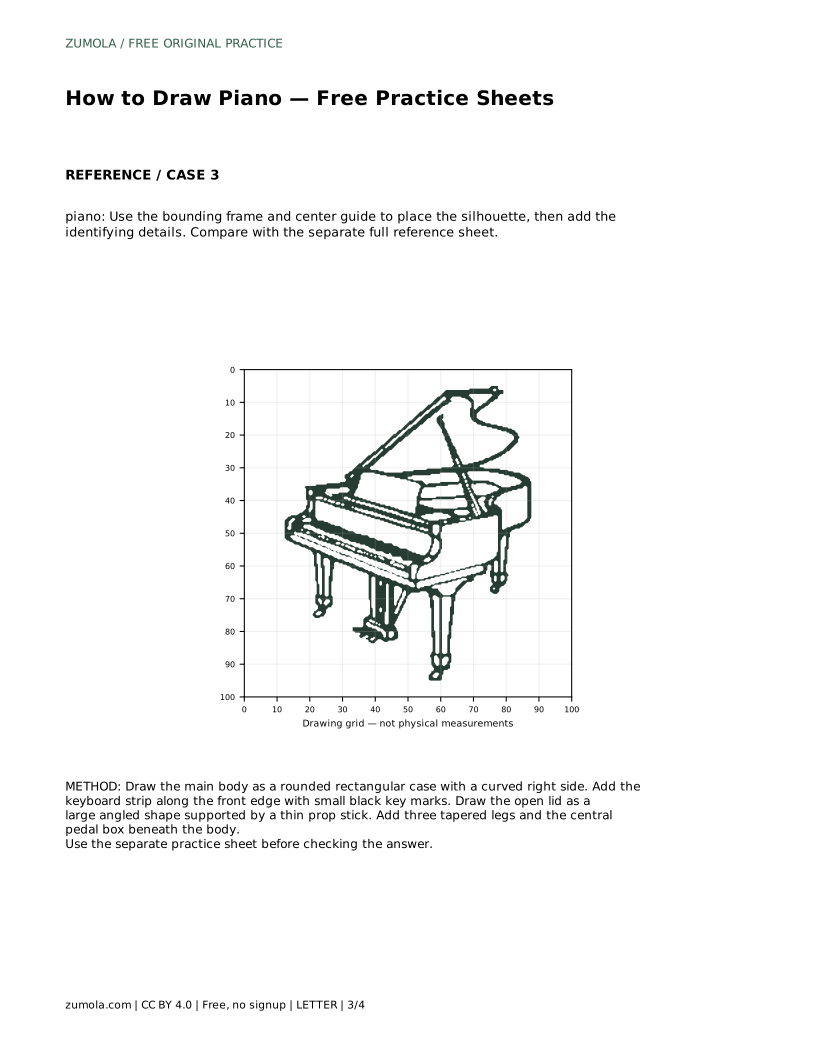
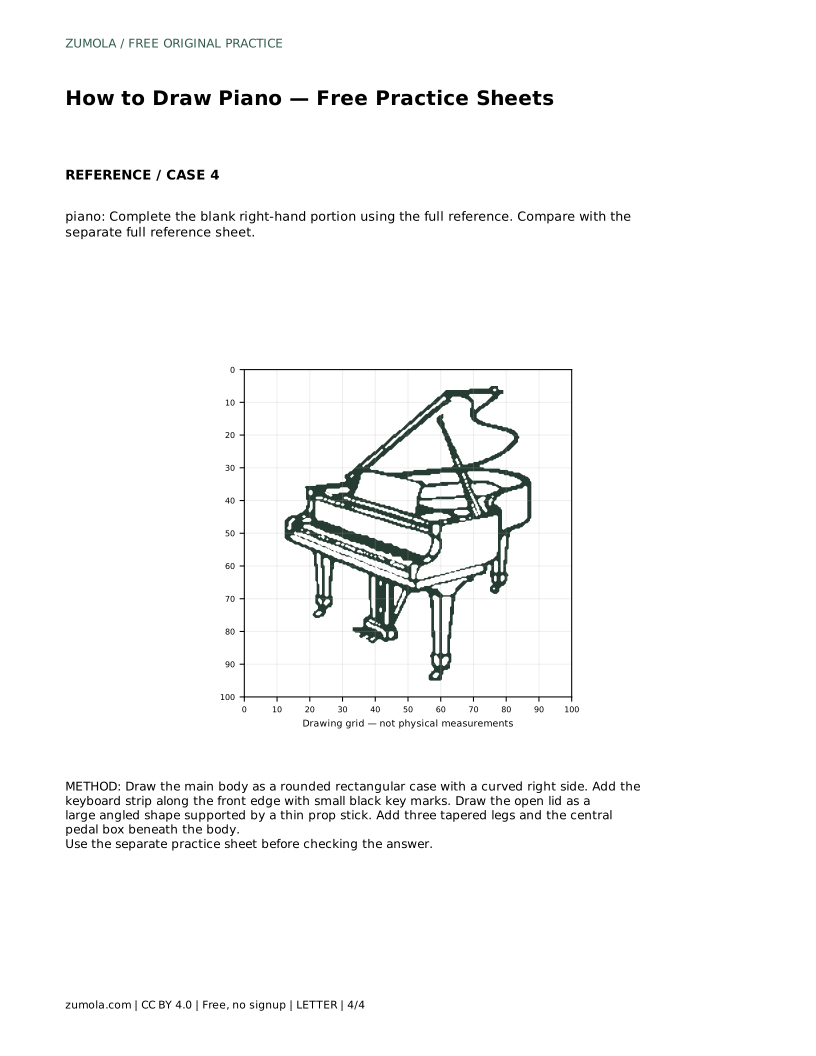
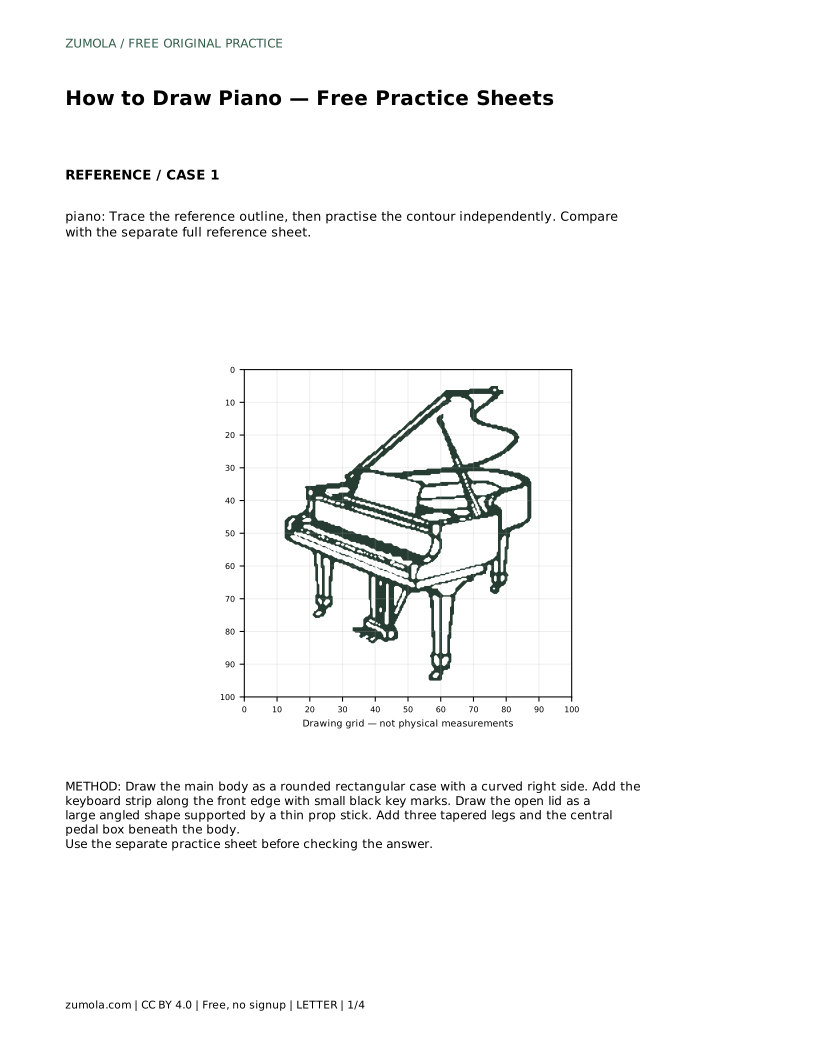
The grid sheet asks you to copy the reference onto a blank grid using matching grid intersections. Use the intersections to place the corners of the case, the ends of the keyboard strip and the feet of the legs. The bounding-frame sheet asks you to place the silhouette using the frame and center guide before adding identifying details. The partial sheet gives you the left portion and asks you to complete the blank right-hand portion using the full reference. In every case, compare your drawing with the separate full reference sheet.
A piano drawing reads clearly when the keyboard strip spans the front of the case, the lid opens upward at an angle, the prop stick touches the lid, and three legs support the body. Check that the legs are tapered and that the pedal box sits centrally beneath the case. The curved right side should not be so large that it overwhelms the keyboard.
Because art has multiple valid outcomes, do not treat any single drawing as the only correct answer. Instead, assess whether the visible features are present and whether the proportions are plausible. A drawing with a short keyboard, a lid that floats without a prop stick, or legs that do not reach the floor will look less like a piano even if the outline is neat.
Prompt: Trace the reference outline, then practise the contour independently. Compare with the separate full reference sheet. Example solution: preserve row of black and white keys along the front, rectangular/curved body with an open lid propped by a stick, three visible legs and a pedal assembly. Other drawings can be correct; assess the visible features and proportions rather than pixel-perfect matching.
To apply this, draw the case first, then the keyboard strip, then the lid and prop stick, then the legs and pedal box. After the traced pass, set the reference aside and repeat the same order on a blank sheet. Compare the two drawings with the full reference sheet and note which feature moved out of place.
Most problems come from drawing details before the large shapes are settled. If the case is too narrow, the keyboard strip will look compressed. If the lid is drawn before the case, the prop stick may not meet the lid. Keep your first lines light so you can adjust the body and lid without erasing heavily.
Can I draw a piano without the open lid? Yes, but the open lid and prop stick are strong identifying features in this reference. If you omit them, make the keyboard strip and three legs especially clear.
Do I need to draw every black key? No. A regular row of small black key marks is enough to read as a keyboard. Focus on the strip's length and position along the front edge.
What if my drawing does not match exactly? That is acceptable. Use the rubric to check whether the case, keyboard, lid, prop stick, legs and pedal box are present and proportioned plausibly.
piano: Trace the reference outline, then practise the contour independently. Compare with the separate full reference sheet.
Example solution: preserve row of black and white keys along the front, rectangular/curved body with an open lid propped by a stick, three visible legs and a pedal assembly. Other drawings can be correct; assess the visible features and proportions rather than pixel-perfect matching. Draw the main body as a rounded rectangular case with a curved right side. Add the keyboard strip along the front edge with small black key marks. Draw the open lid as a large angled shape supported by a thin prop stick. Add three tapered legs and the central pedal box beneath the body.
Yes, but the open lid and prop stick are strong identifying features in this reference. If you omit them, make the keyboard strip and three legs especially clear.
No. A regular row of small black key marks is enough to read as a keyboard. Focus on the strip's length and position along the front edge.
That is acceptable. Check whether the case, keyboard, lid, prop stick, legs and pedal box are present and proportioned plausibly.
All drawing practice · Free coordinate paper
Original resources · CC BY 4.0 · Free for personal and classroom use with attribution.