Reference diagrams
LETTER · Download PDF
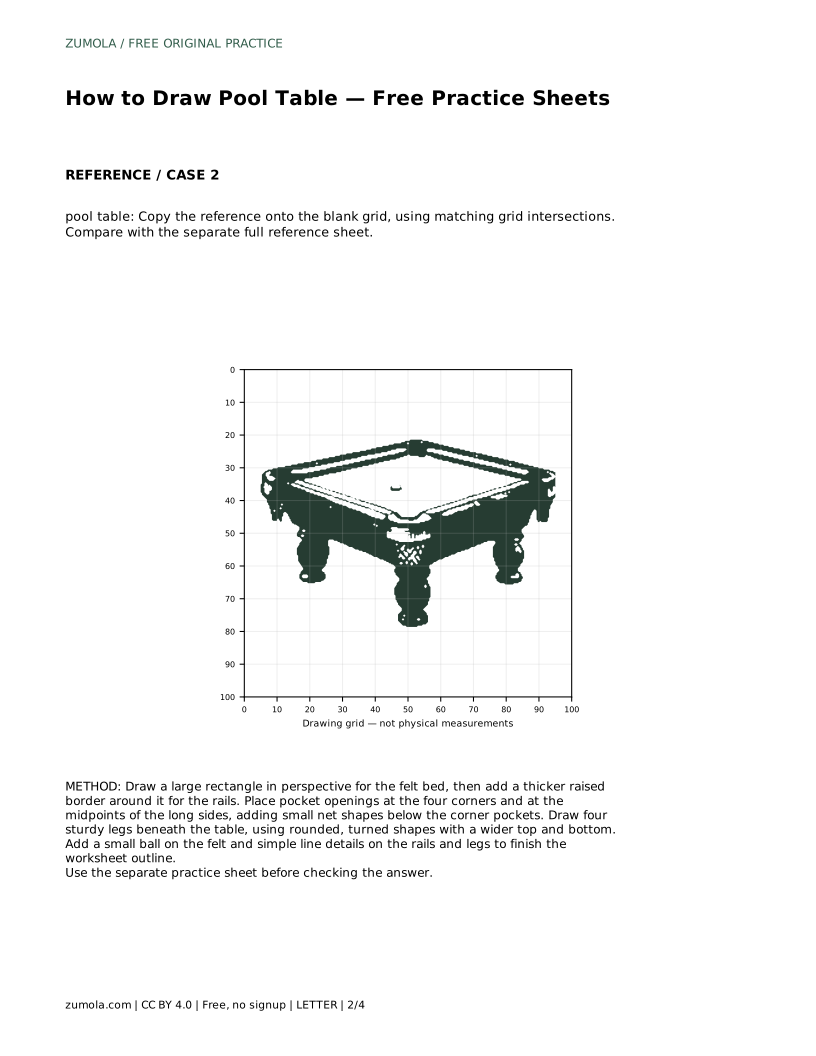
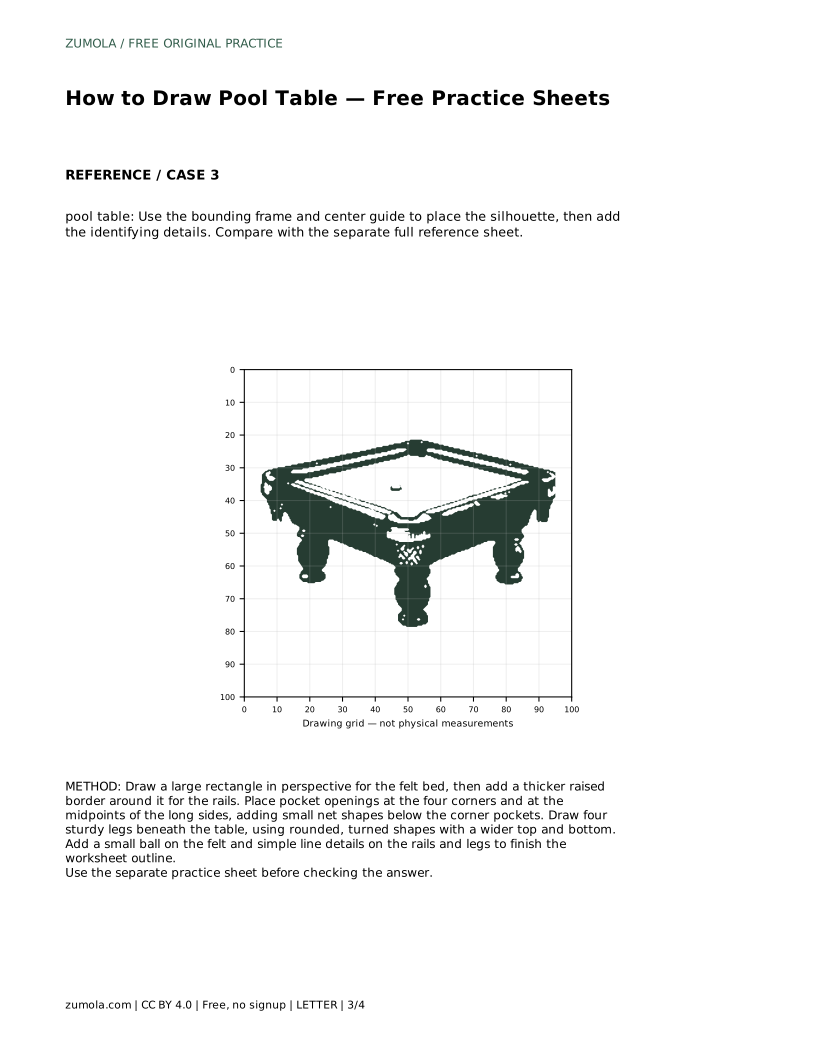
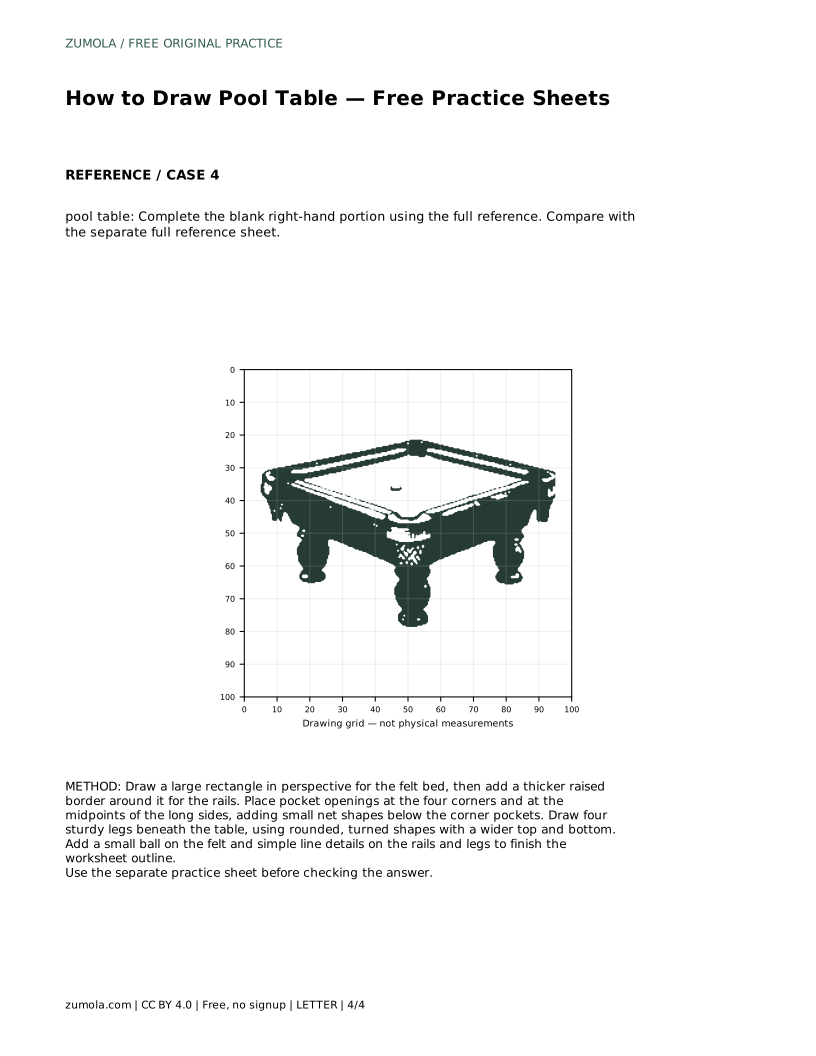
A4 · Download PDF
Free original resources
Learn to draw a pool table with a rectangular felt bed, raised rails, six pockets, and four legs. Free practice sheets support tracing, grids, and guided outlines.
Four original cases, with reference diagrams, practice sheets and worked answers. Everything is free; no signup required.
LETTER · Download PDF
A4 · Download PDF
LETTER · Download PDF
A4 · Download PDF
LETTER · Download PDF
A4 · Download PDF
Use A4 or US Letter to match your printer. Use the stated values and conditions to solve each exercise; diagrams are not physical measuring rulers.
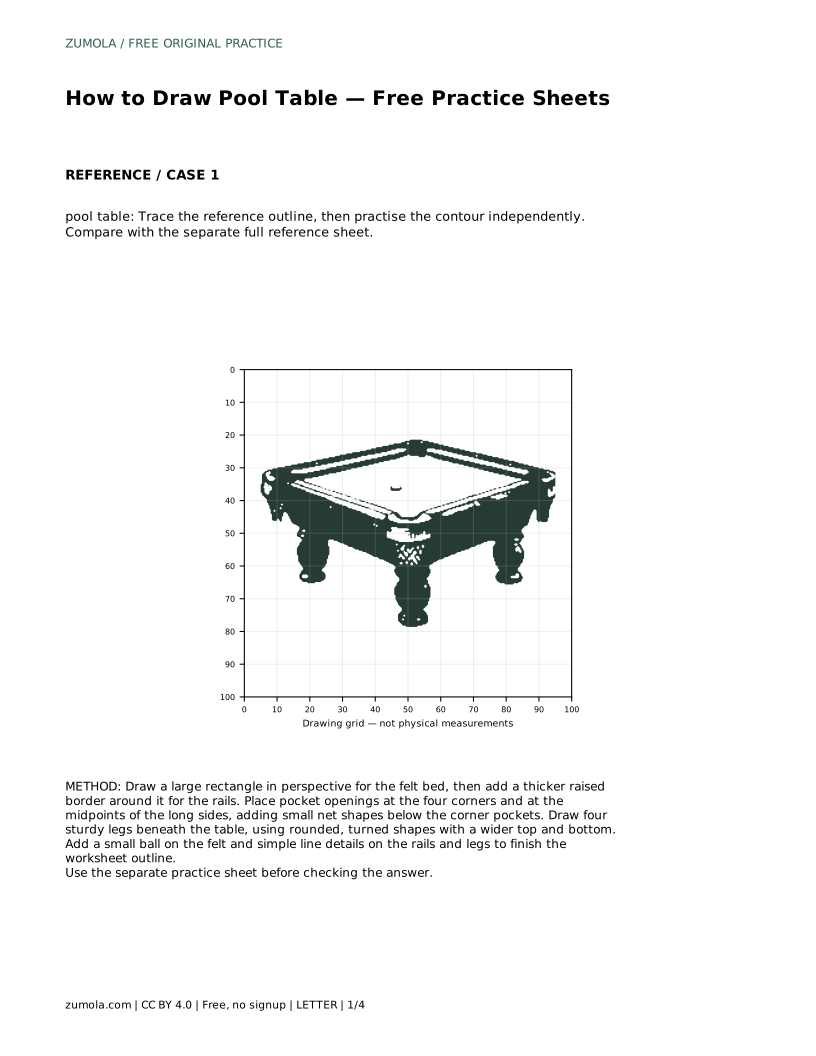
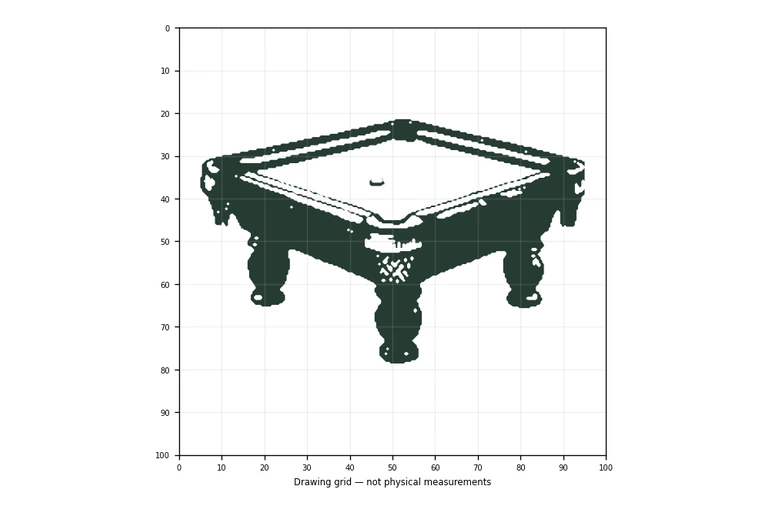
Drawing a pool table is mostly a lesson in proportion and placement. The felt bed must read as a long rectangle, the rails must sit as a raised border around it, and the six pockets must land at the corners and the midpoints of the long sides. This page explains the order of construction and how to judge your own drawing fairly, since several correct versions can exist.
Start with the largest shape, because every later detail depends on it. Draw a long rectangle for the felt bed, then give it a slight perspective by making the far edge a little shorter than the near edge. Keep the long sides parallel to each other and the short sides parallel to each other.
Next, add a thicker border around the felt for the rails. The rails should sit outside the felt rectangle, not inside it, so the playing surface stays clearly visible. Corner caps can be drawn as small rounded or squared blocks where two rail sections meet.
A standard pool table has six pockets: one at each of the four corners and one at the midpoint of each long side. Place them before adding nets, so the openings stay evenly spaced. Corner pockets can show a small hanging net below the rail; side pockets are usually drawn as simple openings.
The table needs four sturdy legs. Draw them beneath the corners of the table body, using a wider top and bottom with a narrower middle for a turned shape. Keep the legs vertical and roughly equal in height so the table looks stable.
A small ball on the felt helps the drawing read as a pool table rather than a generic table. Simple line details on the rails and legs add structure without clutter. Keep the ball small relative to the felt so the surface still looks open.
Compare your drawing with the reference sheet by checking features, not by matching every line. Ask whether the felt is clearly rectangular, whether the rails sit outside it, whether all six pockets are present, and whether four legs support the body.
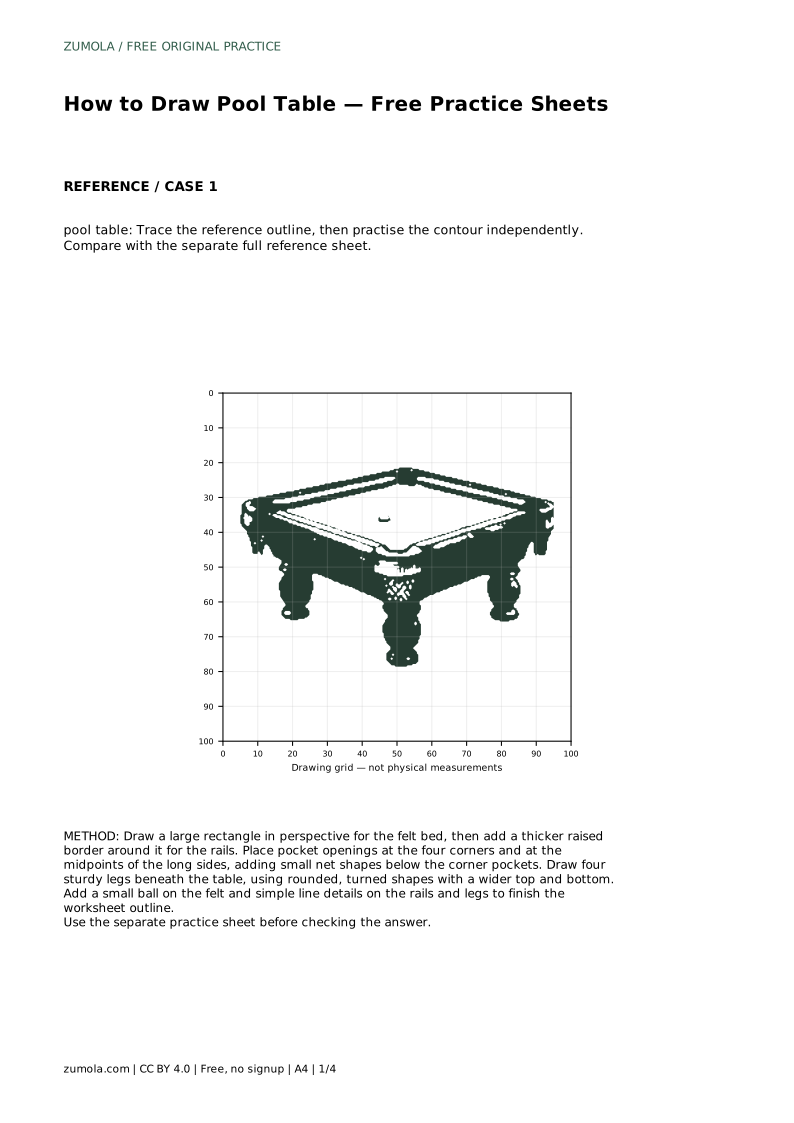
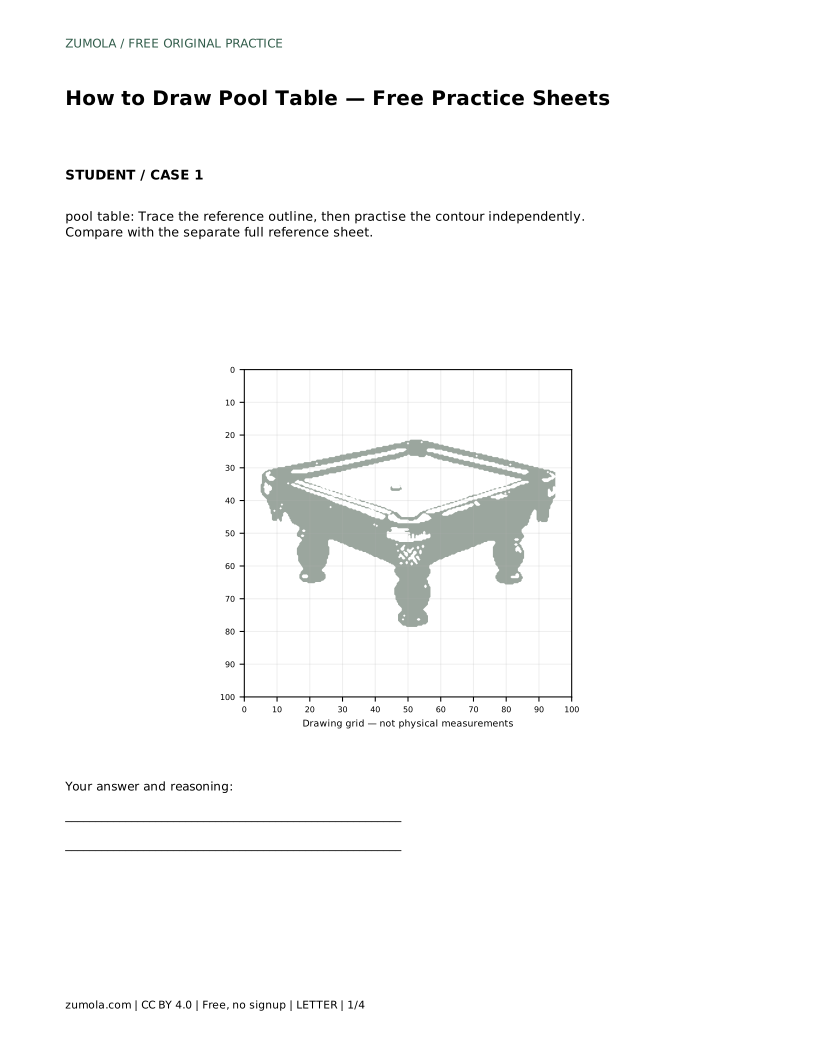
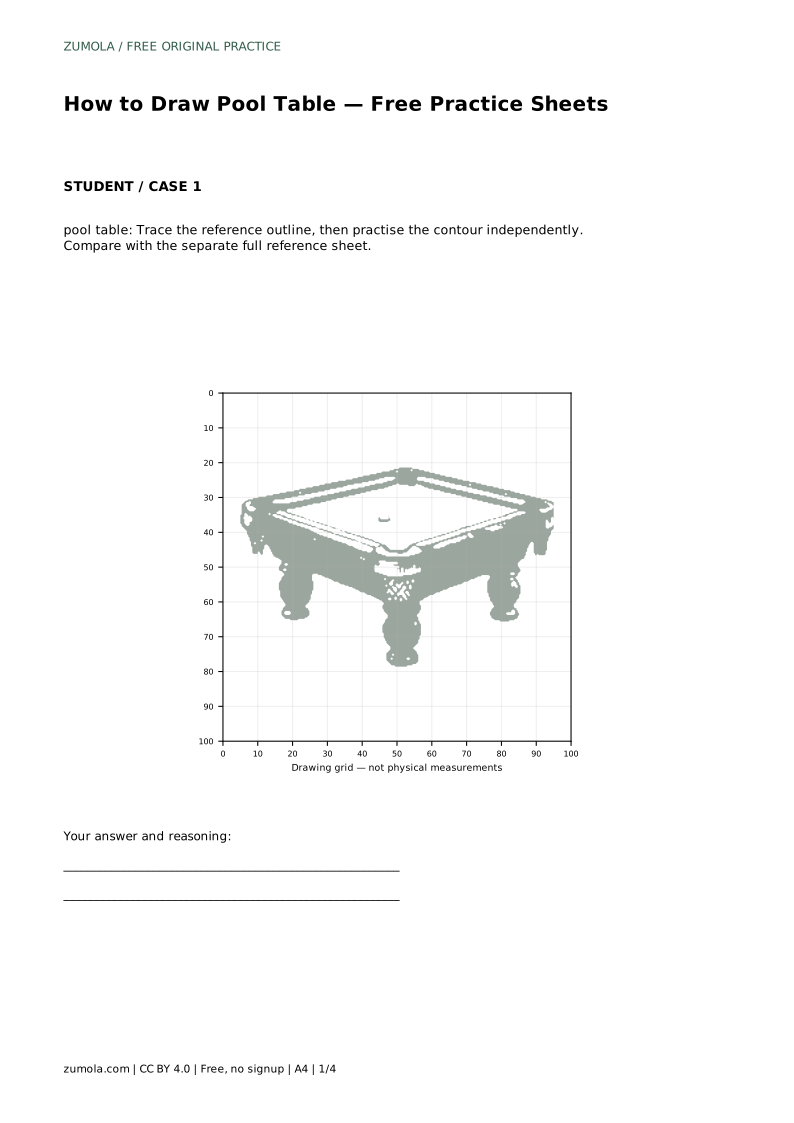
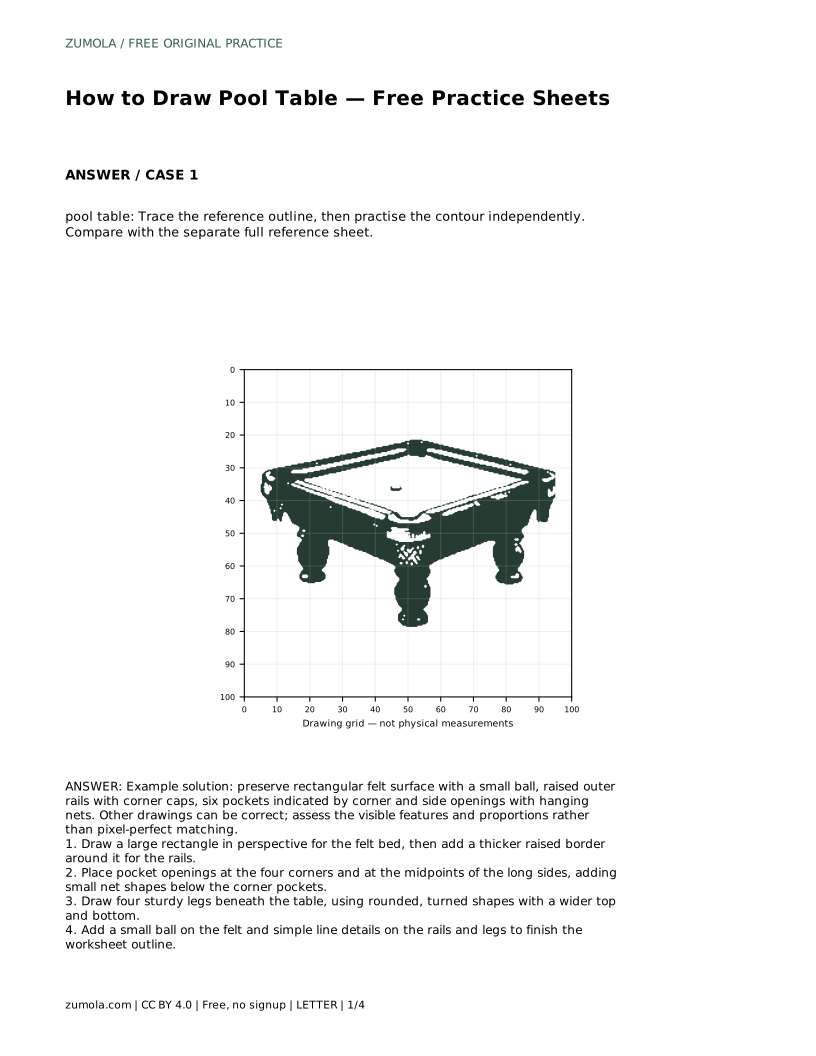
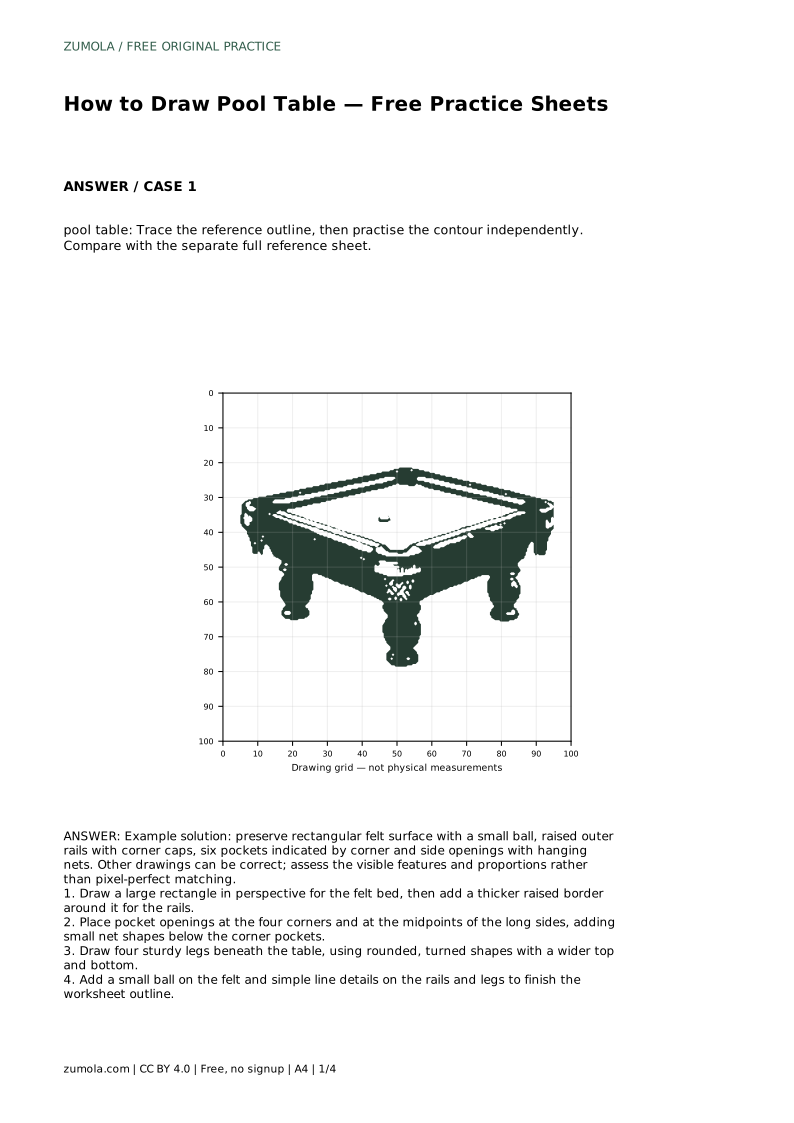
pool table: Trace the reference outline, then practise the contour independently. Compare with the separate full reference sheet.
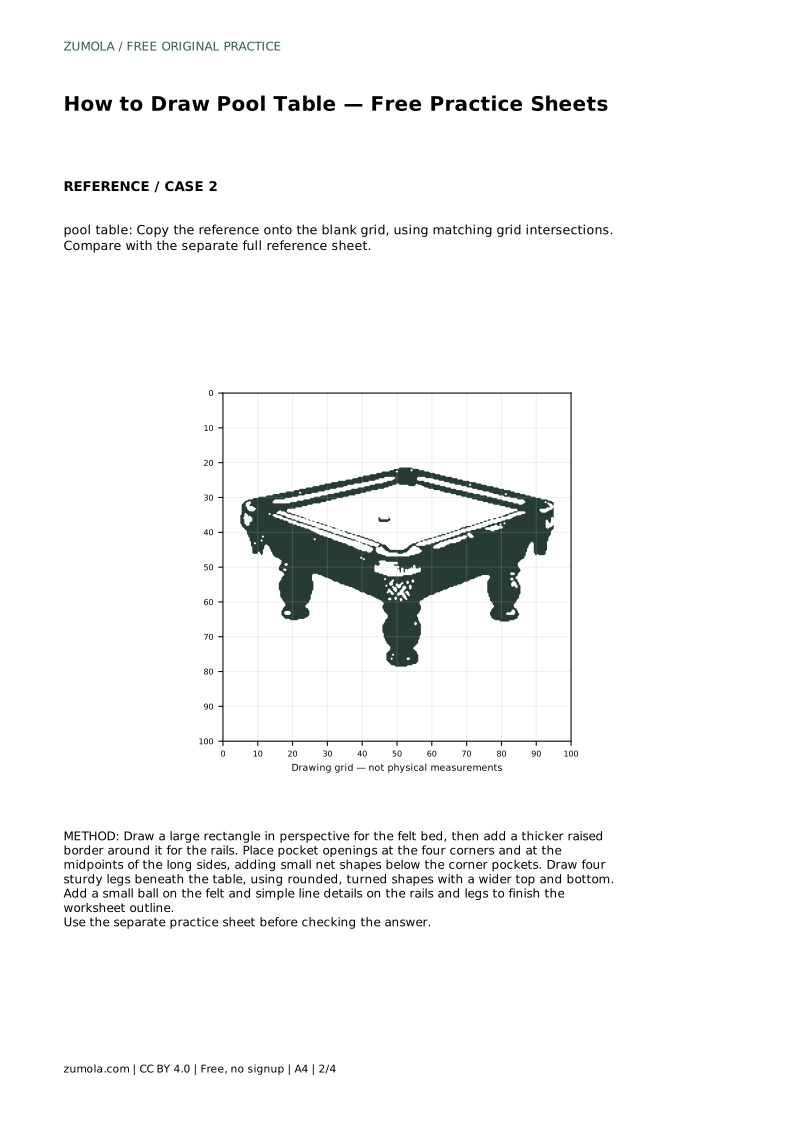
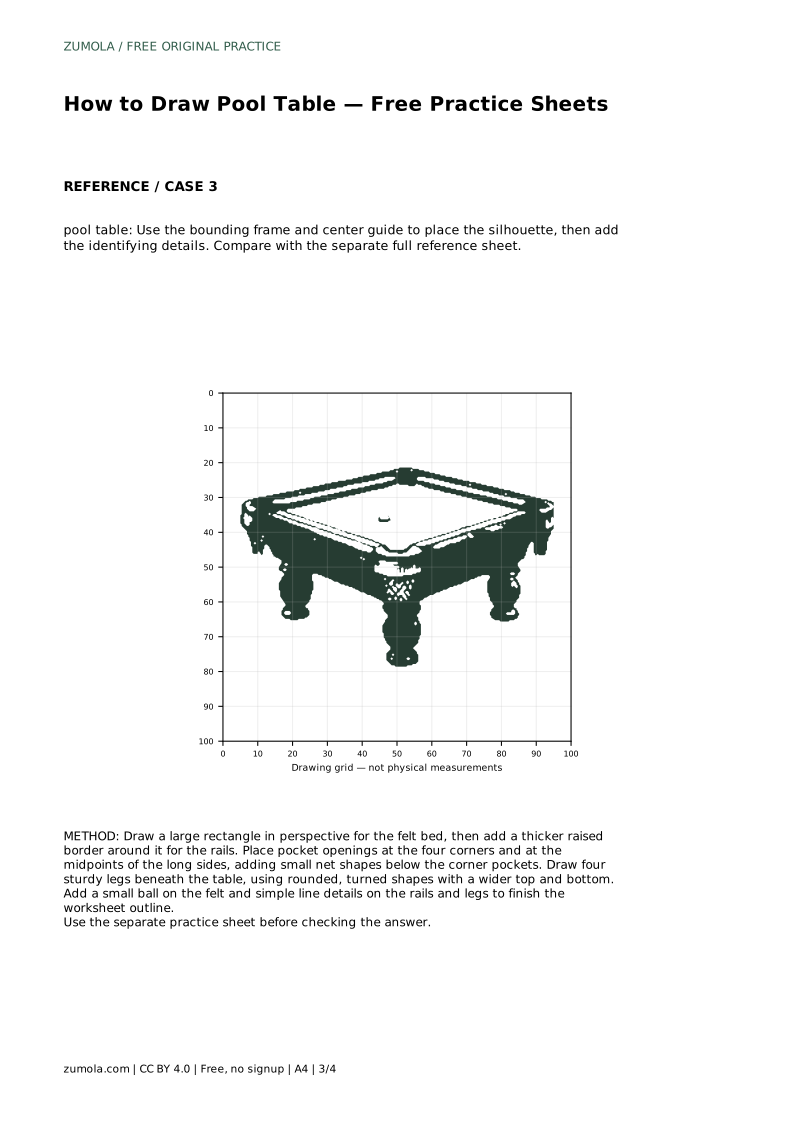
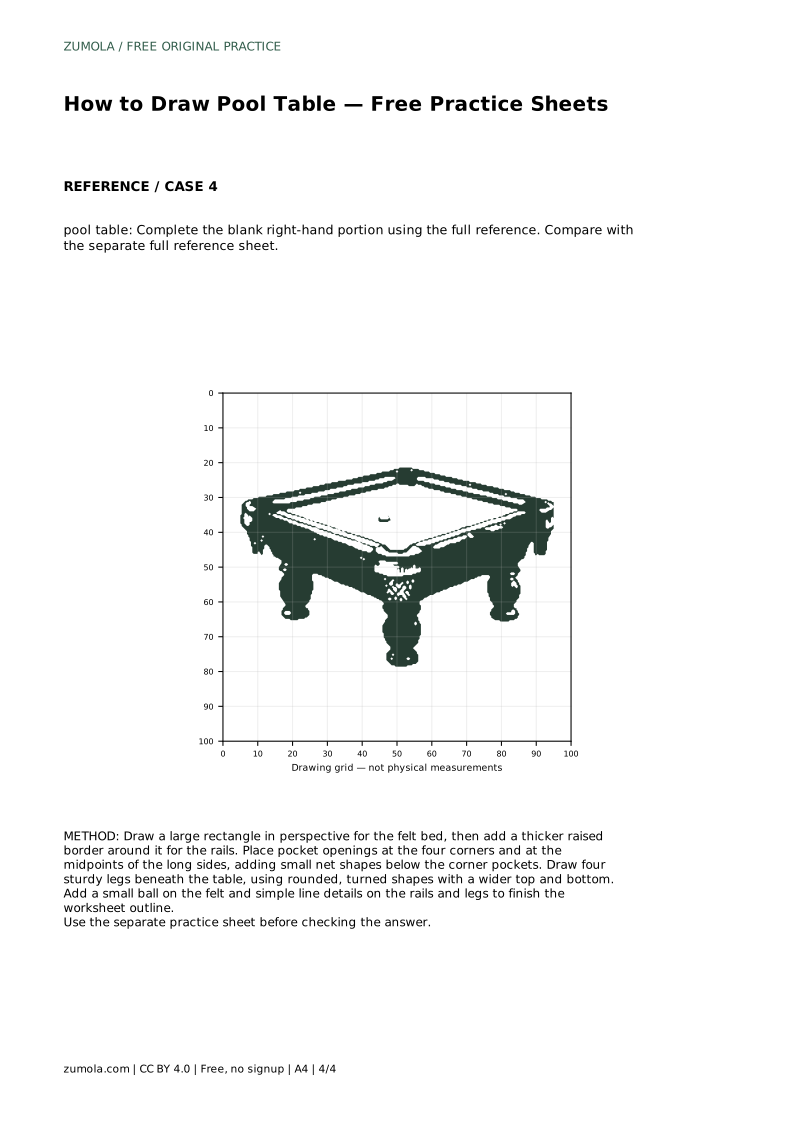
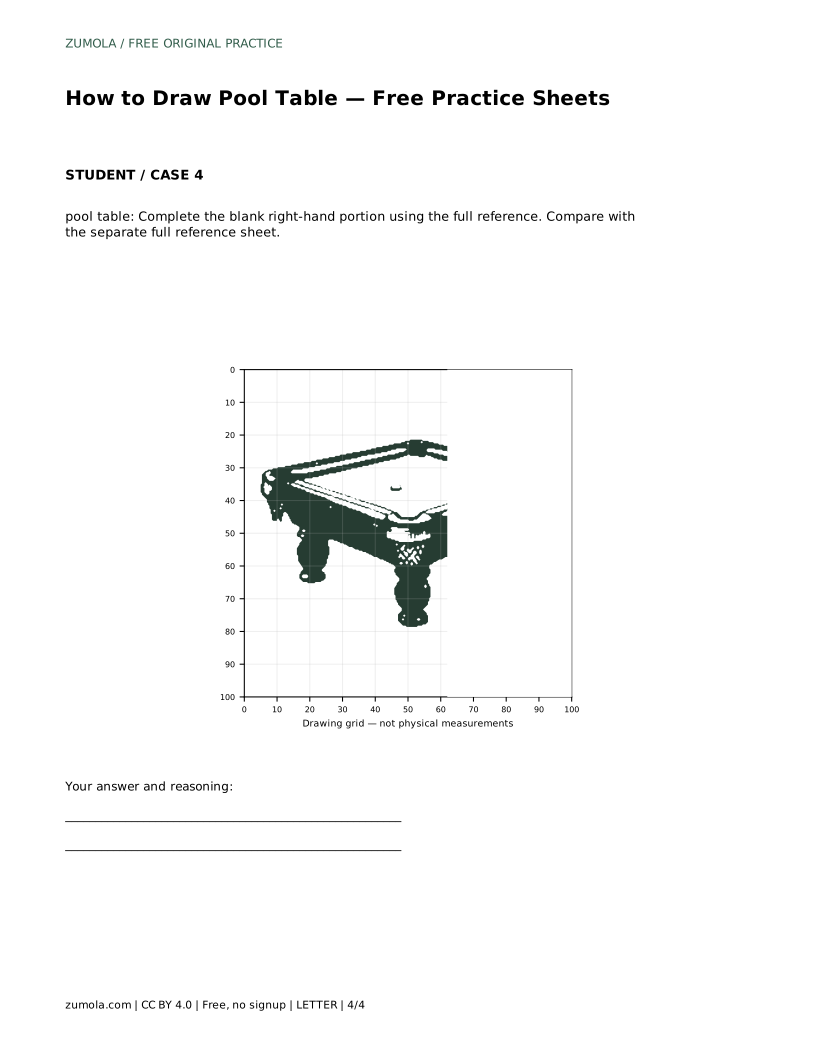
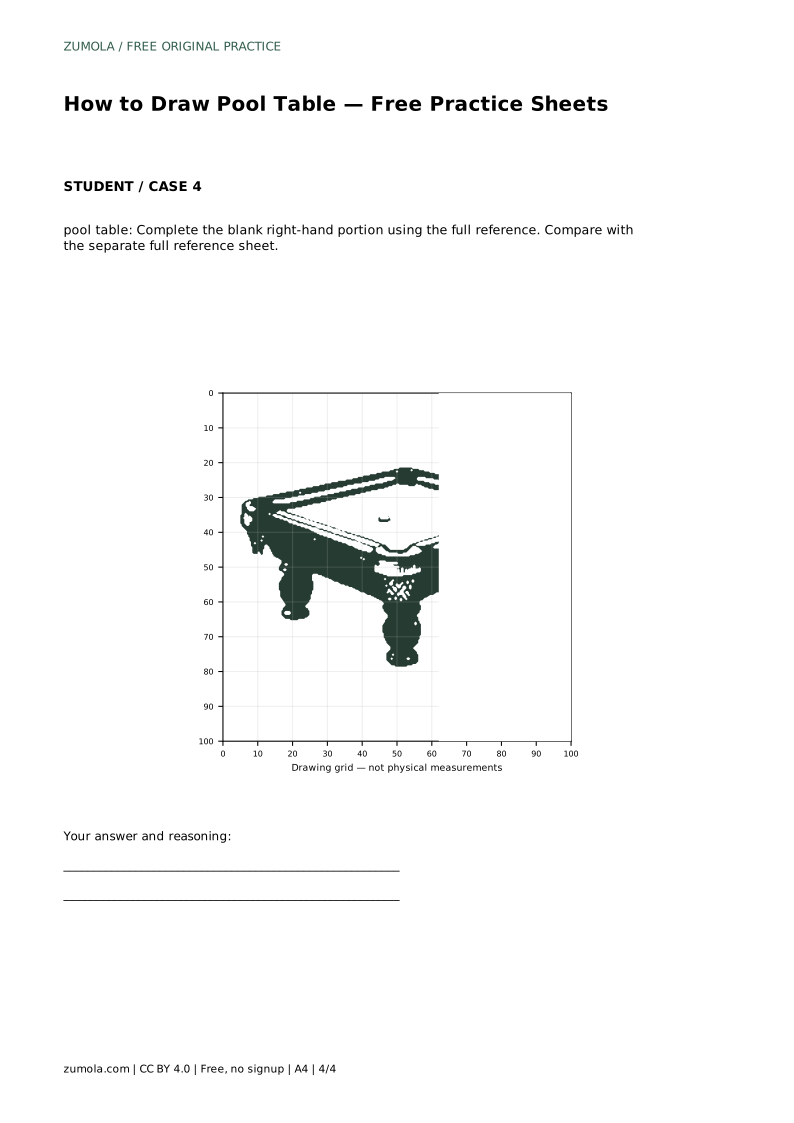
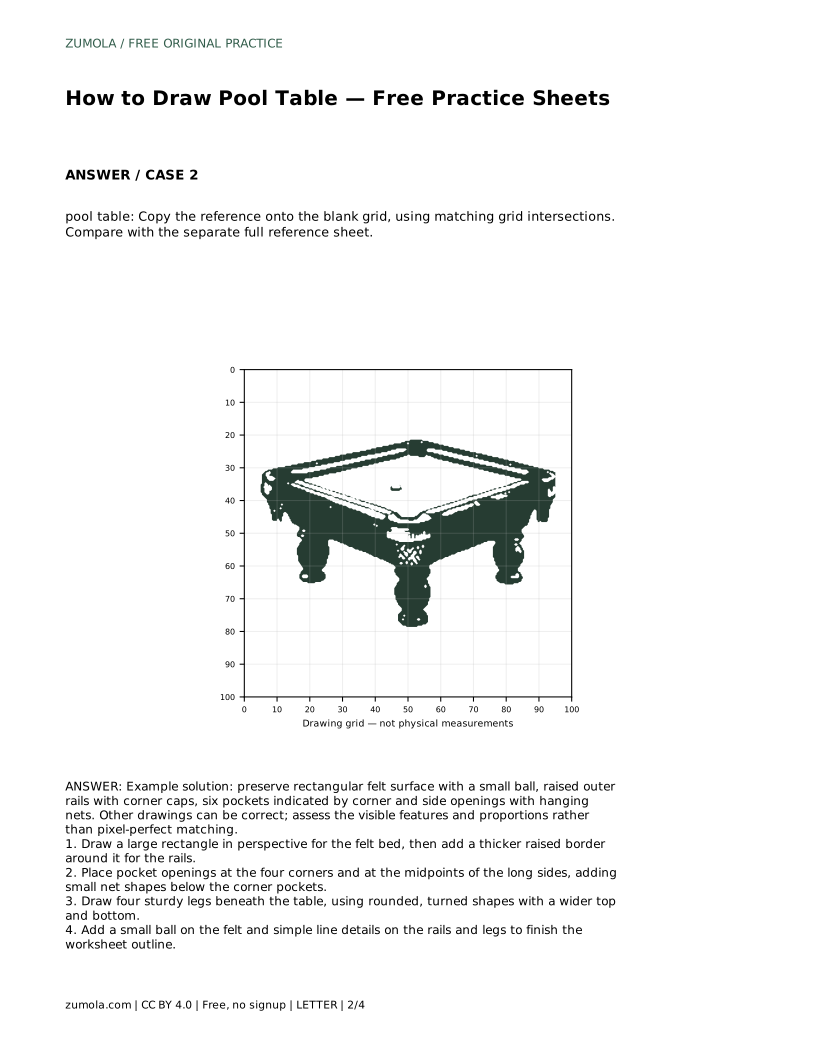
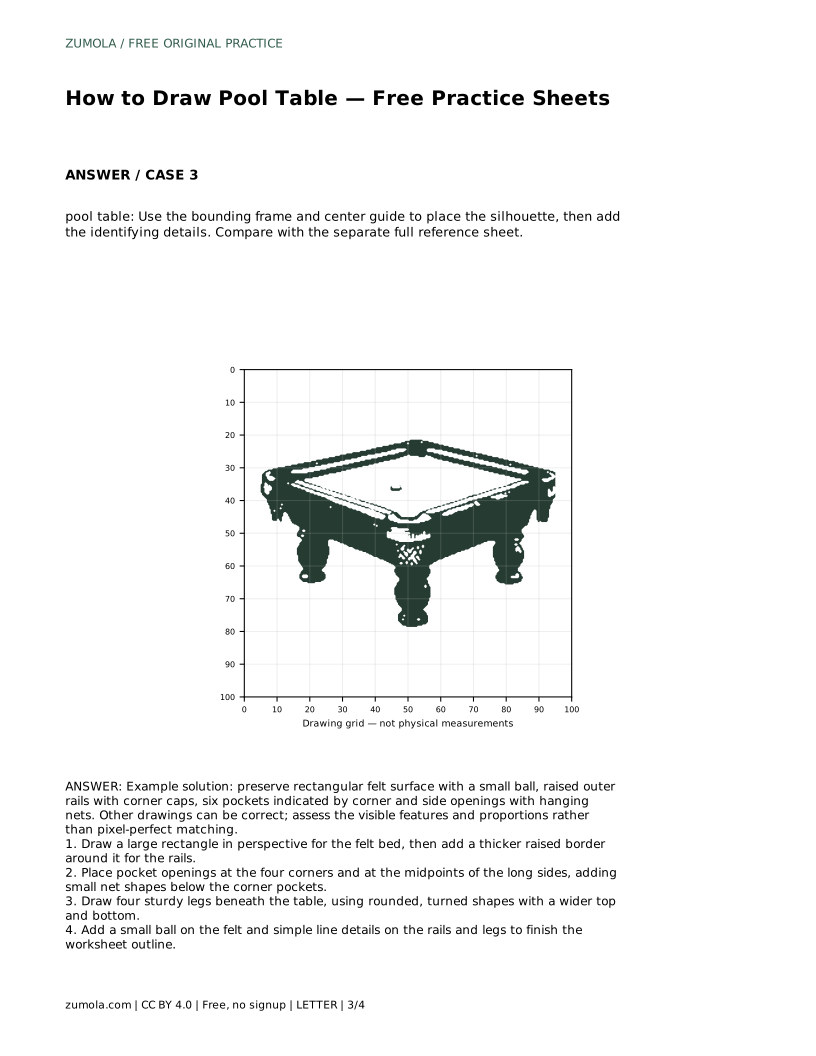
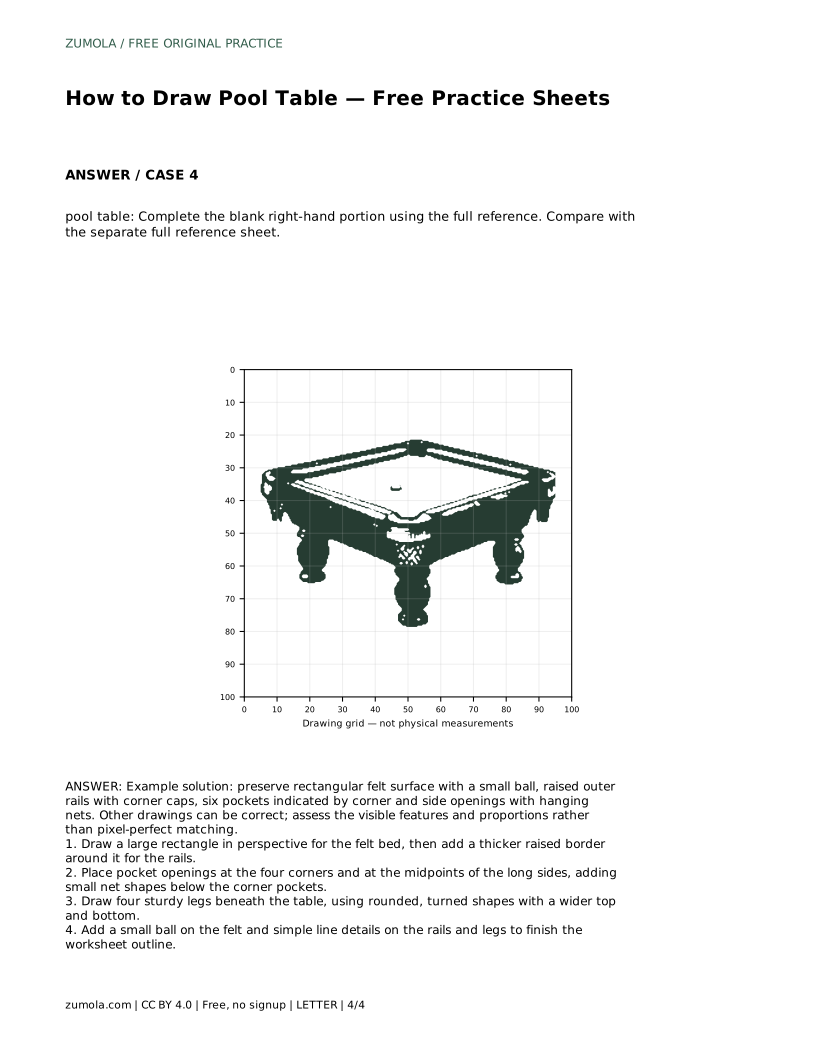
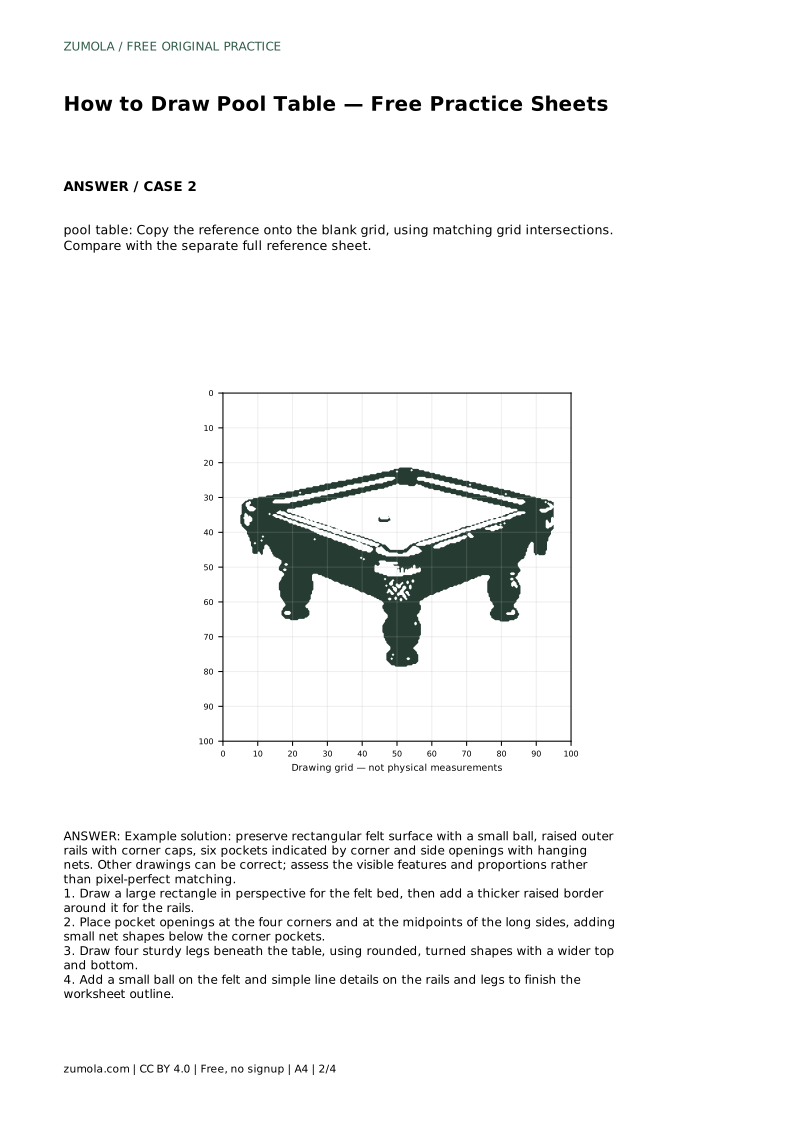
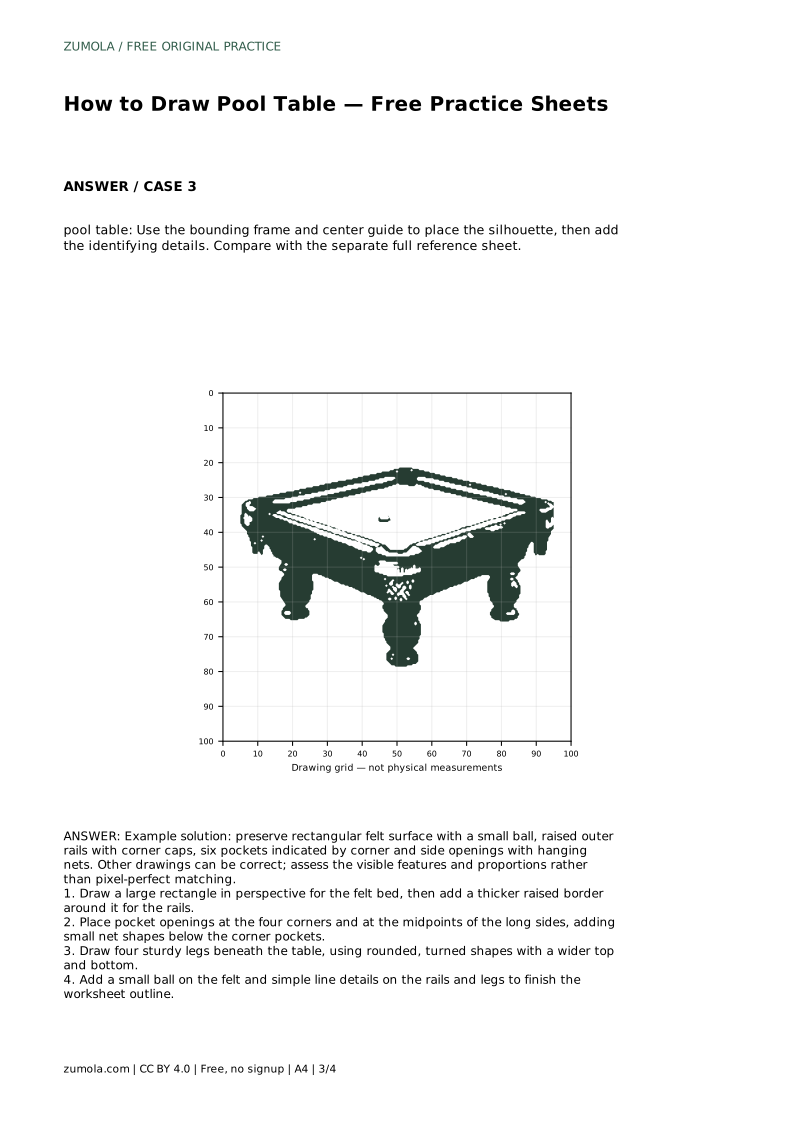
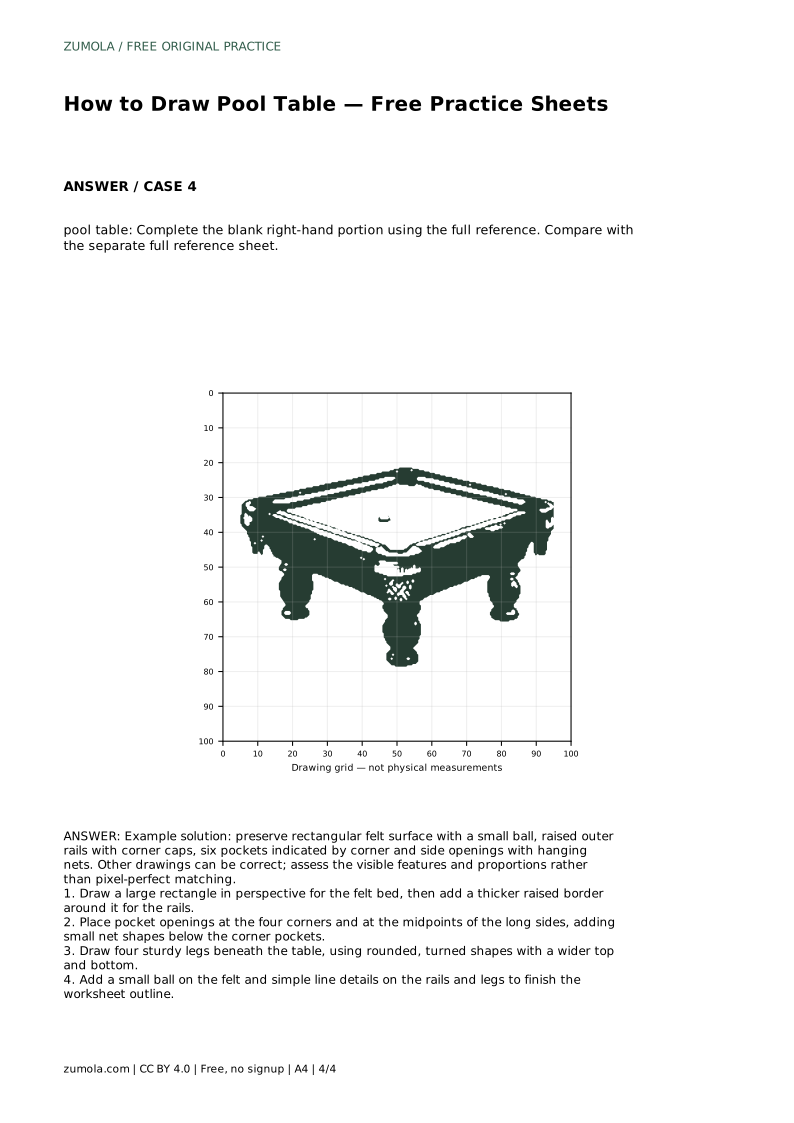
Example solution: preserve rectangular felt surface with a small ball, raised outer rails with corner caps, six pockets indicated by corner and side openings with hanging nets. Other drawings can be correct; assess the visible features and proportions rather than pixel-perfect matching. Draw a large rectangle in perspective for the felt bed, then add a thicker raised border around it for the rails. Place pocket openings at the four corners and at the midpoints of the long sides, adding small net shapes below the corner pockets. Draw four sturdy legs beneath the table, using rounded, turned shapes with a wider top and bottom. Add a small ball on the felt and simple line details on the rails and legs to finish the worksheet outline.
Six: four at the corners and two at the midpoints of the long sides.
No. Several drawings can be correct. Judge the visible features and proportions instead of pixel-perfect matching.
Anywhere on the felt, drawn small enough that the playing surface still reads clearly.
All drawing practice · Free coordinate paper
Original resources · CC BY 4.0 · Free for personal and classroom use with attribution.