Reference diagrams
LETTER · Download PDF
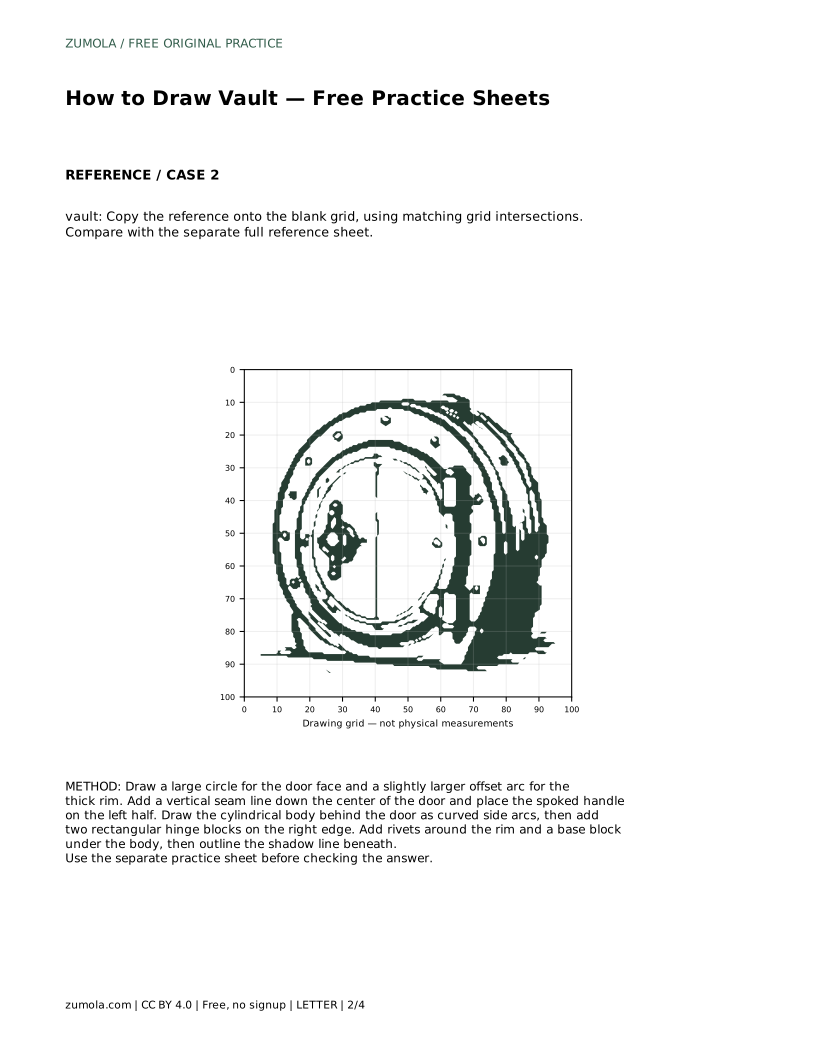
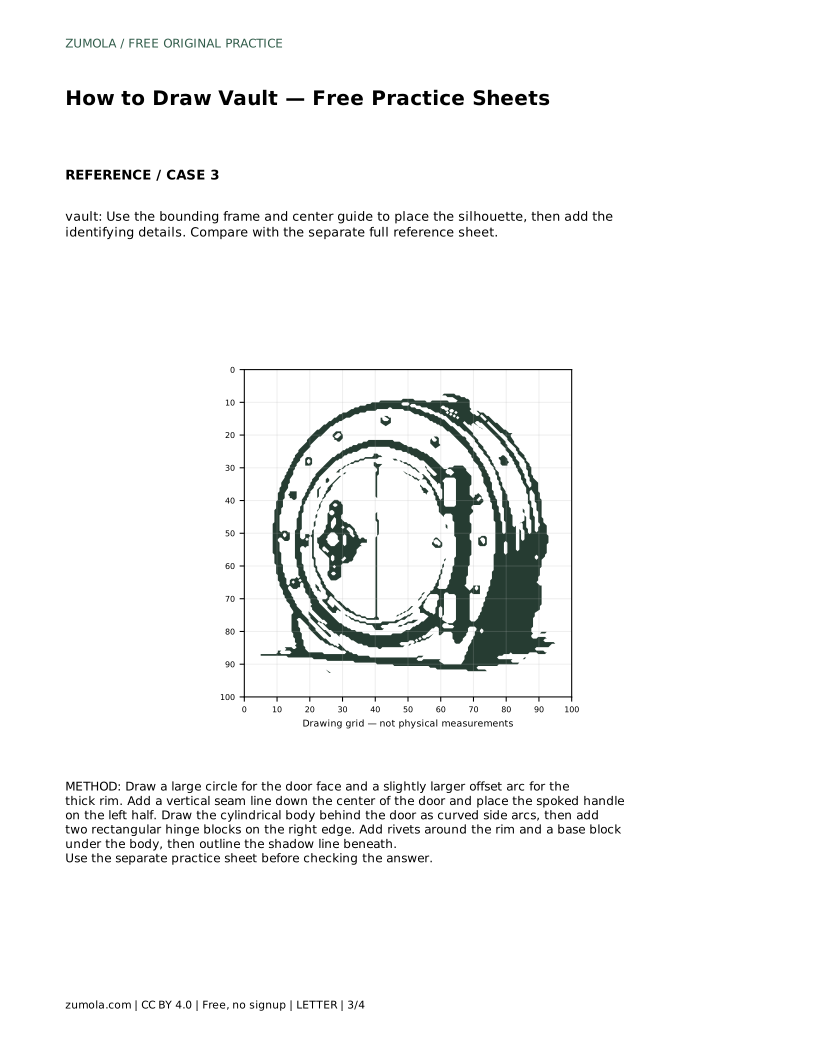
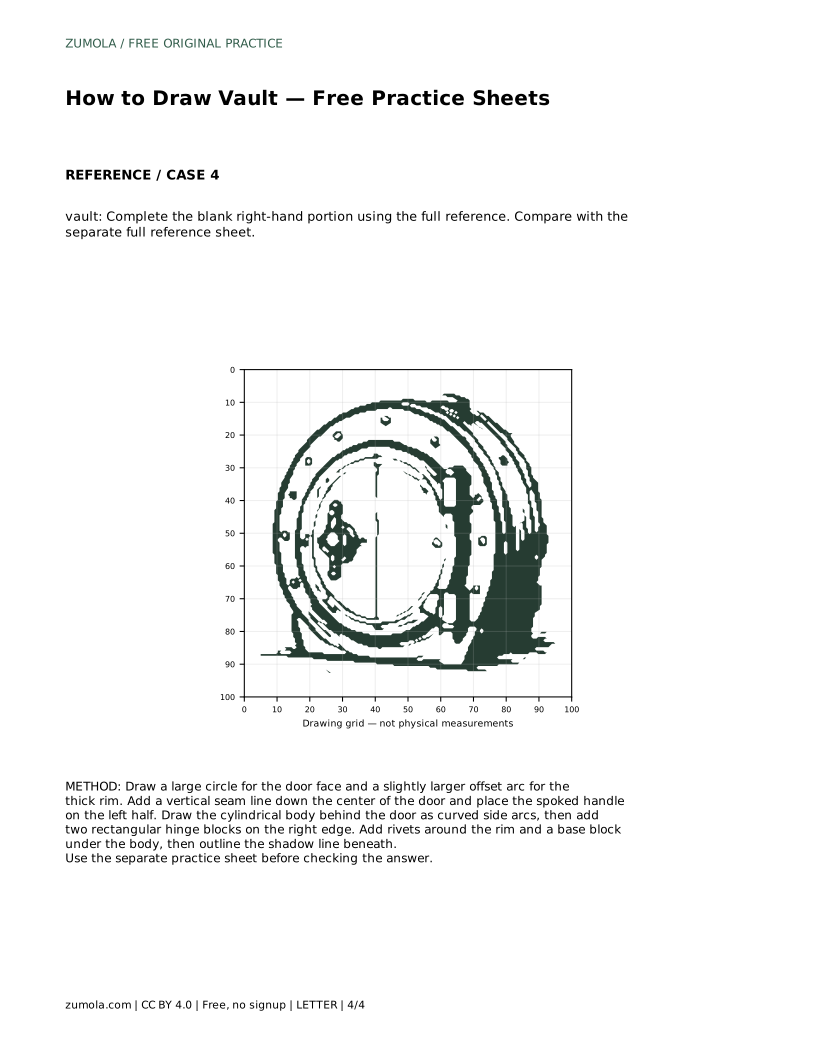
A4 · Download PDF
Free original resources
Learn to draw a vault by building the circular door, thick rim, spoked handle, hinges, and rivets in order. Free practice sheets support tracing, grids, and guided placement.
Four original cases, with reference diagrams, practice sheets and worked answers. Everything is free; no signup required.
LETTER · Download PDF
A4 · Download PDF
LETTER · Download PDF
A4 · Download PDF
LETTER · Download PDF
A4 · Download PDF
Use A4 or US Letter to match your printer. Use the stated values and conditions to solve each exercise; diagrams are not physical measuring rulers.
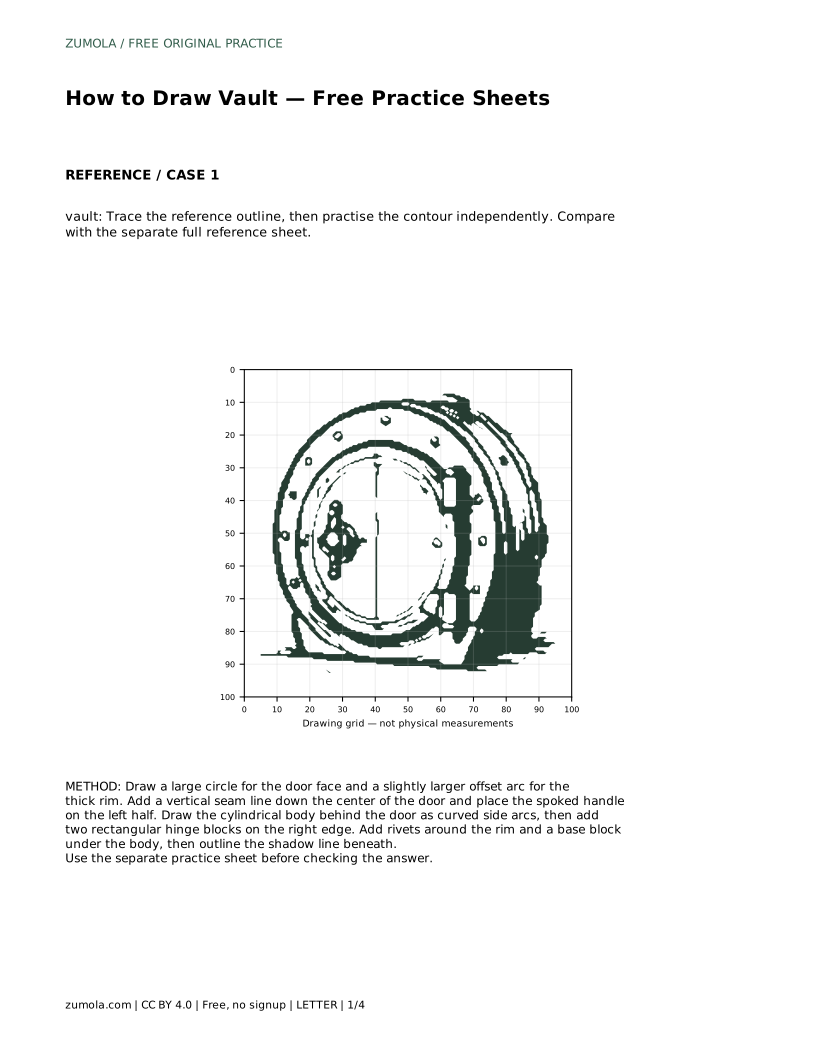
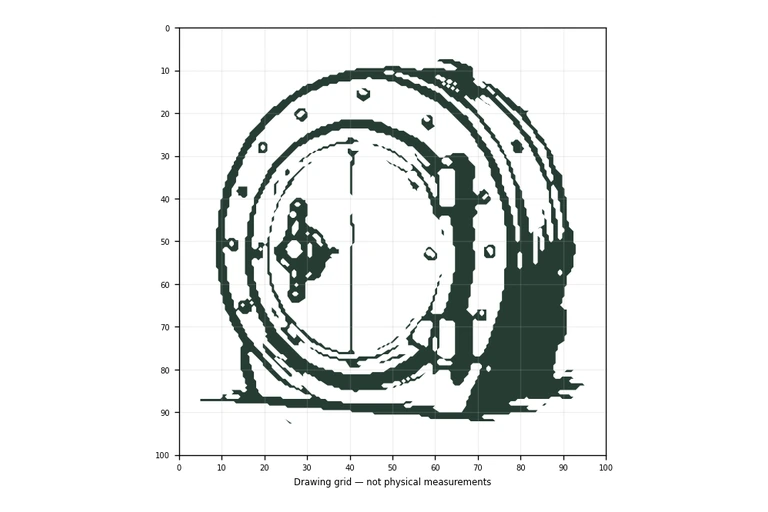
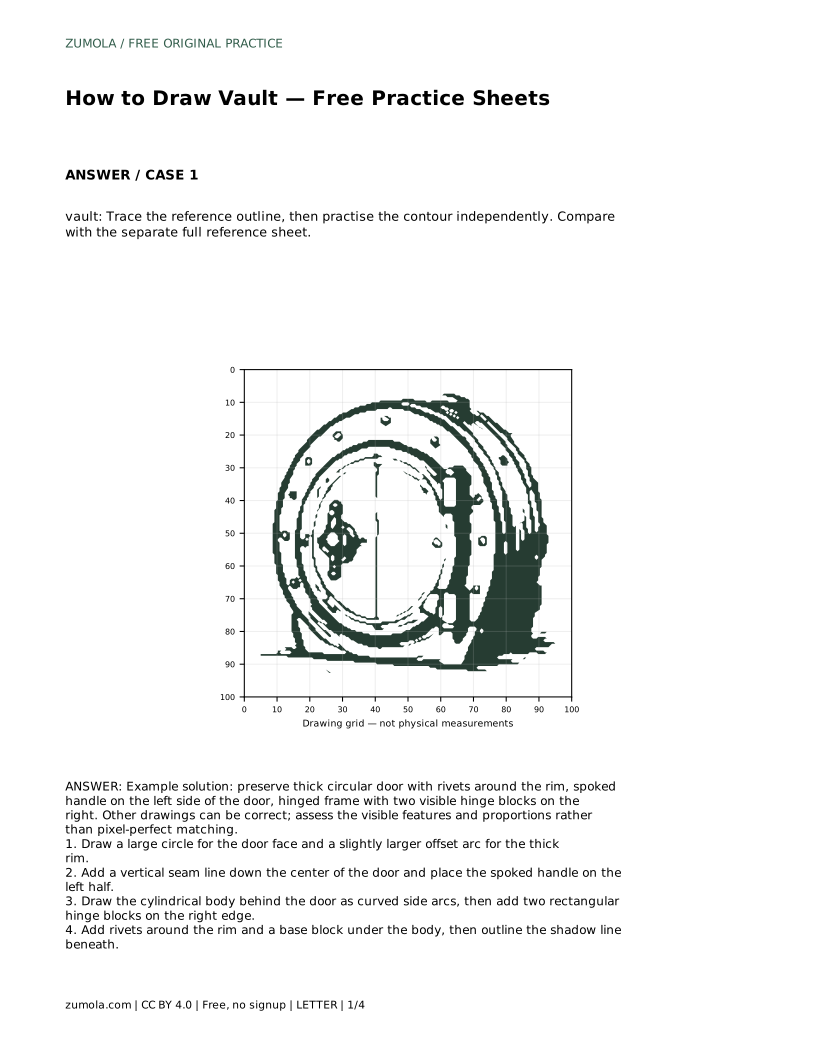
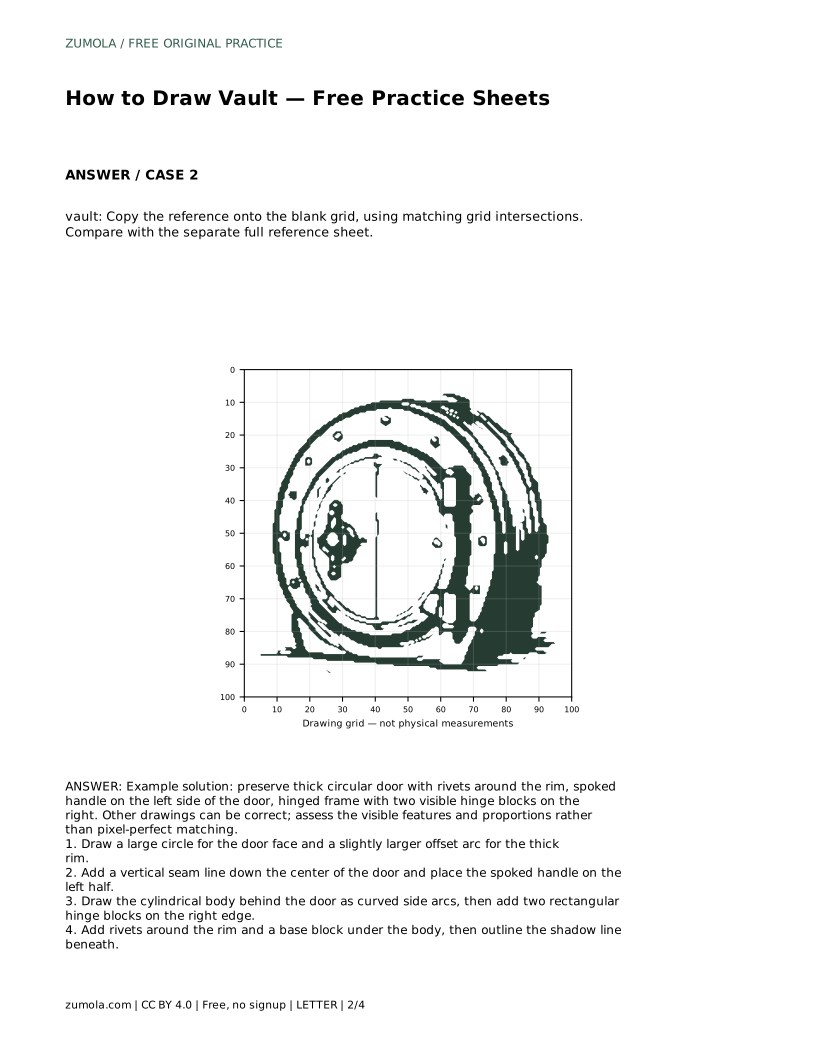
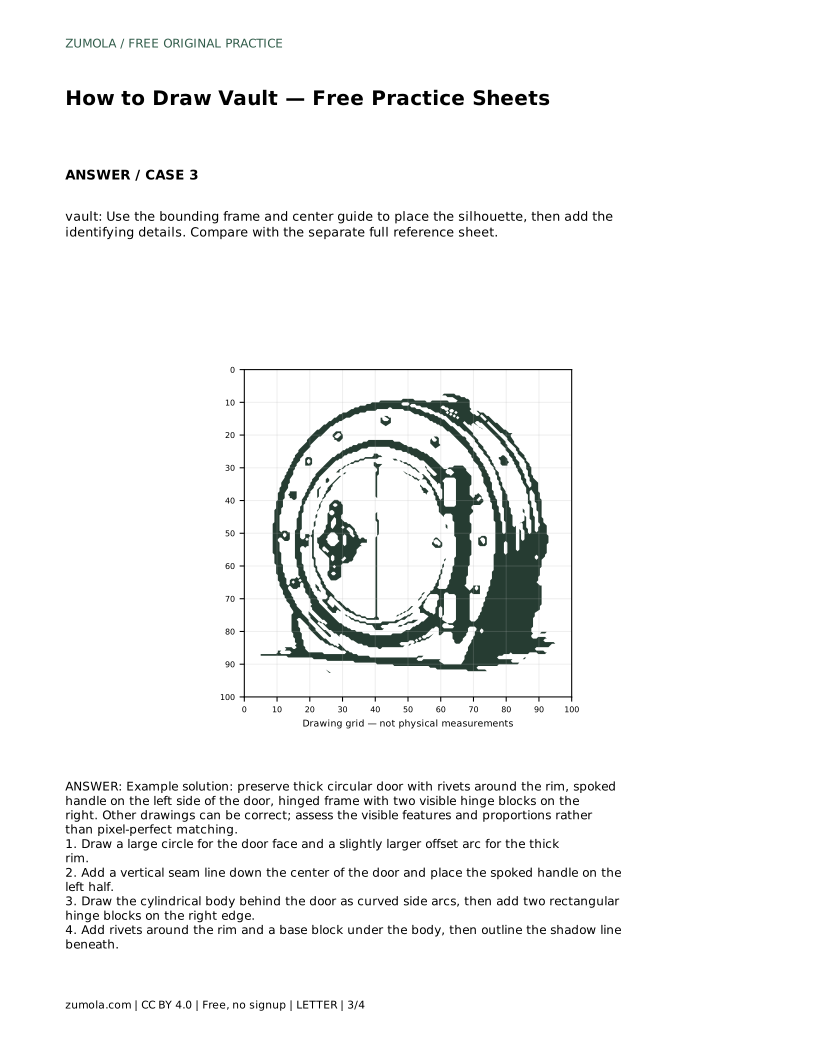
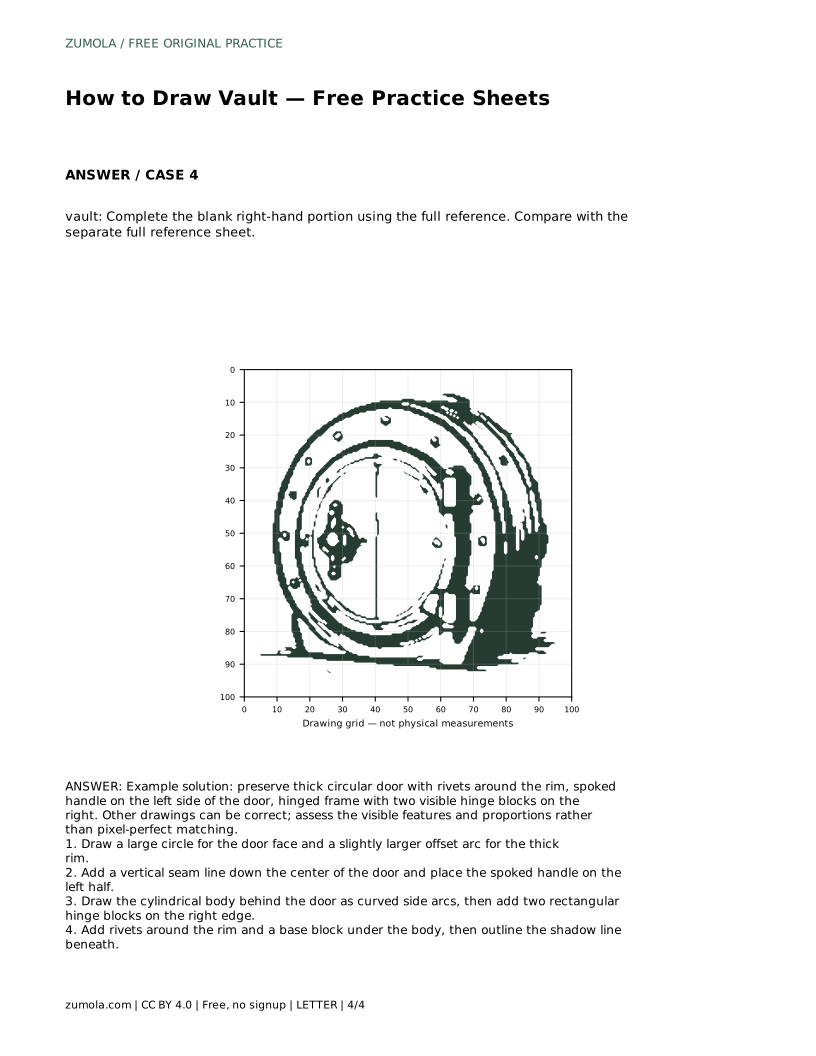
A drawing of a vault depends on a few clear shapes working together: a large circular door, a thick rim around it, a spoked handle, a cylindrical body, and hinge blocks on one edge. This page shows a reliable order for constructing those parts, then explains how to check proportions and visible features. The practice sheets let you trace, copy onto a grid, or complete a partly drawn version, so you can build the same skill in different ways.
Start with the door face because it sets the scale for everything else. Draw a large circle, then add a slightly larger offset arc around it to suggest the thick rim. Keep the gap between the two curves even; an uneven rim makes the door look warped rather than heavy.
Next, add a vertical seam line down the center of the door. Place the spoked handle on the left half, not on the seam. The handle is a small circle with spokes radiating outward, so draw the hub first and then add the spokes at roughly equal spacing.
Only after the door reads clearly should you draw the cylindrical body behind it. Use curved side arcs that meet the door rim, and keep the body narrower than the door so the door remains the dominant shape.
The hinge blocks sit on the right edge of the frame. Draw two rectangles that overlap the rim slightly, spaced apart so the door appears to swing from that side. If the hinges drift onto the left, the handle and hinge logic conflict and the vault looks confusing.
Rivets are small circles placed around the rim at regular intervals. Count them as you go or mark light guide dots first; uneven spacing is more noticeable than an imperfect circle. Keep rivets the same size unless you deliberately vary them for wear.
Finish with a base block under the body and a shadow line beneath it. The base should be wider than the body but narrower than the door, giving the vault a stable footing without hiding the door.
Compare your drawing with the separate full reference sheet rather than judging it from memory. Check the door circle for roundness, the rim gap for evenness, the handle position on the left half, and the two hinge blocks on the right. Then check rivet spacing and the base width.
Multiple drawings can be correct. Assess visible features and proportions instead of demanding a pixel-perfect match. A drawing with a slightly oval door but correct handle, hinges, and rivets still communicates a vault clearly.
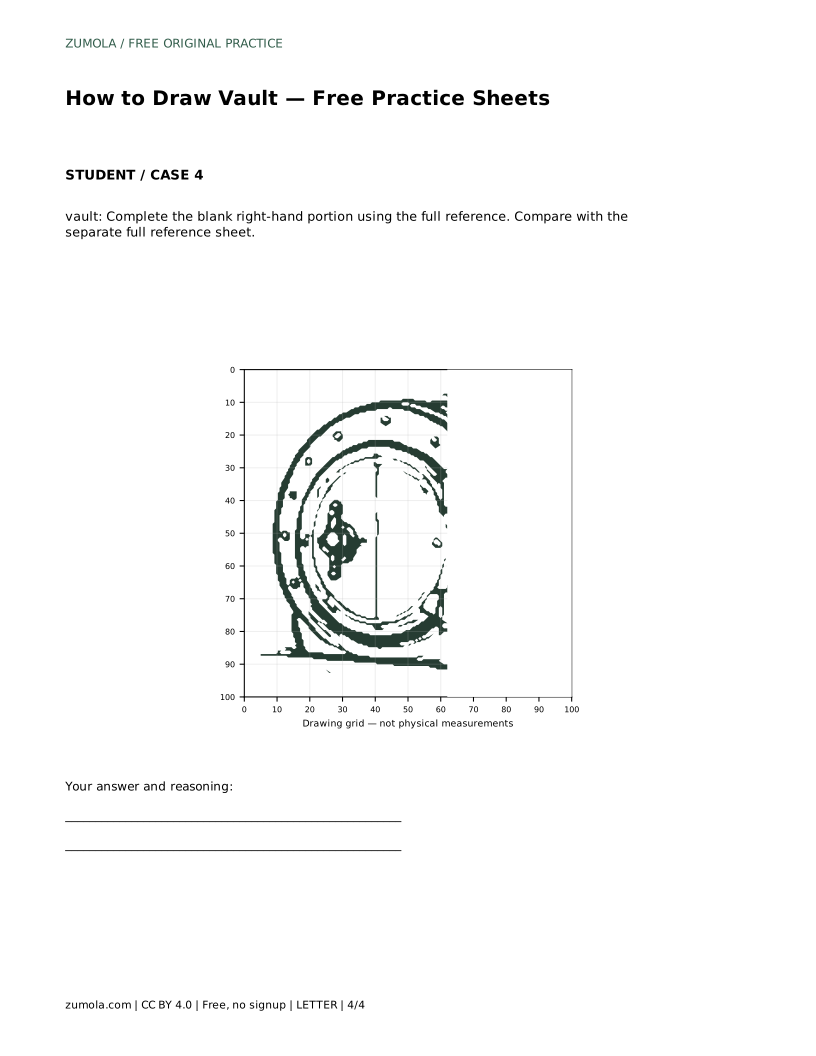
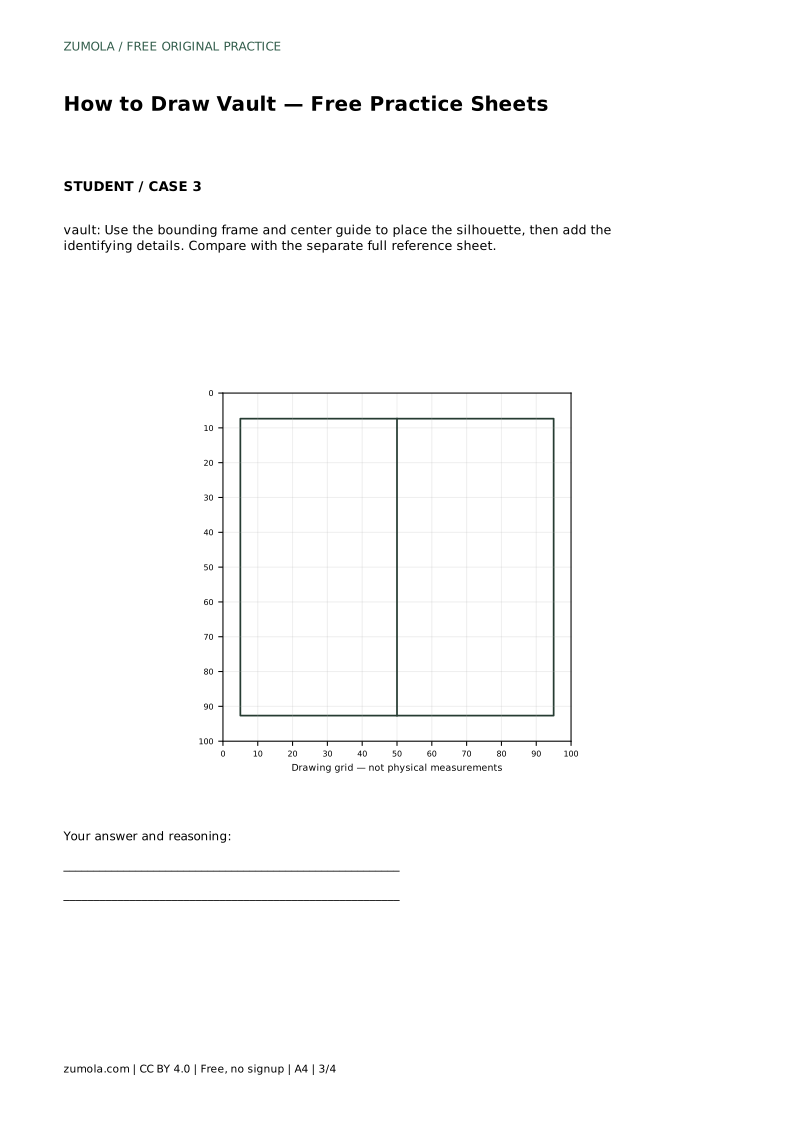
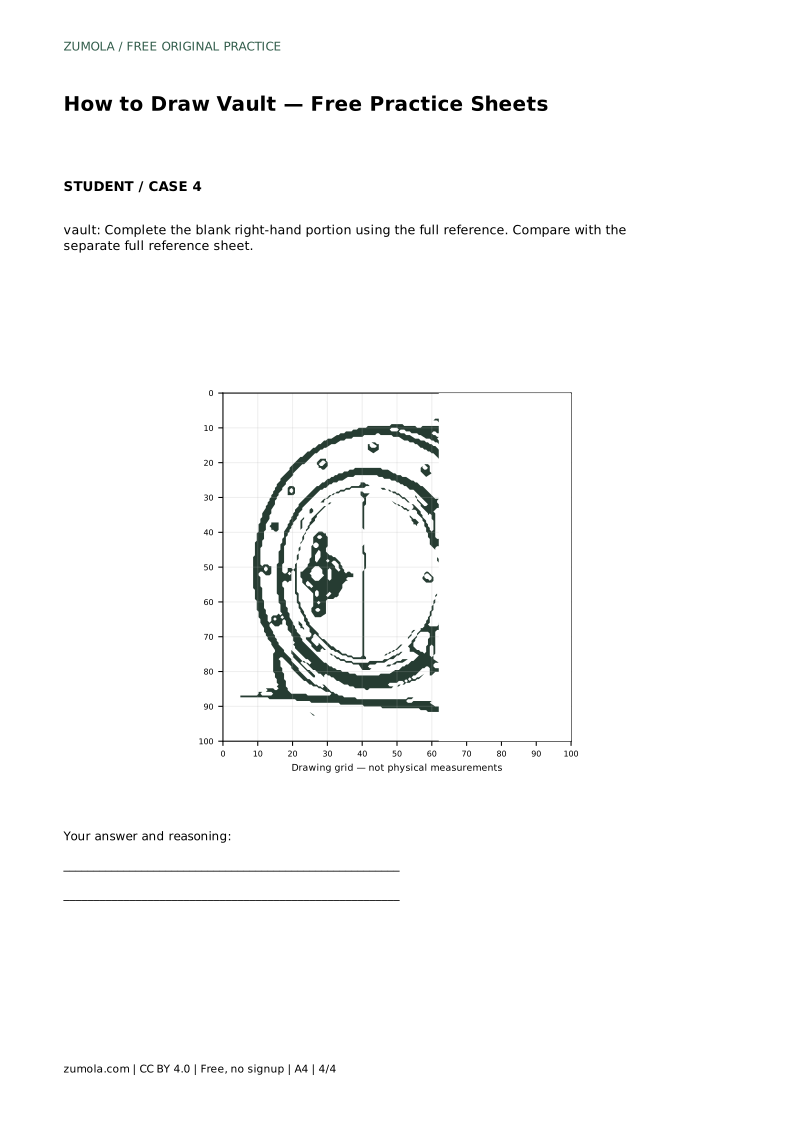
Tracing the reference outline helps you feel the order of construction. Copying onto a blank grid trains you to match intersections and proportions. Using a bounding frame and center guide helps you place the silhouette before details. Completing a blank right-hand portion tests whether you can continue a drawing from partial information.
Each format targets a different part of the same skill, so rotate between them rather than repeating one. After tracing, try the grid version without looking at the reference until you finish the door.
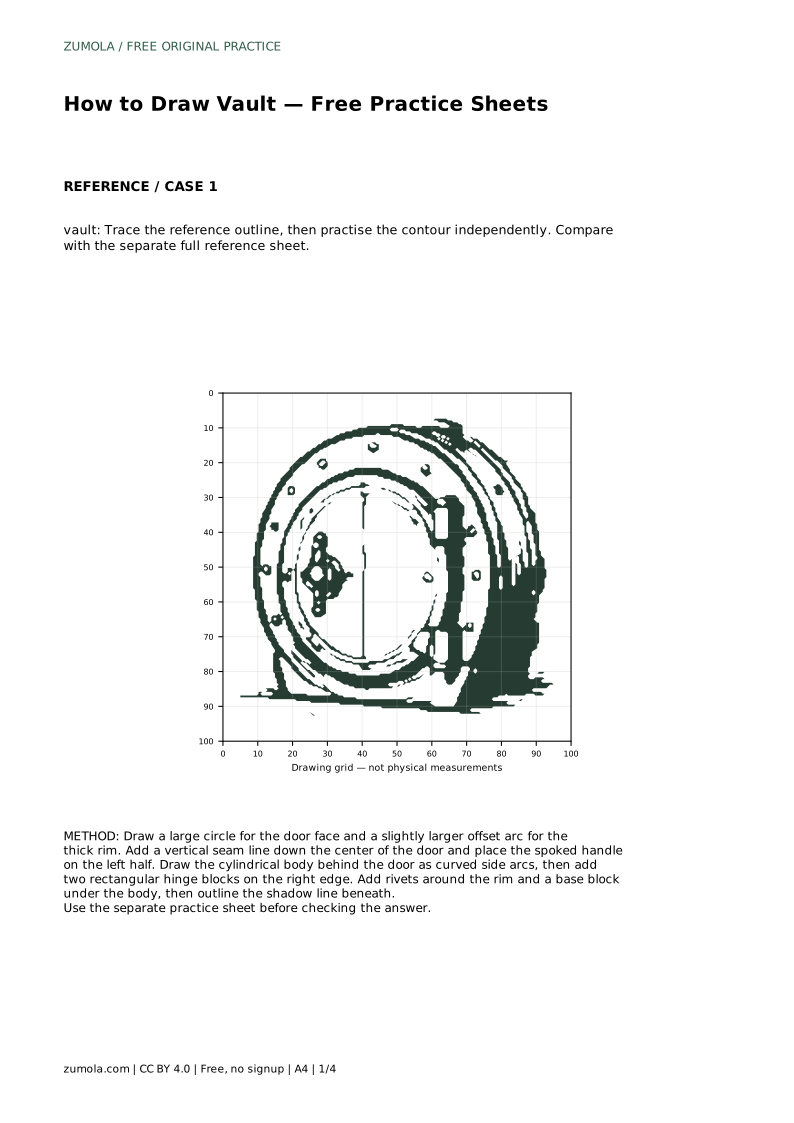
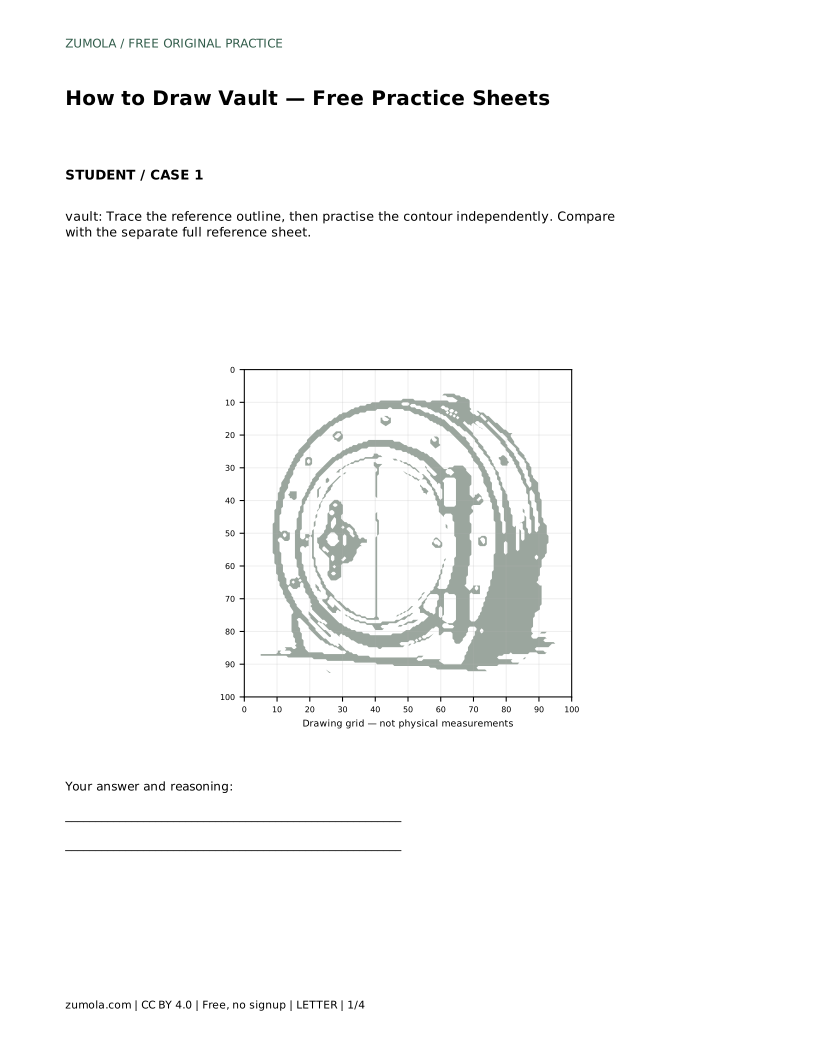
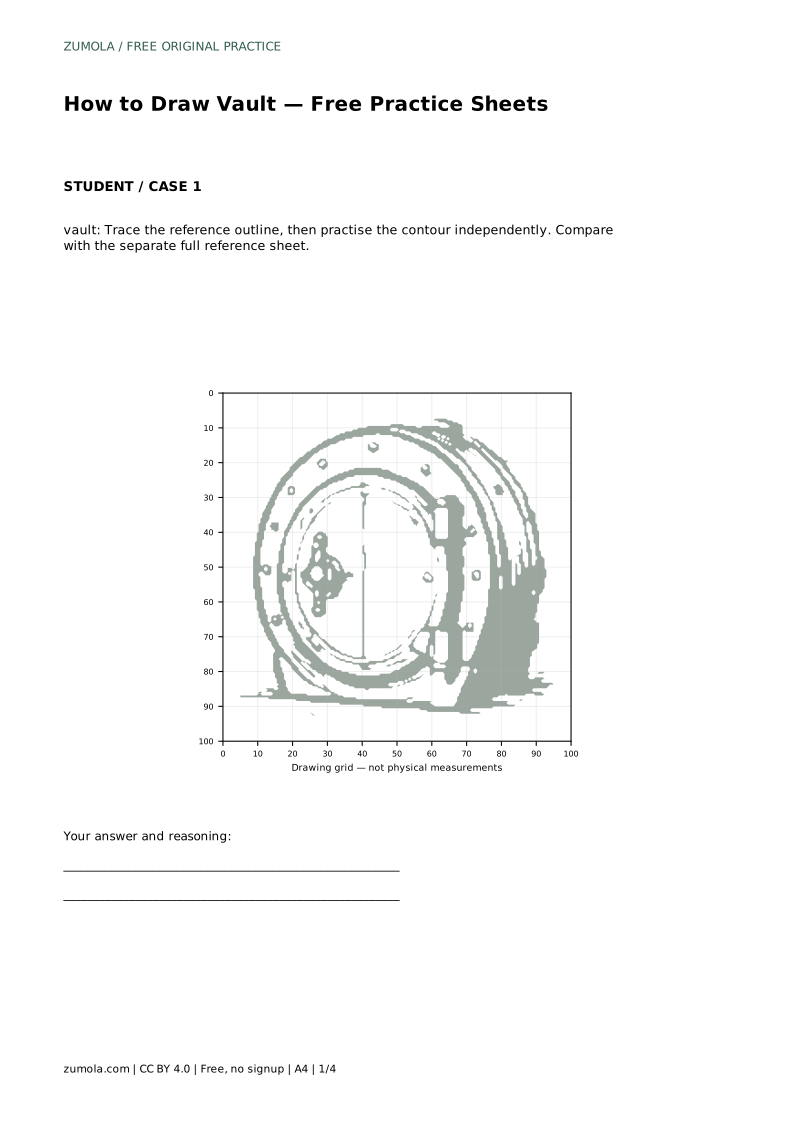
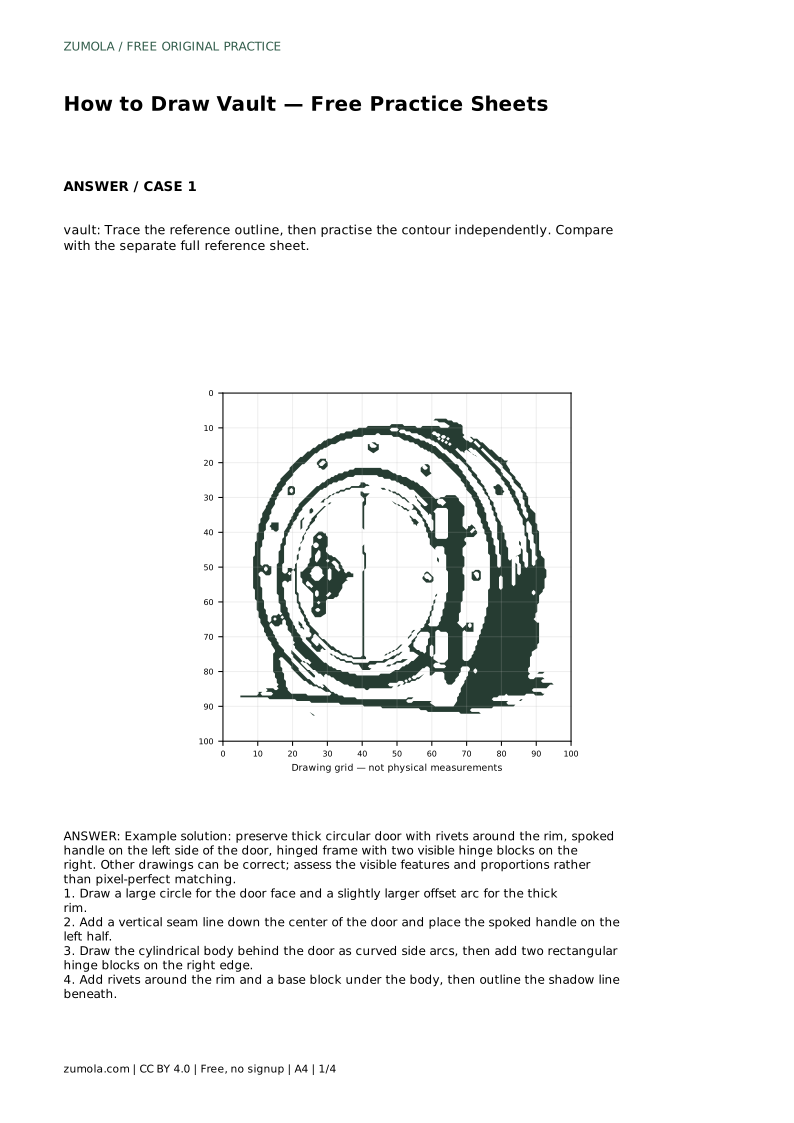
vault: Trace the reference outline, then practise the contour independently. Compare with the separate full reference sheet.
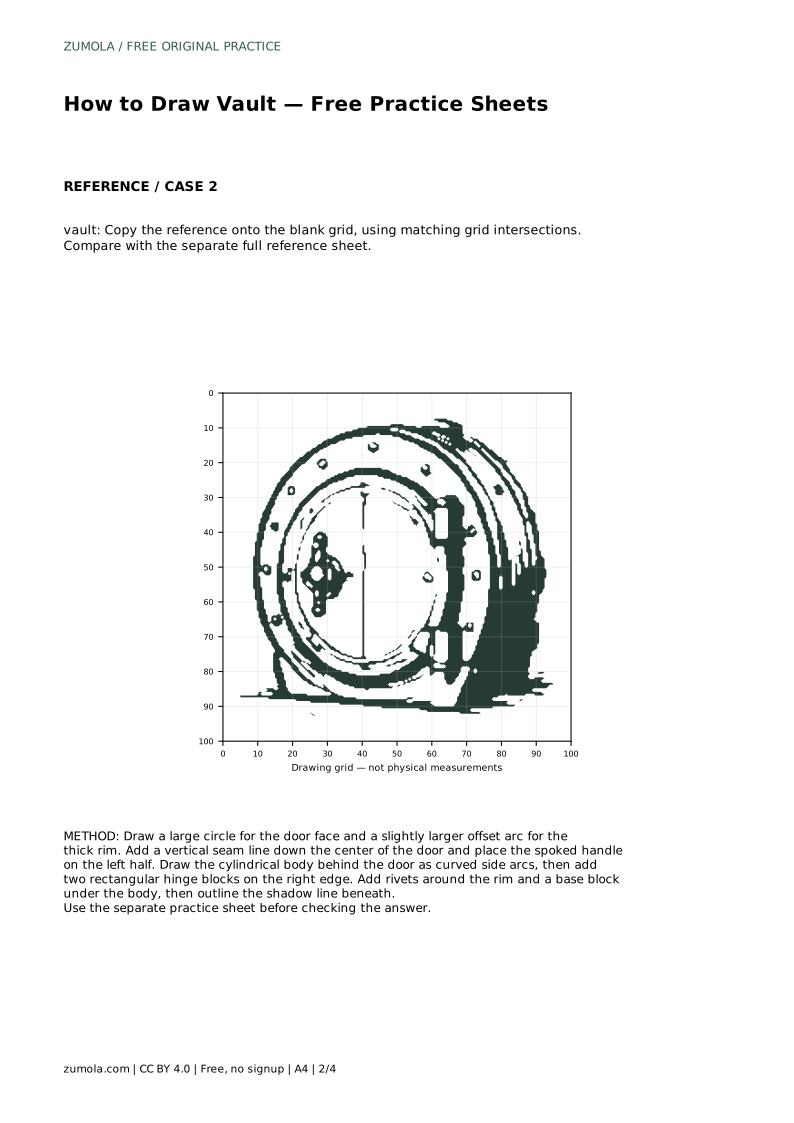
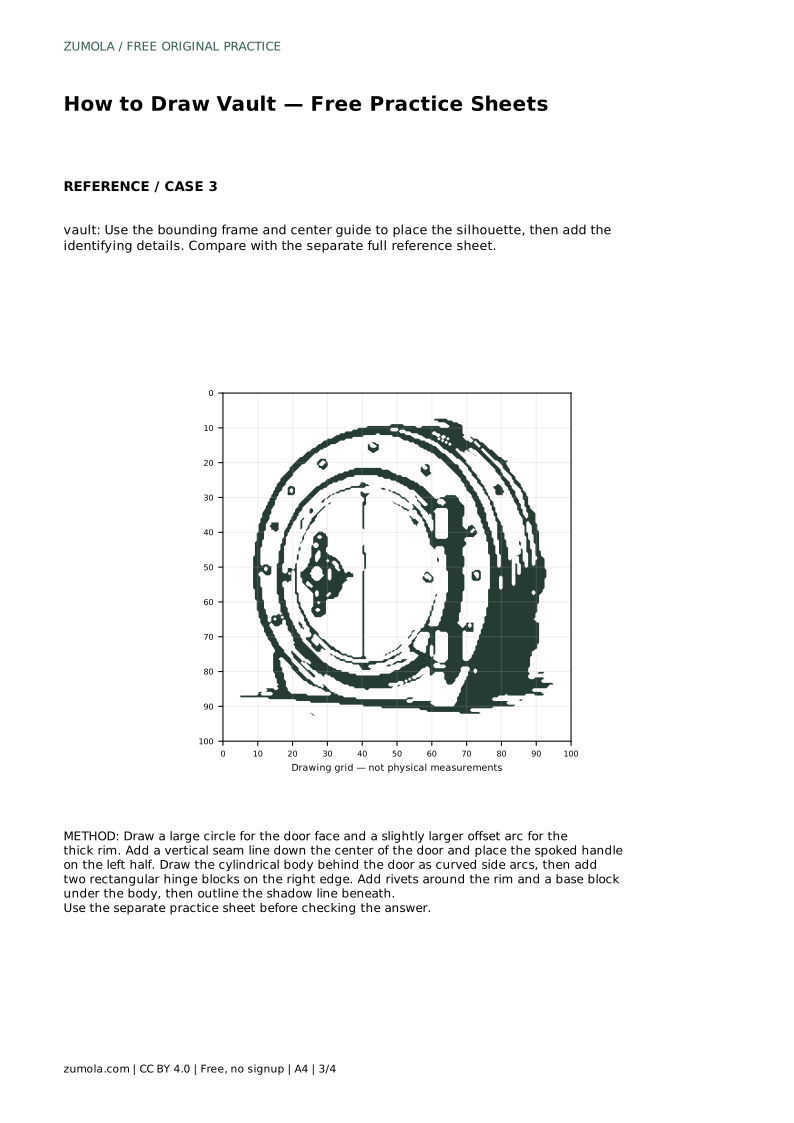
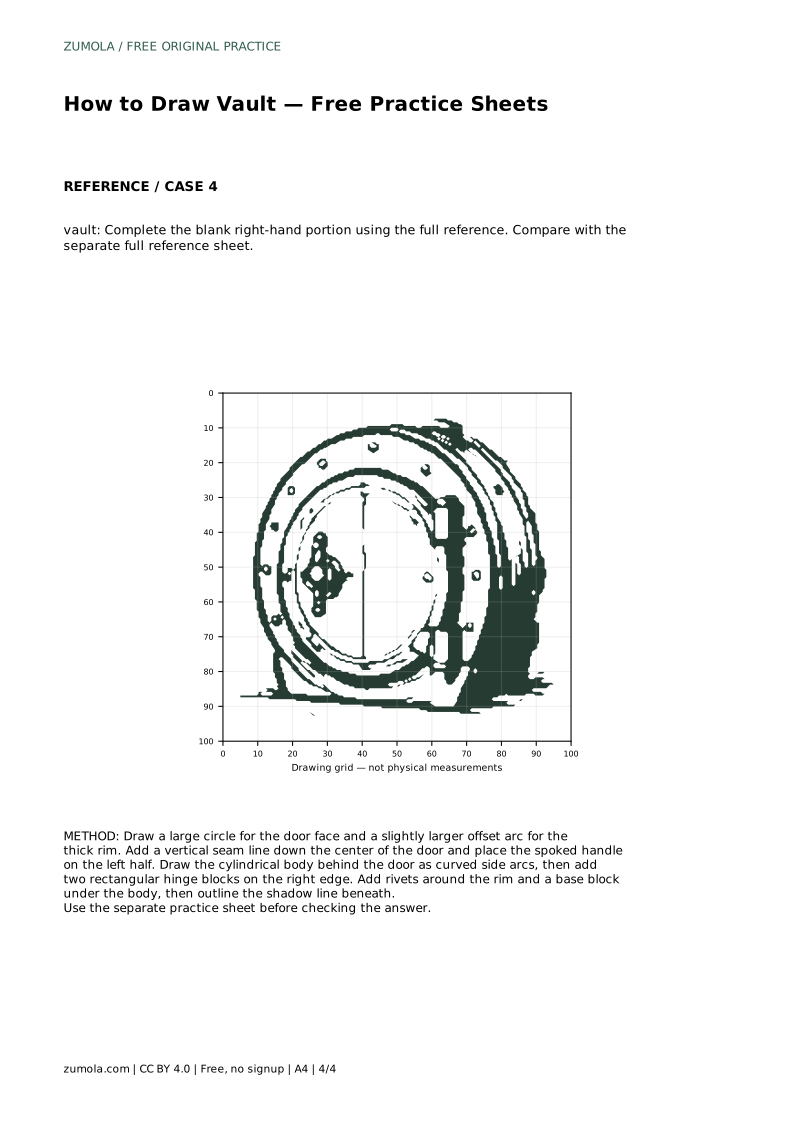
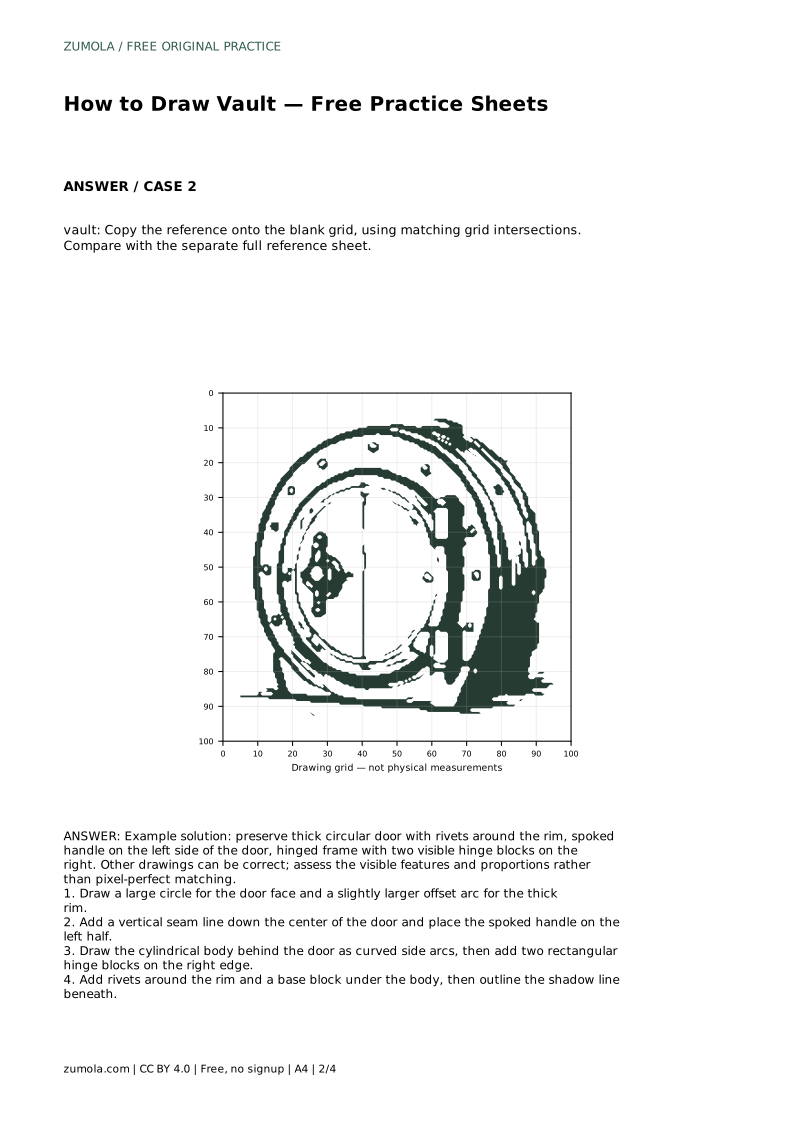
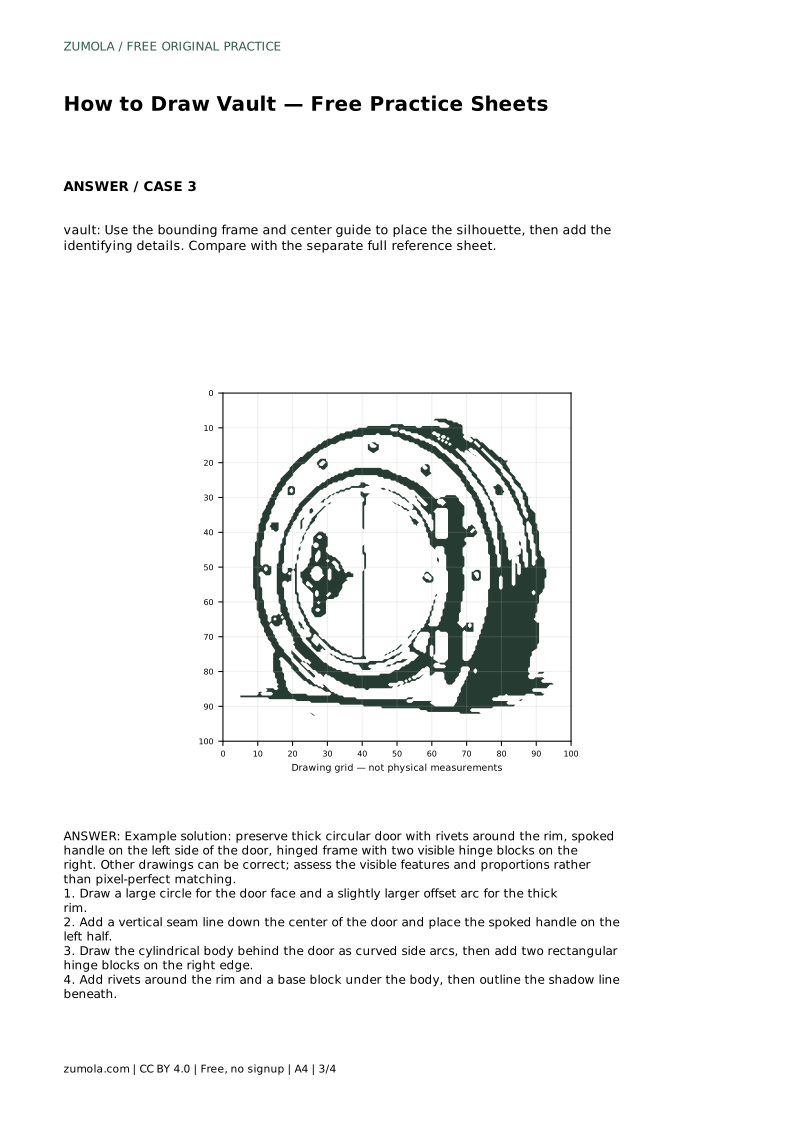
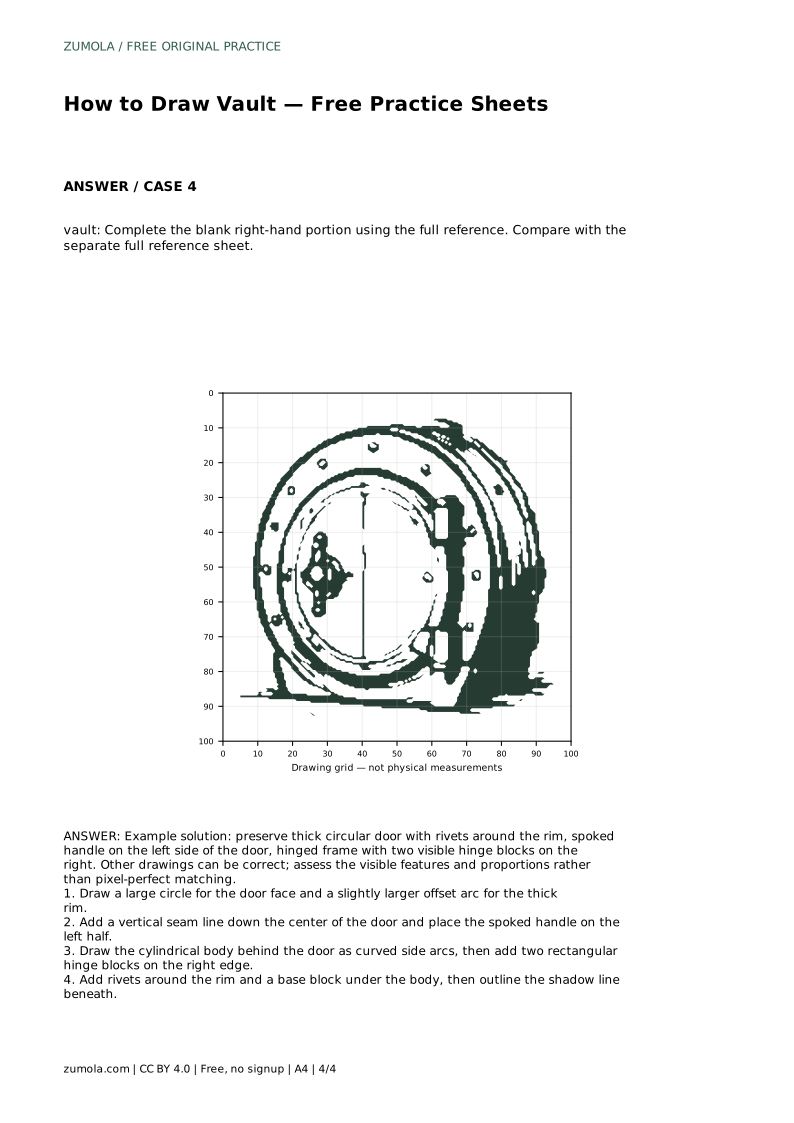
Example solution: preserve thick circular door with rivets around the rim, spoked handle on the left side of the door, hinged frame with two visible hinge blocks on the right. Other drawings can be correct; assess the visible features and proportions rather than pixel-perfect matching. Draw a large circle for the door face and a slightly larger offset arc for the thick rim. Add a vertical seam line down the center of the door and place the spoked handle on the left half. Draw the cylindrical body behind the door as curved side arcs, then add two rectangular hinge blocks on the right edge. Add rivets around the rim and a base block under the body, then outline the shadow line beneath.
No. Draw the door first because it sets the scale; the body is added behind it afterward.
There is no fixed count. Space them evenly around the rim and keep them similar in size.
Check the larger features first, such as handle side and hinge side. A small oval is acceptable if the vault still reads clearly.
All drawing practice · Free coordinate paper
Original resources · CC BY 4.0 · Free for personal and classroom use with attribution.