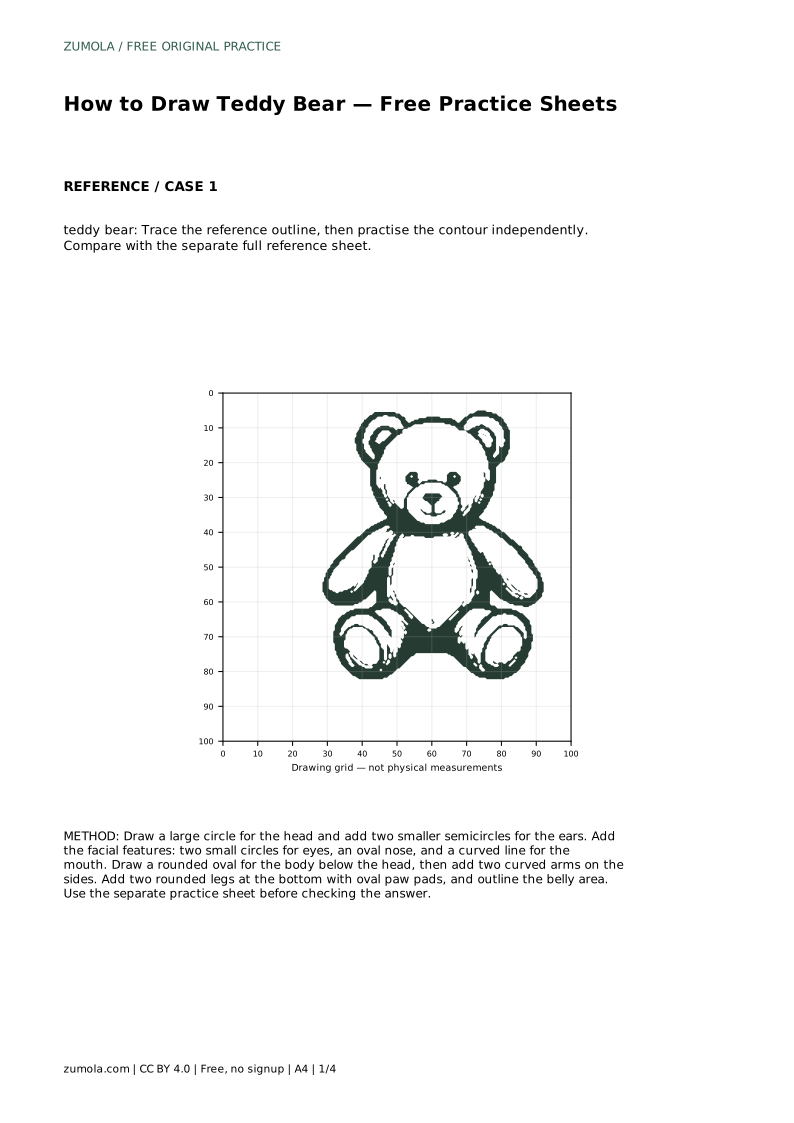
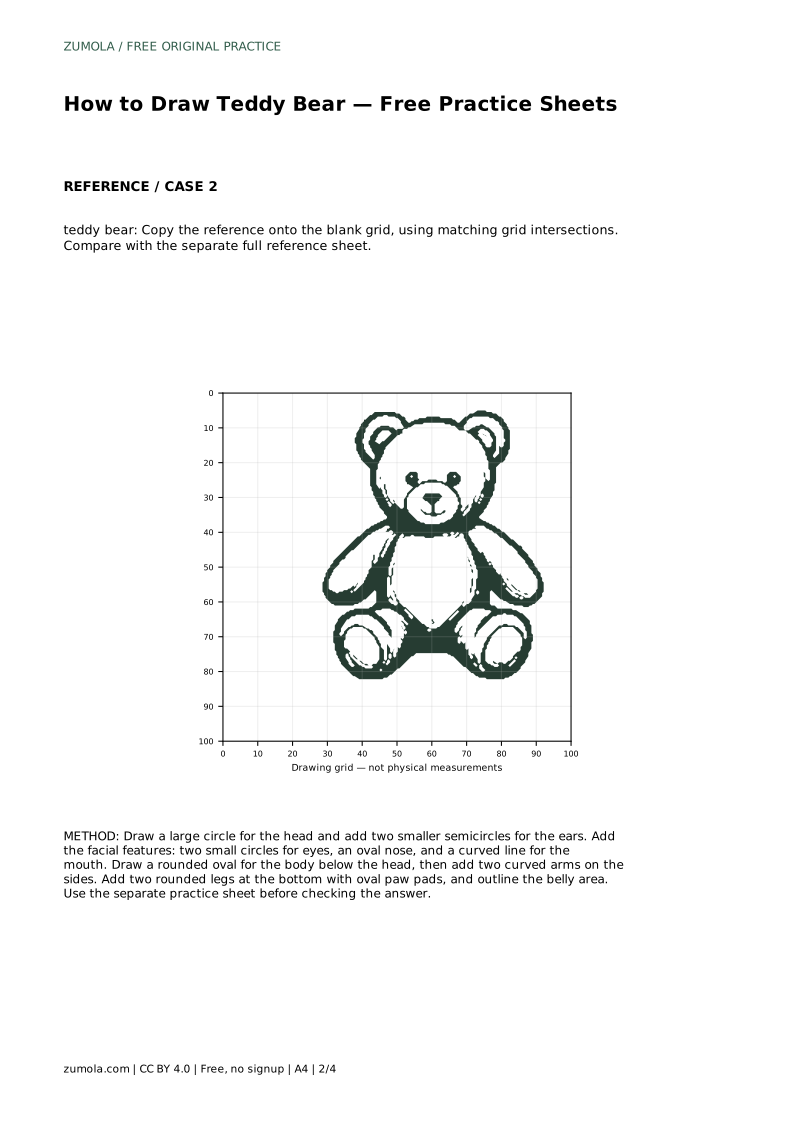
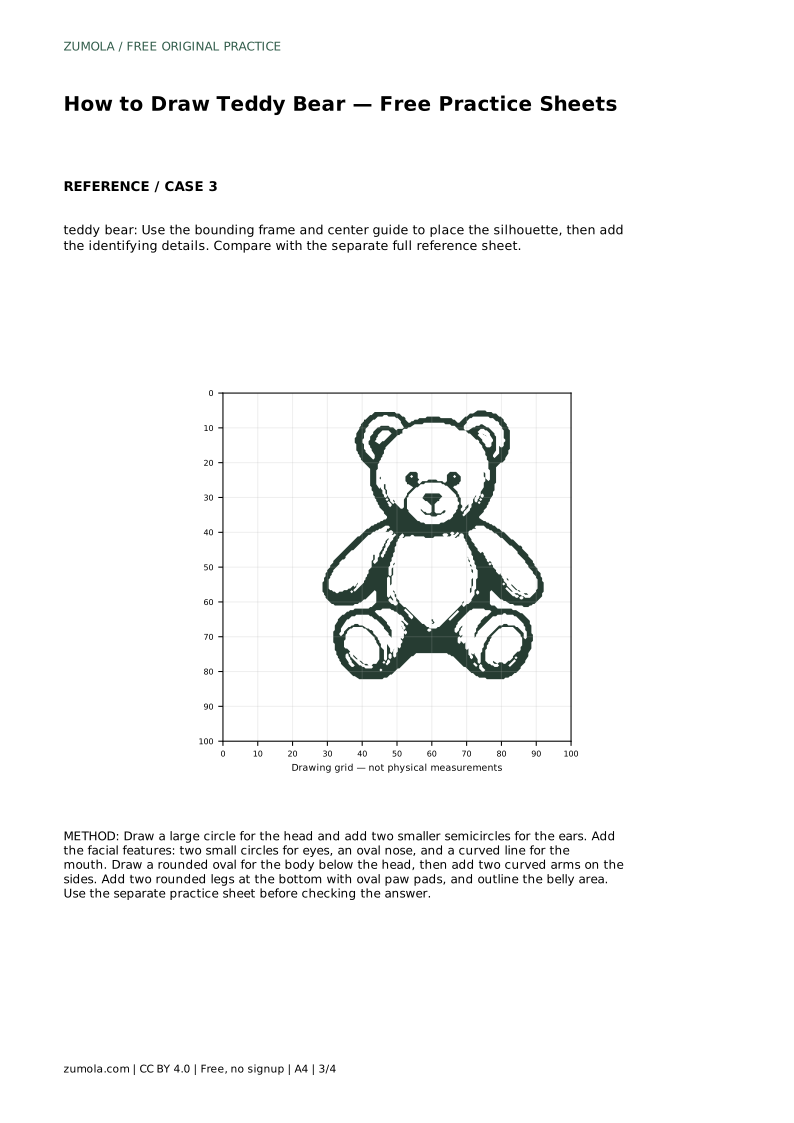
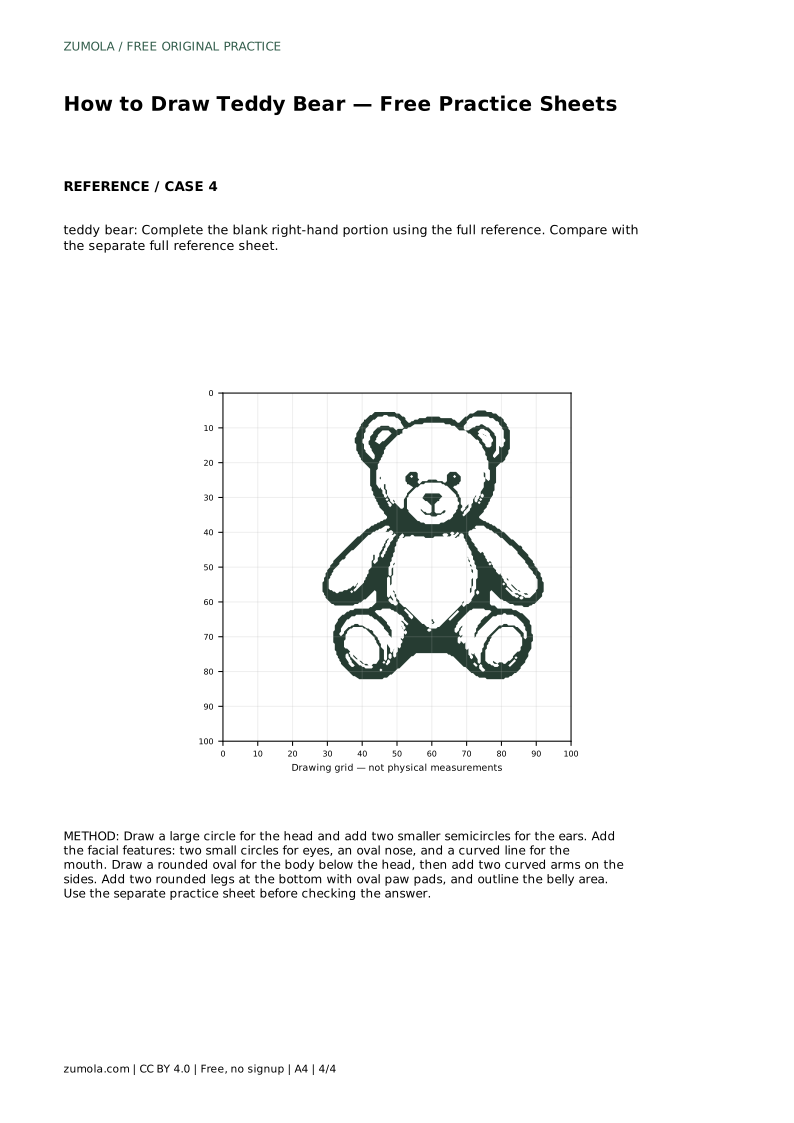
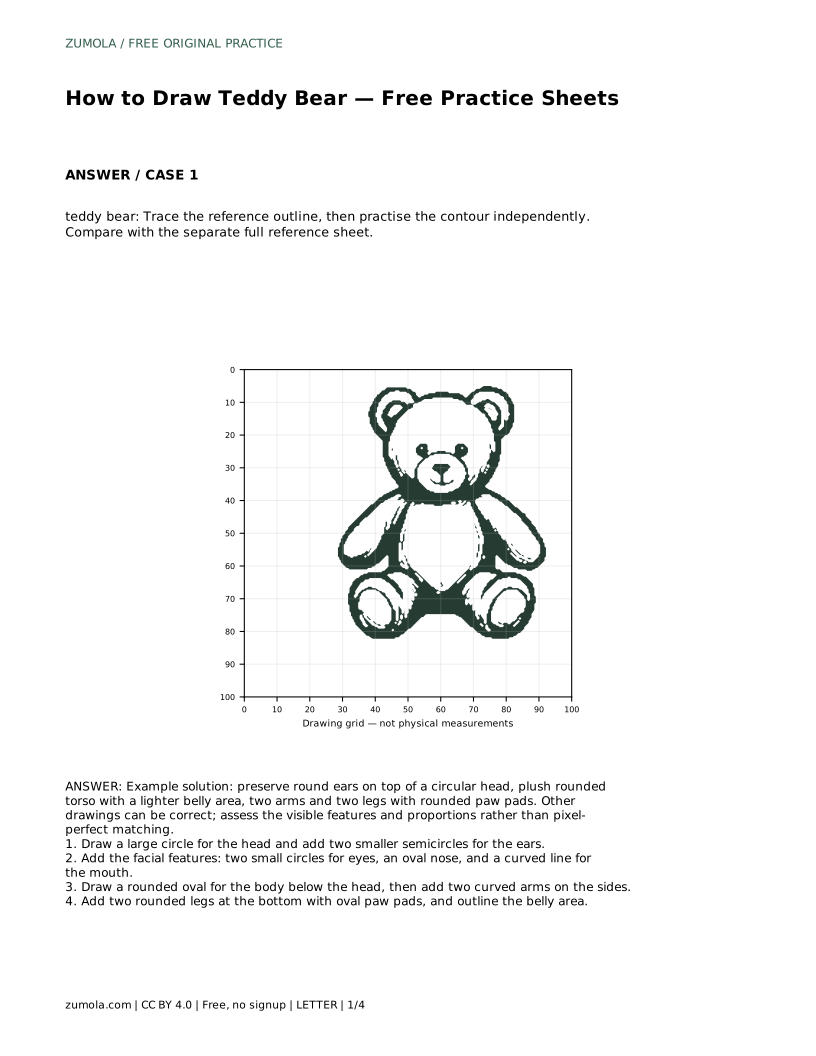
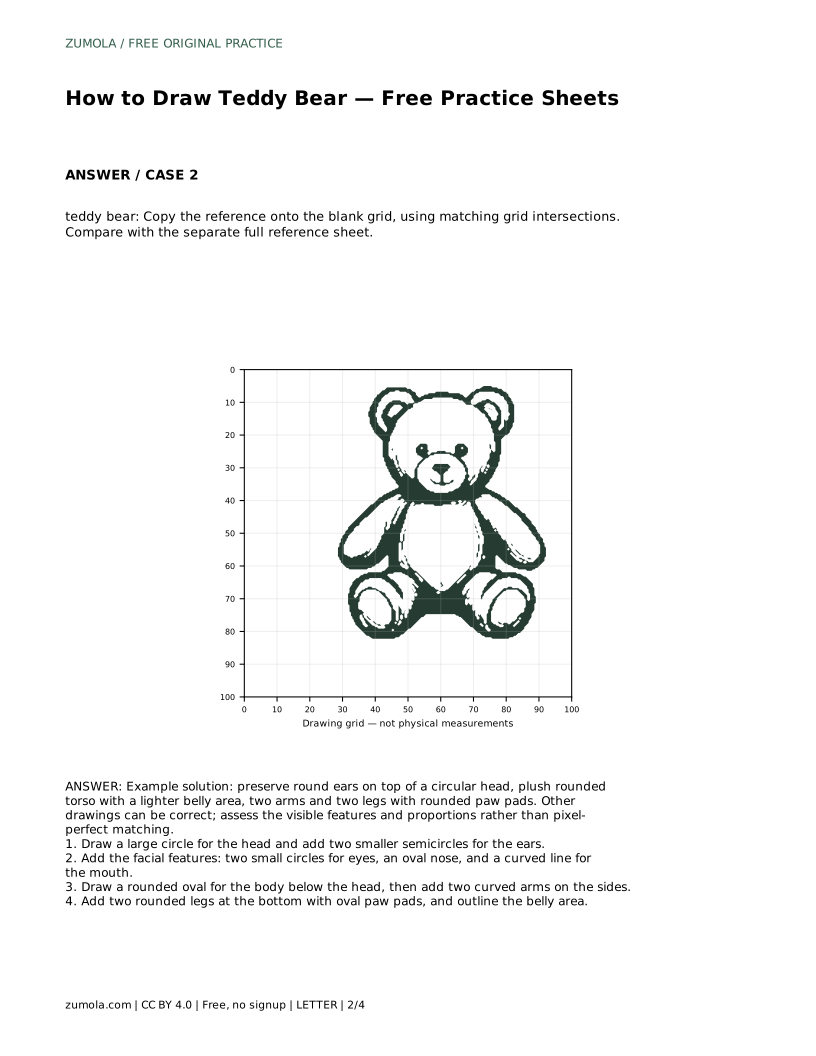
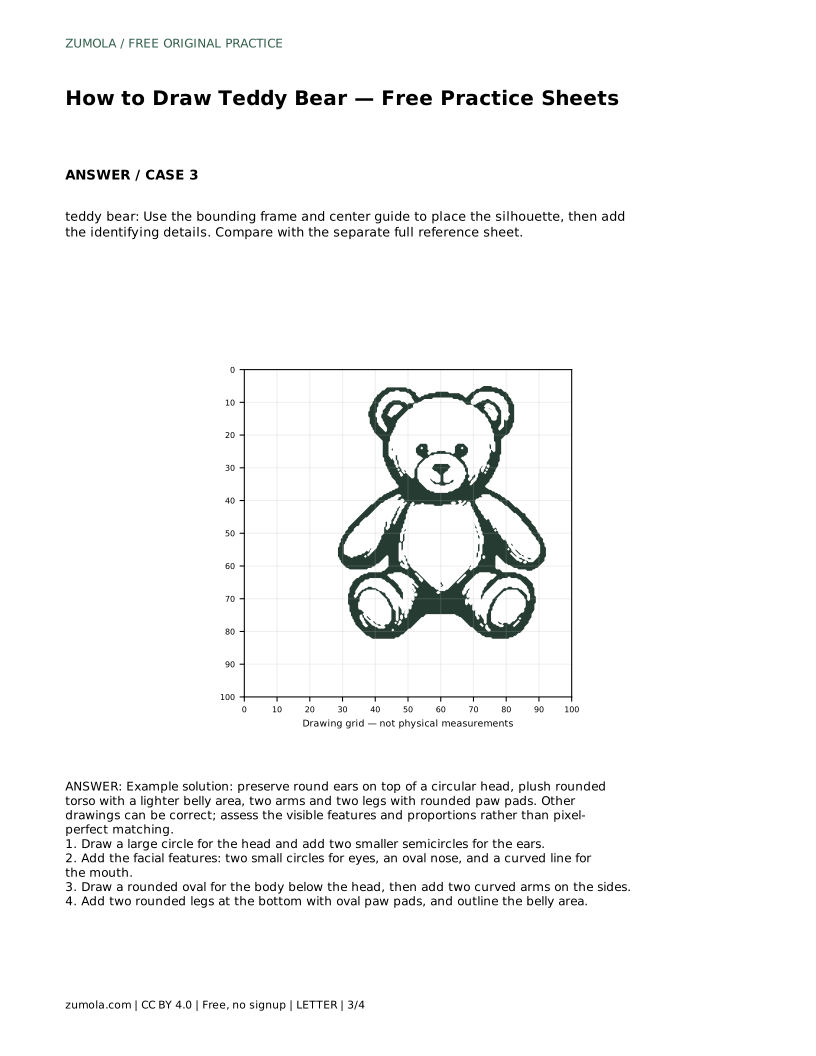
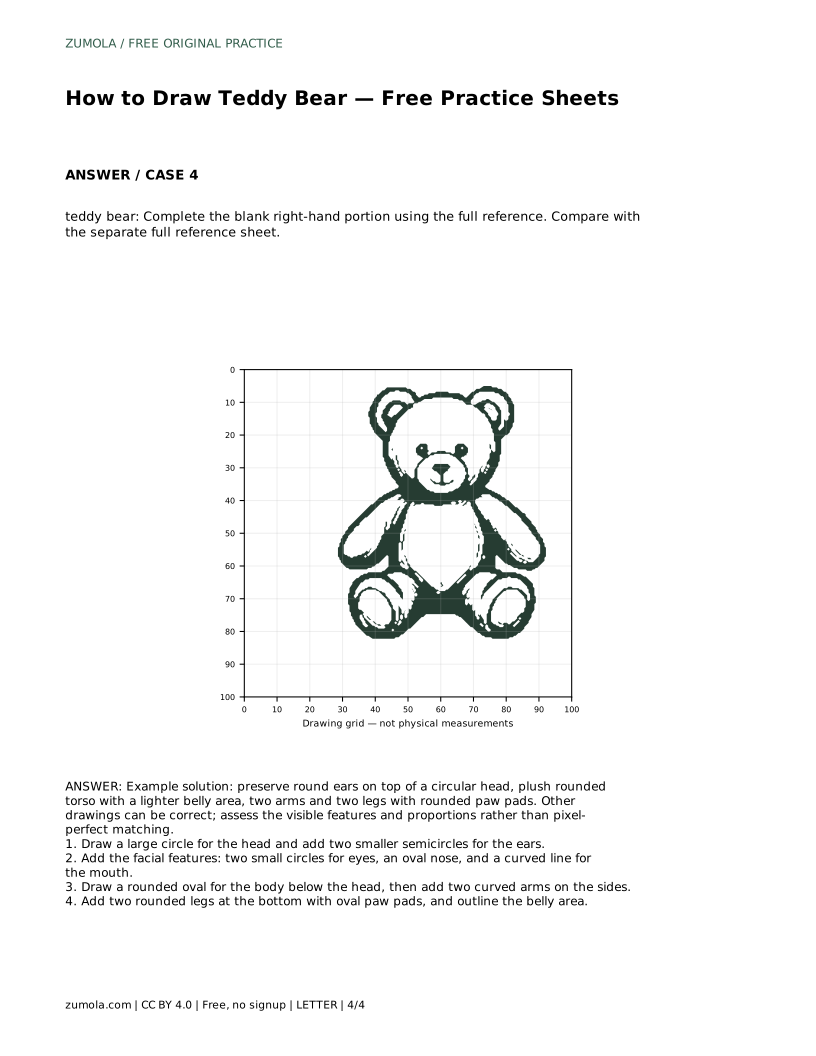
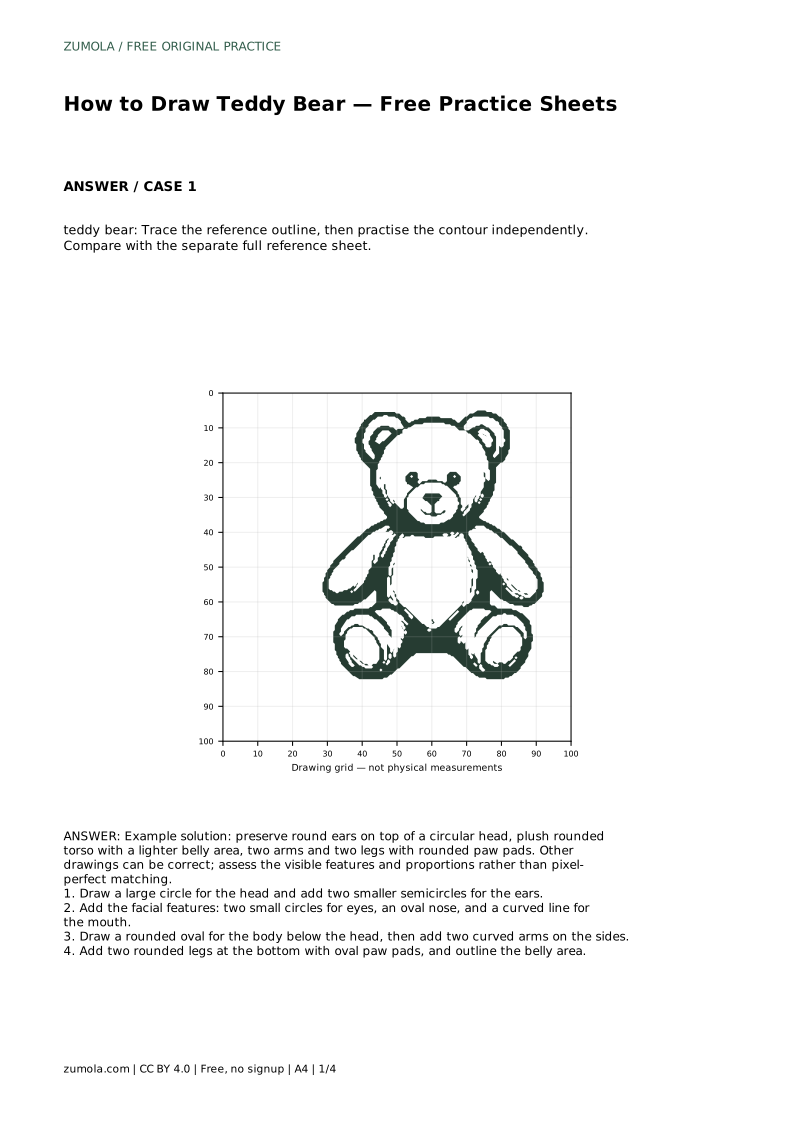
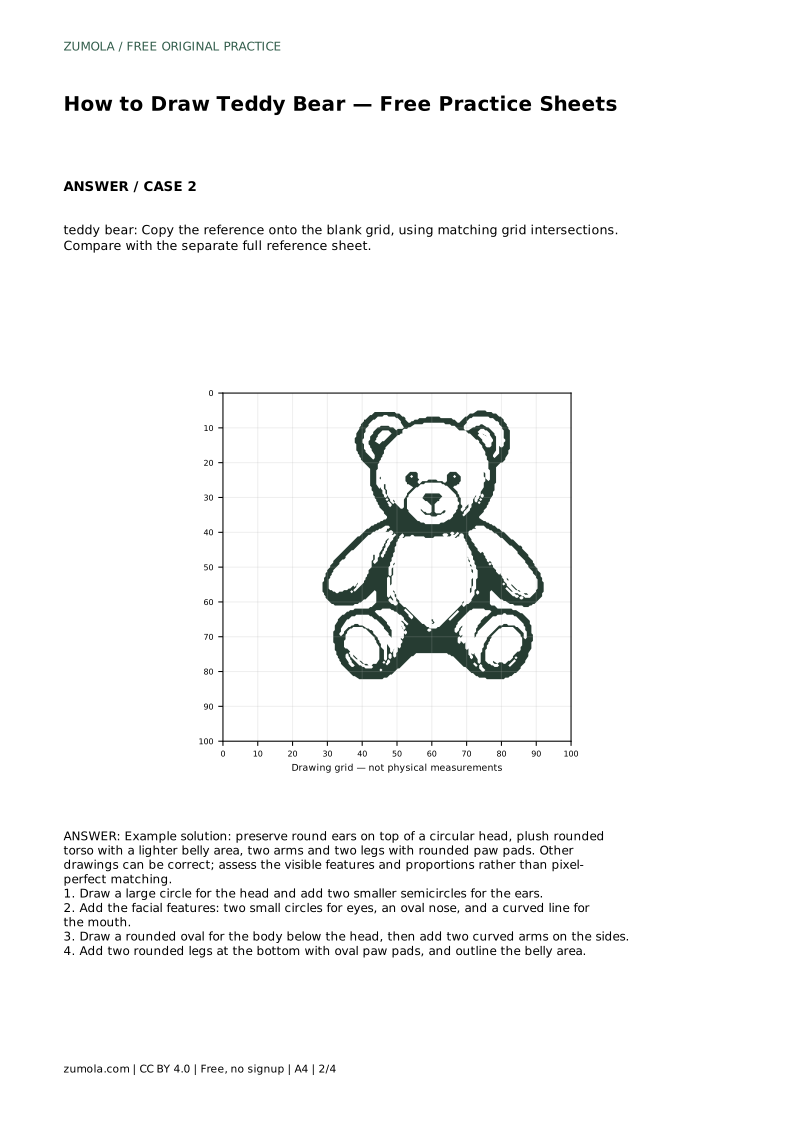
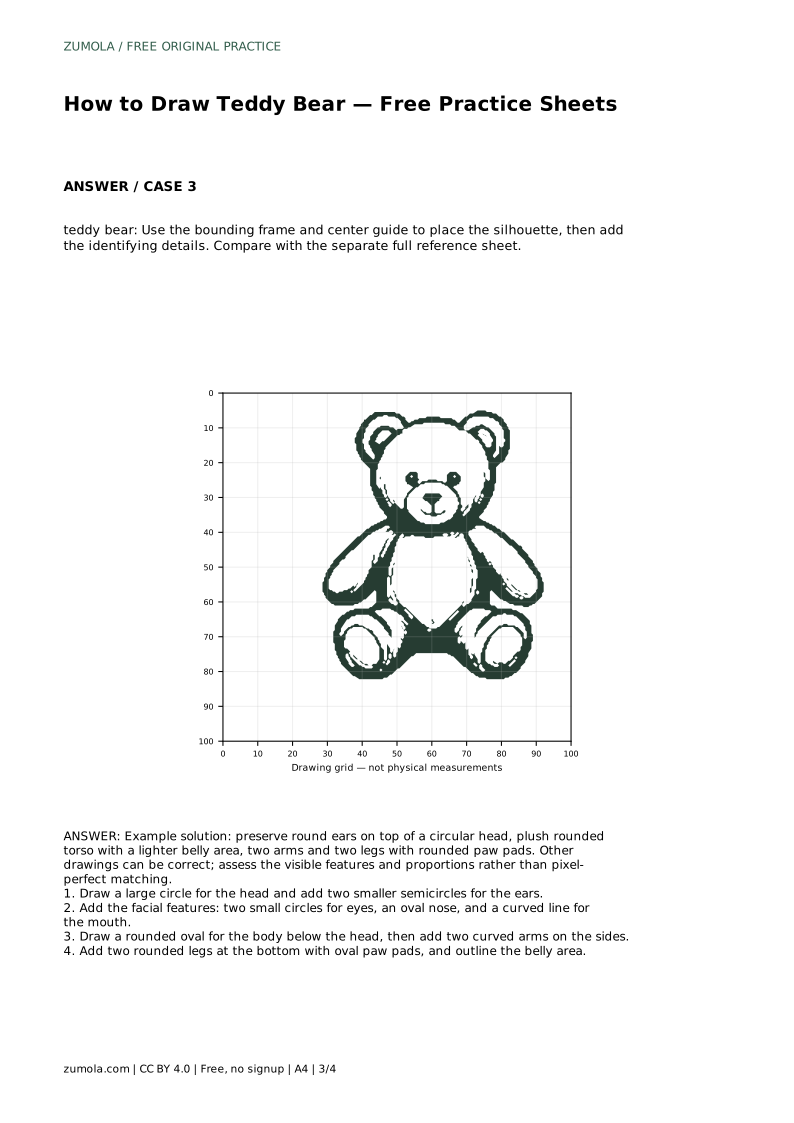
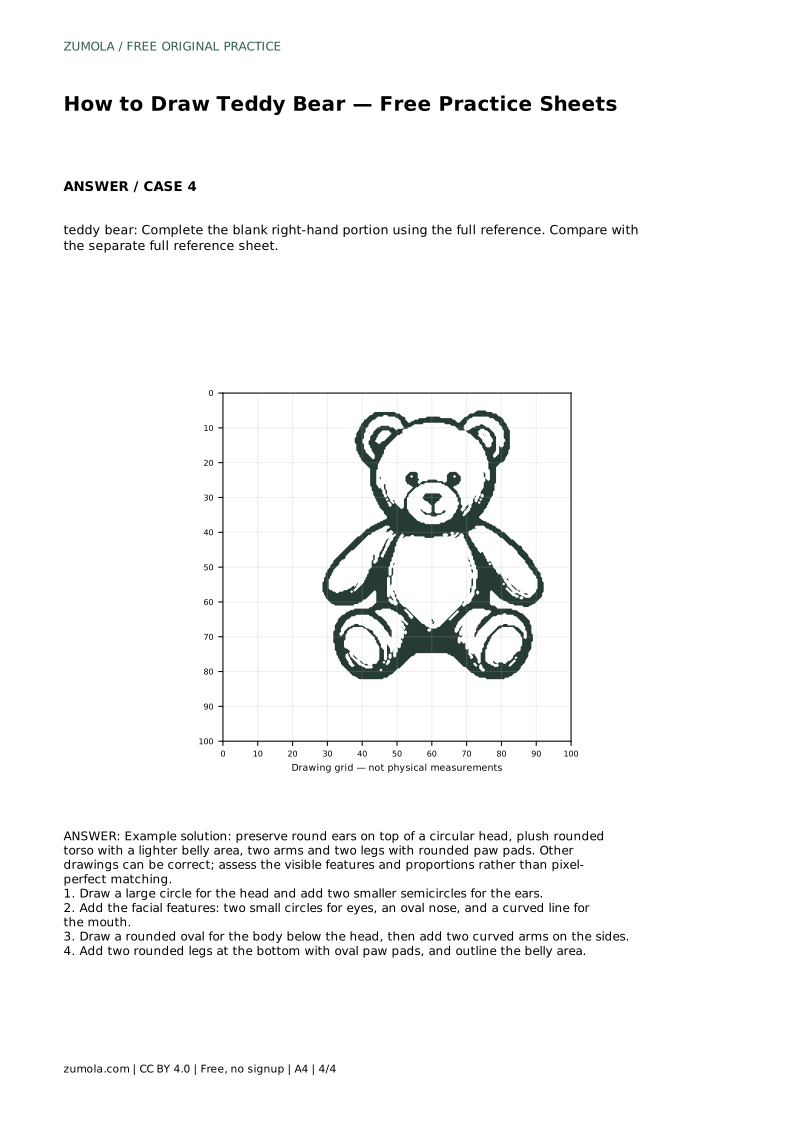
Reference diagrams
LETTER · Download PDF
A4 · Download PDF
Free original resources
Learn to draw a cute teddy bear with round ears, a plush body, and paw pads. Trace, grid, and complete-the-picture practice sheets build confident contour control.
Four original cases, with reference diagrams, practice sheets and worked answers. Everything is free; no signup required.
LETTER · Download PDF
A4 · Download PDF
LETTER · Download PDF
A4 · Download PDF
LETTER · Download PDF
A4 · Download PDF
Use A4 or US Letter to match your printer. Use the stated values and conditions to solve each exercise; diagrams are not physical measuring rulers.
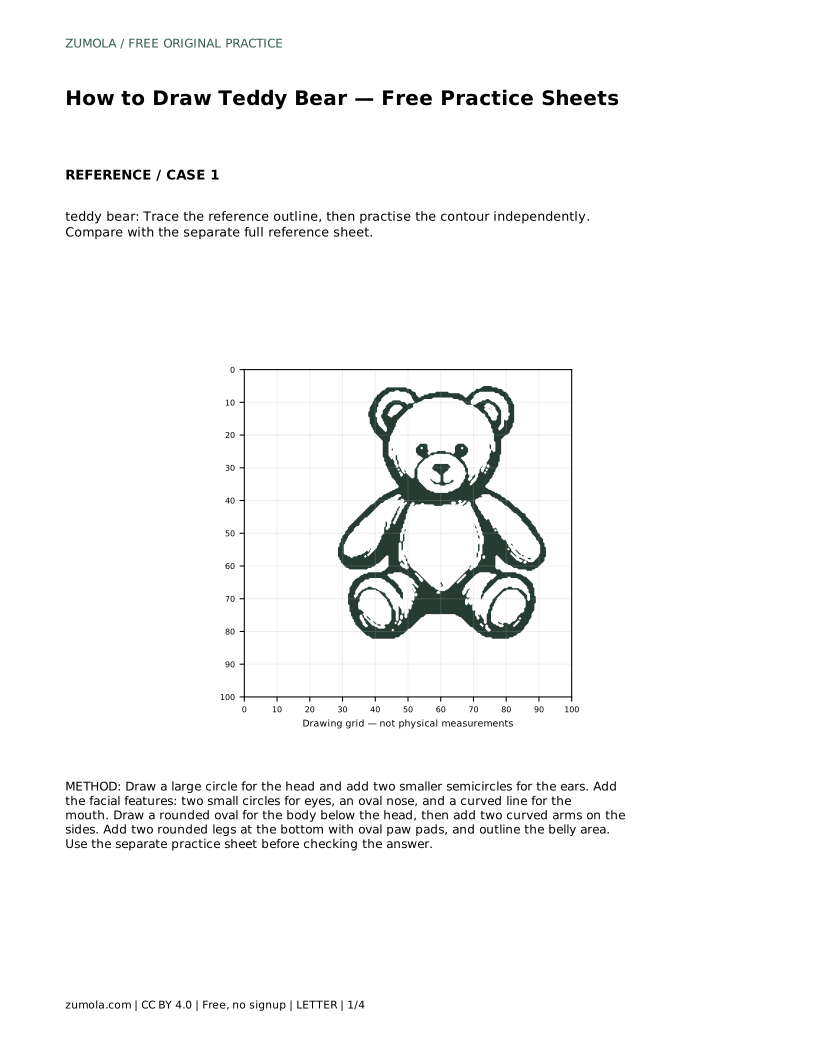
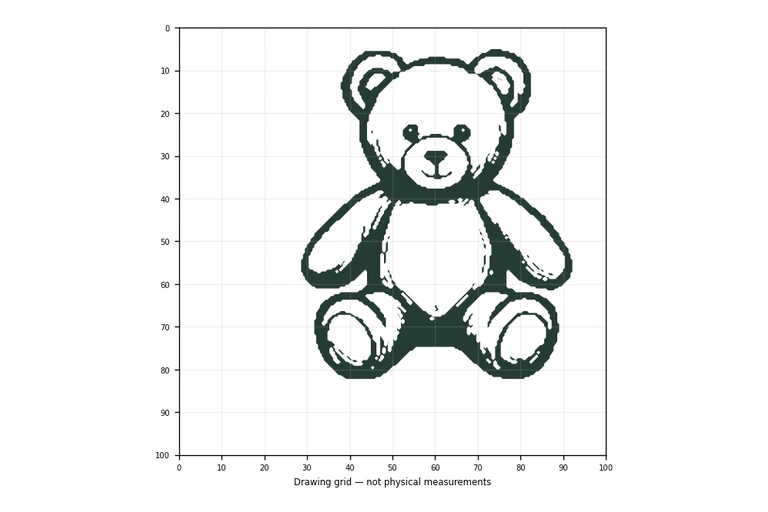
A cute teddy bear drawing depends on a few clear shapes: a circular head, two round ears on top, a soft oval body, and rounded arms and legs with paw pads. This page explains how to build those shapes in order, then how to use tracing, grid, and partial-outline practice sheets to strengthen your control. The goal is not a pixel-perfect copy but a drawing that keeps the bear's recognizable features and friendly proportions.
Start with the biggest shapes so the proportions stay stable before you add detail. A large circle for the head and two smaller semicircles sitting on top of it give the bear its round-eared silhouette. Place the ears so they overlap the head circle slightly rather than floating above it; that overlap is what makes the ears read as attached.
Next, add the face. Two small circles for the eyes, an oval nose, and a curved line for the mouth sit in the lower half of the head circle. Keeping the eyes level and the nose centered helps the bear look calm and cute rather than lopsided.
Then draw a rounded oval for the body below the head, overlapping it slightly at the neck. Add two curved arms on the sides and two rounded legs at the bottom, each with an oval paw pad. Finally, outline a lighter belly area inside the body oval. Work lightly at first, then firm up the lines you want to keep.
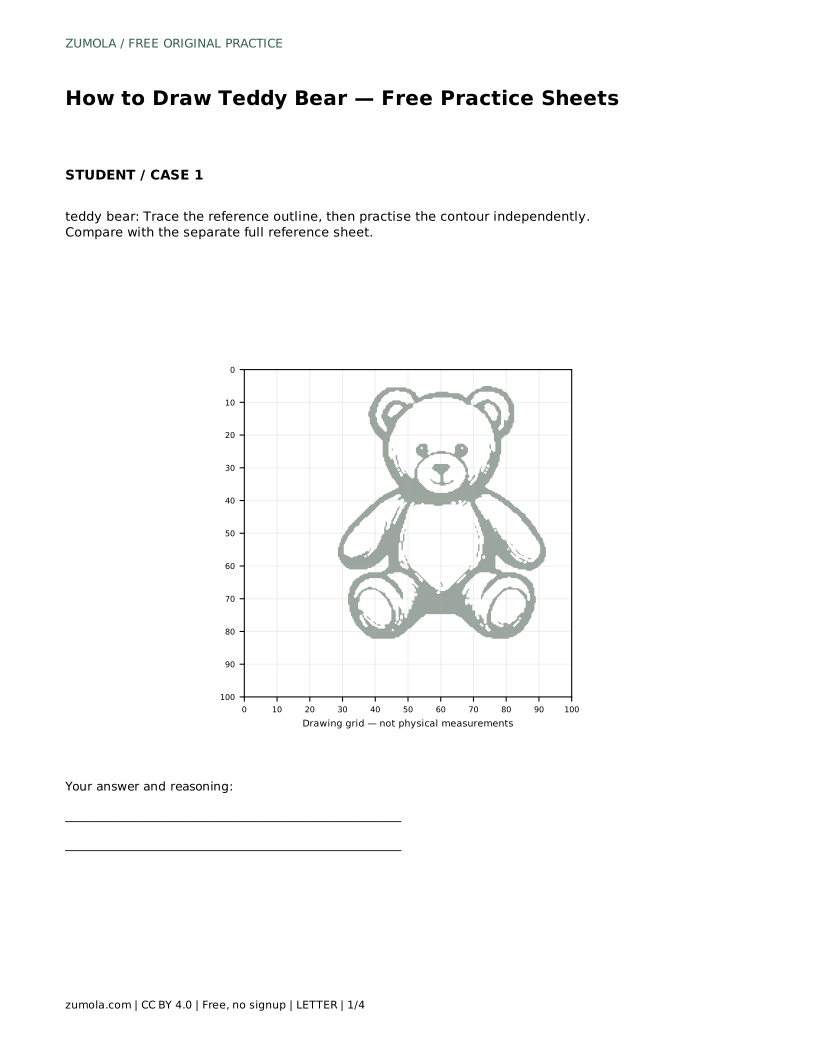
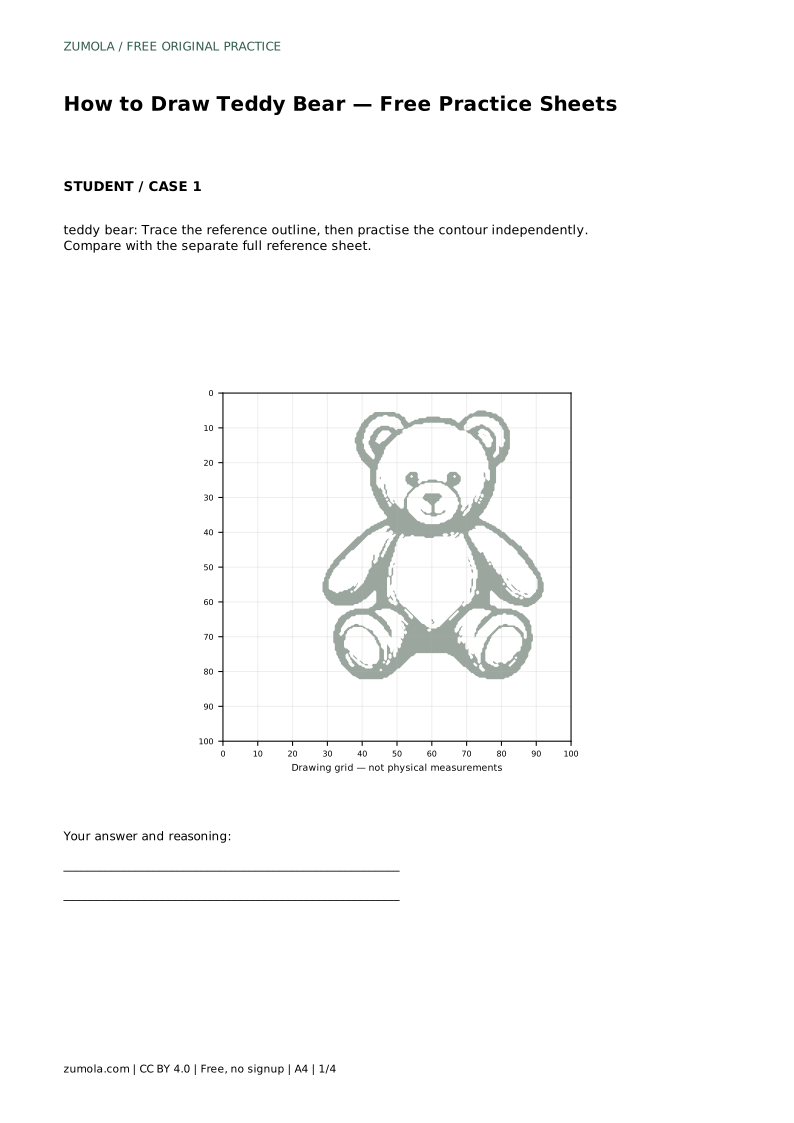
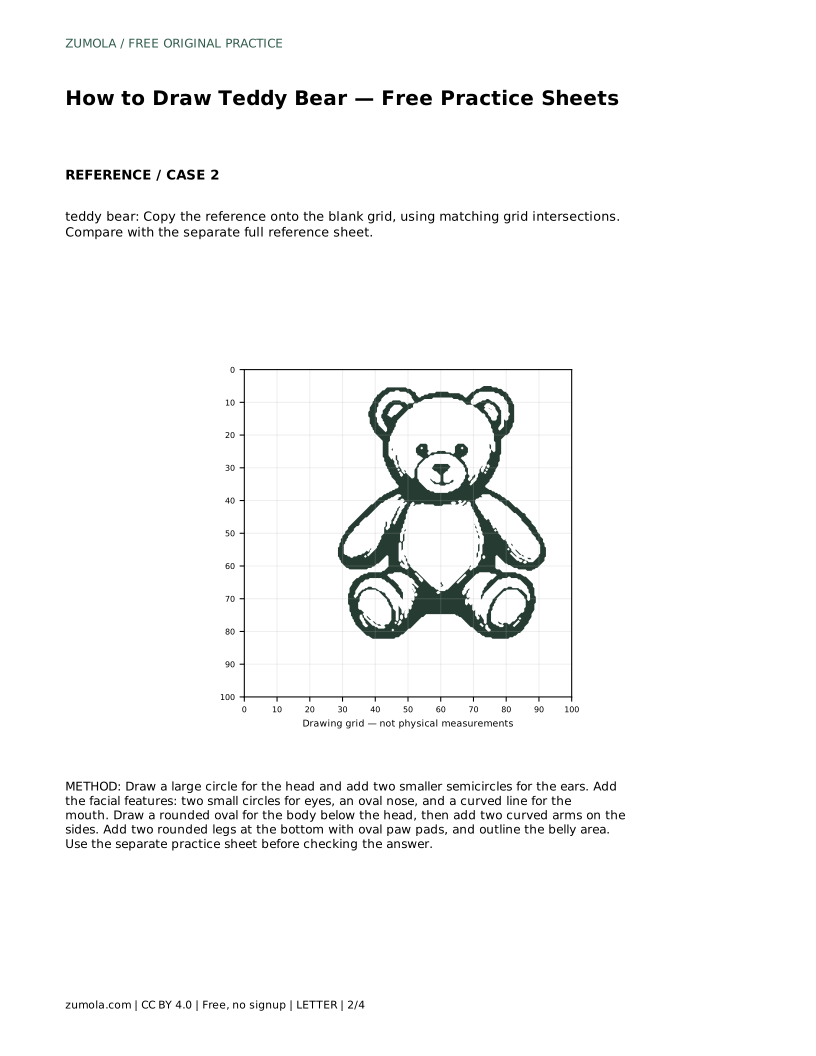
The tracing sheet asks you to follow the reference outline first, then draw the contour independently beside it. Tracing builds muscle memory; the independent attempt shows what you actually retained. Compare your free drawing with the separate full reference sheet, not with your traced line.
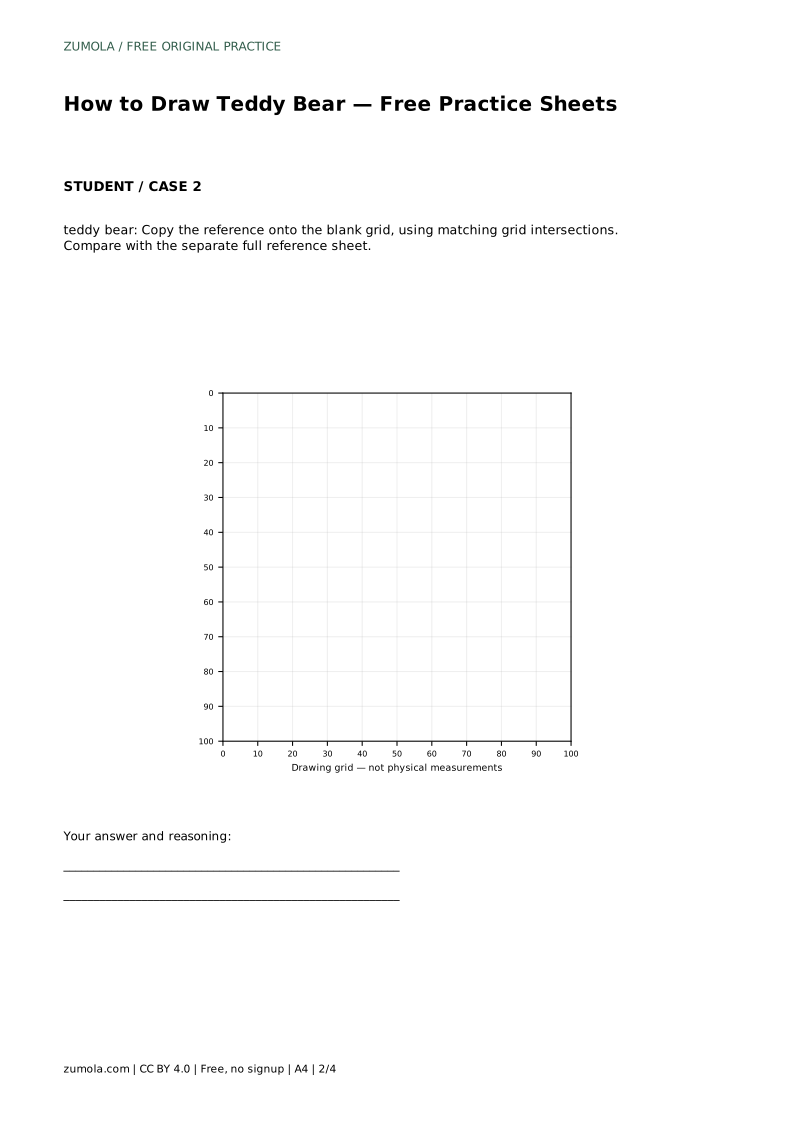
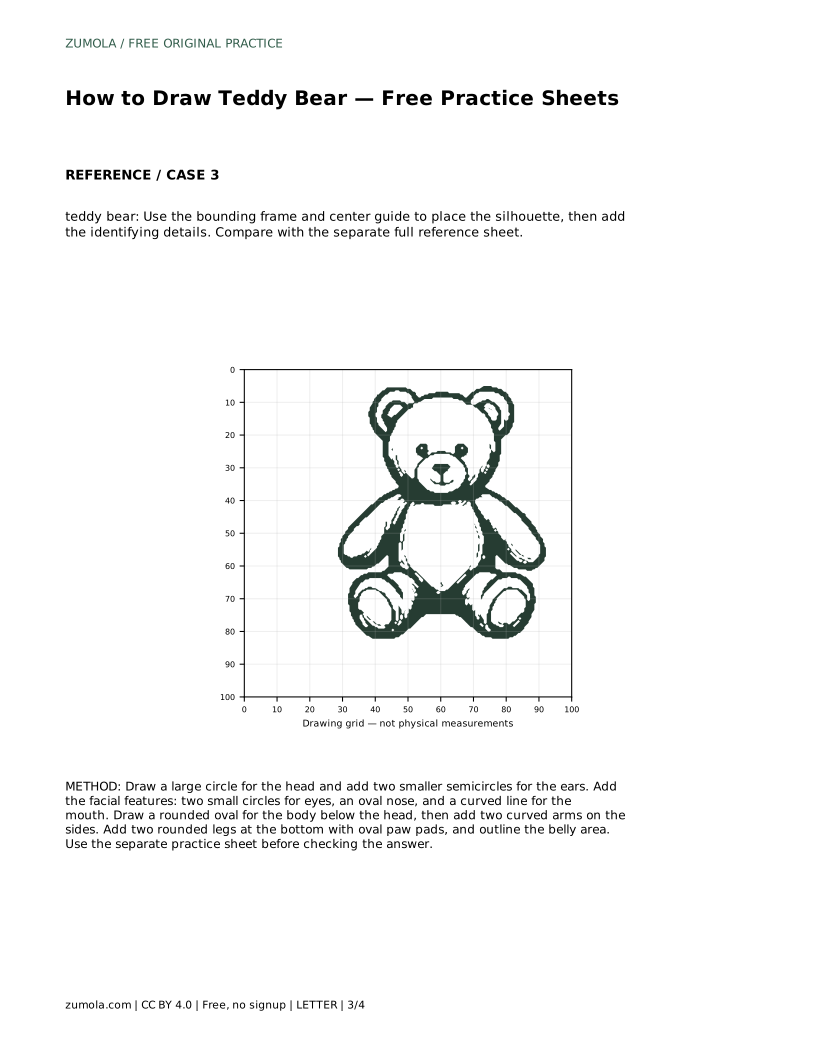
The grid sheet asks you to copy the reference onto a blank grid using matching grid intersections. Treat each square as a small placement problem: where does the ear cross this line, where does the arm begin. This trains proportion and position rather than speed.
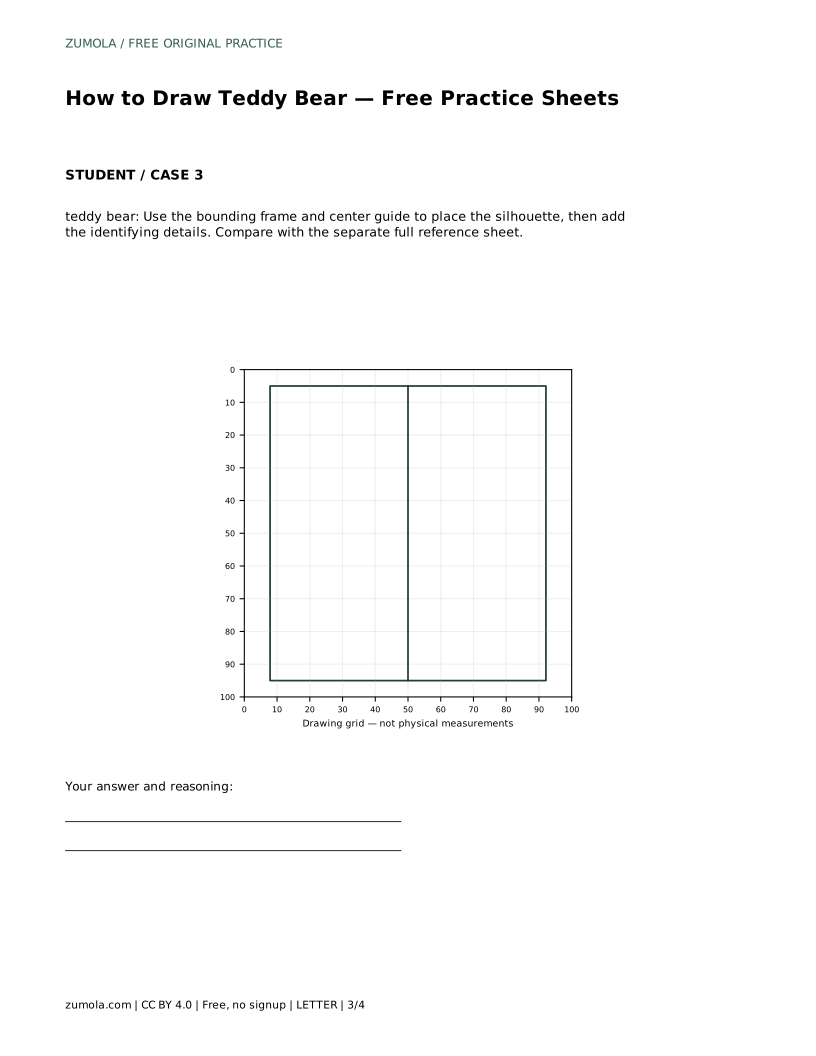
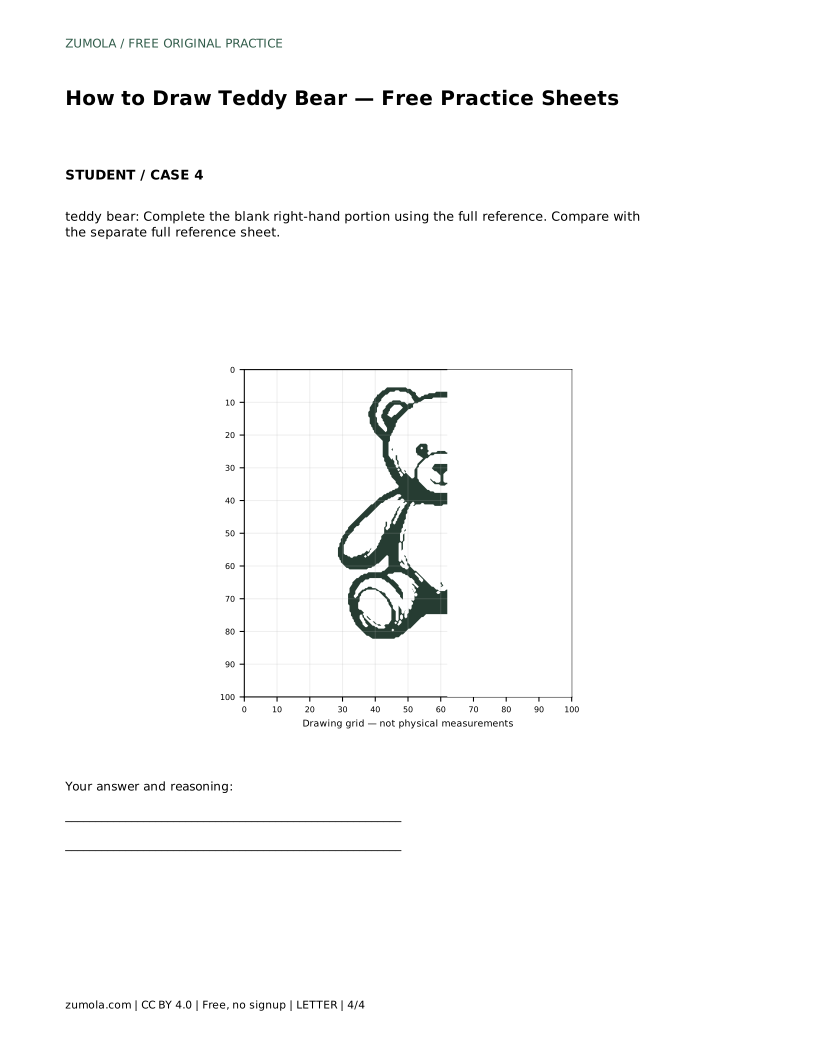
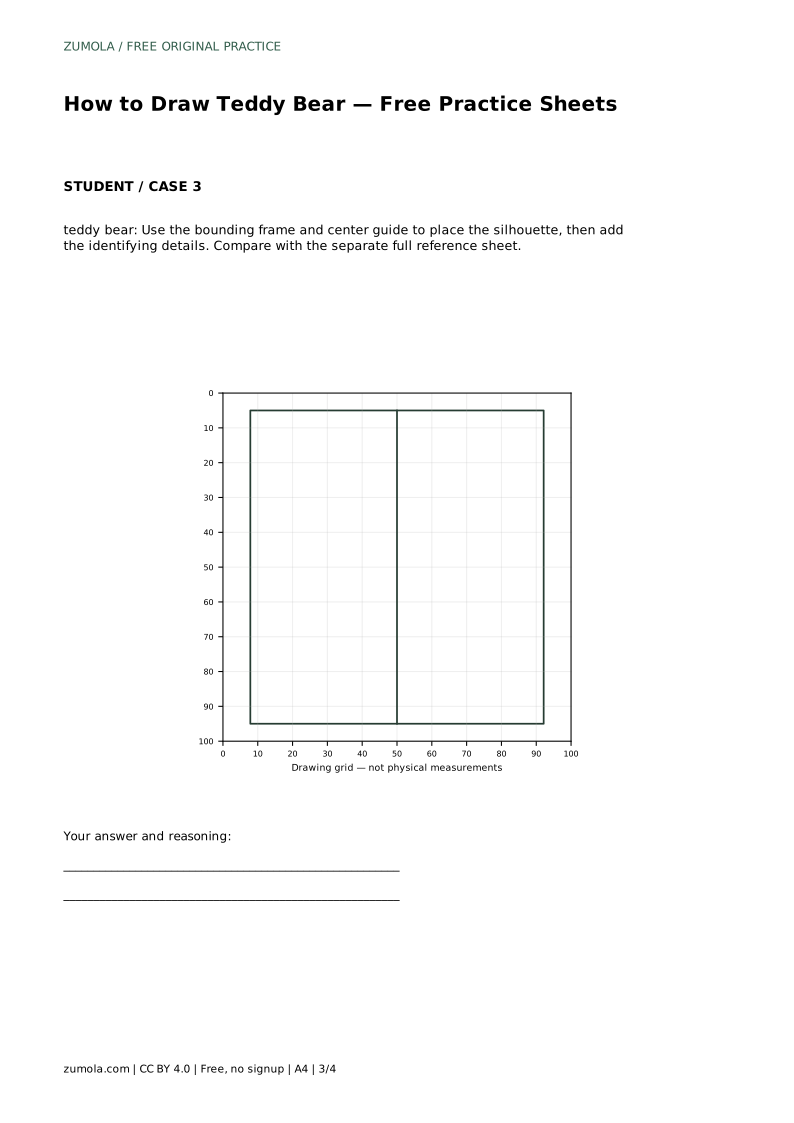
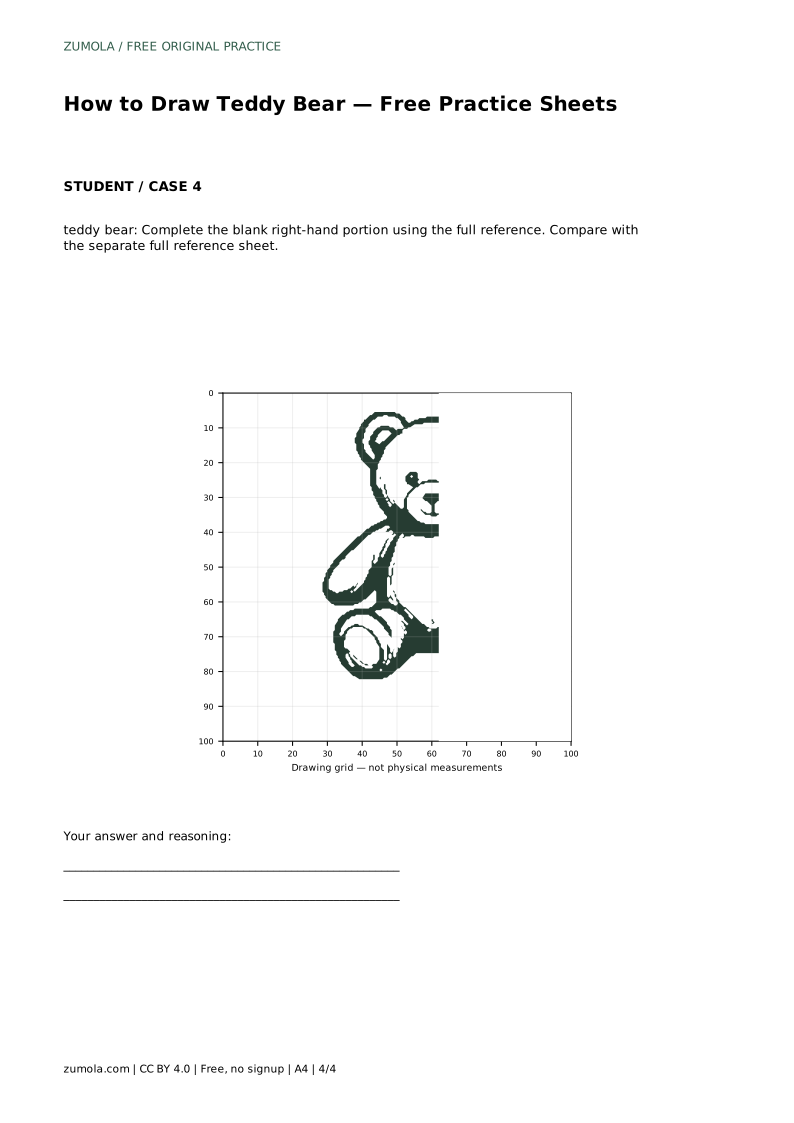
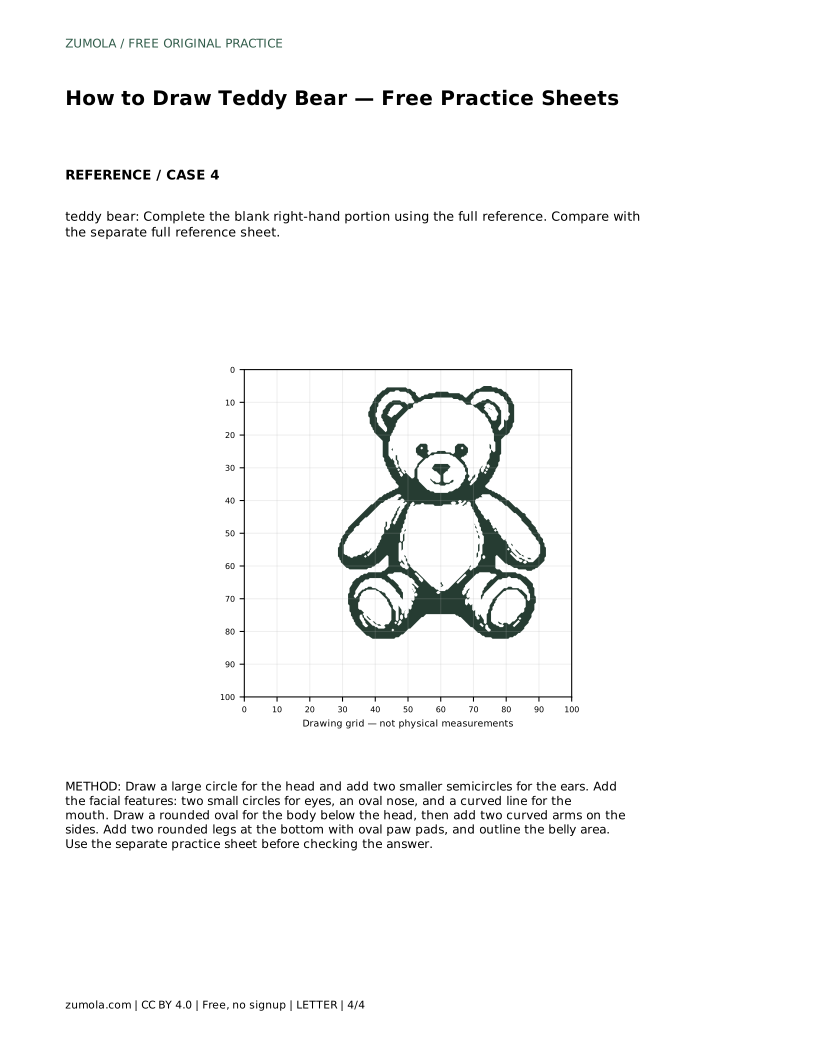
The bounding-frame sheet gives you an outer frame and a center guide. Use them to place the silhouette before adding identifying details, so the bear fills the space evenly. The complete-the-picture sheet gives you the left portion only; use the full reference to finish the right side, matching the height of the head, the arm position, and the leg spacing.
A correct teddy bear drawing does not need to match the reference exactly. Check instead that the round ears sit on top of a circular head, the torso is plush and rounded with a lighter belly area, and there are two arms and two legs with rounded paw pads. If one of those features is missing or badly out of proportion, adjust that part rather than redrawing everything.
Symmetry matters most in the face and least in the arms, which can rest at slightly different angles and still look natural. Keep the eyes the same size and height, and keep the nose centered between them.
Draw the bear once from the steps alone, then once from the grid sheet, then once from the partial sheet. Three short attempts teach more than one long copy, because each attempt forces you to recall the shape order. Keep your early light lines visible until the proportions feel right, then darken the final contour.
teddy bear: Trace the reference outline, then practise the contour independently. Compare with the separate full reference sheet.
Example solution: preserve round ears on top of a circular head, plush rounded torso with a lighter belly area, two arms and two legs with rounded paw pads. Other drawings can be correct; assess the visible features and proportions rather than pixel-perfect matching. Draw a large circle for the head and add two smaller semicircles for the ears. Add the facial features: two small circles for eyes, an oval nose, and a curved line for the mouth. Draw a rounded oval for the body below the head, then add two curved arms on the sides. Add two rounded legs at the bottom with oval paw pads, and outline the belly area.
No. Other drawings can be correct. Assess the visible features and proportions rather than pixel-perfect matching.
Start with the tracing sheet to learn the contour, then move to the grid sheet to practice placement without tracing.
Keep shapes rounded, let the ears overlap the head, and avoid sharp corners on the arms, legs, and paw pads.
All drawing practice · Free coordinate paper
Original resources · CC BY 4.0 · Free for personal and classroom use with attribution.