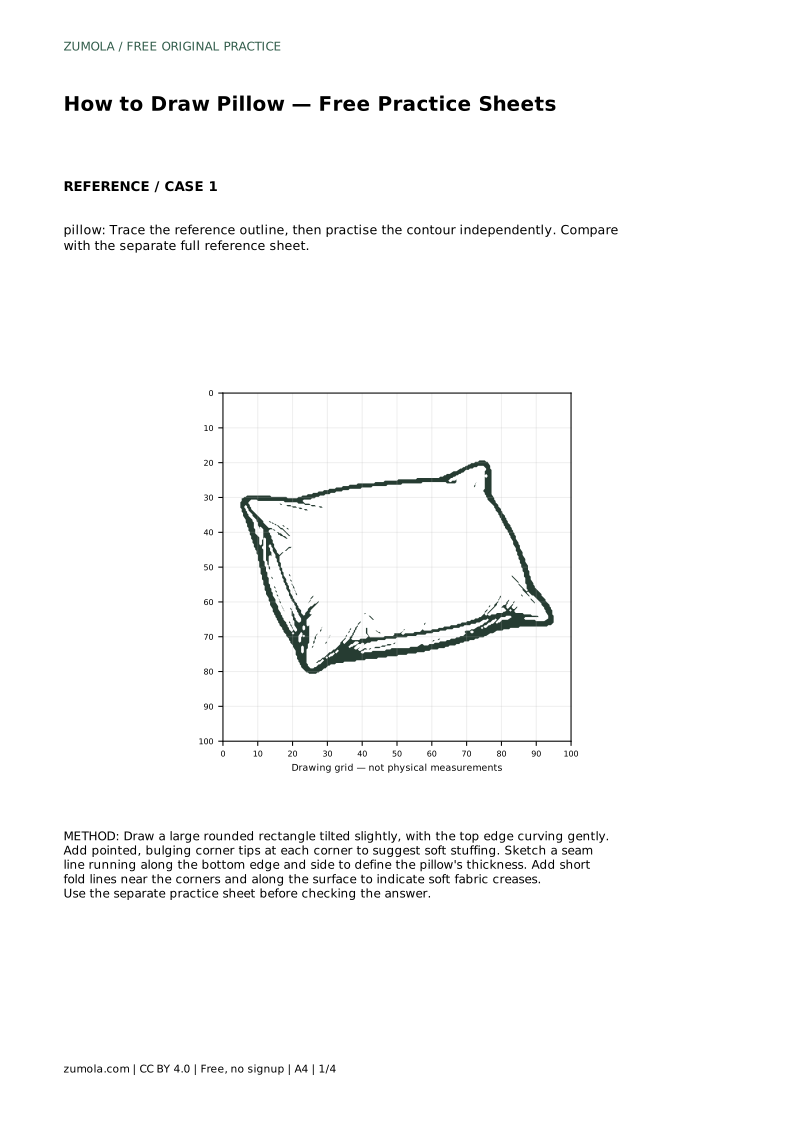
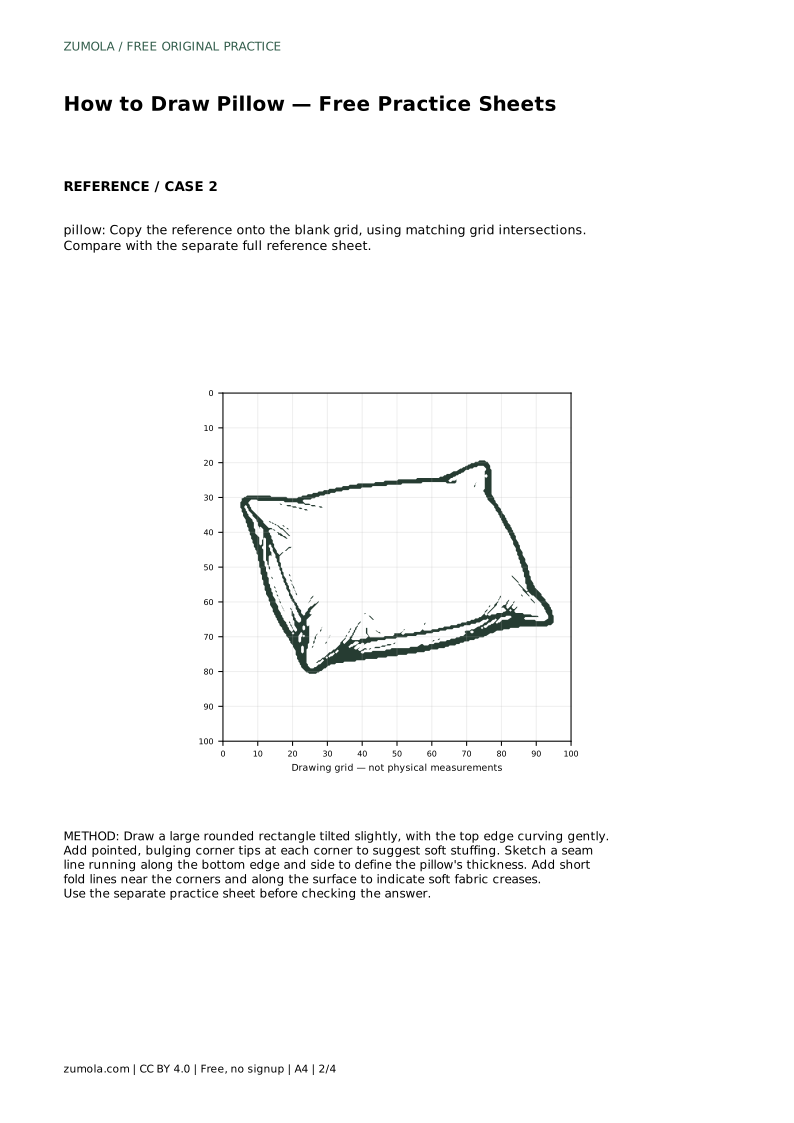
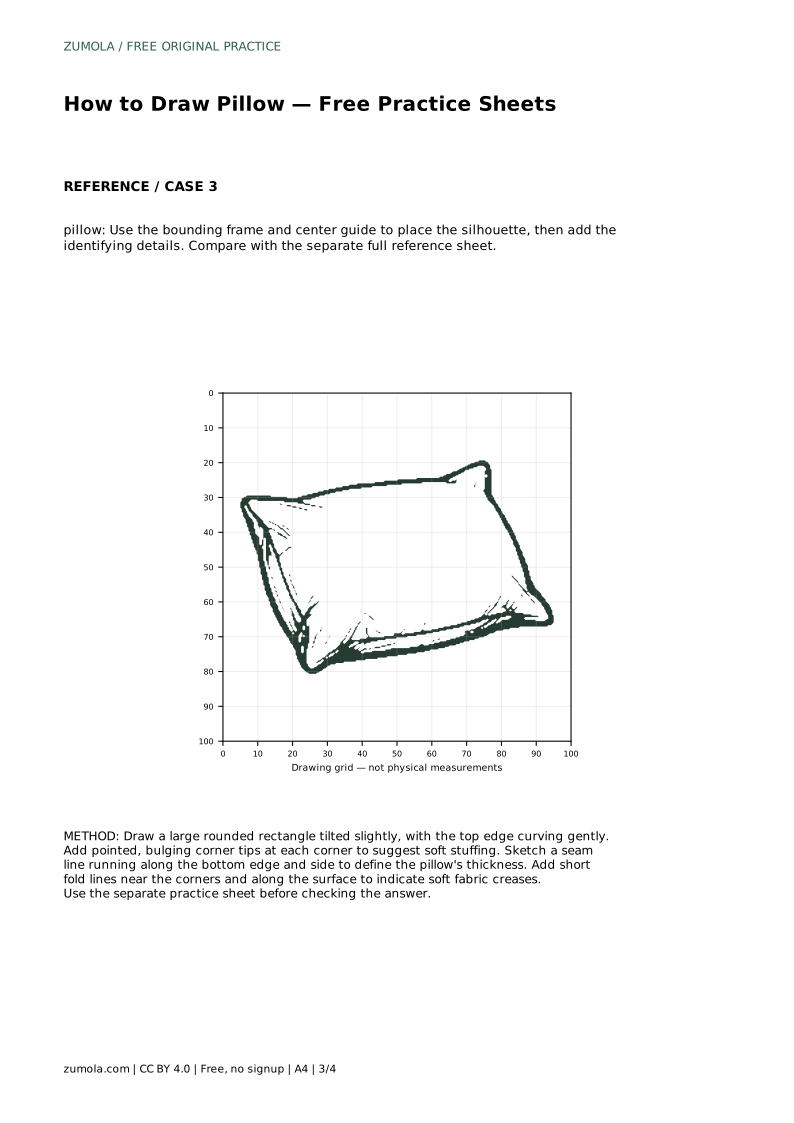
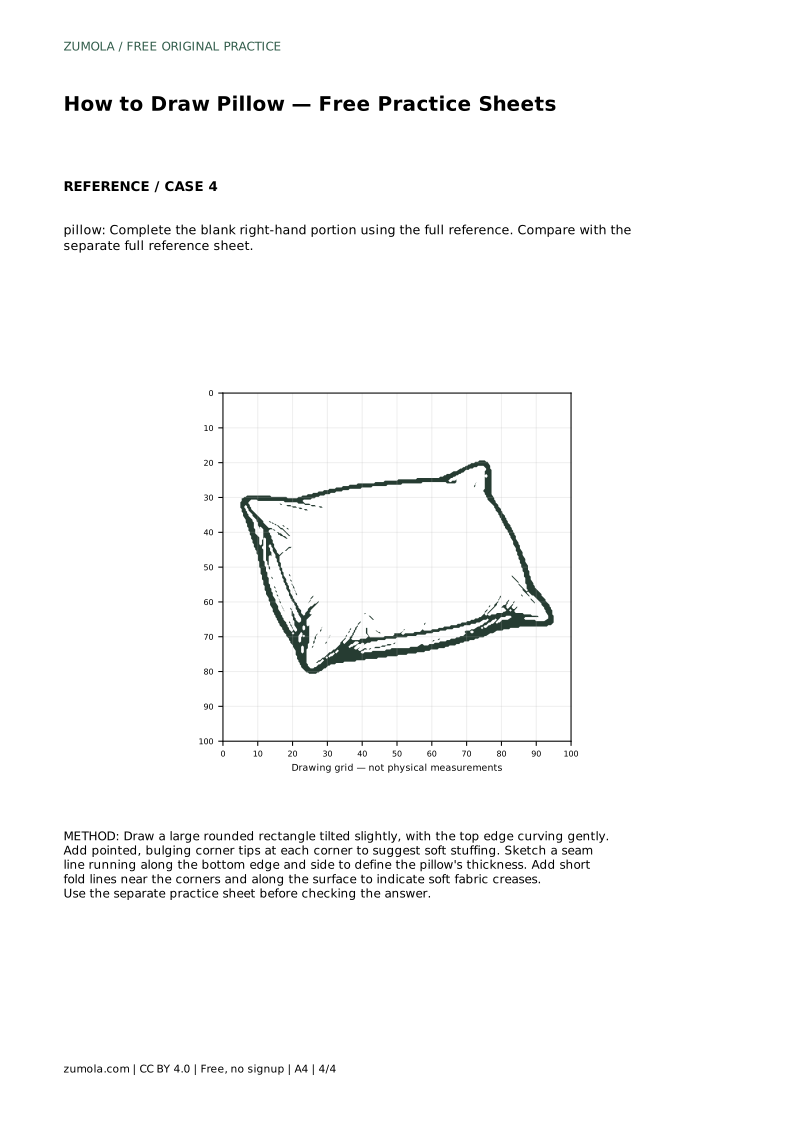
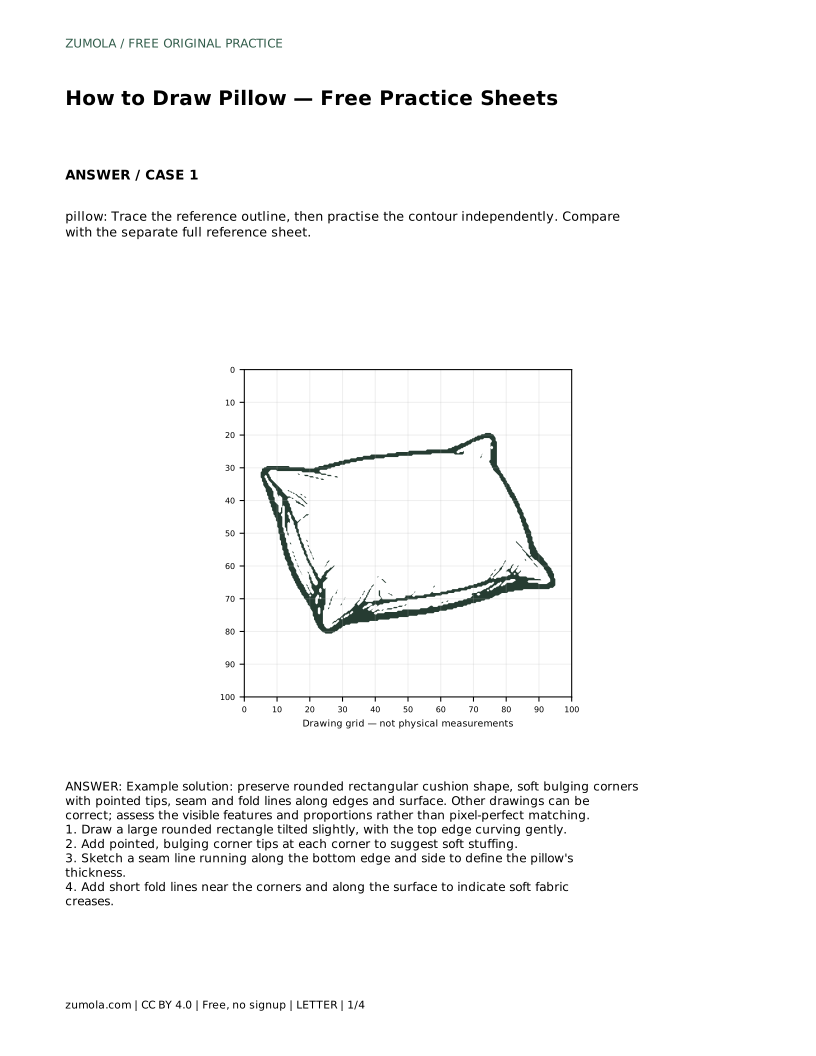
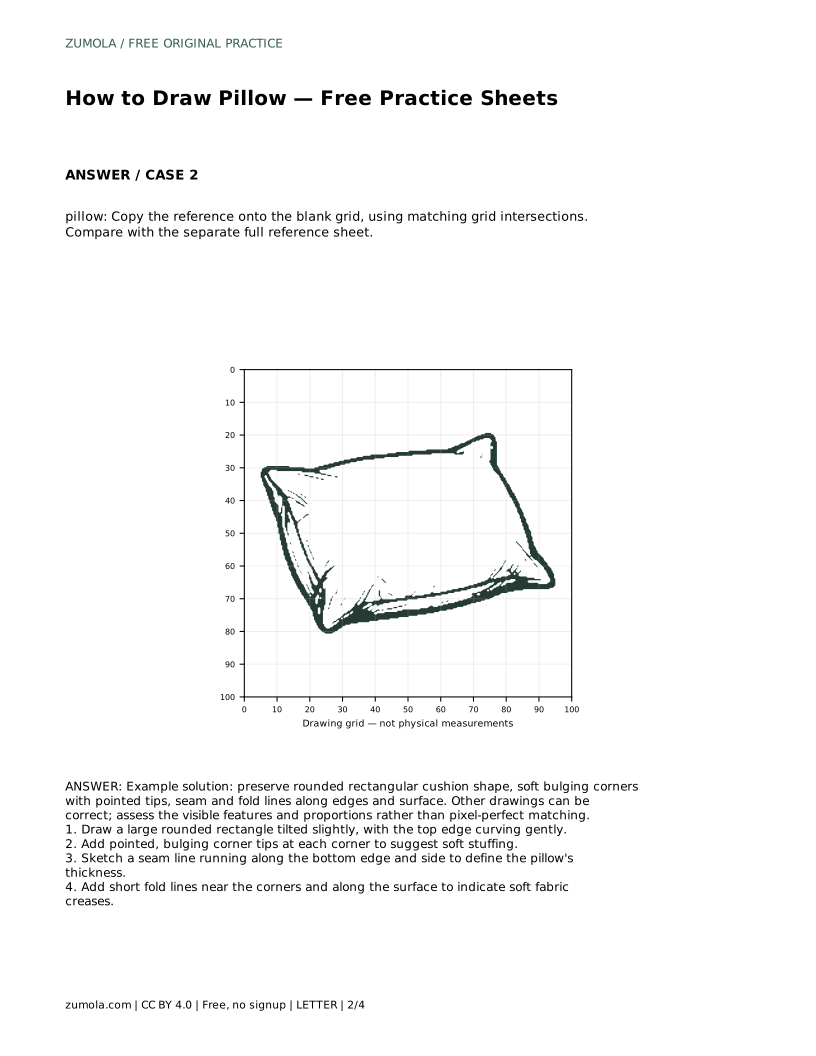
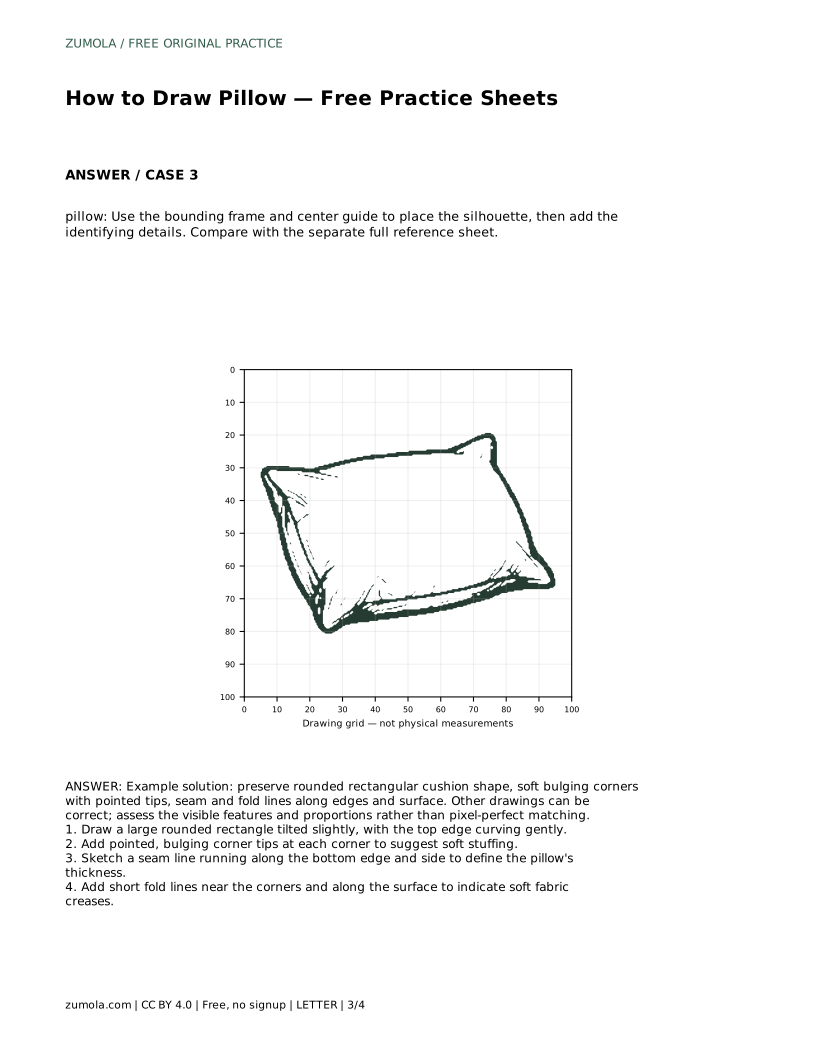
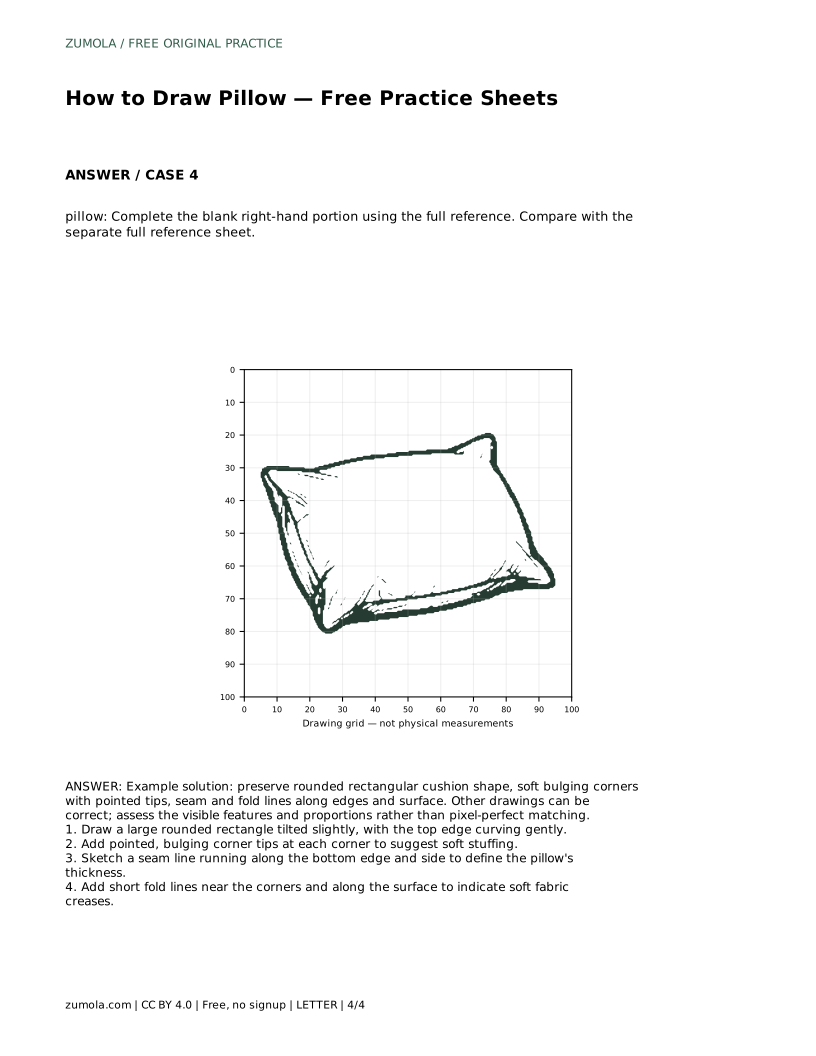
Reference diagrams
LETTER · Download PDF
A4 · Download PDF
Free original resources
Learn to draw a soft pillow by building a tilted rounded rectangle, adding bulging corner tips, seam lines, and gentle fabric folds. Free practice sheets included.
Four original cases, with reference diagrams, practice sheets and worked answers. Everything is free; no signup required.
LETTER · Download PDF
A4 · Download PDF
LETTER · Download PDF
A4 · Download PDF
LETTER · Download PDF
A4 · Download PDF
Use A4 or US Letter to match your printer. Use the stated values and conditions to solve each exercise; diagrams are not physical measuring rulers.
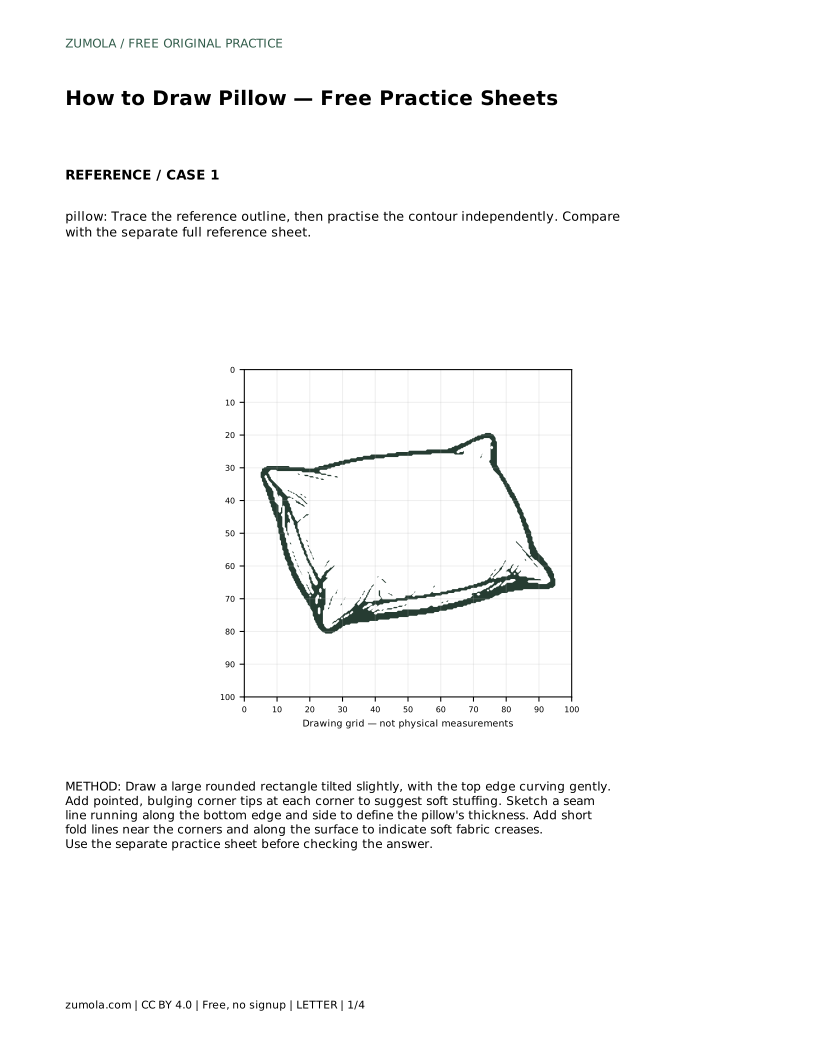
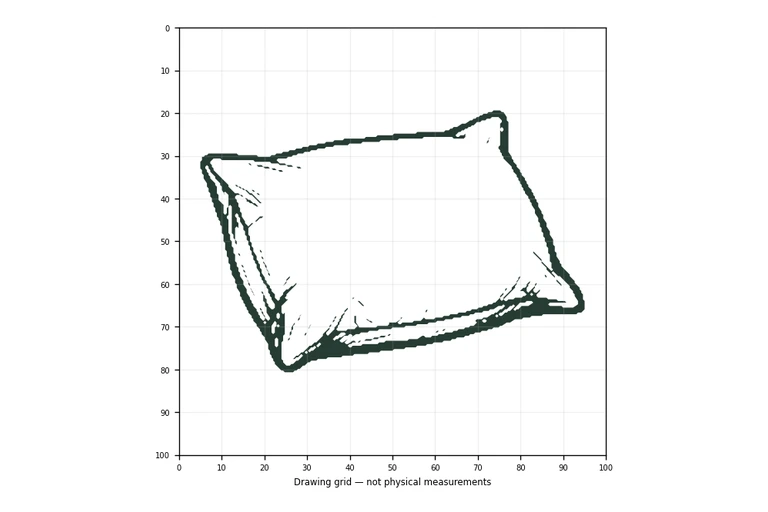
A pillow looks simple, but its softness comes from a few deliberate choices: a rounded rectangular body, corners that bulge outward into small points, a seam that shows thickness, and a handful of crease lines that suggest fabric under gentle tension. This guide walks you through those features in order, then explains how to check your drawing against a reference without expecting an identical copy.
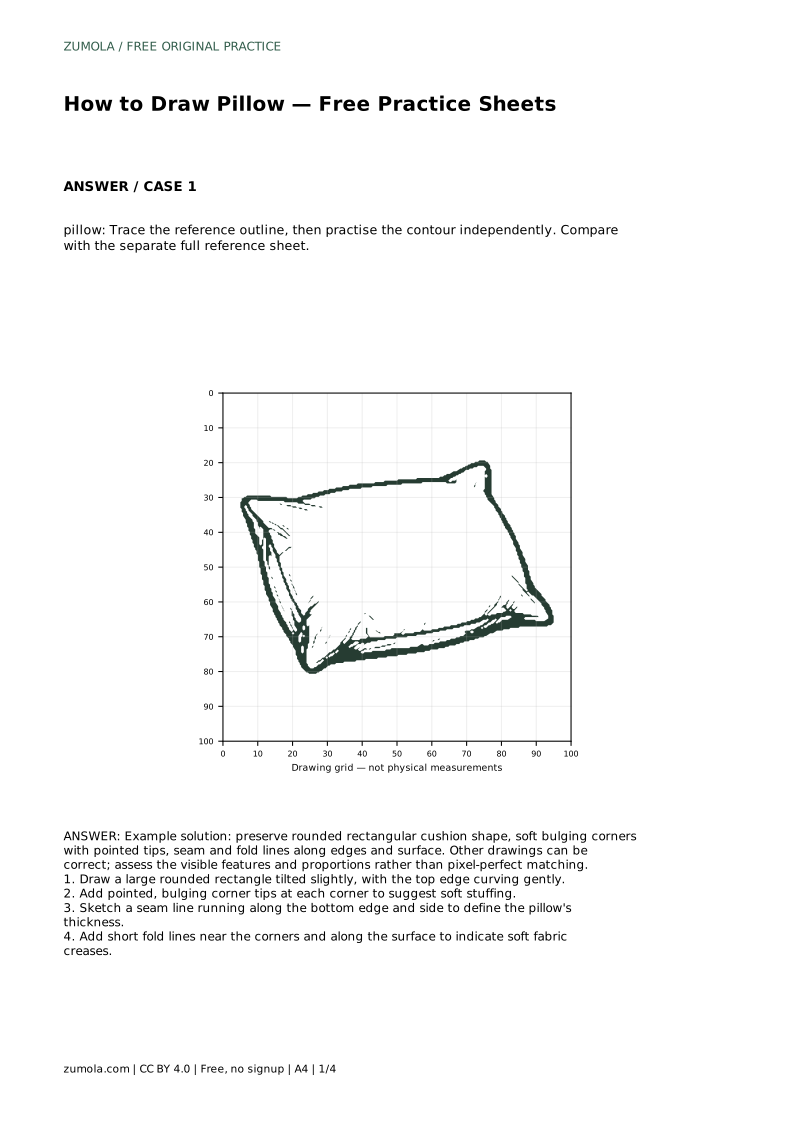
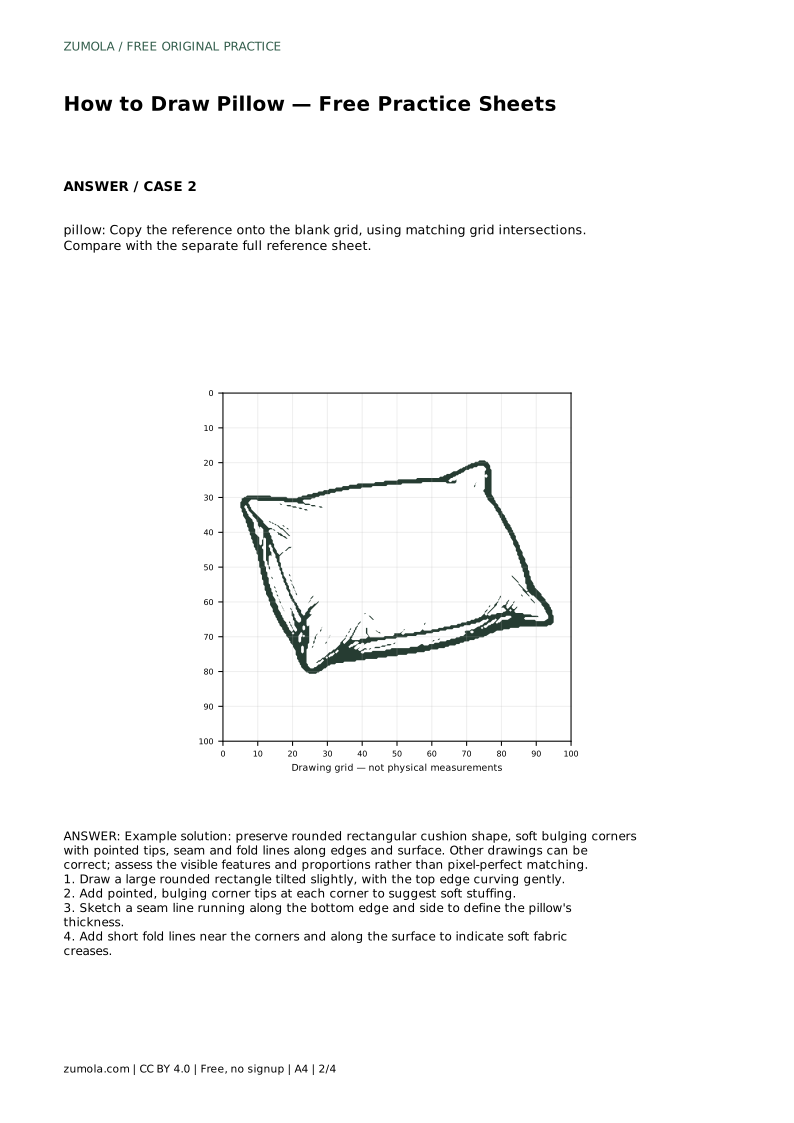
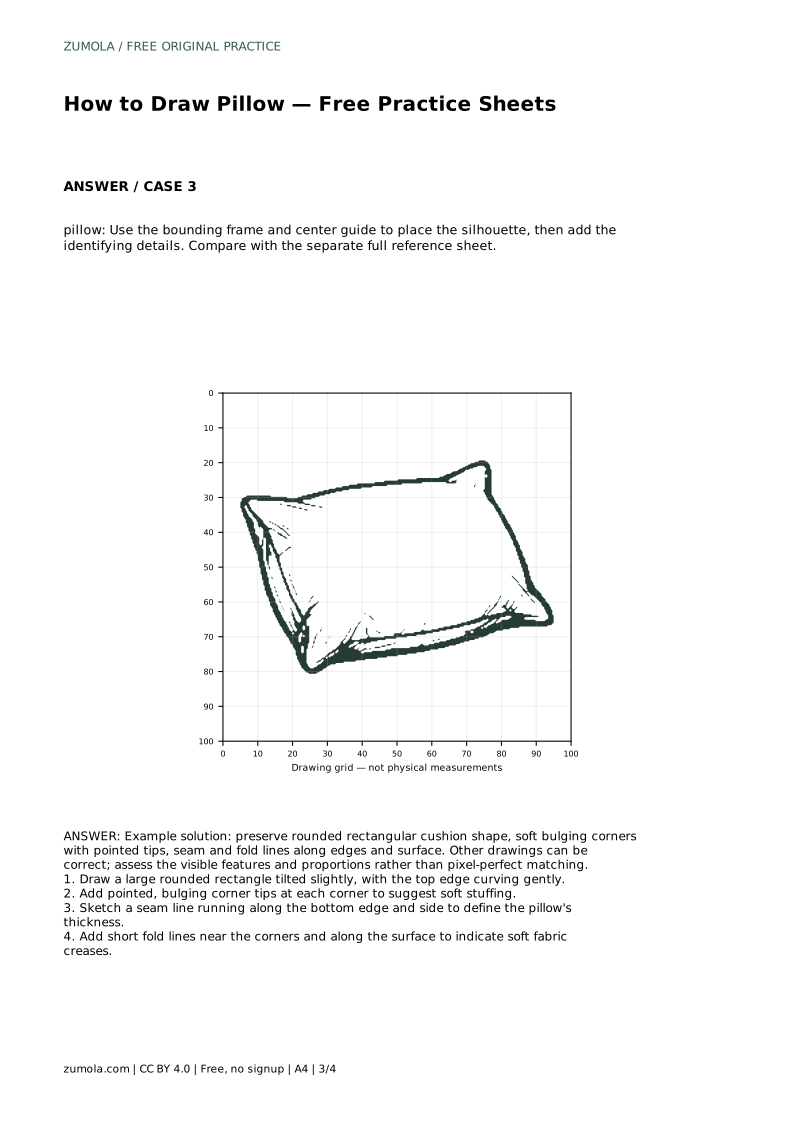
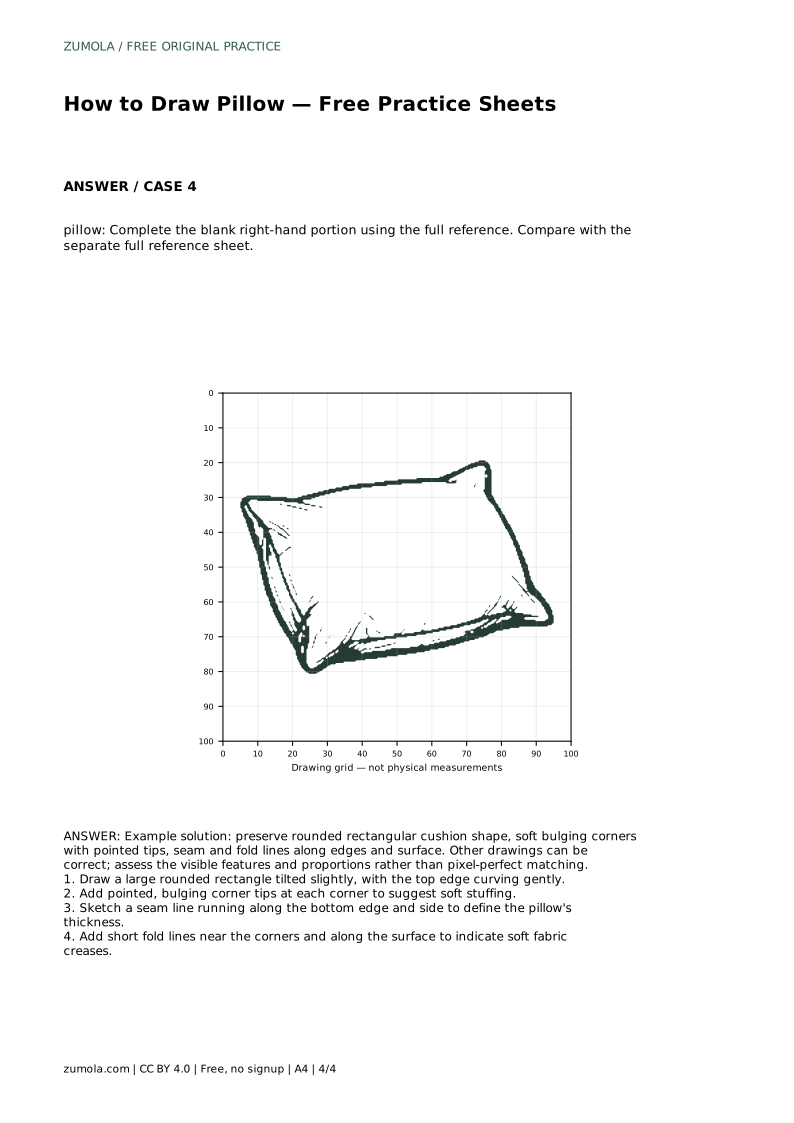
Begin with the overall silhouette rather than details. Draw a large rounded rectangle and tilt it slightly, so one corner sits a little higher than the other. Let the top edge curve gently instead of running perfectly straight; a real cushion sags a little under its own filling. Keep the four sides roughly balanced in length so the shape still reads as a rectangle rather than a blob.
Work lightly at this stage. The body is the anchor for everything else, so it is easier to adjust proportions now than after adding seams and folds.
Soft stuffing pushes fabric outward at the corners, creating small pointed tips. At each corner, extend the outline slightly beyond the rounded curve and taper it to a soft point. These tips should feel like the fabric is being stretched, not like sharp spikes. Vary them a little: corners rarely bulge identically, and slight differences make the cushion feel stuffed rather than inflated.
If a corner tip looks too aggressive, shorten it and widen its base so it blends back into the rounded edge.
A seam line separates the front face of the pillow from its side, giving the flat shape depth. Sketch a line running along the bottom edge and partway up one side, set slightly inside the outer contour. The gap between the seam and the outline represents the pillow's thickness. Keep this gap narrow and fairly even; a wide gap makes the cushion look like a box.
You can also suggest a second seam along the top edge if your reference shows one, but keep it subtle so the front face stays dominant.
Short crease lines communicate softness. Place a few near the corners where the fabric gathers, and add one or two gentle curves across the surface to suggest slight compression. Keep folds short and sparse; too many lines make the pillow look crumpled or rigid. Folds should follow the direction the fabric would pull, generally curving toward the corners.
Compare your finished drawing with a separate full reference sheet. Judge whether the cushion shape, corner tips, seam, and folds are all visible and proportionate, rather than whether every line matches exactly. Different drawings can be equally correct.
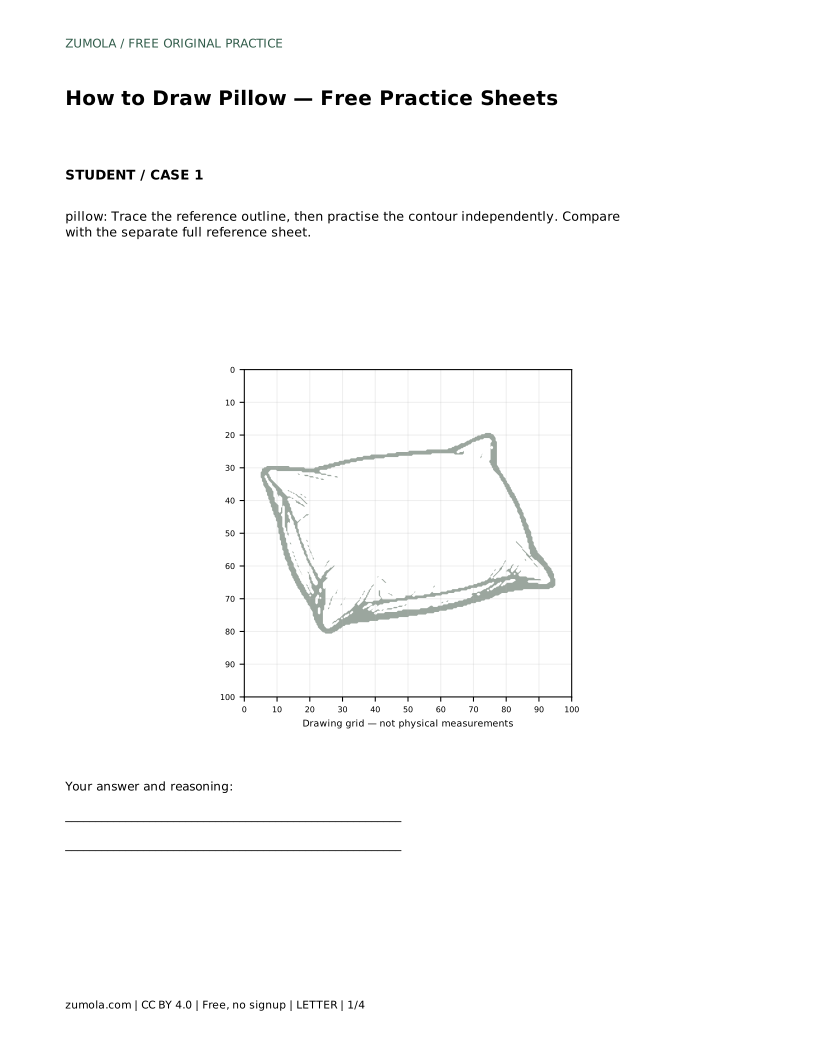
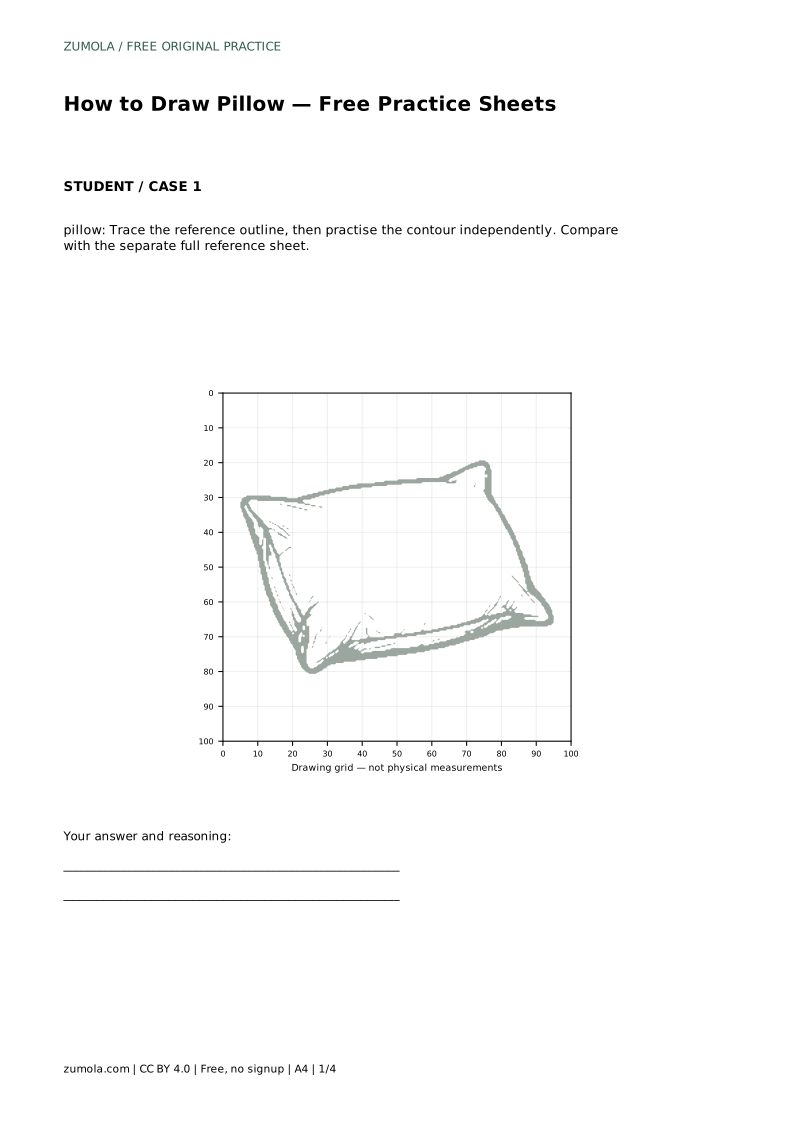
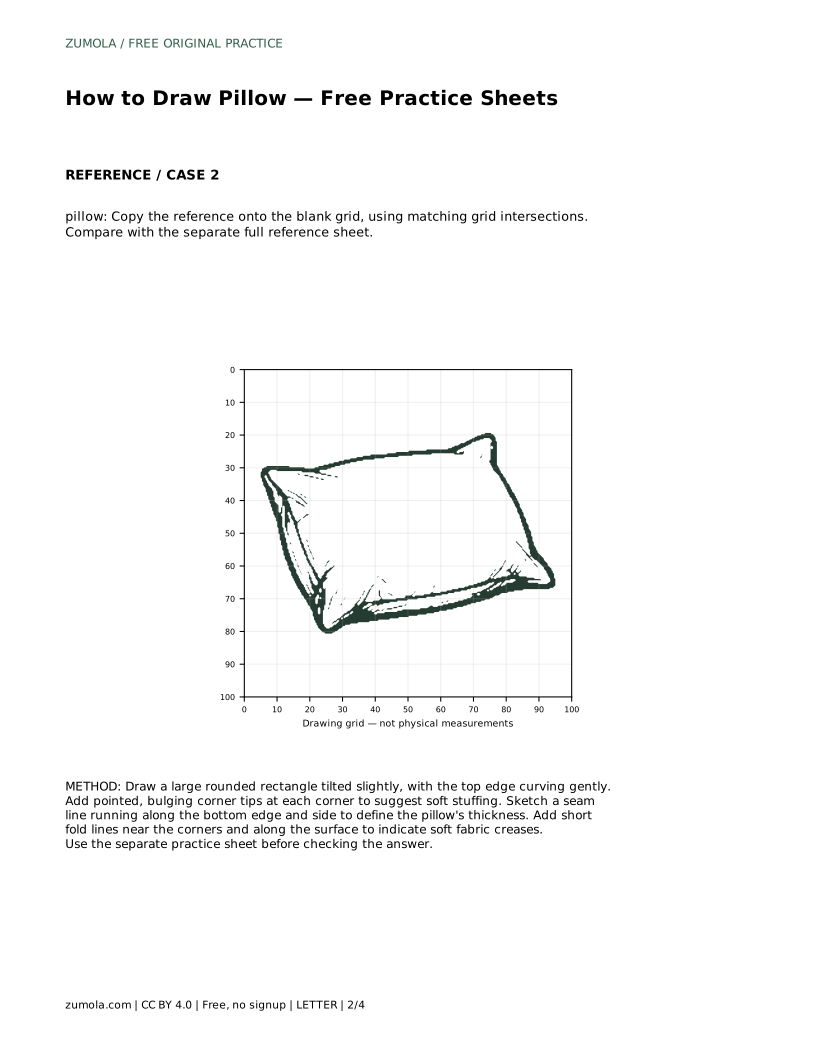
pillow: Trace the reference outline, then practise the contour independently. Compare with the separate full reference sheet.
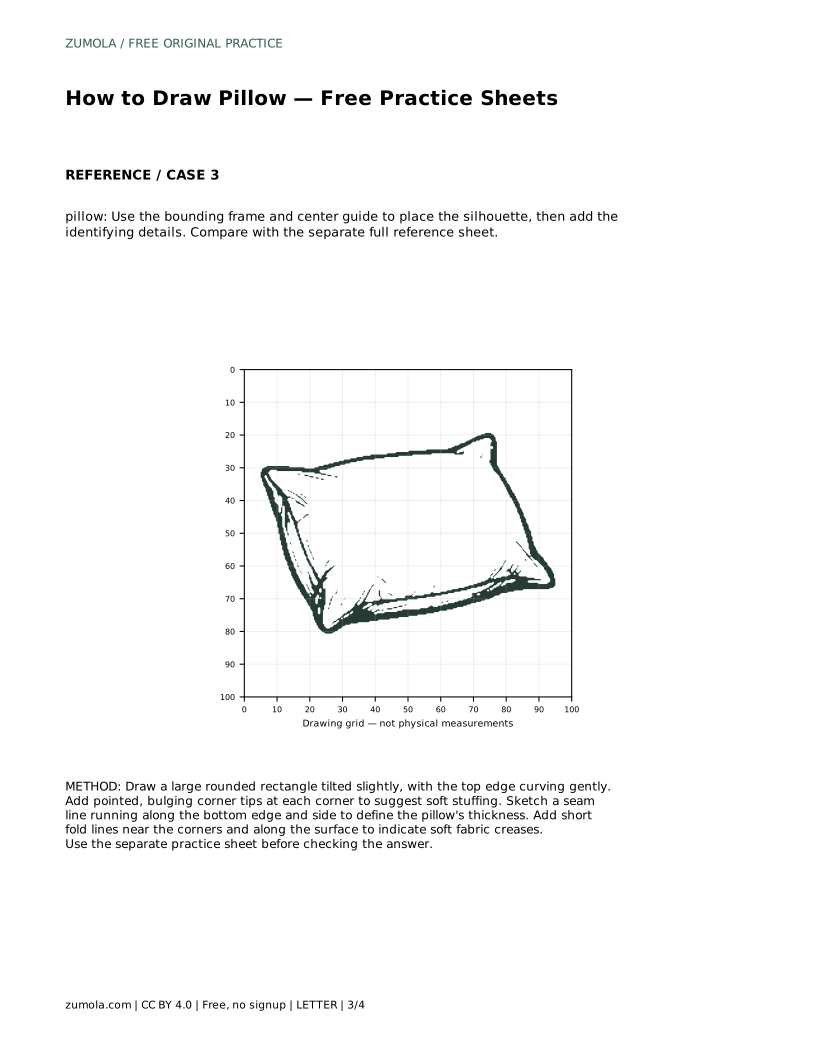
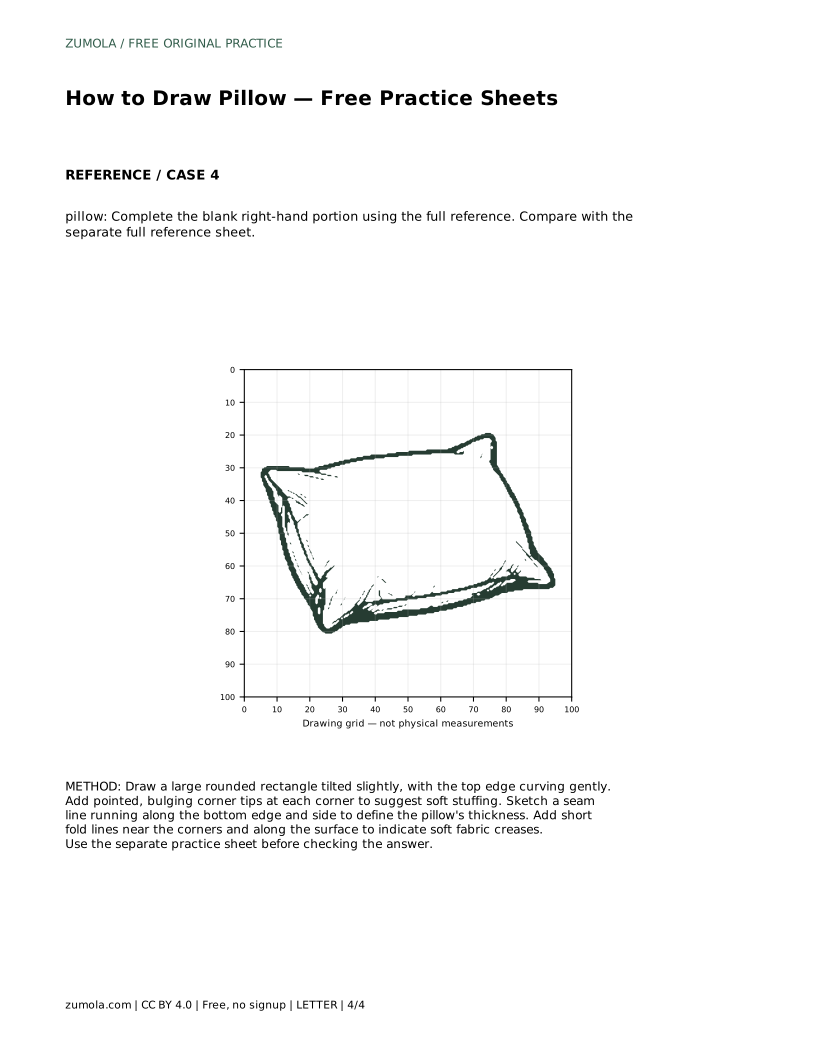
Example solution: preserve rounded rectangular cushion shape, soft bulging corners with pointed tips, seam and fold lines along edges and surface. Other drawings can be correct; assess the visible features and proportions rather than pixel-perfect matching. Draw a large rounded rectangle tilted slightly, with the top edge curving gently. Add pointed, bulging corner tips at each corner to suggest soft stuffing. Sketch a seam line running along the bottom edge and side to define the pillow's thickness. Add short fold lines near the corners and along the surface to indicate soft fabric creases.
No. Use the reference to check that the cushion shape, corner tips, seam, and fold lines are present and proportionate. Other drawings can be correct.
A few short creases near the corners plus one or two gentle surface folds is usually enough. Too many lines make the fabric look stiff or messy.
The seam line is likely missing or too far inside the outline. A narrow, even gap between seam and edge suggests thickness.
All drawing practice · Free coordinate paper
Original resources · CC BY 4.0 · Free for personal and classroom use with attribution.