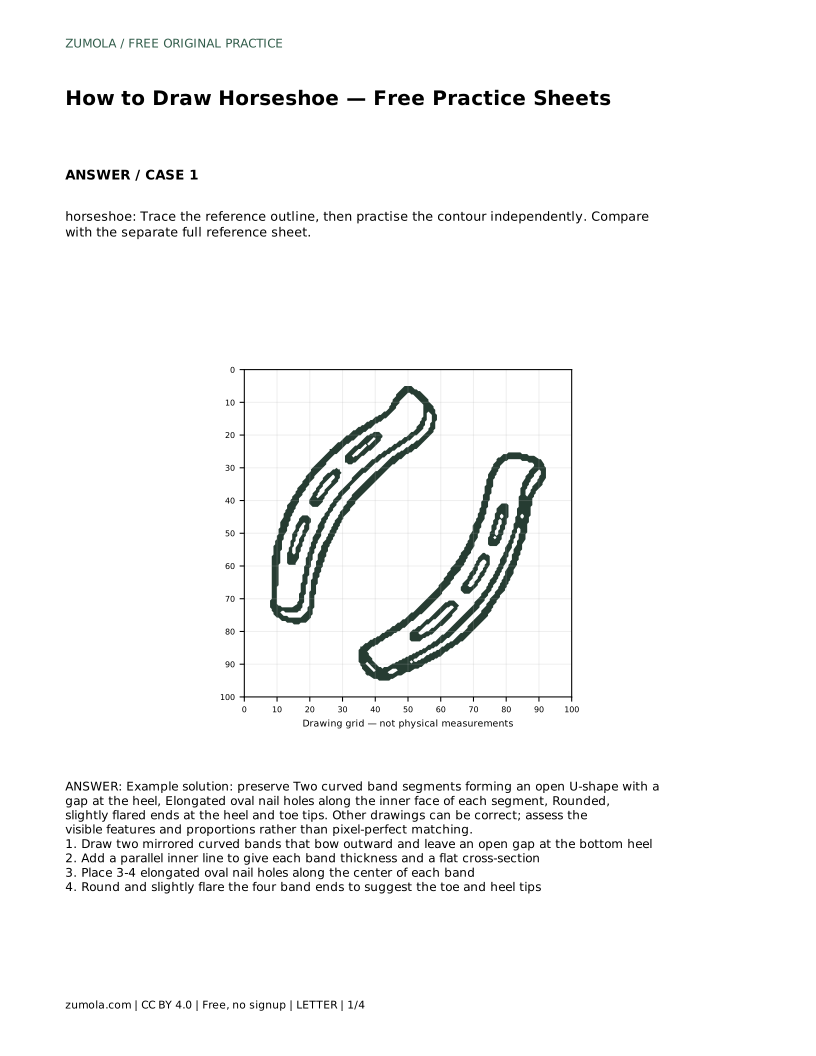
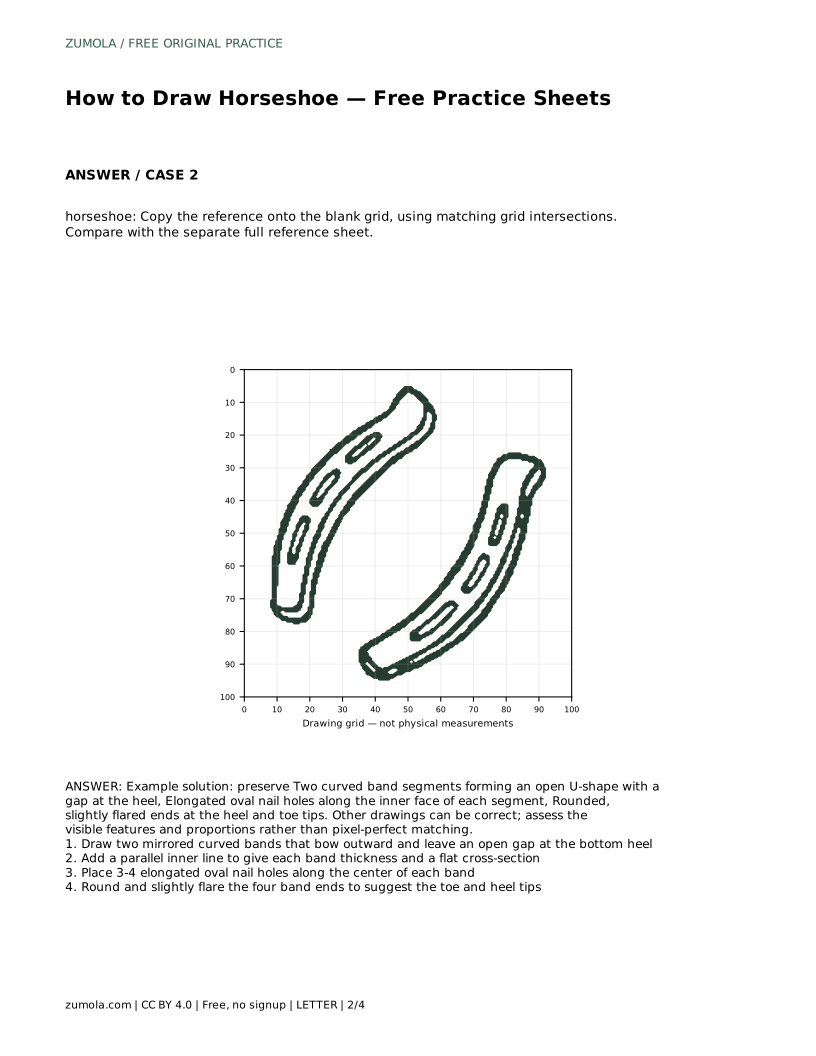
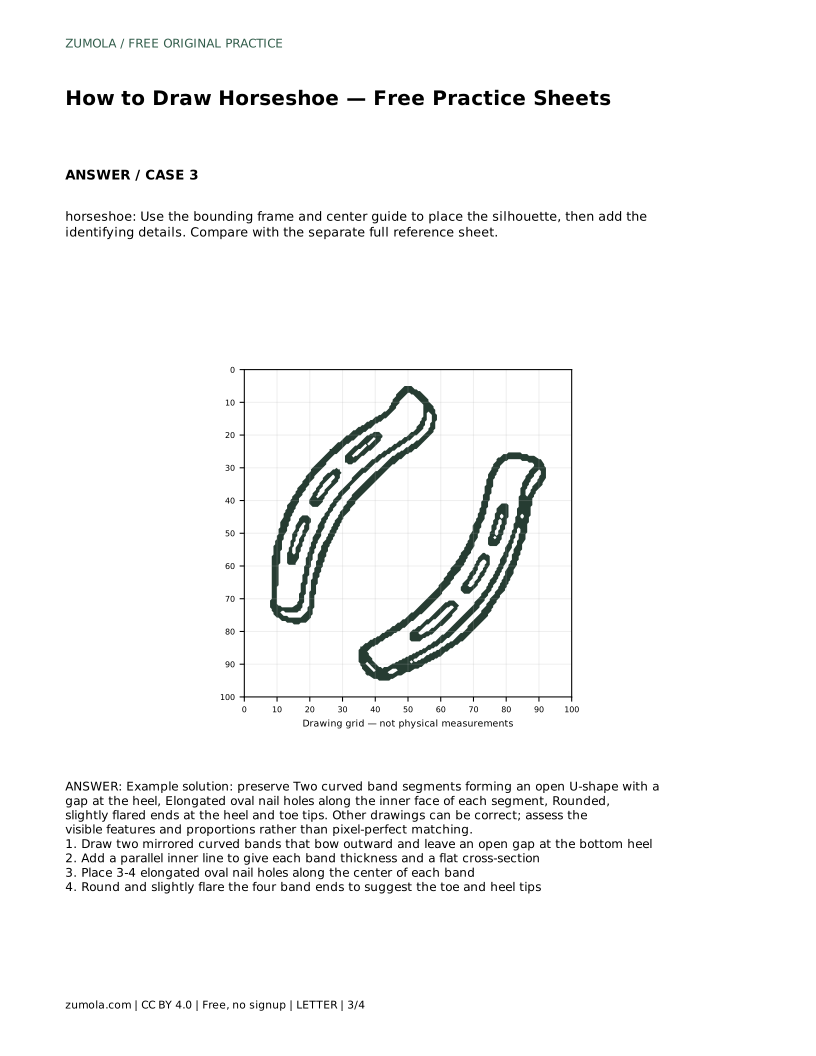
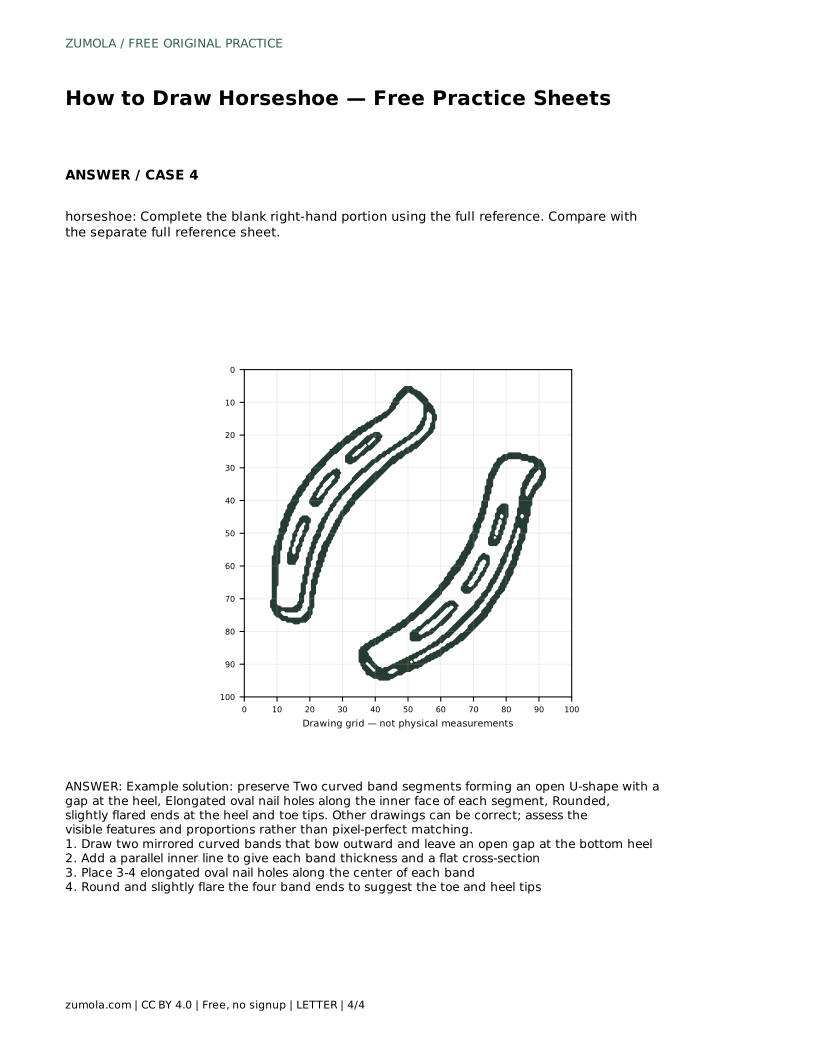
Reference diagrams
LETTER · Download PDF
A4 · Download PDF
Free original resources
Learn to draw a horseshoe by building two curved bands, adding thickness and nail holes, and shaping the heel and toe tips. Includes practice-sheet guidance and a rubric.
Four original cases, with reference diagrams, practice sheets and worked answers. Everything is free; no signup required.
LETTER · Download PDF
A4 · Download PDF
LETTER · Download PDF
A4 · Download PDF
LETTER · Download PDF
A4 · Download PDF
Use A4 or US Letter to match your printer. Use the stated values and conditions to solve each exercise; diagrams are not physical measuring rulers.
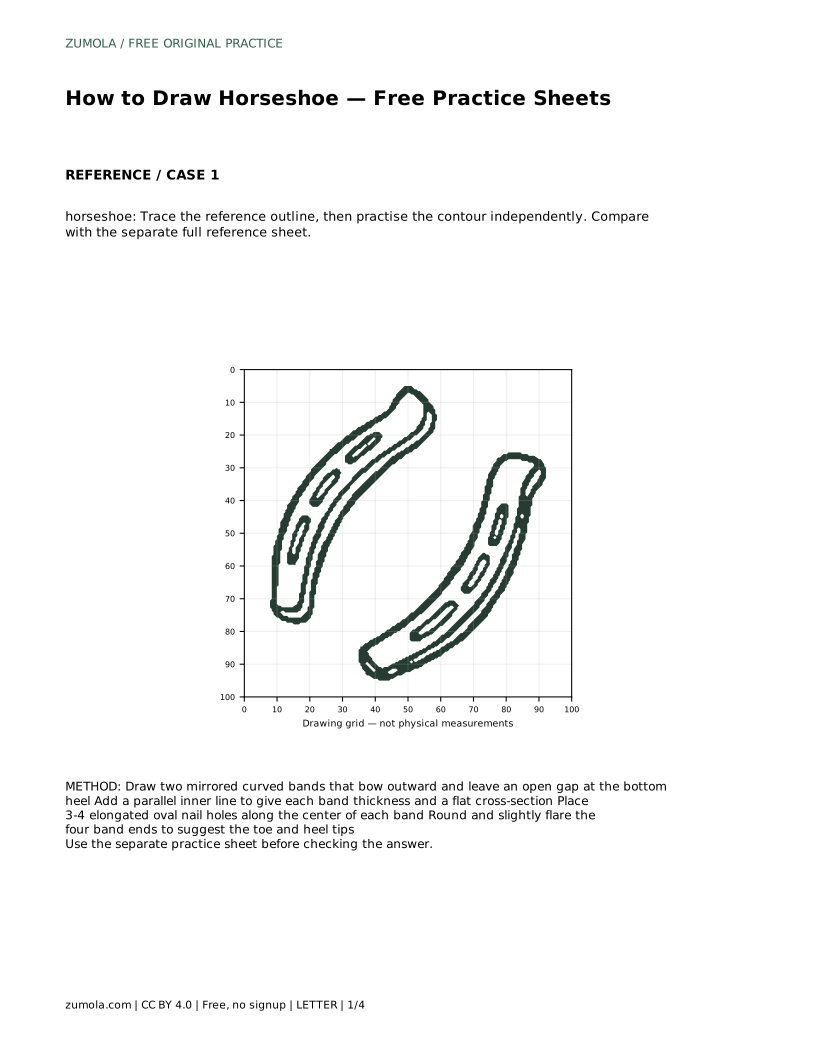
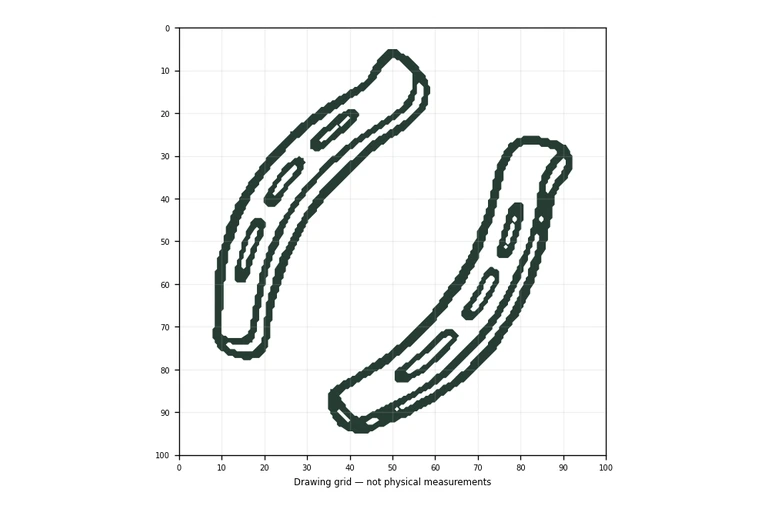
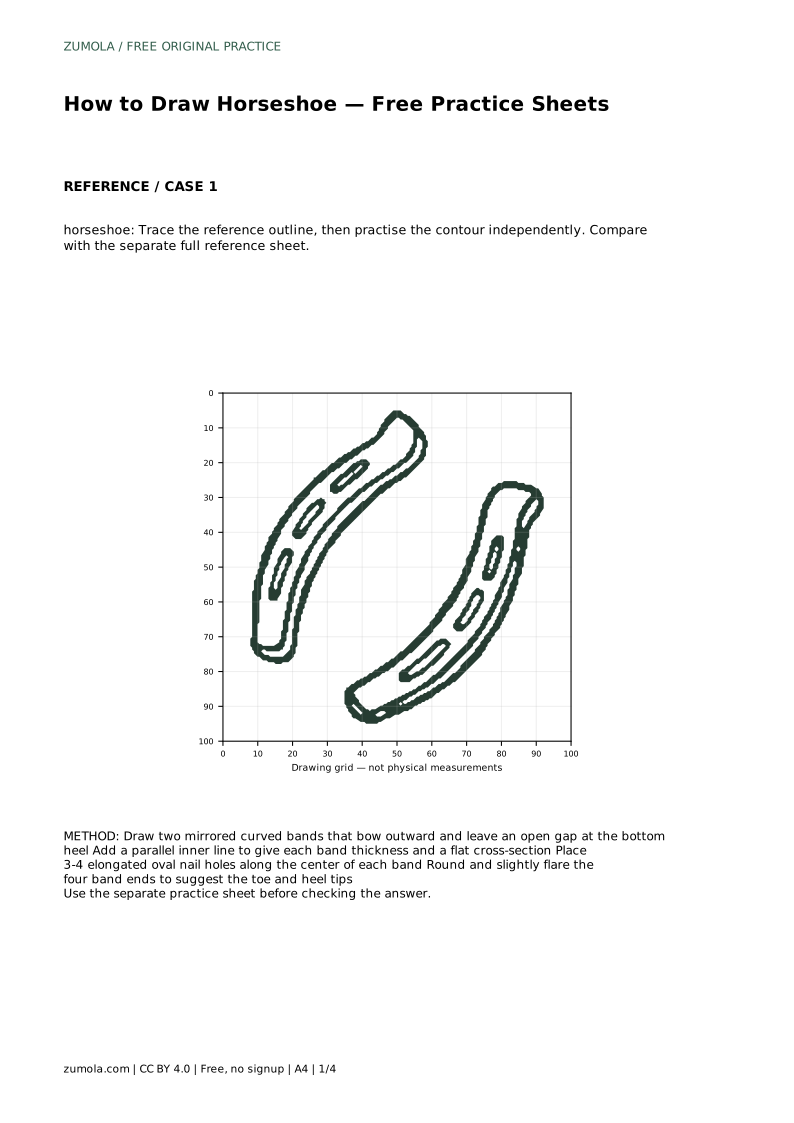
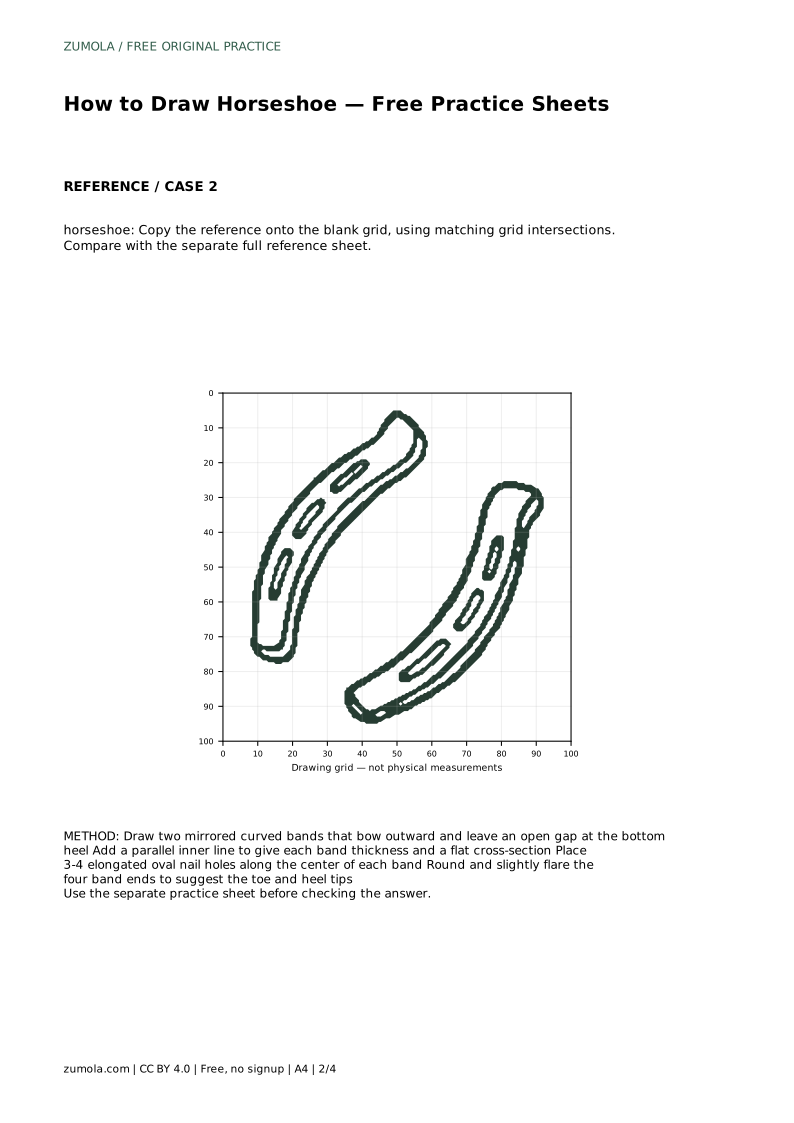
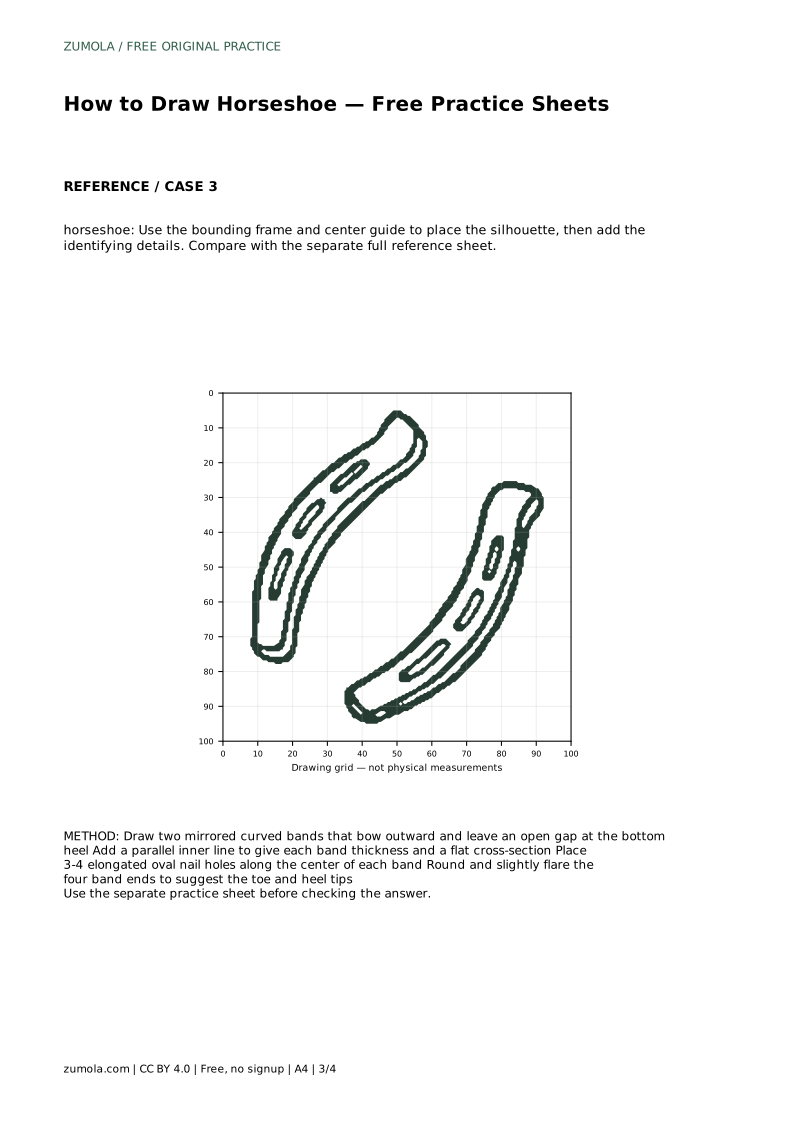
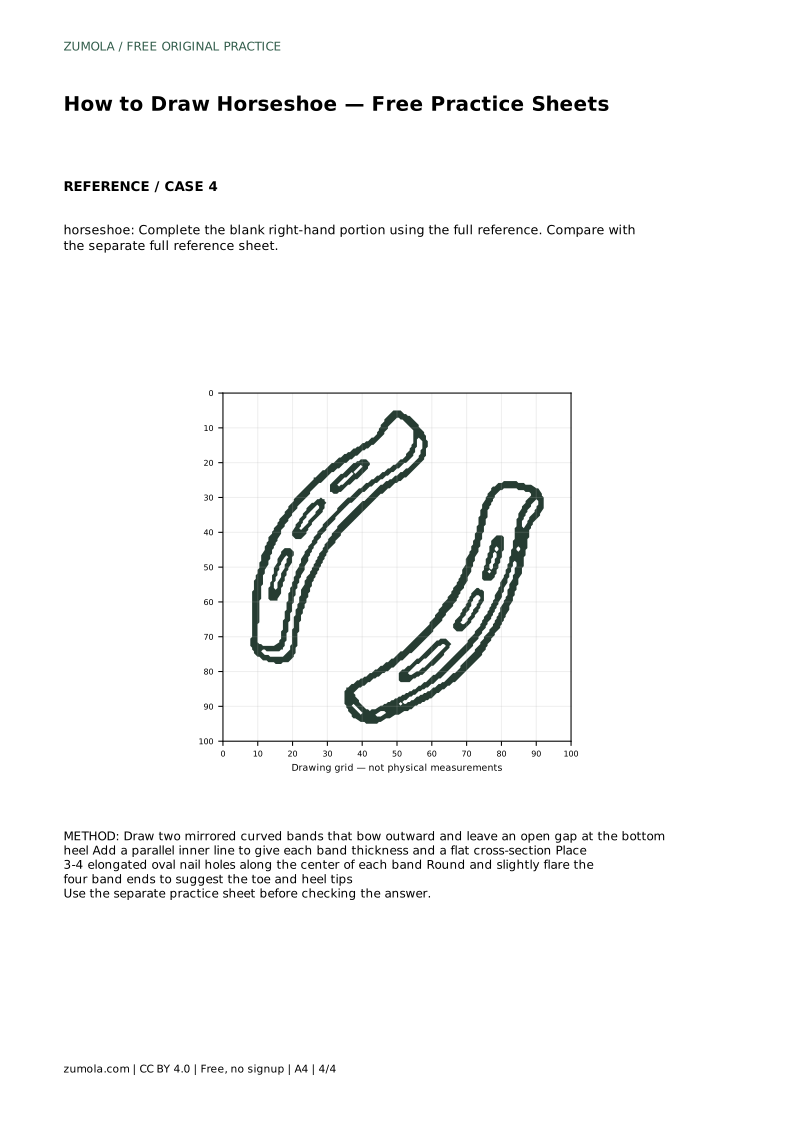
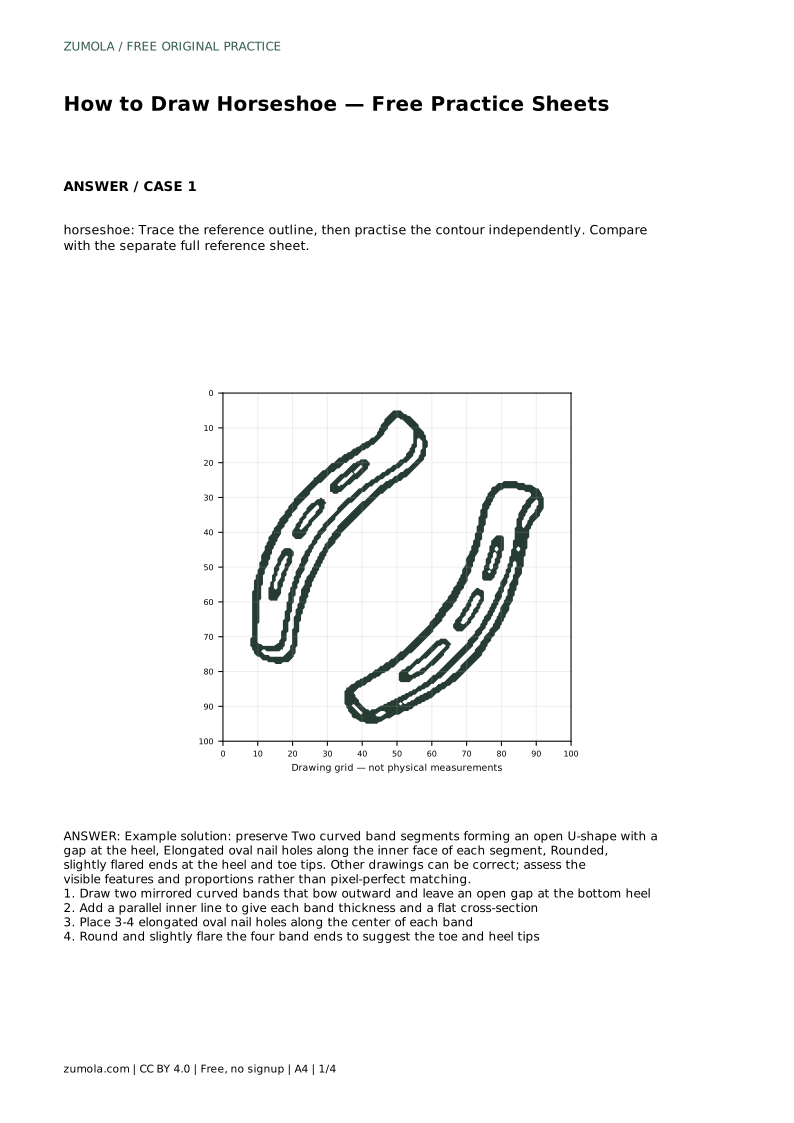
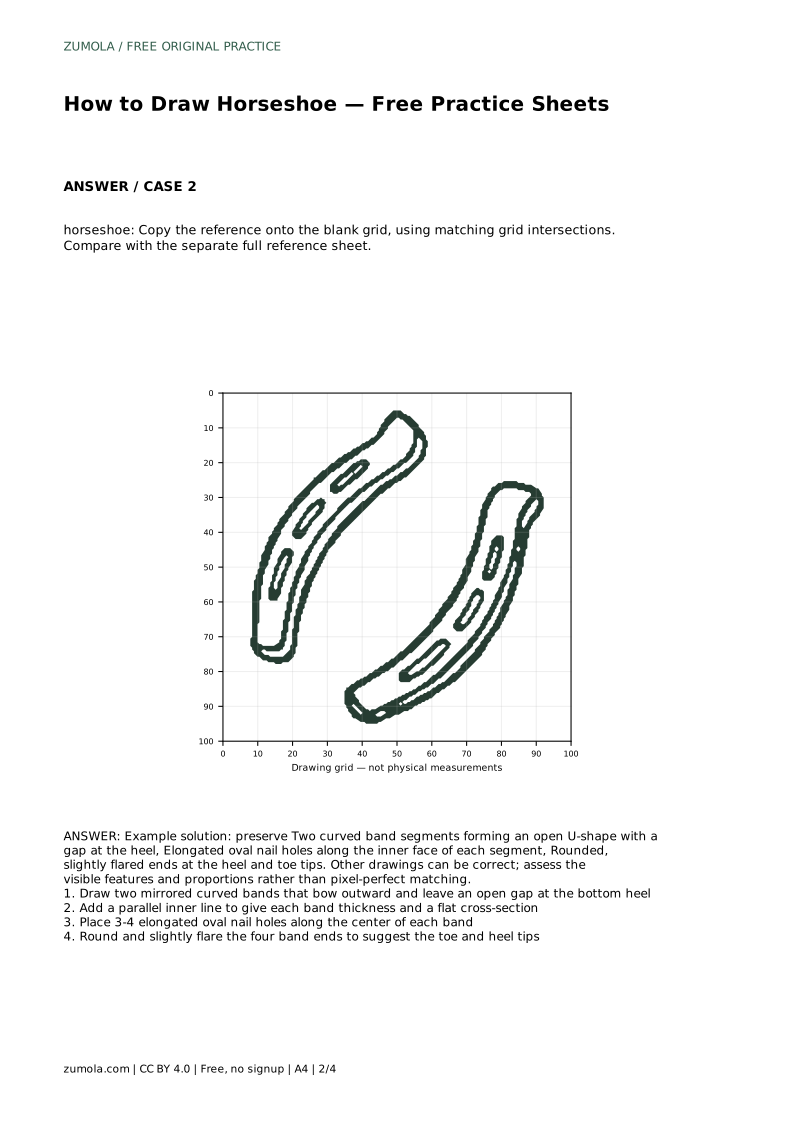
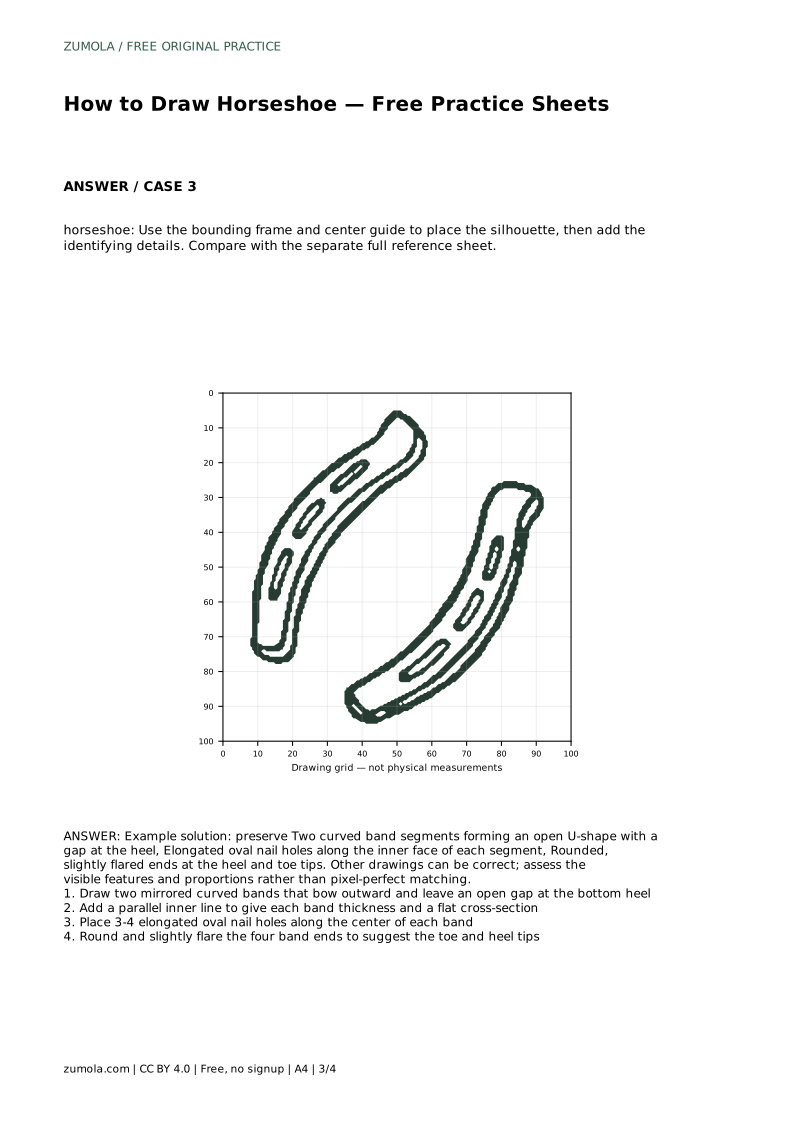
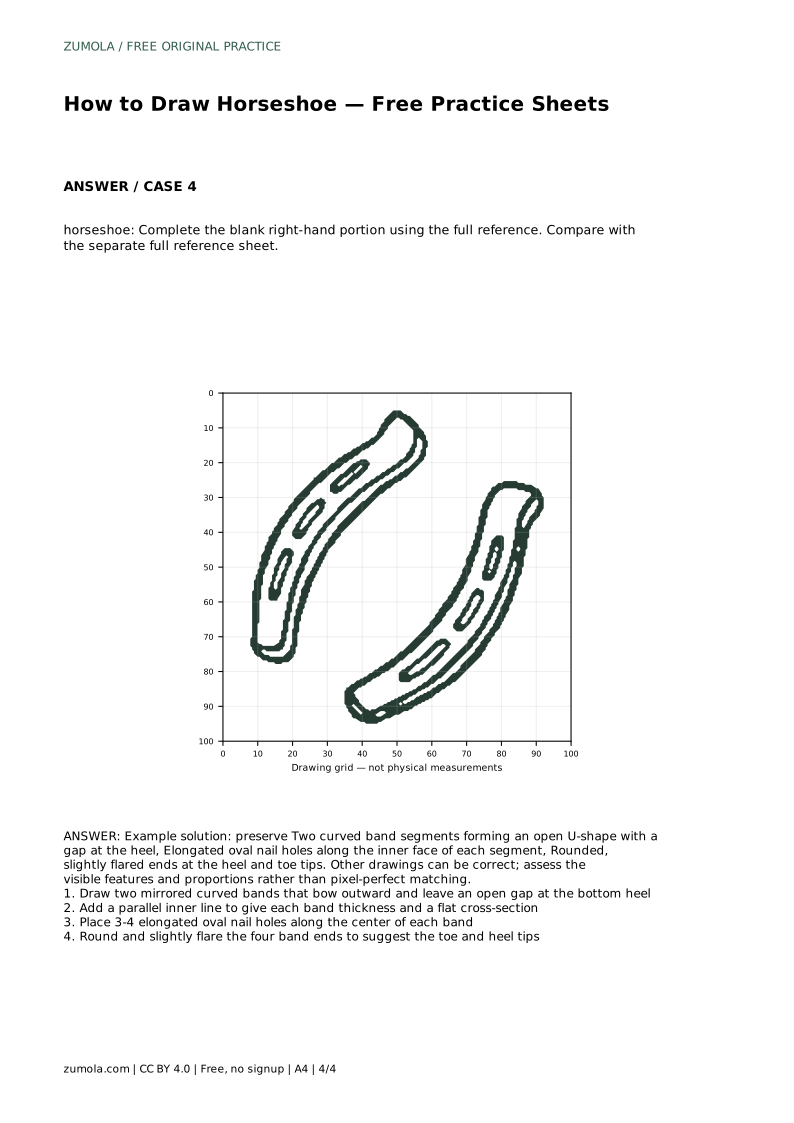
A horseshoe is a simple shape with a few details that make it recognizable. The key is to treat it as two mirrored curved bands rather than one solid outline. This guide explains how to place the open U-shape, give each band thickness, add elongated nail holes, and round the ends. It also explains how to use tracing, grid, guide-frame, and partial-reference practice sheets, and how to judge your drawing fairly.
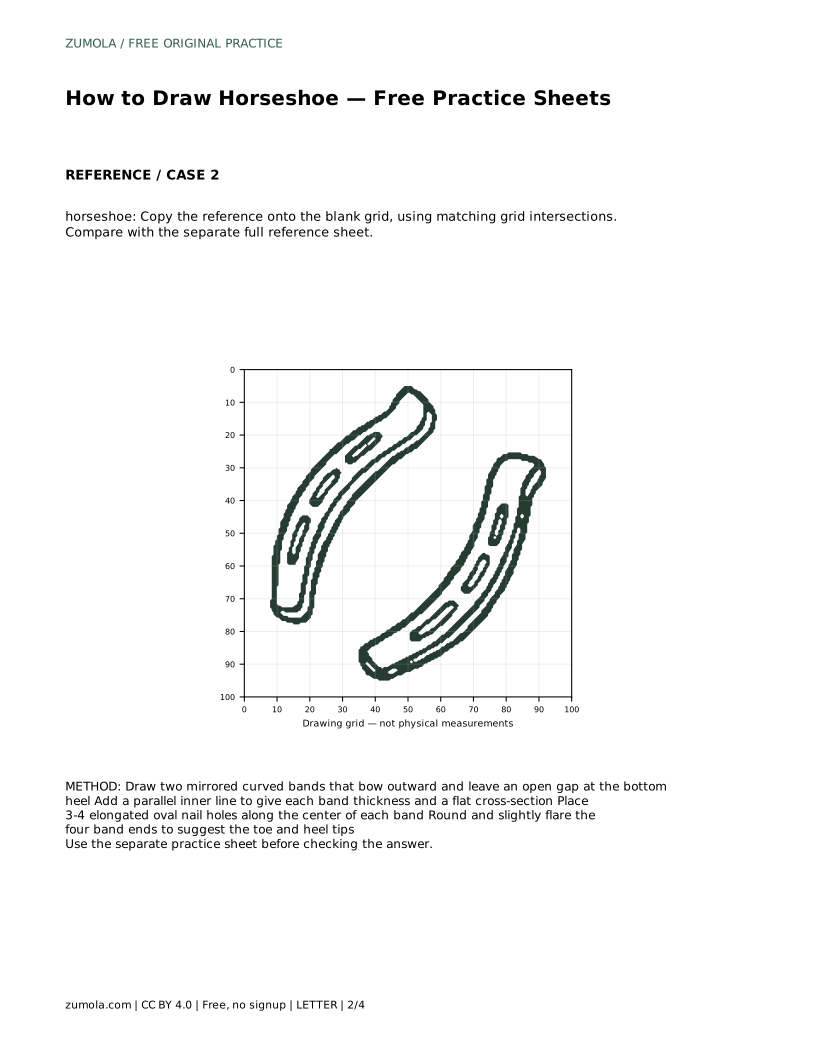
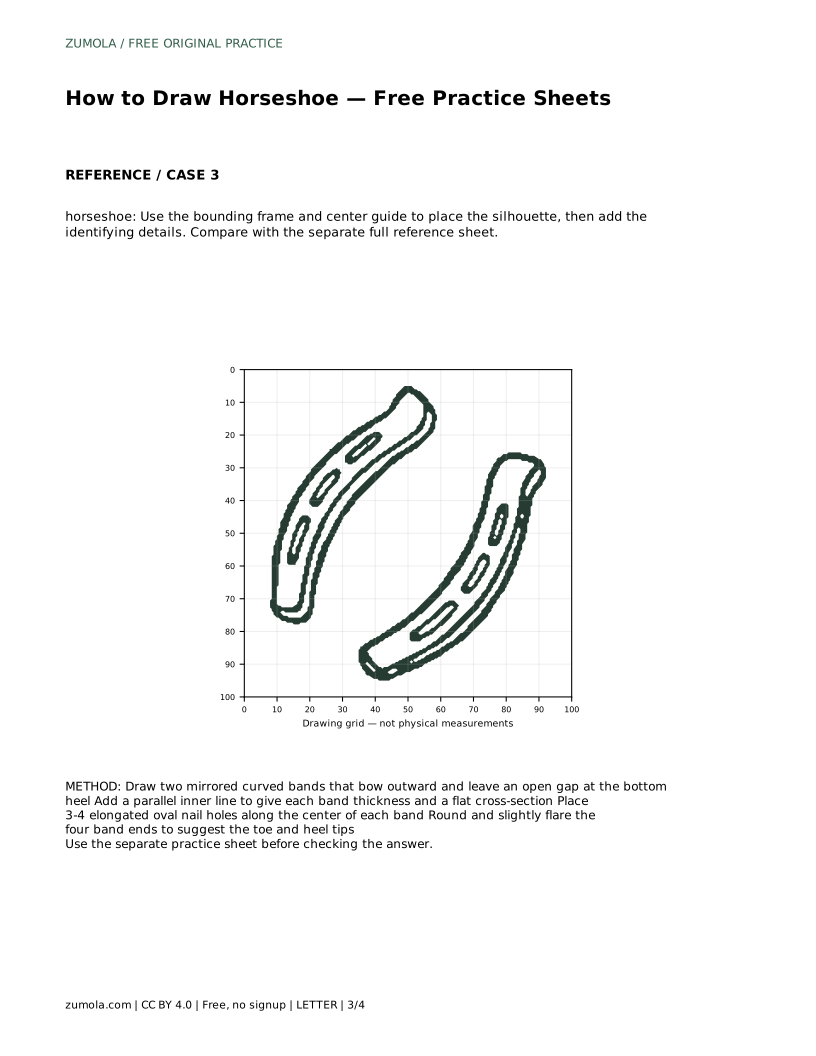
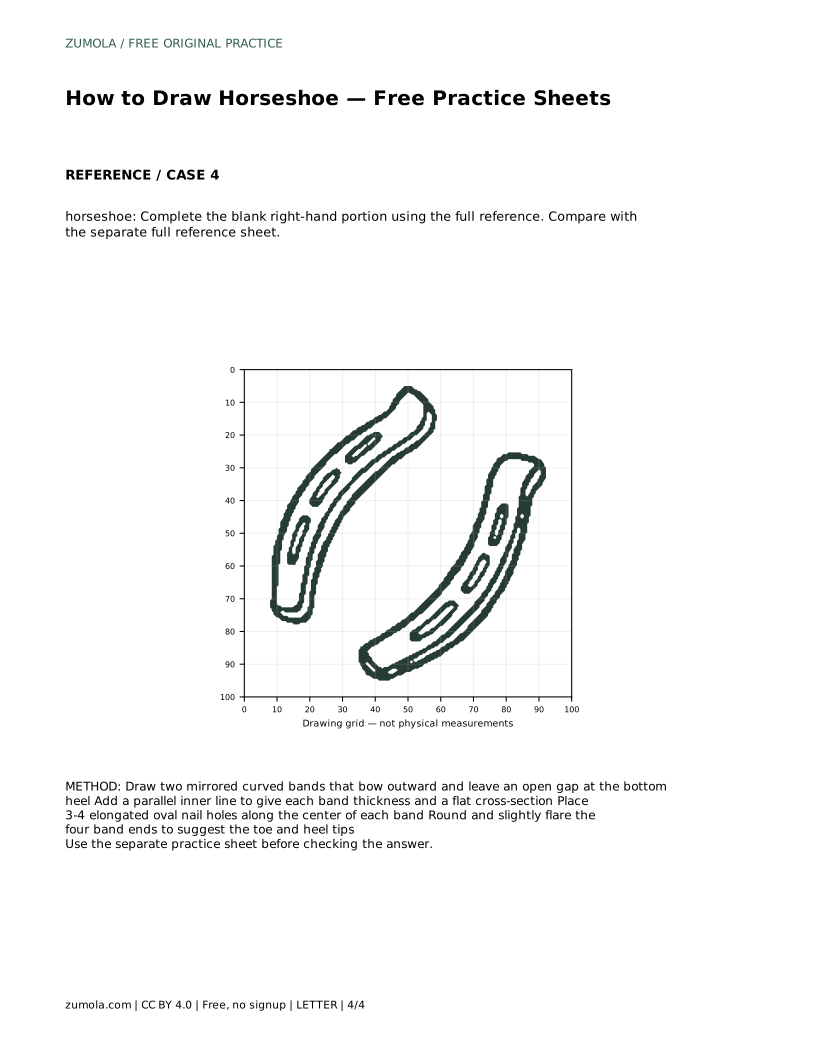
Start with the overall silhouette. Draw two curved bands that bow outward from a shared top curve and leave an open gap at the bottom, the heel. The bands should mirror each other, so check that the left and right sides reach similar heights and widths. Keep the gap clear; a closed loop reads as a ring, not a horseshoe.
Once the outer curves look balanced, add a parallel inner line to each band. This second line gives the band thickness and suggests a flat cross-section. Keep the gap between the outer and inner lines fairly even along each band, and let the inner line follow the same curve rather than cutting across it.
Nail holes are elongated ovals, not circles. Place three or four along the center of each band, following the curve so they sit evenly. Space them by eye and keep their long axis aligned with the band. Fewer, well-spaced holes usually look cleaner than many crowded ones.
Finish by rounding the four band ends and flaring them slightly. The two ends at the open heel and the two at the closed toe should look deliberate rather than cut off. Slight flare helps the shape read as a horseshoe rather than a bent strip.
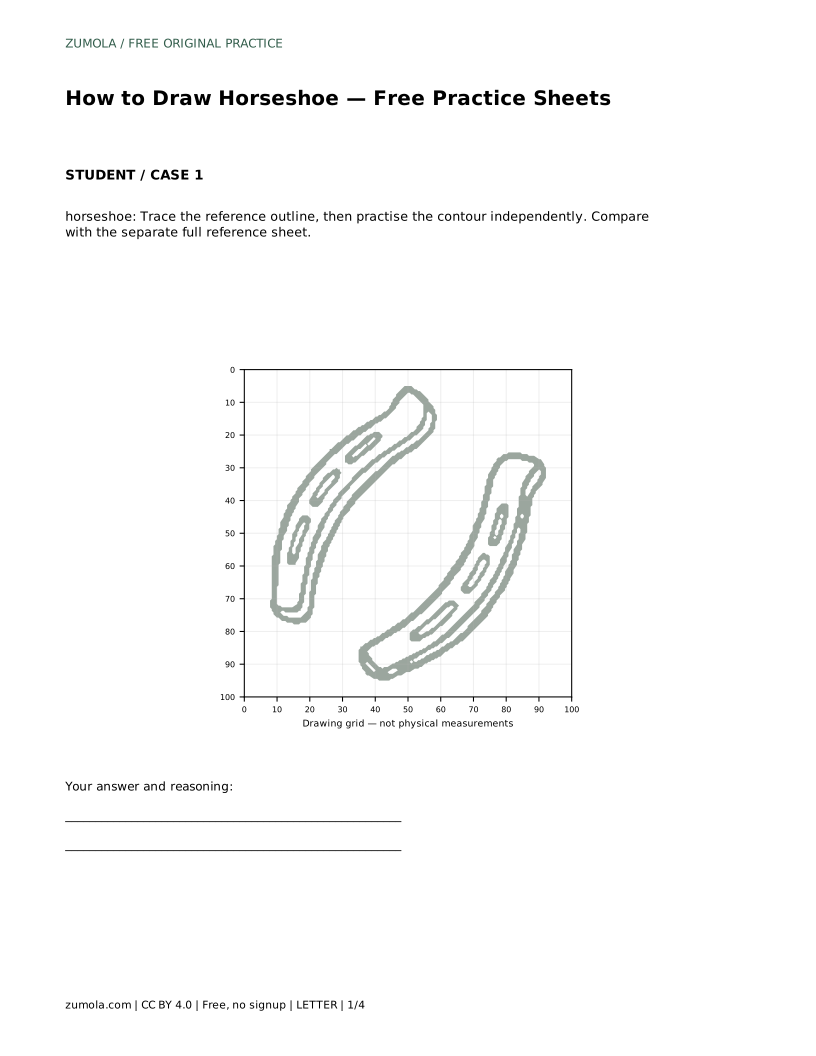
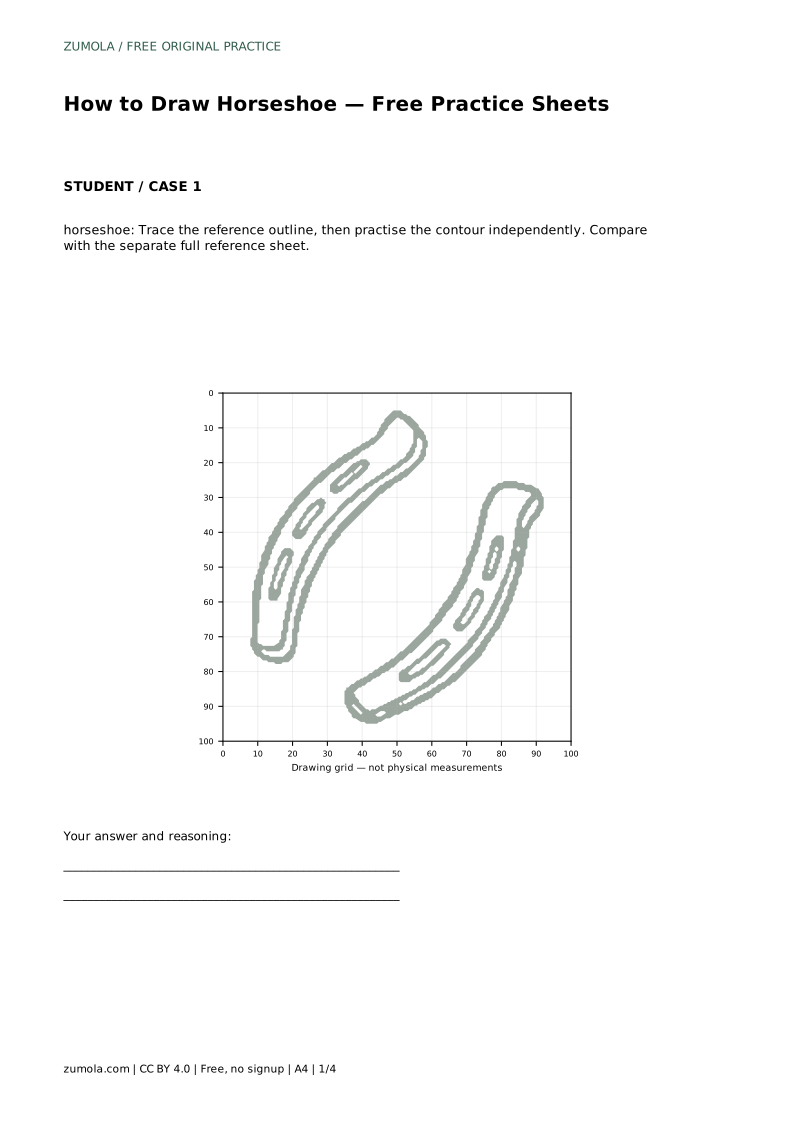
The tracing sheet asks you to follow the reference outline, then repeat the contour without tracing. Compare your free drawing with the separate full reference sheet, not with your traced line. The grid sheet asks you to copy the reference onto the blank grid using matching intersections, which helps you judge spacing and symmetry.
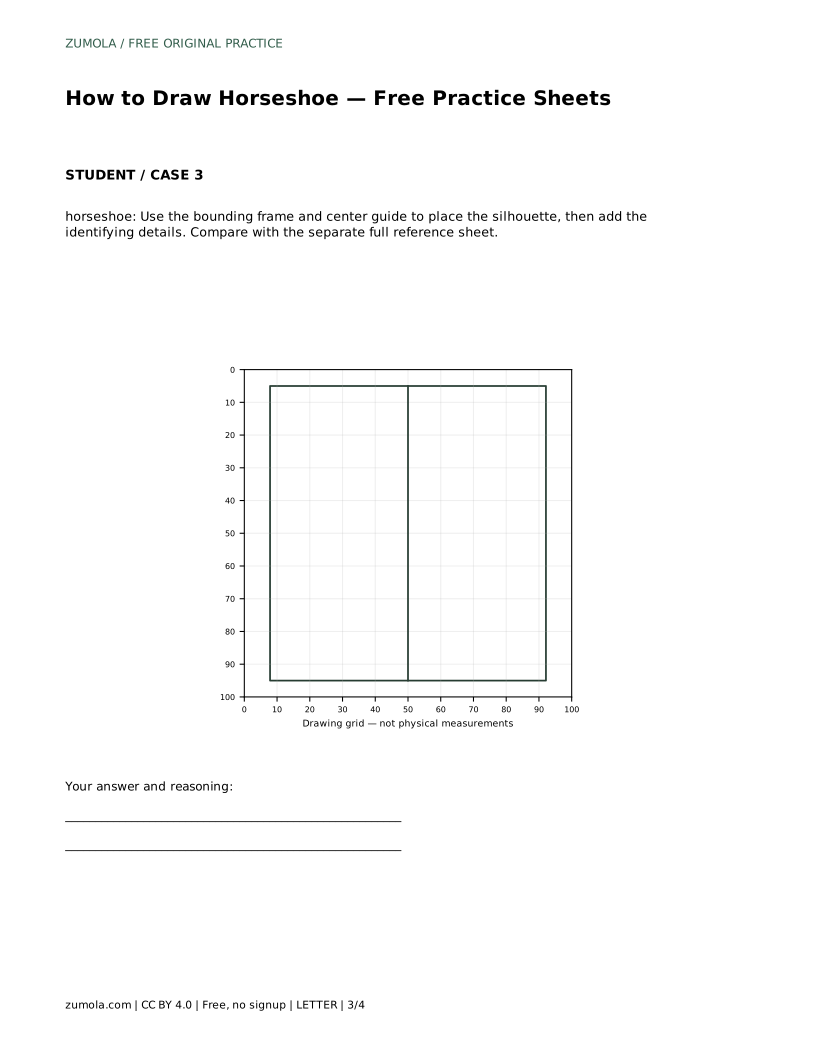
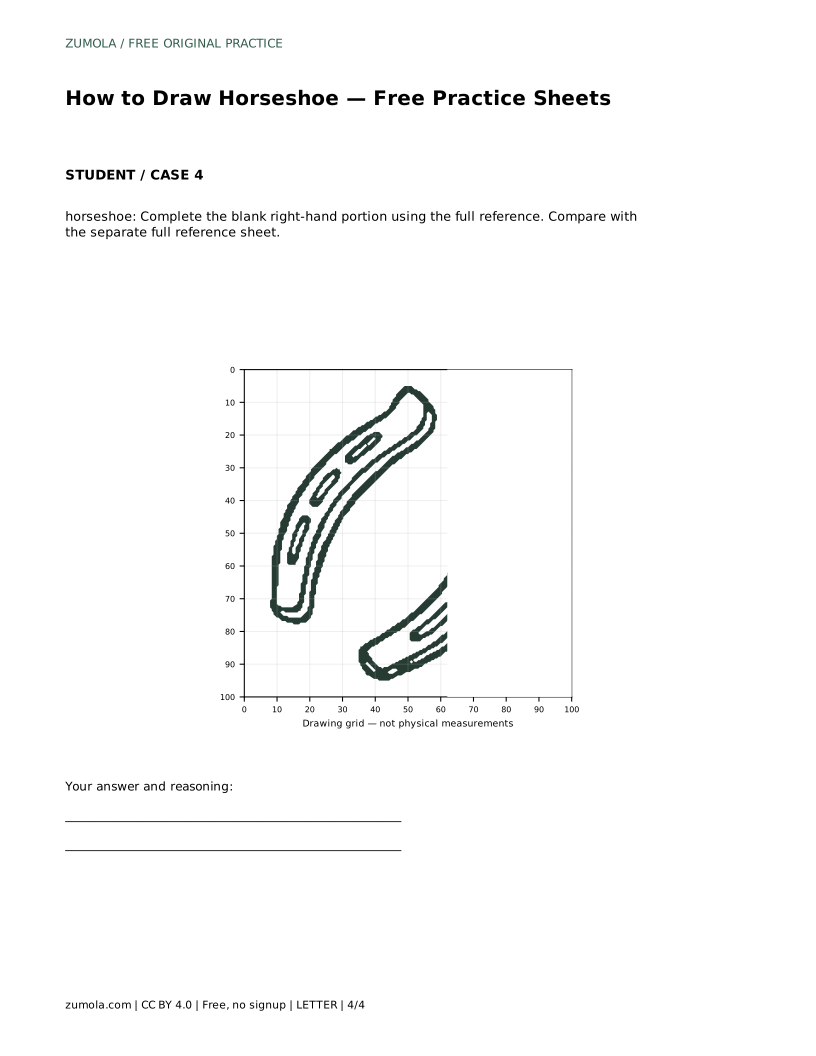
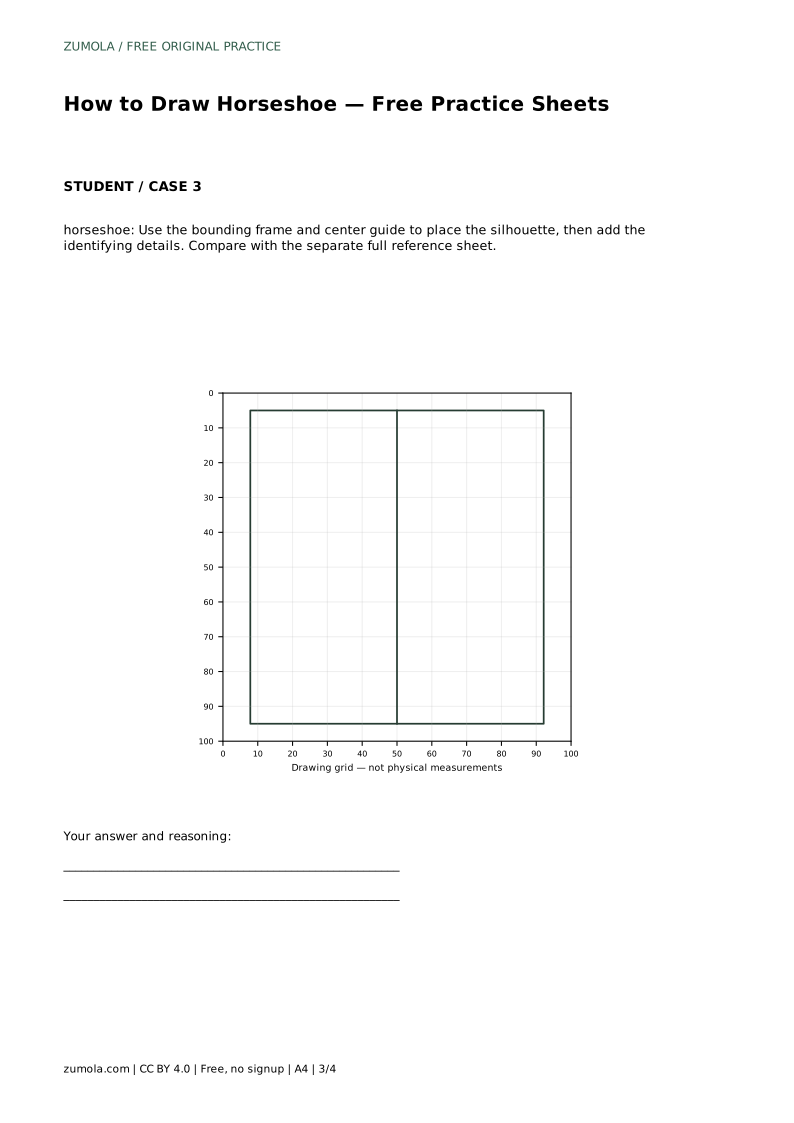
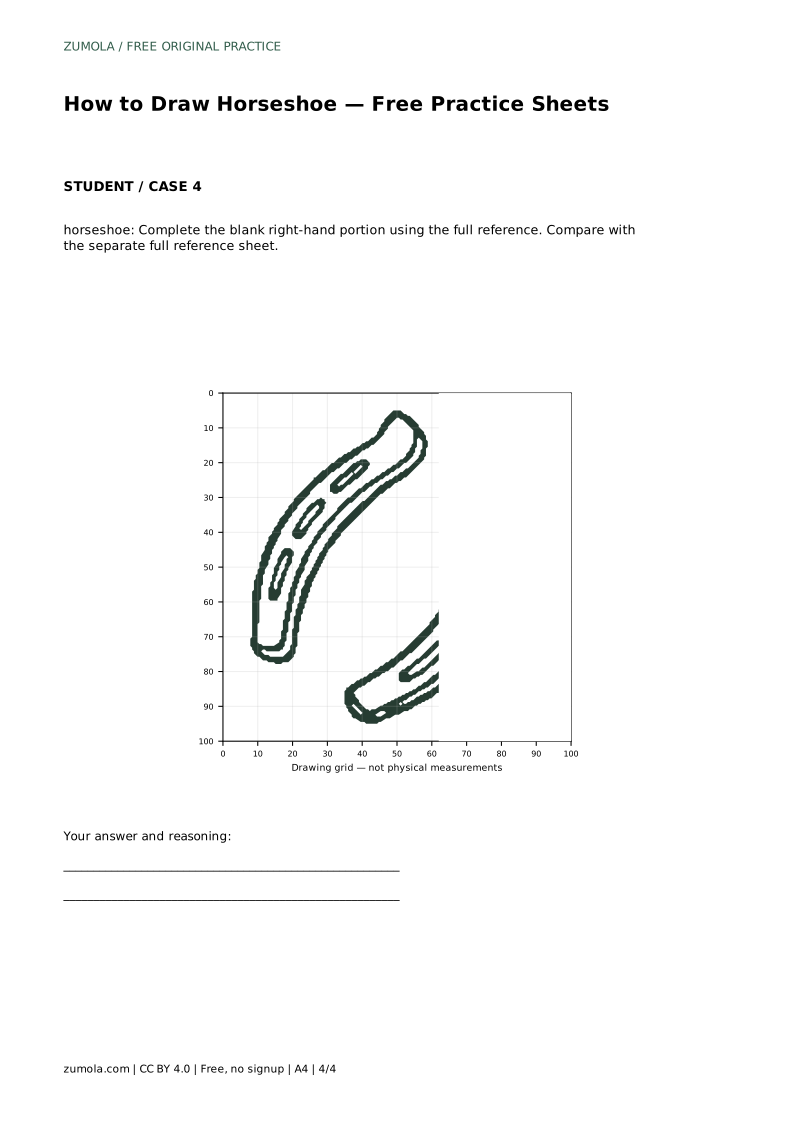
The guide-frame sheet gives a bounding frame and center guide. Use them to place the silhouette before adding details. The partial-reference sheet shows only the left portion; complete the blank right side by mirroring the visible curves and hole spacing. In every case, compare with the full reference sheet afterward.
Horseshoe drawings have many valid outcomes. Judge visible features and proportions rather than pixel-perfect matching. A drawing can be correct with slightly different band widths or hole counts, as long as the open heel, mirrored bands, thickness lines, elongated holes, and rounded flared ends are present and balanced.
horseshoe: Trace the reference outline, then practise the contour independently. Compare with the separate full reference sheet.
Example solution: preserve Two curved band segments forming an open U-shape with a gap at the heel, Elongated oval nail holes along the inner face of each segment, Rounded, slightly flared ends at the heel and toe tips. Other drawings can be correct; assess the visible features and proportions rather than pixel-perfect matching. Draw two mirrored curved bands that bow outward and leave an open gap at the bottom heel Add a parallel inner line to give each band thickness and a flat cross-section Place 3-4 elongated oval nail holes along the center of each band Round and slightly flare the four band ends to suggest the toe and heel tips
Three or four elongated ovals along the center of each band is a practical choice. Keep them evenly spaced and aligned with the curve.
Tracing can help you learn the contour, but follow it with an independent attempt and compare that attempt with the full reference sheet.
That can still be correct. Check the open heel, mirrored bands, thickness lines, elongated holes, and rounded flared ends instead of exact pixel matching.
All drawing practice · Free coordinate paper
Original resources · CC BY 4.0 · Free for personal and classroom use with attribution.