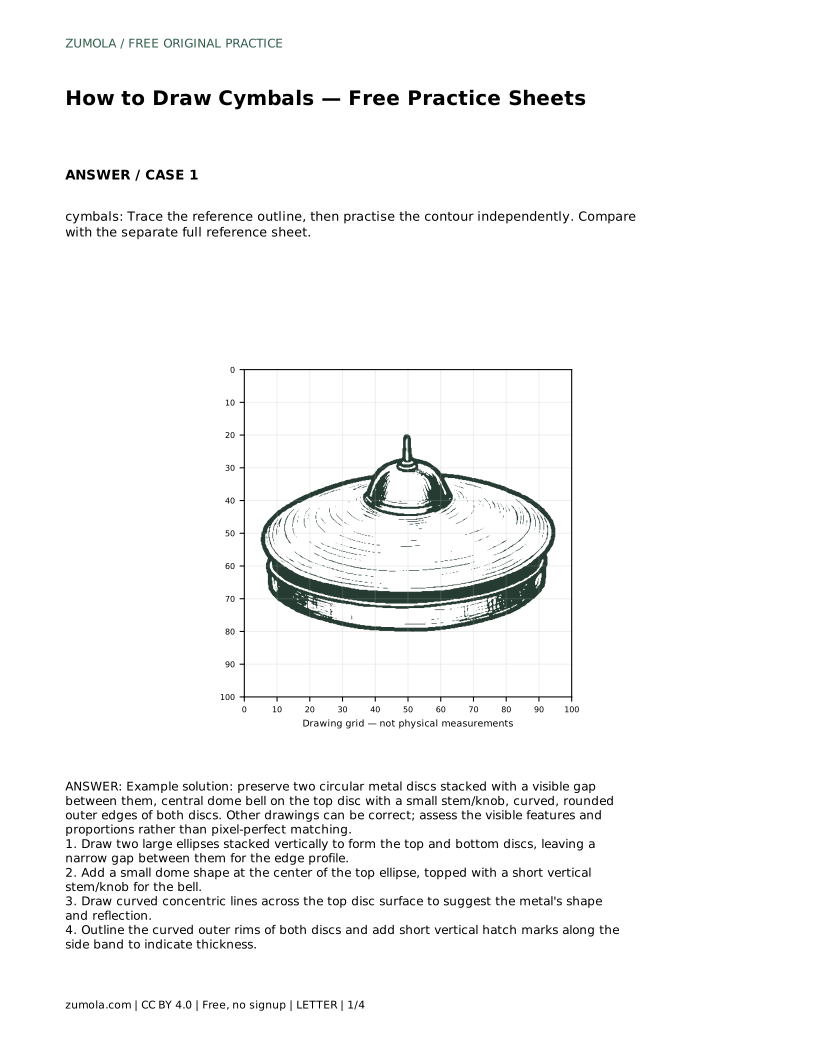
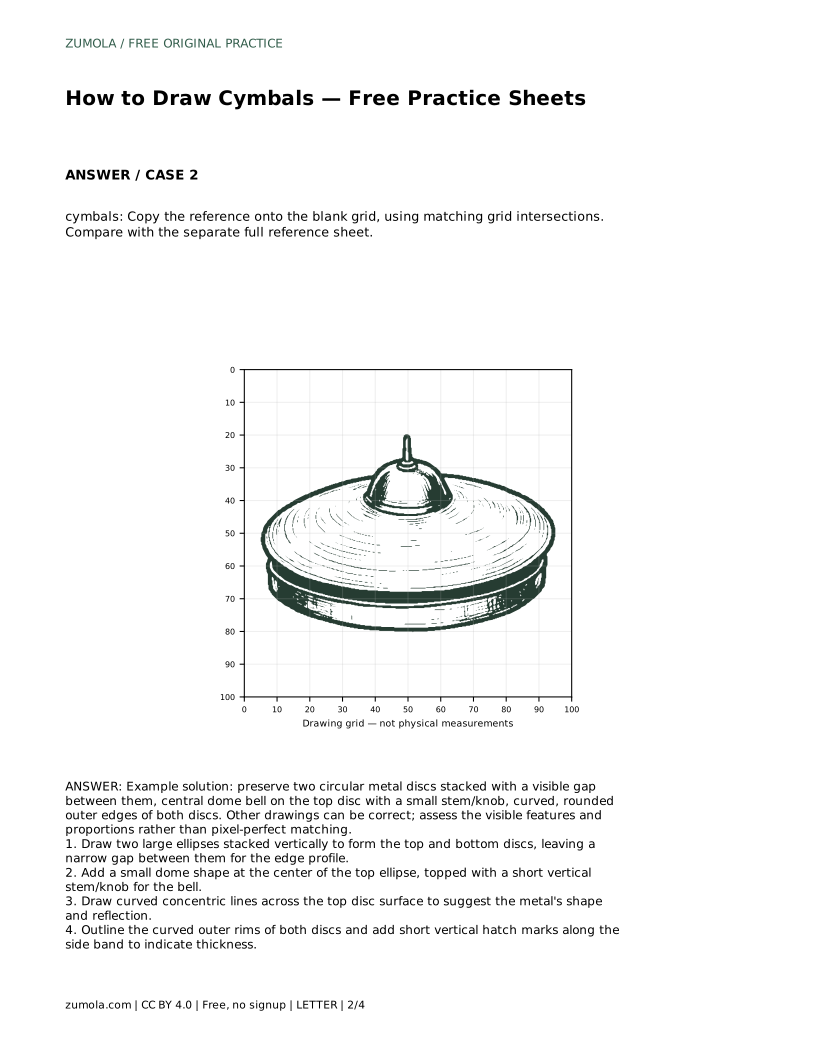
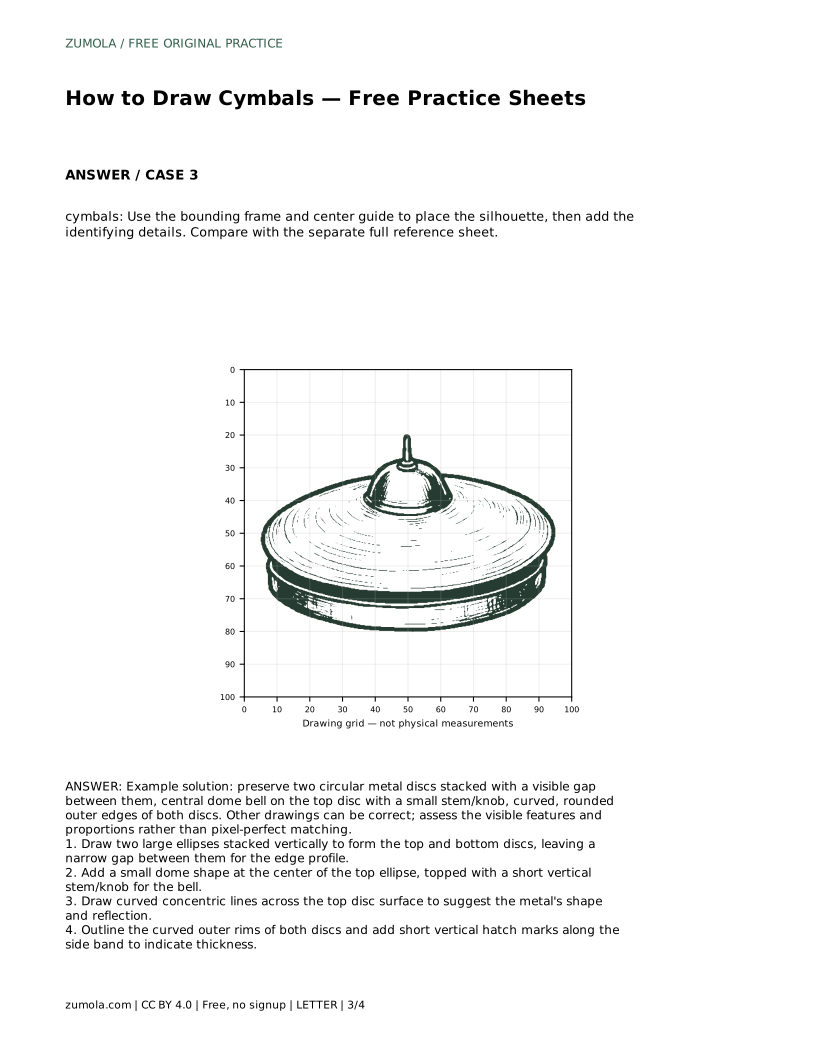
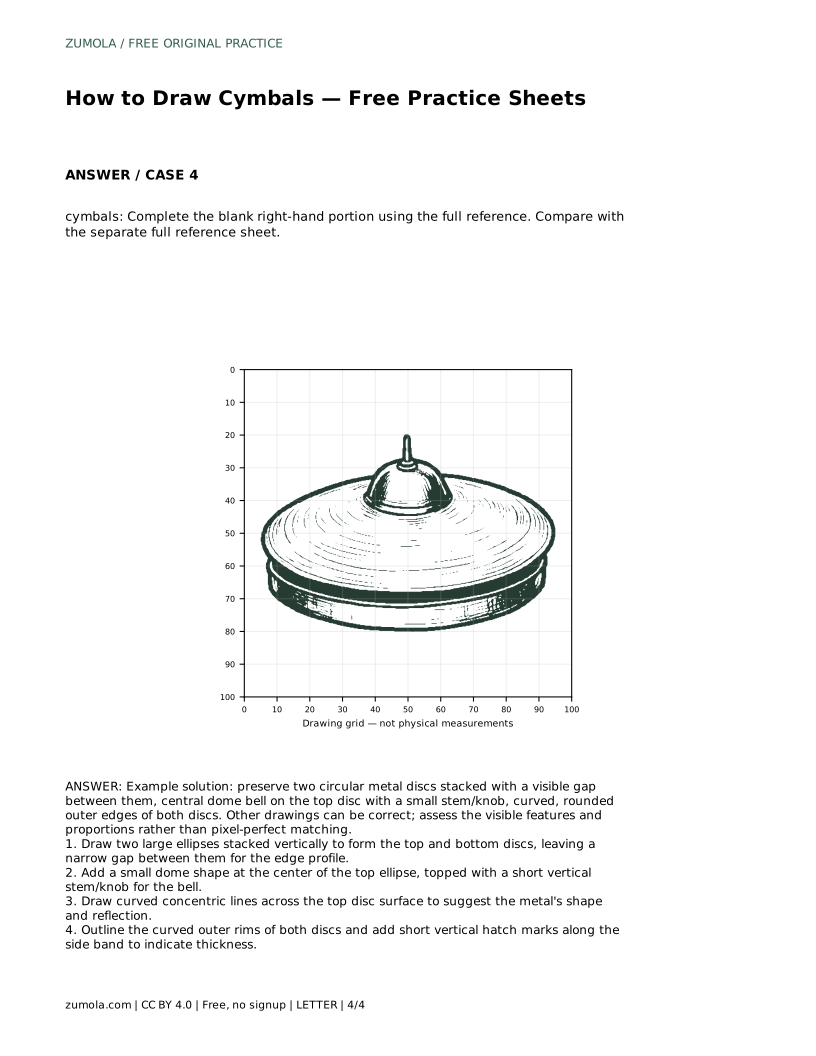
Reference diagrams
LETTER · Download PDF
A4 · Download PDF
Free original resources
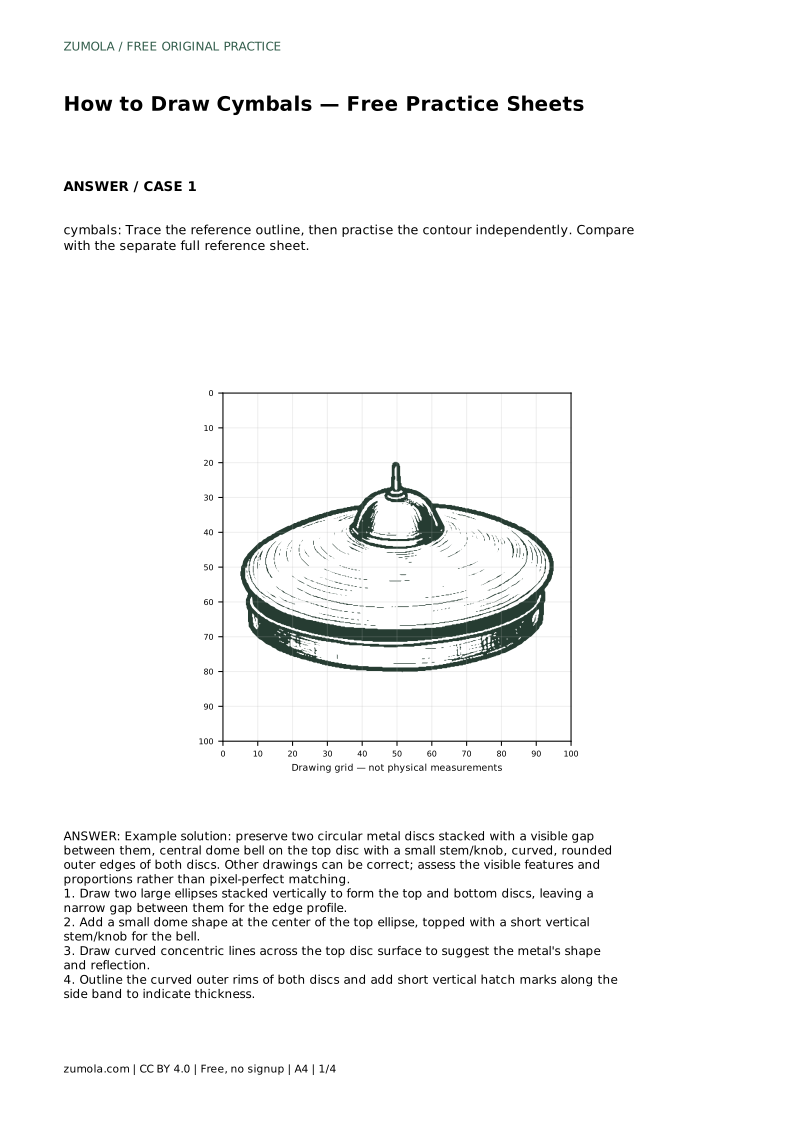
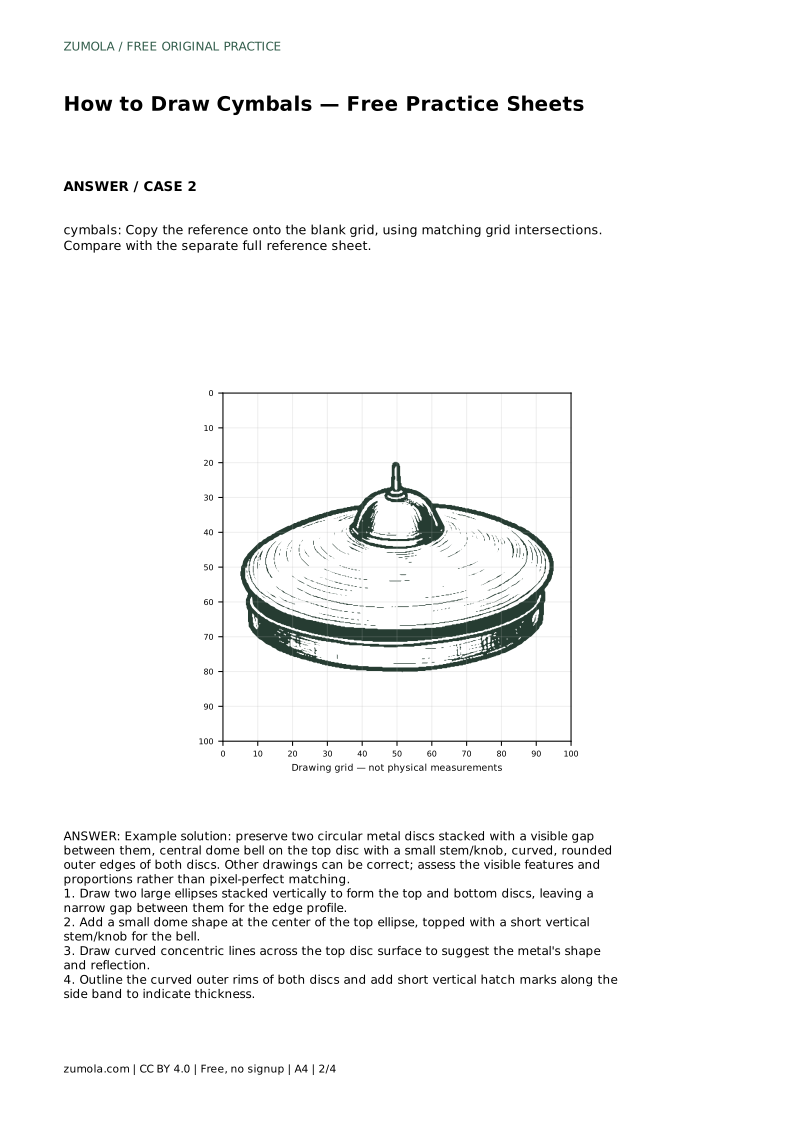
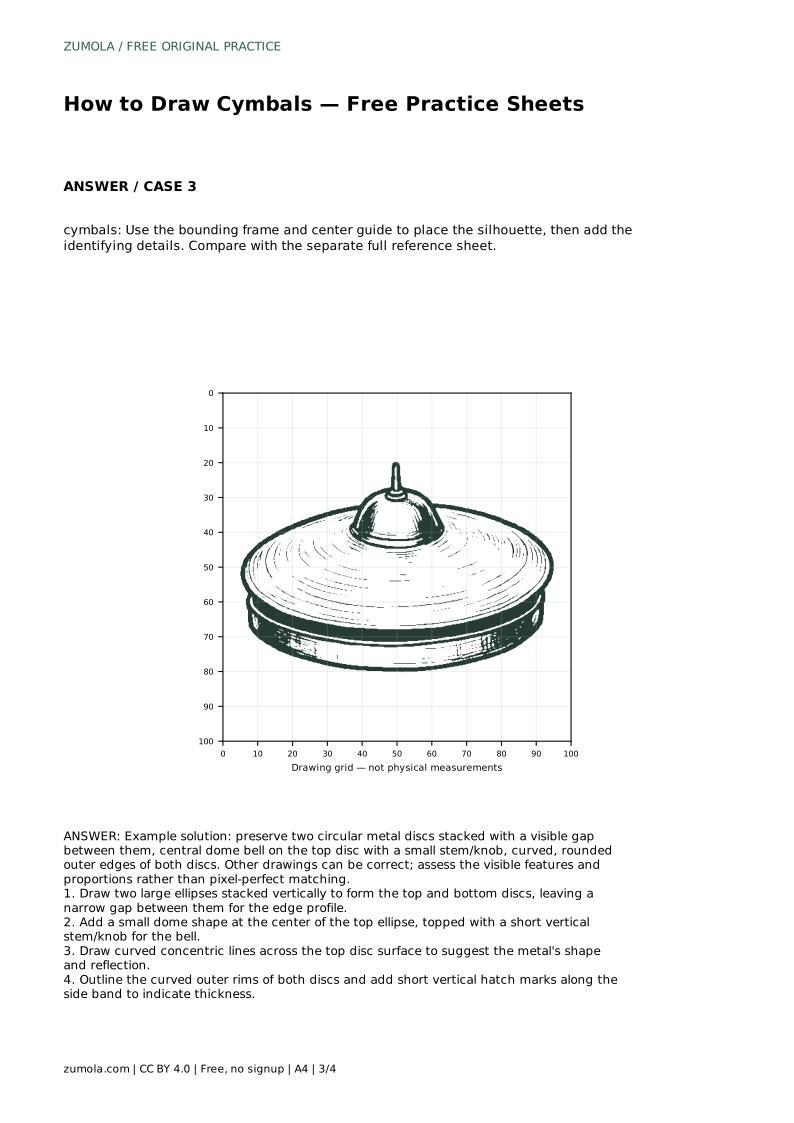
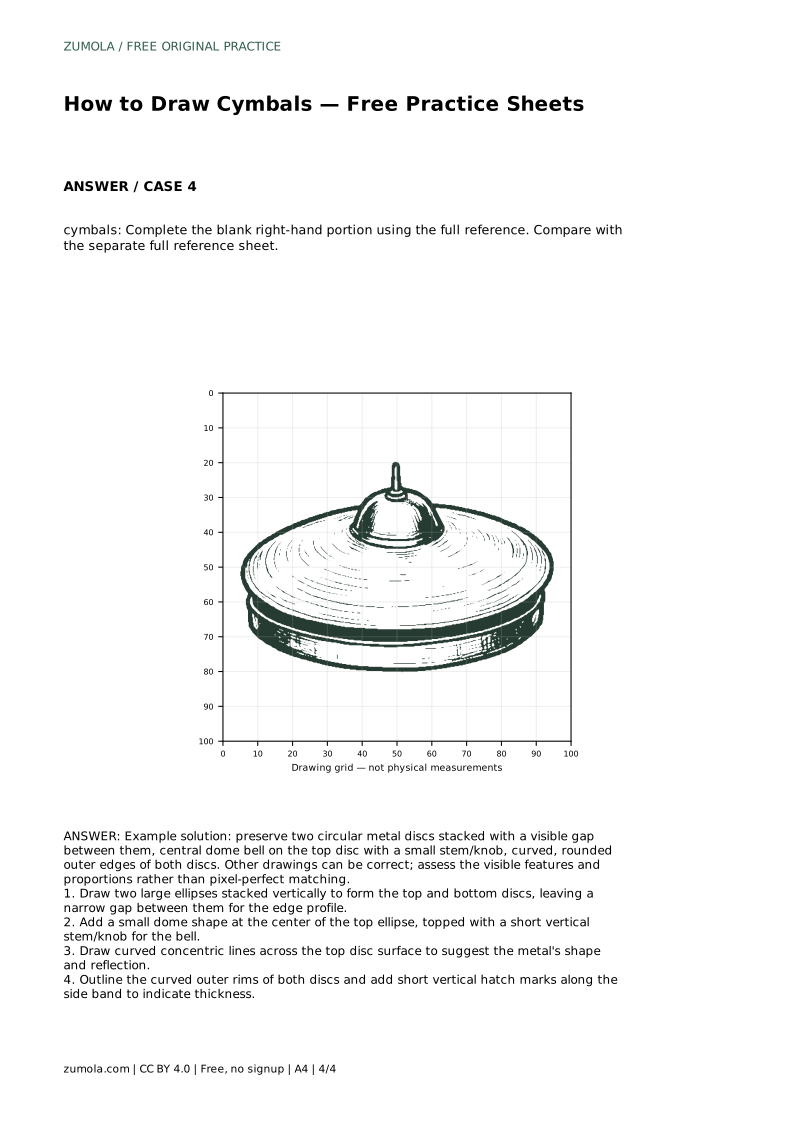
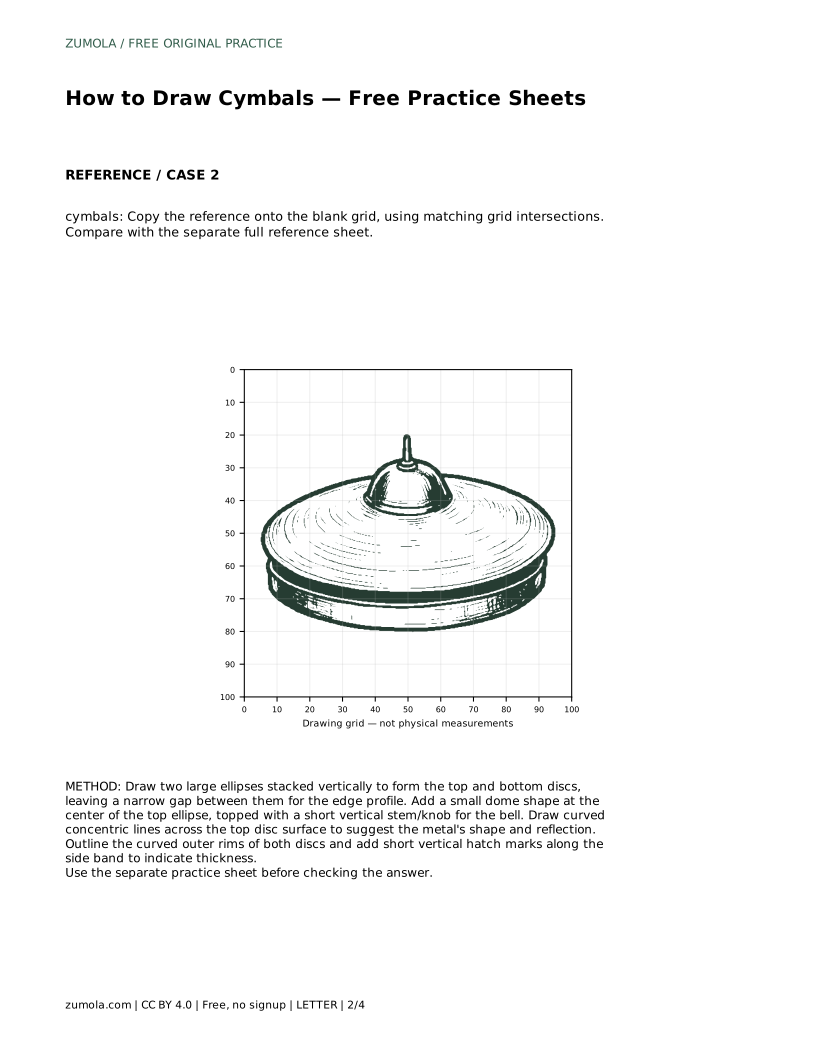
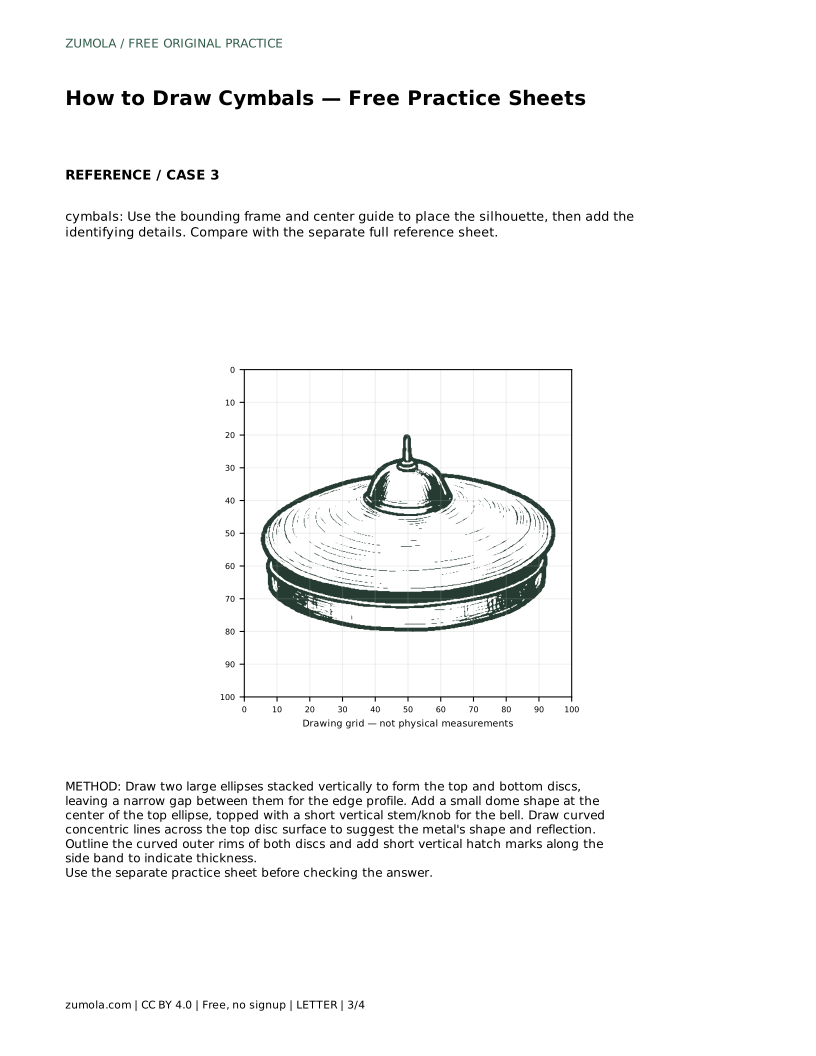
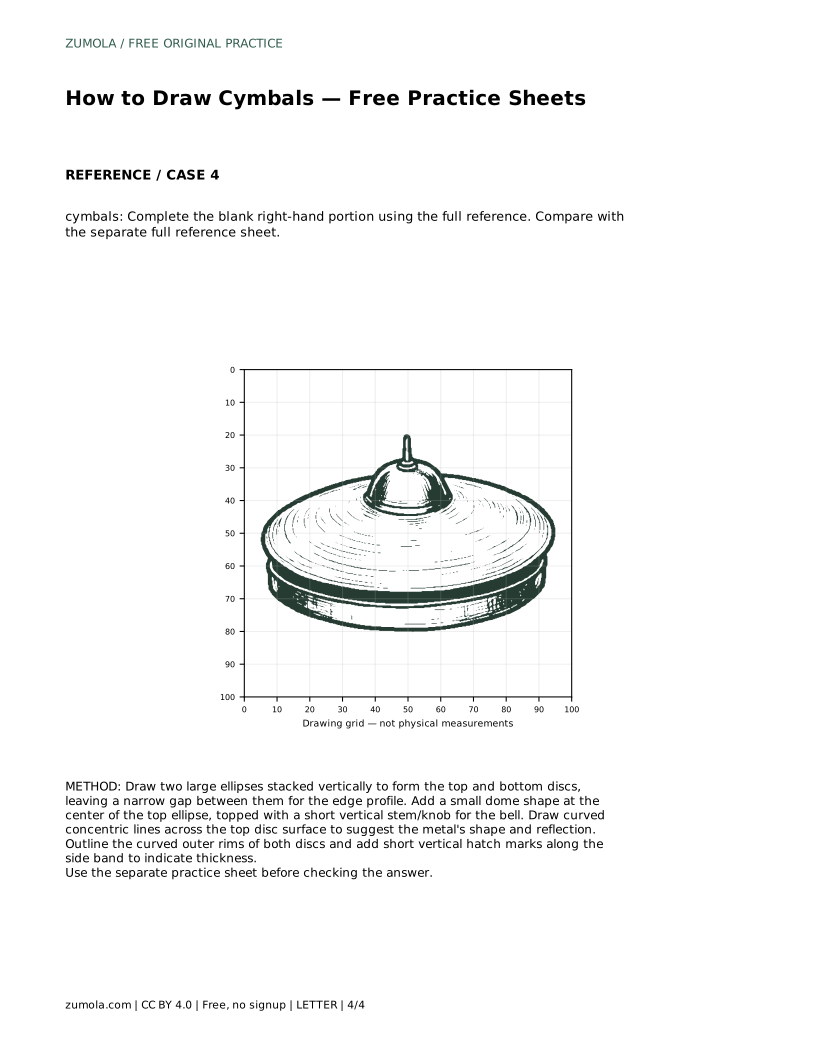
Learn to draw cymbals as two stacked metal discs with a central bell, visible gap and rounded rims. Trace, grid and complete-the-drawing practice sheets support each step.
Four original cases, with reference diagrams, practice sheets and worked answers. Everything is free; no signup required.
LETTER · Download PDF
A4 · Download PDF
LETTER · Download PDF
A4 · Download PDF
LETTER · Download PDF
A4 · Download PDF
Use A4 or US Letter to match your printer. Use the stated values and conditions to solve each exercise; diagrams are not physical measuring rulers.
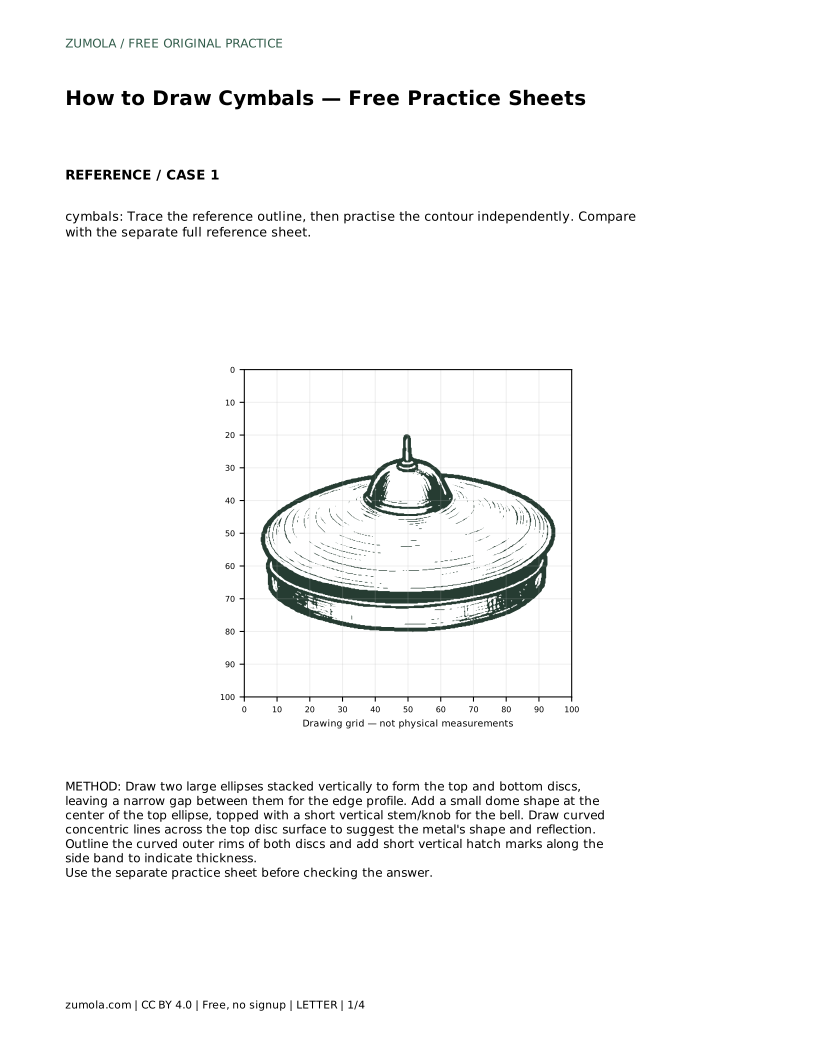
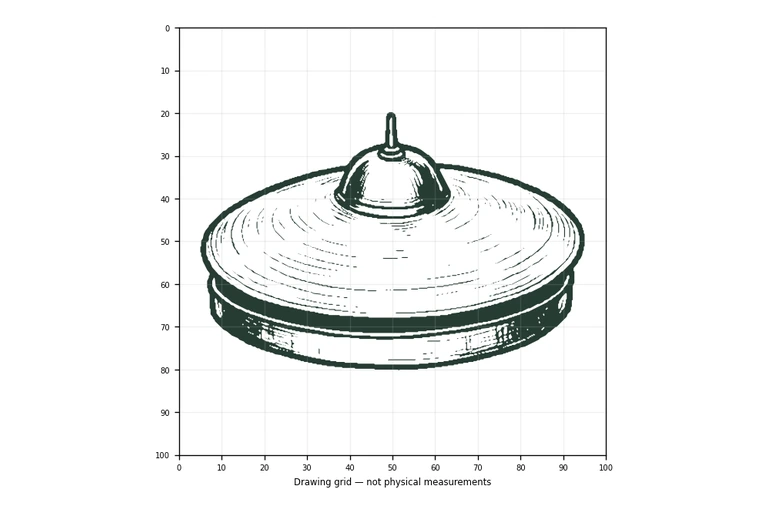
Drawing cymbals is mostly a problem of stacking two round shapes so they read as one instrument. The top disc sits above the bottom disc with a narrow gap between them, and a small dome called the bell rises at the center of the top disc. This page explains how to place those parts, how to suggest metal with curved lines, and how to check your drawing against a reference rather than chasing a pixel-perfect copy.
Begin by drawing the top disc as a wide ellipse, then draw a second ellipse below it. Leave a narrow gap between the two outlines so the edge profile is visible; without that gap the shapes merge into one flat blob. Keep both ellipses similar in width so the cymbals look like a matched pair rather than two different objects.
The gap is the key structural detail. It tells the viewer that one disc rests above the other. If you close the gap completely, the drawing loses the stacked reading even when the circles are well shaped.
At the center of the top ellipse, draw a small dome. This is the bell, the raised center that gives the cymbal its shape. Keep it small relative to the disc; a bell that spreads too far across the surface makes the cymbal look like a bowl.
On top of the dome, add a short vertical stem or knob. This small detail marks the center clearly and helps the eye find the middle of the instrument. Place it directly above the dome rather than off to one side.
Draw curved concentric lines across the top disc to suggest the metal surface and its reflection. These lines should follow the roundness of the disc rather than running straight across it. A few well-placed curves do more than many crowded ones.
Outline the curved outer rims of both discs, then add short vertical hatch marks along the side band. These marks indicate thickness and help the edge read as metal rather than paper. Keep the hatch marks short and evenly spaced so they support the shape instead of distracting from it.
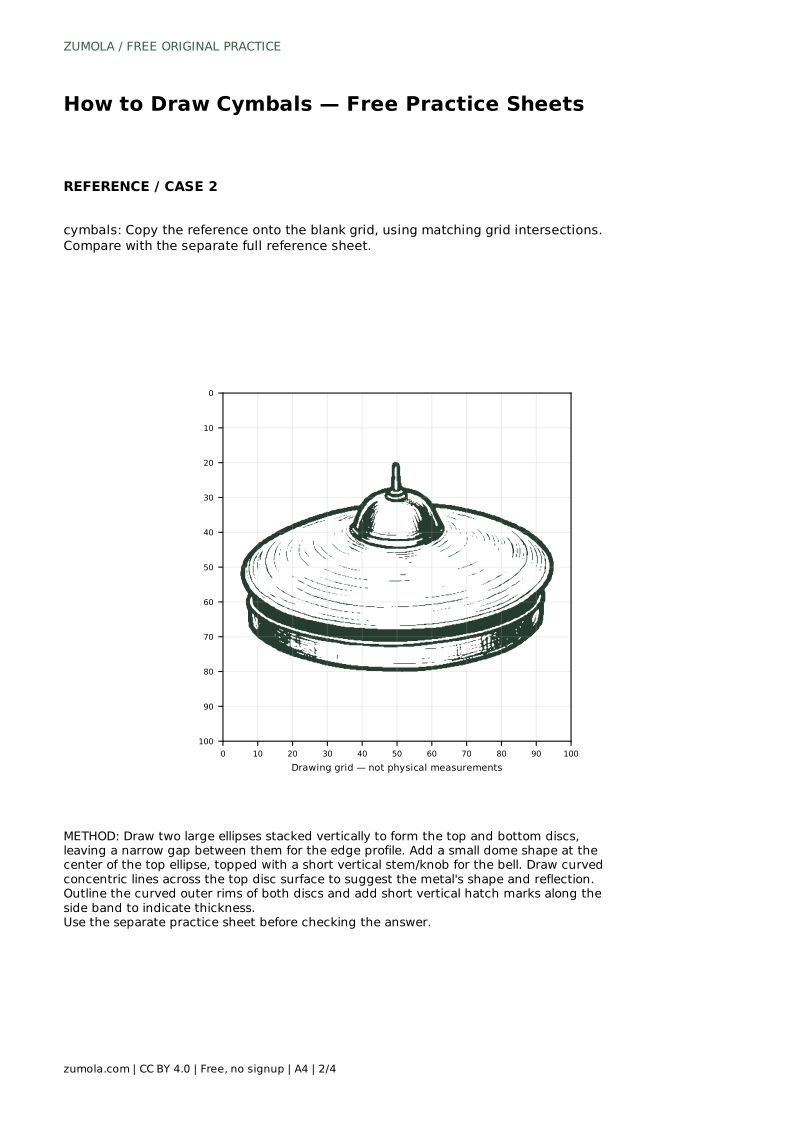
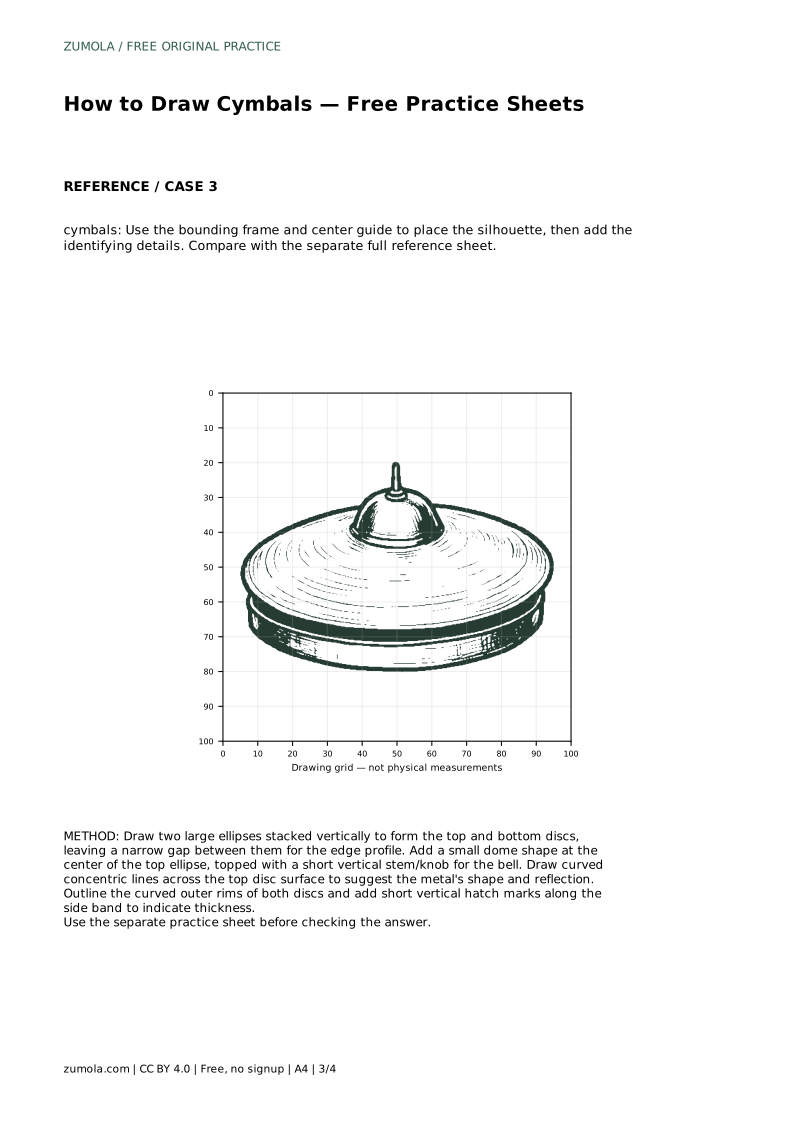
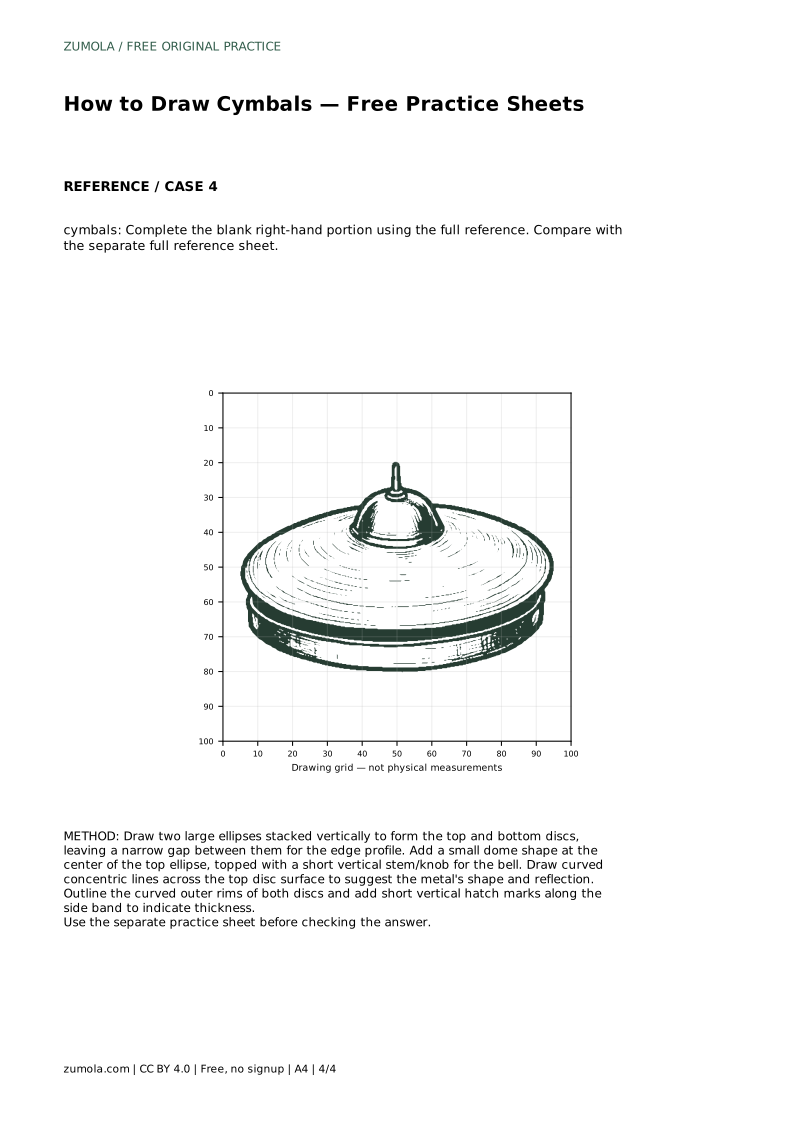
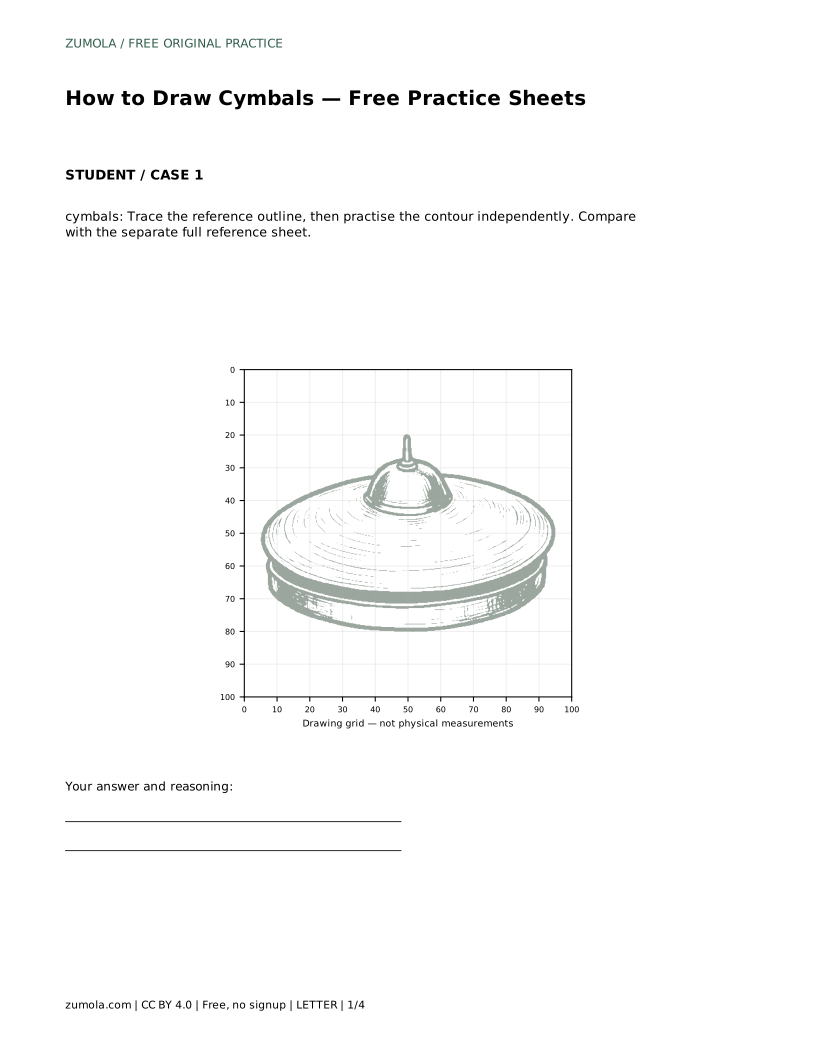
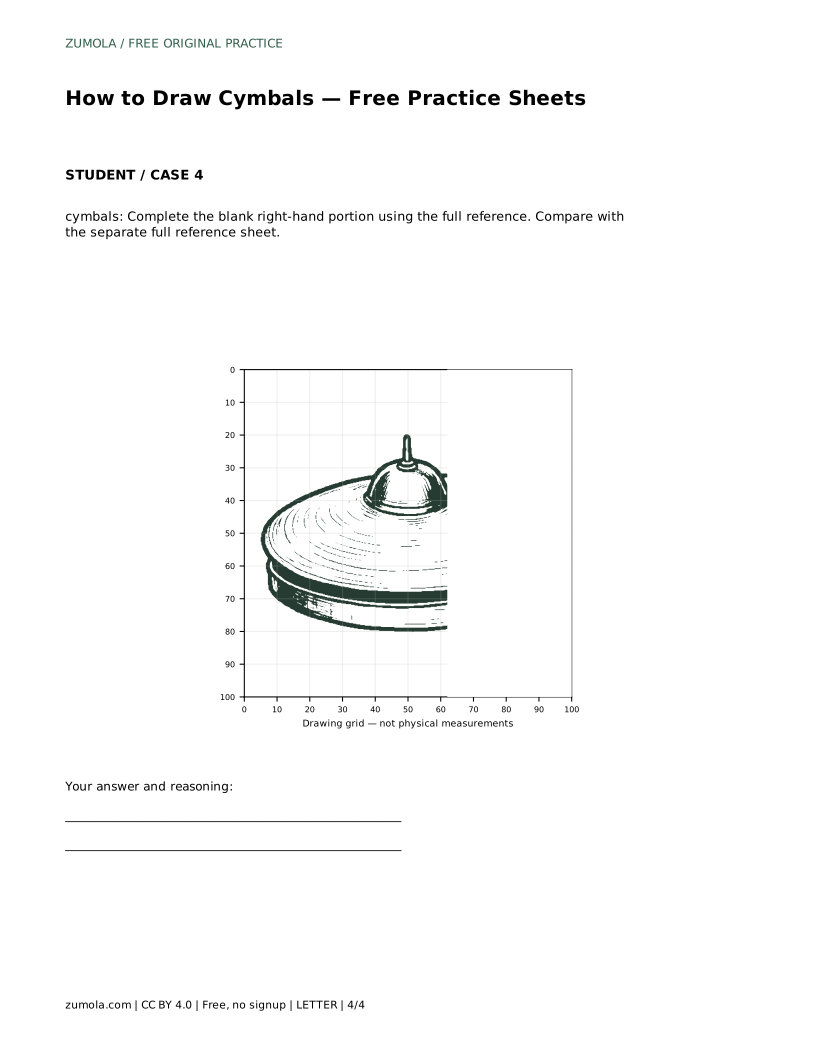
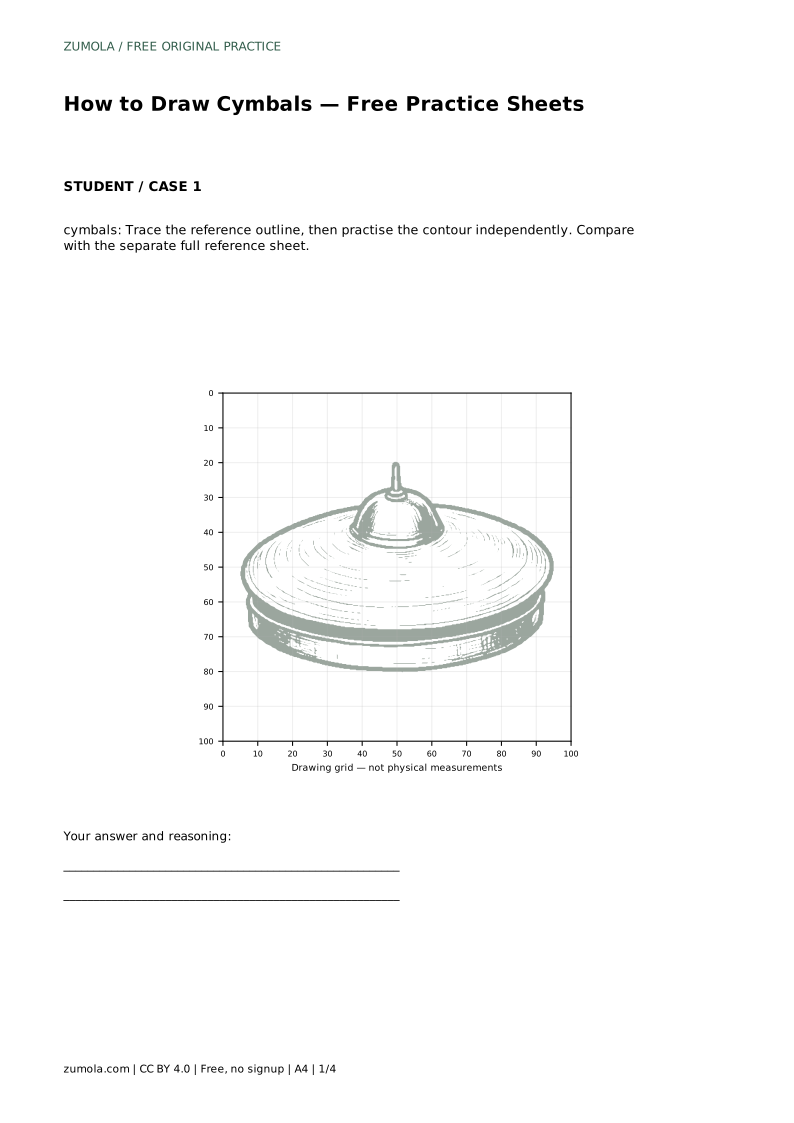
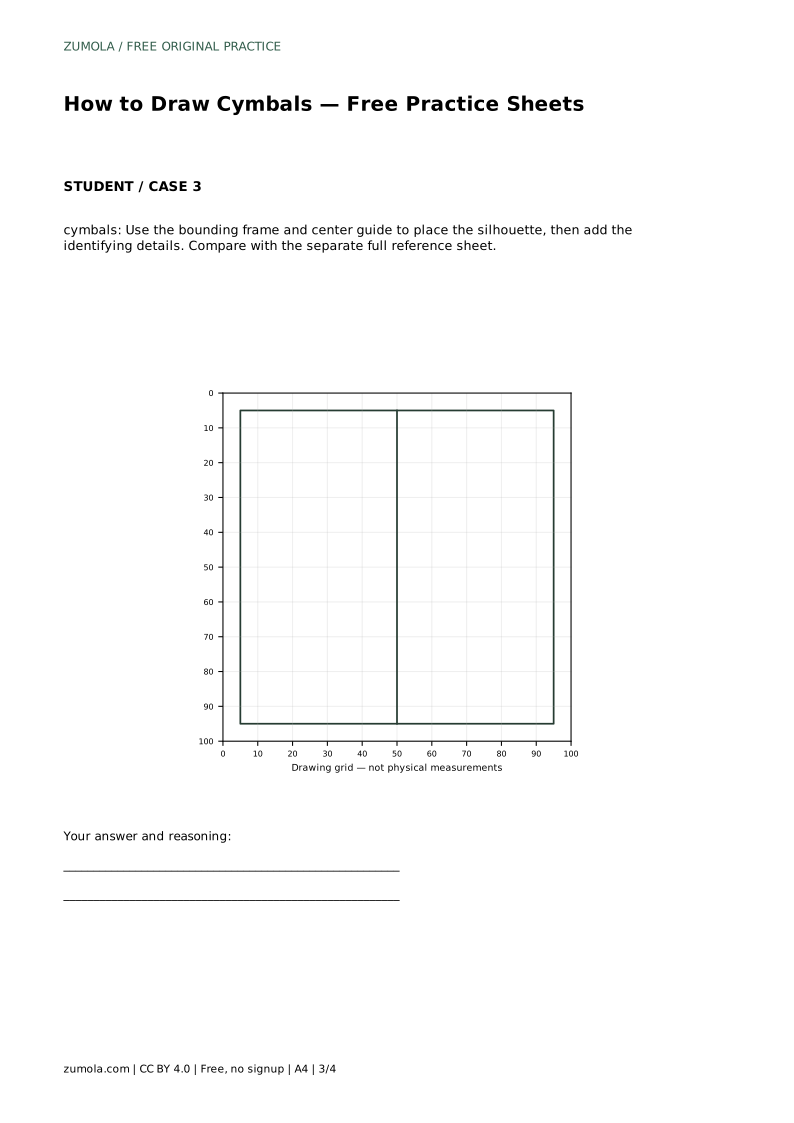
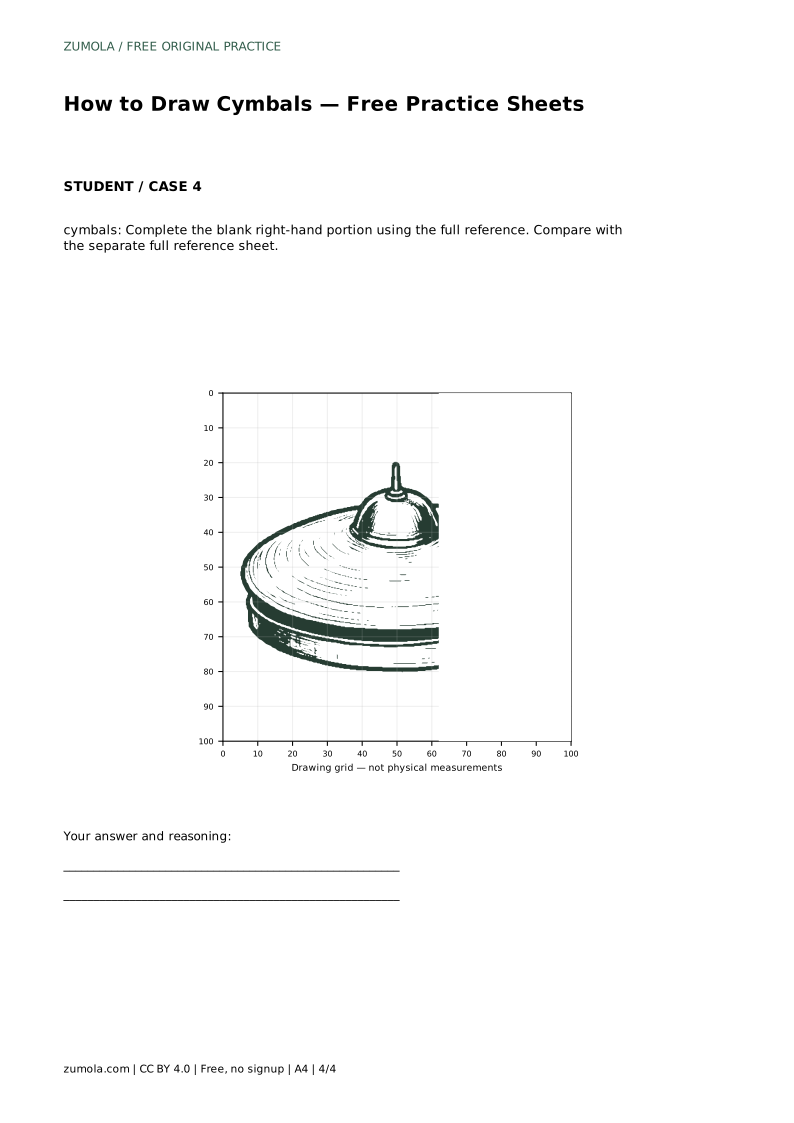
The trace sheet asks you to follow the reference outline first, then practise the contour independently. The grid sheet asks you to copy the reference onto a blank grid using matching intersections. The bounding-frame sheet gives you a frame and center guide for placing the silhouette before adding details. The complete-the-drawing sheet leaves the right-hand portion blank so you finish it from the full reference.
In every format, compare your work with the separate full reference sheet. The goal is to preserve the visible features and proportions, not to match every pixel. Different line weights and slightly different curve shapes can still be correct drawings.
Look for the two discs, the visible gap, the central dome, the stem and the rounded outer edges. If any of these are missing or misplaced, fix that part before refining surface lines. A drawing with correct structure and simple lines reads better than one with busy detail and a collapsed stack.
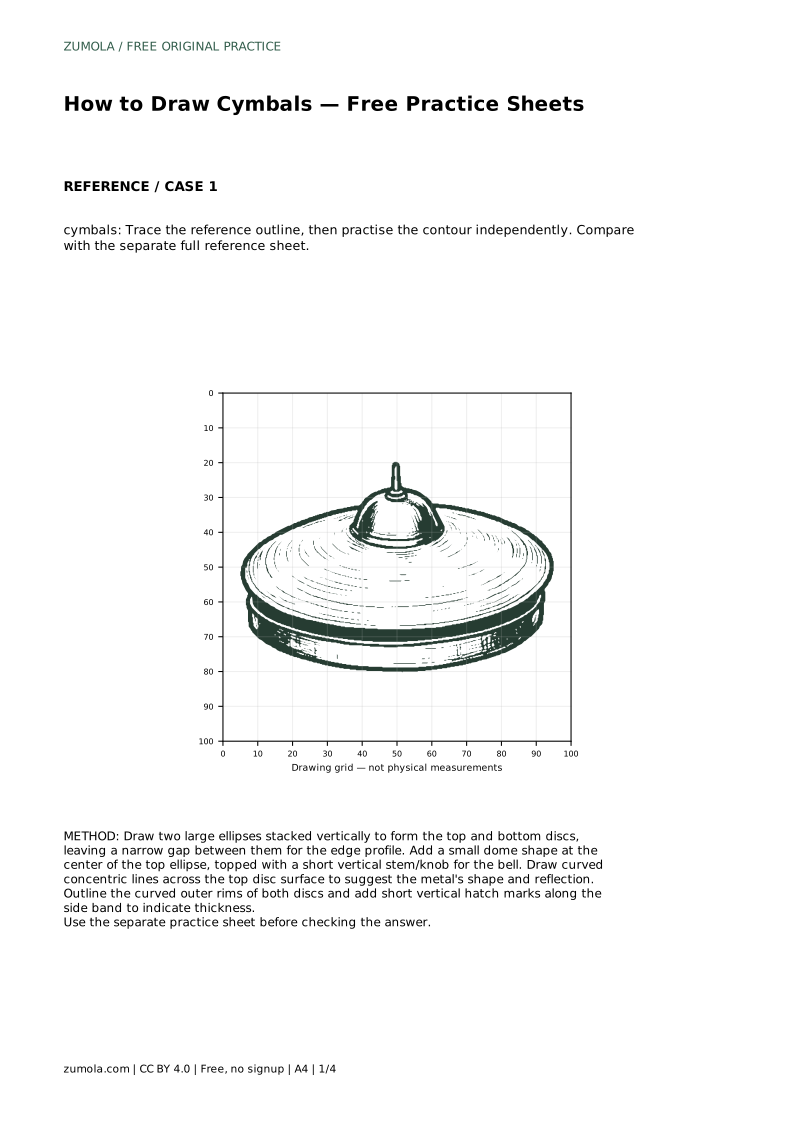
cymbals: Trace the reference outline, then practise the contour independently. Compare with the separate full reference sheet.
Example solution: preserve two circular metal discs stacked with a visible gap between them, central dome bell on the top disc with a small stem/knob, curved, rounded outer edges of both discs. Other drawings can be correct; assess the visible features and proportions rather than pixel-perfect matching. Draw two large ellipses stacked vertically to form the top and bottom discs, leaving a narrow gap between them for the edge profile. Add a small dome shape at the center of the top ellipse, topped with a short vertical stem/knob for the bell. Draw curved concentric lines across the top disc surface to suggest the metal's shape and reflection. Outline the curved outer rims of both discs and add short vertical hatch marks along the side band to indicate thickness.
No. Similar widths help them read as a matched pair, but small differences are acceptable. Check that the gap and the bell remain clear.
A few curved lines are enough to suggest metal. Add them gradually and stop when the disc shape still reads clearly.
Check structure first: two discs, the gap, the central bell and stem, and the rounded rims. Refine surface lines after those are in place.
All drawing practice · Free coordinate paper
Original resources · CC BY 4.0 · Free for personal and classroom use with attribution.