Reference diagrams
LETTER · Download PDF
A4 · Download PDF
Free original resources
Learn an easy flower vase pencil drawing by tracing the outline, copying onto a grid, using a center guide, and completing a partial drawing.
Four original cases, with reference diagrams, practice sheets and worked answers. Everything is free; no signup required.
LETTER · Download PDF
A4 · Download PDF
LETTER · Download PDF
A4 · Download PDF
LETTER · Download PDF
A4 · Download PDF
Use A4 or US Letter to match your printer. Use the stated values and conditions to solve each exercise; diagrams are not physical measuring rulers.
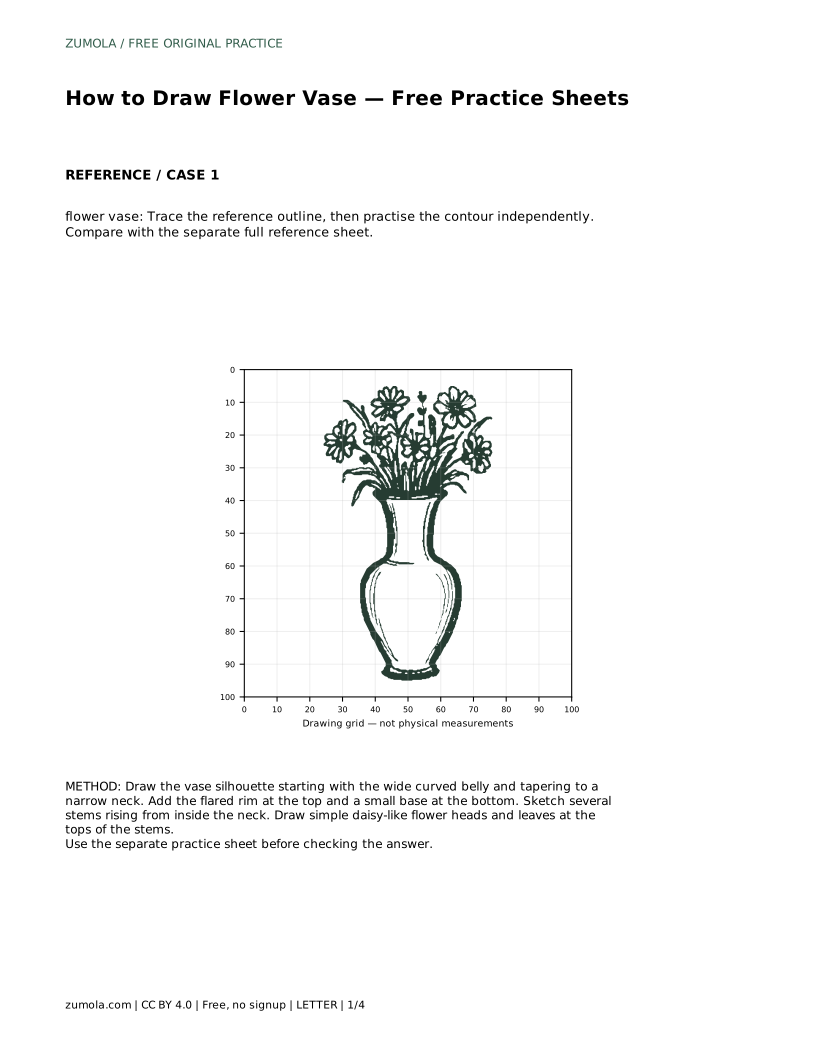
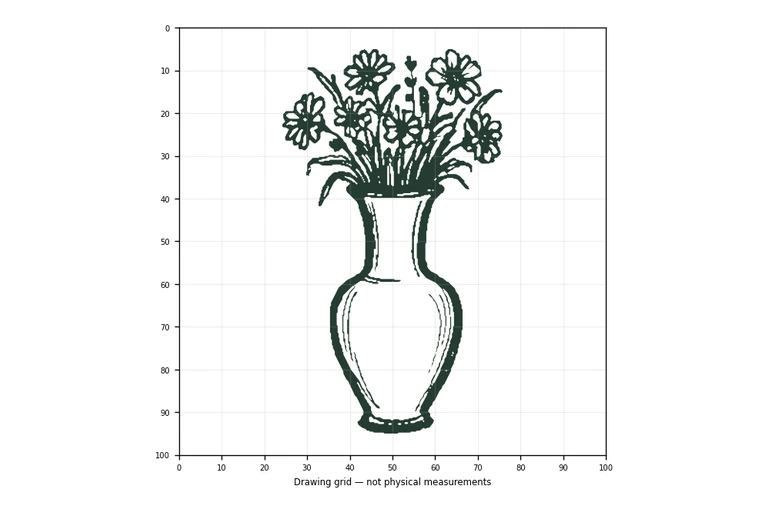
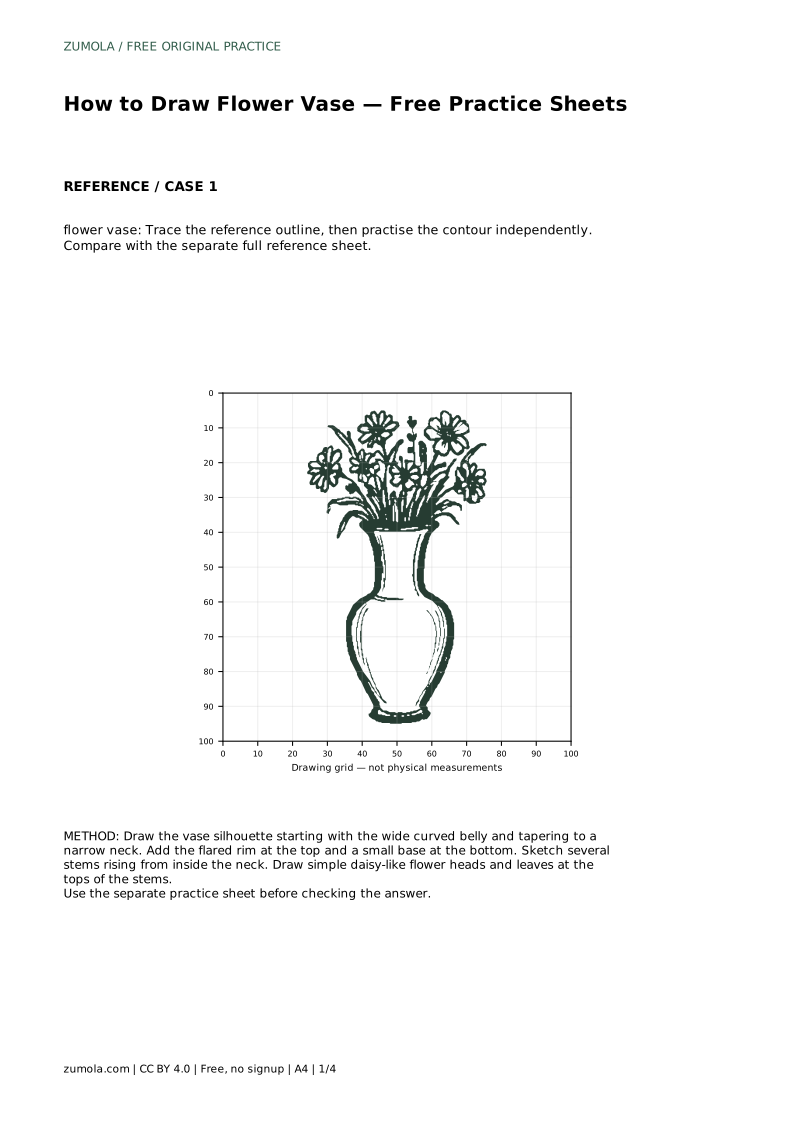
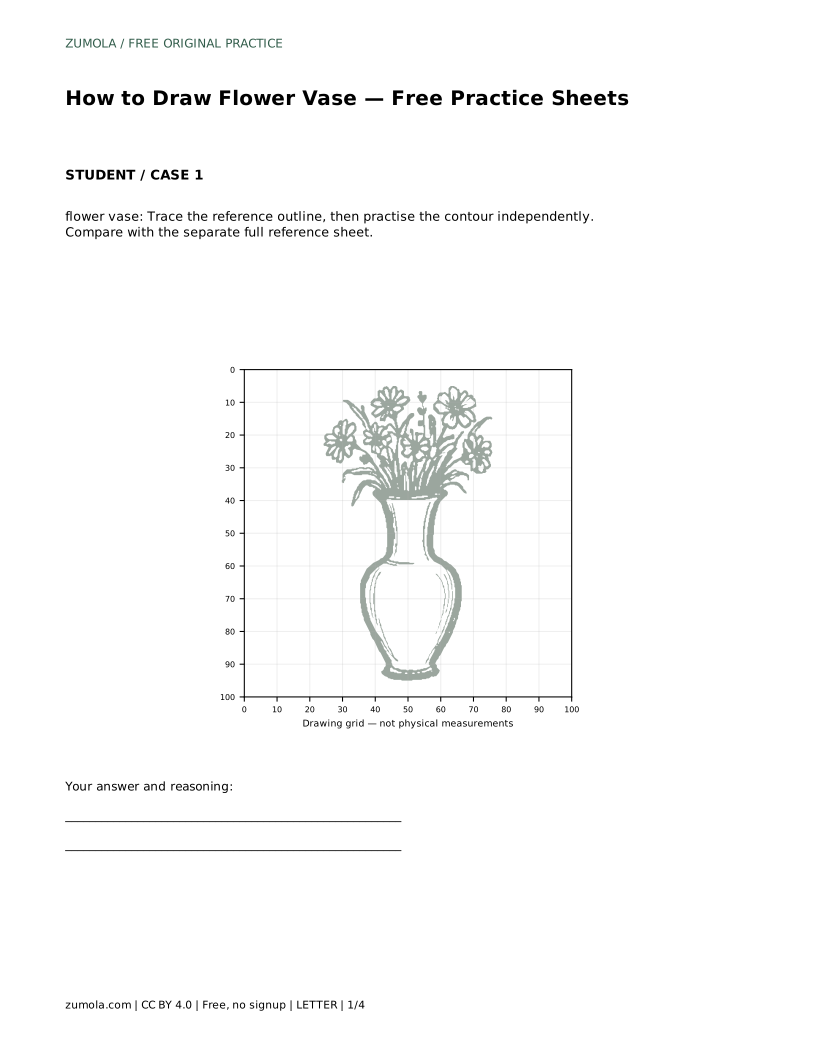
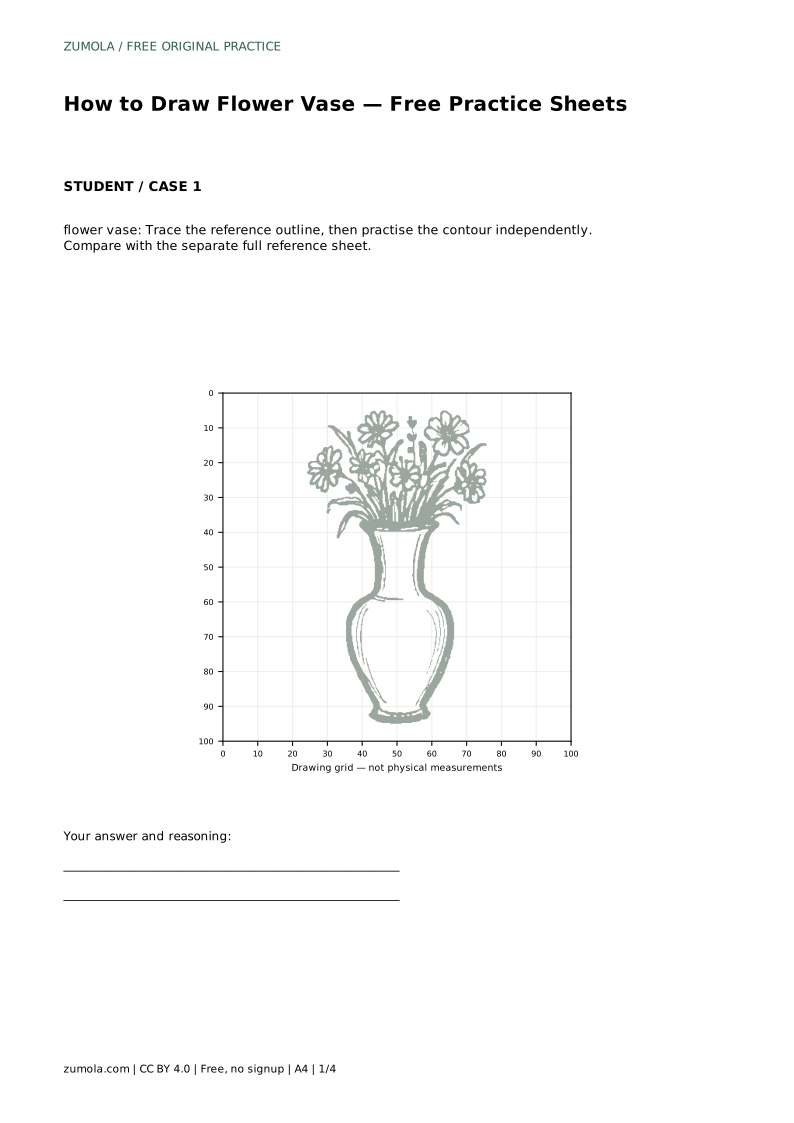
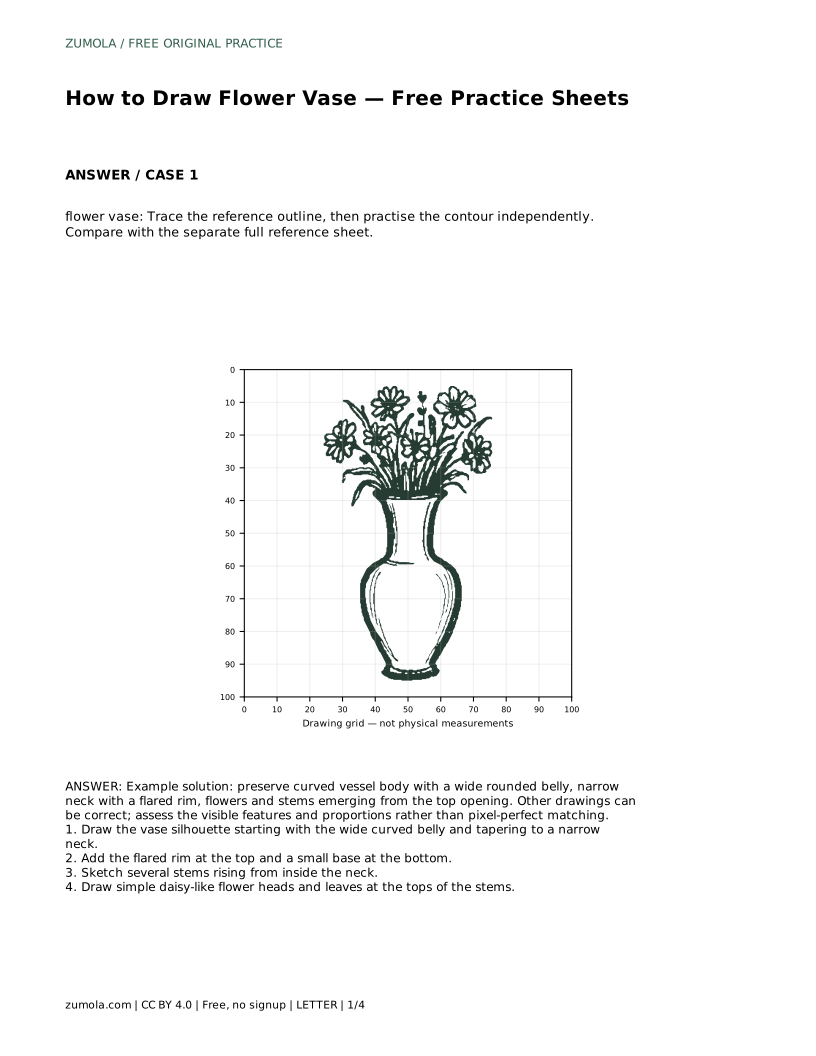
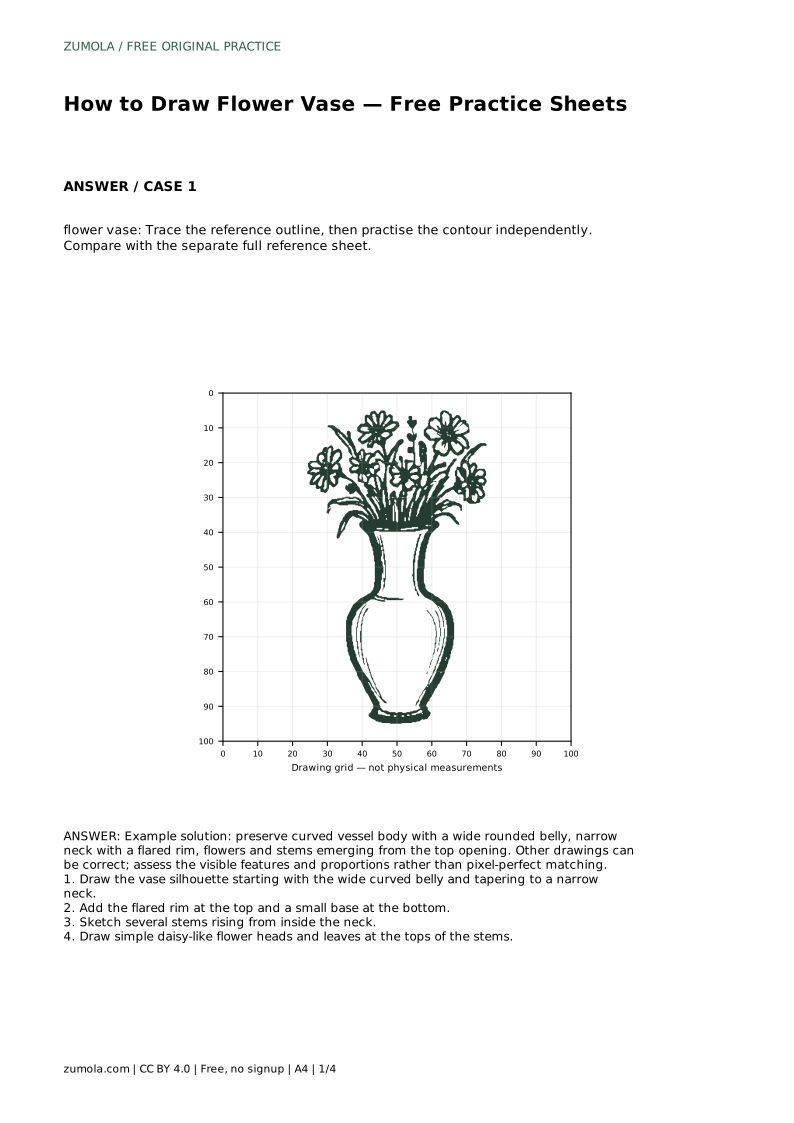
This page teaches a simple pencil drawing of a flower vase with stems and daisy-like flowers. You will start by tracing the reference outline, then practise the contour independently. The goal is not a pixel-perfect copy: keep the curved vessel body with a wide rounded belly, a narrow neck with a flared rim, and flowers and stems emerging from the top opening. Compare your work with the separate full reference sheet and judge the visible features and proportions.
Begin with the largest shape: the vessel body. Draw a wide, rounded belly, then taper inward toward a narrow neck. Keep both sides of the vase roughly balanced around an imaginary vertical center line, even though the curves need not be identical. Add the flared rim at the top and a small base at the bottom so the vase looks as though it could stand. Work lightly at this stage; pencil lines are easier to adjust before the flowers are added.
Once the silhouette reads clearly, check the relationship between the belly, neck, and rim. The belly should be the widest part, the neck noticeably narrower, and the rim slightly wider than the neck. These proportions matter more than matching every curve exactly.
Sketch several stems rising from inside the neck. Let them fan out slightly so the arrangement looks natural rather than stiff. Stems should appear to come from the top opening, not from behind the vase. Draw simple daisy-like flower heads at the tops of the stems, using a small circle or oval for the center and a ring of short petals around it.
Add a few leaves along the stems. Keep leaf shapes simple and vary their direction. Because art has multiple valid outcomes, a drawing can be correct even if the number of flowers or the exact petal shapes differ from the reference. Assess whether the stems emerge from the opening and whether the flower heads sit at the ends of the stems.
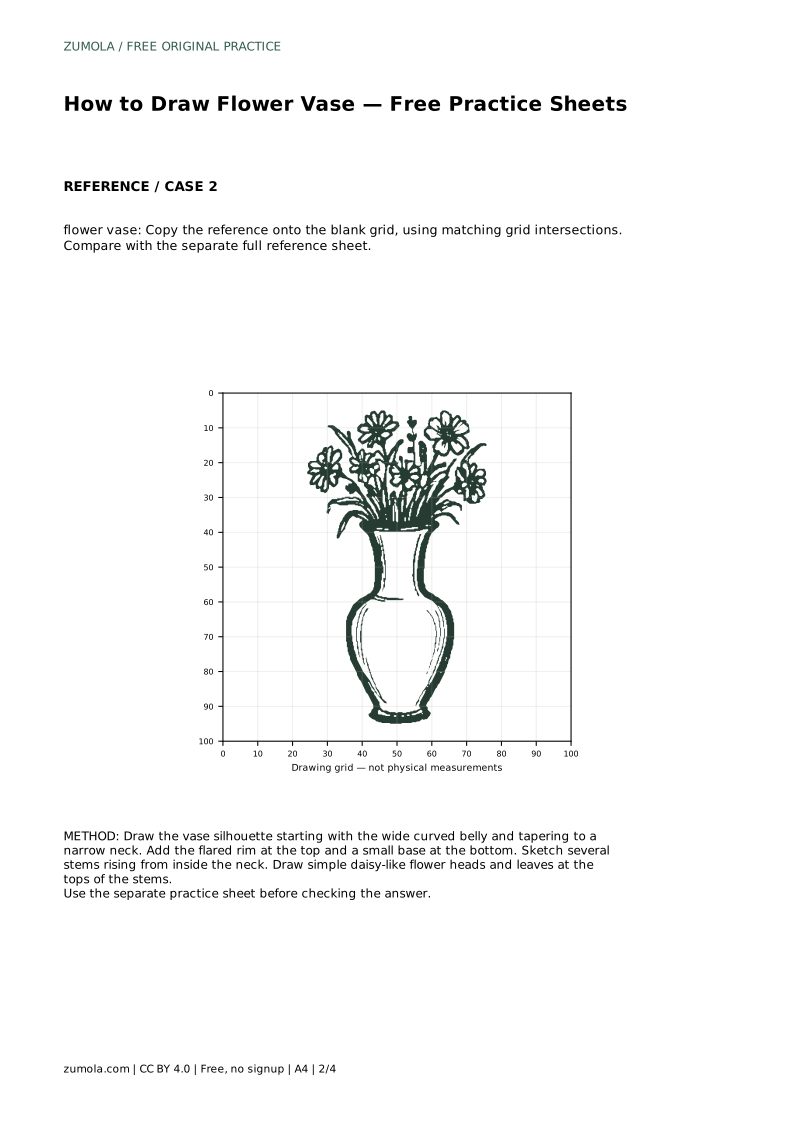
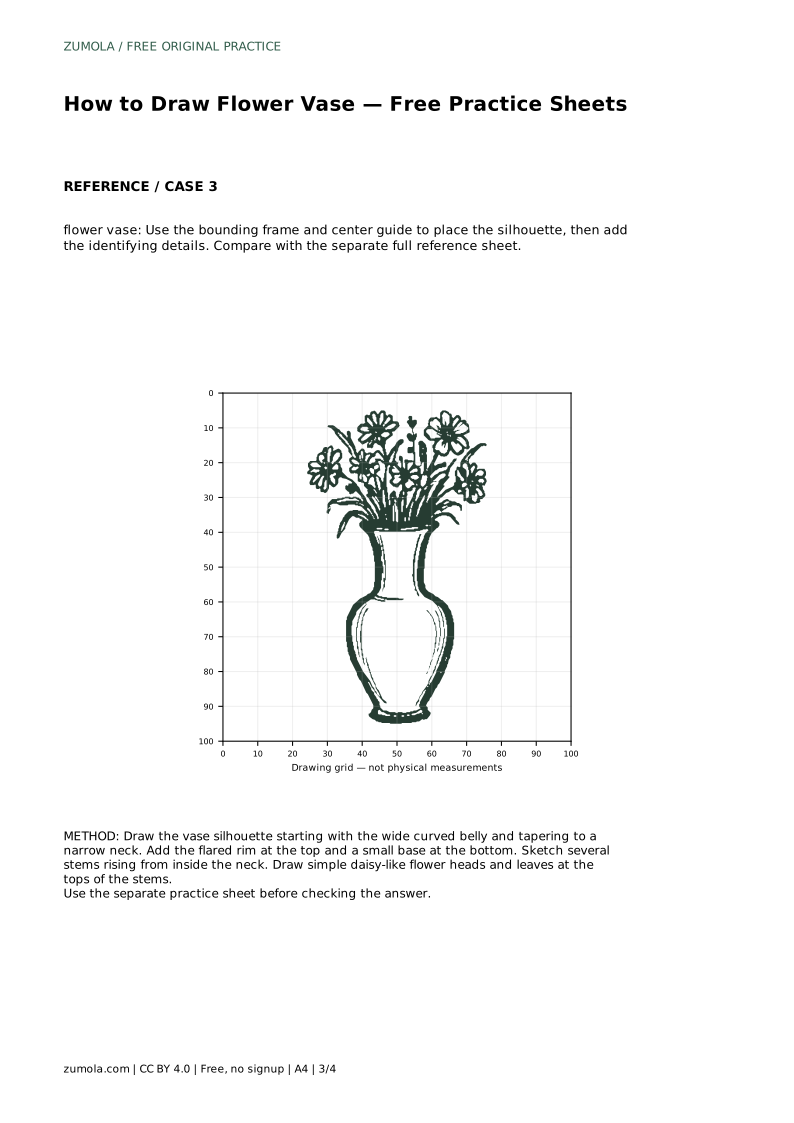
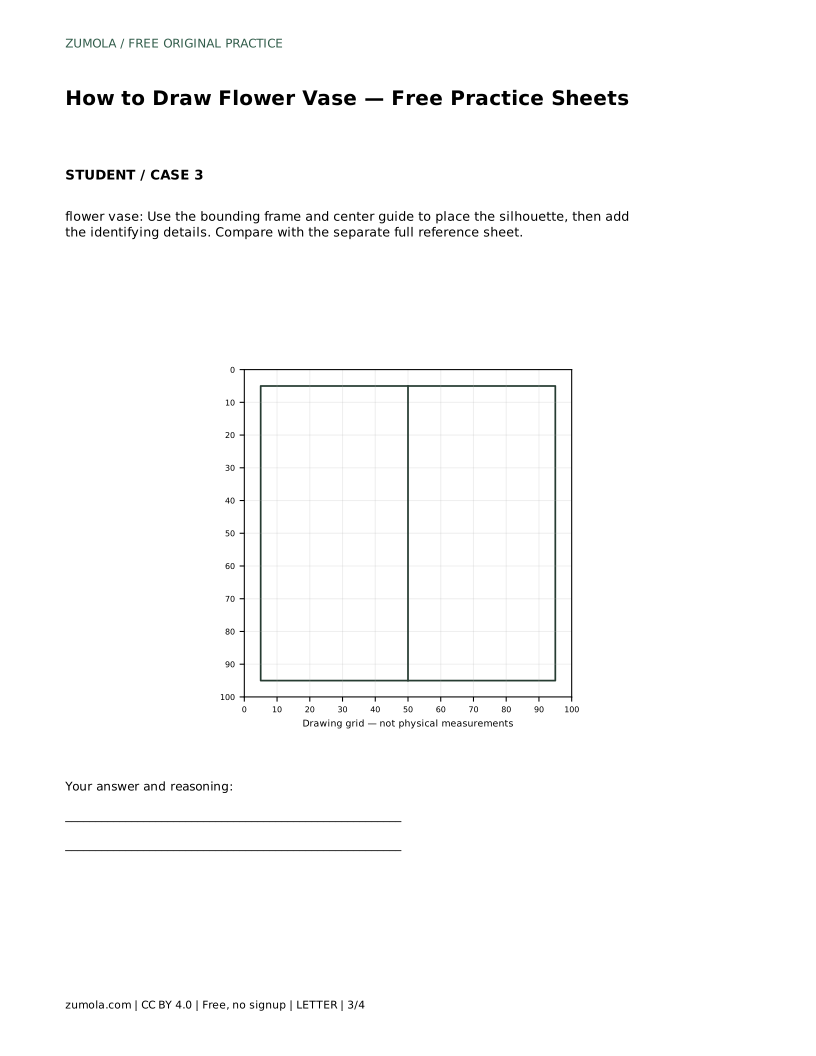
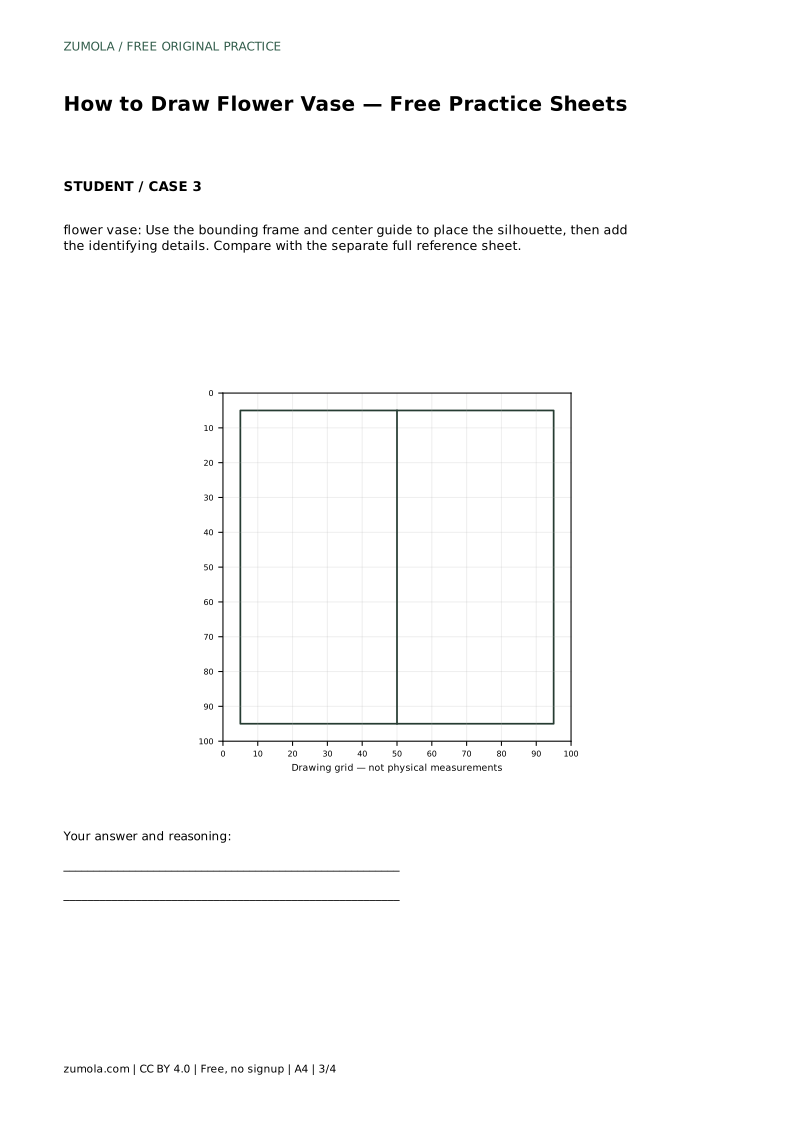
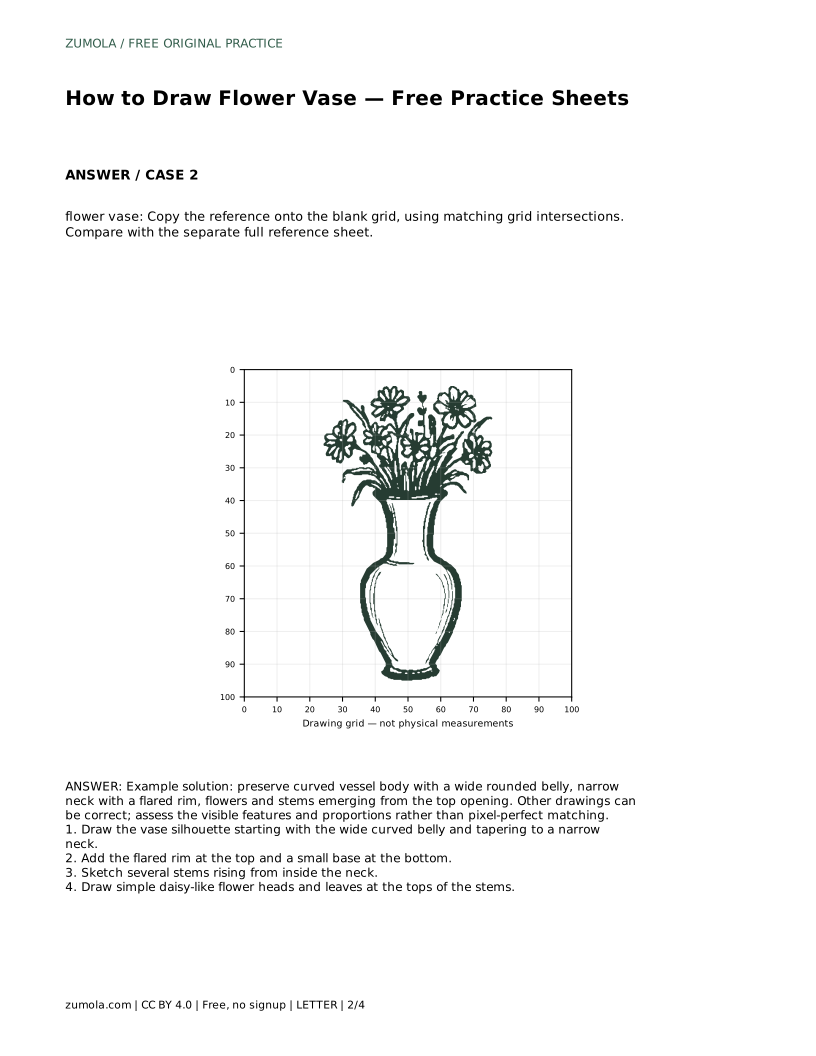
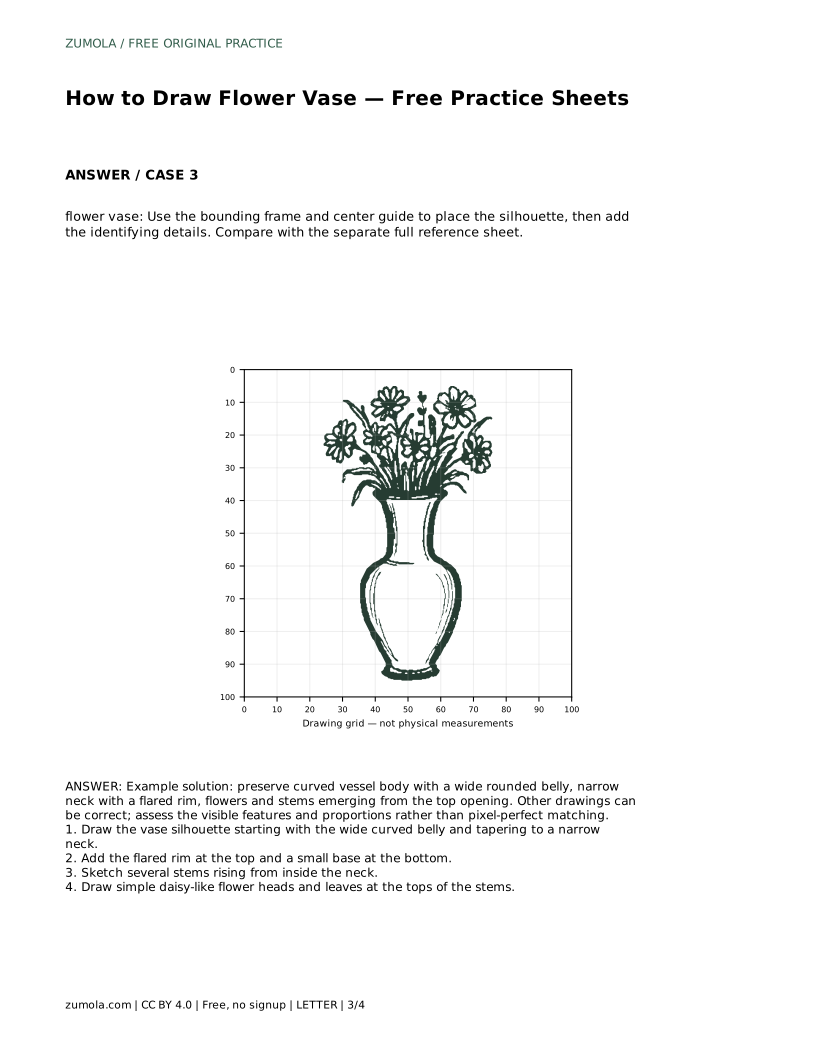
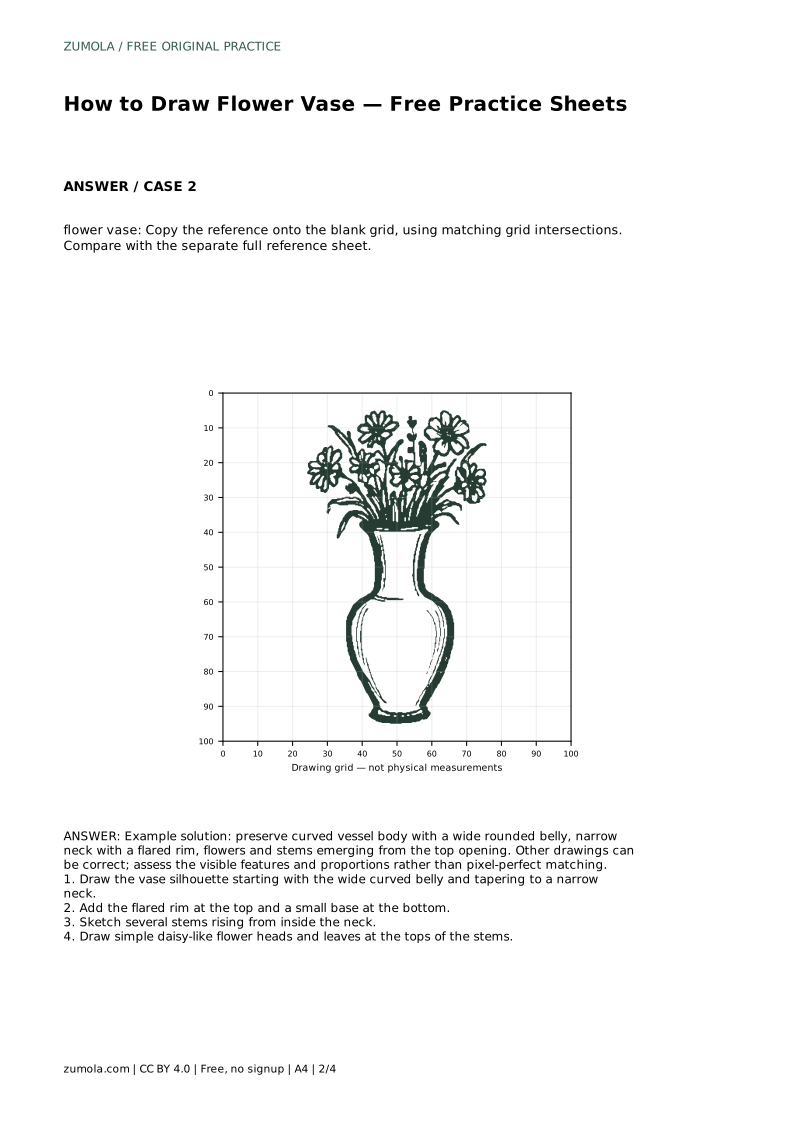
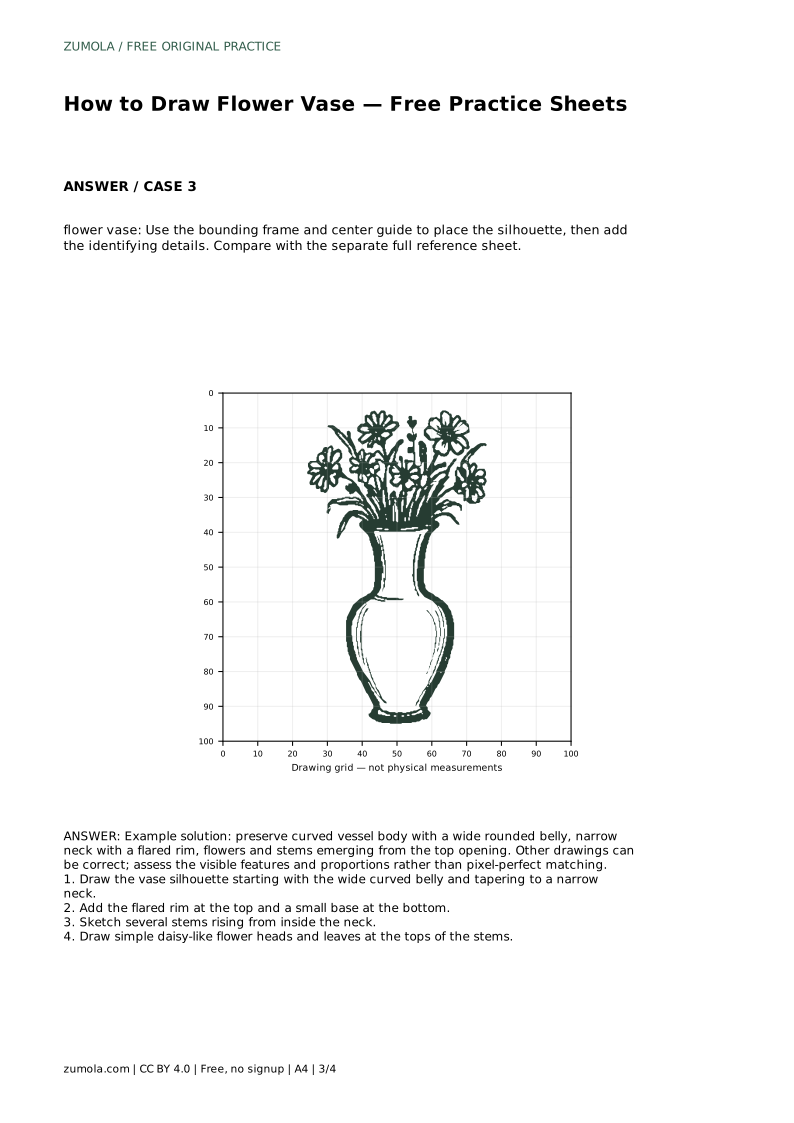
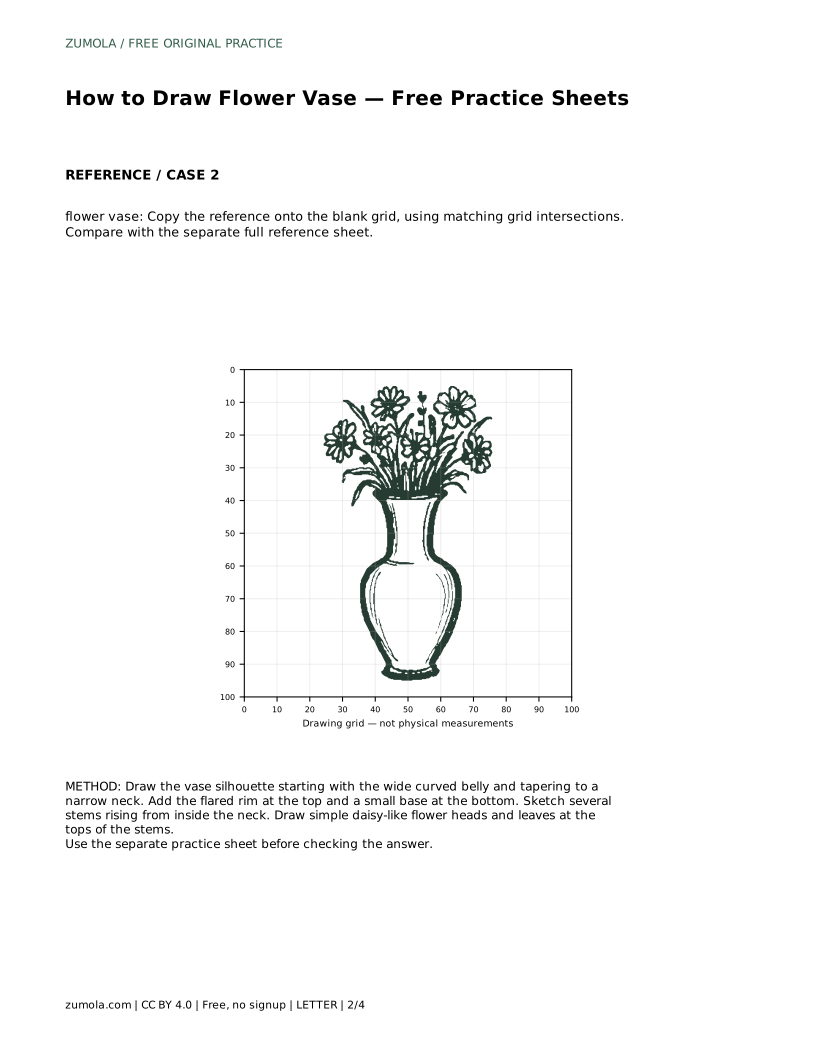
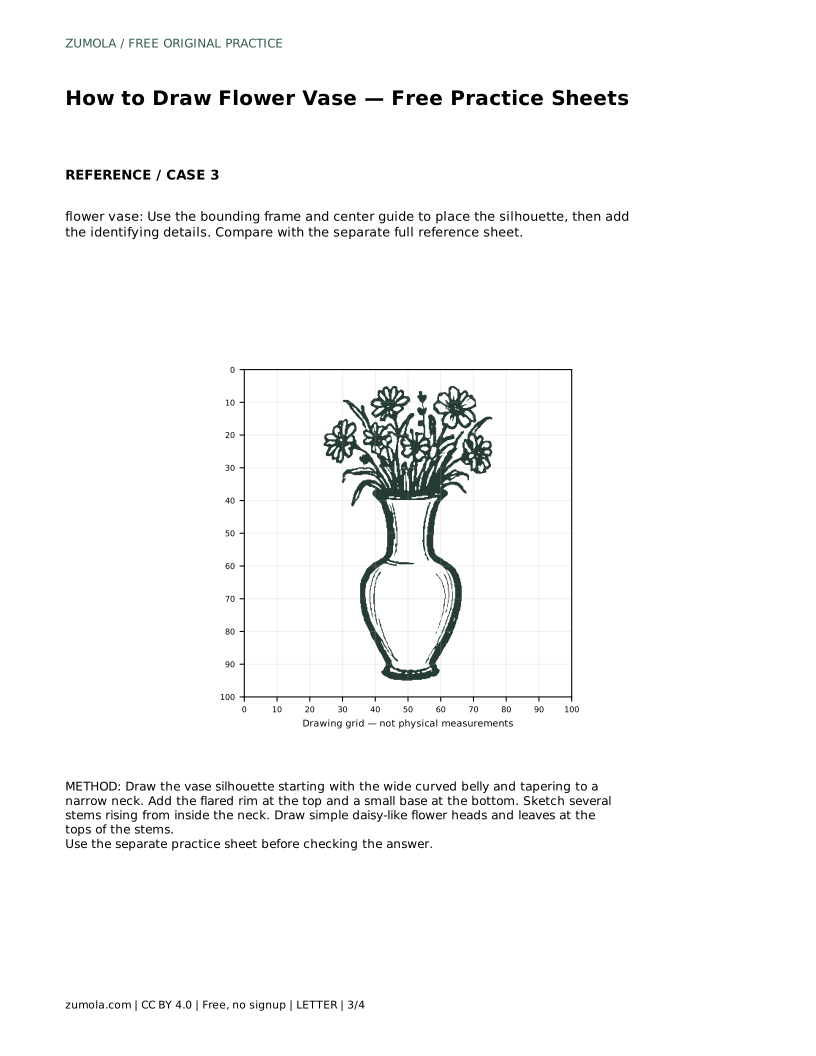
On the grid version, copy the reference onto the blank grid using matching grid intersections. Place key points first, such as the widest part of the belly, the neck, the rim edges, and the flower centers, then connect them with curves. The bounding frame and center guide help you place the silhouette before adding identifying details. Keep the center guide as a reference for balance, not as a line that must remain visible.
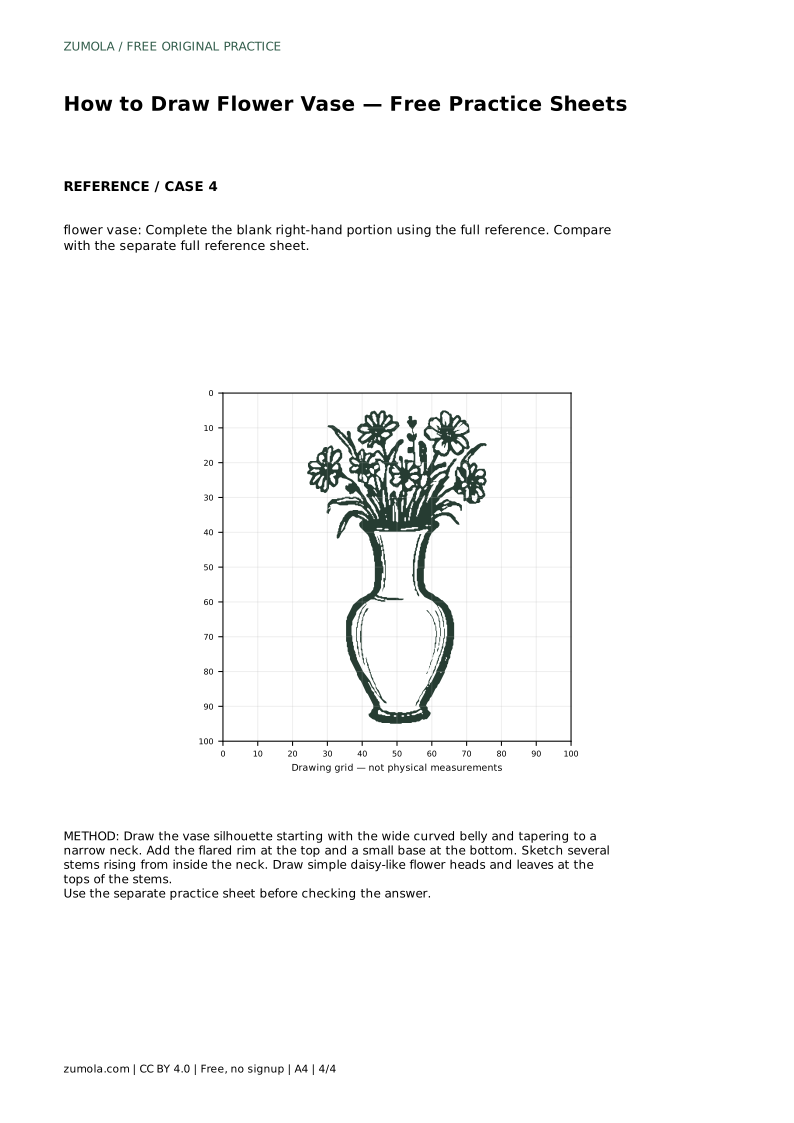
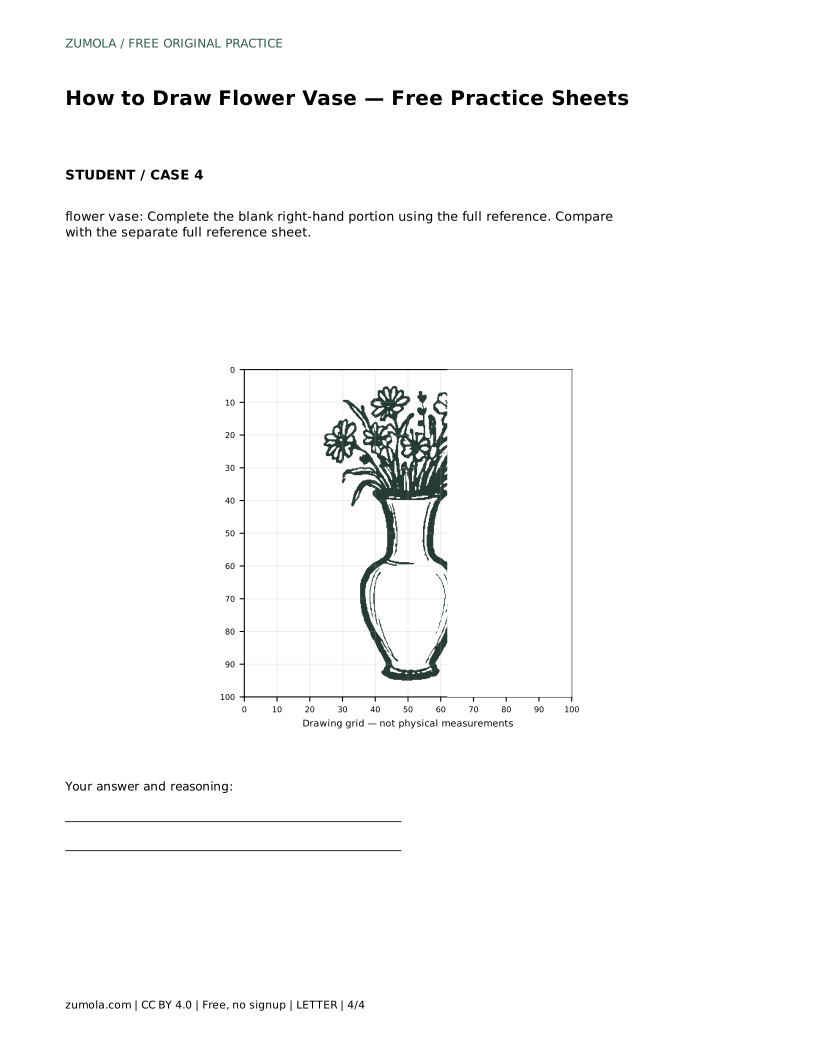
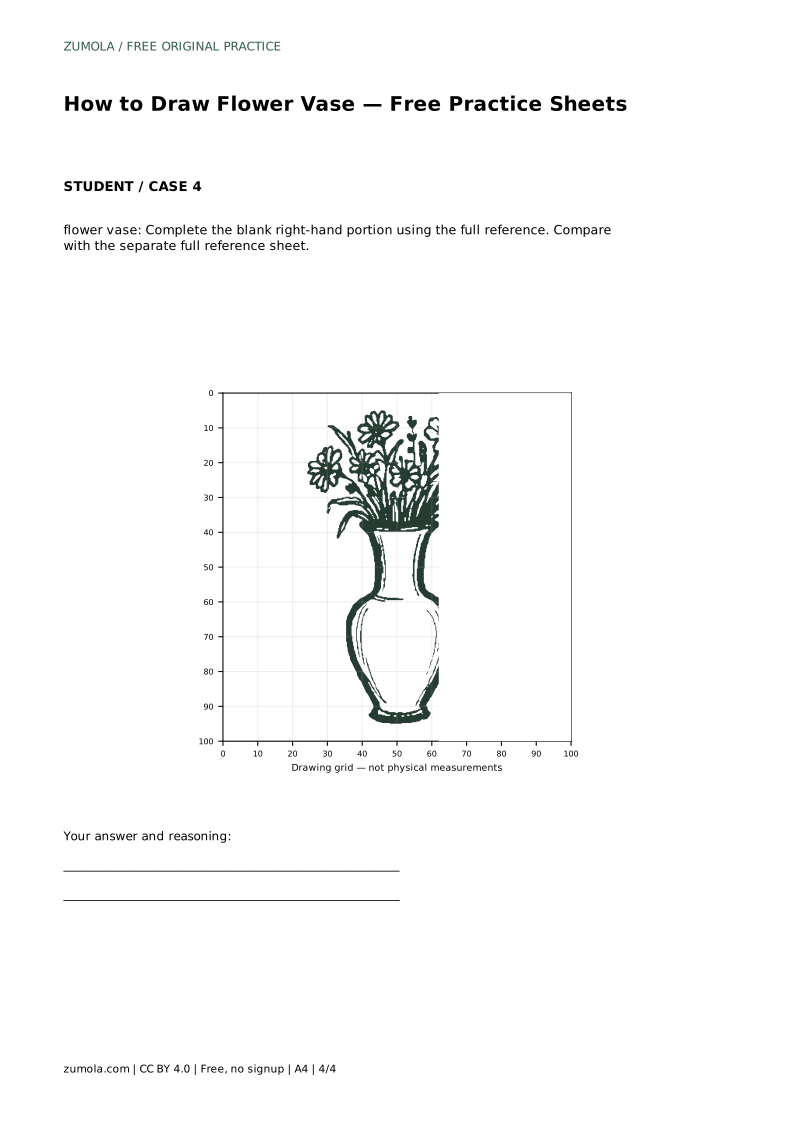
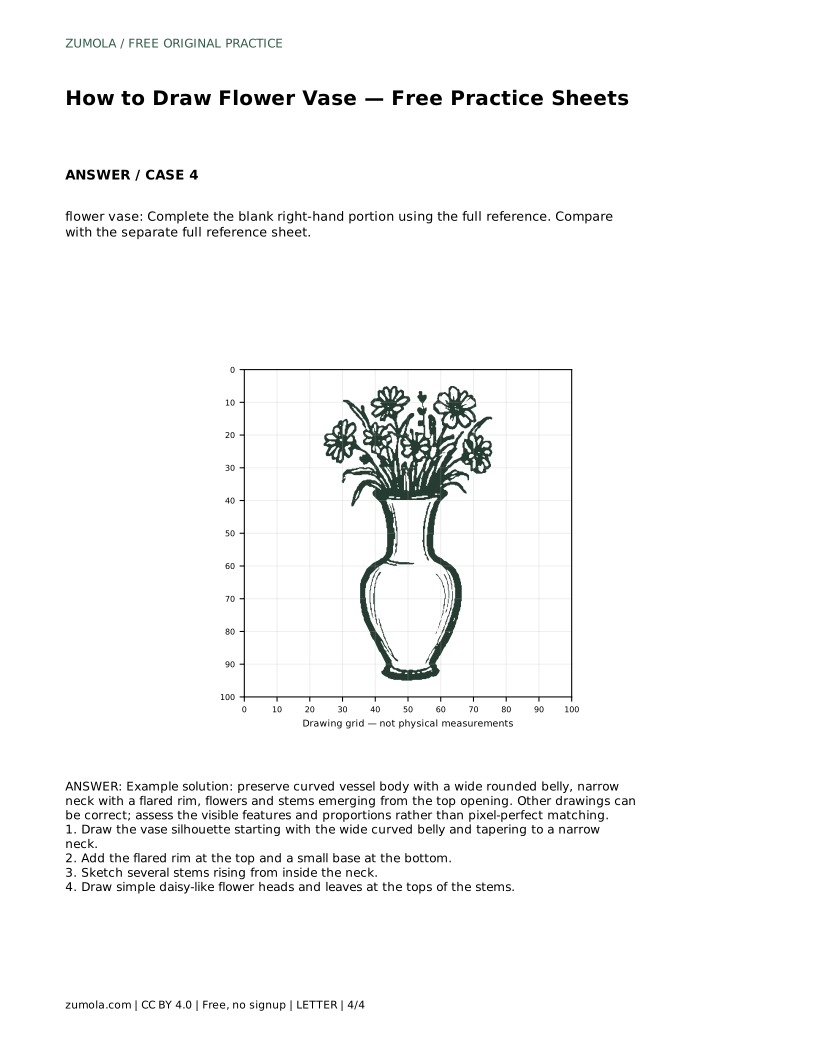
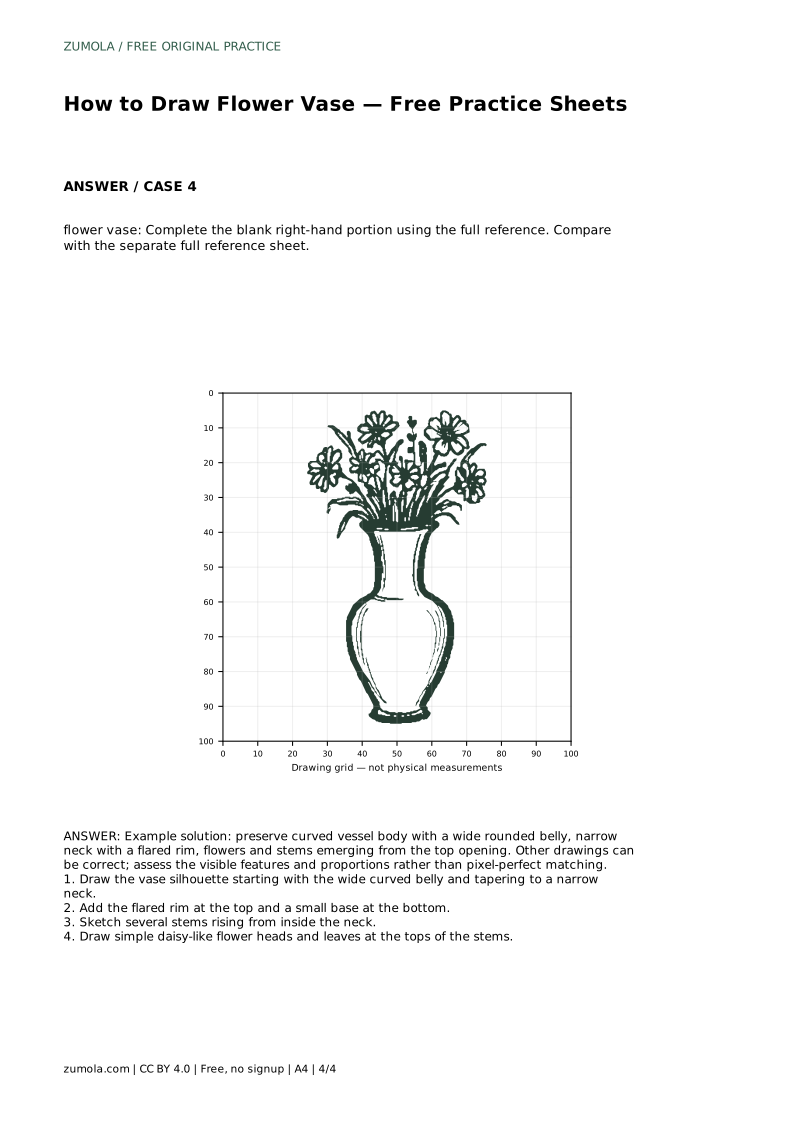
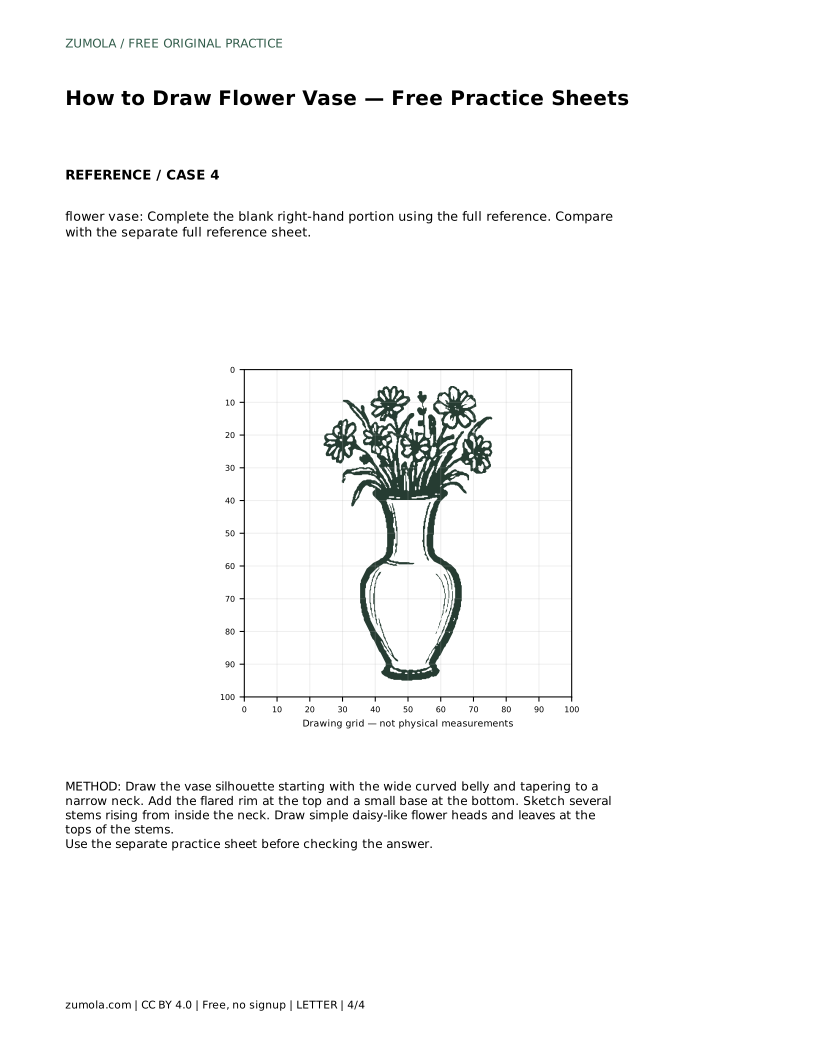
On the partial drawing, complete the blank right-hand portion using the full reference. Match the height of the rim, the width of the belly, and the positions of stems and flower heads on the finished side. Compare with the separate full reference sheet when done.
Compare your drawing with the separate full reference sheet. Look for the main features: a curved vessel body with a wide rounded belly, a narrow neck with a flared rim, and flowers and stems emerging from the top opening. Adjust proportions where needed rather than erasing everything. Light pencil lines can be darkened once the shape is settled.
flower vase: Trace the reference outline, then practise the contour independently. Compare with the separate full reference sheet.
Example solution: preserve curved vessel body with a wide rounded belly, narrow neck with a flared rim, flowers and stems emerging from the top opening. Other drawings can be correct; assess the visible features and proportions rather than pixel-perfect matching. Draw the vase silhouette starting with the wide curved belly and tapering to a narrow neck. Add the flared rim at the top and a small base at the bottom. Sketch several stems rising from inside the neck. Draw simple daisy-like flower heads and leaves at the tops of the stems.
No. Other drawings can be correct; assess the visible features and proportions rather than pixel-perfect matching.
Check the vase silhouette: a wide rounded belly, a narrow neck with a flared rim, and a small base.
Copy the reference onto the blank grid using matching grid intersections, placing key points before connecting them with curves.
All drawing practice · Free coordinate paper
Original resources · CC BY 4.0 · Free for personal and classroom use with attribution.