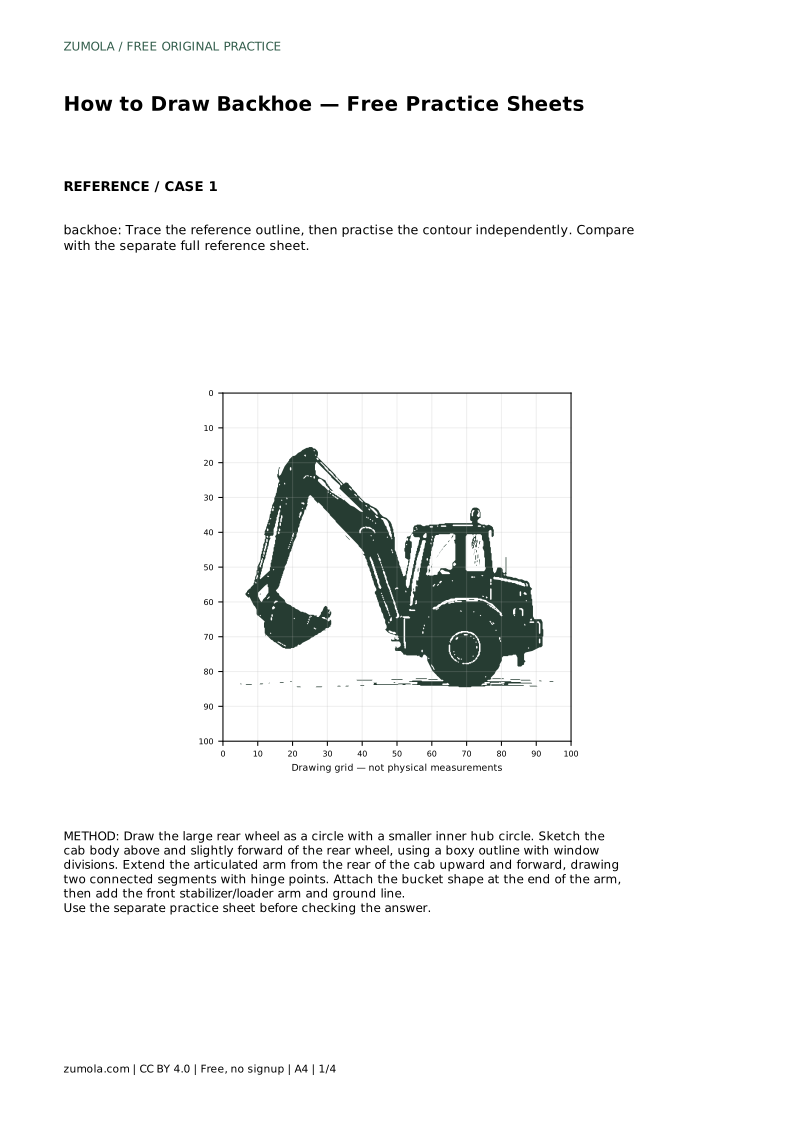
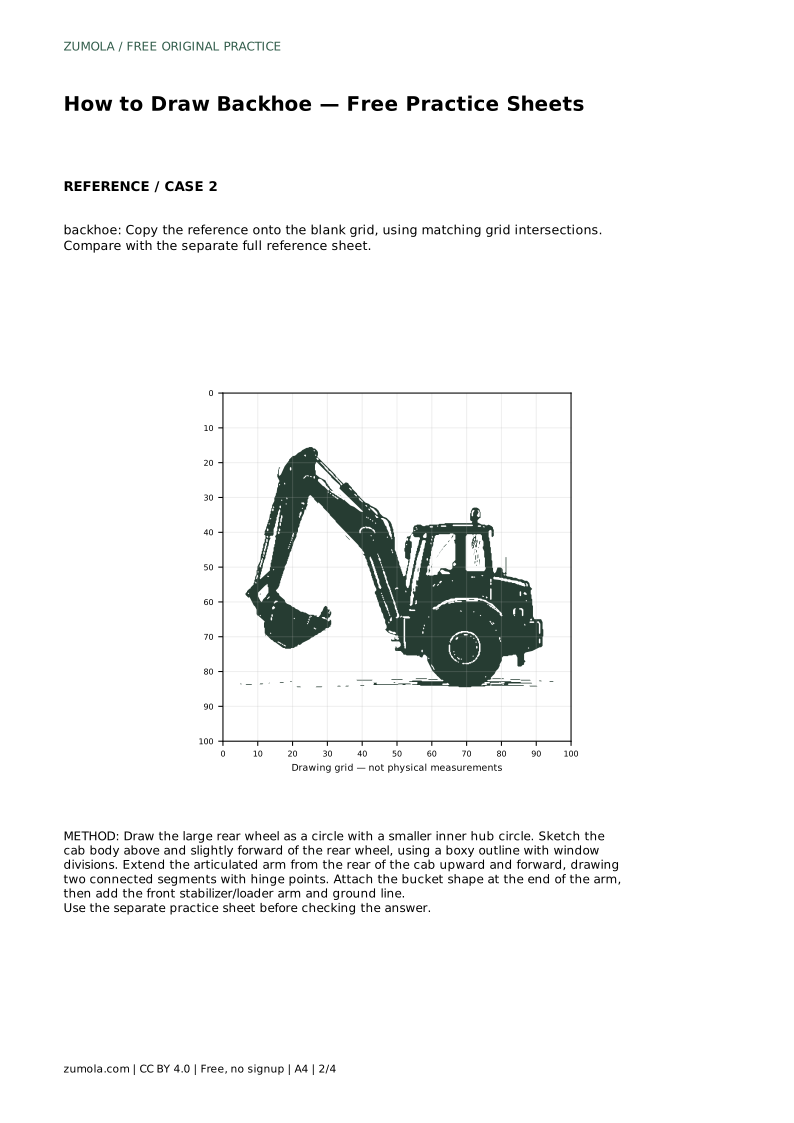
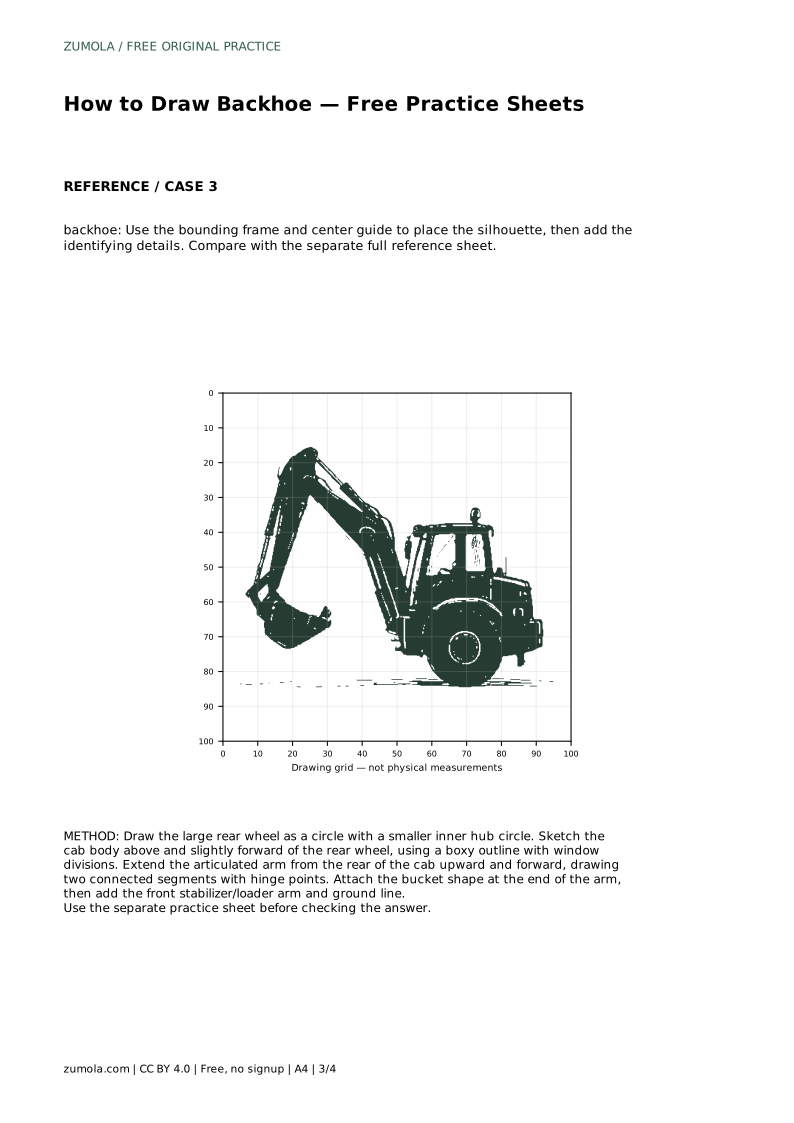
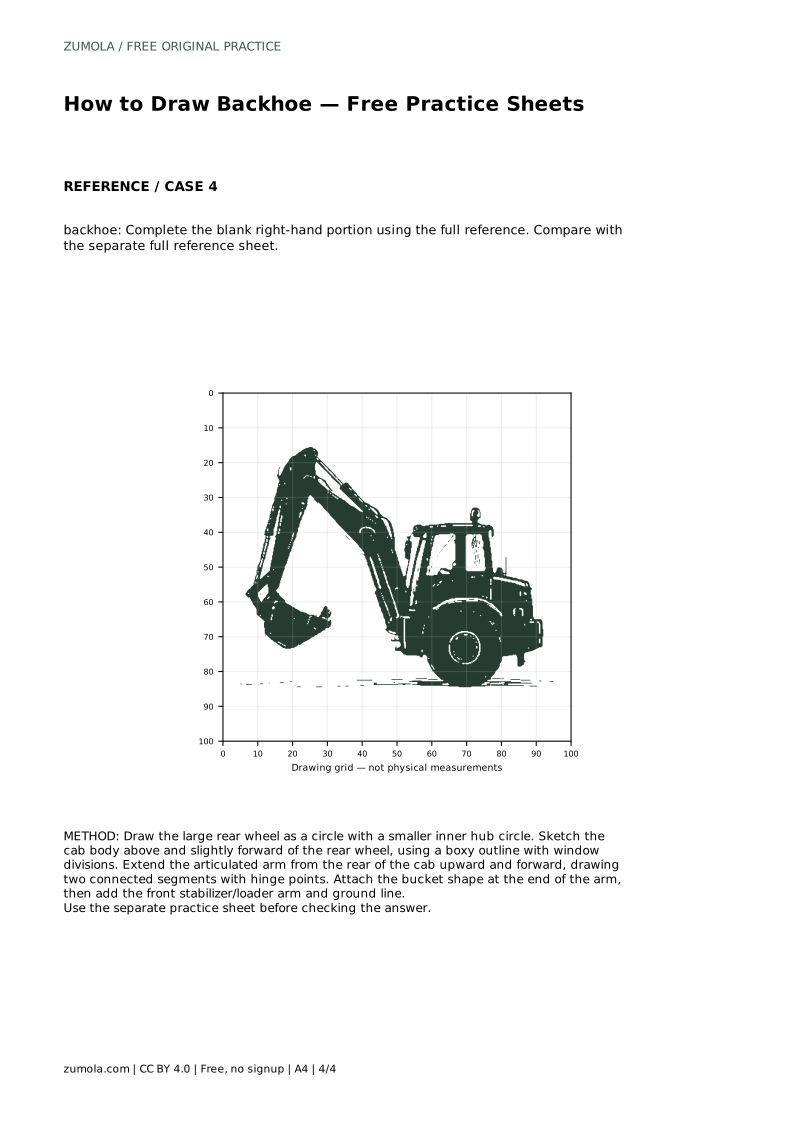
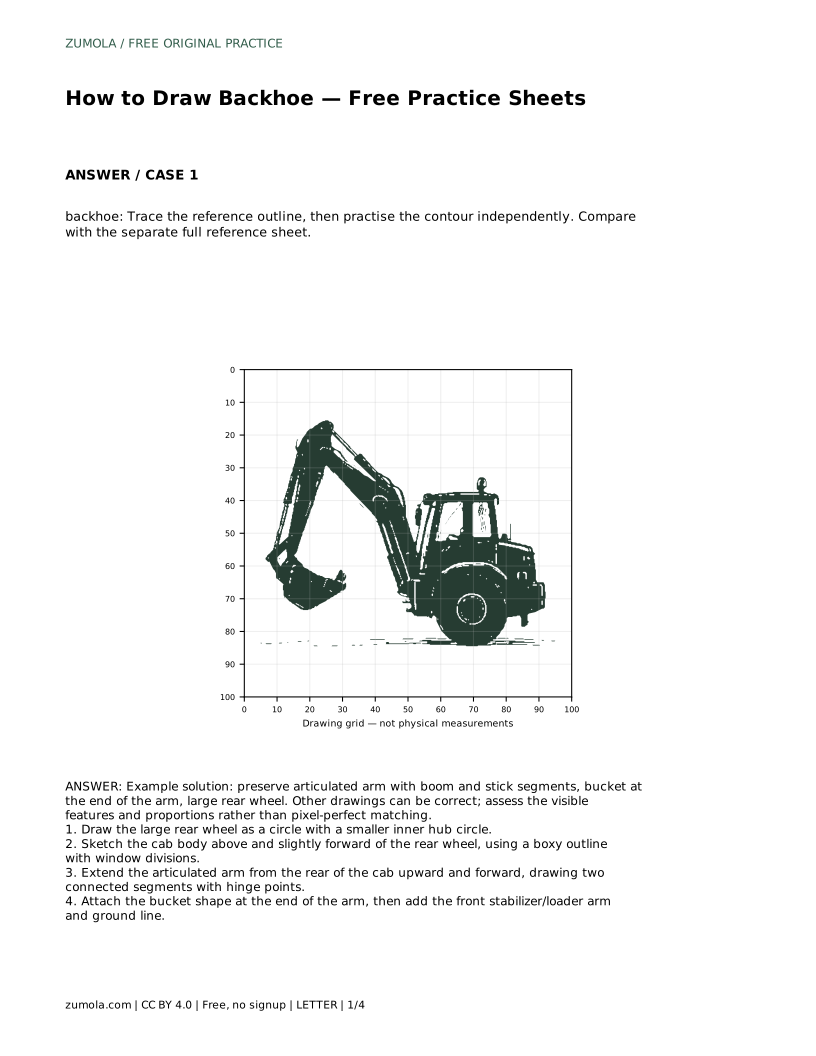
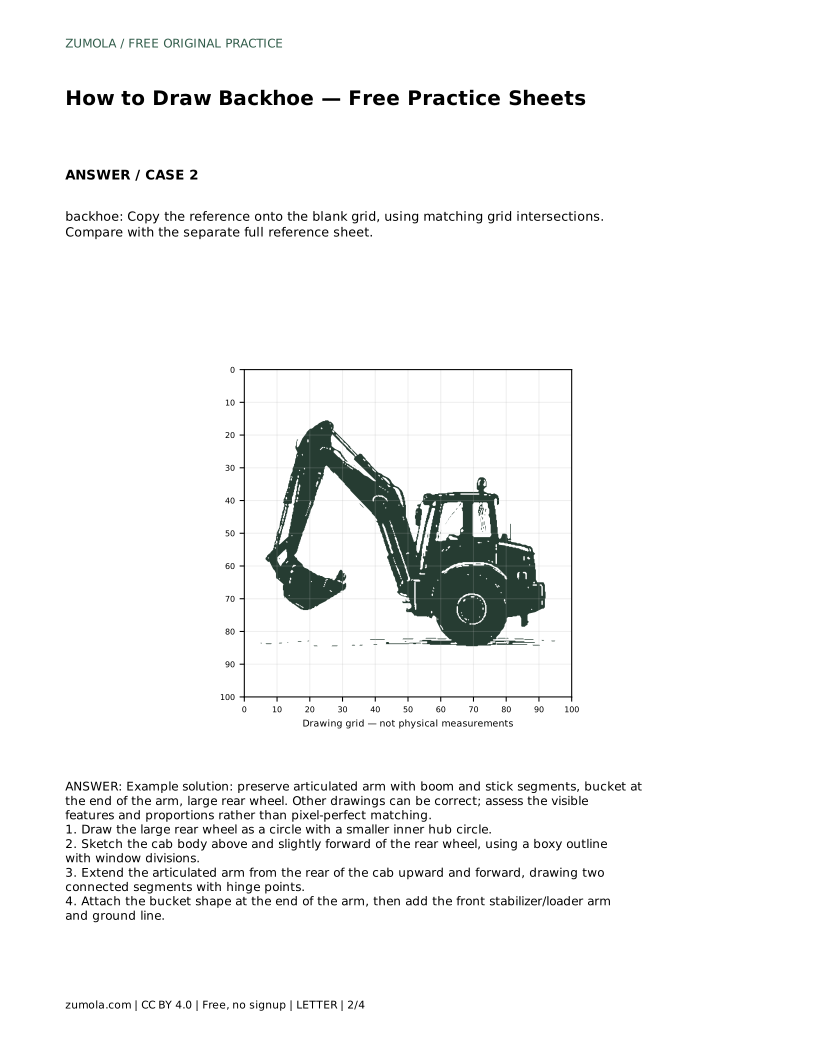
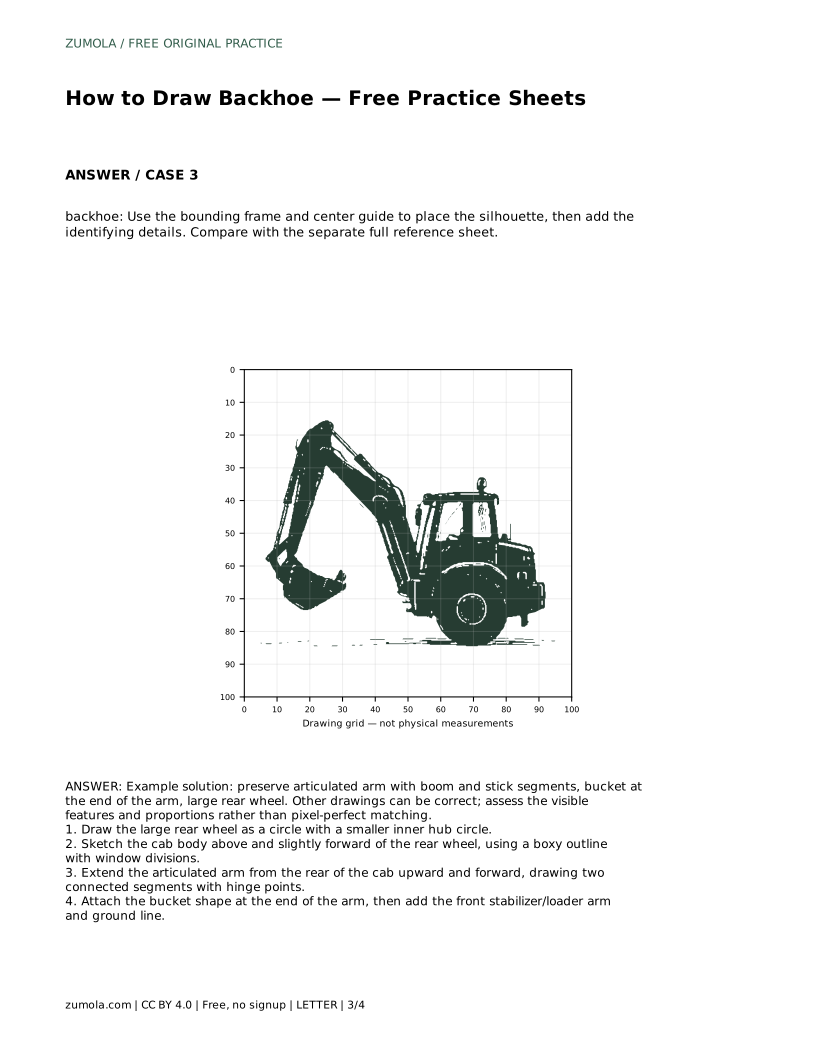
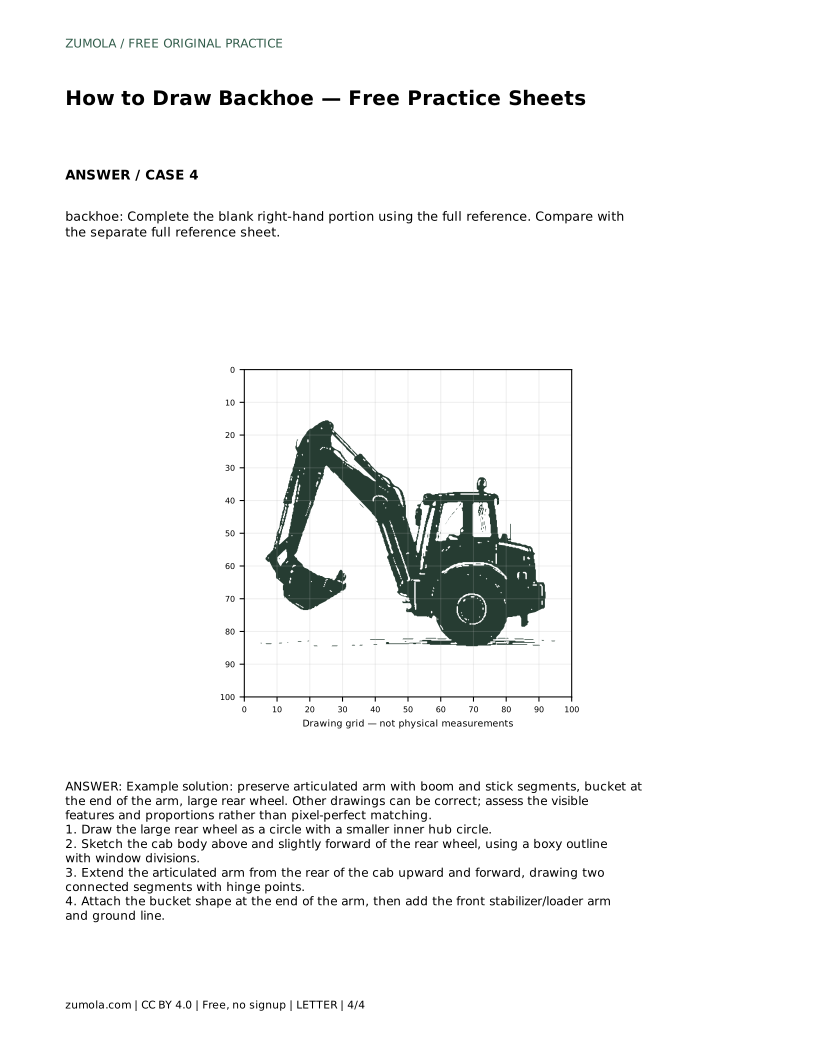
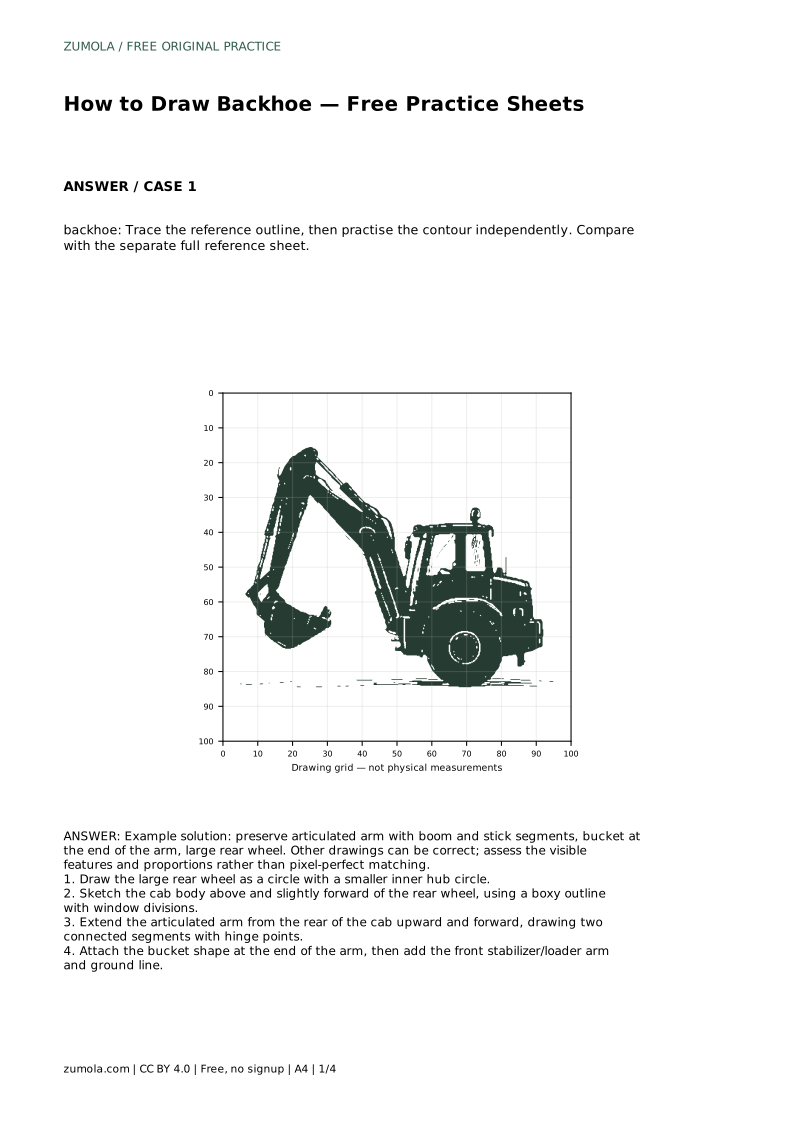
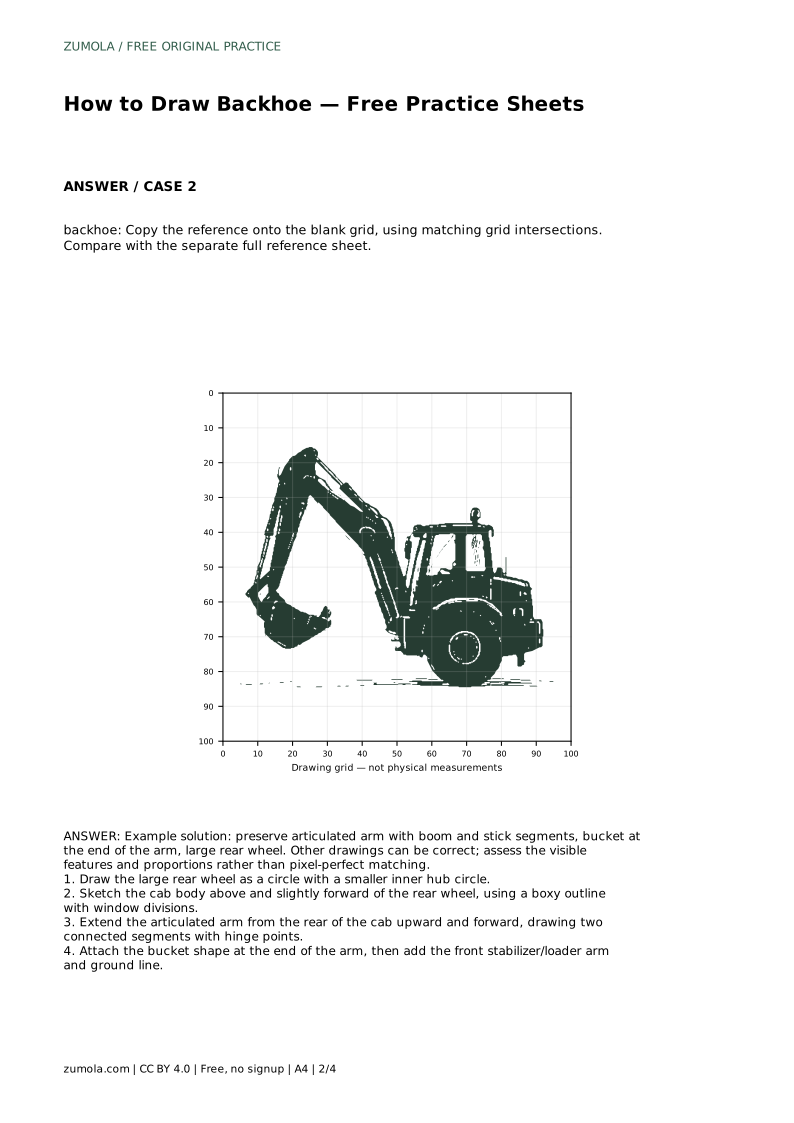
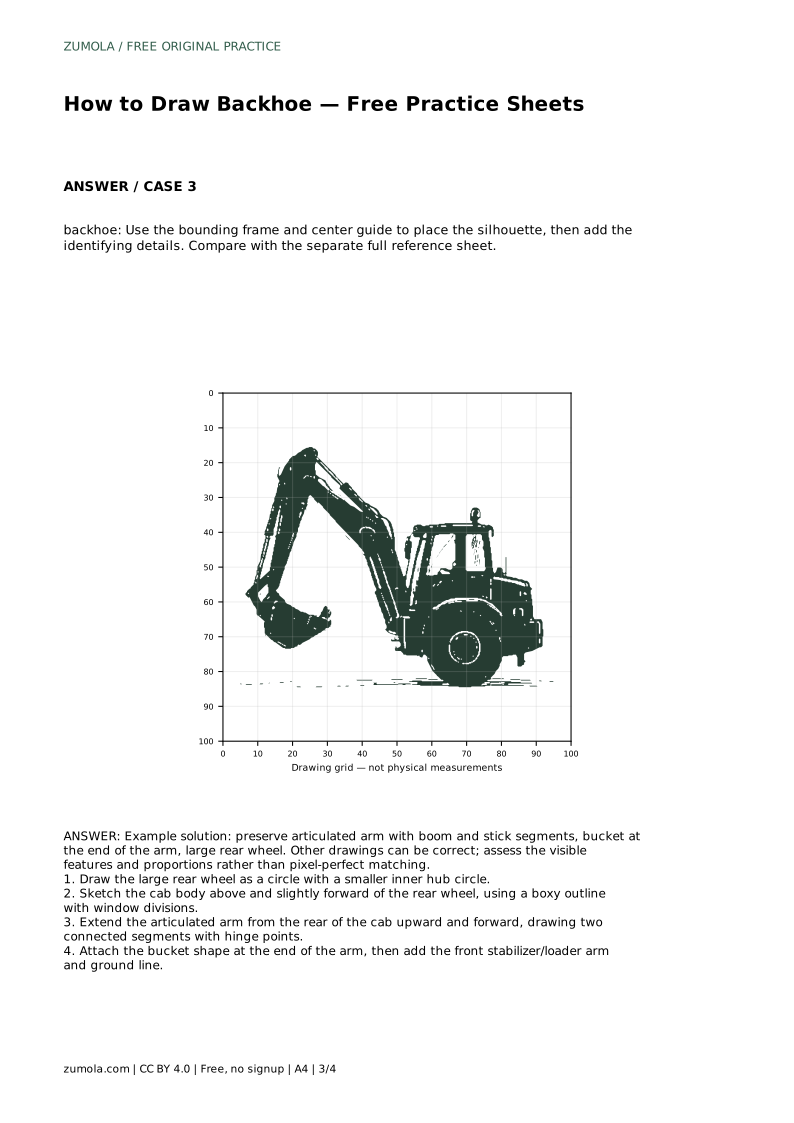
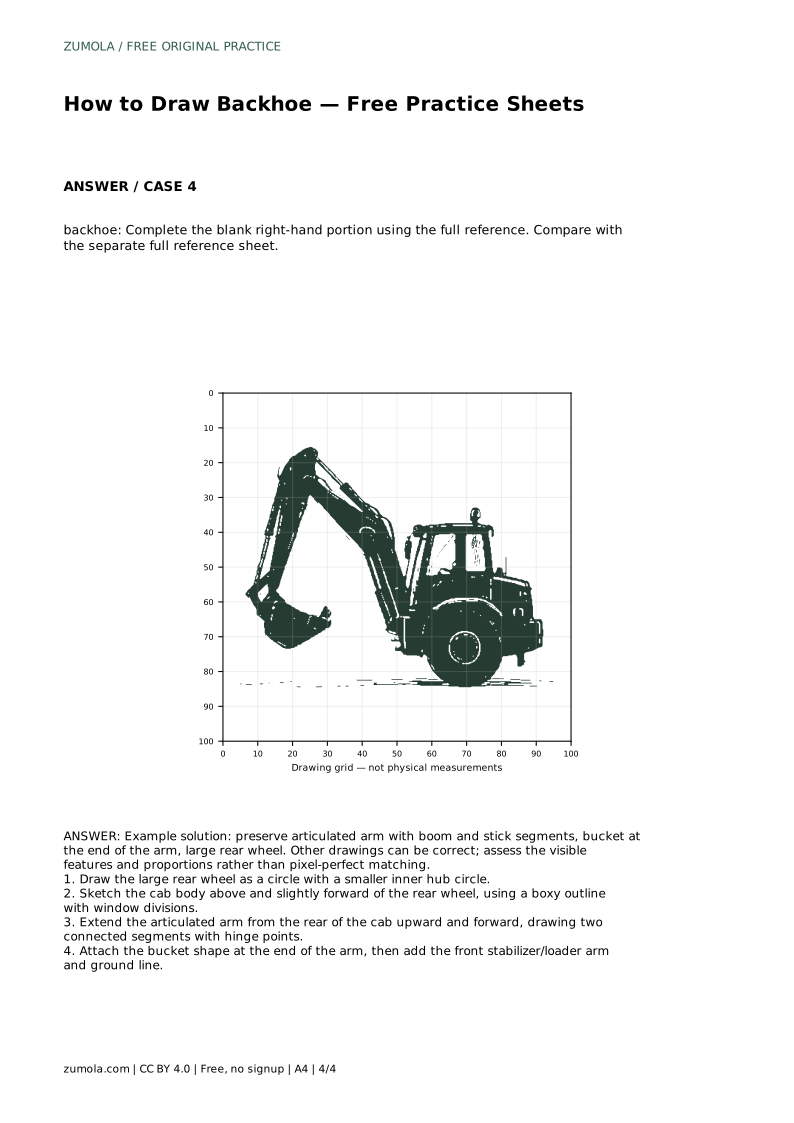
Reference diagrams
LETTER · Download PDF
A4 · Download PDF
Free original resources
Learn to draw a backhoe by building the rear wheel, cab, two-segment articulated arm, bucket, and front loader arm in a clear, checkable order.
Four original cases, with reference diagrams, practice sheets and worked answers. Everything is free; no signup required.
LETTER · Download PDF
A4 · Download PDF
LETTER · Download PDF
A4 · Download PDF
LETTER · Download PDF
A4 · Download PDF
Use A4 or US Letter to match your printer. Use the stated values and conditions to solve each exercise; diagrams are not physical measuring rulers.
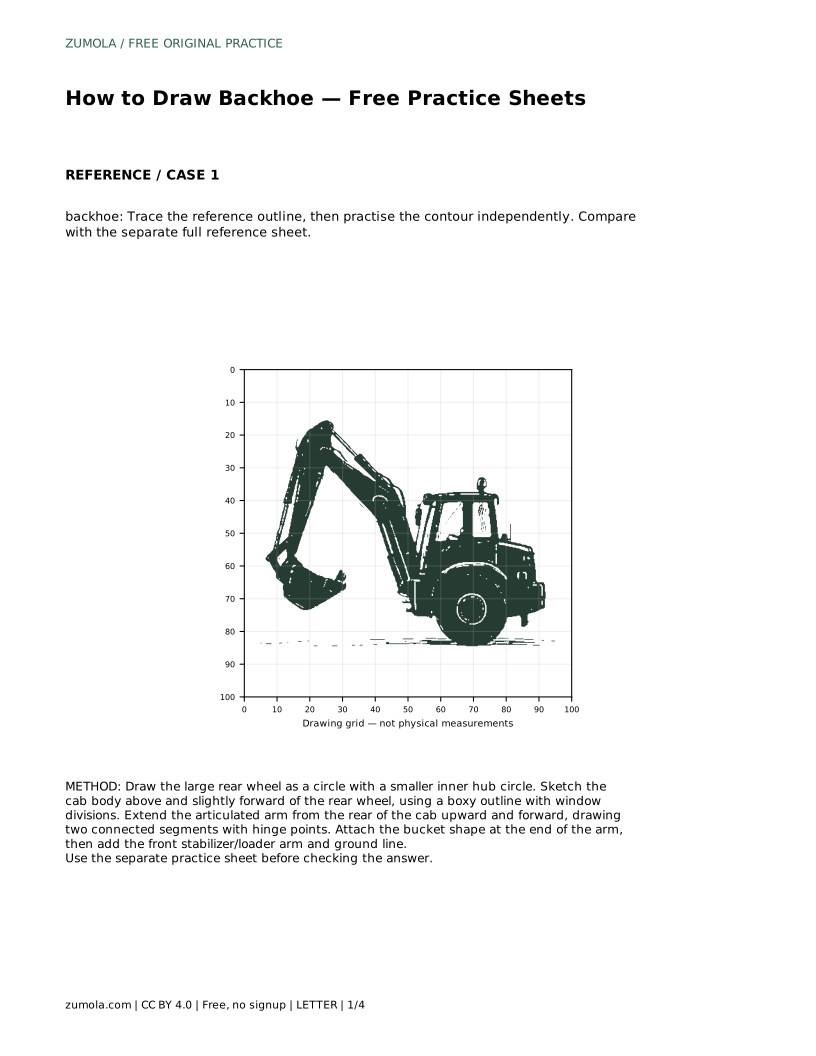
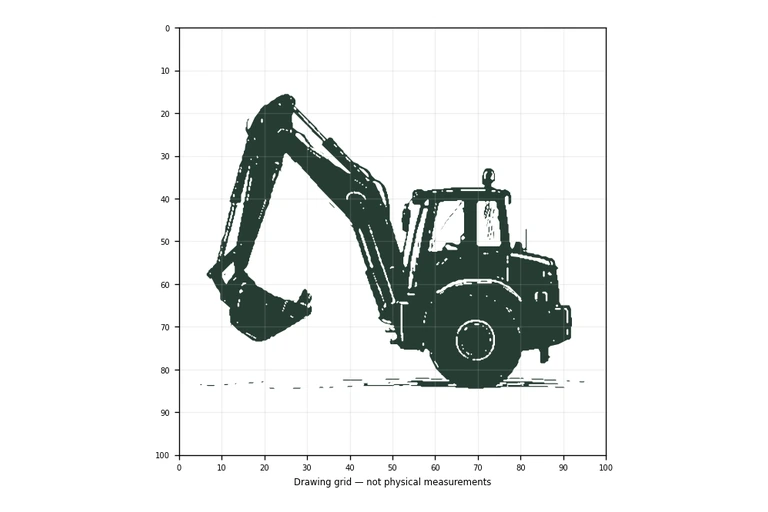
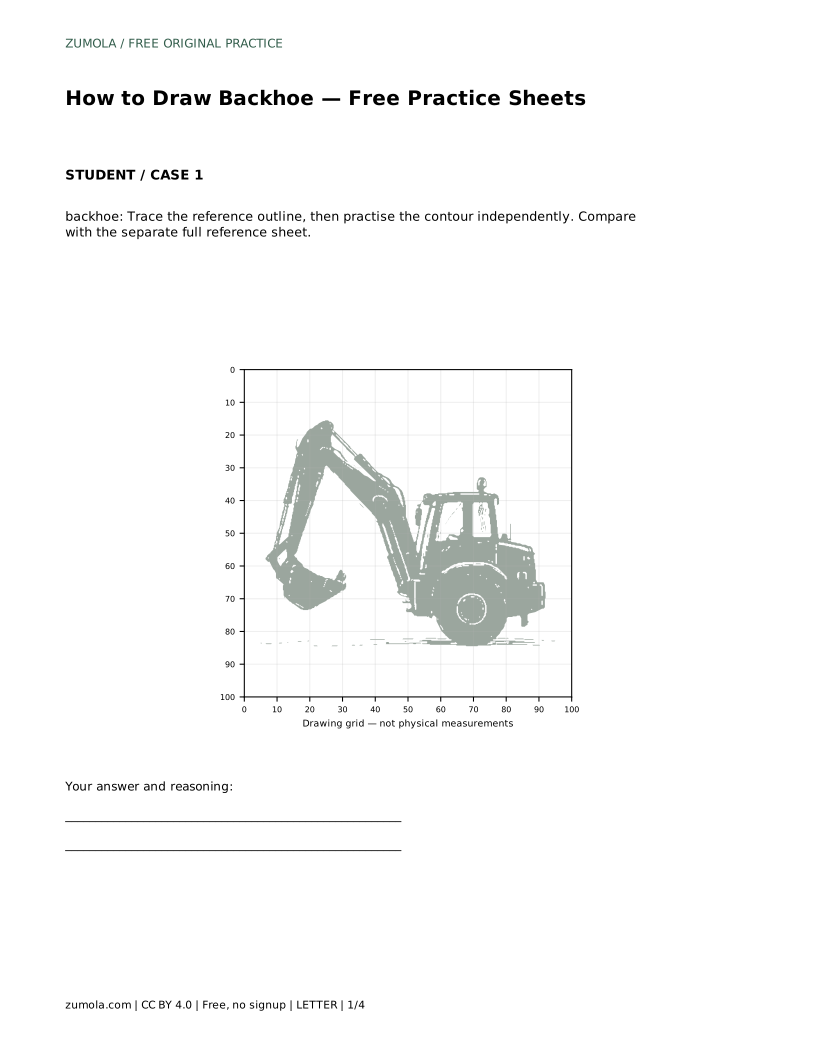
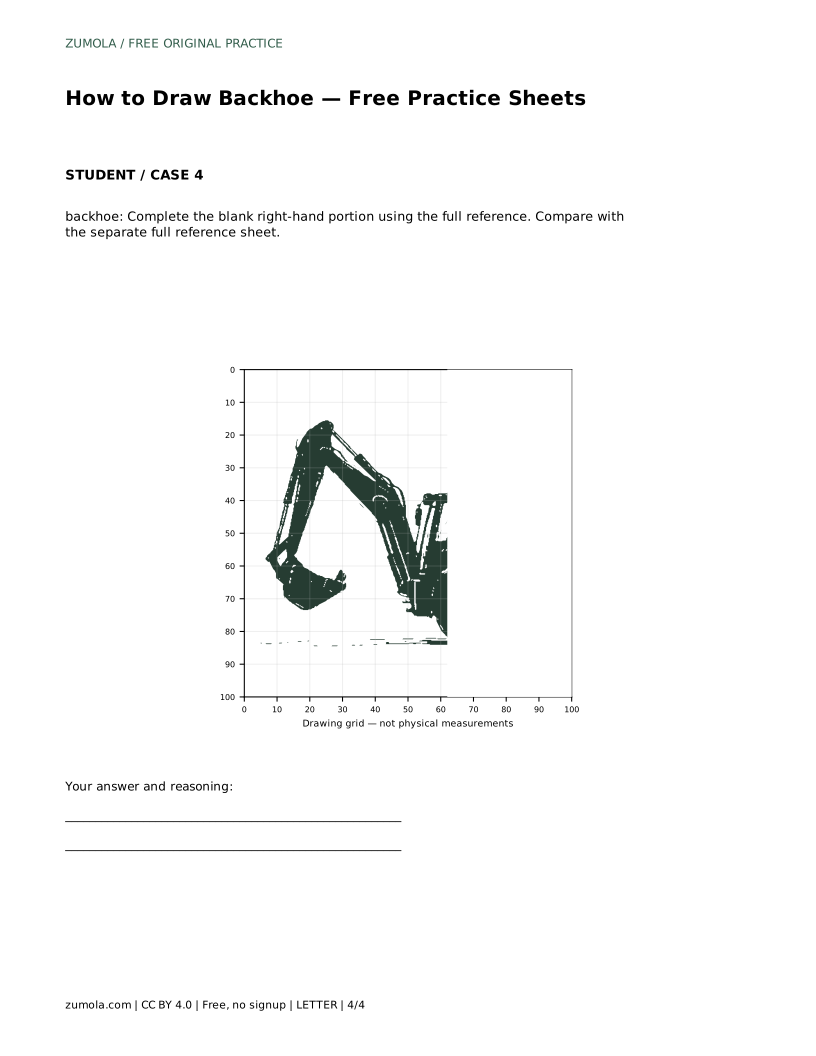
A backhoe is recognizable less by its boxy cab than by its arm: a boom and a stick joined at a hinge, with a bucket at the far end. This page shows how to place those parts in a sensible order so the machine reads correctly on the page. The practice sheets let you trace, copy onto a grid, or complete a partial drawing, then compare your work with the full reference.
The large rear wheel anchors the whole drawing. Draw it as a circle, then add a smaller inner circle for the hub. Keep the hub centered; an off-center hub makes the wheel look tilted even when the outer circle is round.
Place the cab above and slightly forward of the rear wheel. Use a boxy outline rather than a curved one, and divide the sides with simple window lines. The cab should sit low and wide, not tall and narrow, because the machine's mass is concentrated near the ground.
The arm is the part most drawings get wrong. It is not one straight beam. It has a boom rising from the rear of the cab and a stick continuing from a hinge point, and the angle between them changes how the bucket sits. Draw the boom first, then the stick, and mark the hinge where they meet.
Keep the segments visibly separate. If the two parts merge into a single line, the machine loses its articulated character. The bucket attaches at the end of the stick, so its position depends on where you placed that hinge.
The front stabilizer or loader arm balances the composition and tells the viewer which end is which. Draw it lower and shorter than the rear arm, then add a ground line so the wheels and bucket have a surface to relate to.
Check proportions before adding detail. The rear wheel should be the largest single shape, the cab should be compact, and the arm should extend well beyond the body. Small adjustments at this stage are easier than correcting a finished outline.
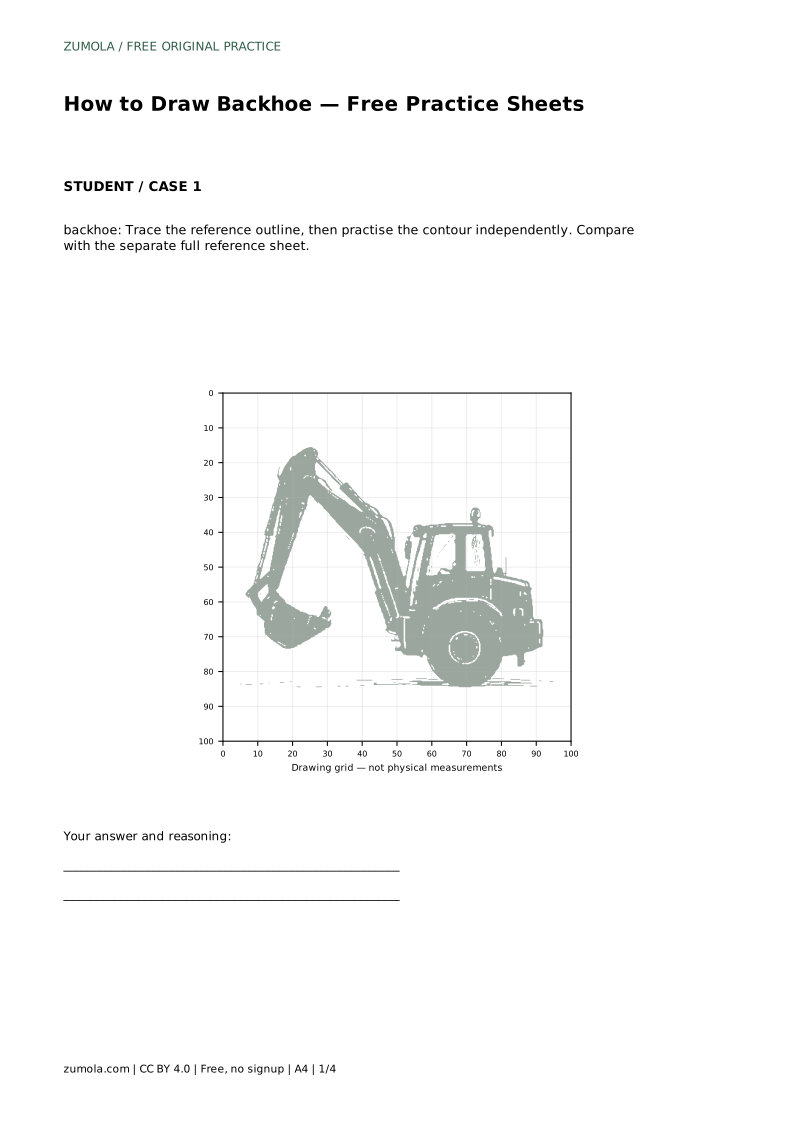
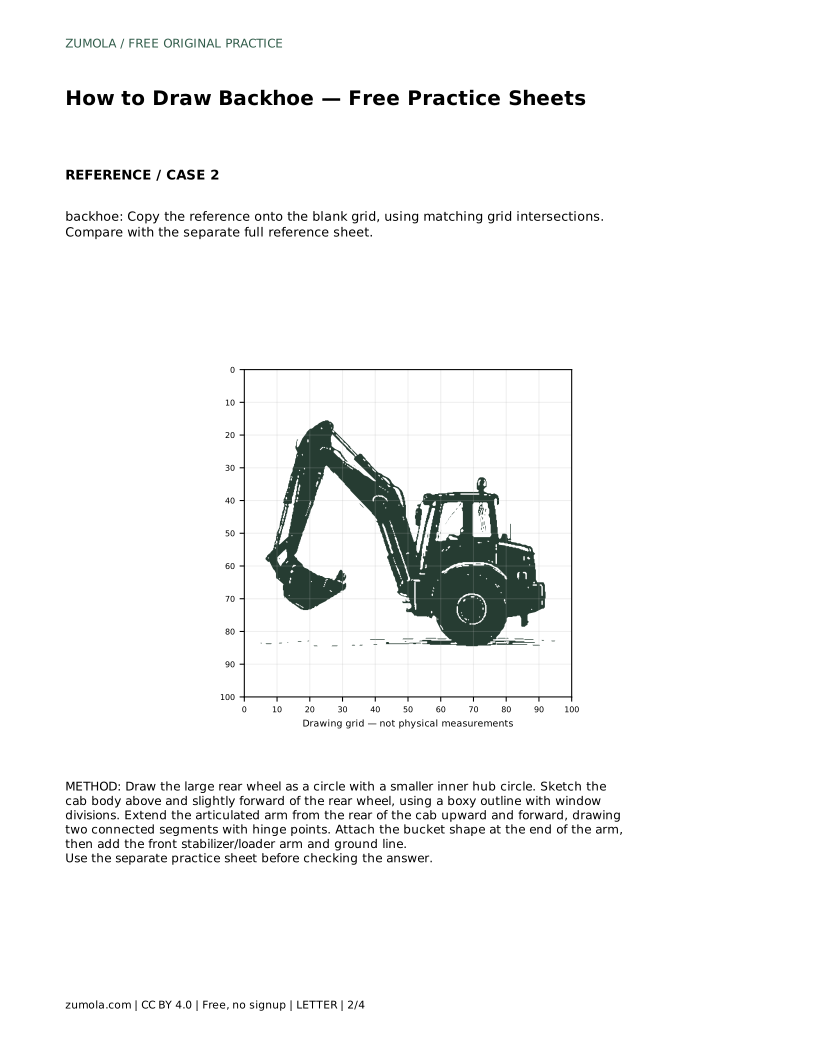
backhoe: Trace the reference outline, then practise the contour independently. Compare with the separate full reference sheet.
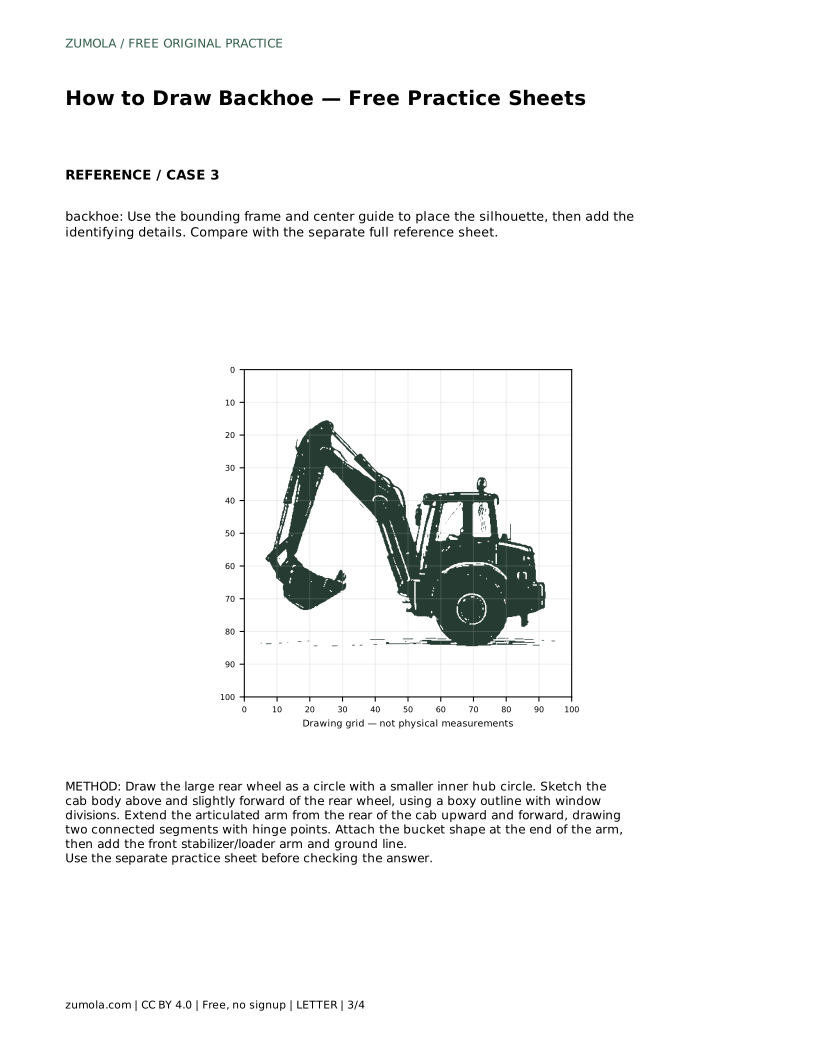
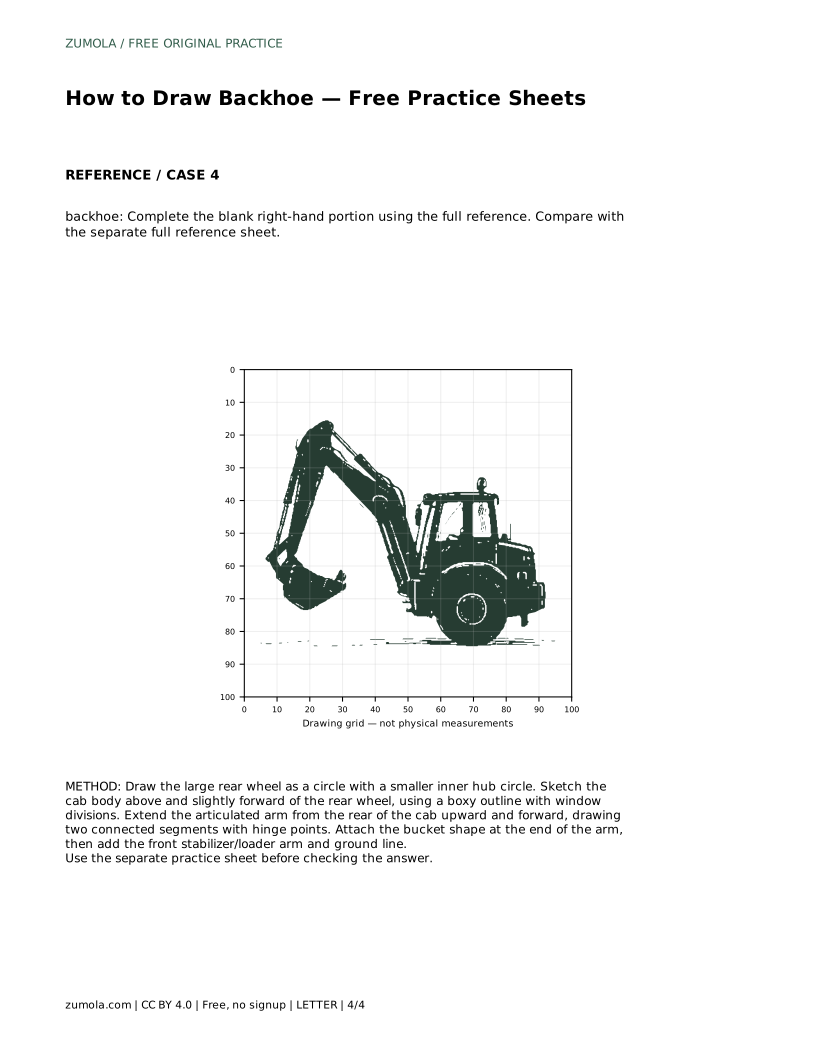
Example solution: preserve articulated arm with boom and stick segments, bucket at the end of the arm, large rear wheel. Other drawings can be correct; assess the visible features and proportions rather than pixel-perfect matching. Draw the large rear wheel as a circle with a smaller inner hub circle. Sketch the cab body above and slightly forward of the rear wheel, using a boxy outline with window divisions. Extend the articulated arm from the rear of the cab upward and forward, drawing two connected segments with hinge points. Attach the bucket shape at the end of the arm, then add the front stabilizer/loader arm and ground line.
No. Other drawings can be correct; assess the visible features and proportions rather than pixel-perfect matching.
Start with the large rear wheel and its hub, then place the cab, then build the arm in two segments.
The boom rises from the rear of the cab, the stick continues from a hinge, and the bucket sits at the end of the stick.
All drawing practice · Free coordinate paper
Original resources · CC BY 4.0 · Free for personal and classroom use with attribution.