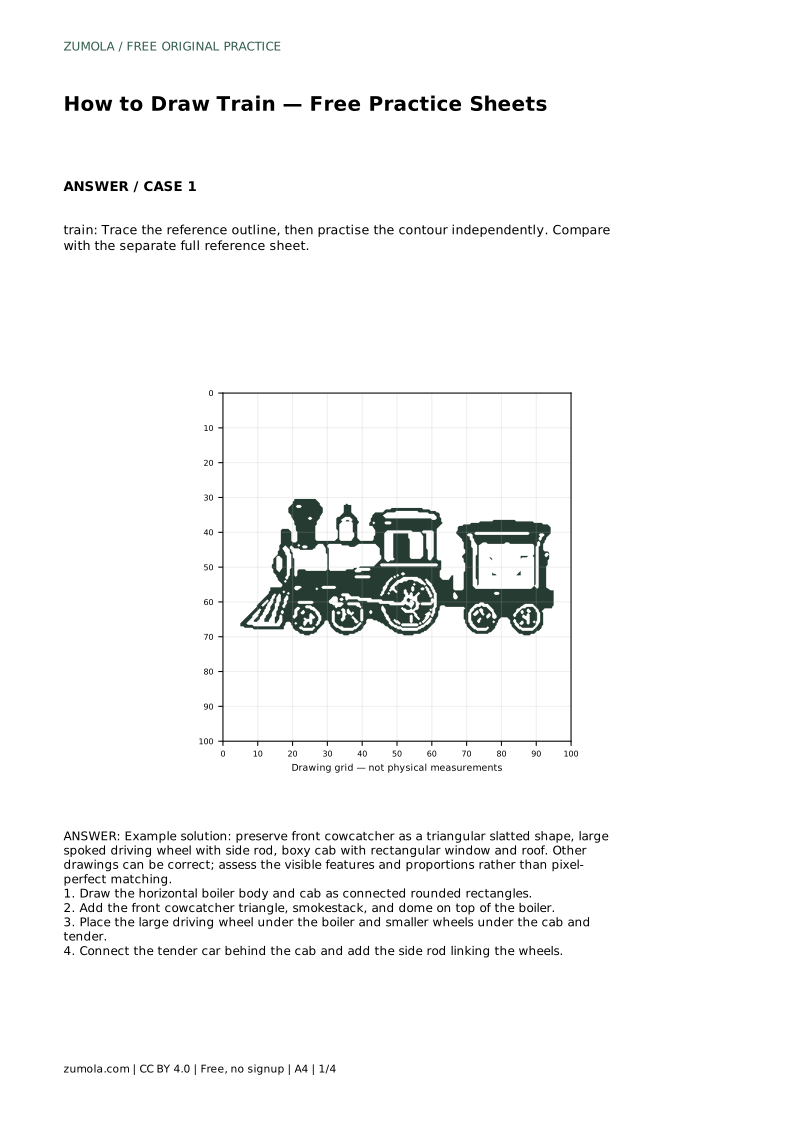
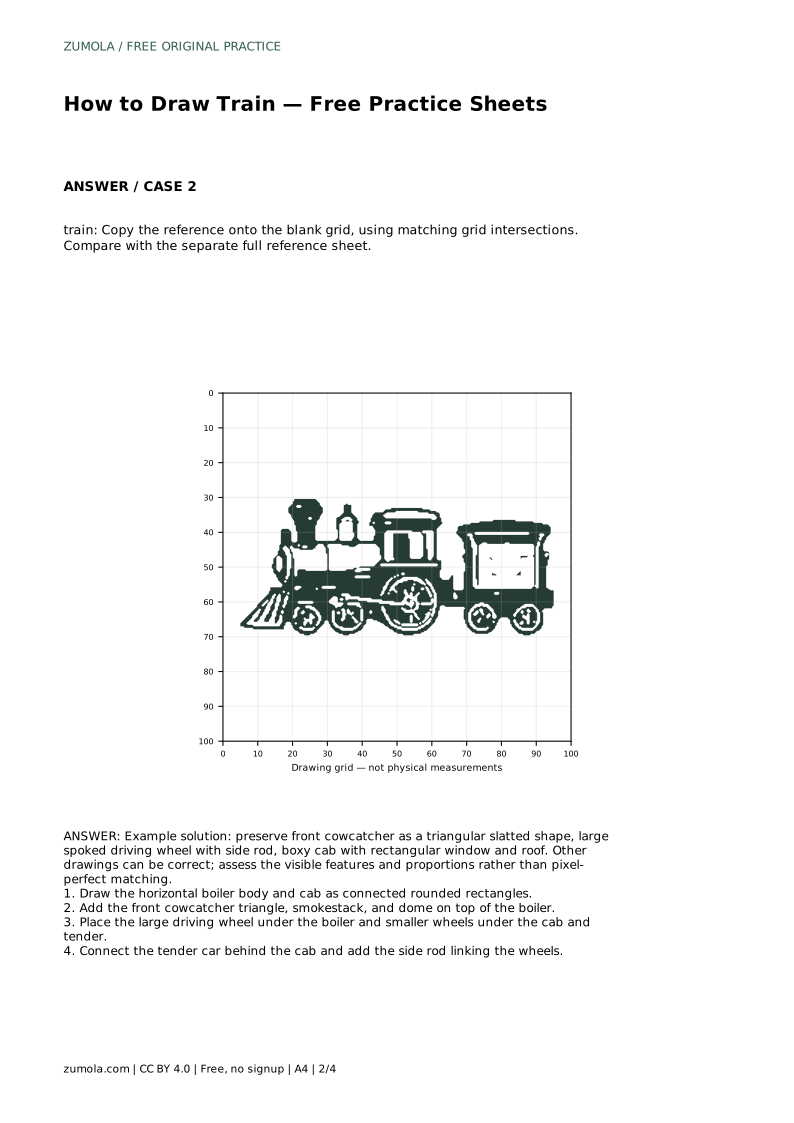
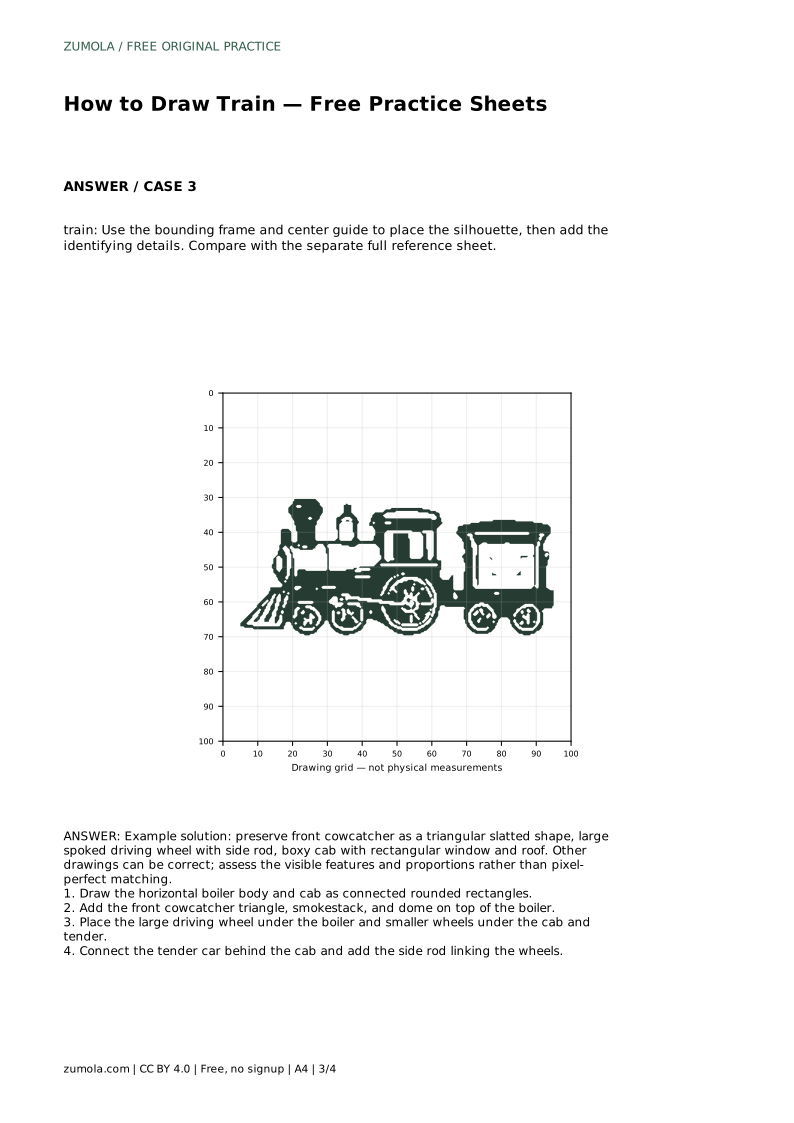
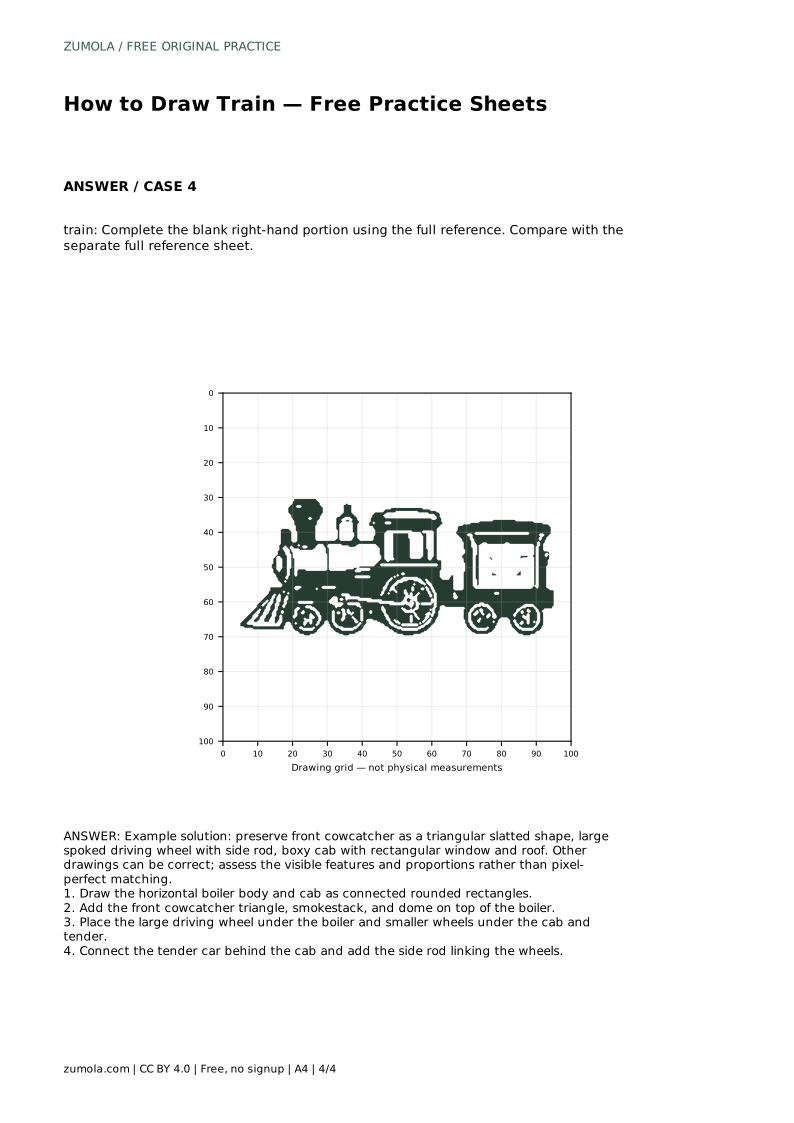
Reference diagrams
LETTER · Download PDF
A4 · Download PDF
Free original resources
Learn to draw a steam train on tracks with a clear method: boiler, cab, cowcatcher, wheels, and side rod. Free printable practice sheets support tracing, grids, and independent drawing.
Four original cases, with reference diagrams, practice sheets and worked answers. Everything is free; no signup required.
LETTER · Download PDF
A4 · Download PDF
LETTER · Download PDF
A4 · Download PDF
LETTER · Download PDF
A4 · Download PDF
Use A4 or US Letter to match your printer. Use the stated values and conditions to solve each exercise; diagrams are not physical measuring rulers.
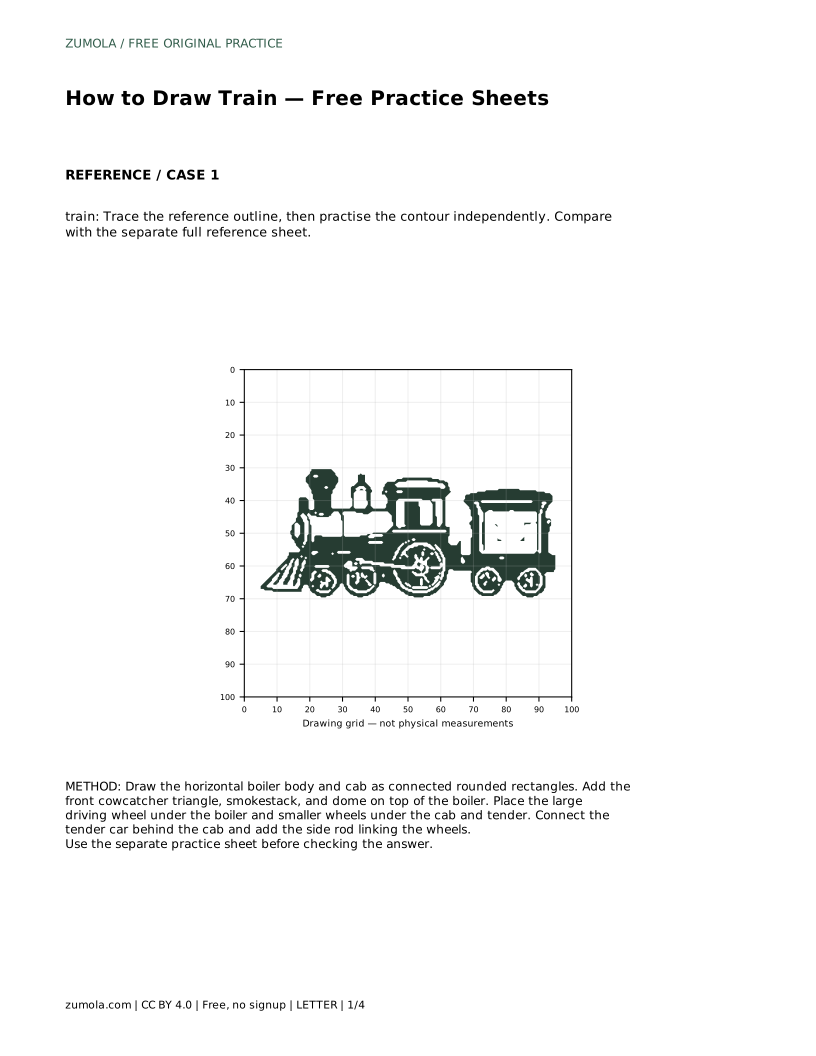
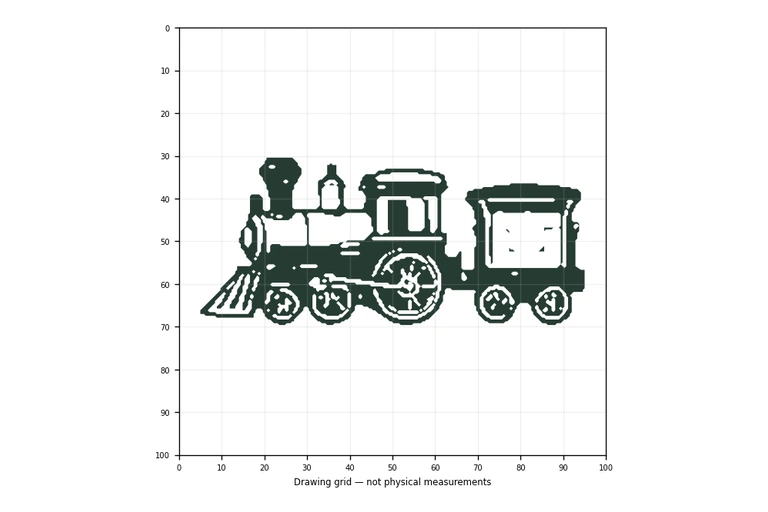
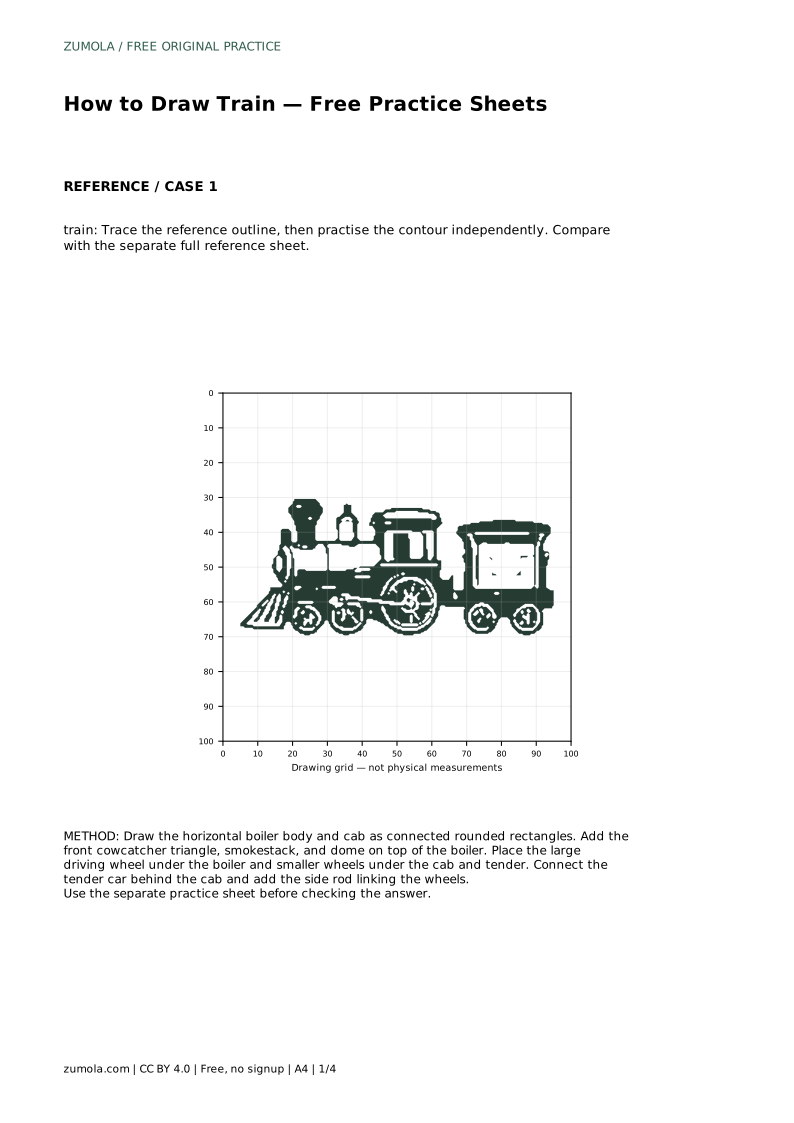
Drawing a train on tracks is easier when you break it into connected shapes and check the identifying features. This guide teaches a reliable order: build the boiler and cab, add the front cowcatcher and smokestack, place the wheels, then connect the tender and side rod. Use the free practice sheets to trace the outline, copy onto a grid, or complete a partial drawing. Compare your work with the separate full reference sheet, and assess visible features and proportions rather than pixel-perfect matching.
Start with the horizontal boiler body and the cab as two connected rounded rectangles. The boiler is the long cylinder at the front; the cab is the taller box at the back. Keep their top edges roughly level unless your reference shows a raised cab roof. Draw lightly so you can adjust proportions. The boiler should be longer than the cab, and the cab should be tall enough for a rectangular window. These two shapes set the train's overall length and height.
Next, add the front cowcatcher as a triangular slatted shape at the front of the boiler. The smokestack and dome sit on top of the boiler. Place the large driving wheel under the boiler and smaller wheels under the cab and tender. Connect the tender car behind the cab, then add the side rod linking the wheels. Work from large shapes to small details so the train stays balanced.
The large driving wheel sits under the boiler and should be the biggest wheel. Smaller wheels sit under the cab and tender. Keep the wheel bottoms on a common ground line so the train appears to rest on the tracks. The side rod is a straight bar linking the wheels; draw it after the wheels are placed so it connects their centers or crank points. If your reference shows spokes, add them lightly inside the driving wheel.
The cowcatcher is a triangular slatted shape at the front. Draw its outer triangle first, then add a few slats inside. The smokestack and dome are small shapes on top of the boiler; keep them proportional to the boiler length. The cab window is a rectangle inside the cab. These details make the drawing read as a train rather than a generic box.
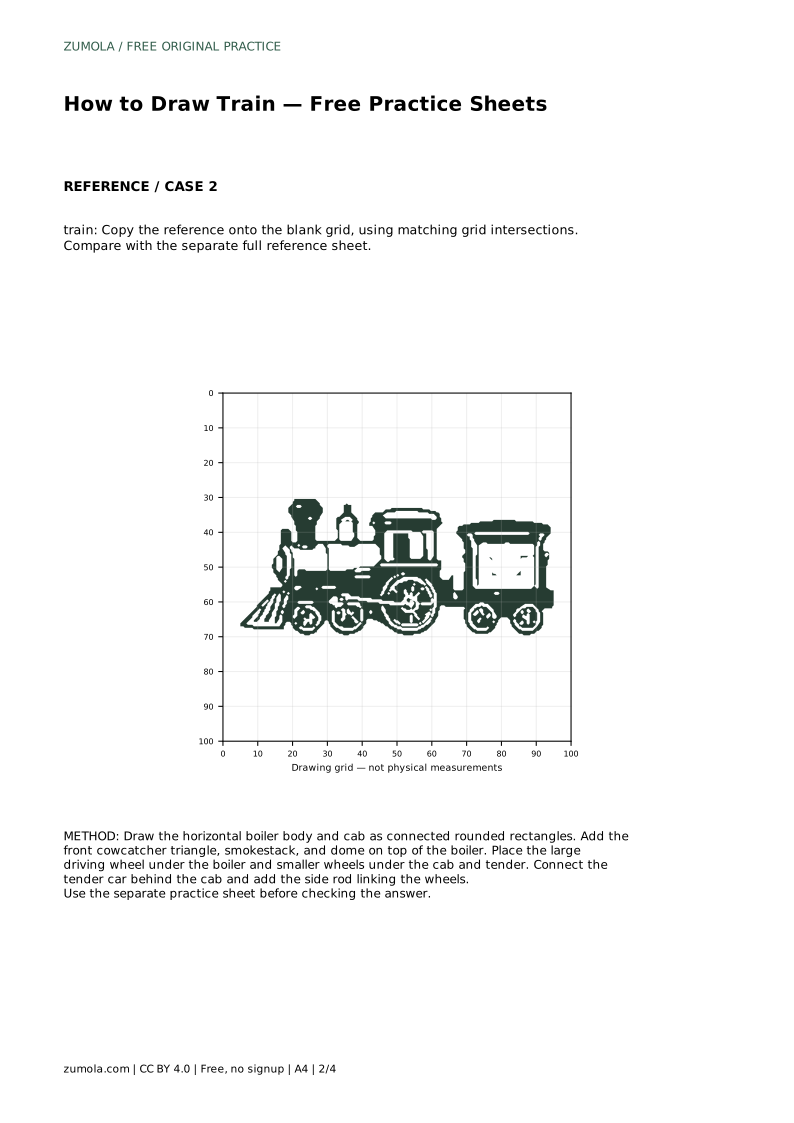
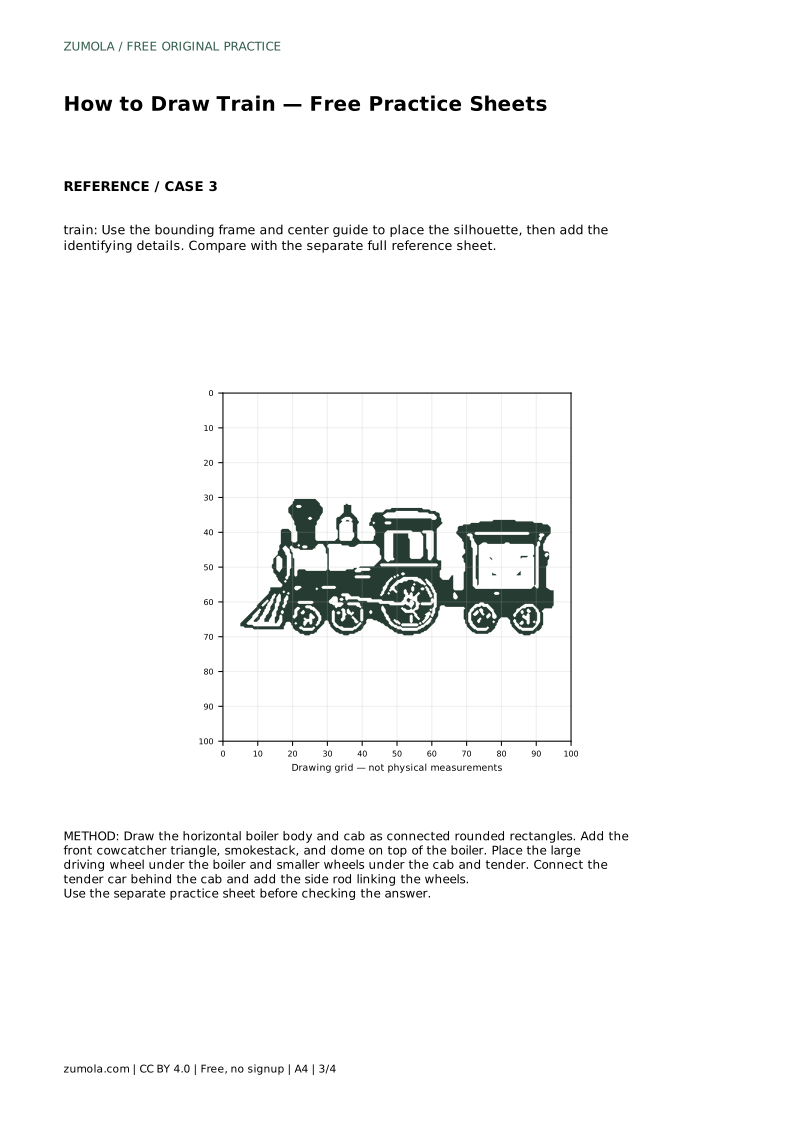
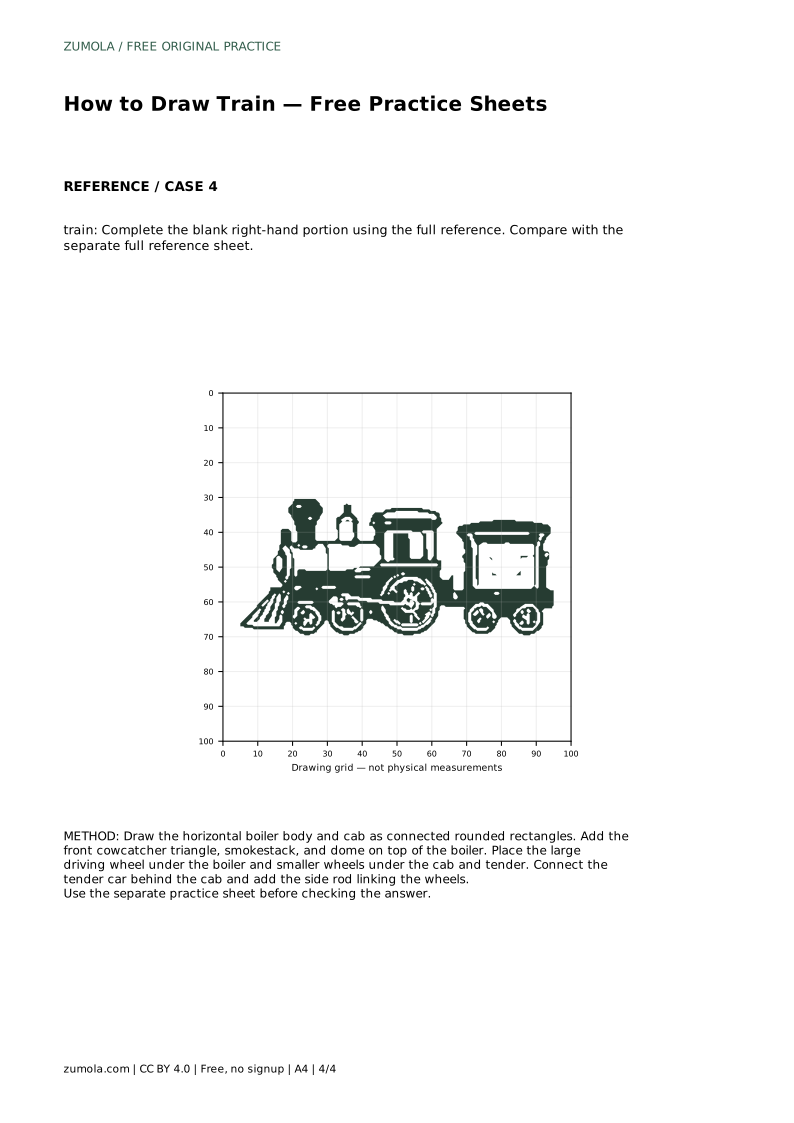
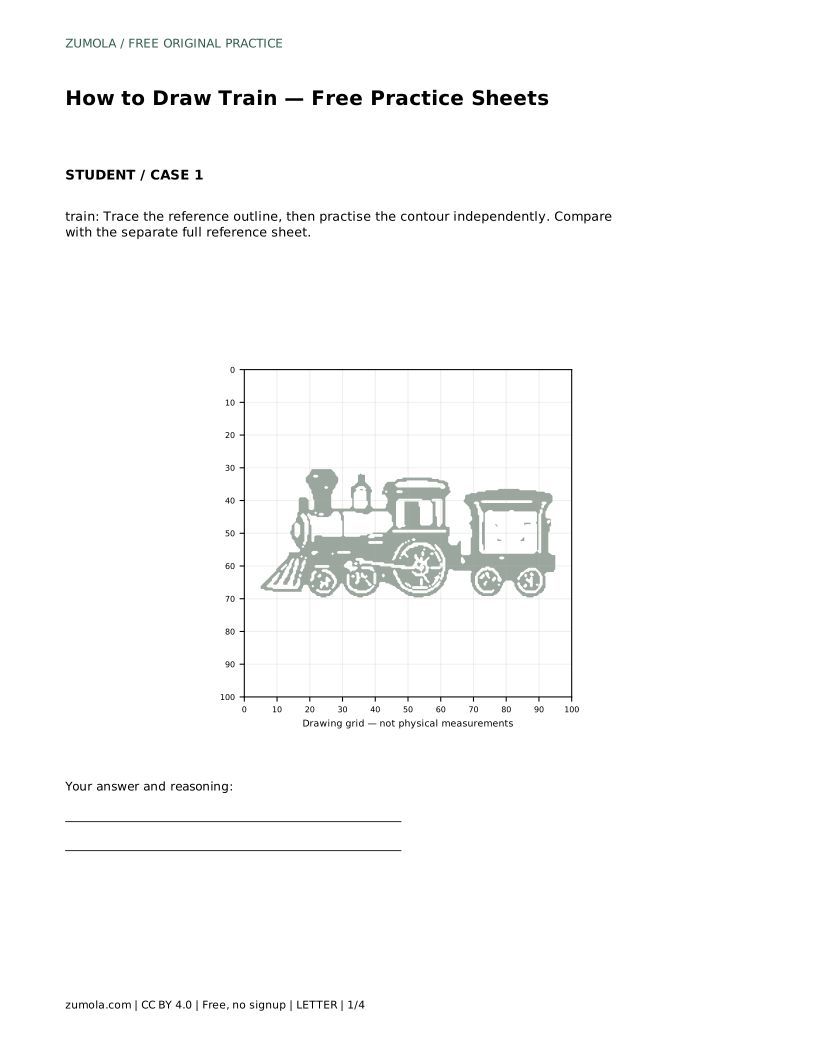
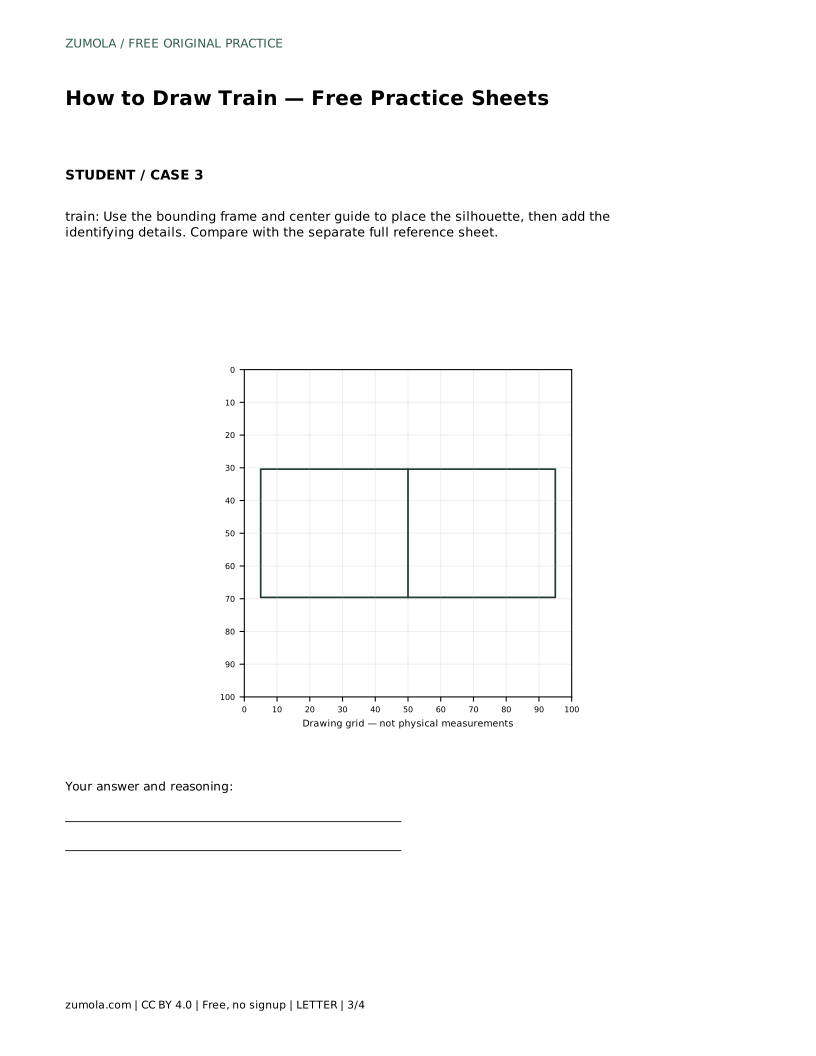
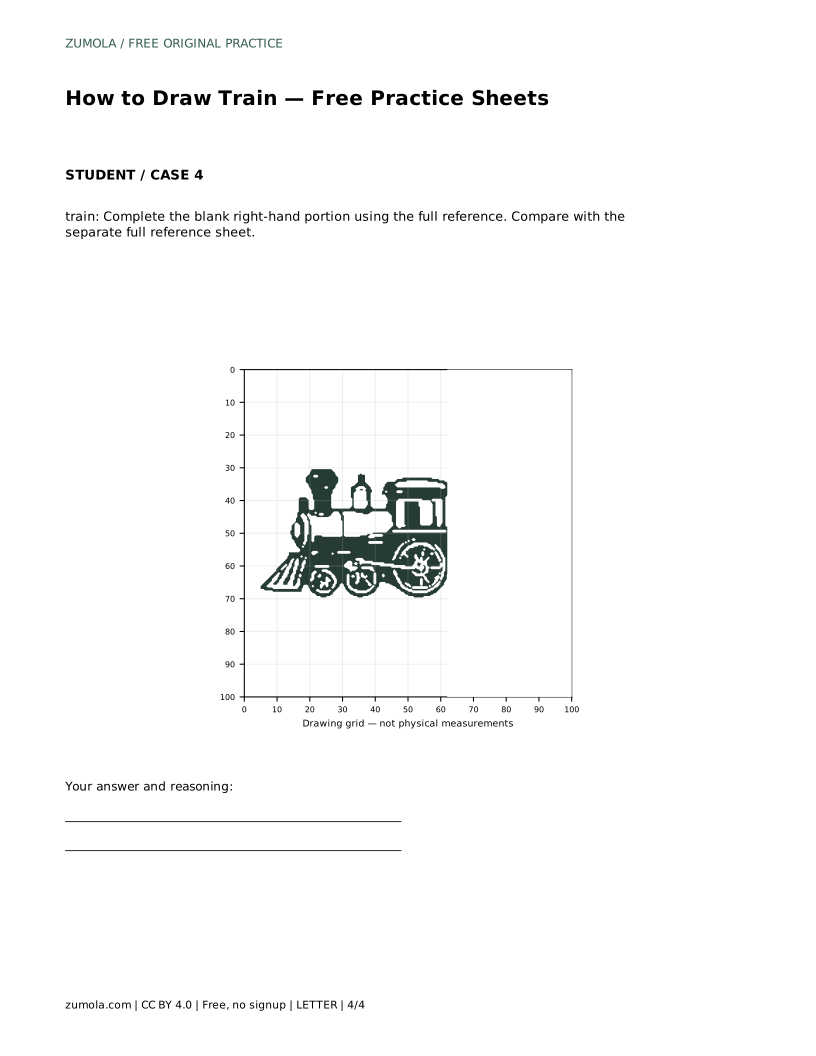
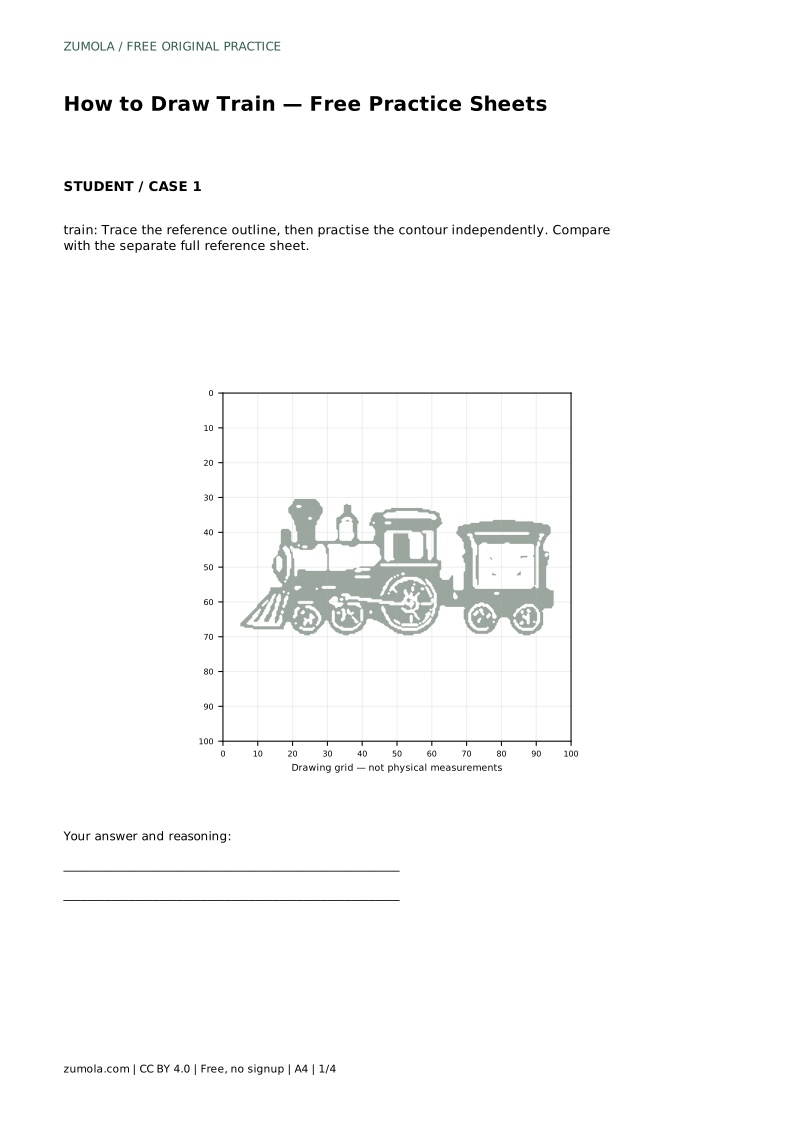
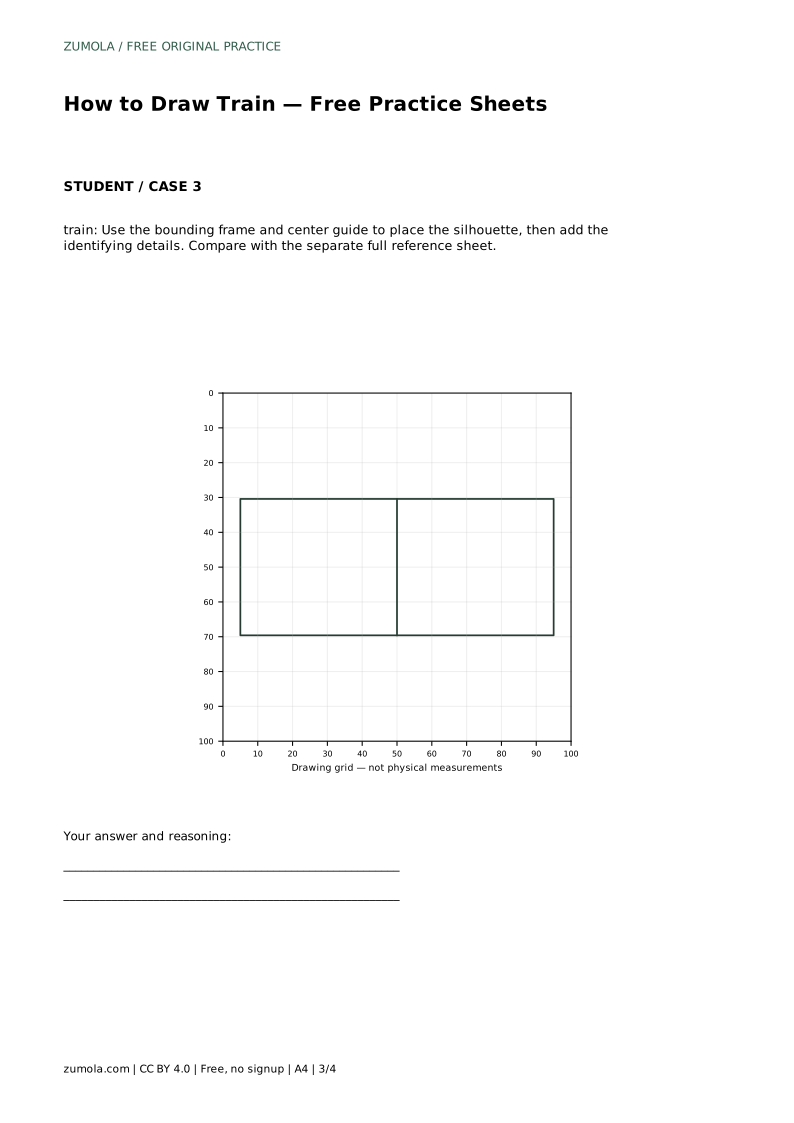
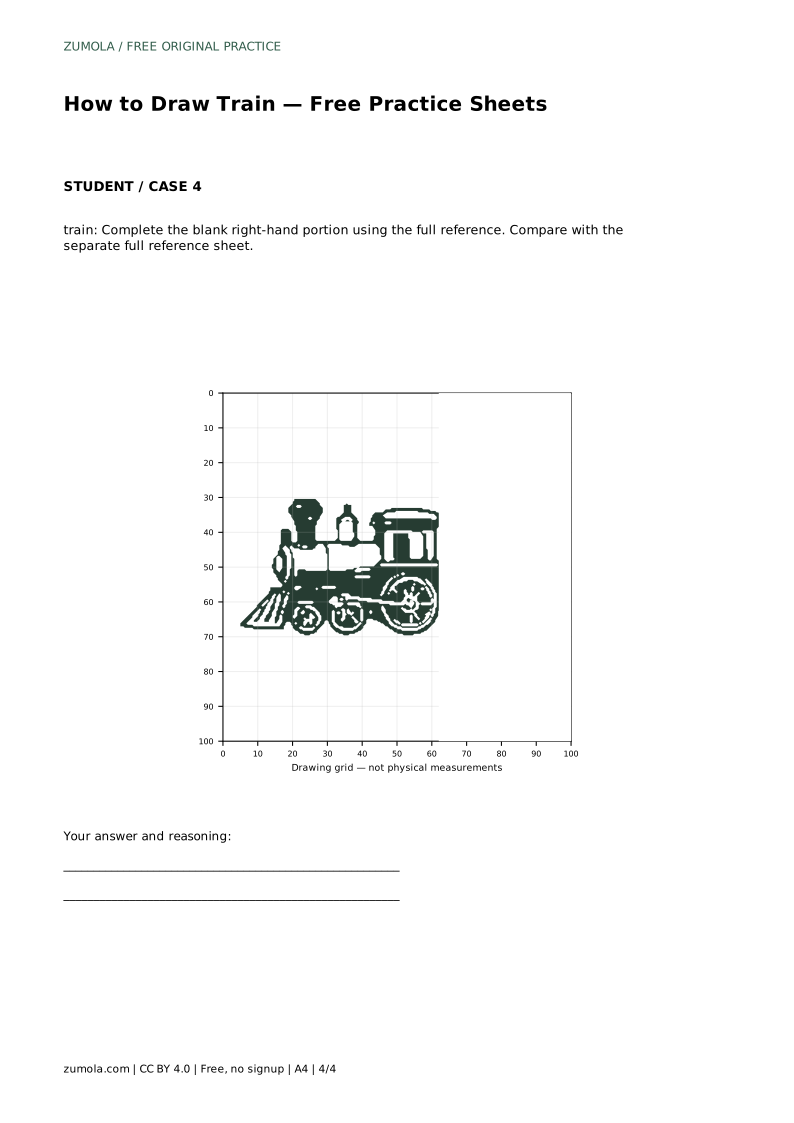
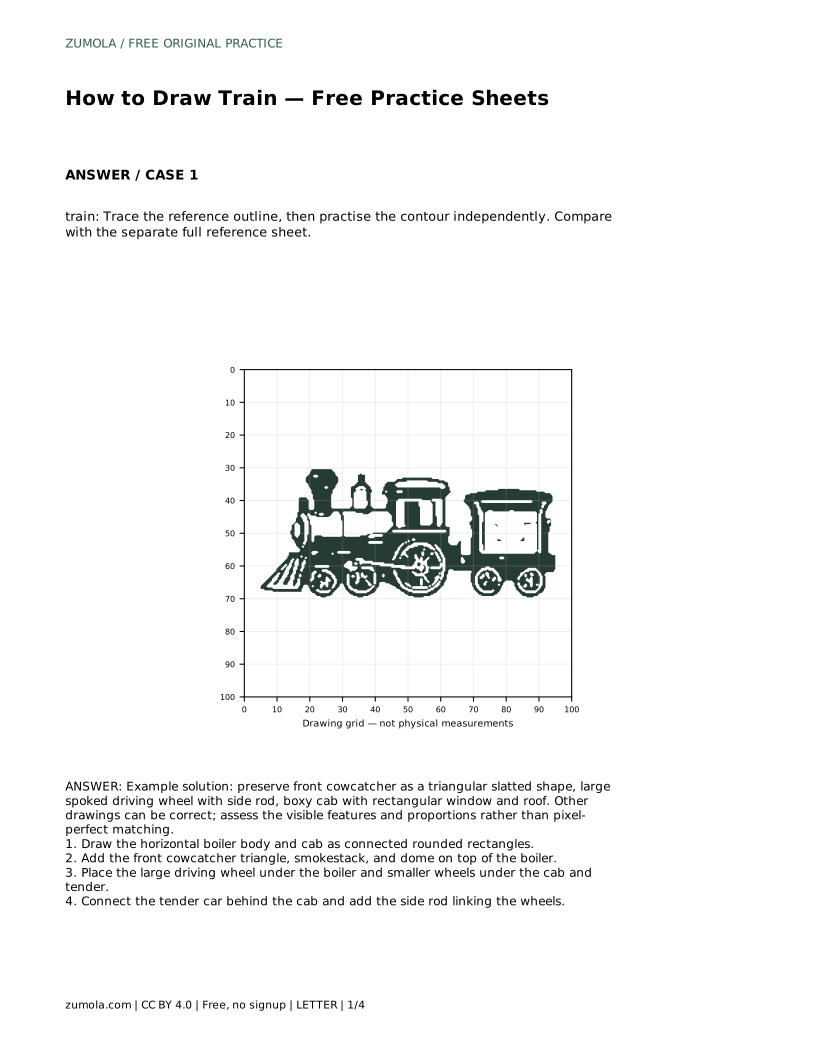
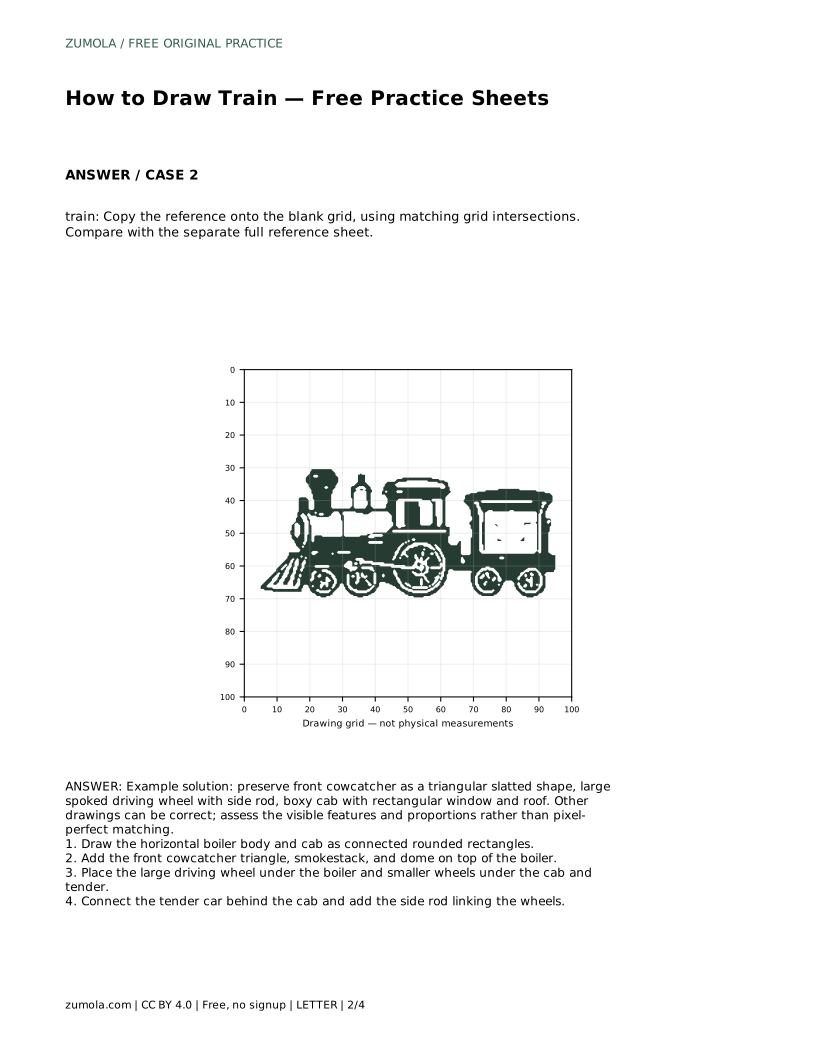
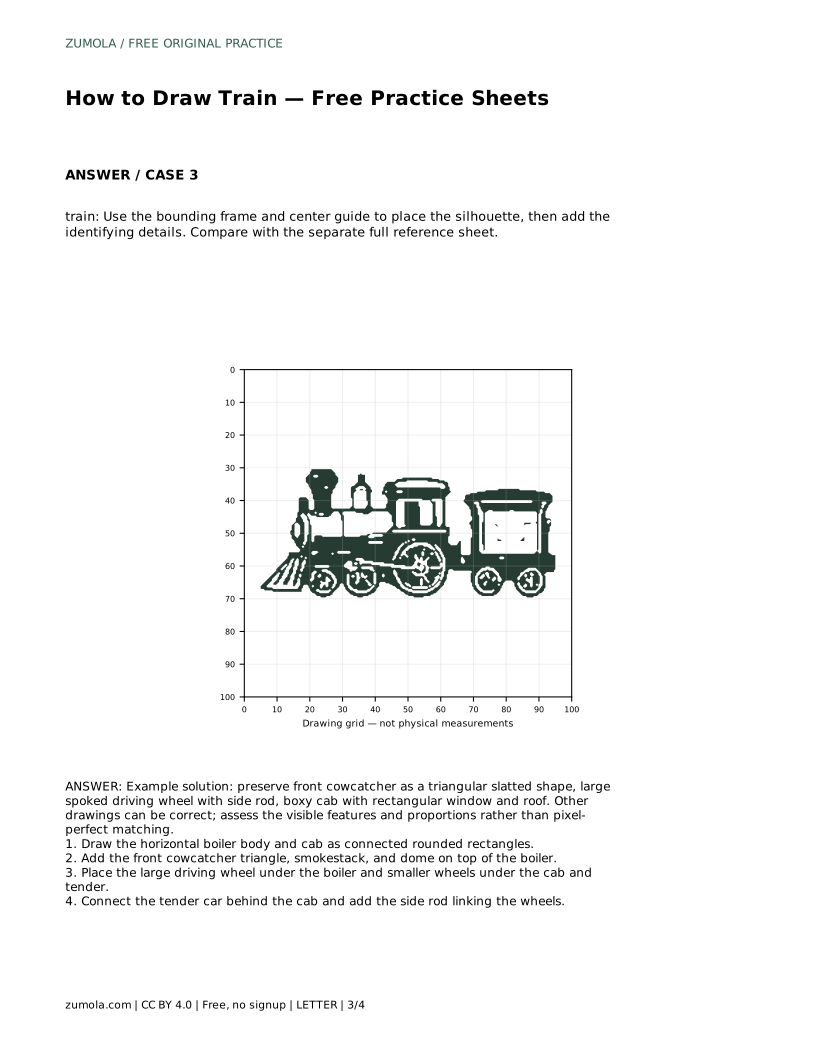
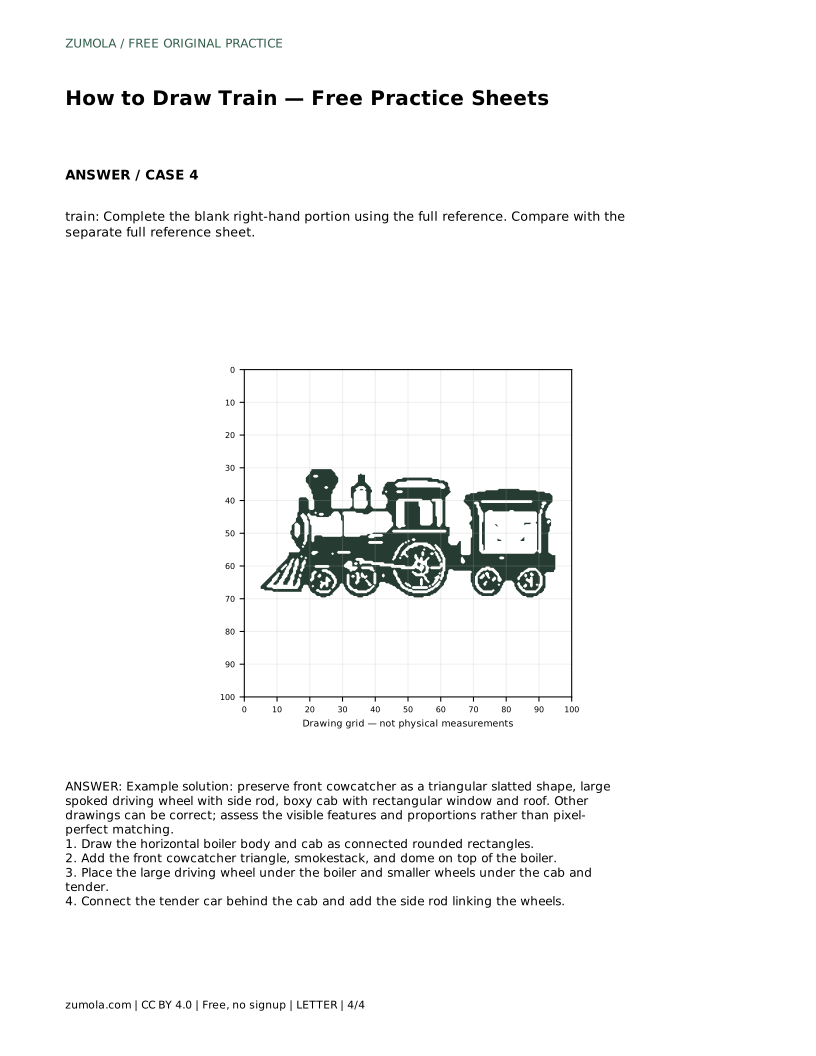
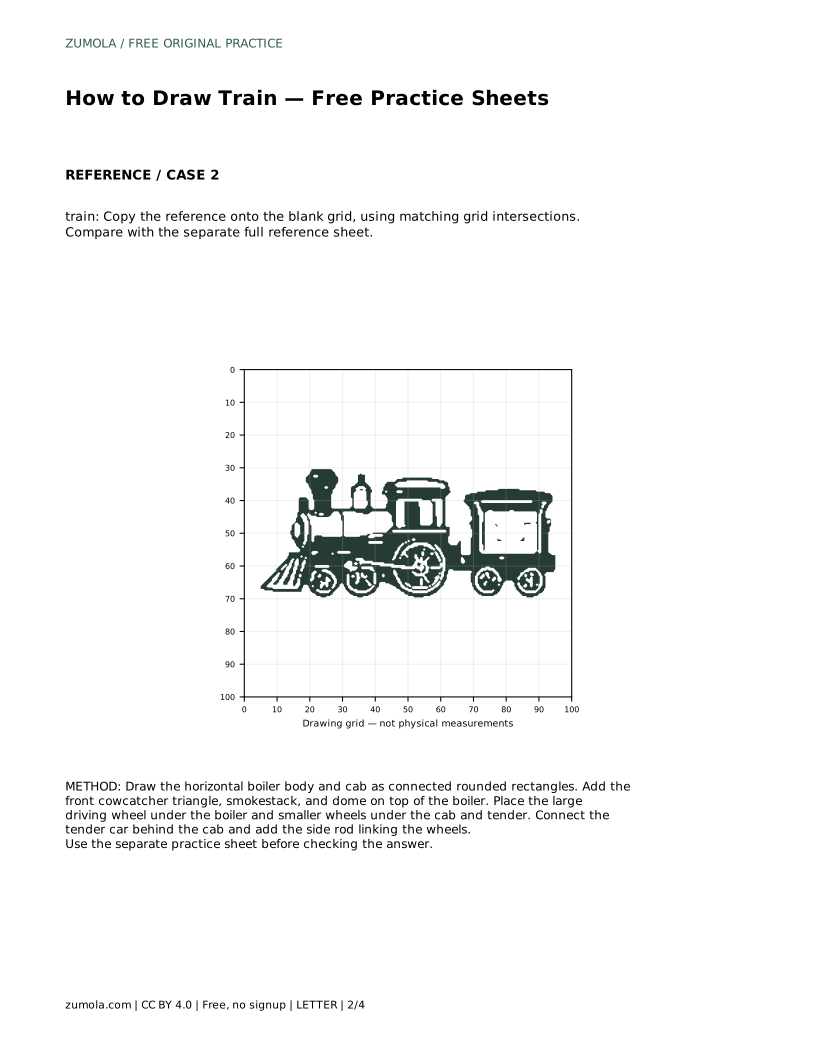
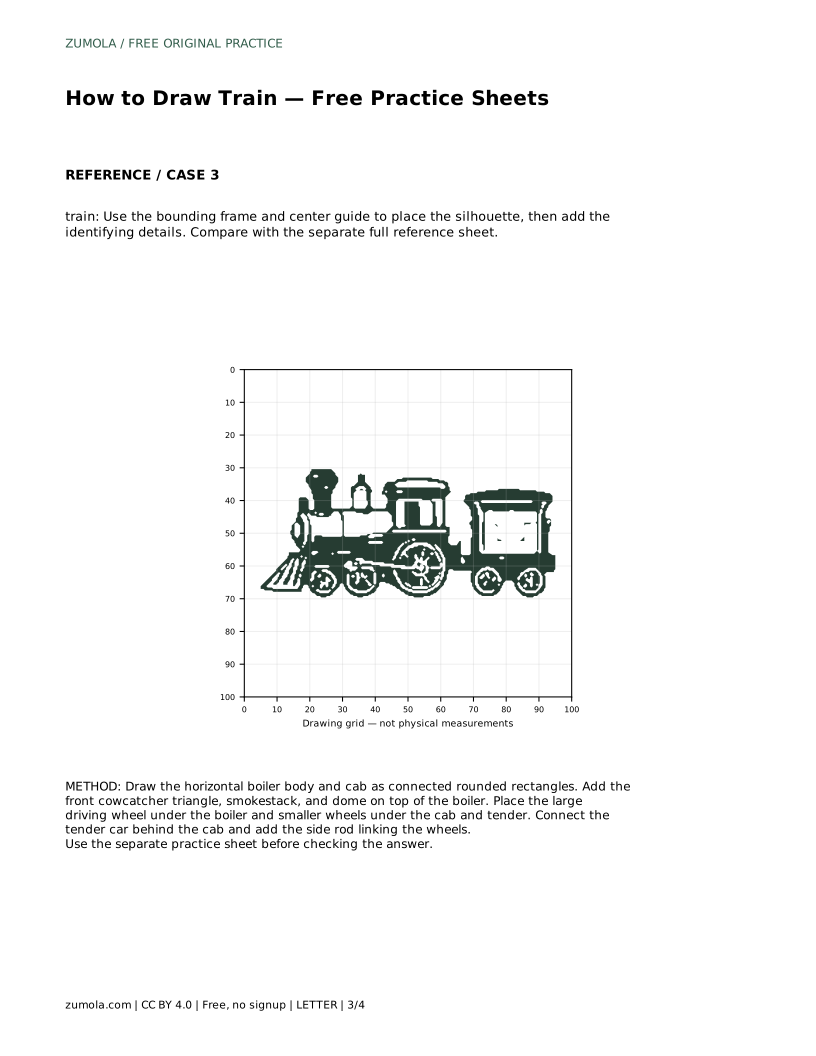
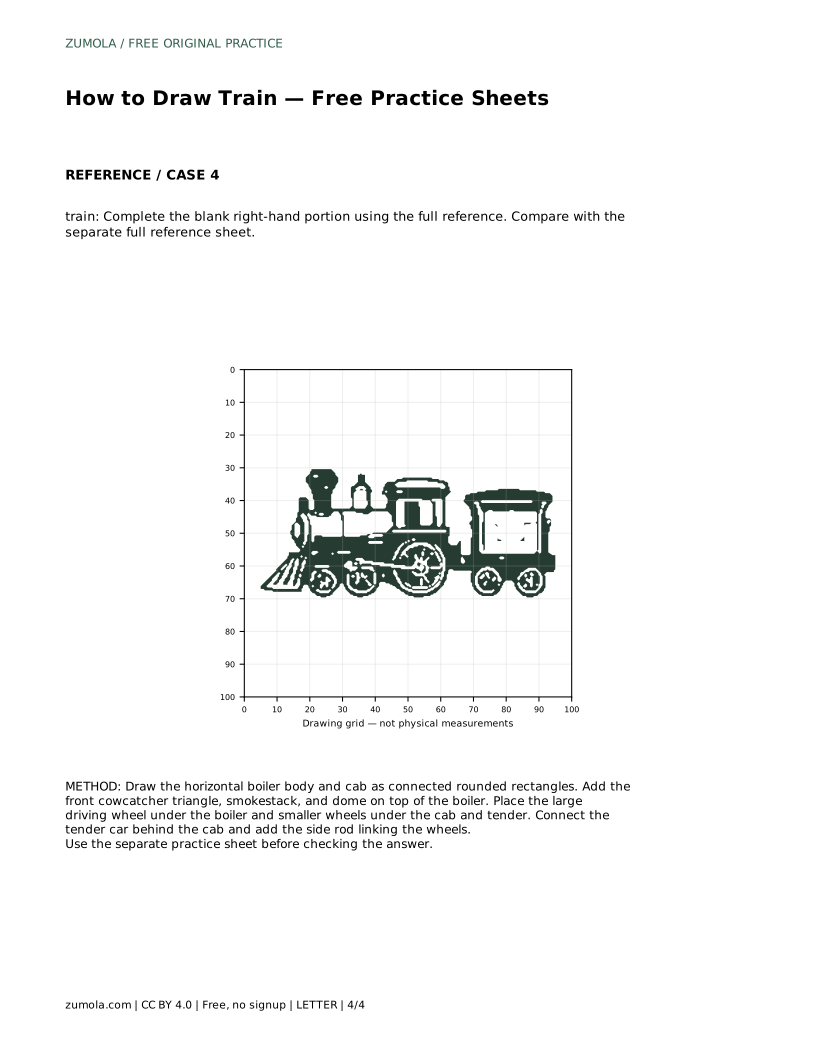
The tracing sheet asks you to trace the reference outline, then practise the contour independently. Compare with the separate full reference sheet. The grid sheet asks you to copy the reference onto a blank grid using matching grid intersections. The bounding-frame sheet gives a frame and center guide to place the silhouette before adding details. The partial sheet gives a blank right-hand portion to complete using the full reference.
Each format targets a different skill: tracing builds contour memory, gridding builds proportion, the frame builds placement, and the partial sheet builds completion from a reference. Choose one format per session and focus on the named skill. Art has multiple valid outcomes, so use the rubric to assess features and proportions rather than expecting an exact match.
train: Trace the reference outline, then practise the contour independently. Compare with the separate full reference sheet.
Example solution: preserve front cowcatcher as a triangular slatted shape, large spoked driving wheel with side rod, boxy cab with rectangular window and roof. Other drawings can be correct; assess the visible features and proportions rather than pixel-perfect matching. Draw the horizontal boiler body and cab as connected rounded rectangles. Add the front cowcatcher triangle, smokestack, and dome on top of the boiler. Place the large driving wheel under the boiler and smaller wheels under the cab and tender. Connect the tender car behind the cab and add the side rod linking the wheels.
No. Art has multiple valid outcomes. Assess visible features and proportions, such as the cowcatcher, driving wheel, cab window, and side rod, rather than pixel-perfect matching.
Start with the boiler and cab as connected rounded rectangles, then add the cowcatcher, smokestack, dome, wheels, side rod, and tender.
Start with the tracing sheet to learn the contour, then move to the grid or bounding-frame sheet for proportion and placement, and finish with the partial sheet for independent completion.
All drawing practice · Free coordinate paper
Original resources · CC BY 4.0 · Free for personal and classroom use with attribution.