Reference diagrams
LETTER · Download PDF
A4 · Download PDF
Free original resources
Learn to draw a harvester by building the cutting head, cab, body, rear wheel and discharge chute in order. Free practice sheets support tracing, grids and outline completion.
Four original cases, with reference diagrams, practice sheets and worked answers. Everything is free; no signup required.
LETTER · Download PDF
A4 · Download PDF
LETTER · Download PDF
A4 · Download PDF
LETTER · Download PDF
A4 · Download PDF
Use A4 or US Letter to match your printer. Use the stated values and conditions to solve each exercise; diagrams are not physical measuring rulers.
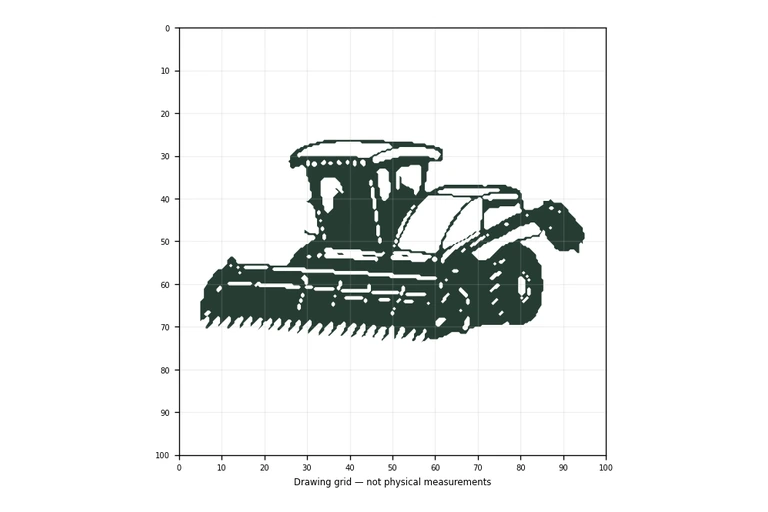
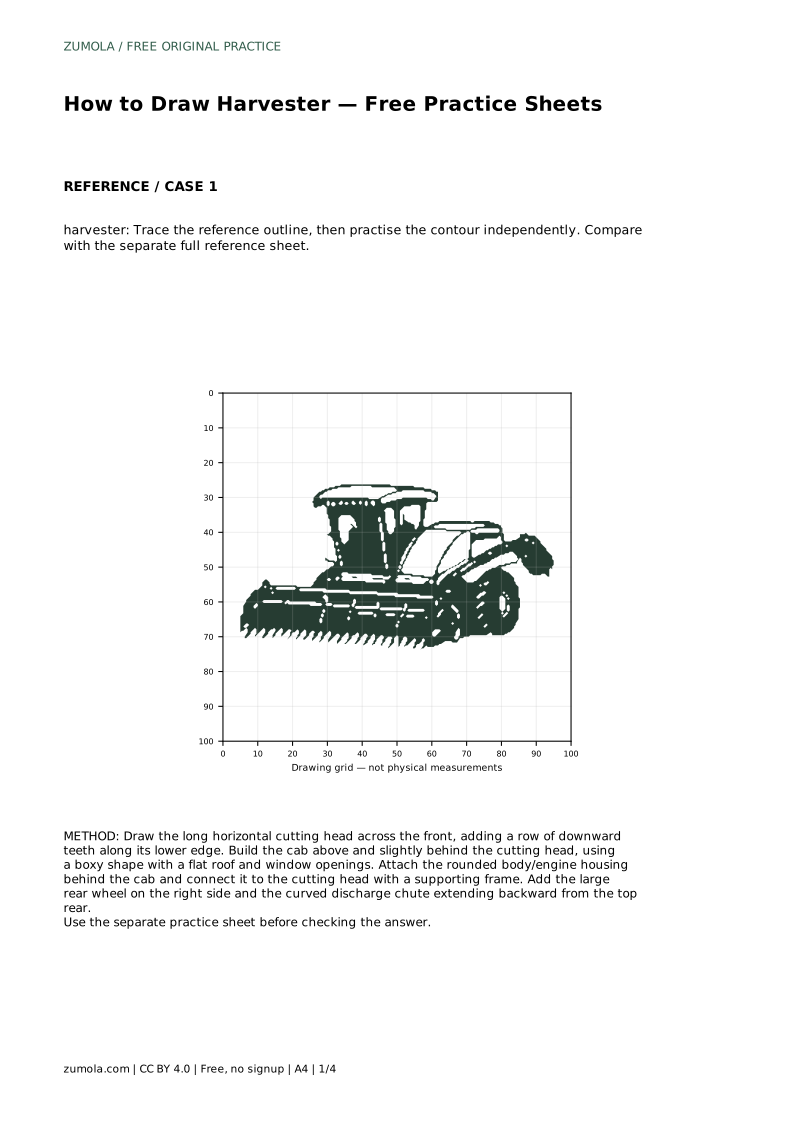
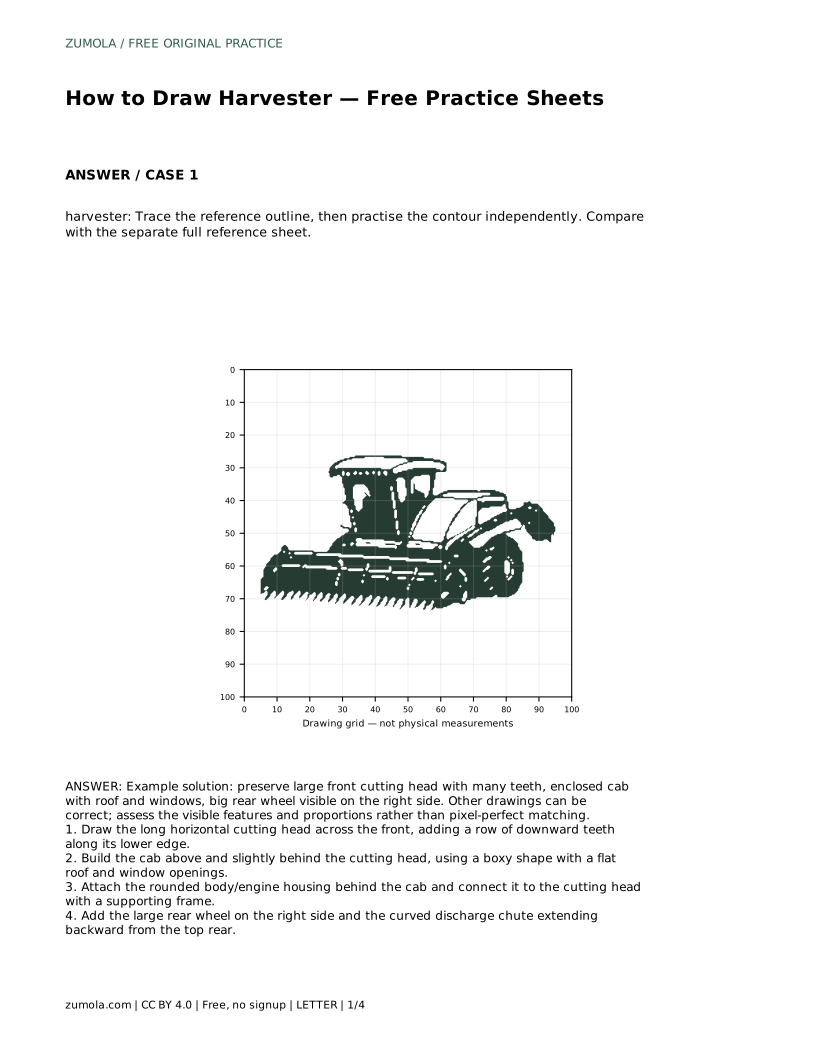
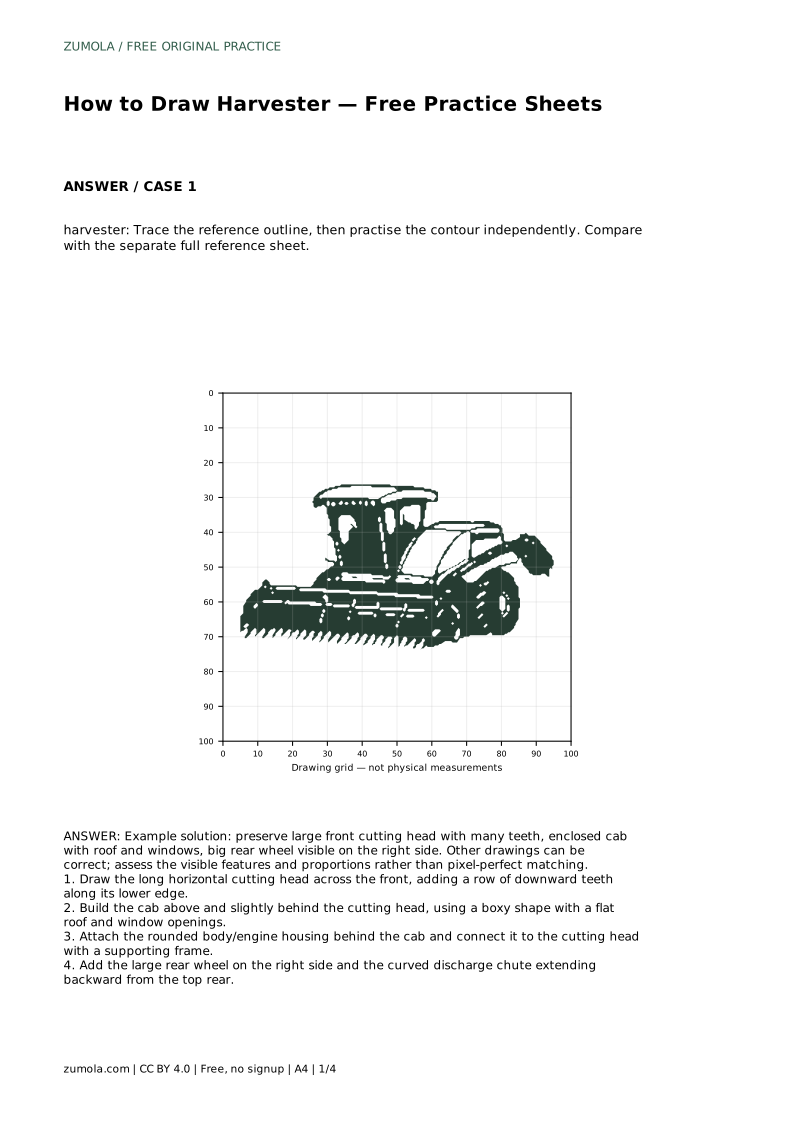
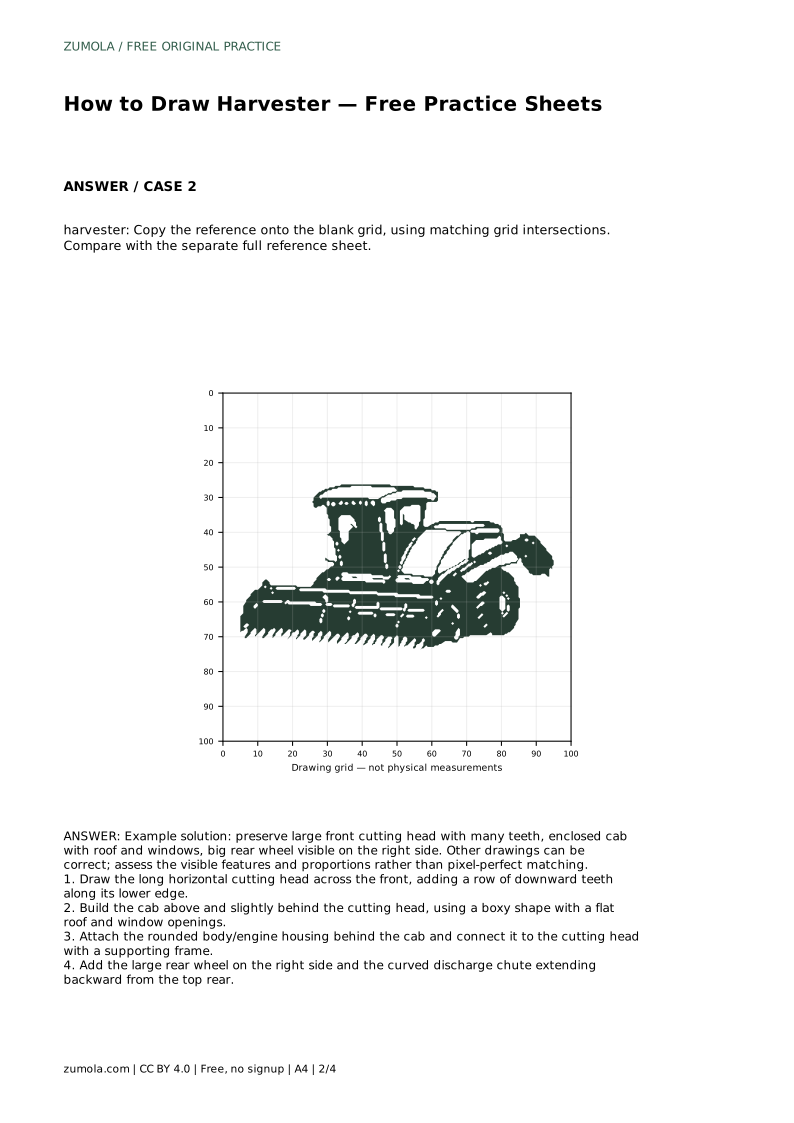
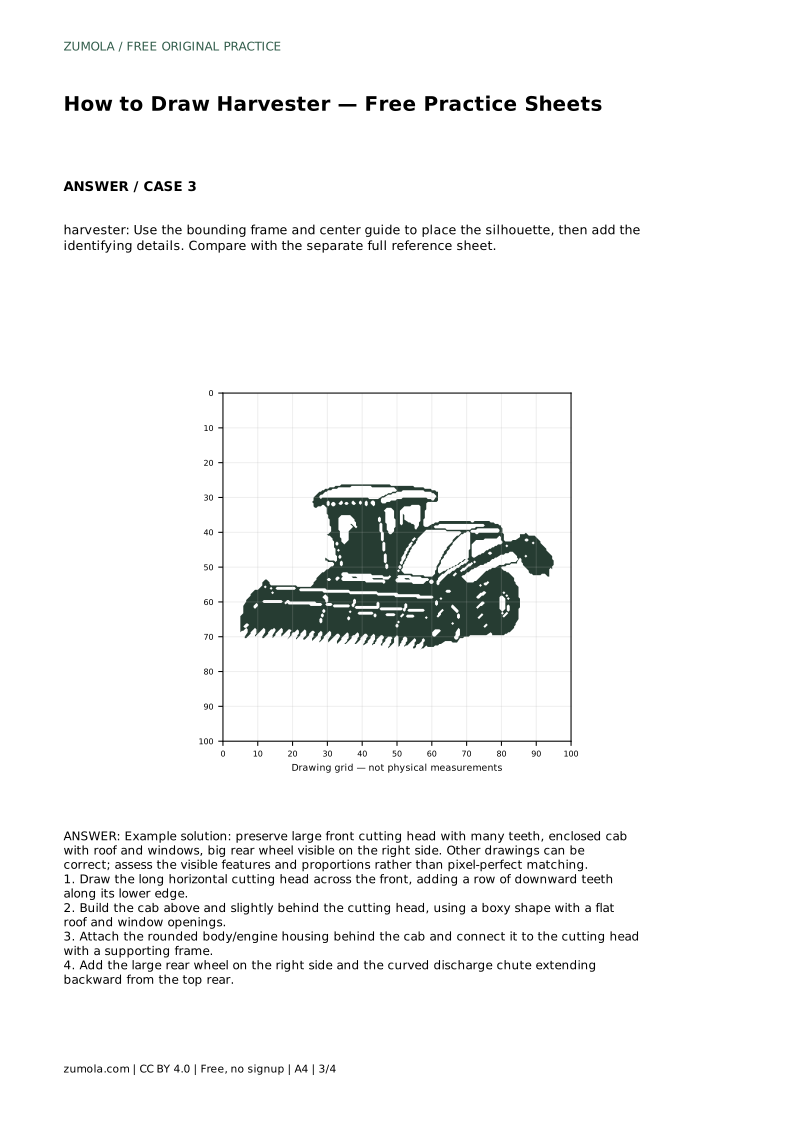
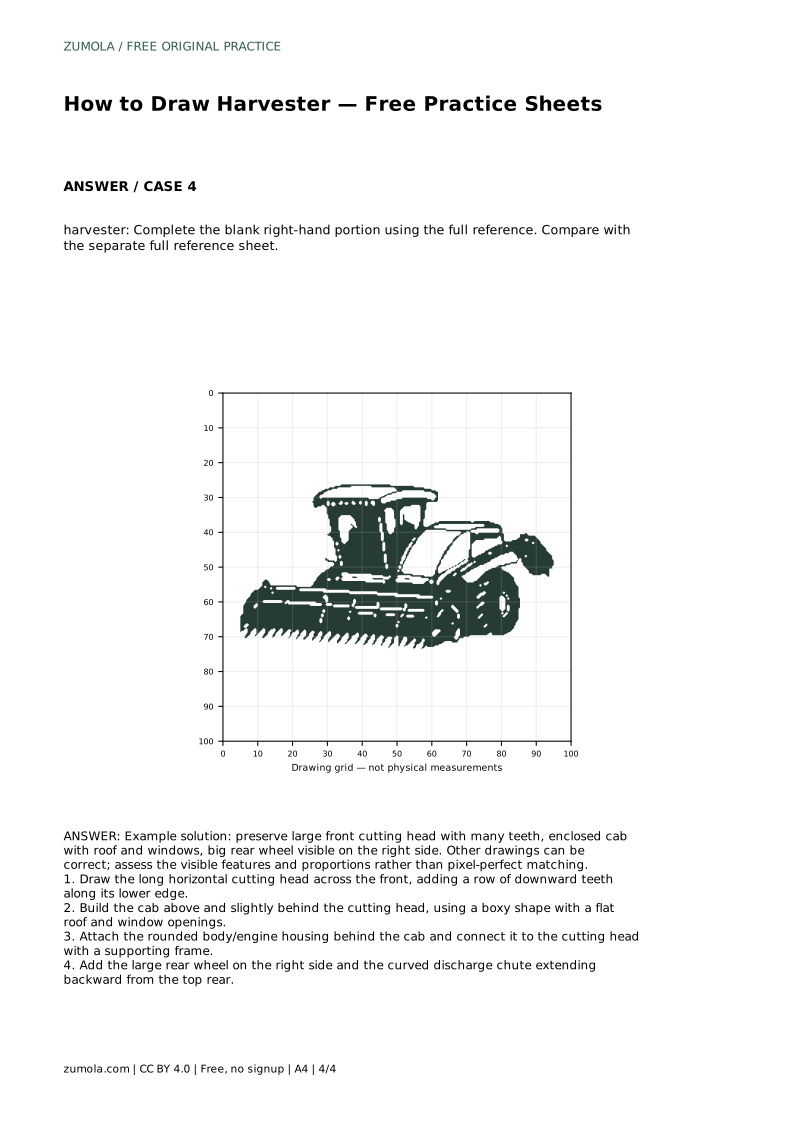
A harvester is easier to draw when you treat it as a set of connected shapes rather than one complicated machine. The front cutting head is long and low, the cab sits above and slightly behind it, and the body, rear wheel and curved chute complete the silhouette. This guide explains the order to build those parts, how to check proportions, and how to use the practice sheets to improve without chasing a pixel-perfect copy.
Begin with the widest, lowest part: the cutting head across the front. Draw one long horizontal line for its top edge, then a second line below it for the base. Keep the head wider than the cab so the machine reads as a harvester rather than a generic truck.
Add a row of downward teeth along the lower edge. Space them roughly evenly and keep them short; very long teeth distort the low, wide profile. The teeth are a key identifying feature, so give them a little care even in a quick sketch.
Place the cab above and slightly behind the cutting head. Use a boxy shape with a flat roof and simple window openings. The cab should look enclosed, not open like a tractor seat, because that enclosed shape is part of what makes the drawing recognizable.
Behind the cab, attach a rounded body or engine housing. Connect this body to the cutting head with a supporting frame so the parts look joined rather than floating. Check that the cab sits within the overall width of the machine and does not dwarf the cutting head.
Add the large rear wheel on the right side of the drawing. Make it clearly bigger than any small support wheels you include, and check that it sits at ground level with the cutting head. A wheel that floats or sinks below the head line makes the machine look unstable.
Finish with the curved discharge chute extending backward from the top rear. Keep the curve smooth and continuous, and make sure it starts from the body rather than from the cab roof. Step back and compare the whole drawing with the reference sheet before adding shading or extra detail.
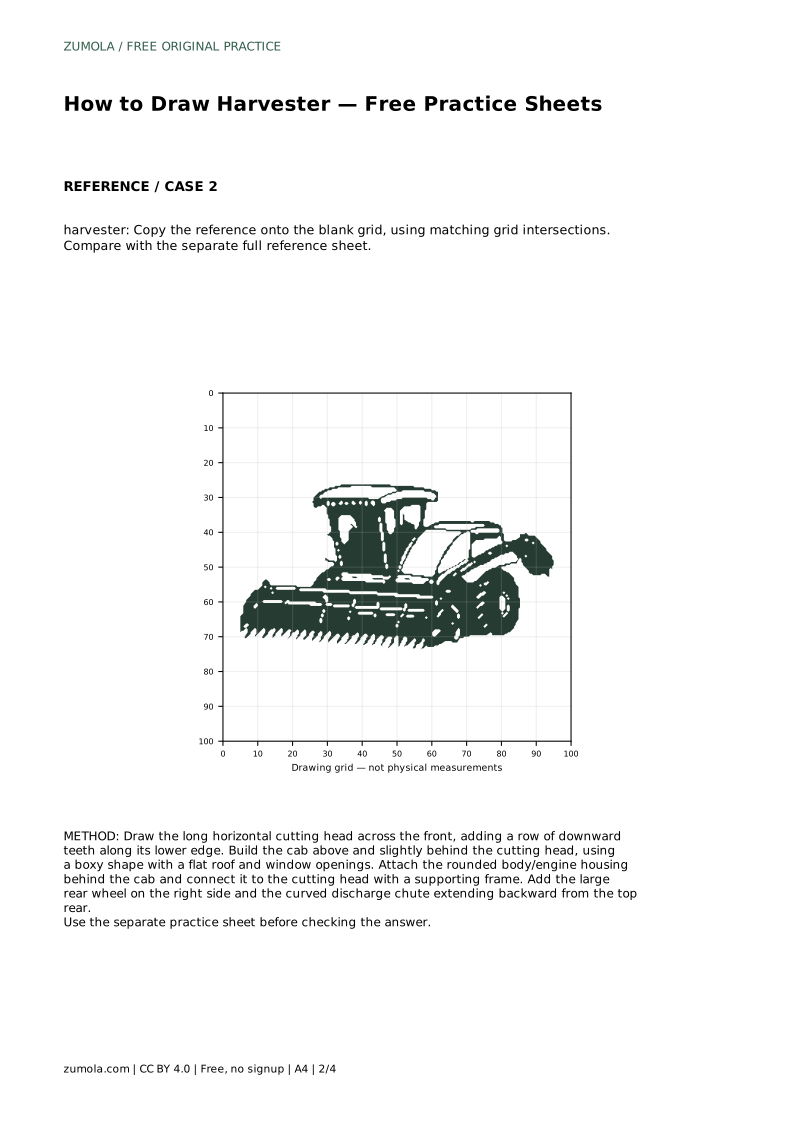
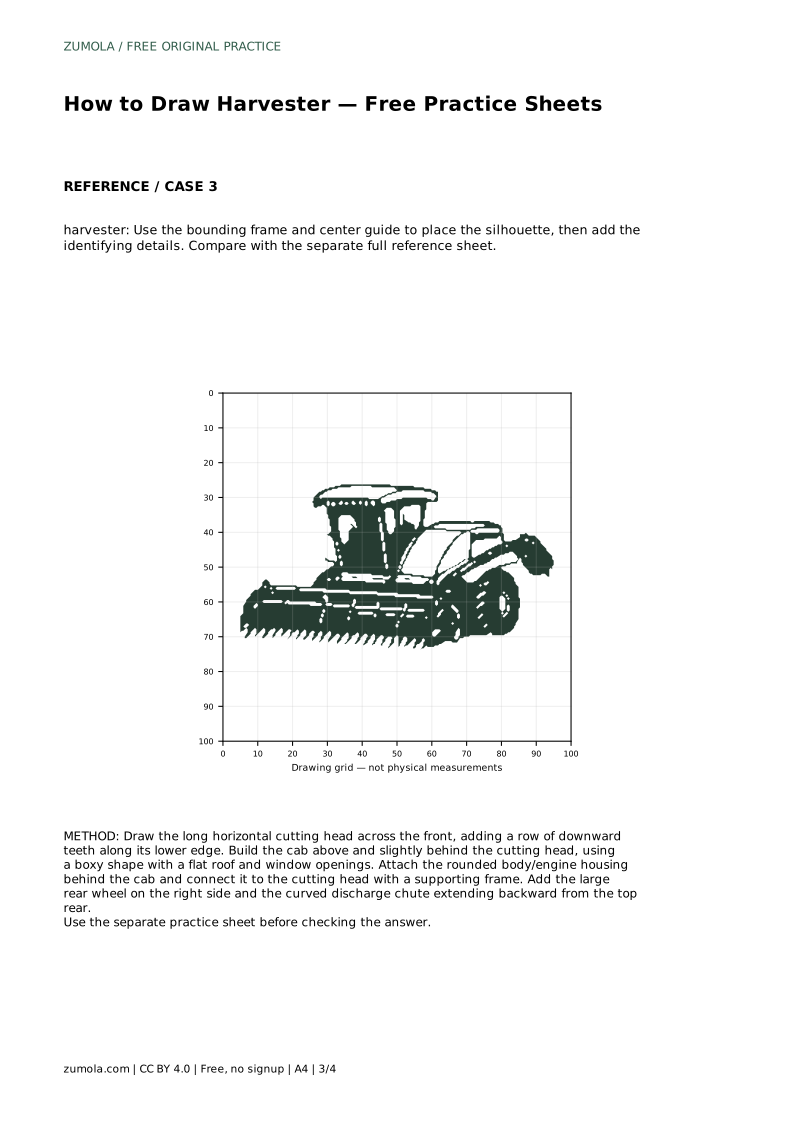
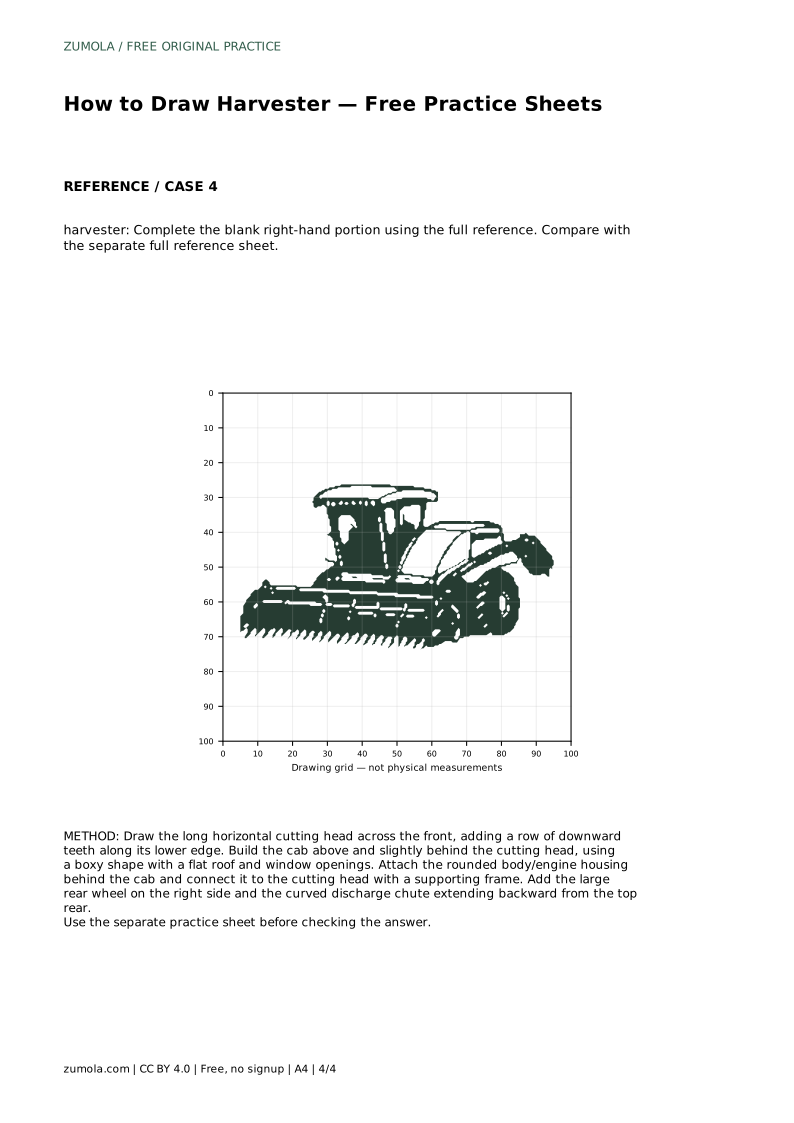
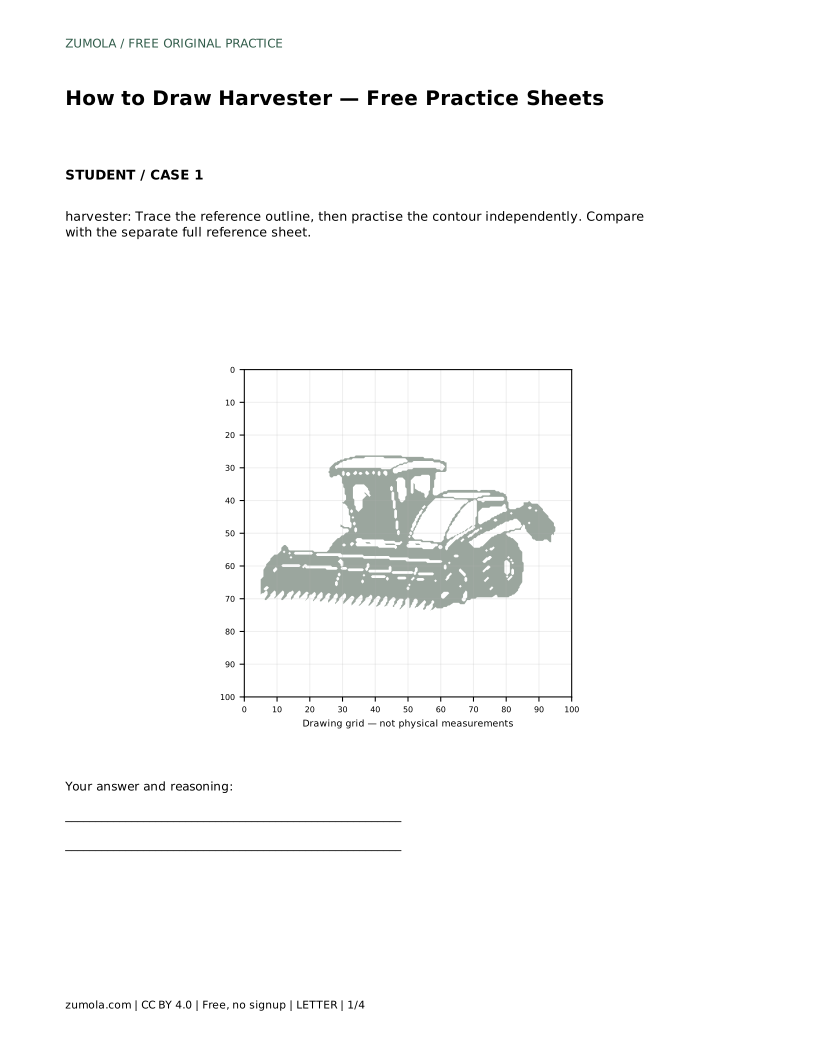
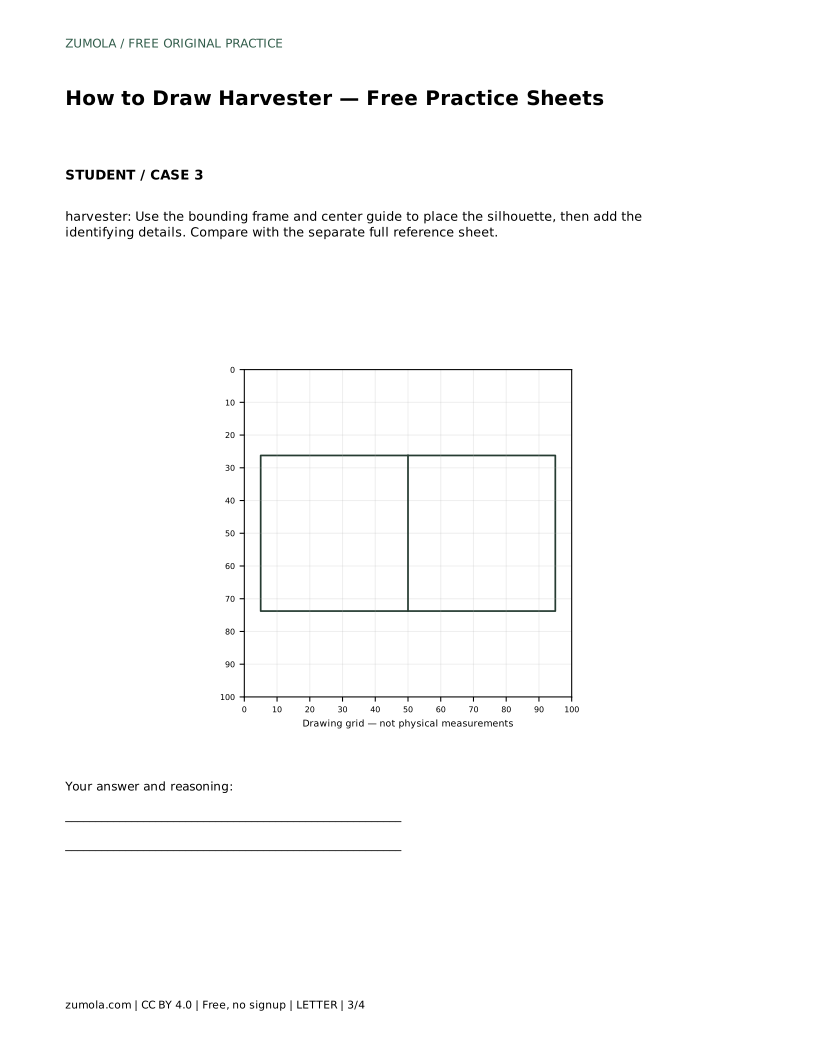
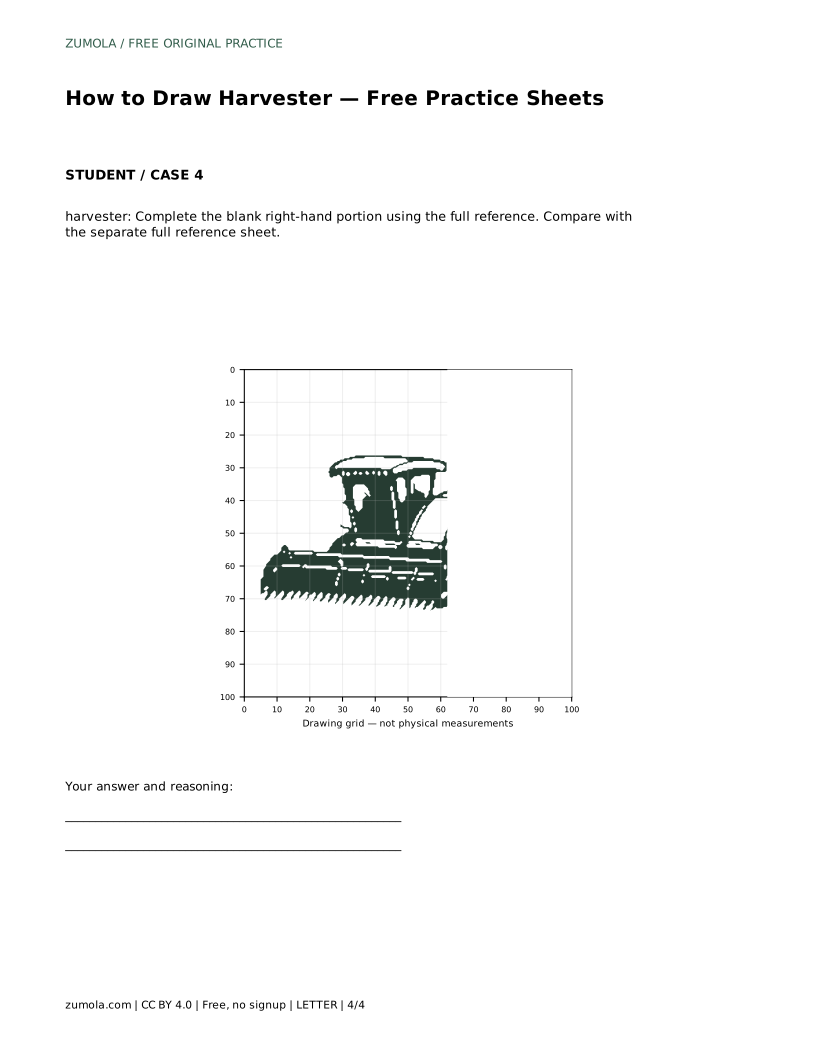
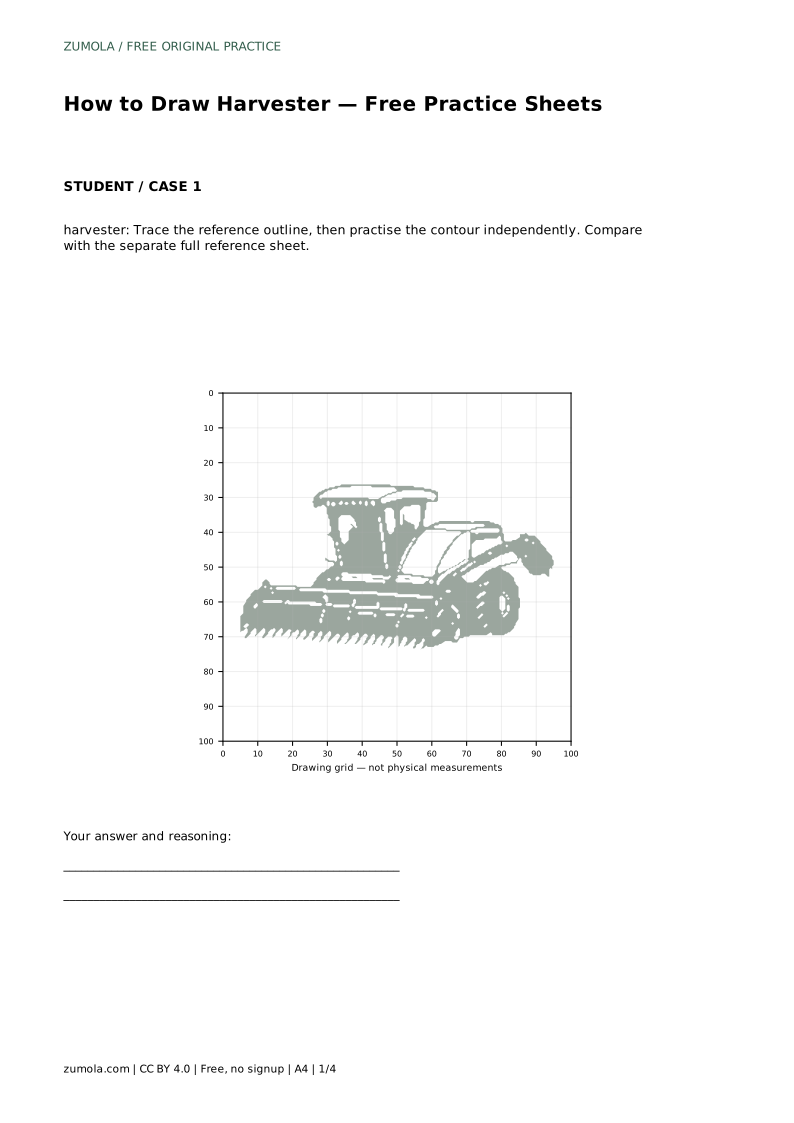
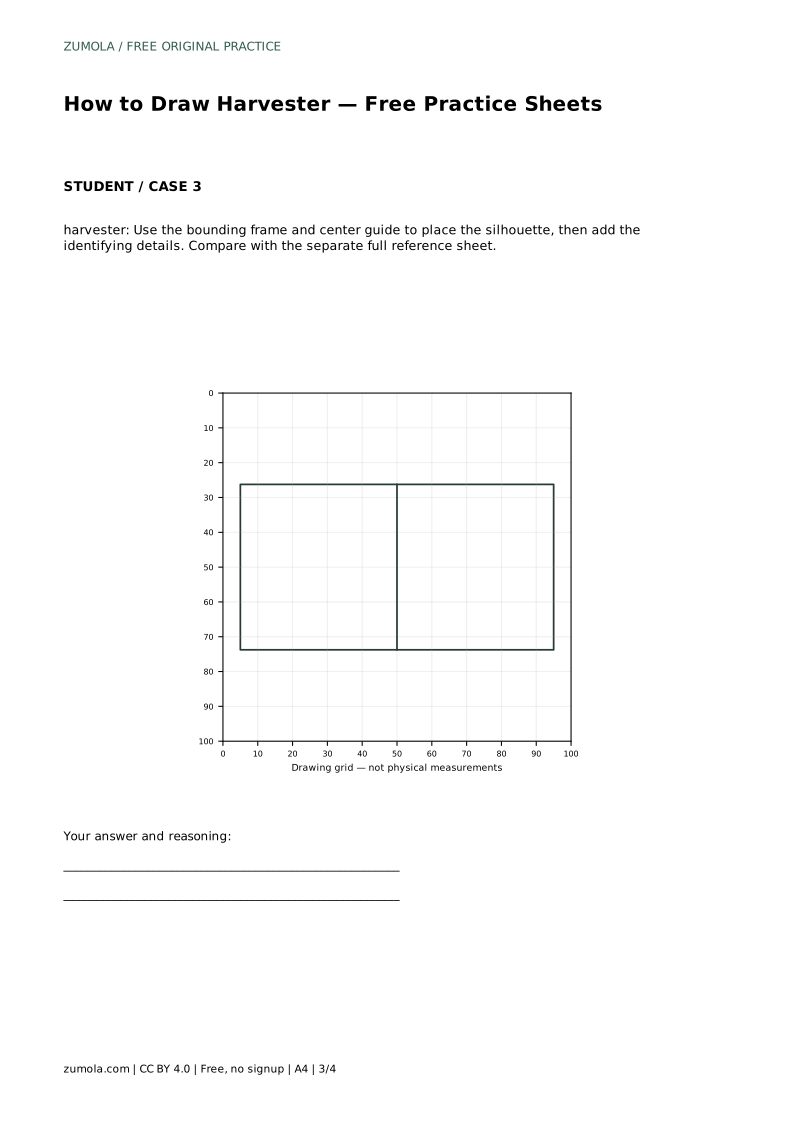
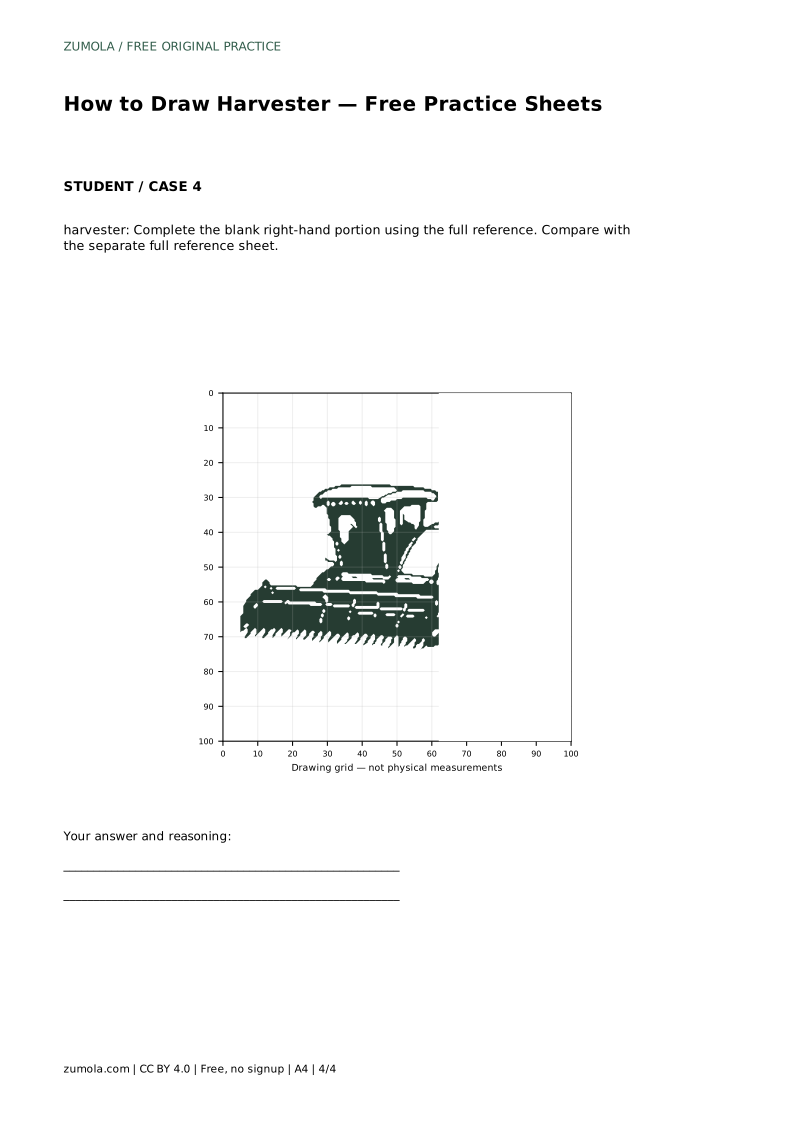
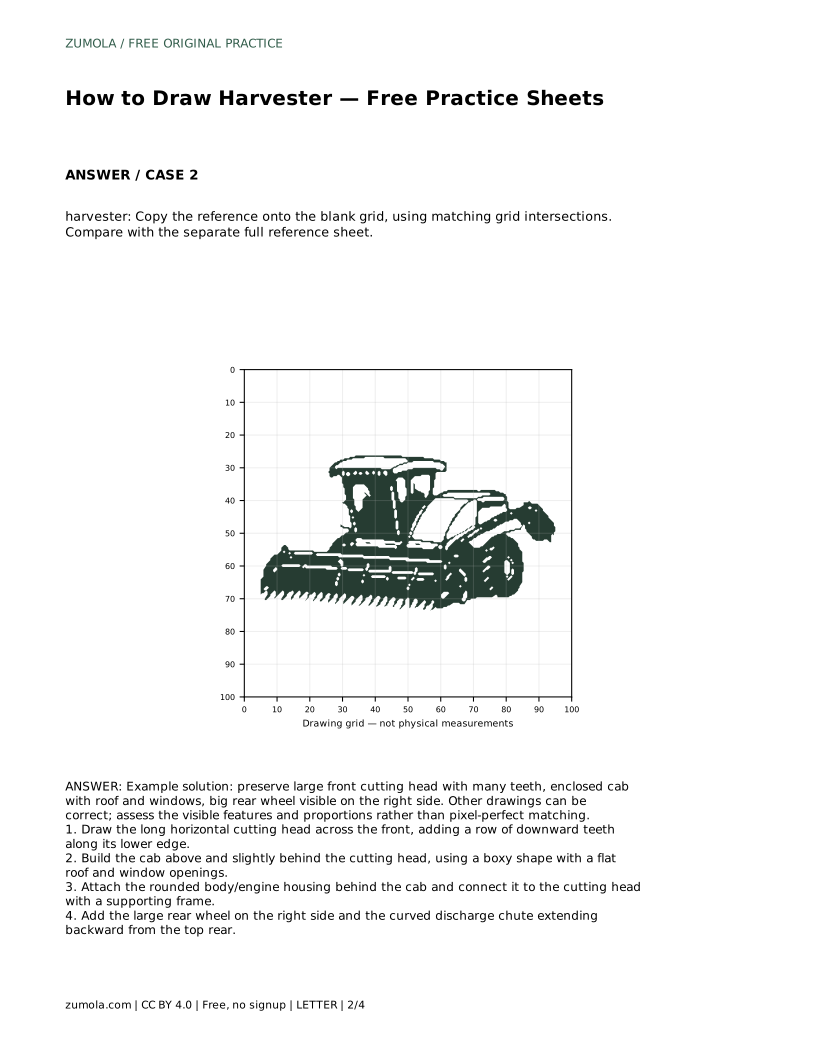
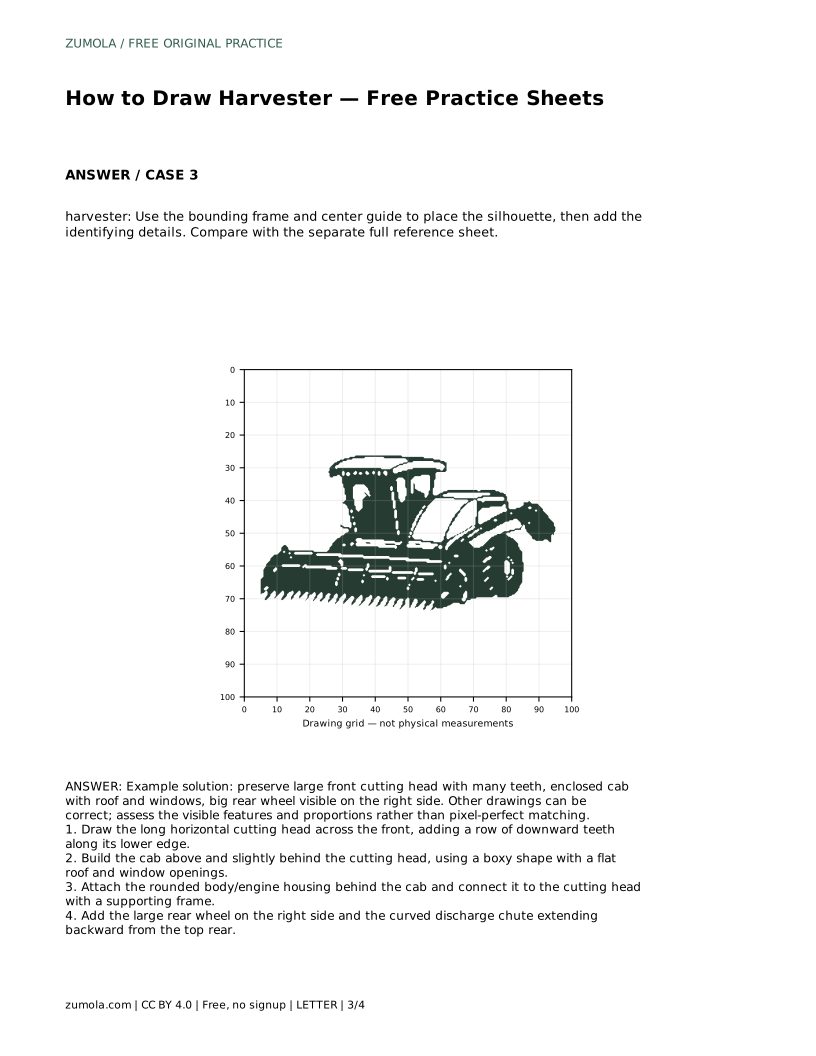
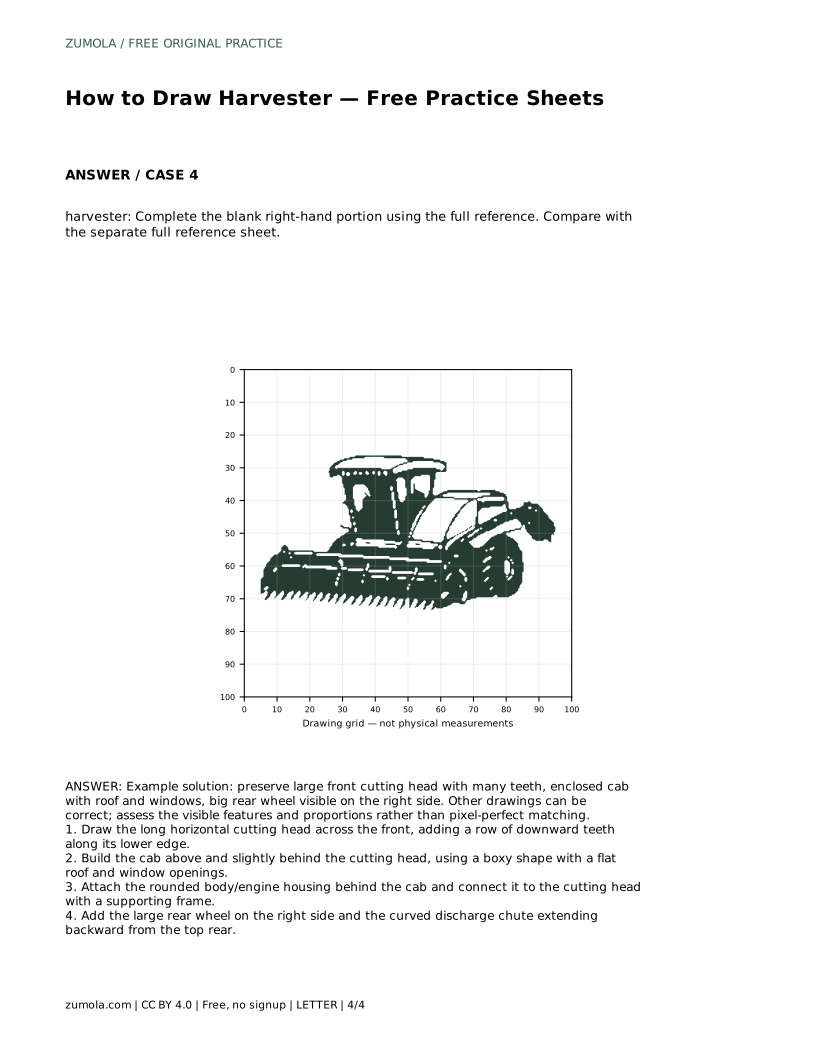
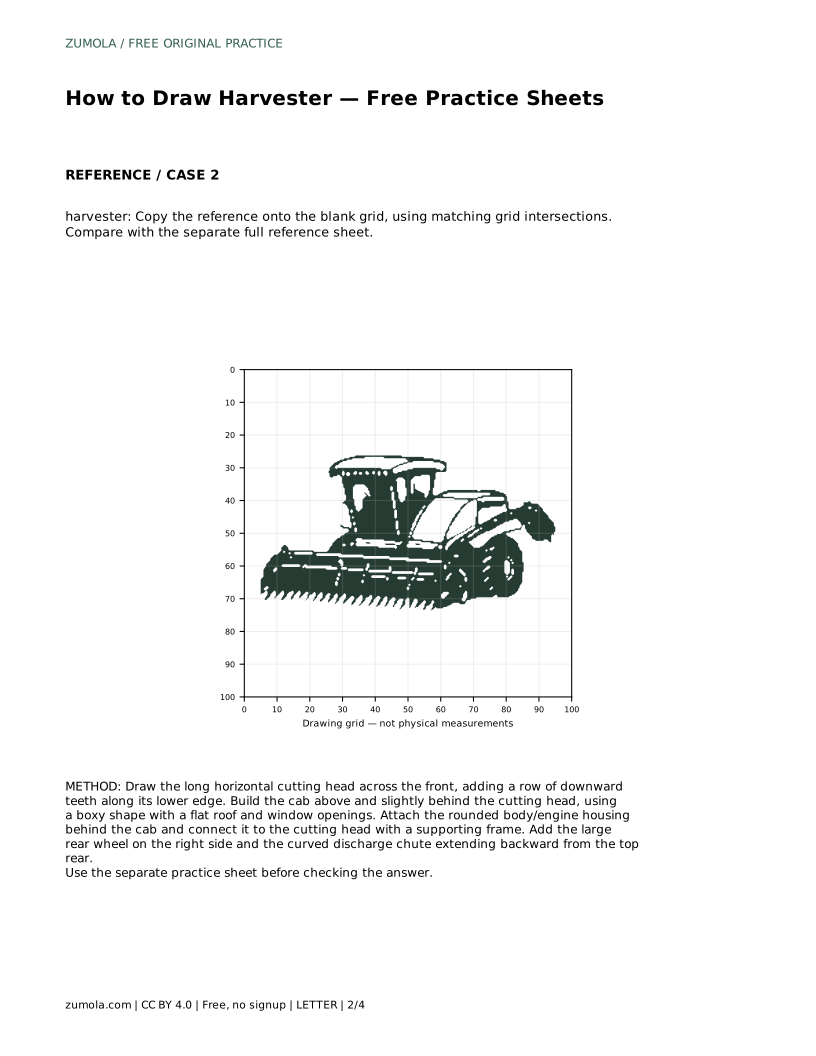
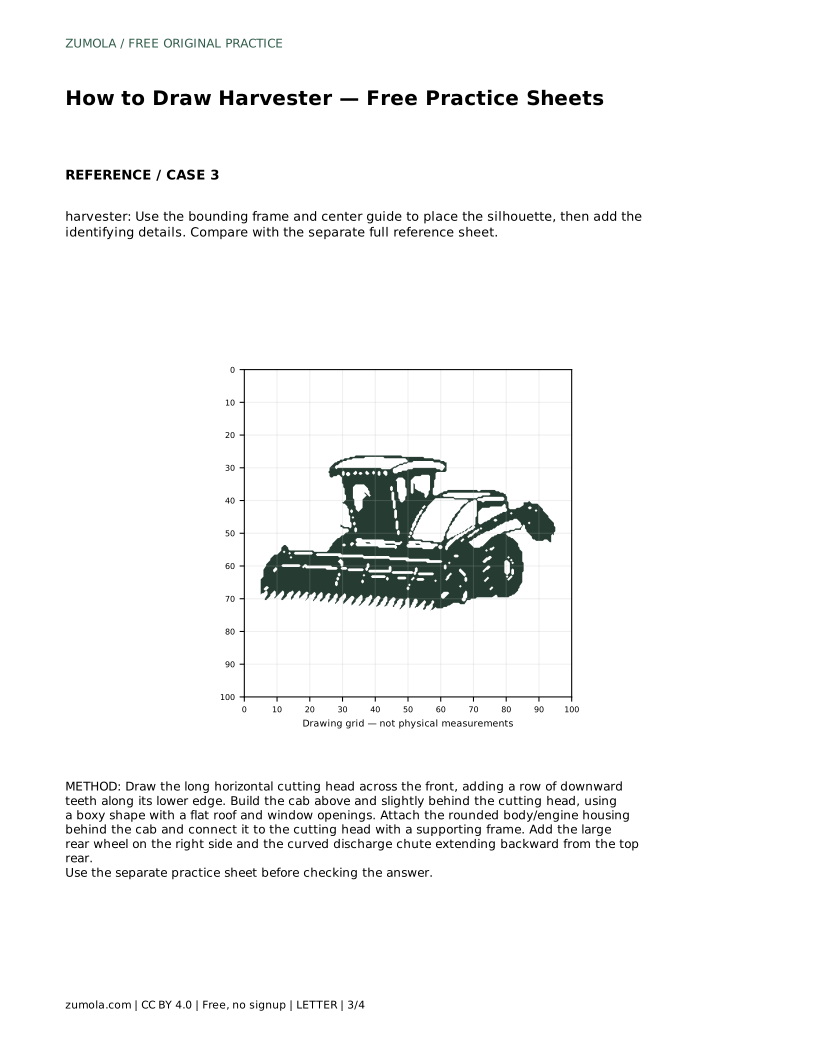
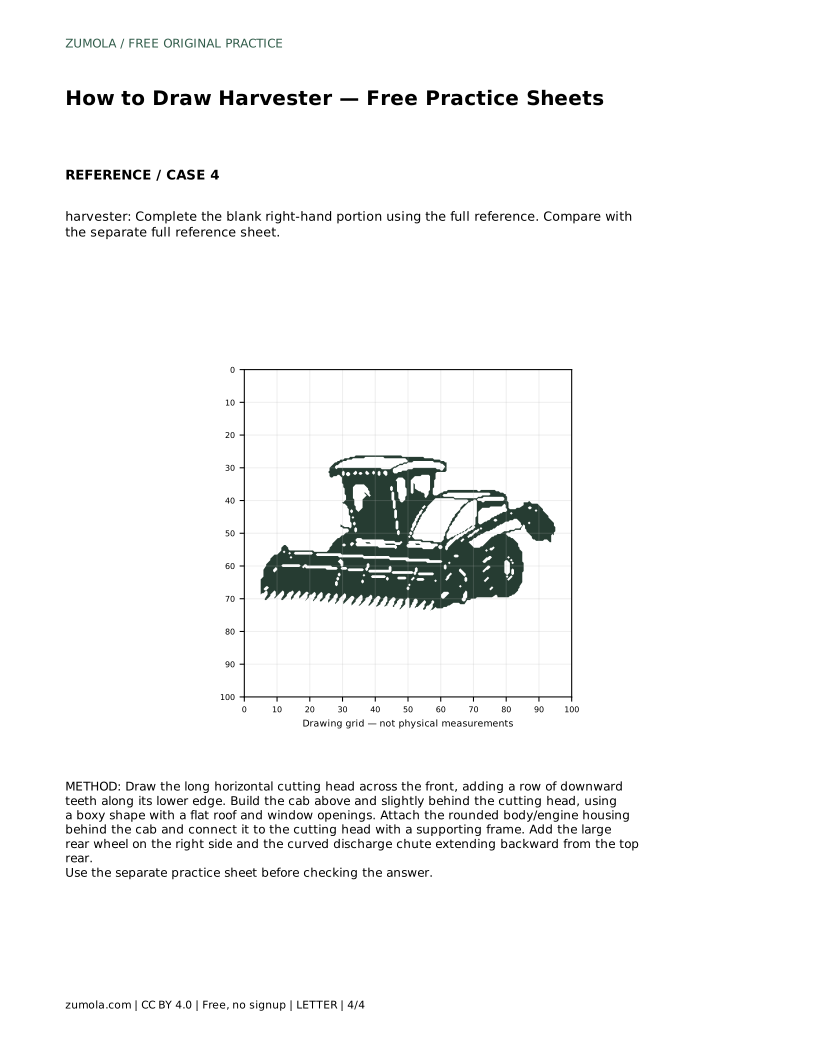
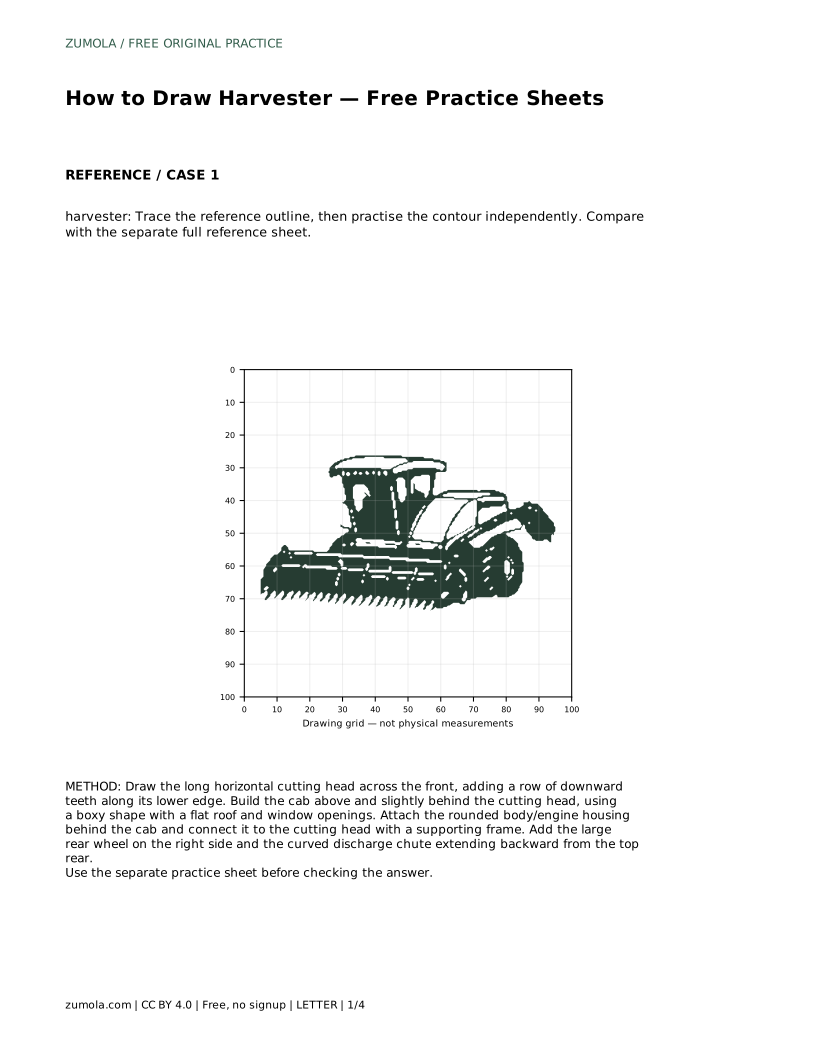
The tracing sheet asks you to follow the reference outline first, then practise the contour independently. The grid sheet asks you to copy the reference onto the blank grid using matching intersections. The bounding-frame sheet helps you place the silhouette before adding details, and the partial sheet asks you to complete the blank right-hand portion from the full reference.
After each attempt, compare with the separate full reference sheet. Ask whether the cutting head is still the widest part, whether the cab is enclosed, and whether the rear wheel is large and grounded. Small differences in angle and detail are fine; the goal is a drawing that clearly reads as a harvester.
harvester: Trace the reference outline, then practise the contour independently. Compare with the separate full reference sheet.
Example solution: preserve large front cutting head with many teeth, enclosed cab with roof and windows, big rear wheel visible on the right side. Other drawings can be correct; assess the visible features and proportions rather than pixel-perfect matching. Draw the long horizontal cutting head across the front, adding a row of downward teeth along its lower edge. Build the cab above and slightly behind the cutting head, using a boxy shape with a flat roof and window openings. Attach the rounded body/engine housing behind the cab and connect it to the cutting head with a supporting frame. Add the large rear wheel on the right side and the curved discharge chute extending backward from the top rear.
No. Several drawings can be correct. Check that the large toothed cutting head, enclosed cab, rounded body, big rear wheel and curved chute are all present and in sensible proportion.
Start with the long cutting head across the front, then build the cab, body, rear wheel and chute in that order.
Compare your drawing with the full reference sheet and confirm the cutting head is the widest part, the cab is enclosed, and the rear wheel is large and grounded.
All drawing practice · Free coordinate paper
Original resources · CC BY 4.0 · Free for personal and classroom use with attribution.