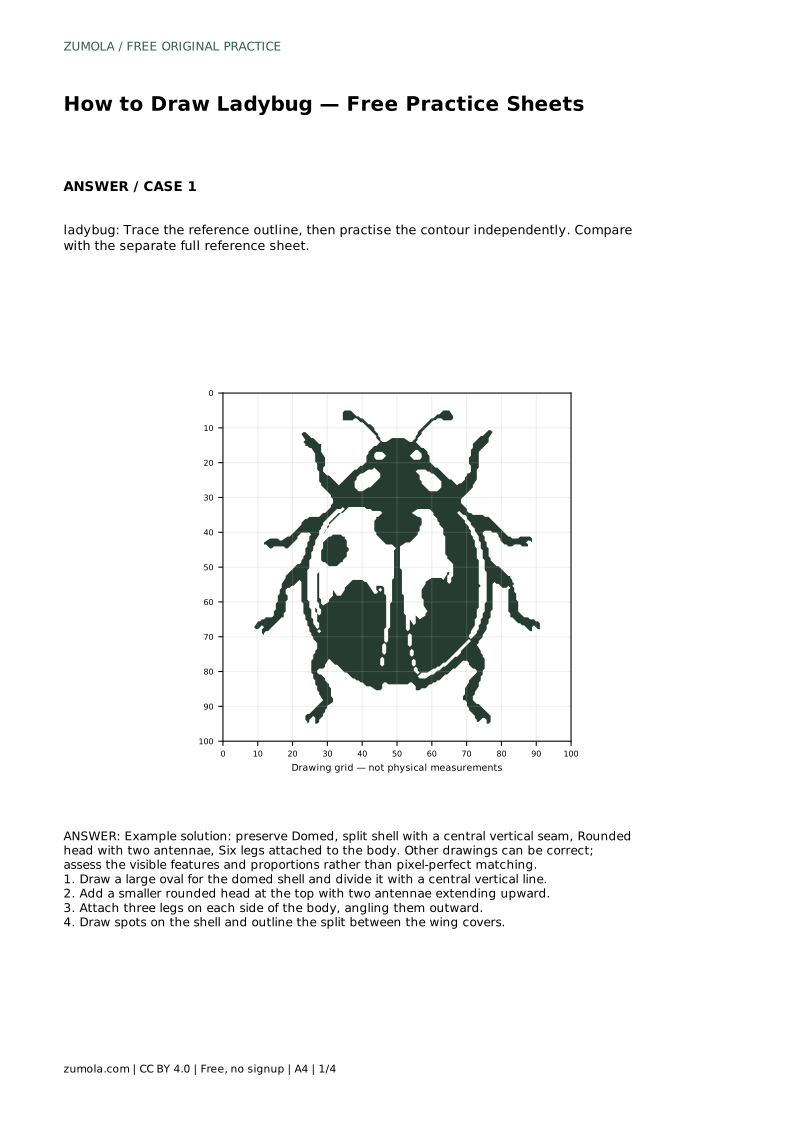
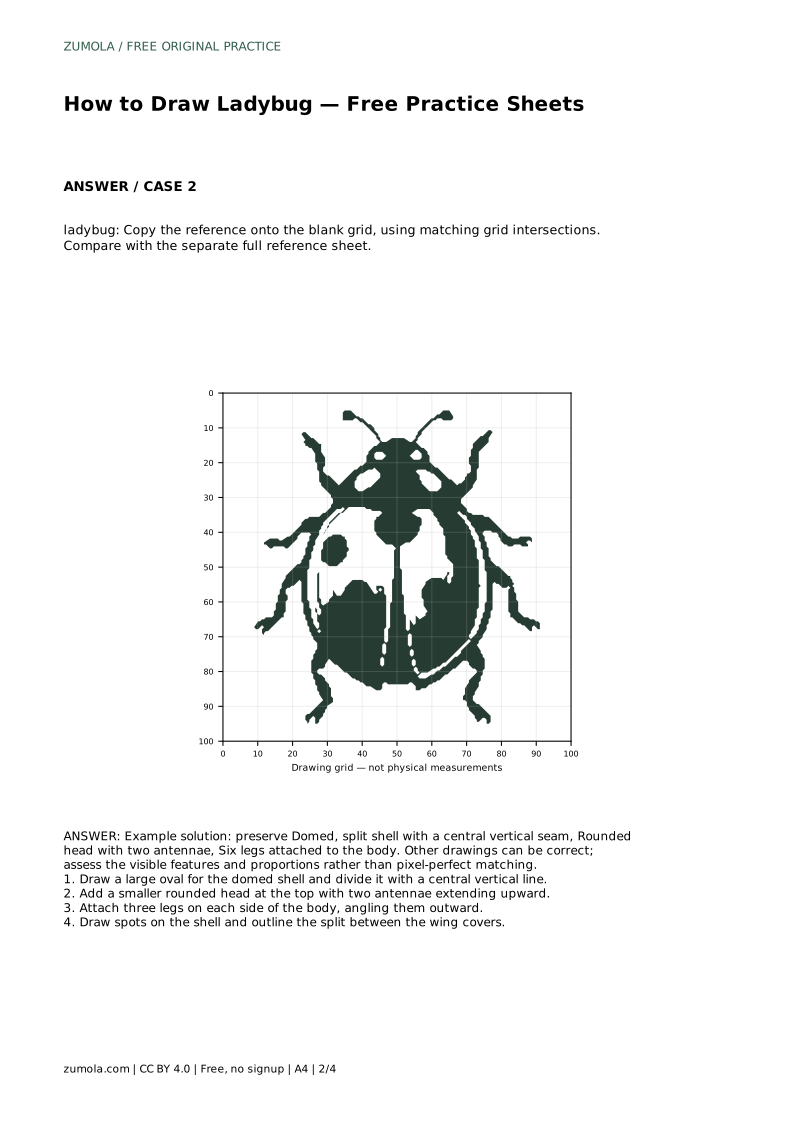
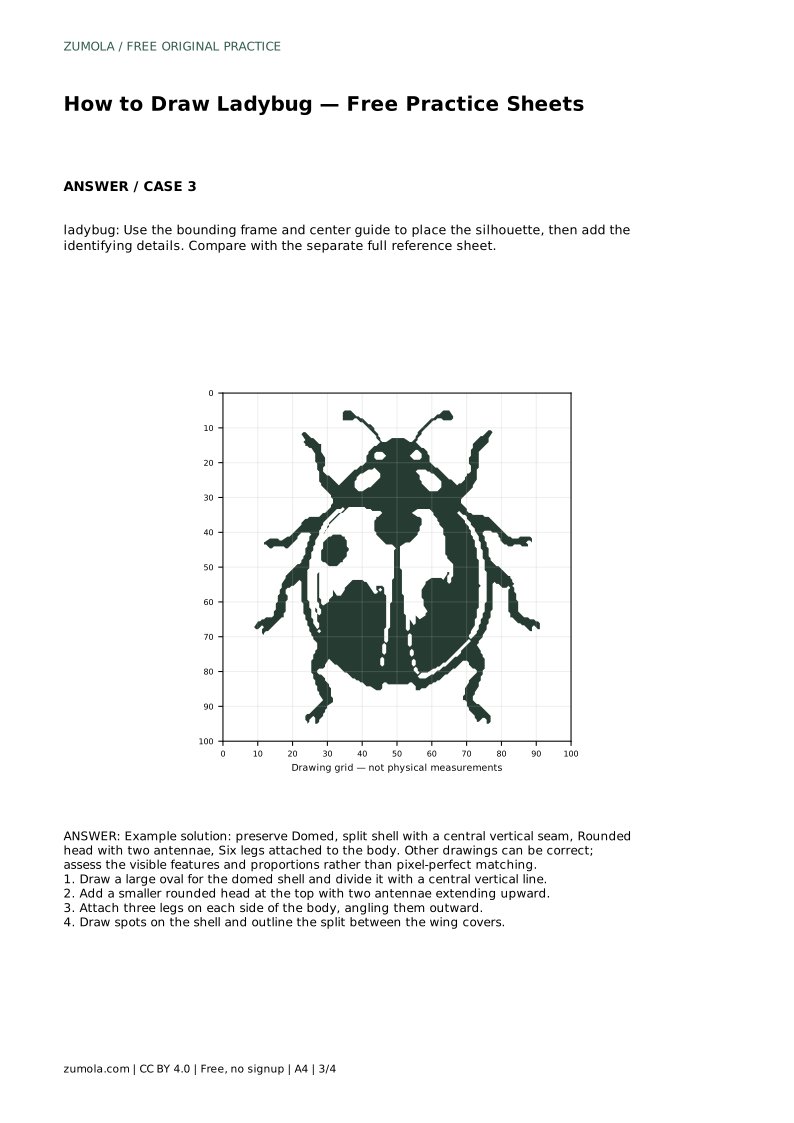
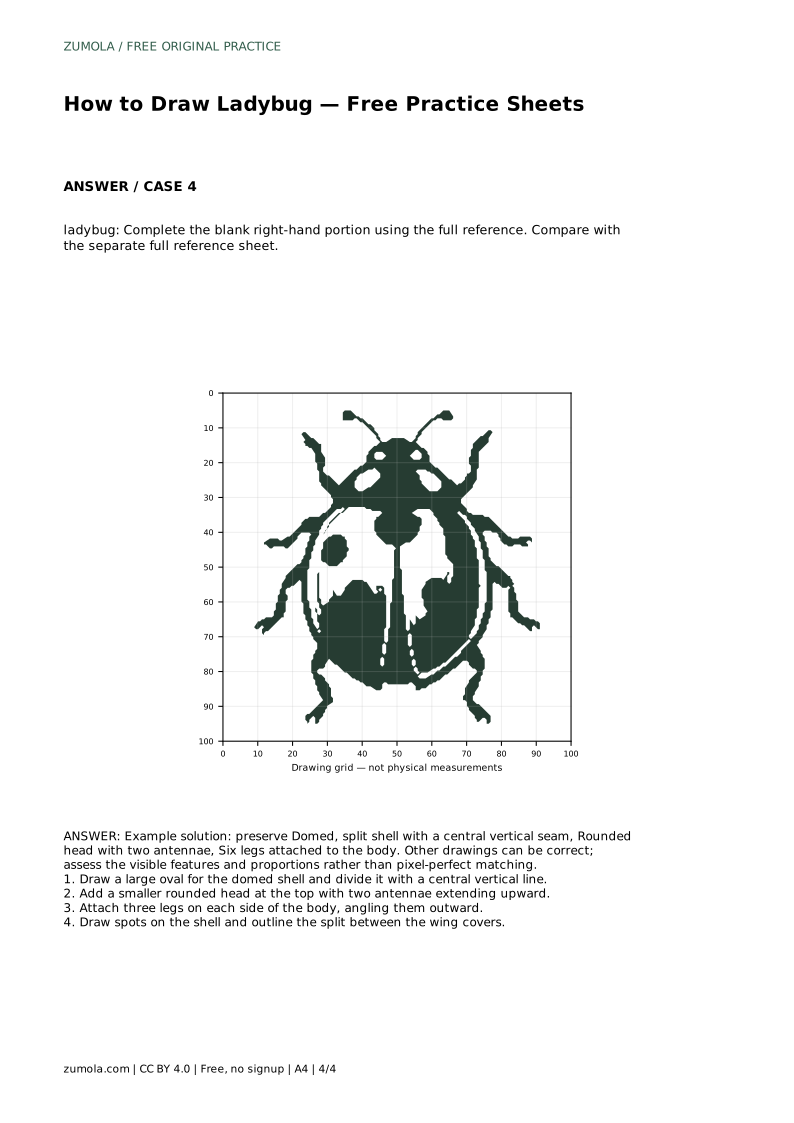
Reference diagrams
LETTER · Download PDF
A4 · Download PDF
Free original resources
Learn a clear ladybug drawing method: build the domed shell, add the central seam, rounded head, two antennae and six legs, then judge the result with a feature rubric.
Four original cases, with reference diagrams, practice sheets and worked answers. Everything is free; no signup required.
LETTER · Download PDF
A4 · Download PDF
LETTER · Download PDF
A4 · Download PDF
LETTER · Download PDF
A4 · Download PDF
Use A4 or US Letter to match your printer. Use the stated values and conditions to solve each exercise; diagrams are not physical measuring rulers.
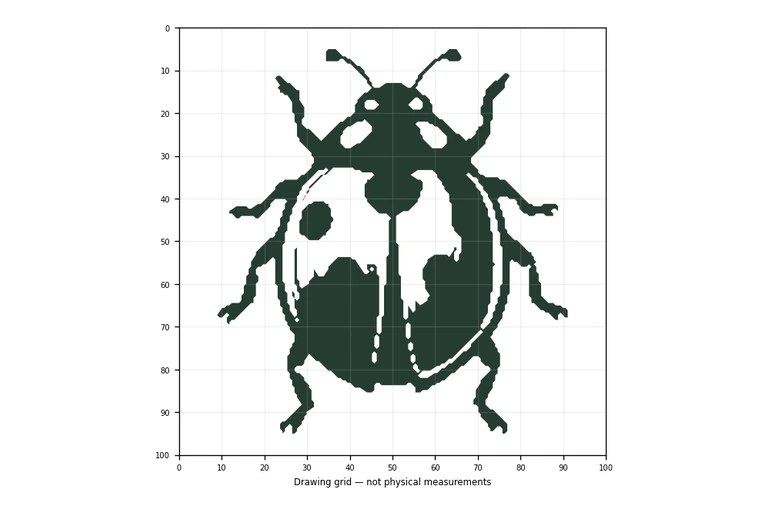
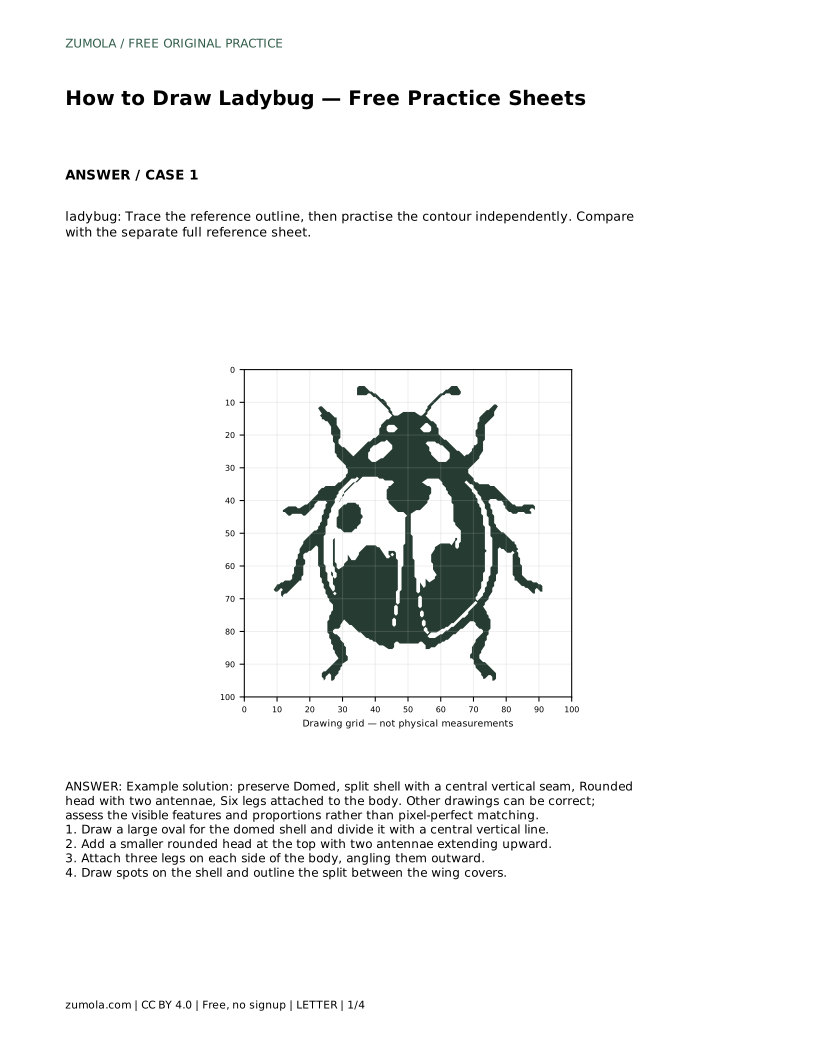
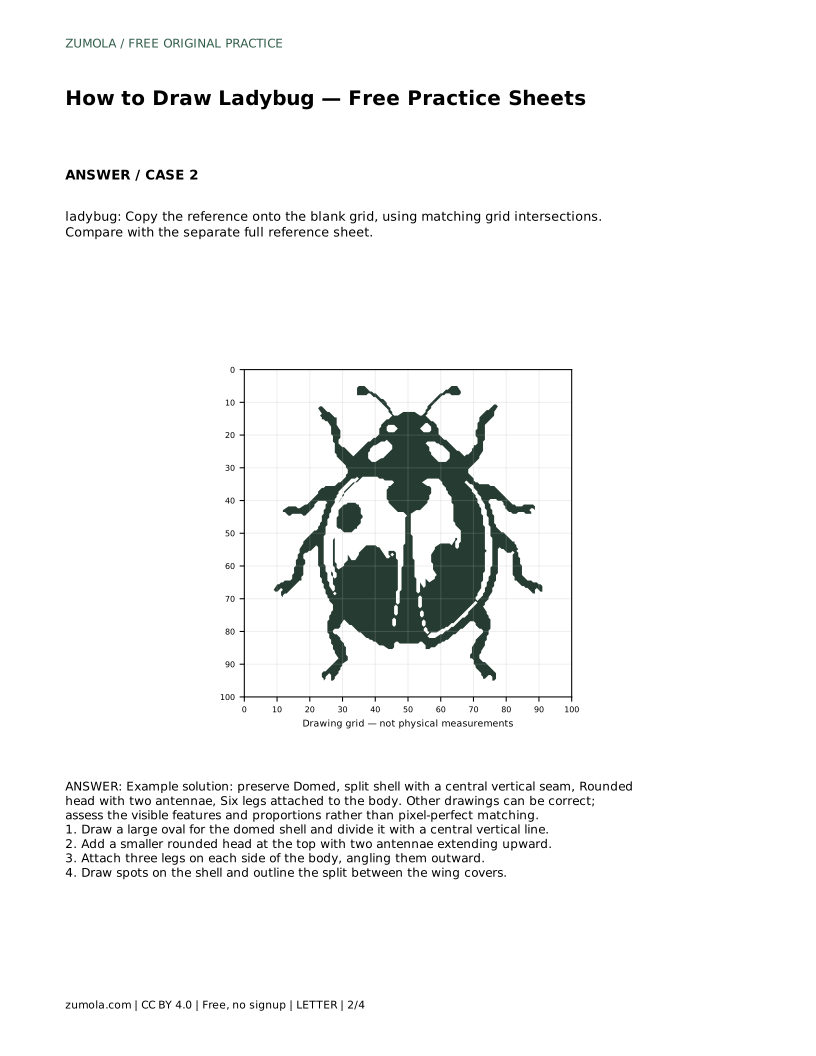
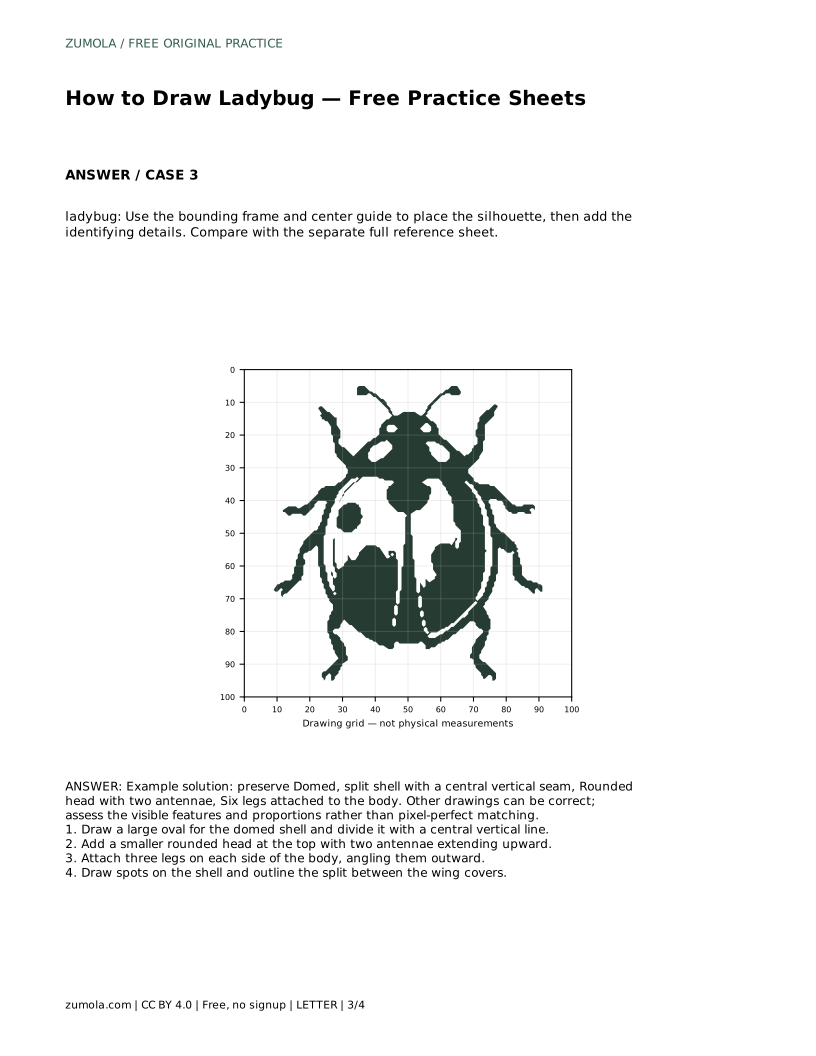
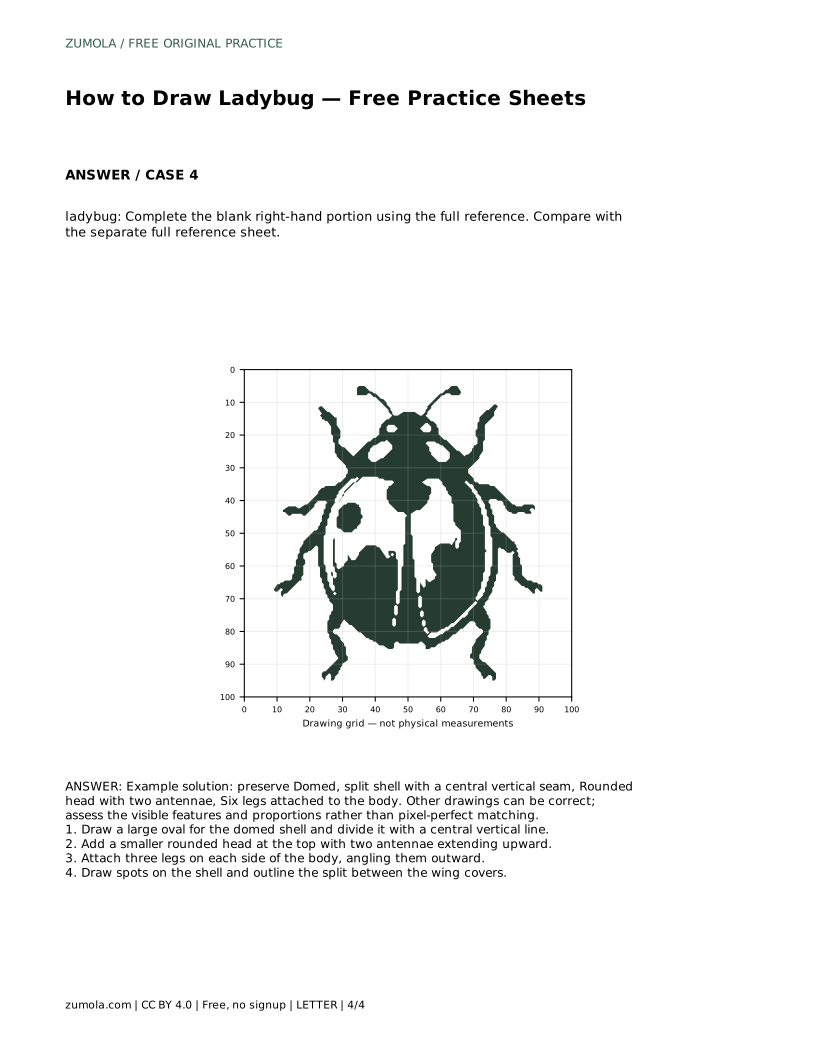
A ladybug drawing reads clearly when the big shapes come first and the small identifying details come last. Start with a wide, domed shell, split it with a central vertical seam, and place a smaller rounded head at the top. Two antennae and six legs complete the silhouette. Spots and the wing-cover split add pattern without changing the outline. Because drawings can be correct in many ways, compare visible features and proportions rather than aiming for a pixel-perfect copy.
Begin with the shell, because it is the largest and most recognizable part of the ladybug. Draw a wide oval that feels slightly taller than a circle, then add a gentle curve across the top so the shell looks domed rather than flat. A central vertical line divides the two wing covers; keep it near the middle so the shell stays balanced.
Next, place a smaller rounded head at the top of the shell. The head should be clearly narrower than the shell, and it should touch or slightly overlap the shell edge so the parts read as one body. Add two antennae extending upward from the head, angling them outward a little. Finally, attach three legs on each side of the body, angling them outward from beneath the shell. Check that all six legs connect to the body rather than floating beside it.
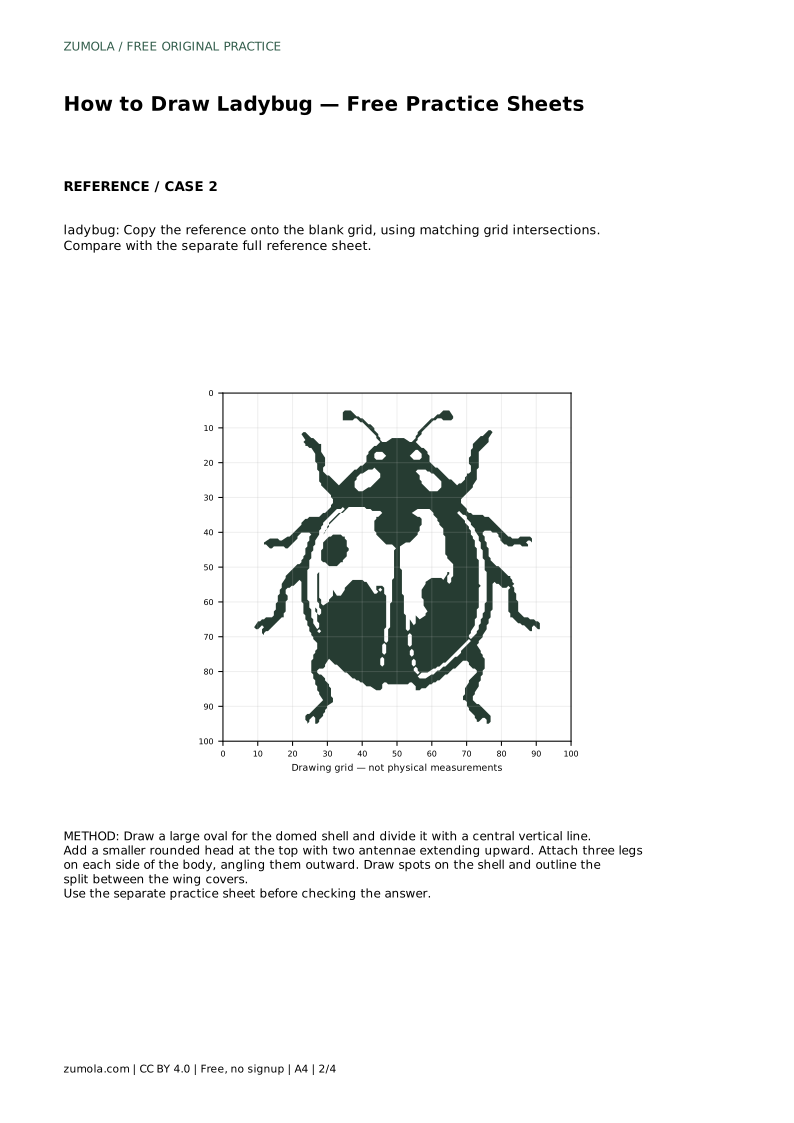
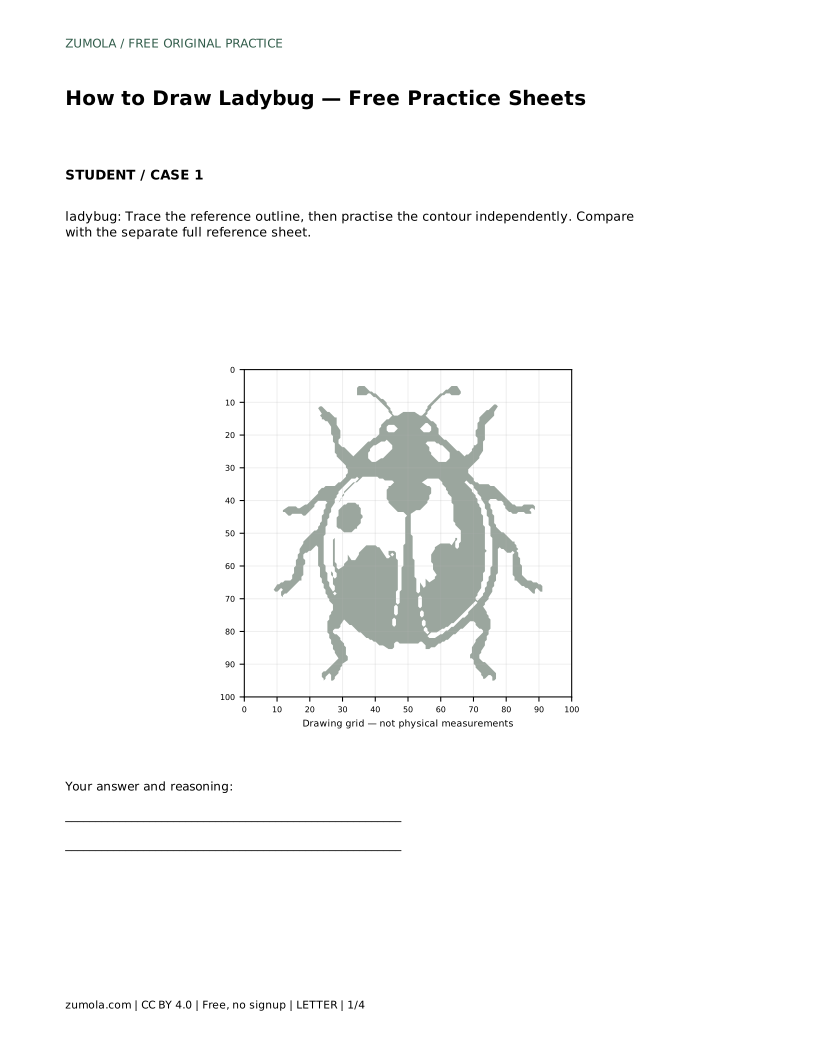
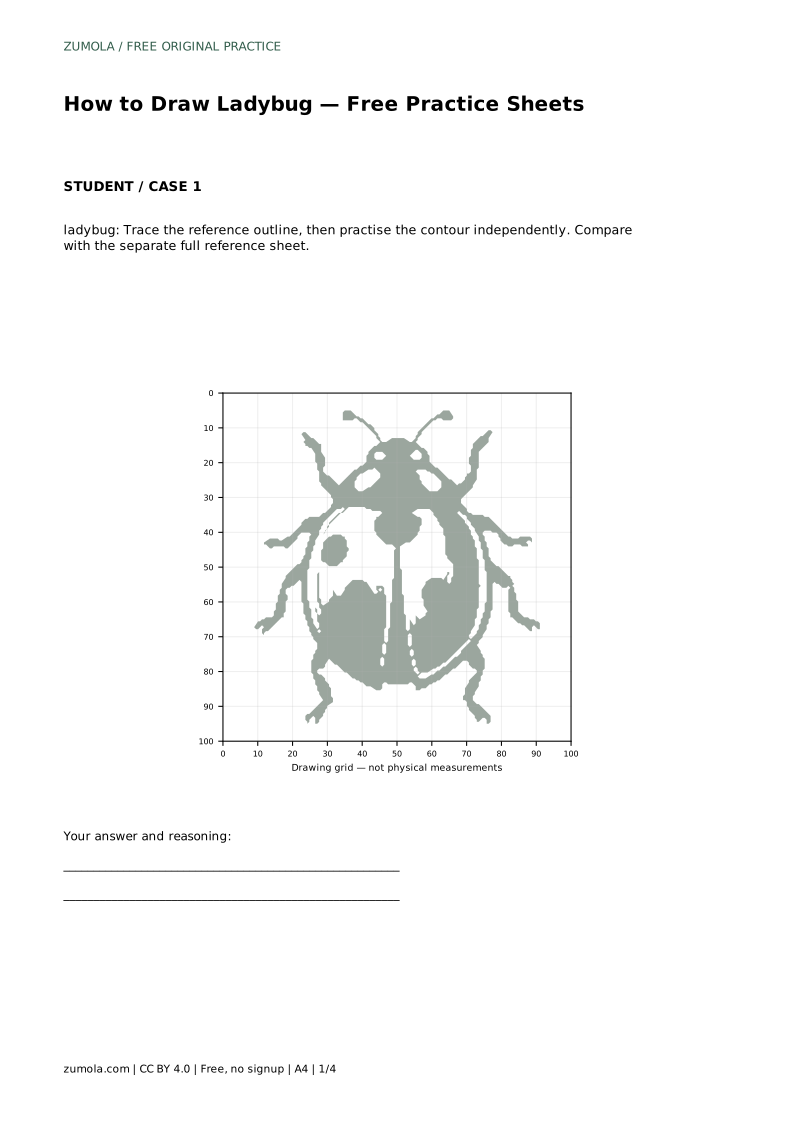
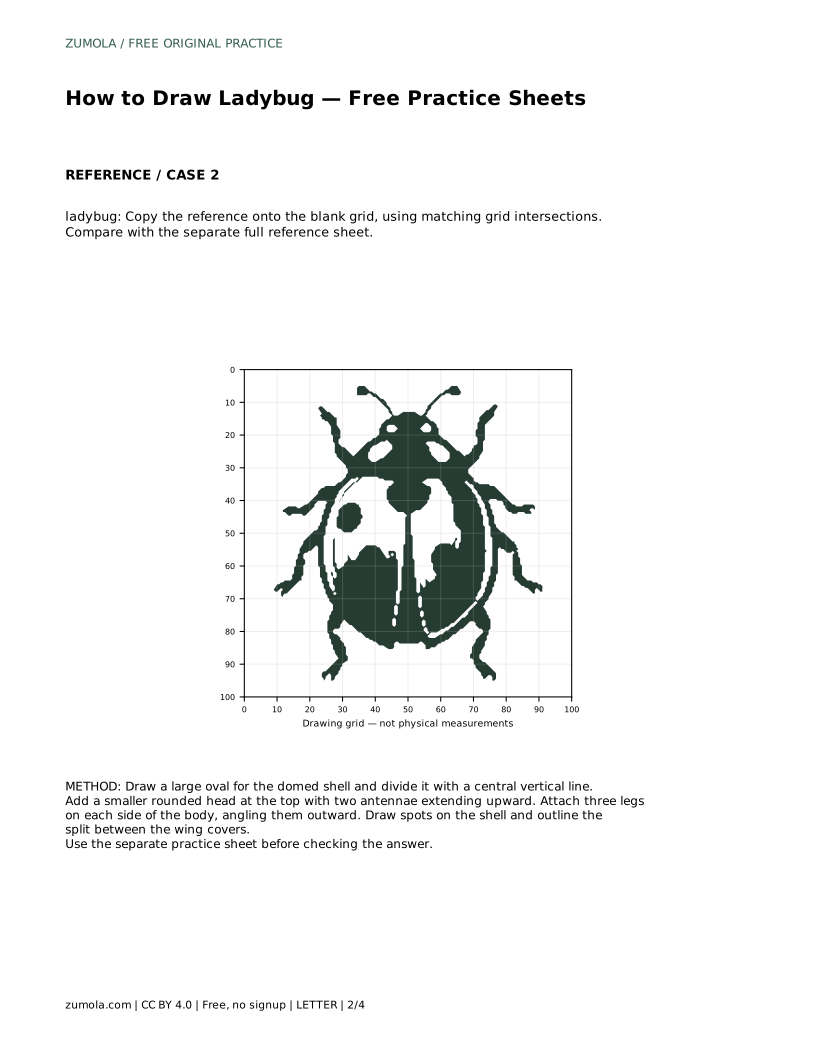
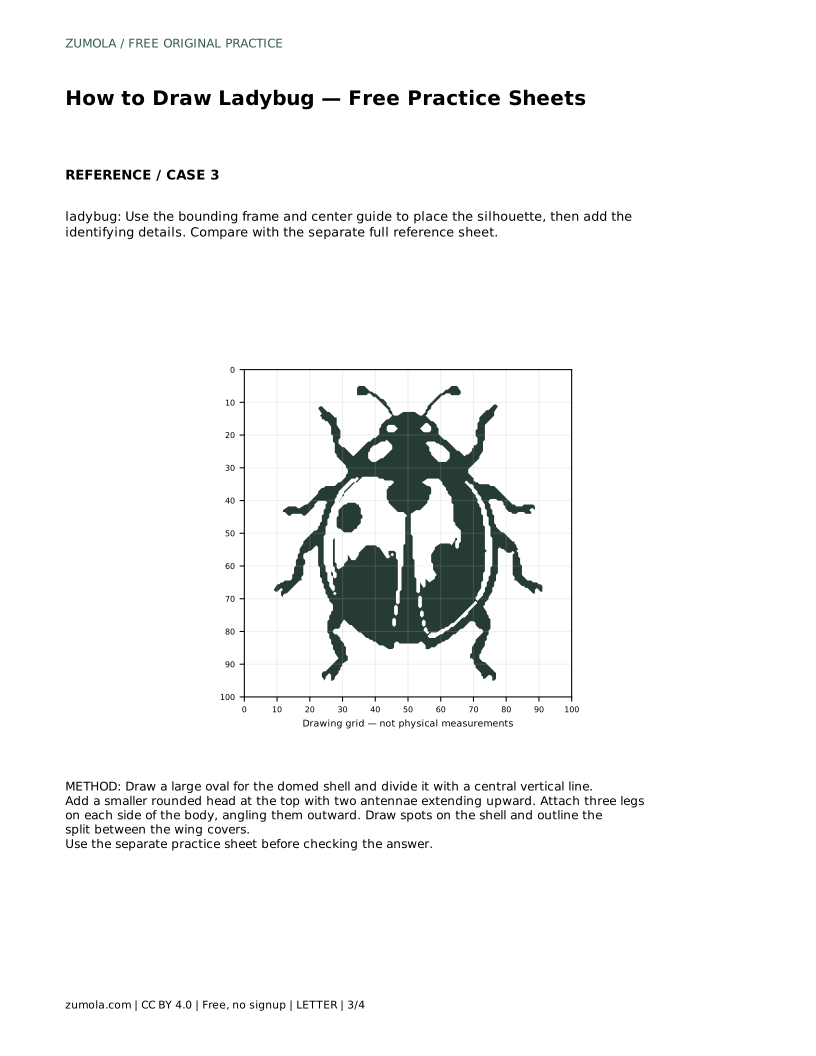
Tracing helps you feel the order of the shapes, but it can hide whether you understand the structure. After tracing the reference outline, cover it and redraw the contour independently, then compare your drawing with the separate full reference sheet. The grid version asks you to match intersections rather than copy every curve exactly; use the grid to check where the head sits relative to the shell and where the legs leave the body.
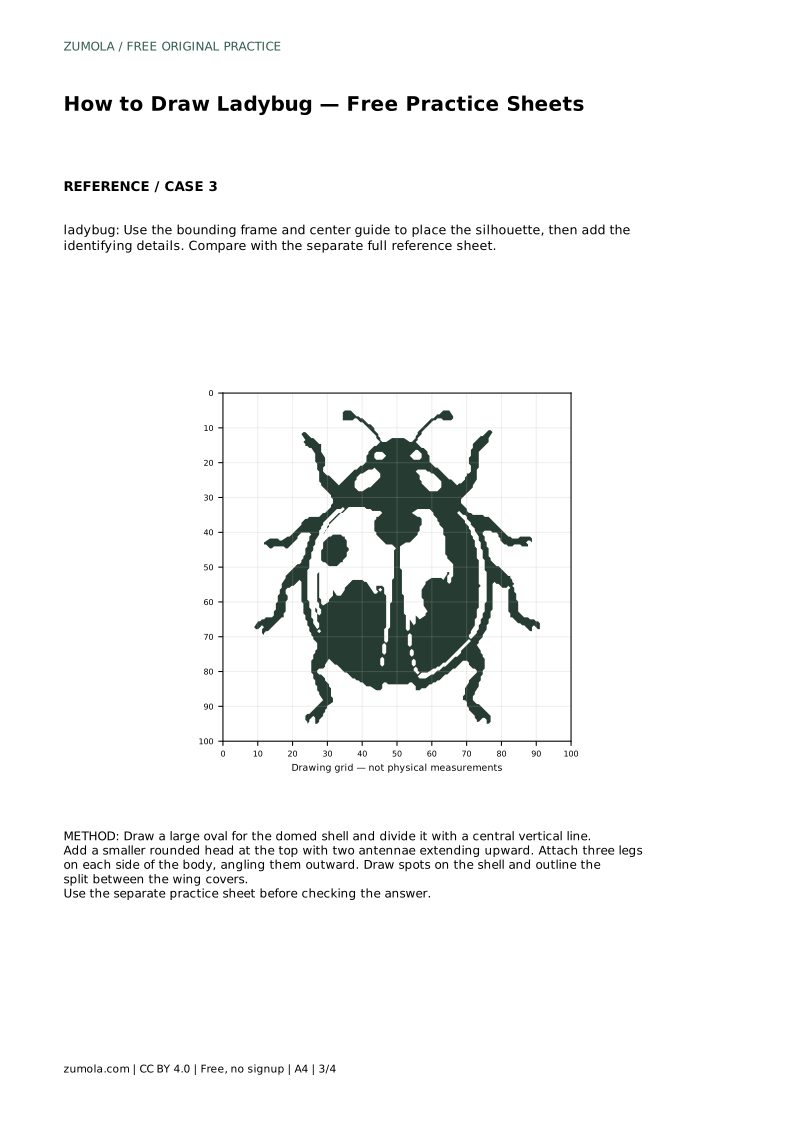
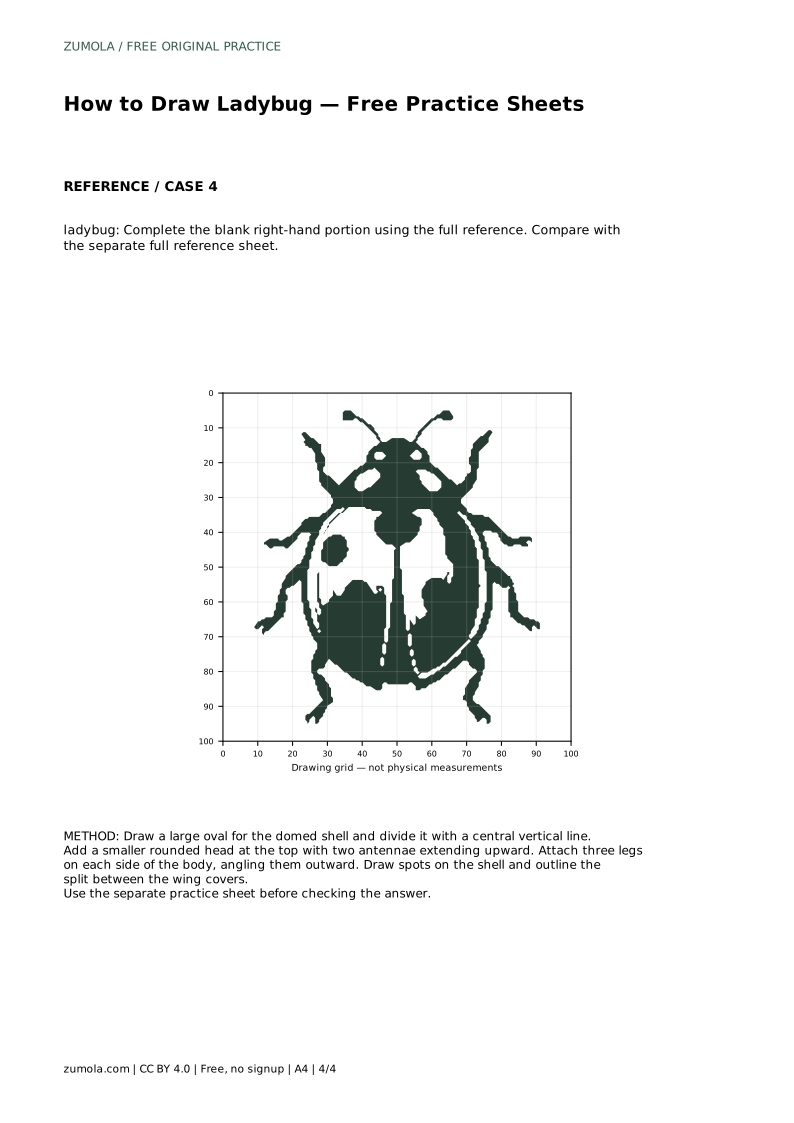
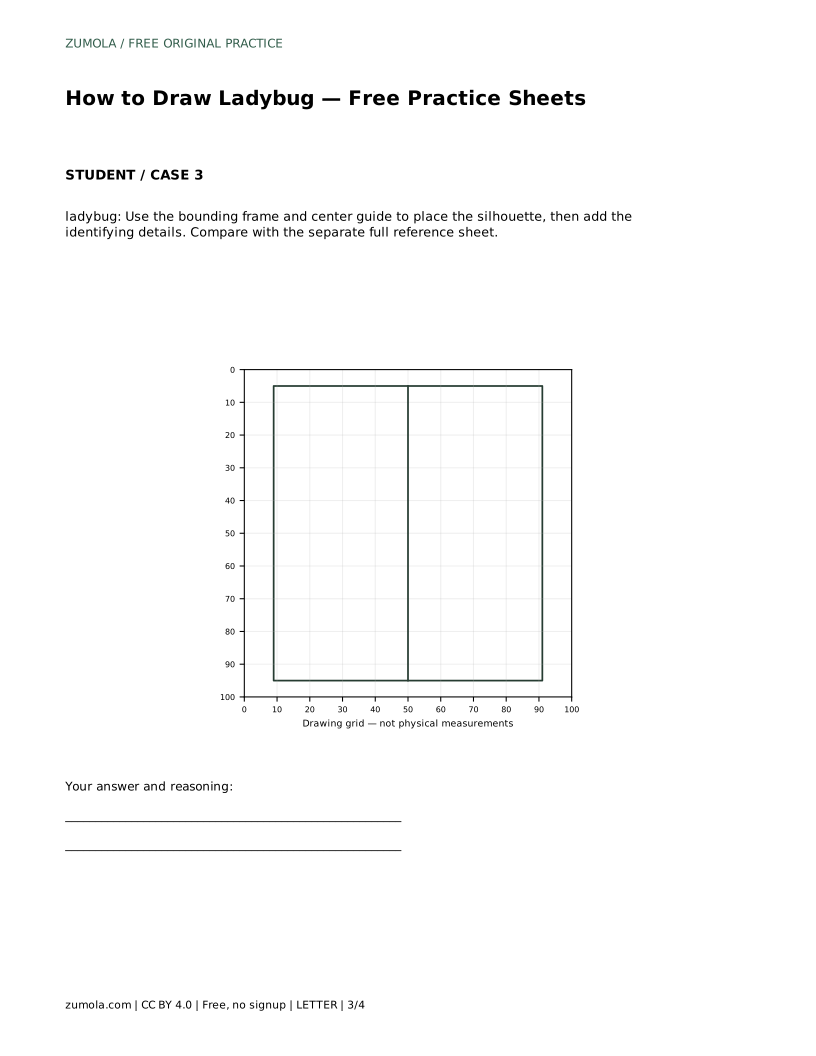
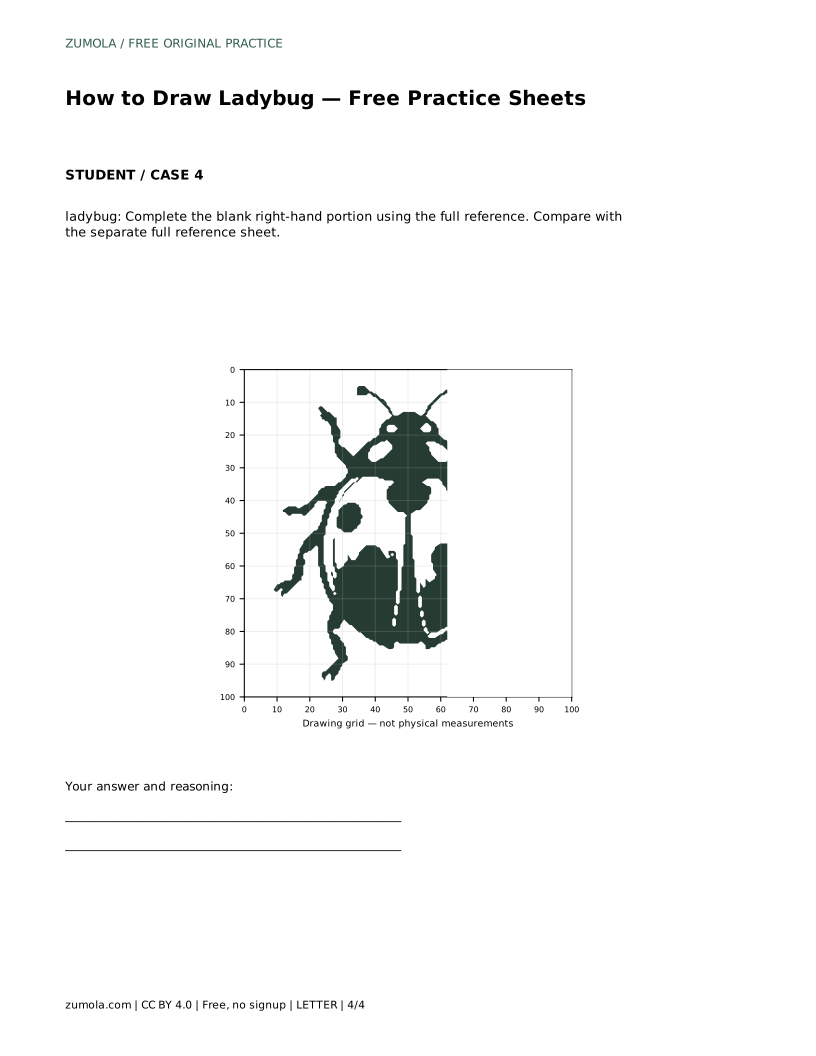
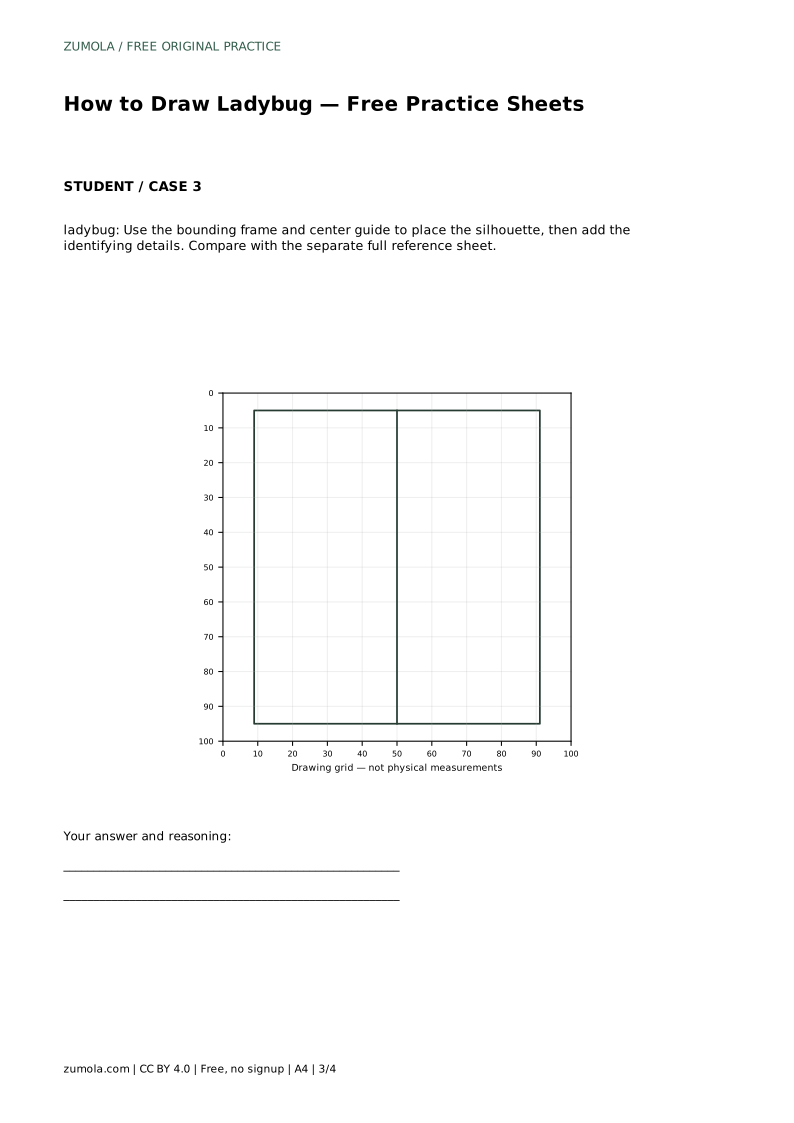
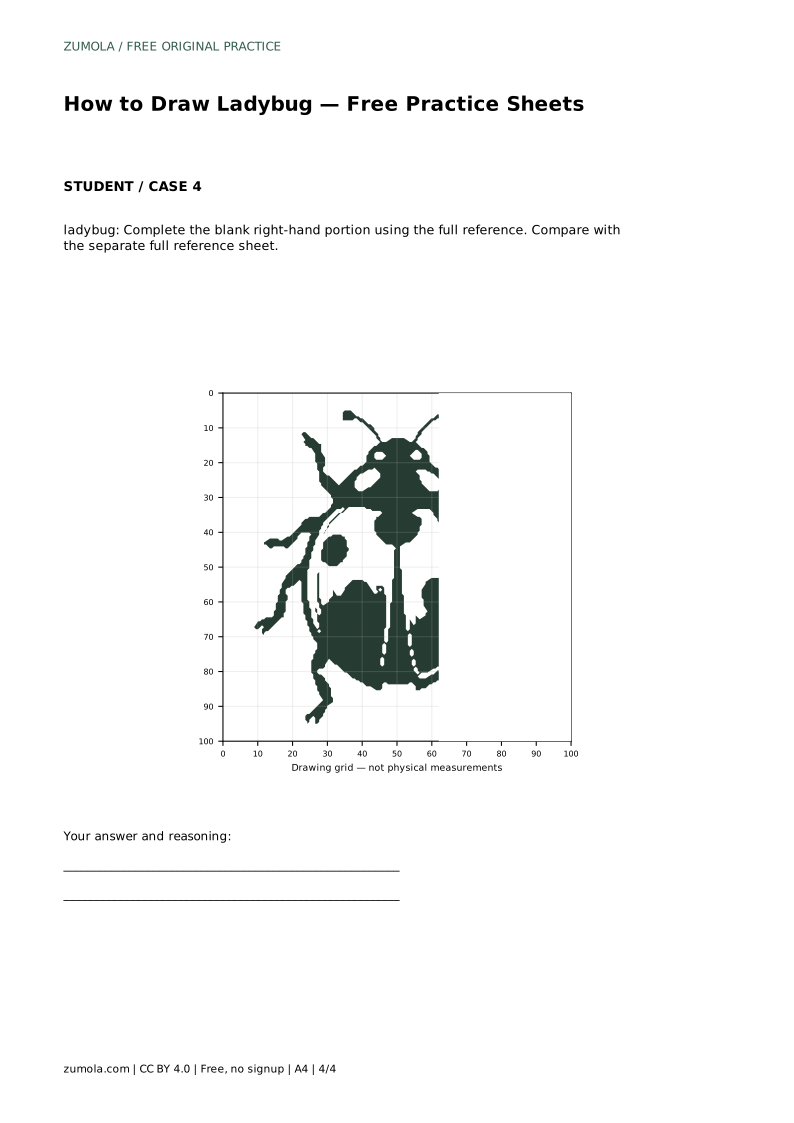
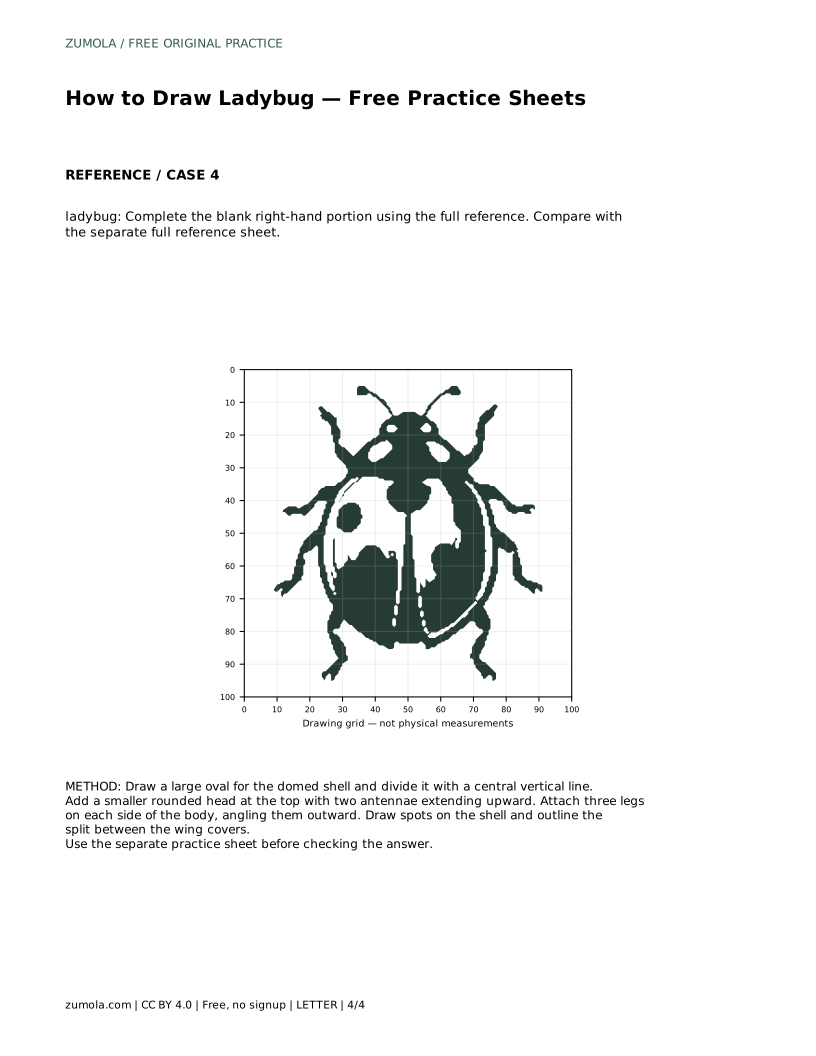
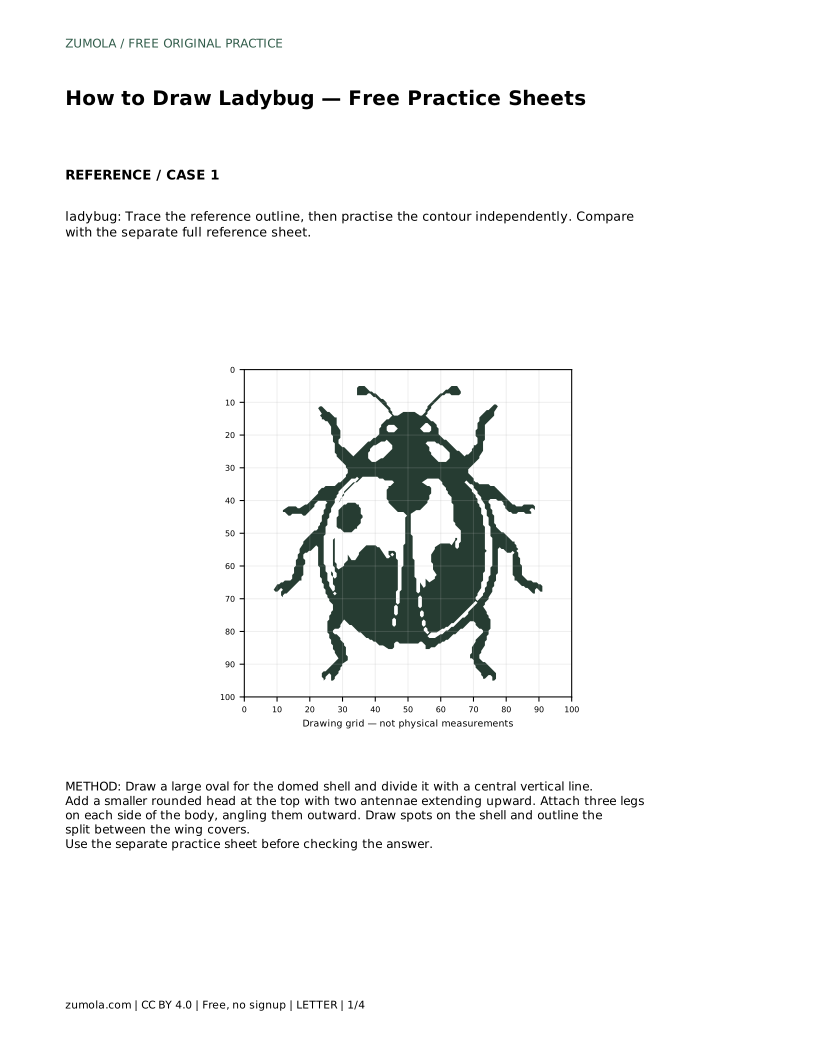
The bounding frame and center guide version is for placement. Use the frame to decide how much space the shell takes and the center guide to keep the vertical seam roughly centered. The partial-reference version asks you to complete the blank right-hand portion using the full reference, so study the left side for spacing before drawing the missing legs and spots. In every format, finish the silhouette before adding pattern.
Spots are a pattern detail, not a requirement for a correct ladybug. Place them on the shell on both sides of the central seam, keeping them inside the outline and roughly similar in size. Avoid crowding the seam or the shell edge. The split between the wing covers is the central vertical line itself; make it visible enough to separate the two halves without turning it into a heavy border.
Keep the drawing simple and readable. A clean silhouette with a domed shell, a centered seam, a rounded head, two antennae and six attached legs will look like a ladybug even with few or no spots. If you add spots, check that they sit on the shell rather than on the head or legs.
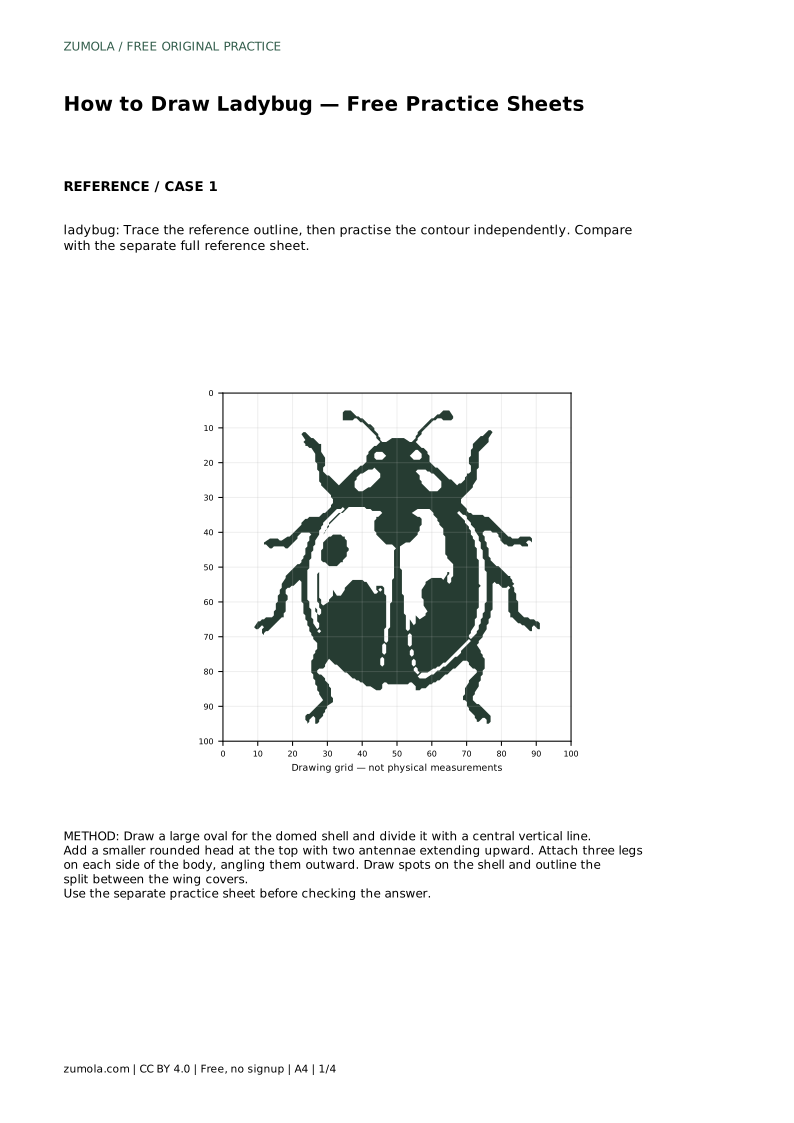
ladybug: Trace the reference outline, then practise the contour independently. Compare with the separate full reference sheet.
Example solution: preserve Domed, split shell with a central vertical seam, Rounded head with two antennae, Six legs attached to the body. Other drawings can be correct; assess the visible features and proportions rather than pixel-perfect matching. Draw a large oval for the domed shell and divide it with a central vertical line. Add a smaller rounded head at the top with two antennae extending upward. Attach three legs on each side of the body, angling them outward. Draw spots on the shell and outline the split between the wing covers.
No. Spots are pattern detail. The identifying features are the domed split shell, rounded head, two antennae and six attached legs.
Compare visible features and proportions: shell shape, centered seam, head size and position, two antennae, and six legs attached to the body. Small differences in curve or spot placement are fine.
Shell first, then the central seam, then the head and antennae, then the six legs, and finally spots and the wing-cover split.
All drawing practice · Free coordinate paper
Original resources · CC BY 4.0 · Free for personal and classroom use with attribution.