Reference diagrams
LETTER · Download PDF
A4 · Download PDF
Free original resources
Learn to draw a raccoon face by tracing the outline, then working independently. Practise the eye mask, rounded ears, pointed snout and dark nose.
Four original cases, with reference diagrams, practice sheets and worked answers. Everything is free; no signup required.
LETTER · Download PDF
A4 · Download PDF
LETTER · Download PDF
A4 · Download PDF
LETTER · Download PDF
A4 · Download PDF
Use A4 or US Letter to match your printer. Use the stated values and conditions to solve each exercise; diagrams are not physical measuring rulers.
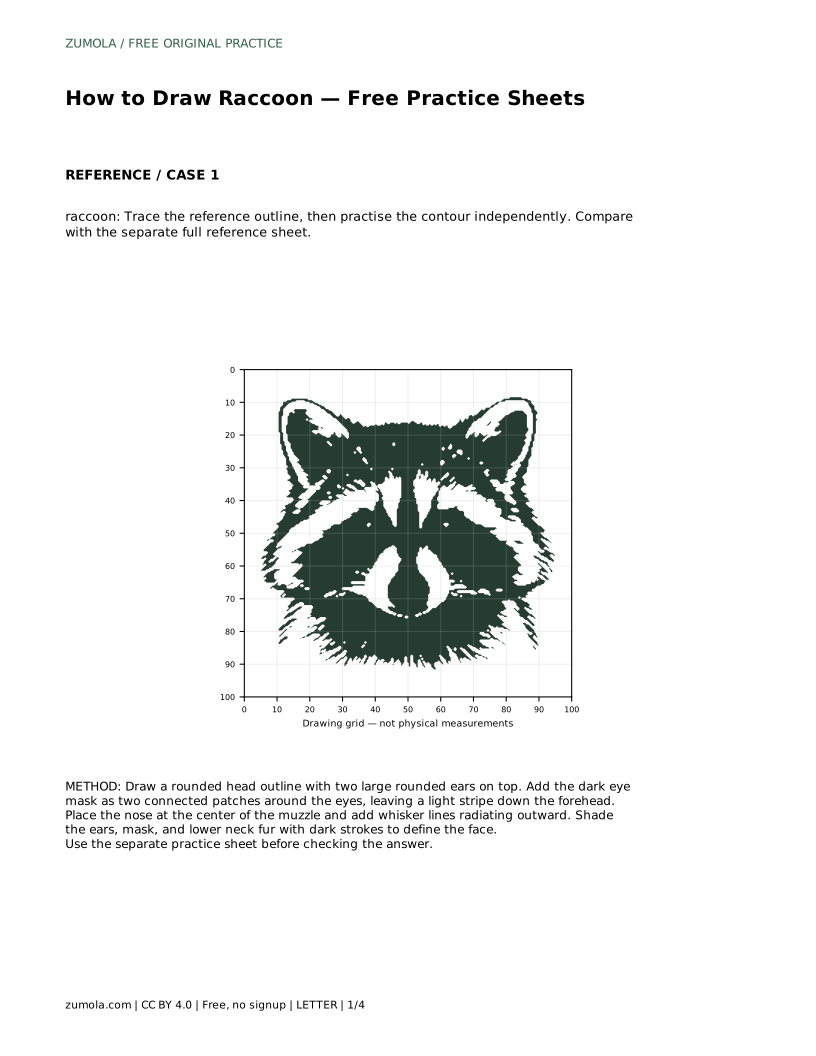
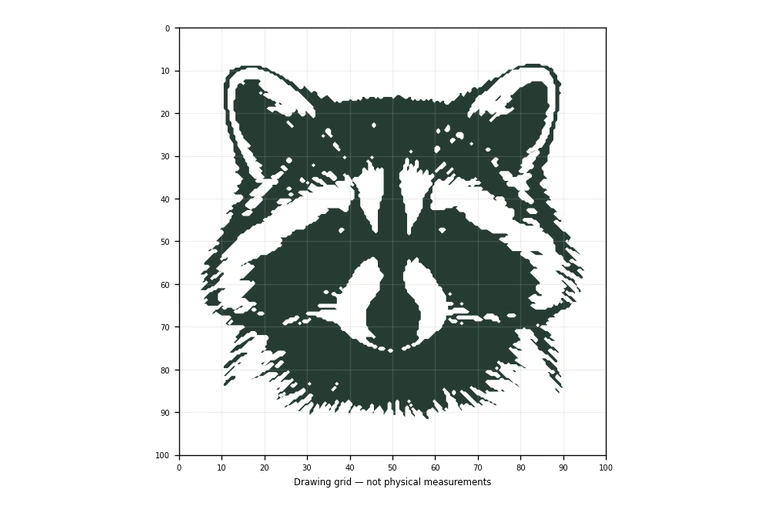
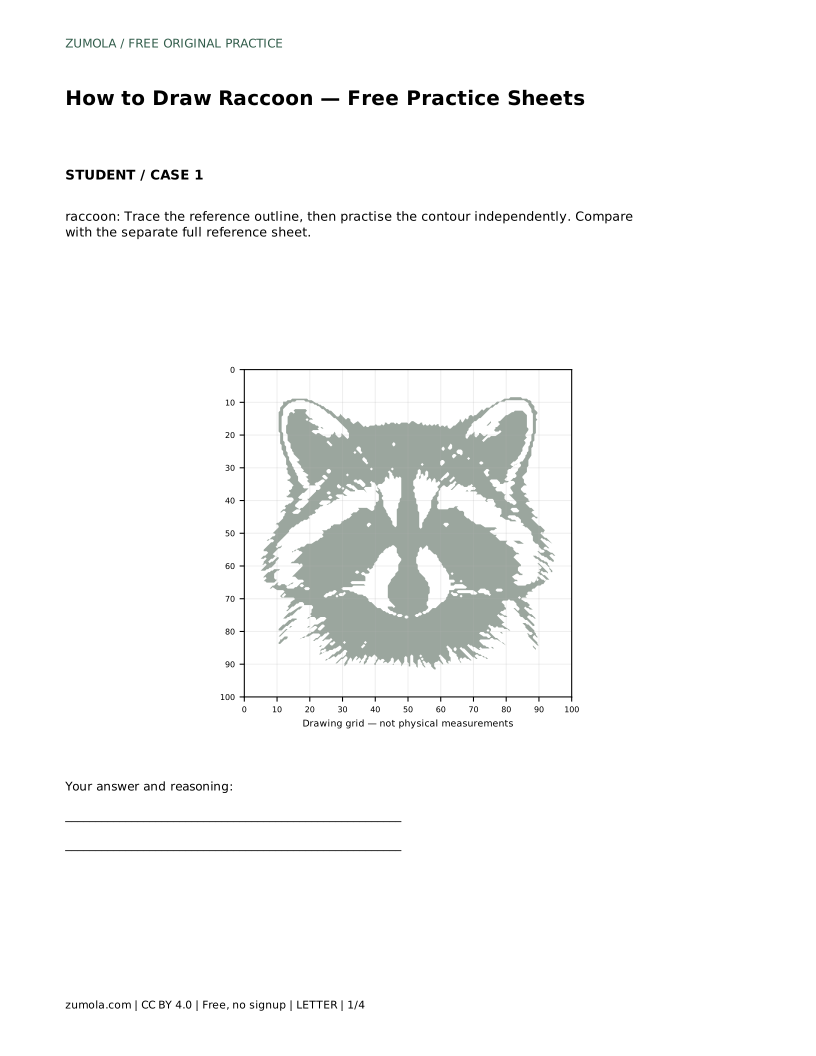
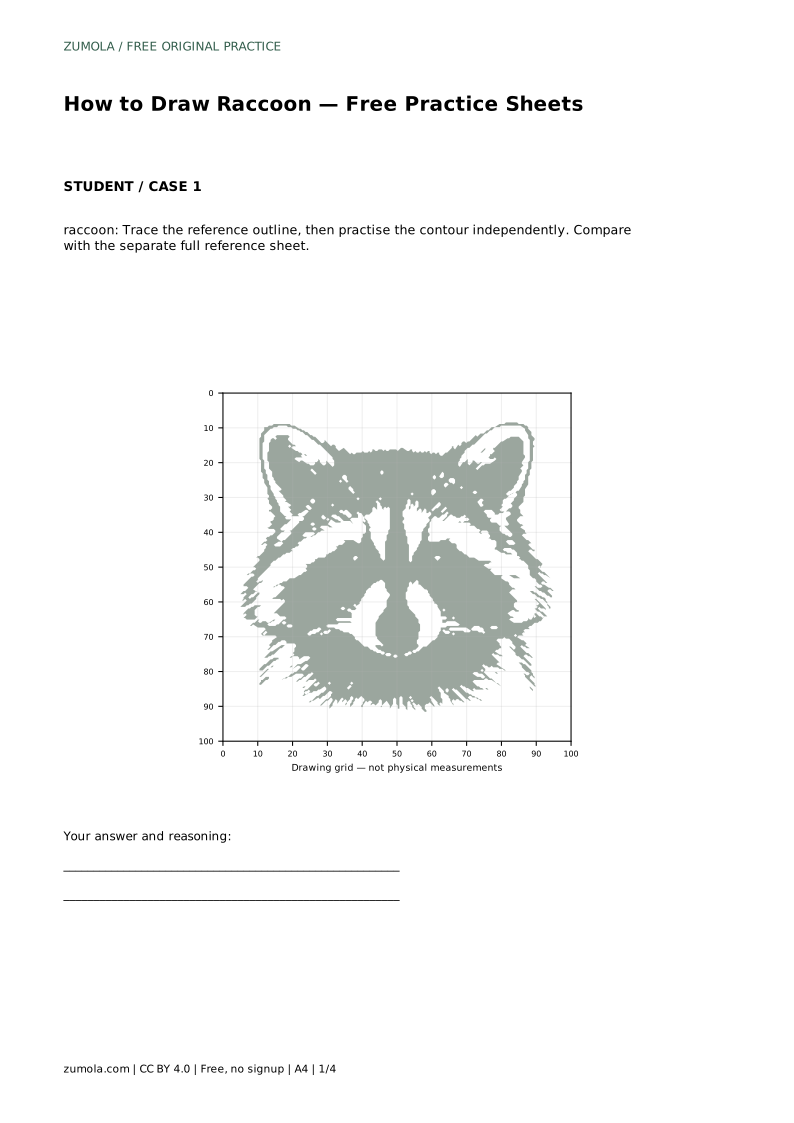
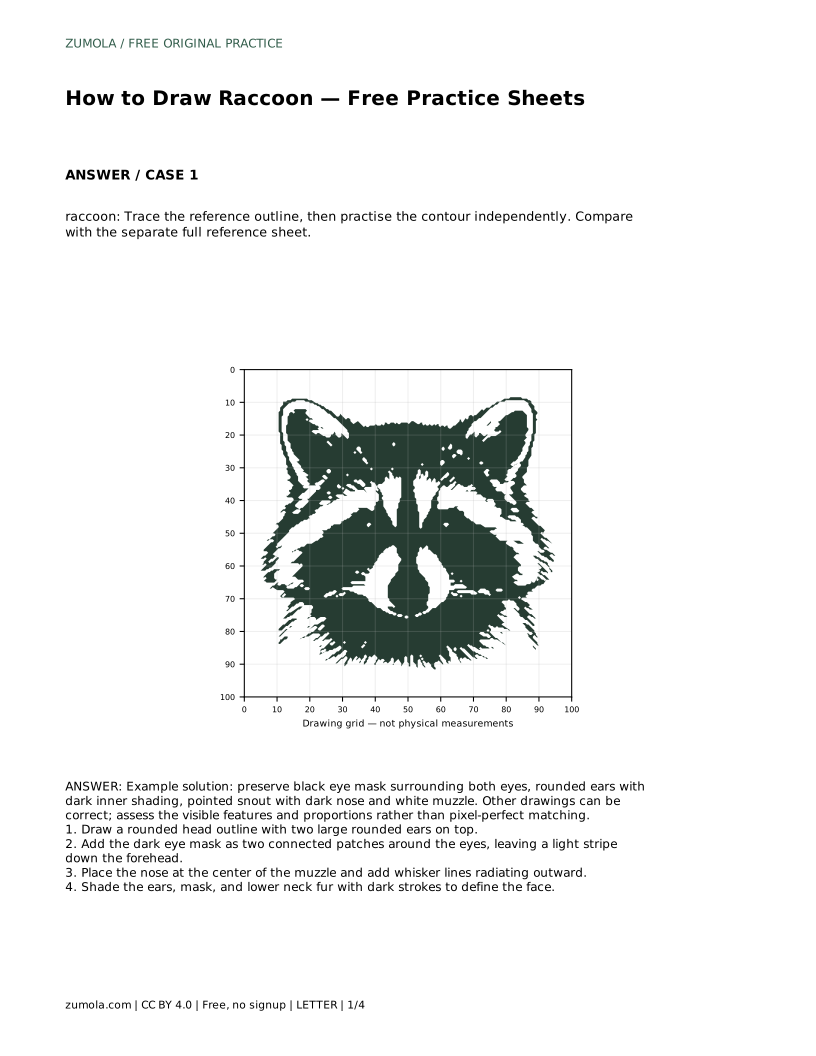
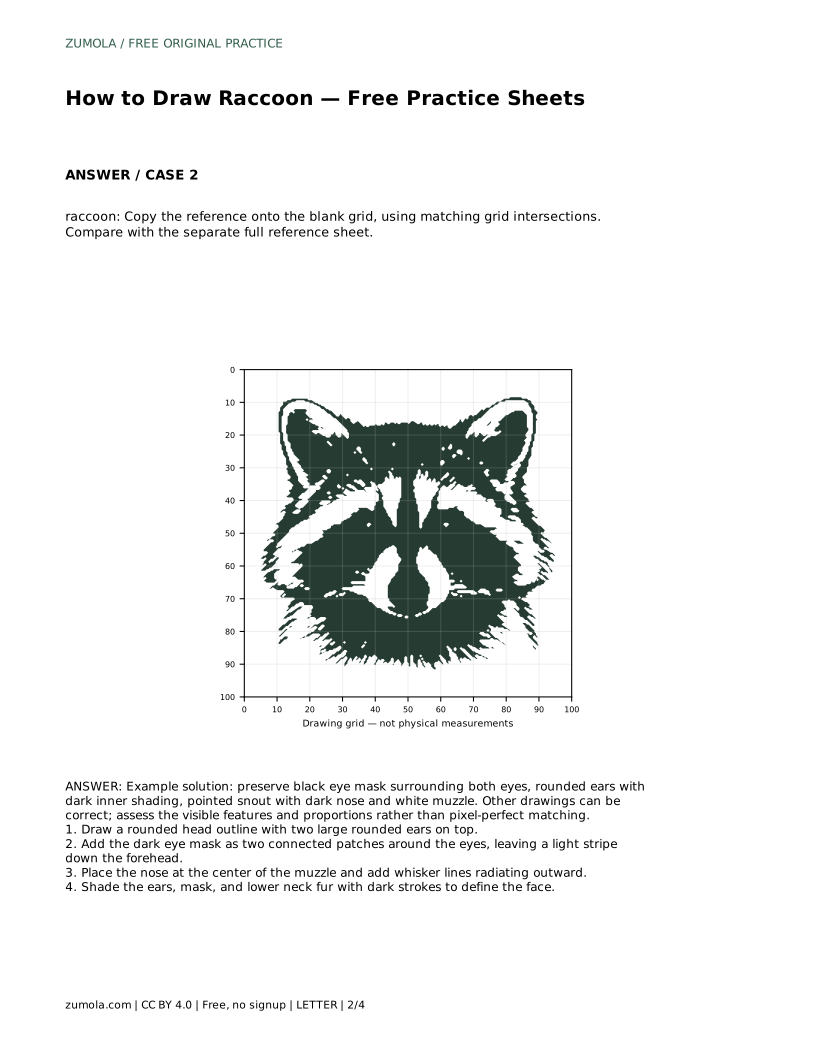
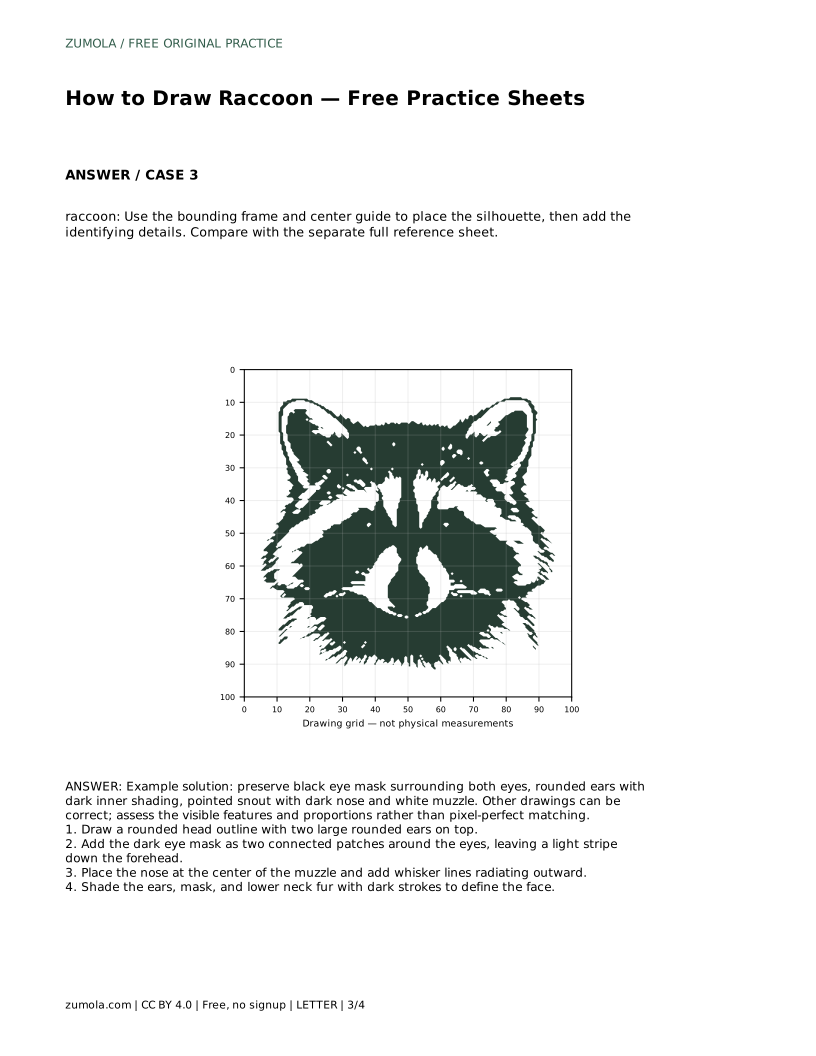
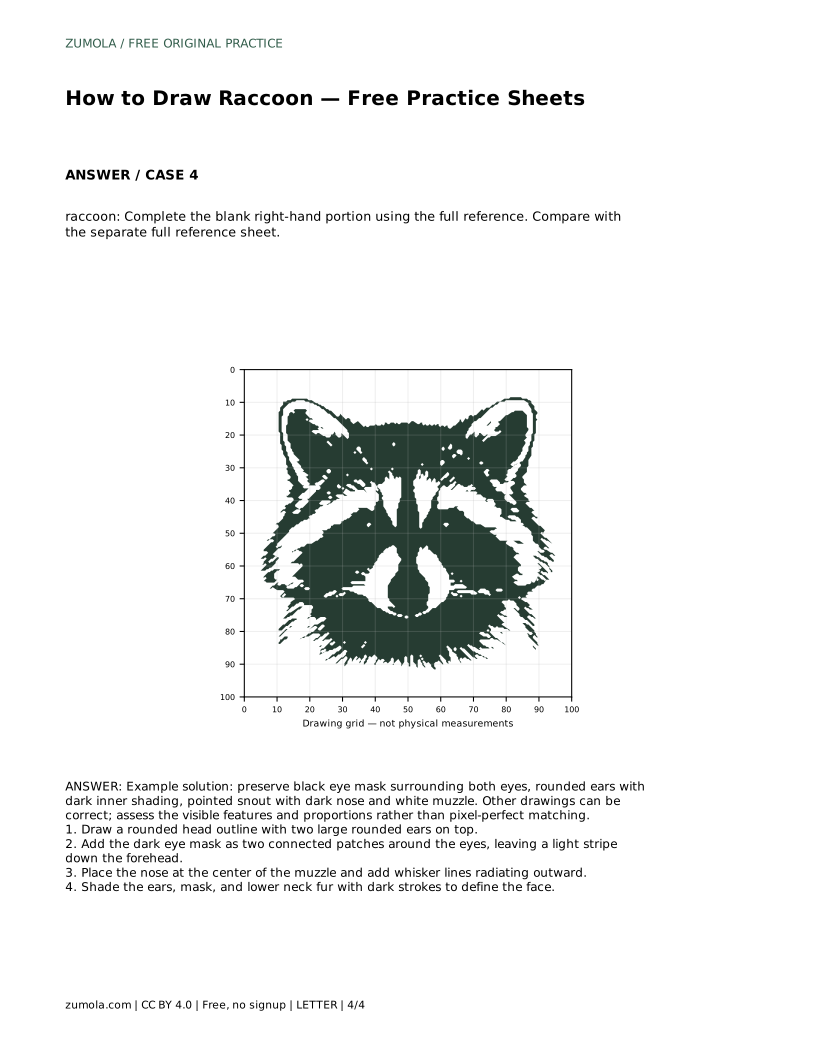
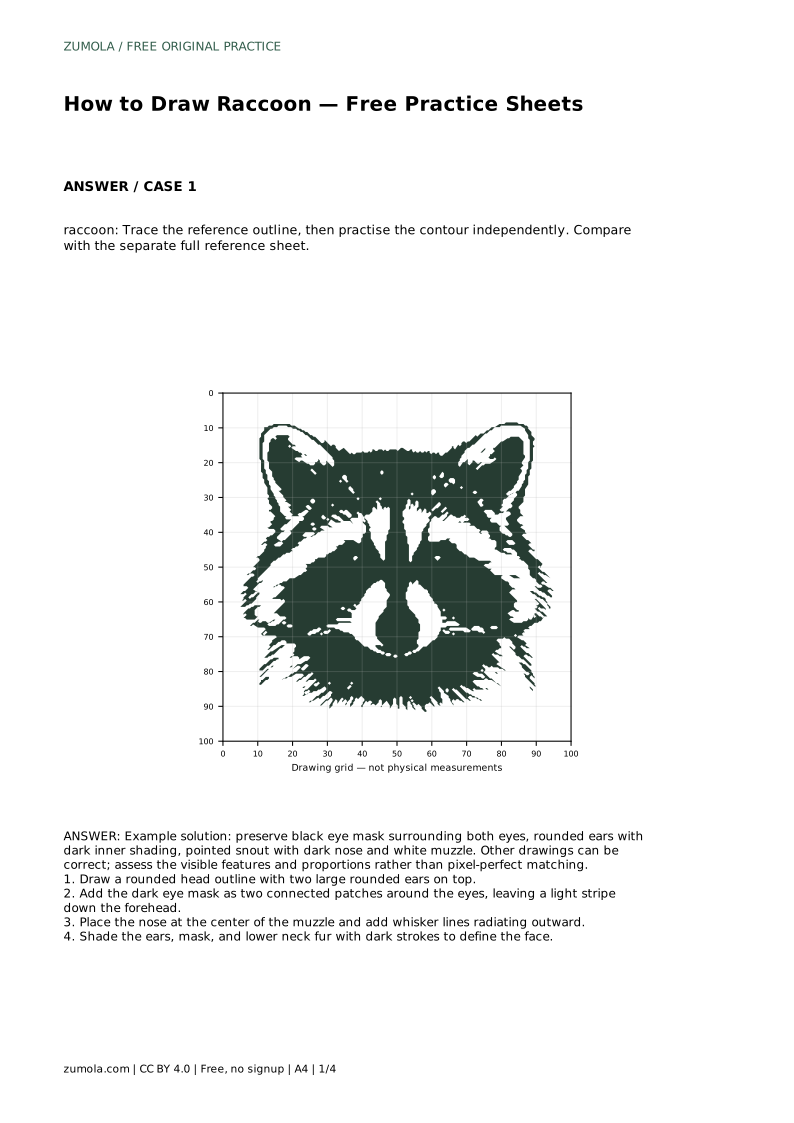
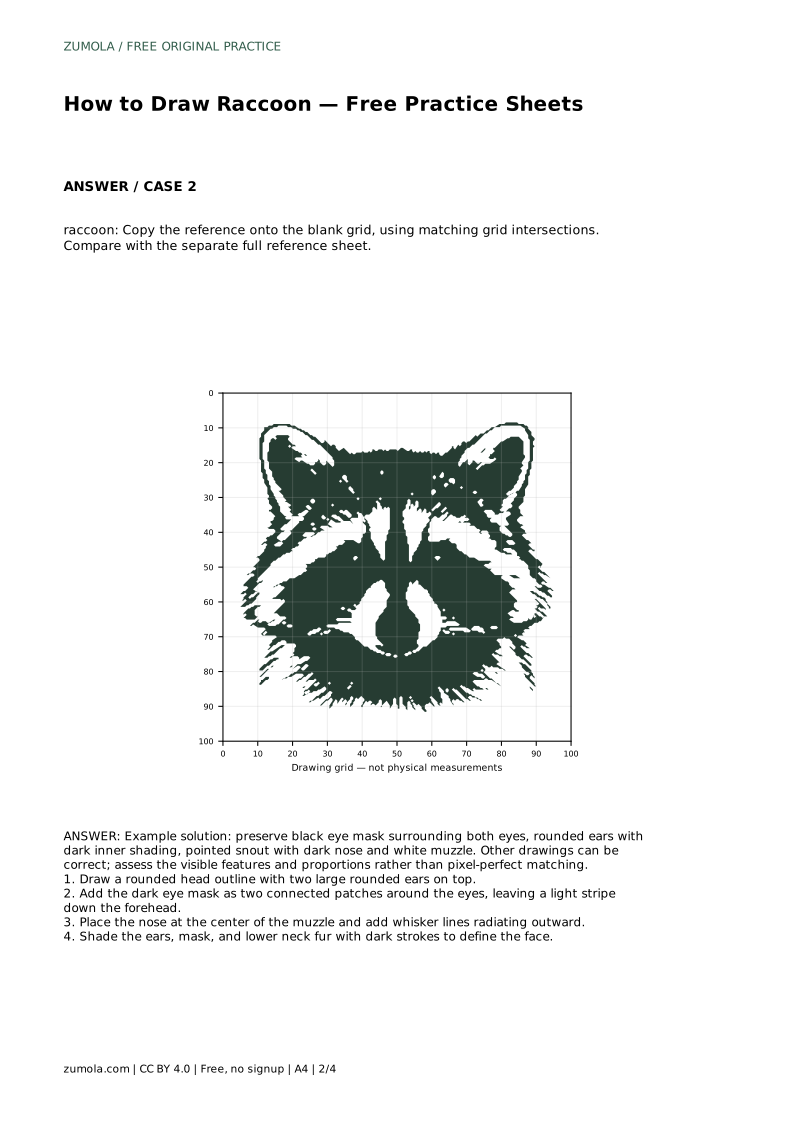
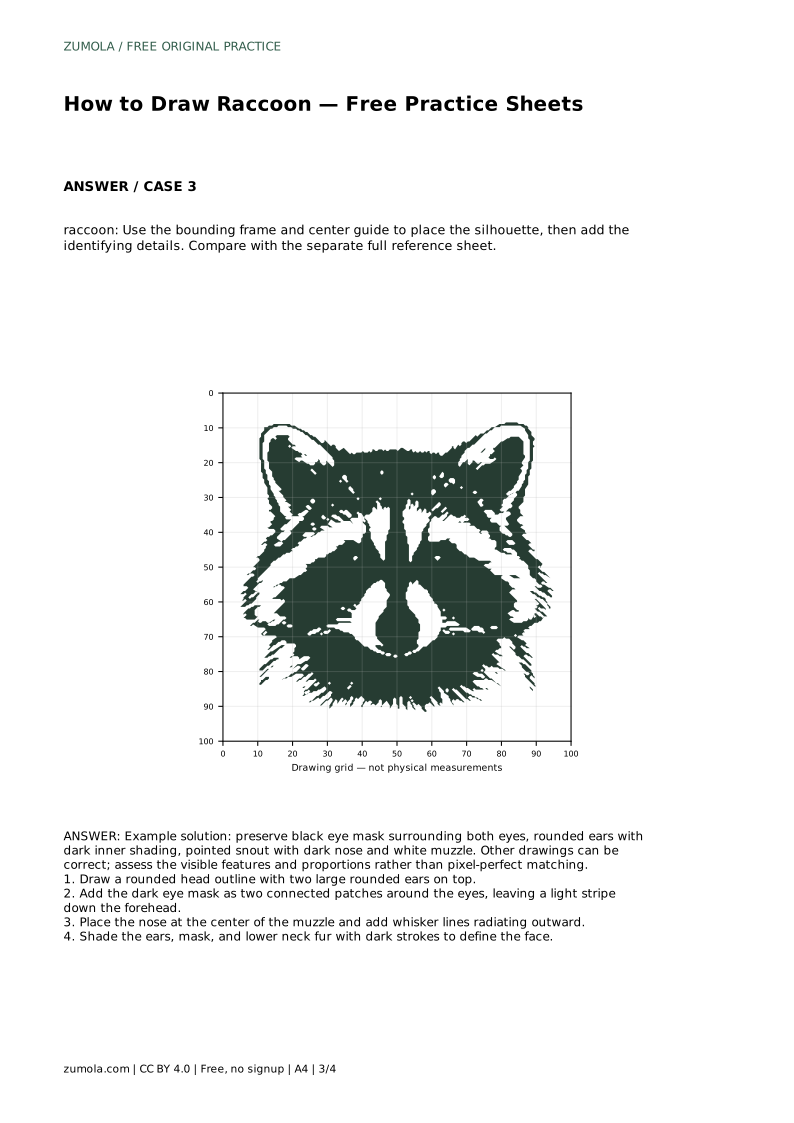
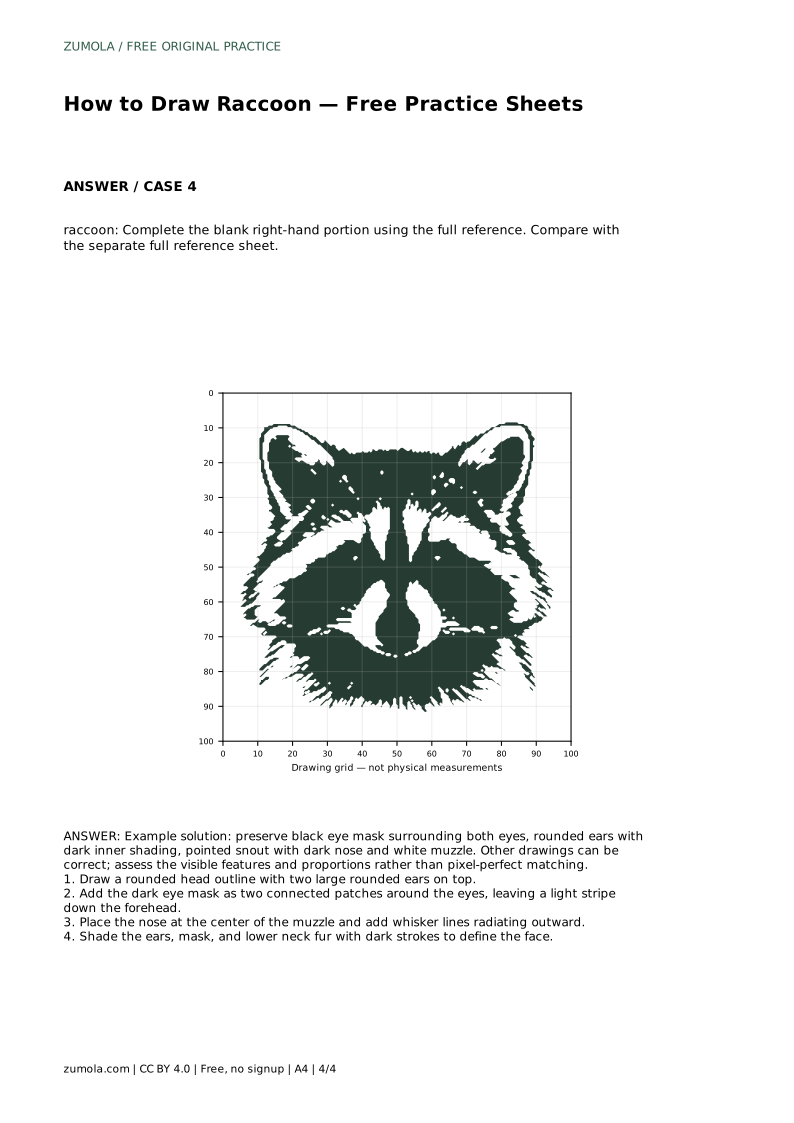
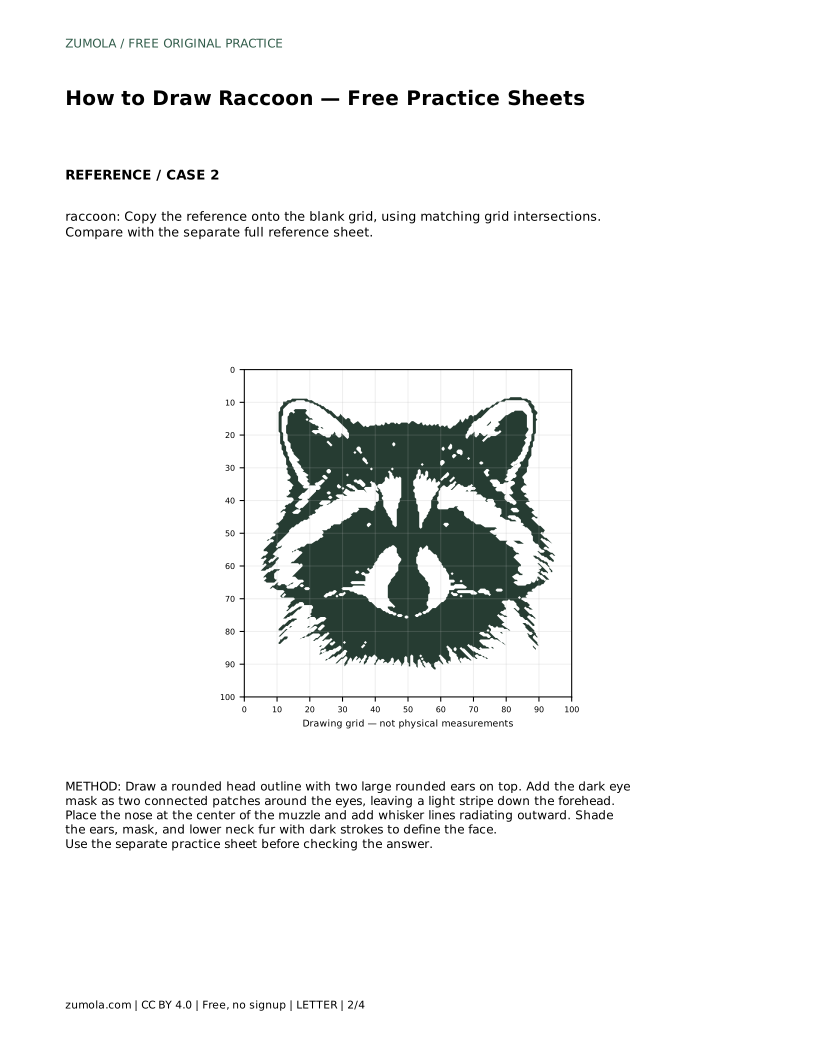
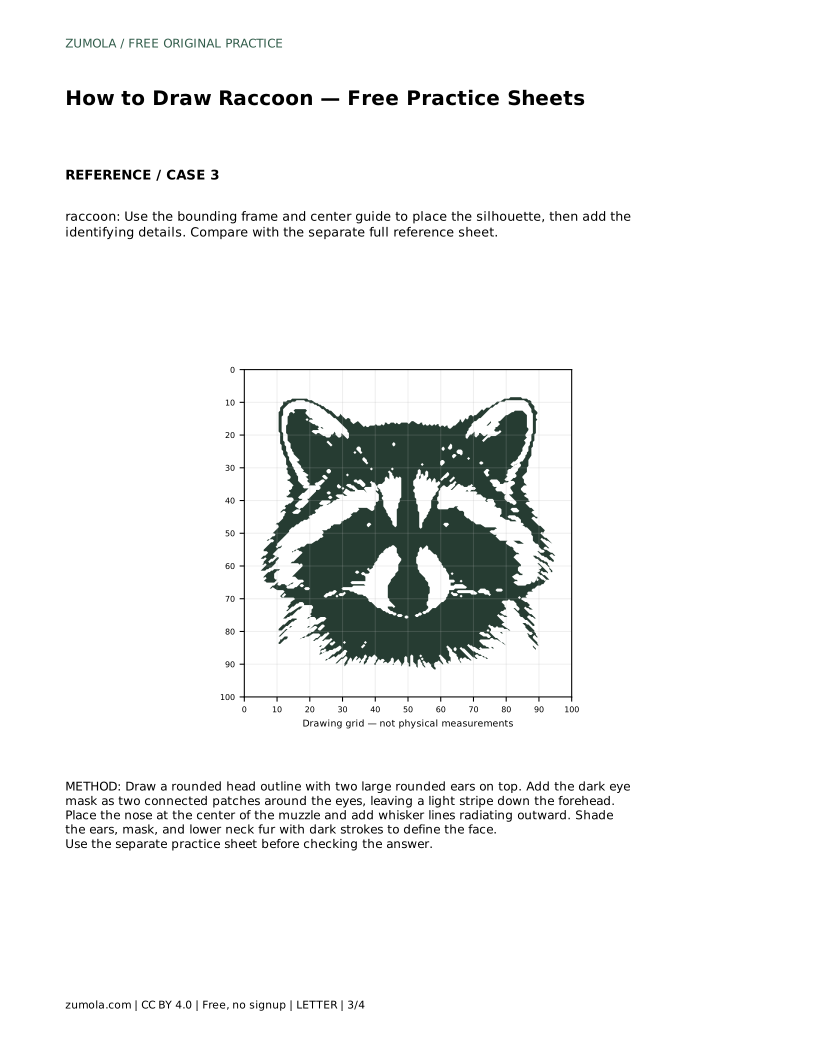
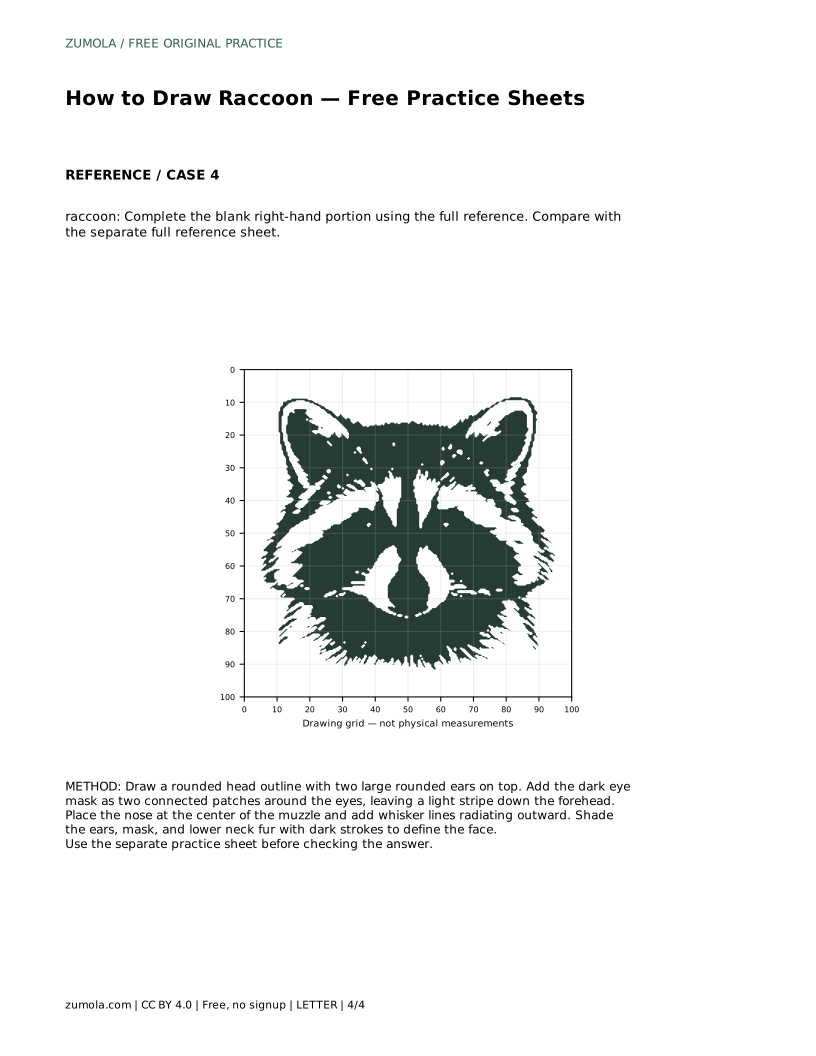
A raccoon face is recognisable because of a few clear features: a rounded head, two large rounded ears, a dark mask around both eyes, a light stripe down the forehead, and a pointed snout with a dark nose. This page shows how to trace a reference outline first, then practise the same contour without tracing. Compare your drawing with the separate full reference sheet and judge the visible features and proportions rather than expecting a pixel-perfect match.
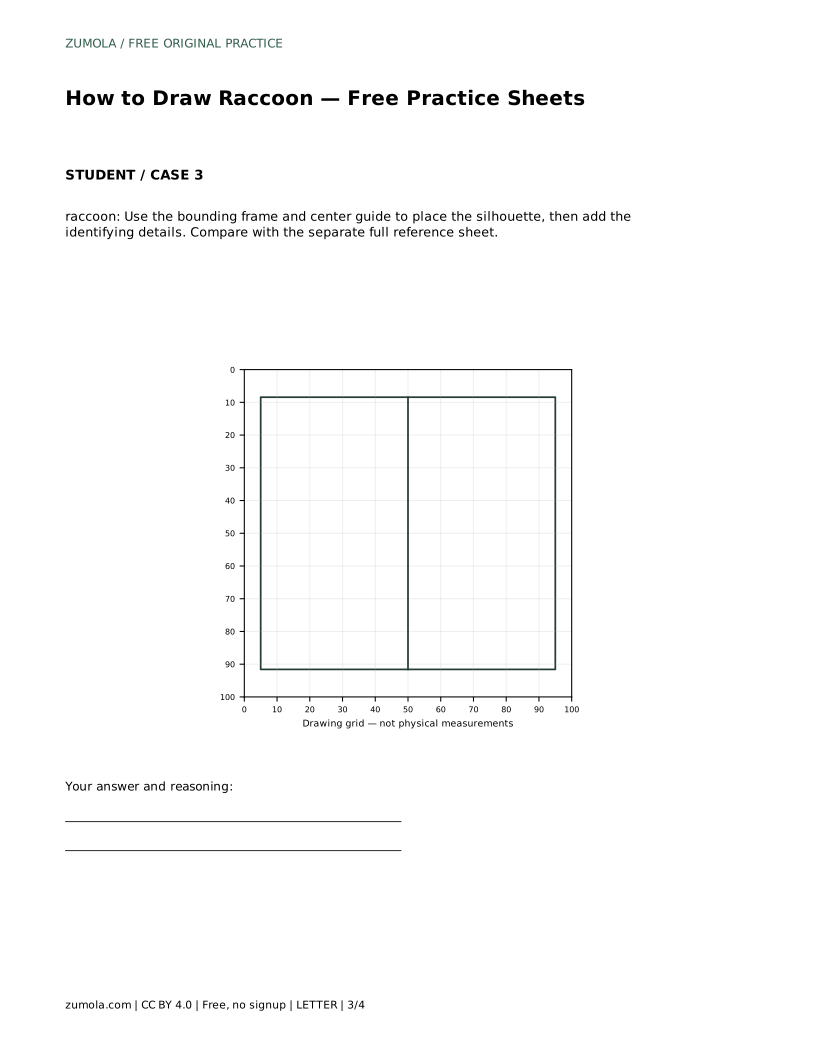
Begin with the overall shape before adding any dark areas. Draw a rounded head outline that is slightly wider at the cheeks than at the top. Place two large rounded ears on top of the head, leaving a small gap between them. Keep both ears similar in size so the face stays balanced.
The ears are not simple circles; they curve outward and sit close to the head. Sketch them lightly first, then firm the line once the head shape looks right. A light sketch is easier to adjust than a heavy line.
The dark eye mask is the raccoon's most important identifying feature. Draw it as two connected patches around the eyes, one patch per eye, joined across the bridge of the nose. Leave a light stripe running down the forehead between the patches. If the stripe disappears, the face stops reading as a raccoon.
Place the eyes inside the dark patches. Keep them level with each other and spaced so the muzzle has room below. The mask should surround both eyes, not sit above them like eyebrows.
Below the mask, draw a pointed snout with a white muzzle. Place the nose at the centre of the muzzle, then add whisker lines radiating outward. Keep the snout narrow and pointed rather than round.
Finish by shading the ears, the mask and the lower neck fur with dark strokes. Use the shading to define the face, not to fill every space. Leave the muzzle and forehead stripe light so the contrast stays clear.
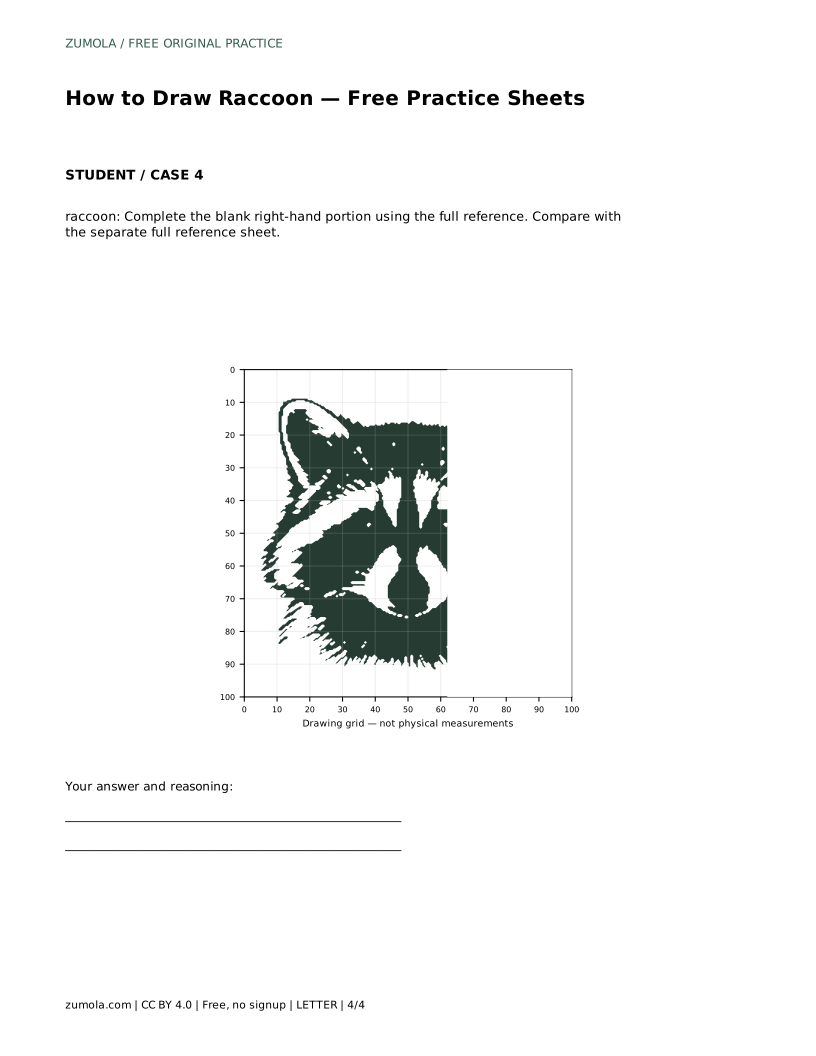
Trace the reference outline first to learn where each feature sits. Then cover the reference and draw the same contour on a blank sheet. Compare your independent drawing with the separate full reference sheet.
Other drawings can be correct. Assess the visible features and proportions rather than pixel-perfect matching. Ask whether the mask surrounds both eyes, the ears are rounded with dark inner shading, the snout is pointed, the nose is dark and the muzzle is white.
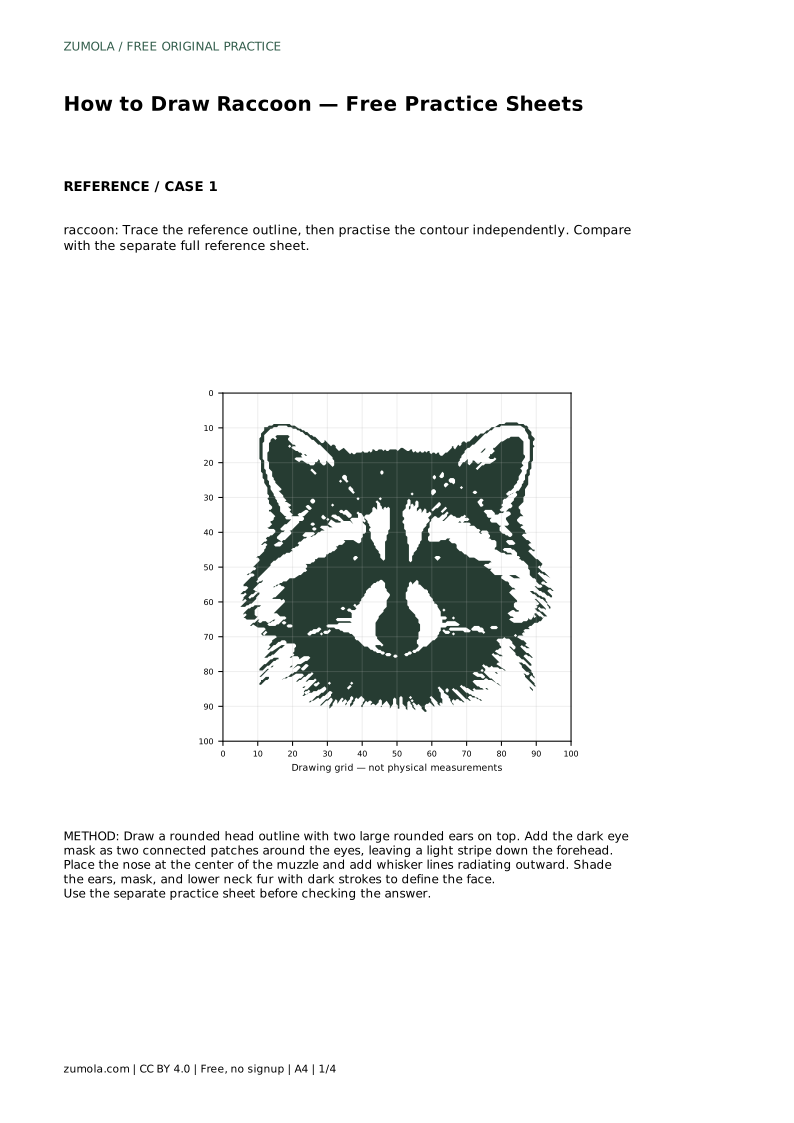
raccoon: Trace the reference outline, then practise the contour independently. Compare with the separate full reference sheet.
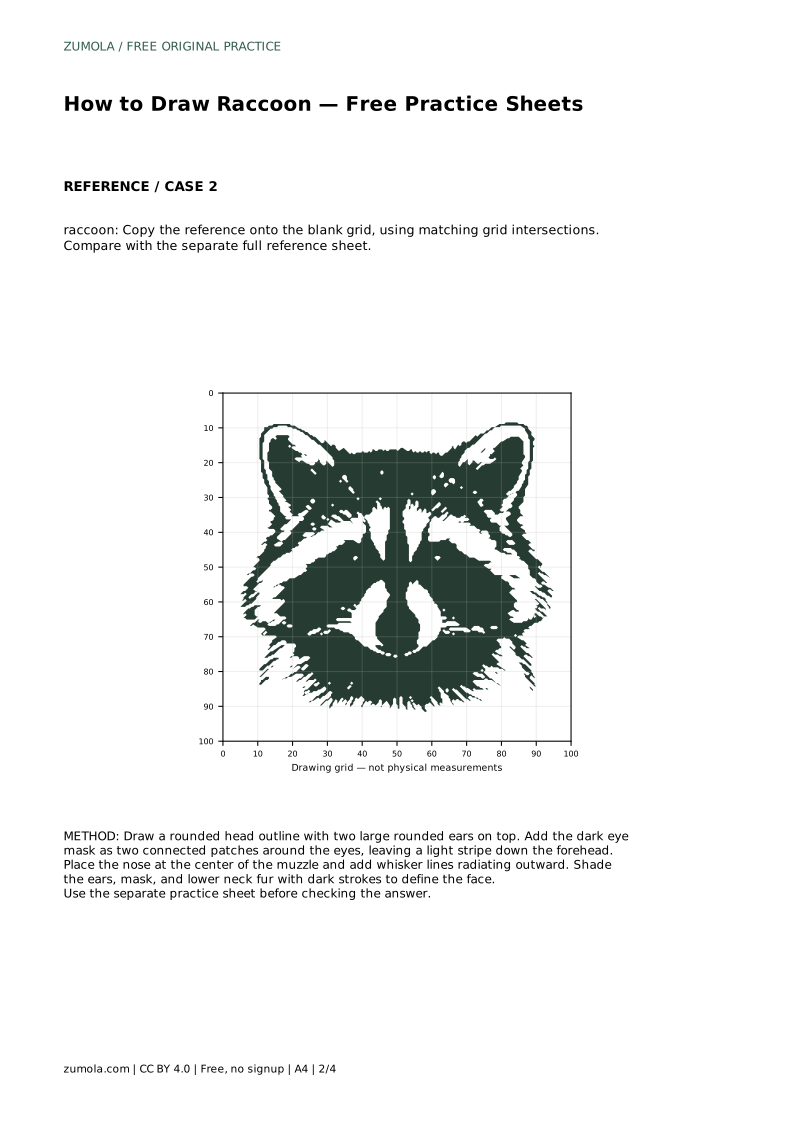
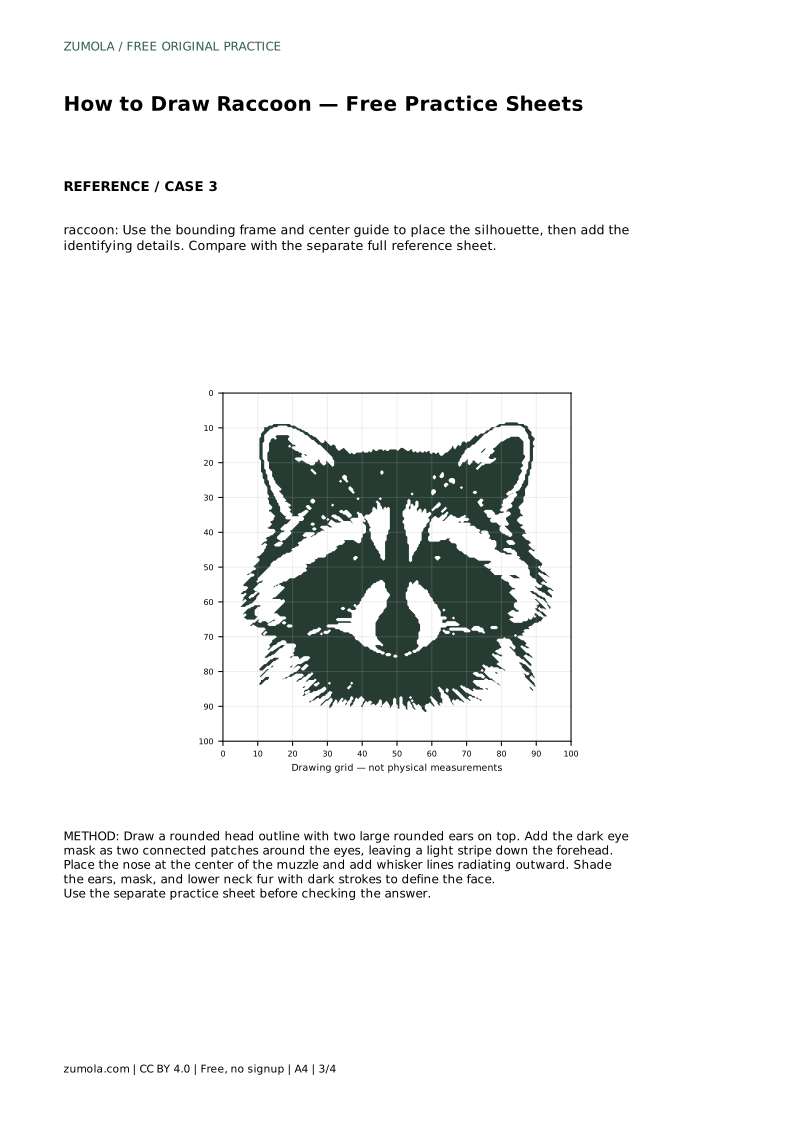
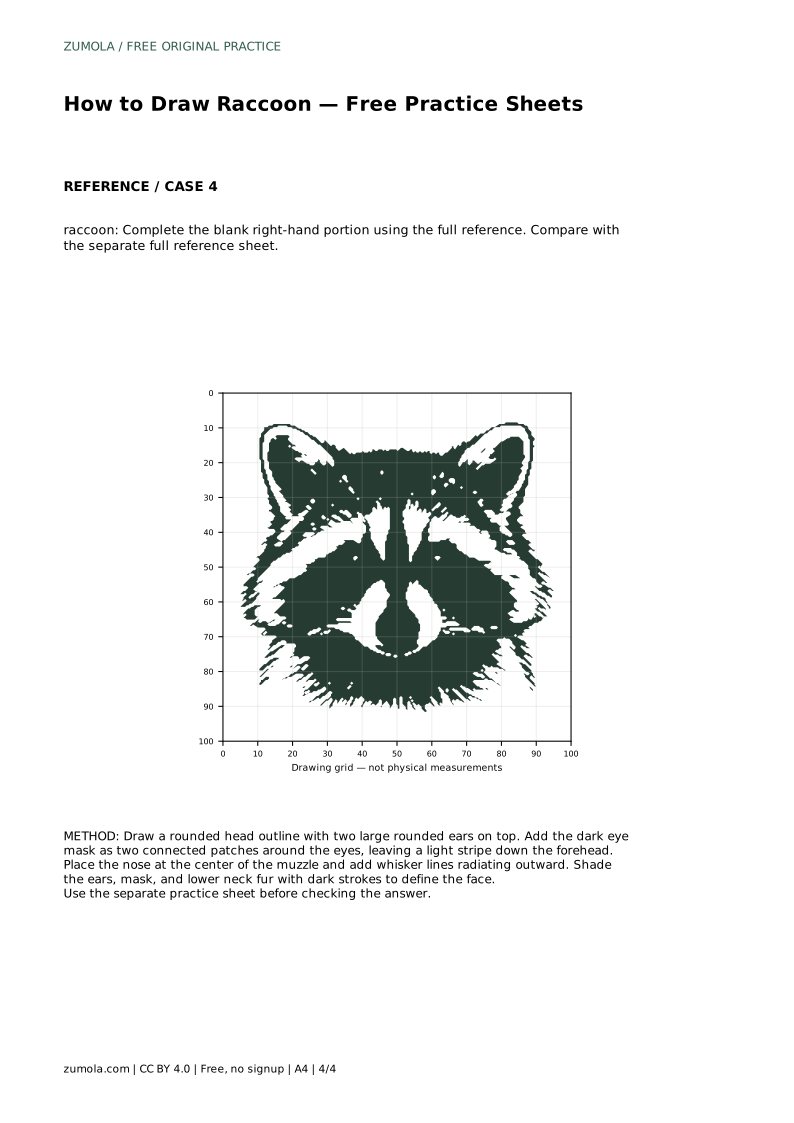
Example solution: preserve black eye mask surrounding both eyes, rounded ears with dark inner shading, pointed snout with dark nose and white muzzle. Other drawings can be correct; assess the visible features and proportions rather than pixel-perfect matching. Draw a rounded head outline with two large rounded ears on top. Add the dark eye mask as two connected patches around the eyes, leaving a light stripe down the forehead. Place the nose at the center of the muzzle and add whisker lines radiating outward. Shade the ears, mask, and lower neck fur with dark strokes to define the face.
No. Other drawings can be correct. Judge the visible features and proportions, such as the connected eye mask, rounded ears, pointed snout and dark nose.
Check the eye mask. It should surround both eyes and connect across the nose, with a light stripe left down the forehead.
Shade the ears, mask and lower neck fur with dark strokes, but leave the muzzle and forehead stripe light so the contrast stays clear.
All drawing practice · Free coordinate paper
Original resources · CC BY 4.0 · Free for personal and classroom use with attribution.