Reference diagrams
LETTER · Download PDF
A4 · Download PDF
Free original resources
Learn to draw an orca by building the body, dorsal fin, flippers, tail flukes, and white markings. Free printable practice sheets support tracing, grids, and guided placement.
Four original cases, with reference diagrams, practice sheets and worked answers. Everything is free; no signup required.
LETTER · Download PDF
A4 · Download PDF
LETTER · Download PDF
A4 · Download PDF
LETTER · Download PDF
A4 · Download PDF
Use A4 or US Letter to match your printer. Use the stated values and conditions to solve each exercise; diagrams are not physical measuring rulers.
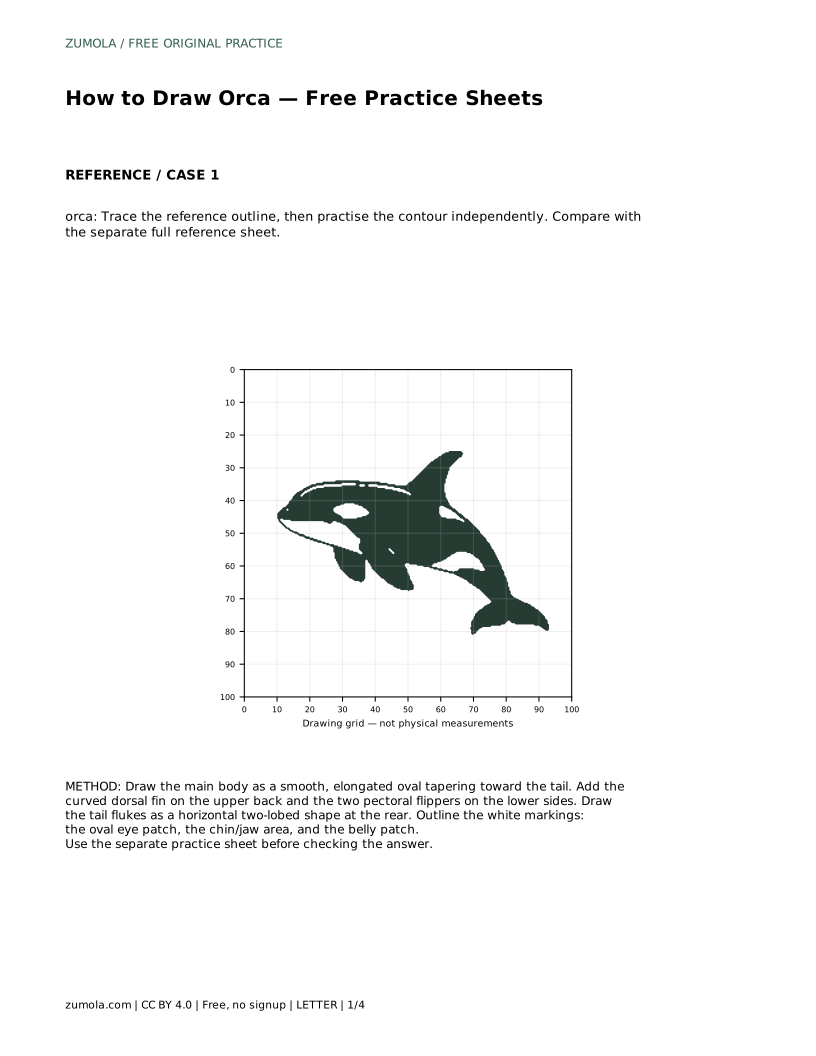
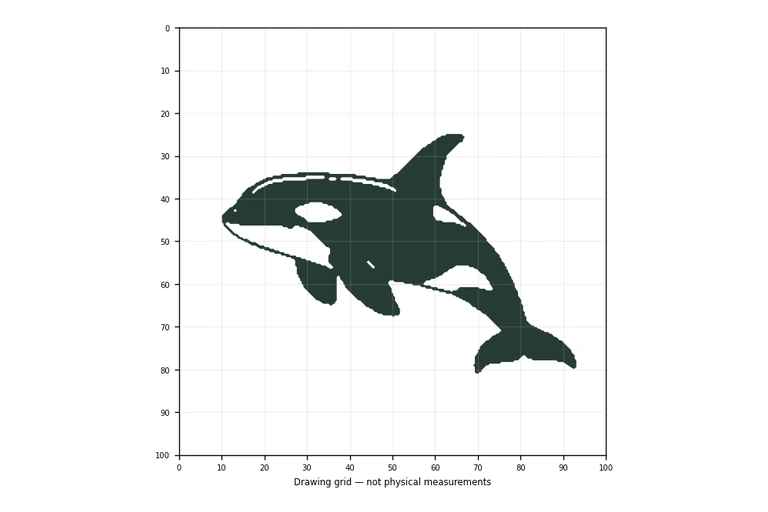
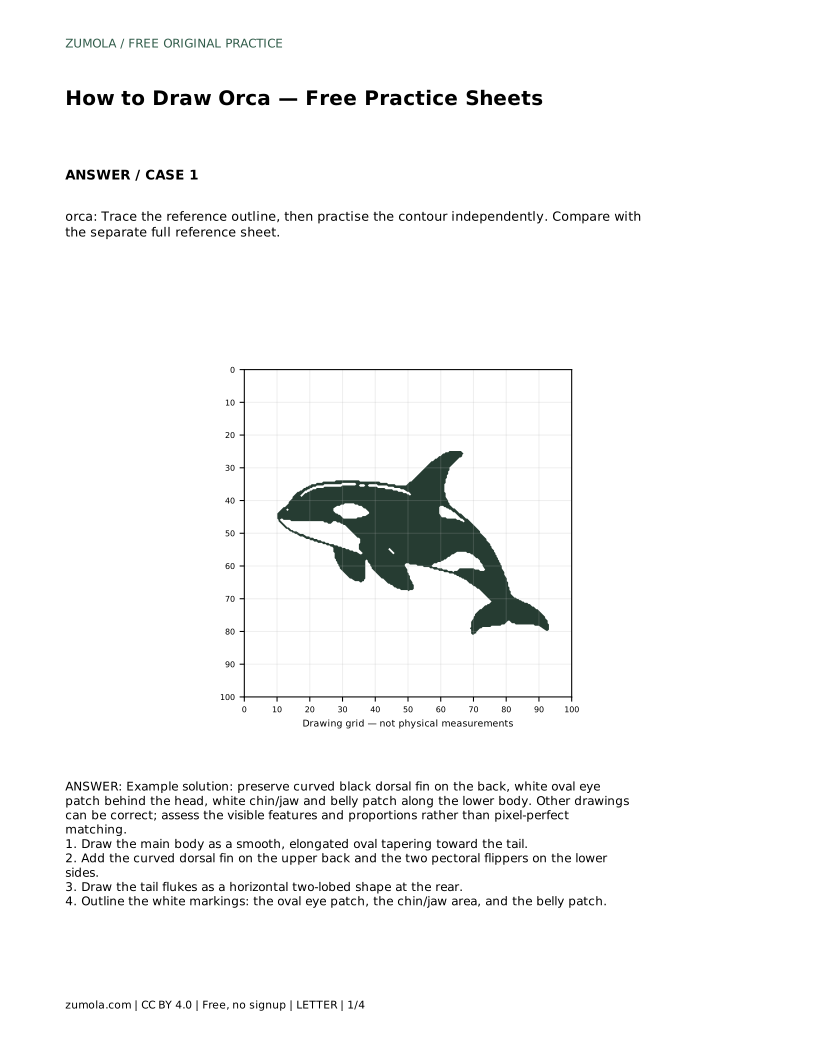
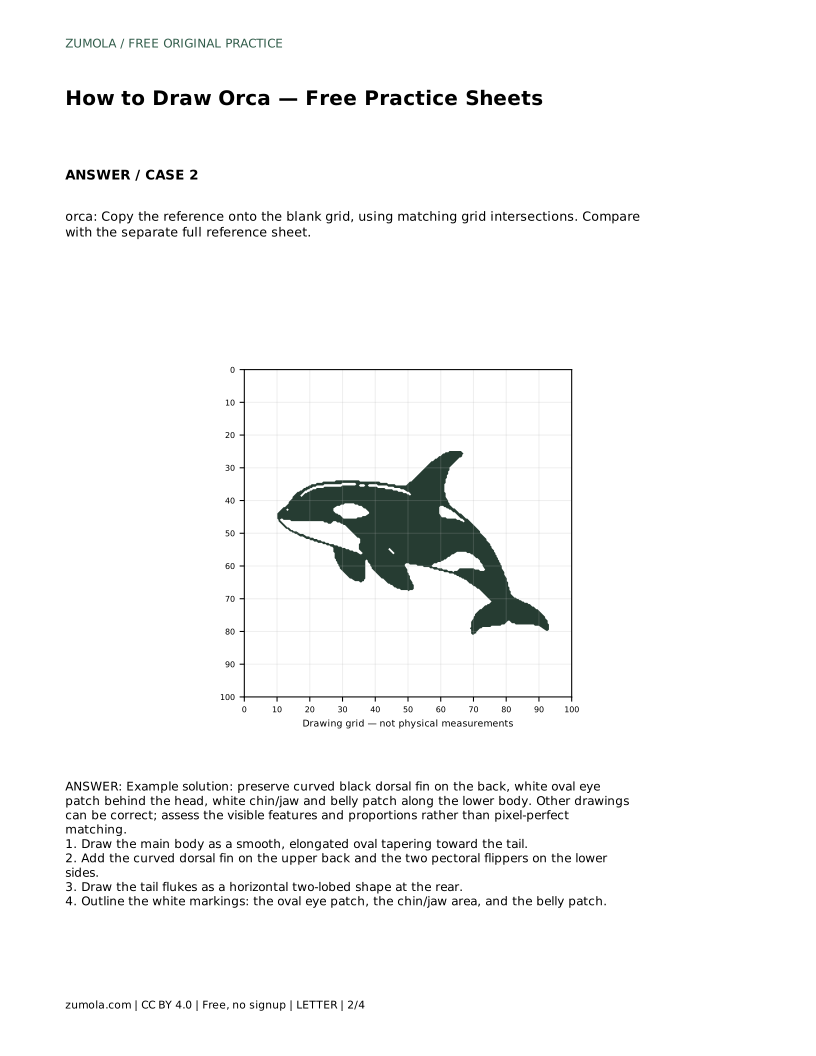
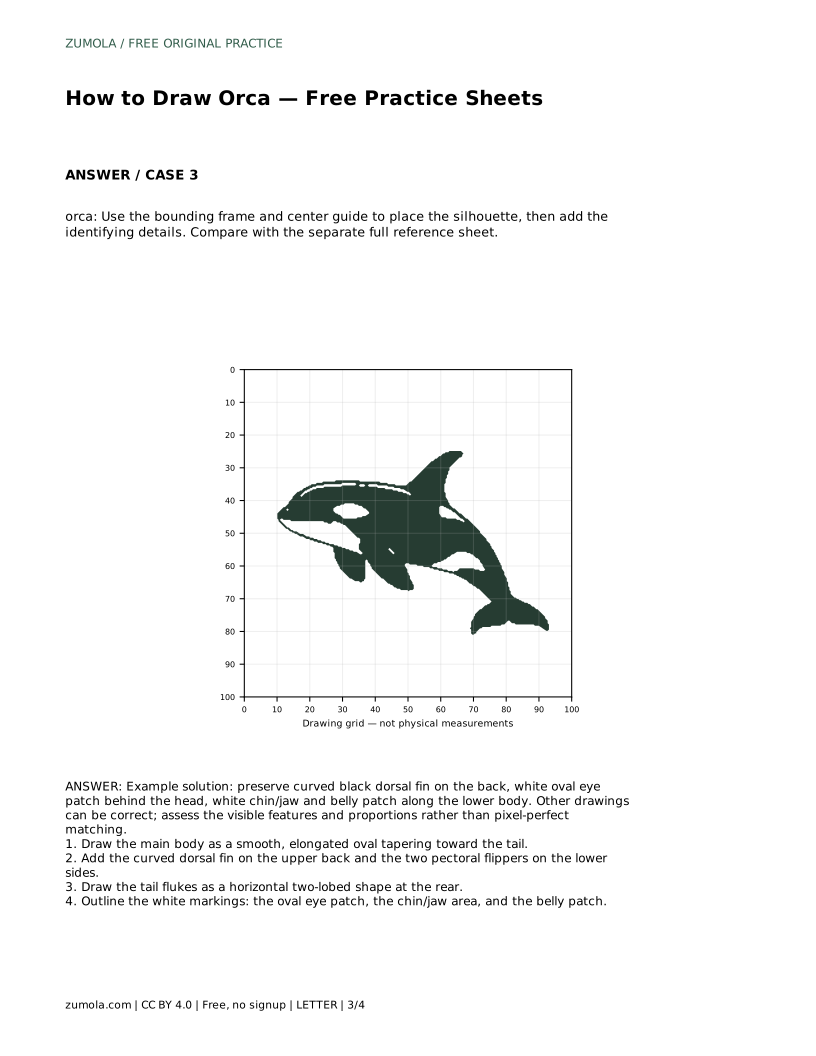
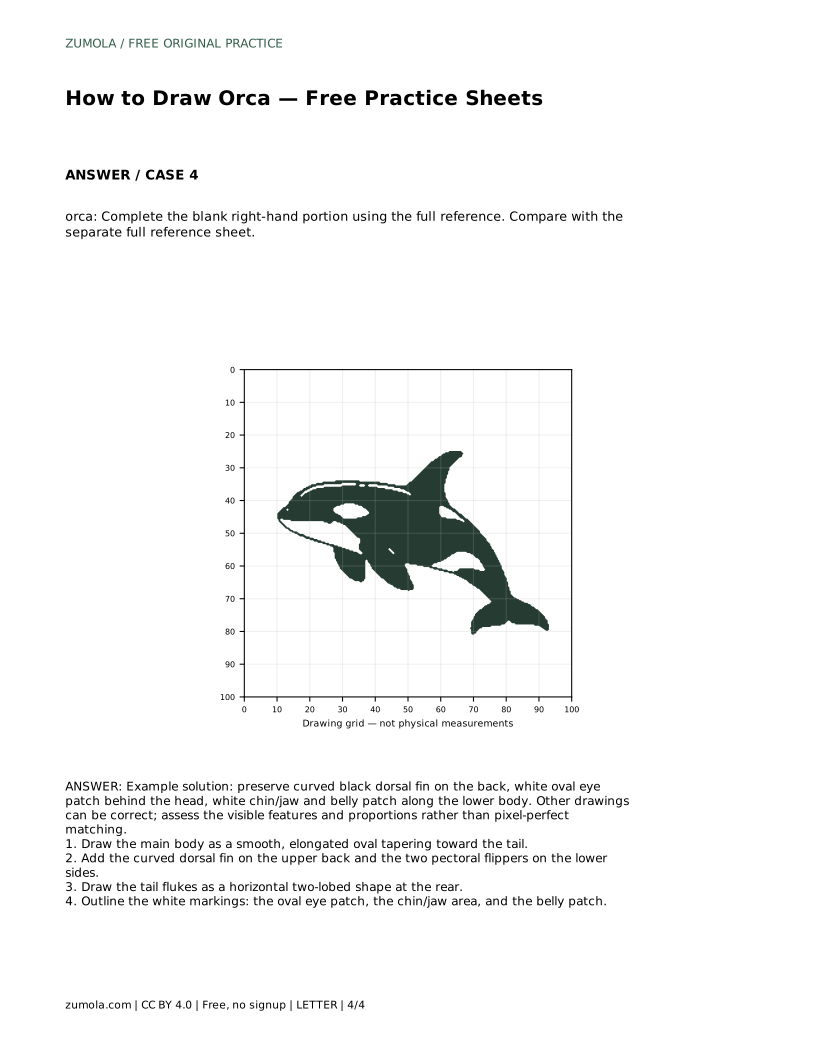
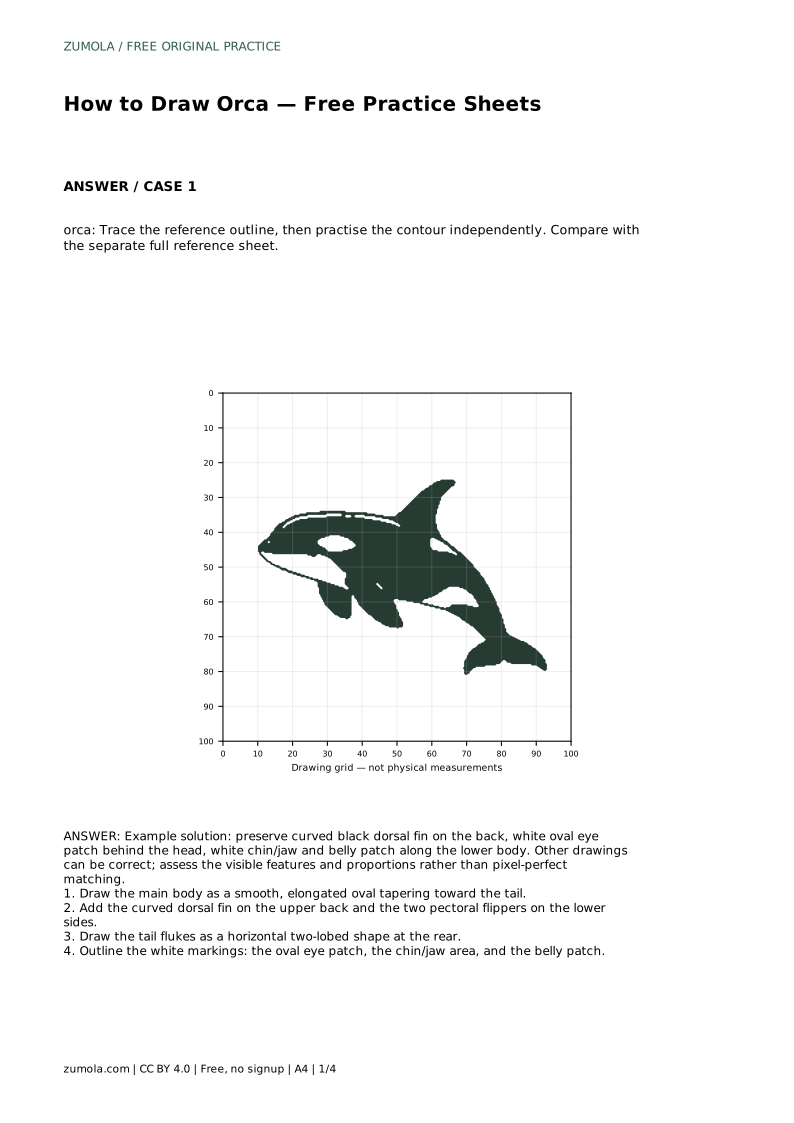
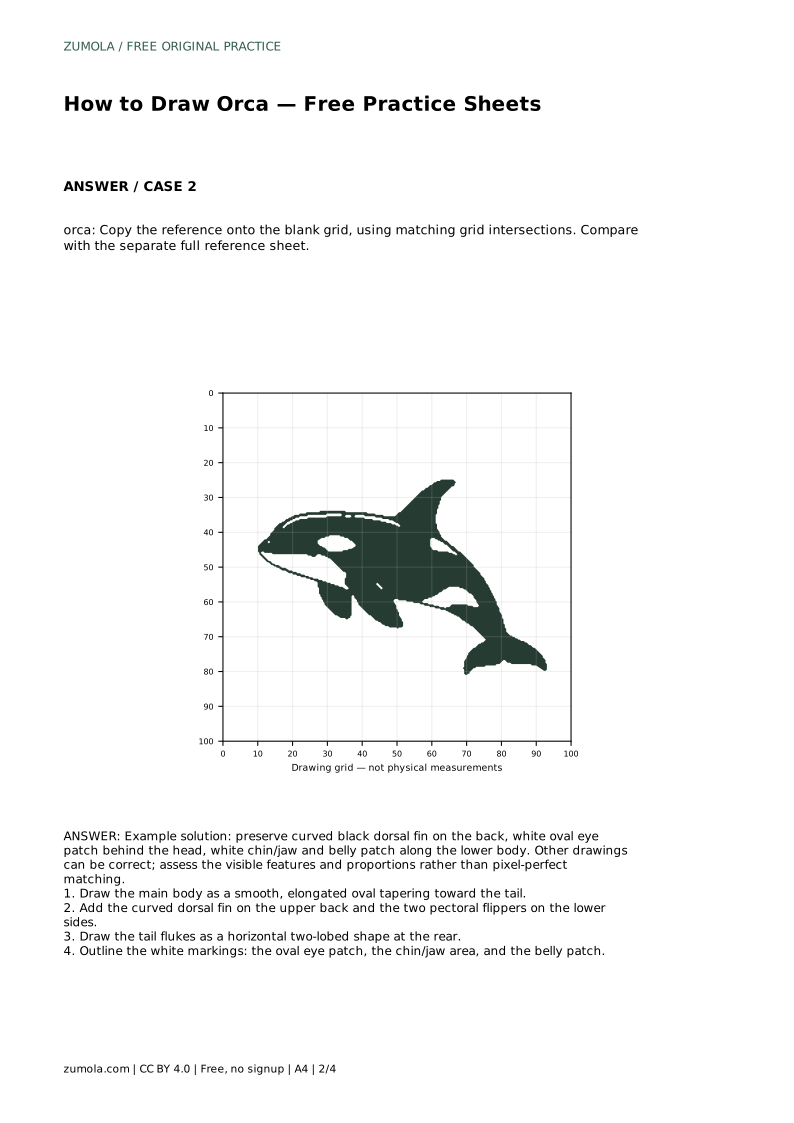
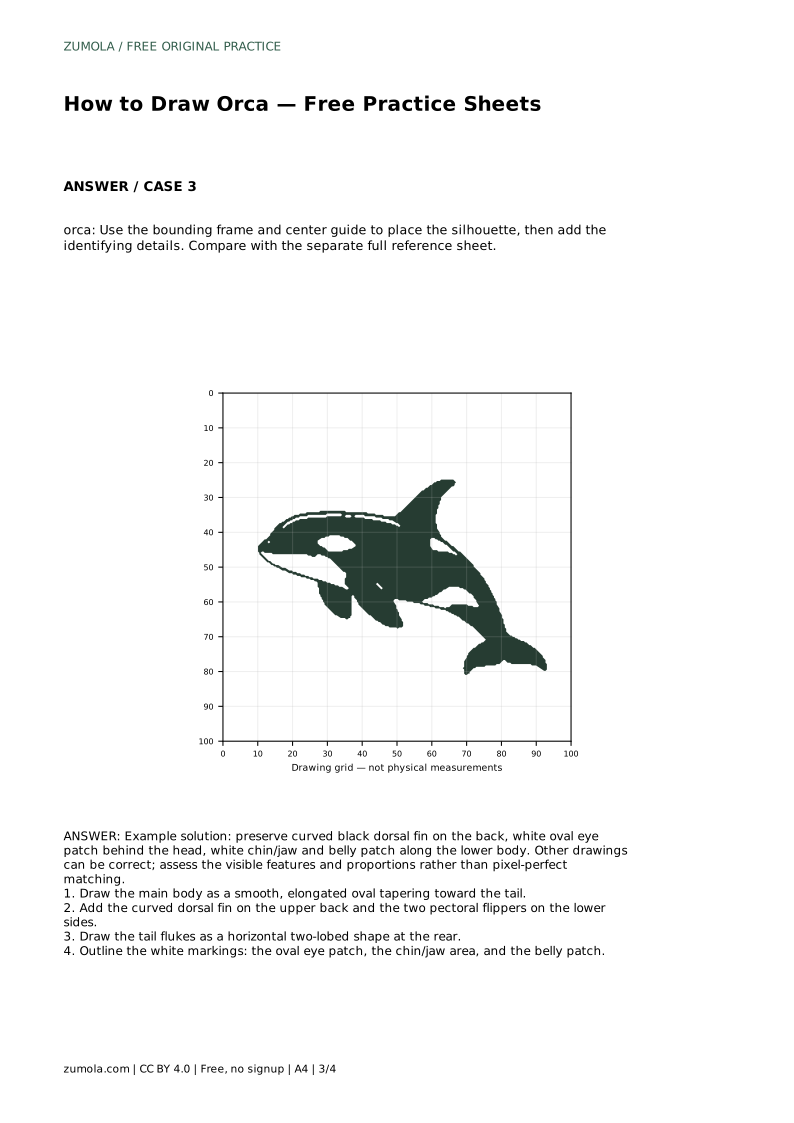
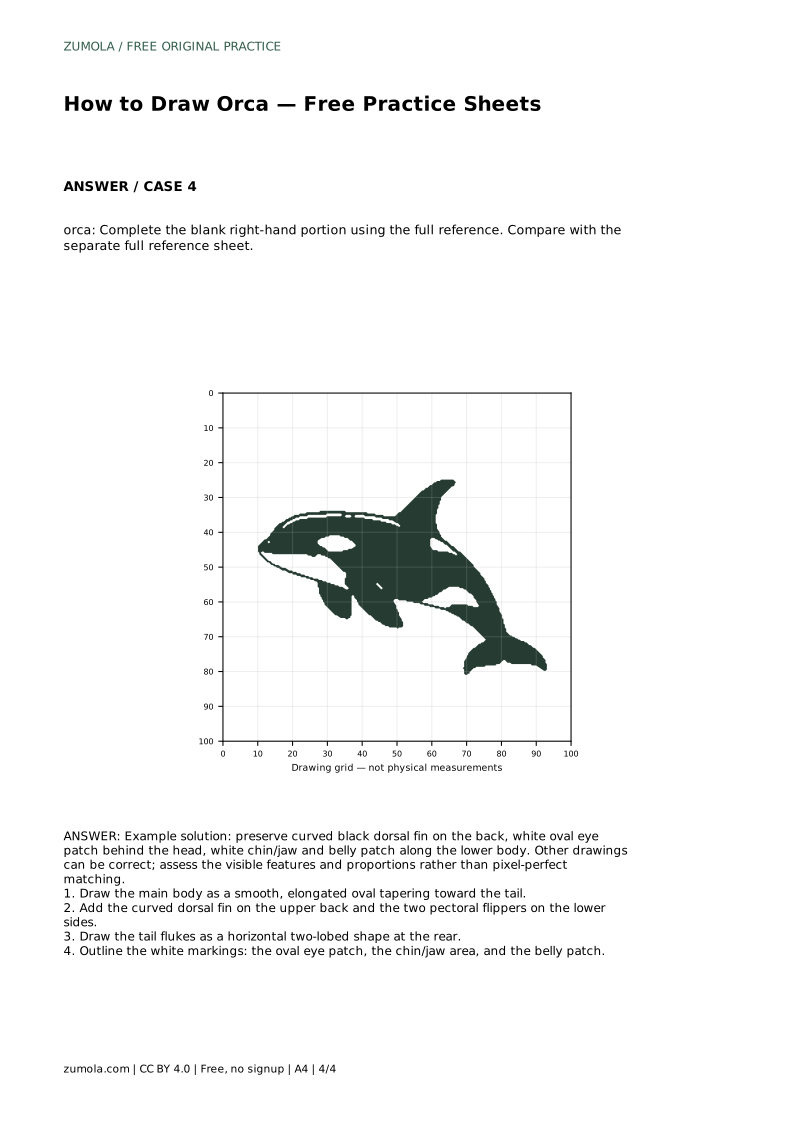
Drawing an orca is mostly a problem of proportion and placement: a long, smooth body, a curved dorsal fin, two flippers, a two-lobed tail, and the white patches that make the animal recognizable. The practice sheets give you different ways to work on those features, from tracing an outline to completing a partial drawing. Use the steps below to build the shape in order, then check your drawing against the reference sheet rather than expecting an exact copy.
Start with the main body as a smooth, elongated oval that tapers toward the tail. Keep the outline continuous and gently curved; an orca is streamlined, not boxy. The head end is rounded, and the body narrows gradually toward the rear. Work lightly so you can adjust the taper before committing to darker lines.
Once the body shape feels balanced, add the curved dorsal fin on the upper back. It rises from the back rather than sitting on top like a separate triangle. Then add the two pectoral flippers on the lower sides, placing them so they read as part of the body rather than floating beside it. Finally, draw the tail flukes as a horizontal two-lobed shape at the rear. The flukes spread sideways, not up and down.
The white markings do most of the identifying work. The oval eye patch sits behind the head, not over the eye itself. The chin and jaw area is white along the lower front, and the belly patch runs along the lower body. Outline these areas clearly before shading or filling, because their position and size matter more than perfect edges.
Use the reference sheet to compare where each patch begins and ends relative to the body. A patch that is too far forward or too small changes the whole read of the drawing. Keep the outlines simple and check the spacing between the eye patch, the jaw, and the belly patch.
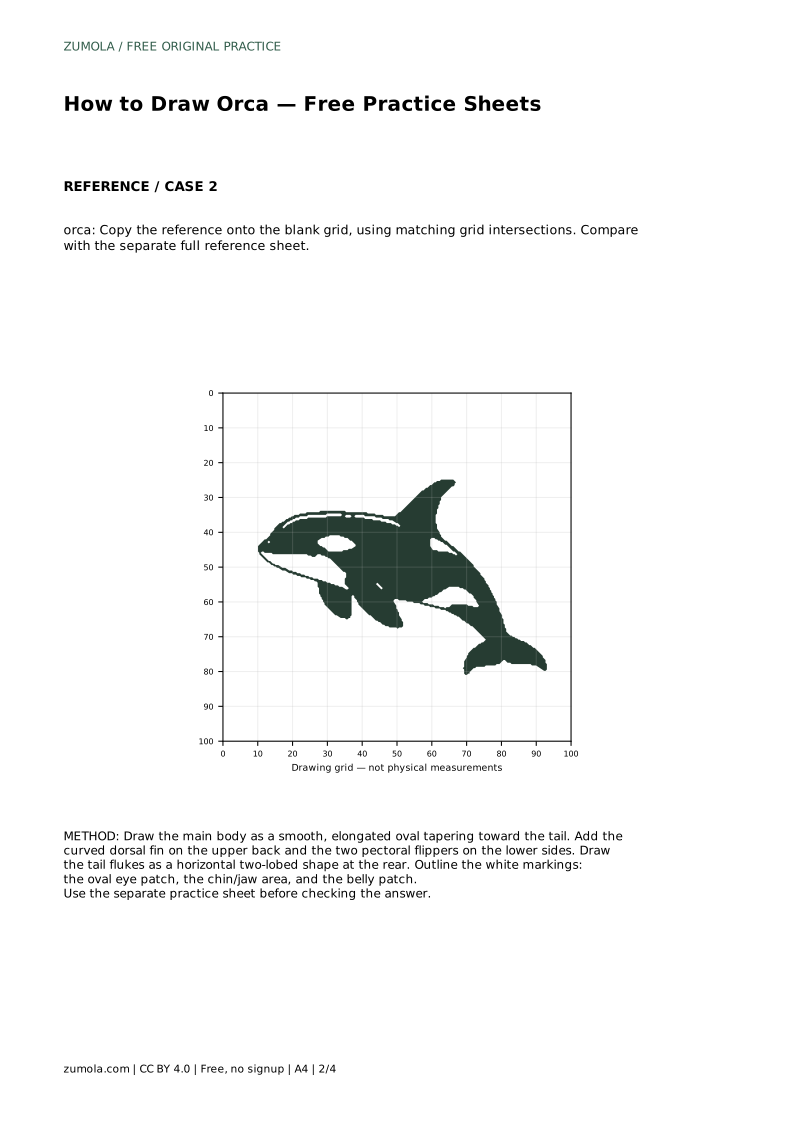
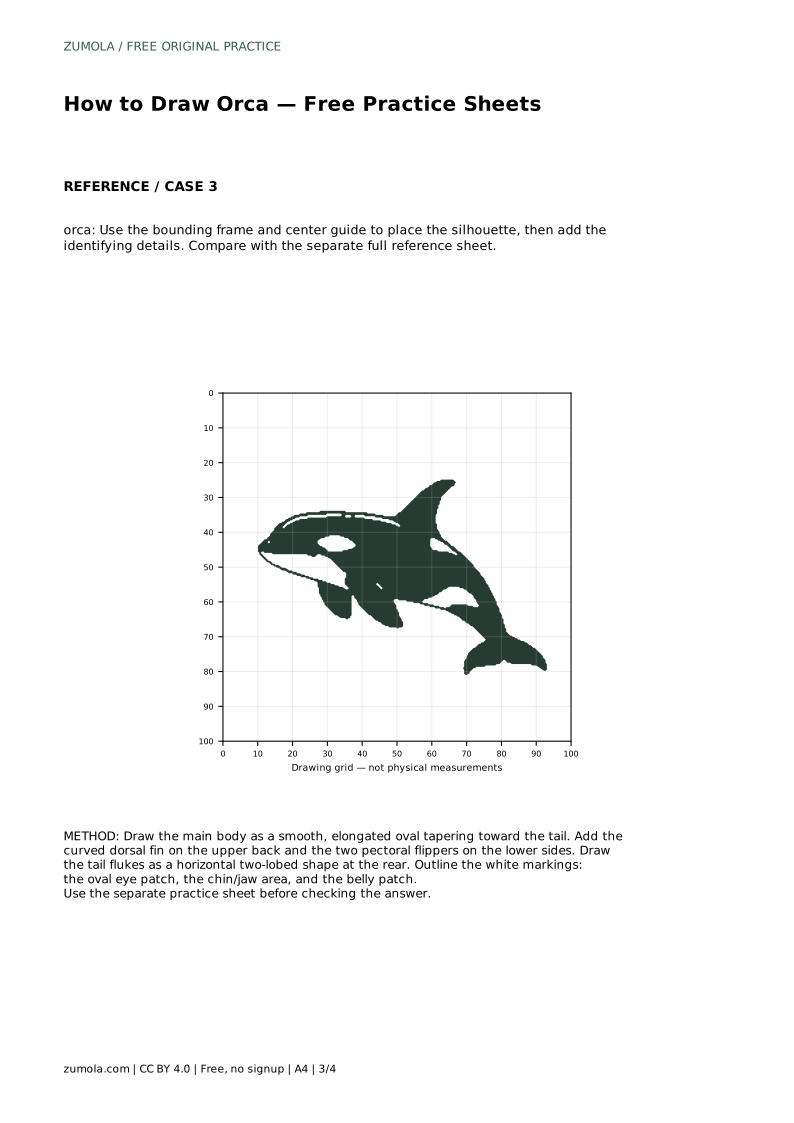
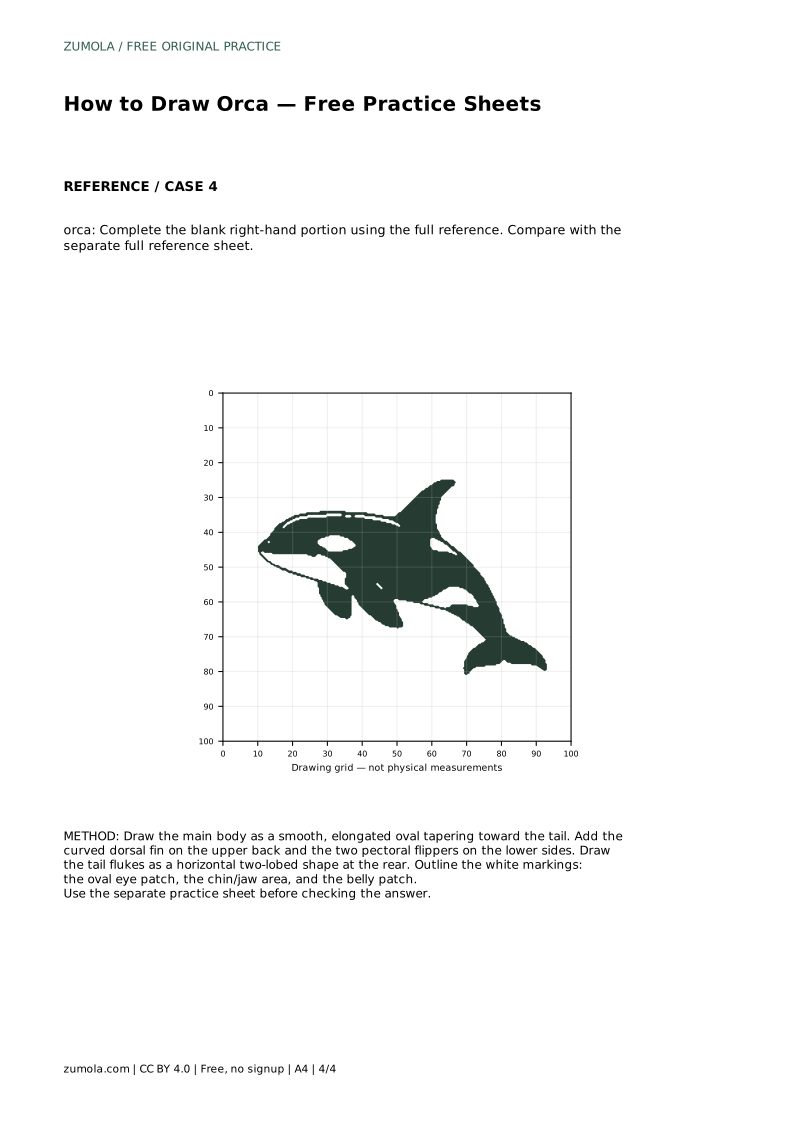
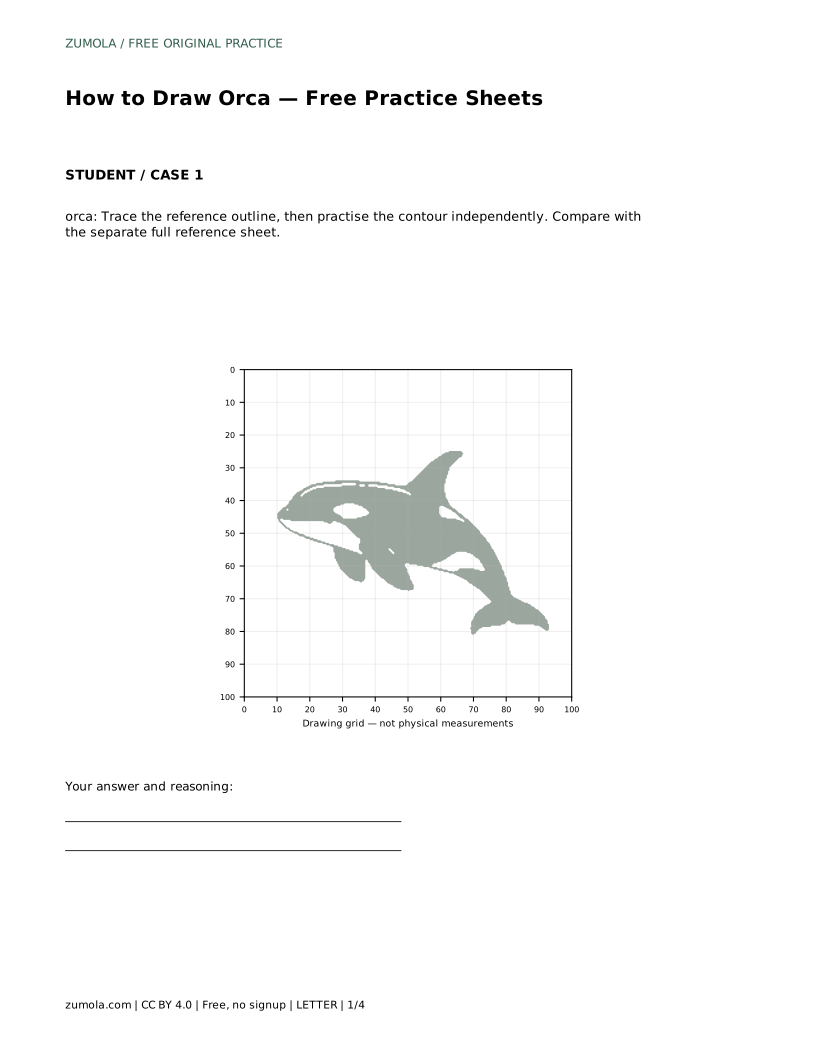
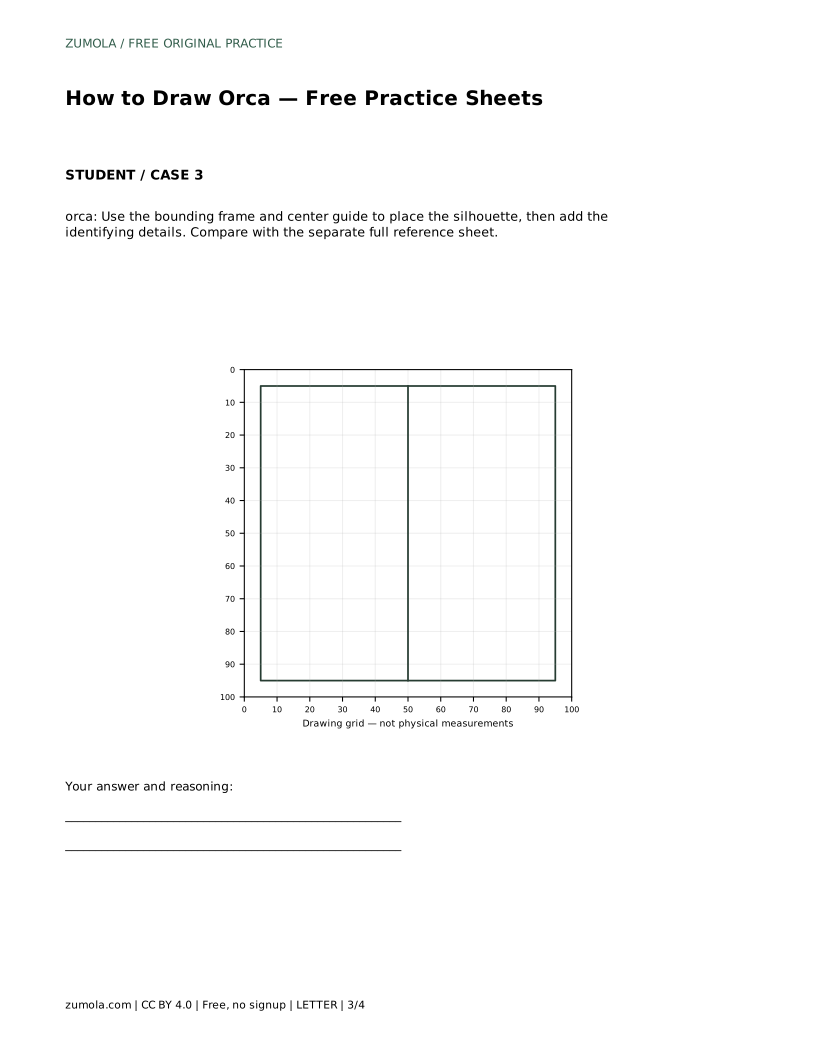
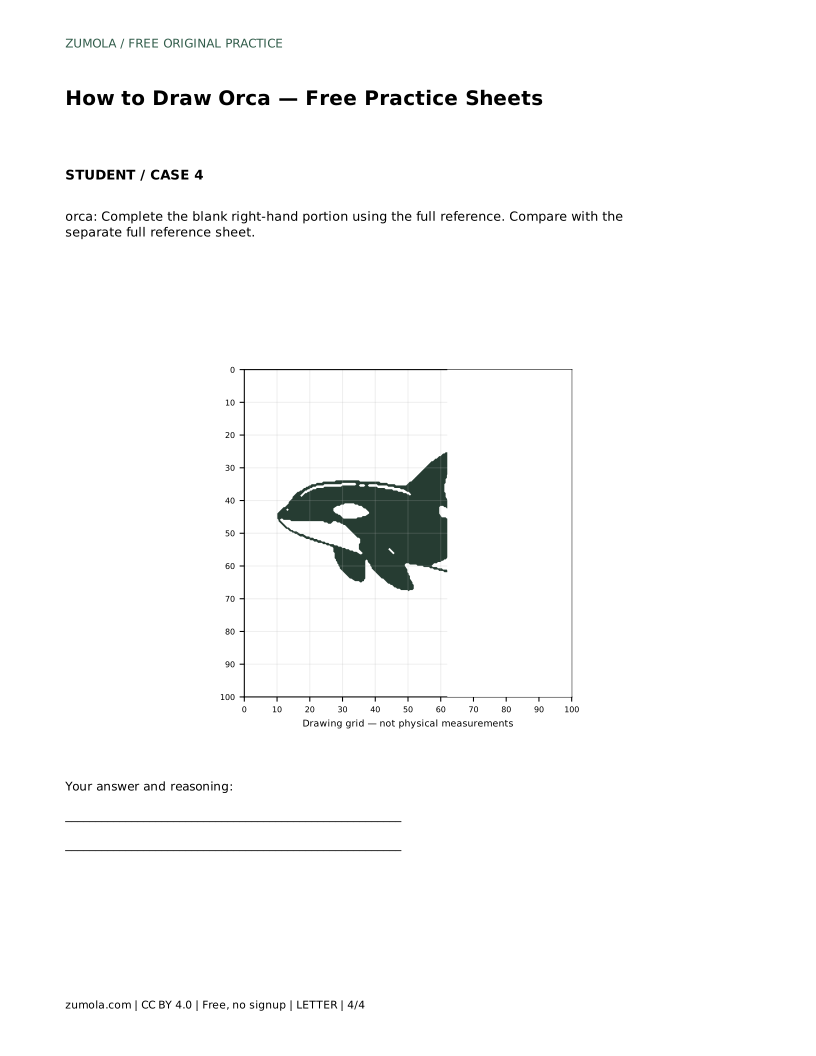
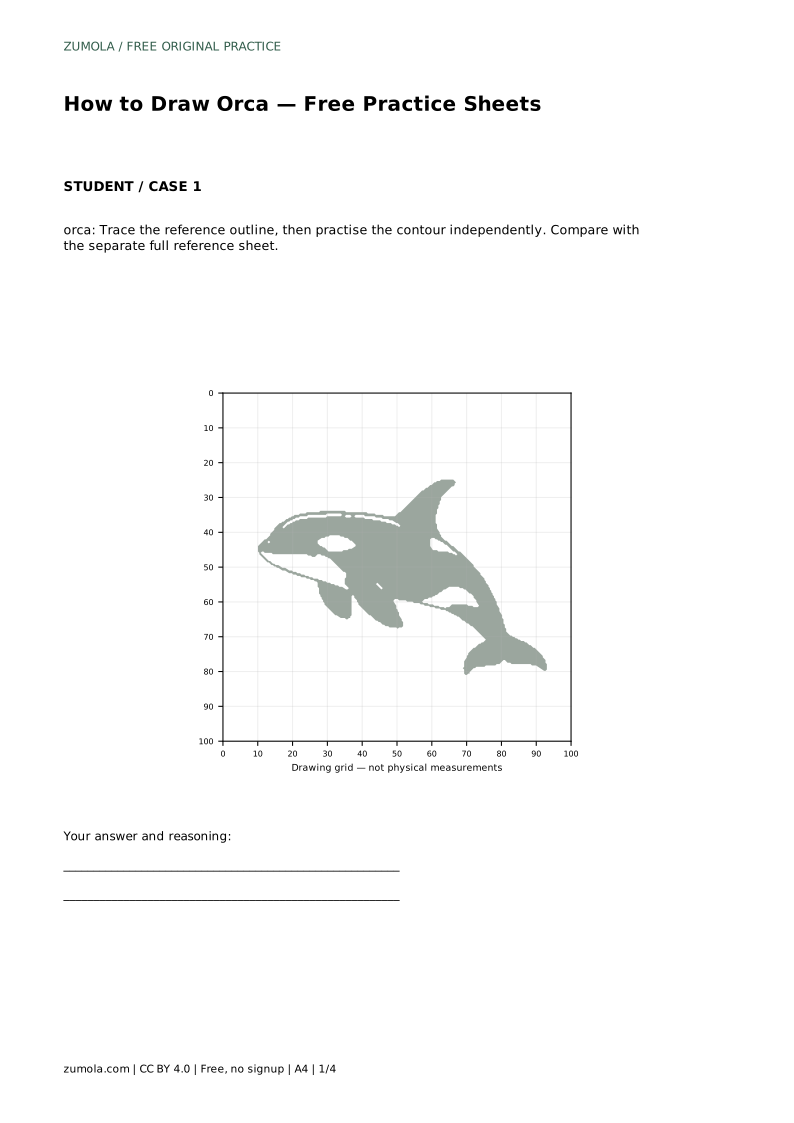
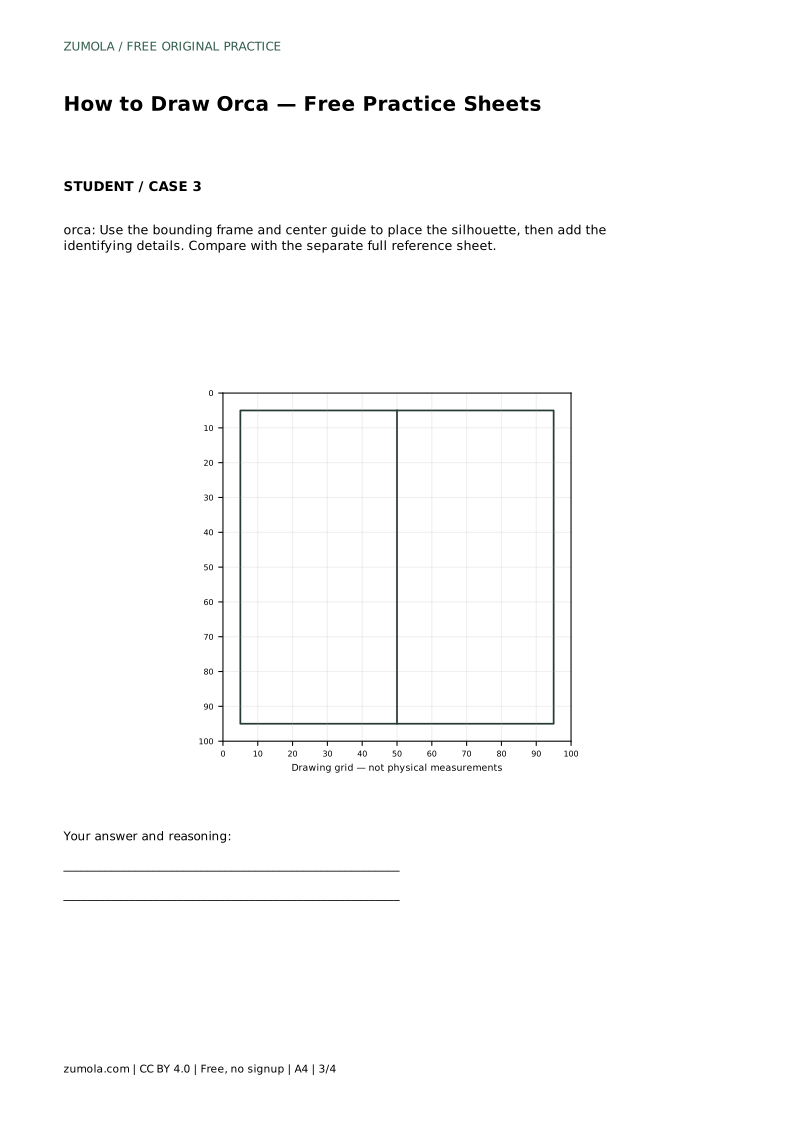
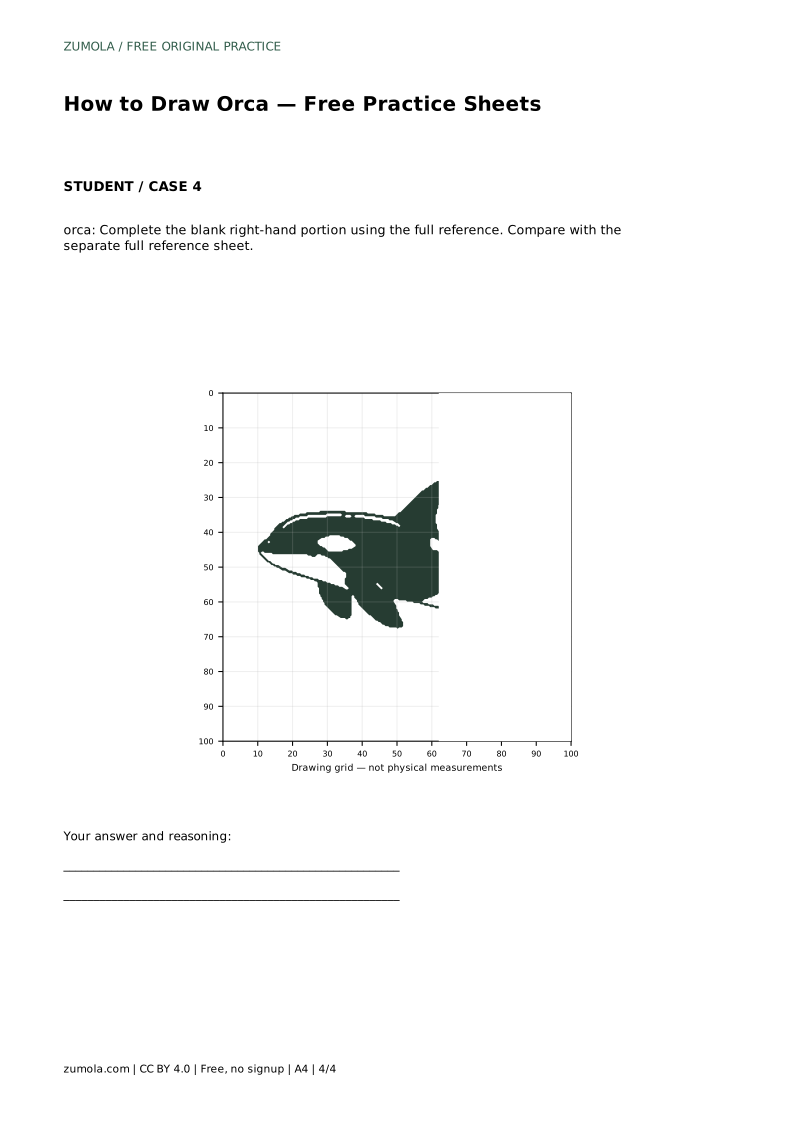
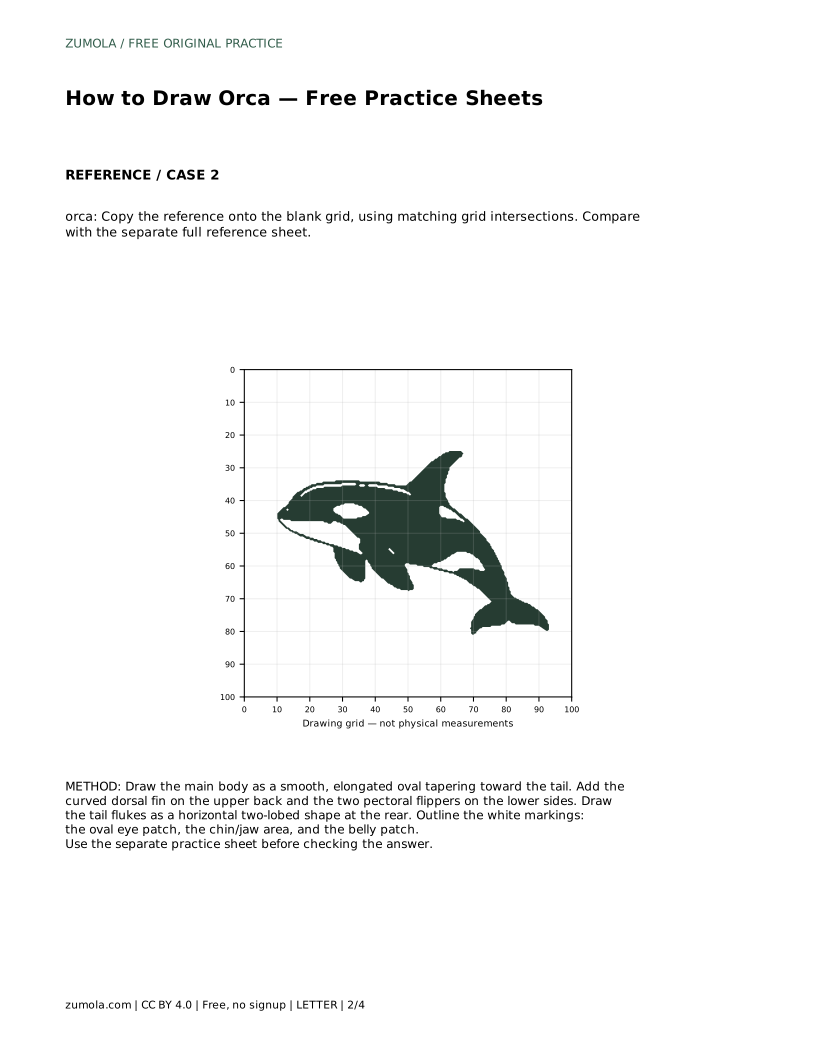
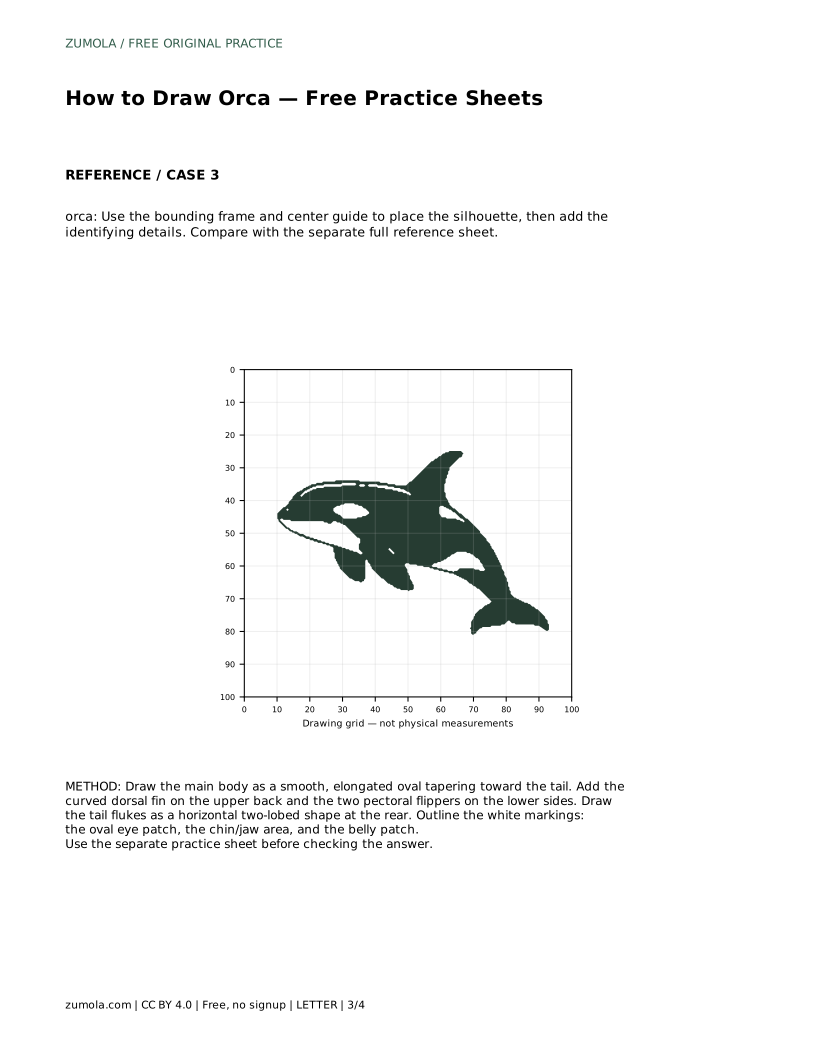
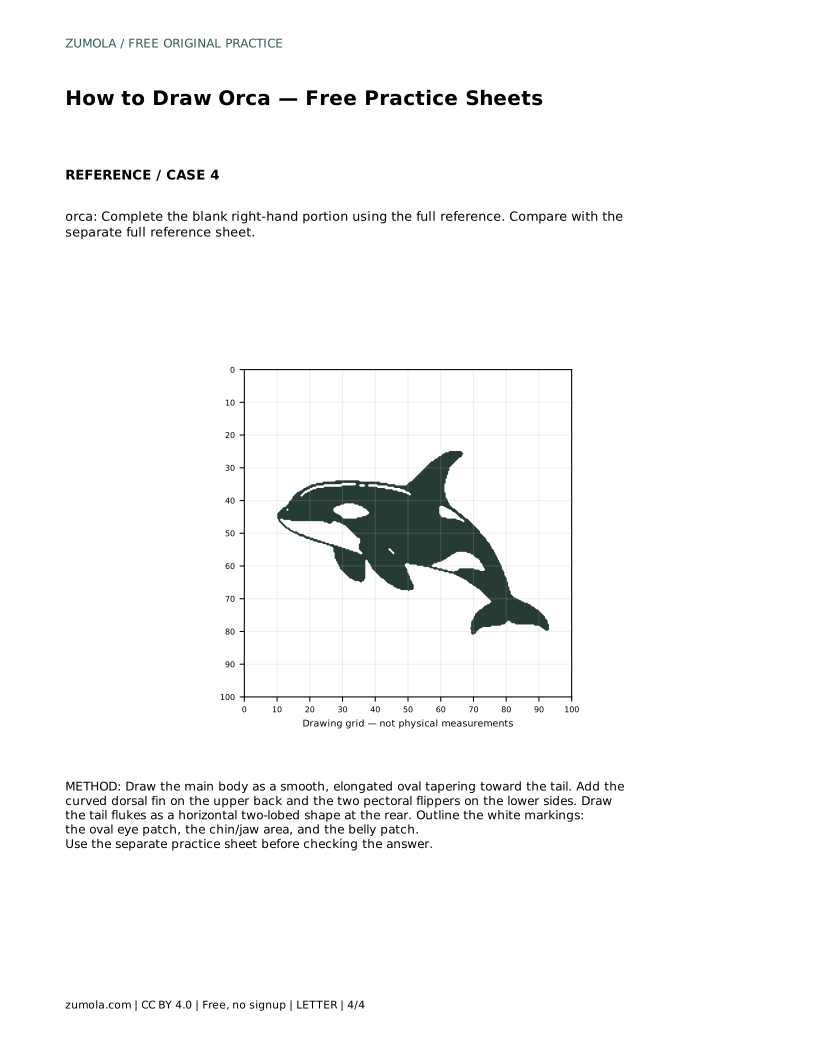
The tracing sheet asks you to follow the reference outline first, then practise the contour independently. The grid sheet asks you to copy the reference onto a blank grid using matching grid intersections. The bounding-frame sheet gives you a frame and center guide to place the silhouette before adding details. The partial sheet asks you to complete the blank right-hand portion using the full reference.
Each sheet trains a different skill: tracing builds familiarity, the grid supports proportion, the frame supports placement, and the partial sheet tests recall. Compare your finished drawing with the separate full reference sheet. Other drawings can be correct, so assess the visible features and proportions rather than pixel-perfect matching.
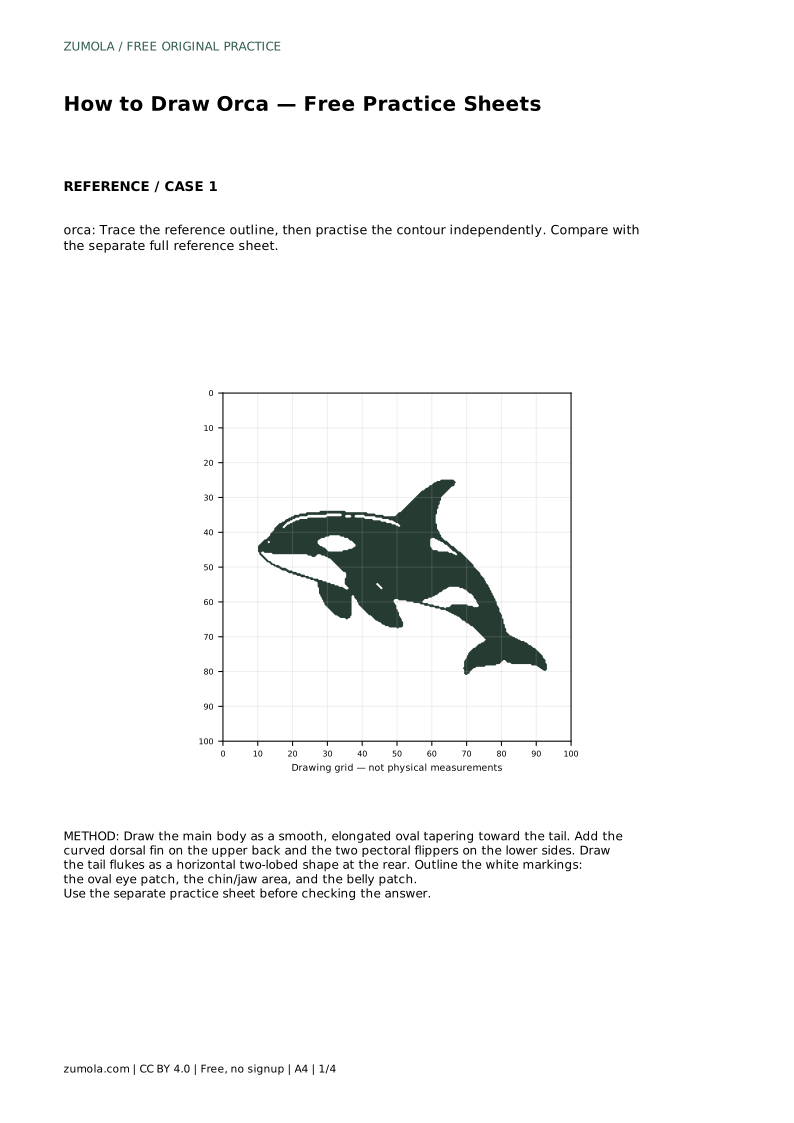
orca: Trace the reference outline, then practise the contour independently. Compare with the separate full reference sheet.
Example solution: preserve curved black dorsal fin on the back, white oval eye patch behind the head, white chin/jaw and belly patch along the lower body. Other drawings can be correct; assess the visible features and proportions rather than pixel-perfect matching. Draw the main body as a smooth, elongated oval tapering toward the tail. Add the curved dorsal fin on the upper back and the two pectoral flippers on the lower sides. Draw the tail flukes as a horizontal two-lobed shape at the rear. Outline the white markings: the oval eye patch, the chin/jaw area, and the belly patch.
No. Other drawings can be correct. Assess the visible features and proportions rather than pixel-perfect matching.
Include the oval eye patch behind the head, the white chin and jaw area, and the belly patch along the lower body.
Build the body first, then add the dorsal fin, flippers, and tail flukes, and outline the white markings last.
All drawing practice · Free coordinate paper
Original resources · CC BY 4.0 · Free for personal and classroom use with attribution.