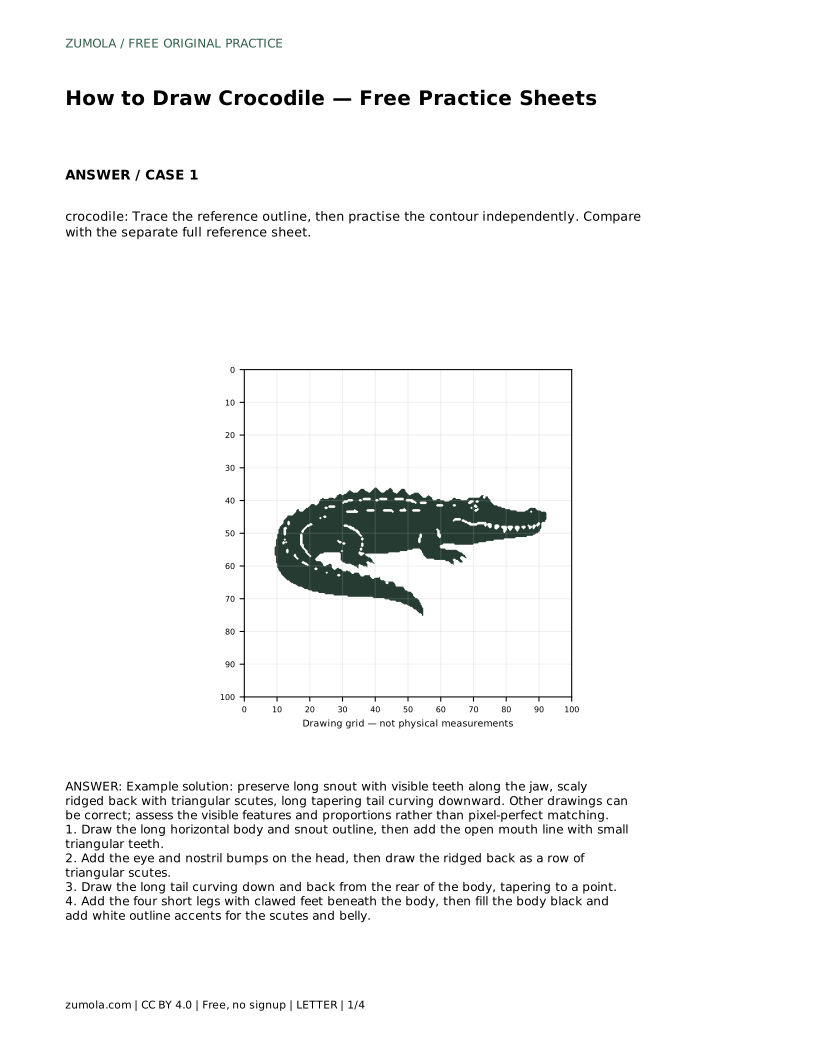
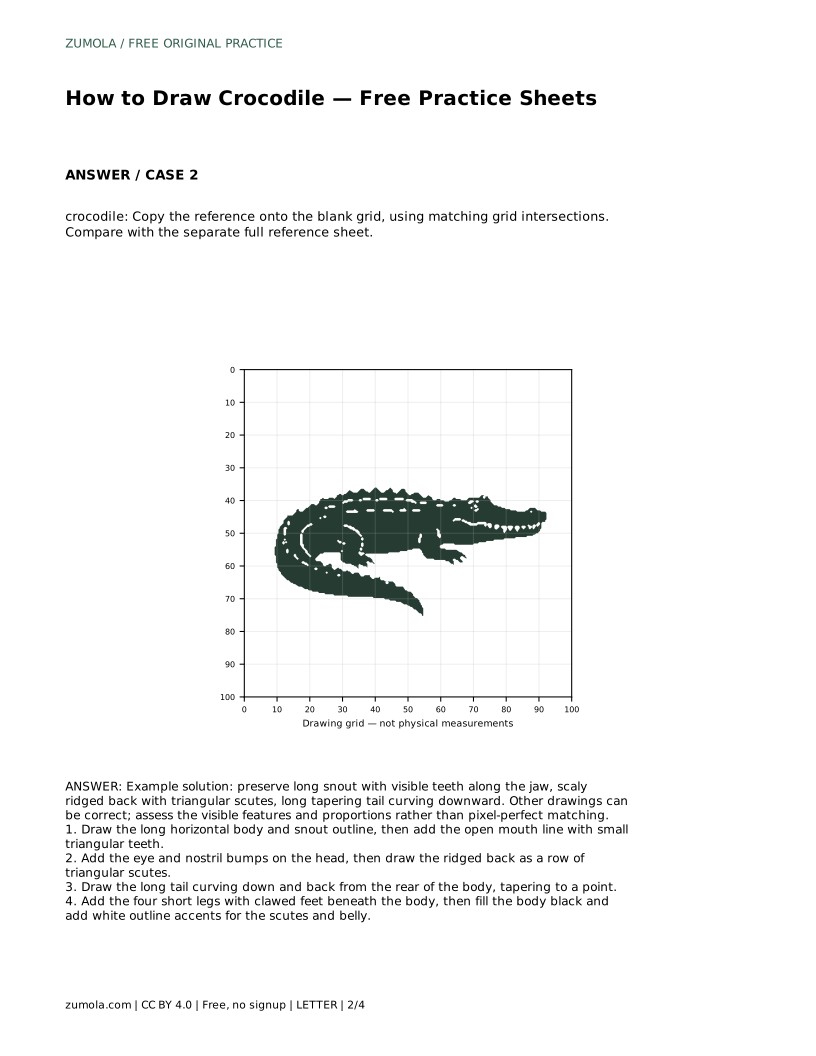
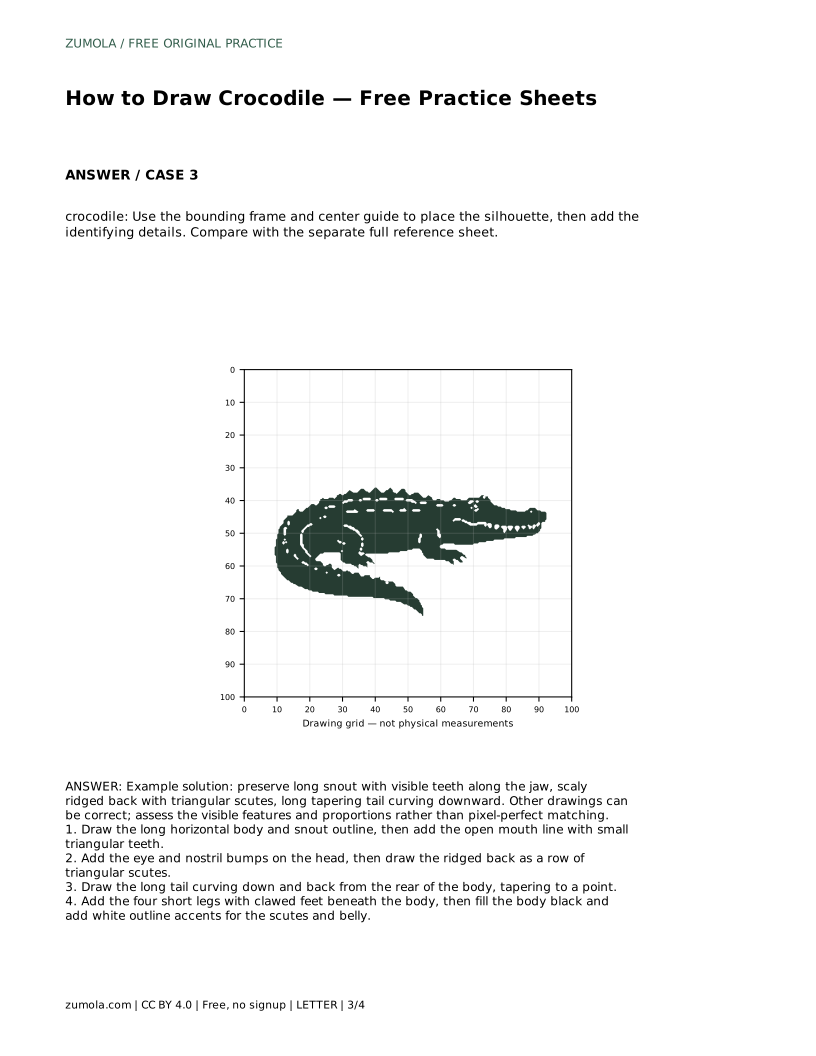
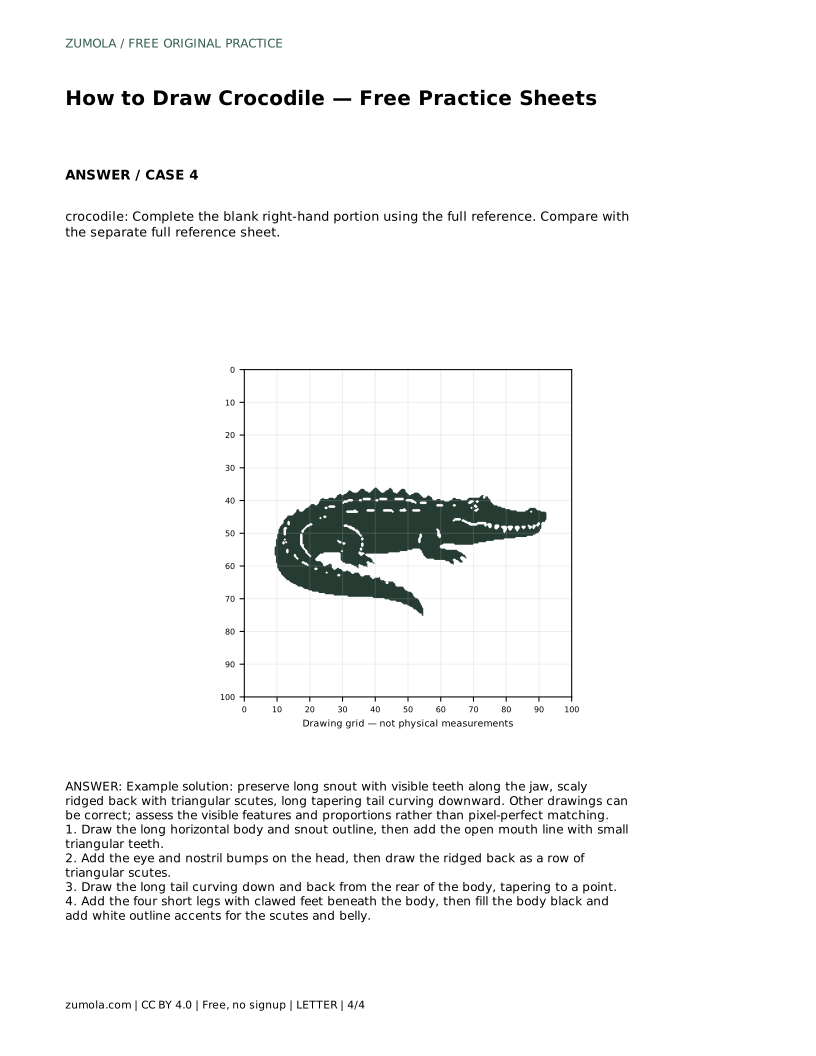
Reference diagrams
LETTER · Download PDF
A4 · Download PDF
Free original resources
Learn to draw a crocodile by tracing, gridding, or completing a partial reference. Focus on the long snout, ridged back, tapering tail, and short clawed legs.
Four original cases, with reference diagrams, practice sheets and worked answers. Everything is free; no signup required.
LETTER · Download PDF
A4 · Download PDF
LETTER · Download PDF
A4 · Download PDF
LETTER · Download PDF
A4 · Download PDF
Use A4 or US Letter to match your printer. Use the stated values and conditions to solve each exercise; diagrams are not physical measuring rulers.
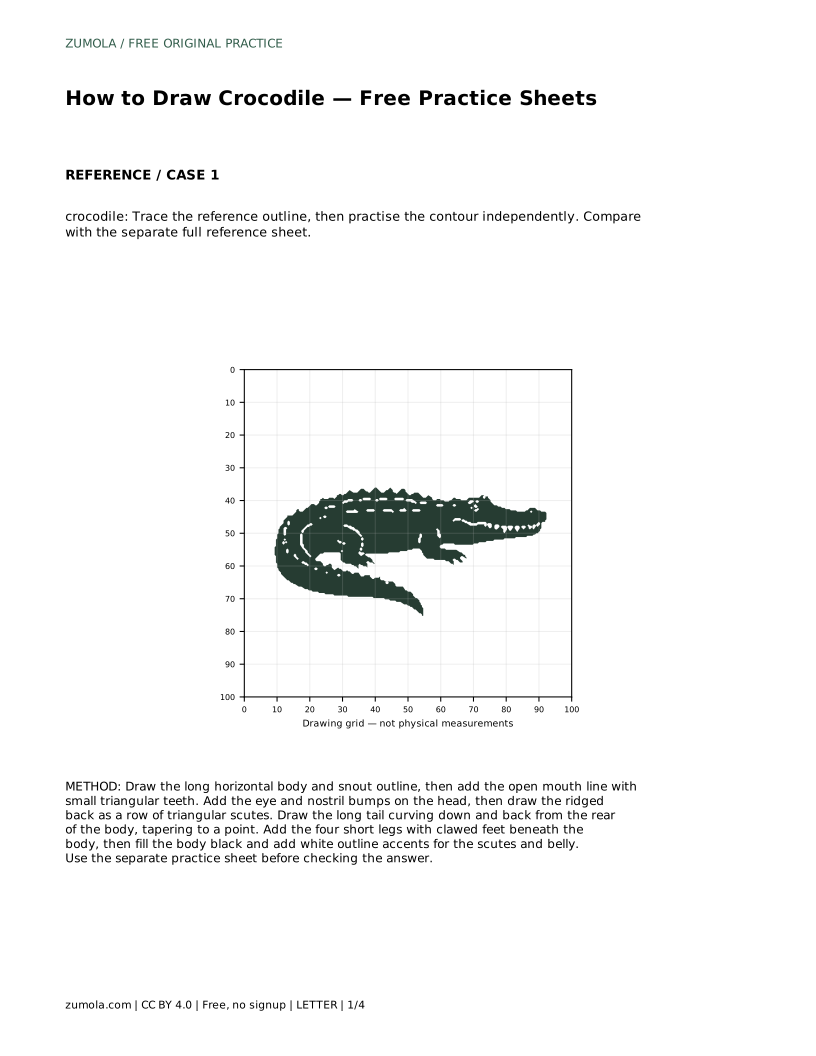
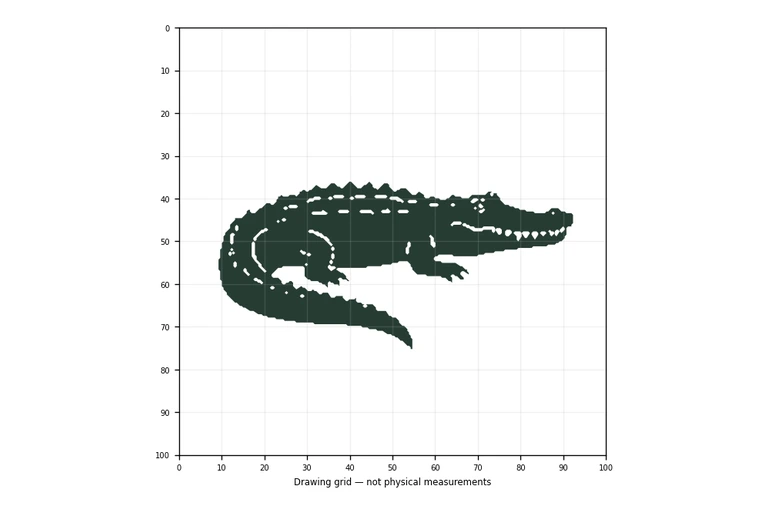
Drawing a crocodile is mostly about proportion and a few unmistakable features: a long snout, a ridged back, a heavy tapering tail, and four short legs. This page explains how to use the practice sheets to build those features in order, then check your work against the full reference. The goal is not a pixel-perfect copy but a drawing that reads clearly as a crocodile, with the snout, scutes, tail, and legs placed sensibly.
Begin with the long horizontal body and snout outline. The snout should be noticeably longer than the head is wide, tapering toward the nose. Keep the body low and stretched rather than tall. Add the open mouth line with small triangular teeth along the jaw. When the mouth is closed, some lower-jaw teeth typically remain visible as small points along the jaw line, so decide early whether your crocodile is open- or closed-mouthed and keep the teeth consistent with that choice.
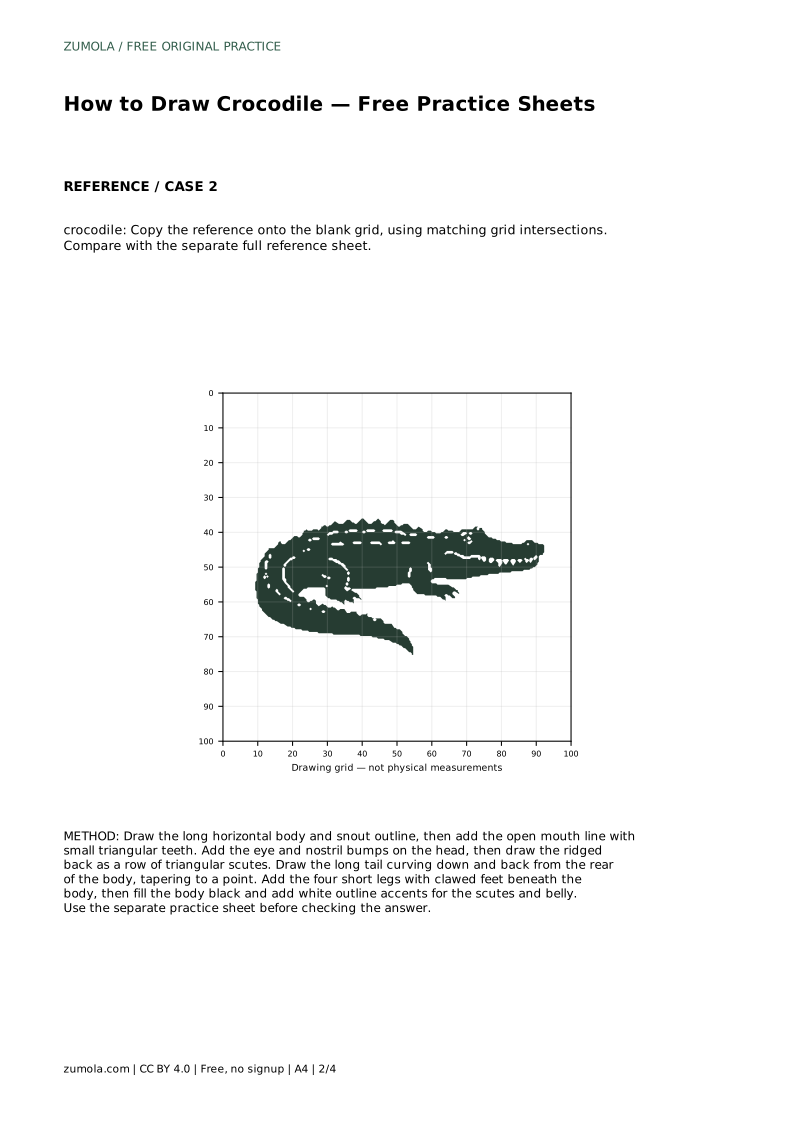
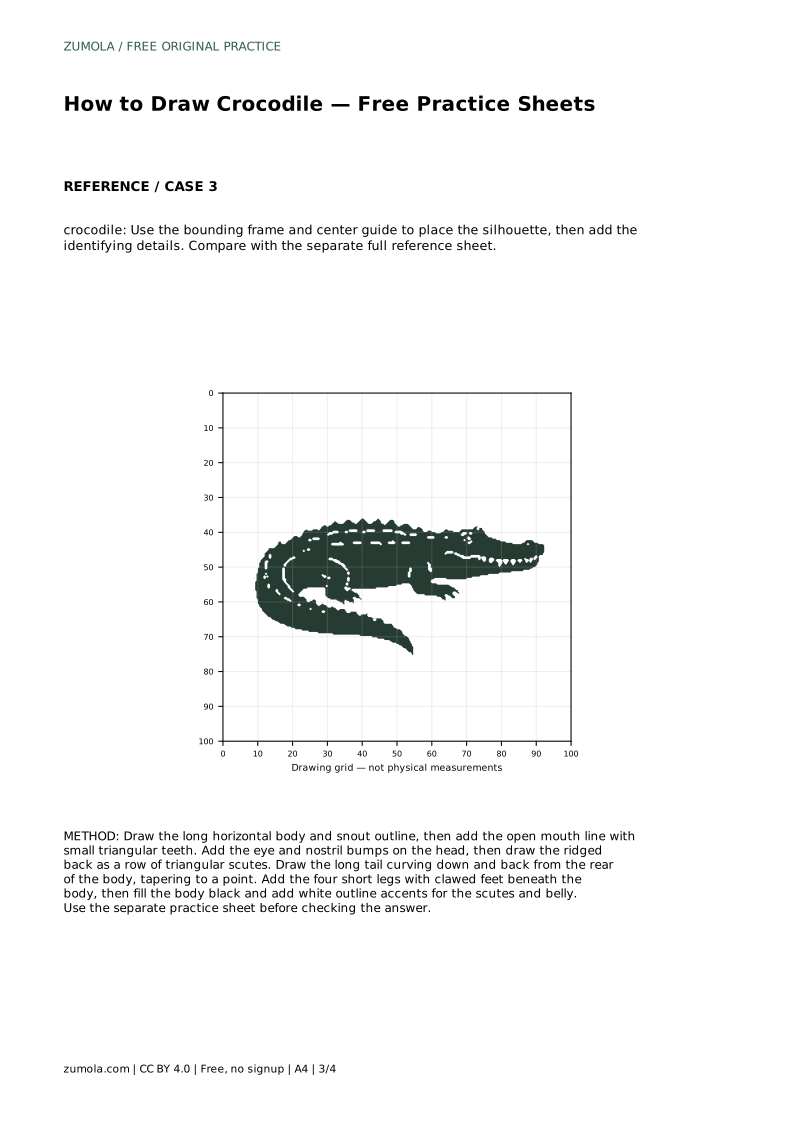
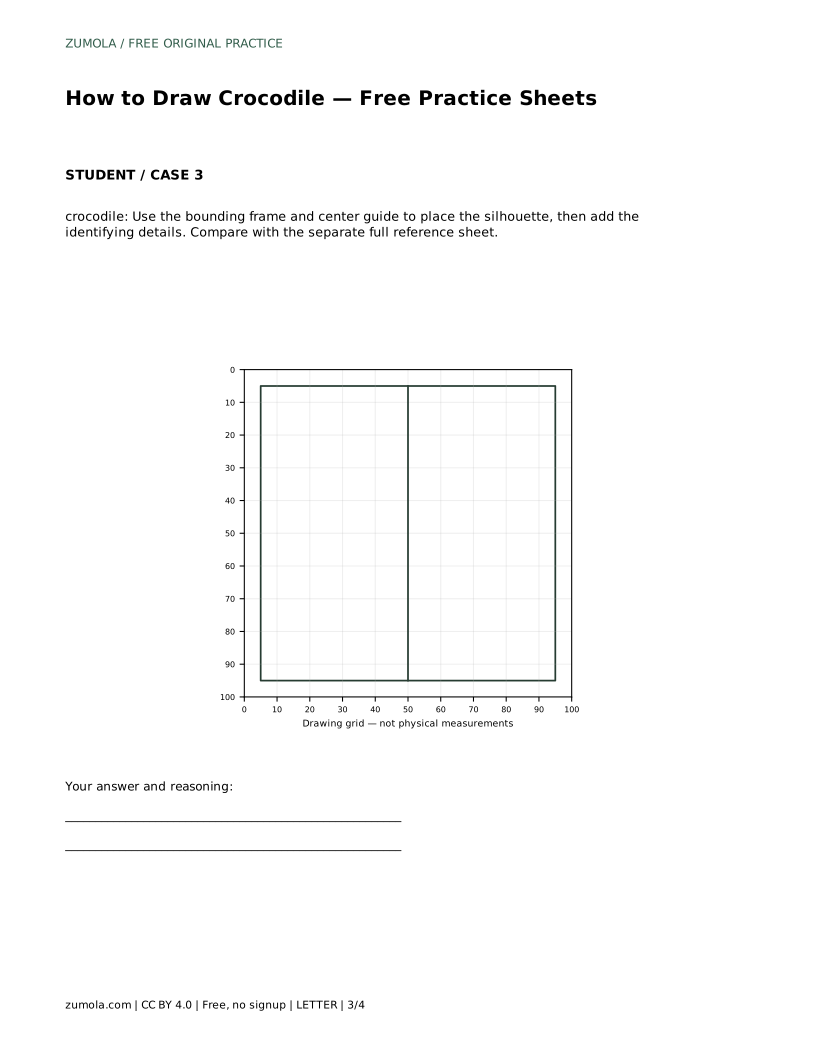
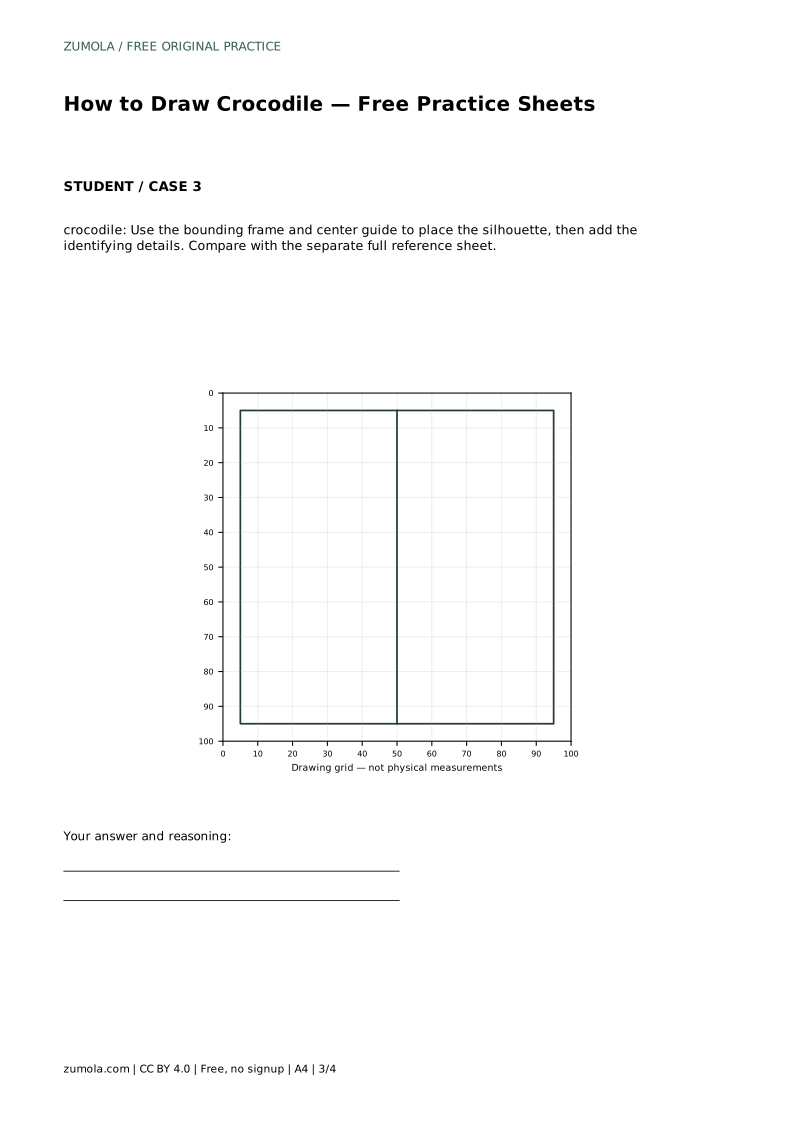
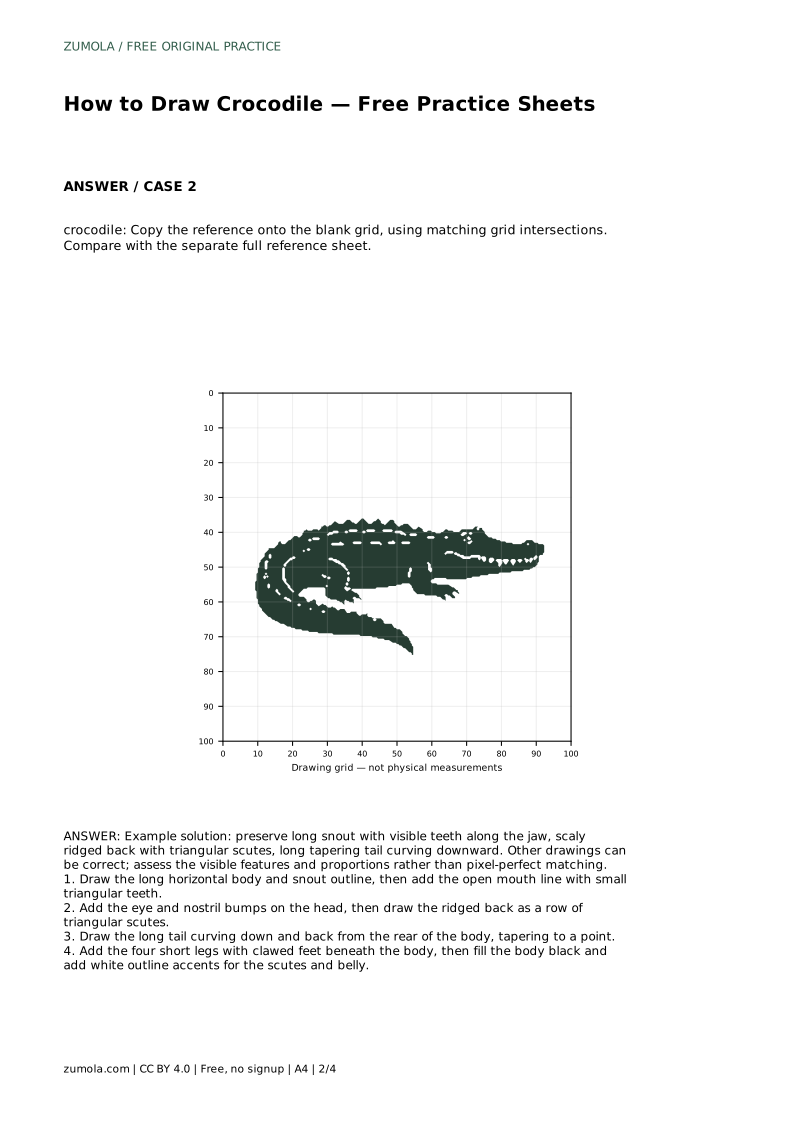
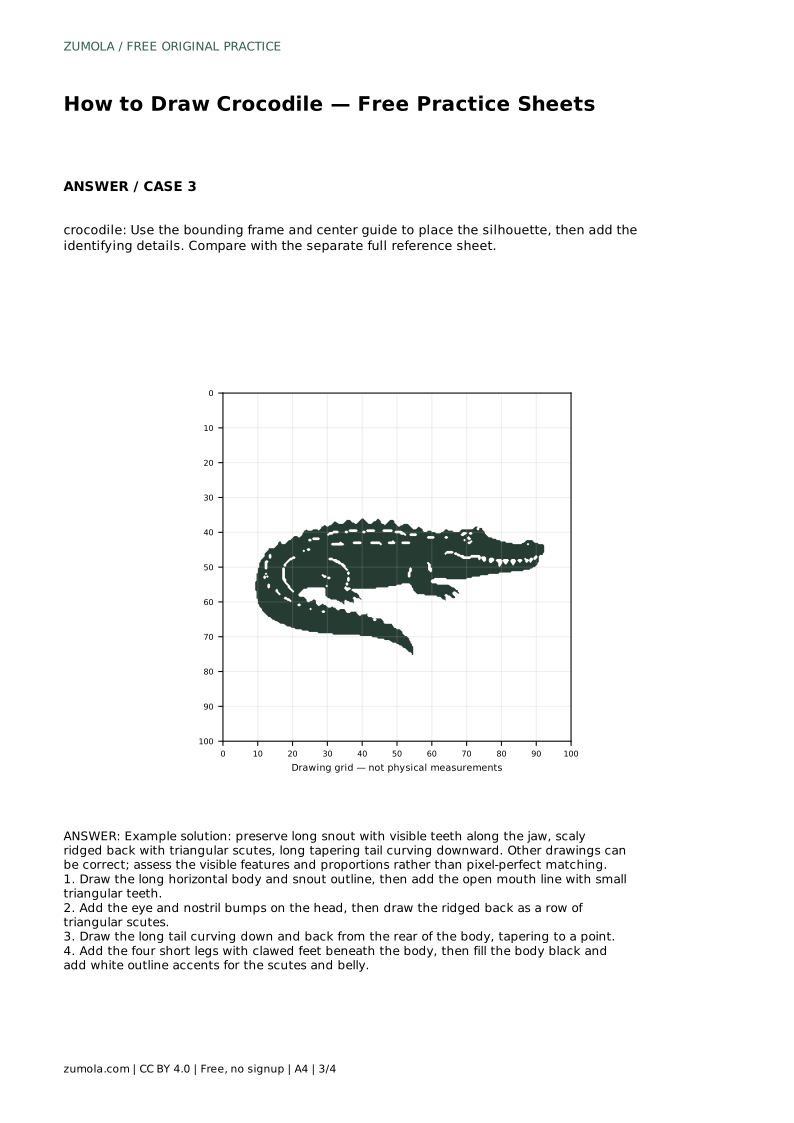
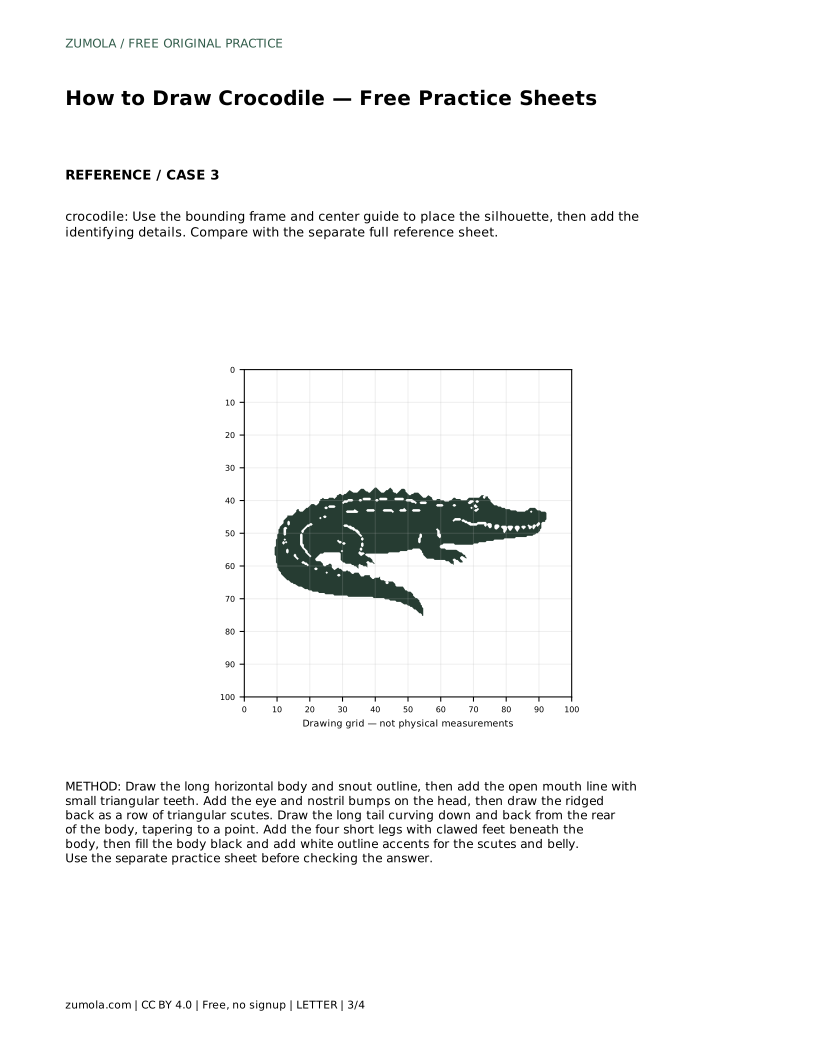
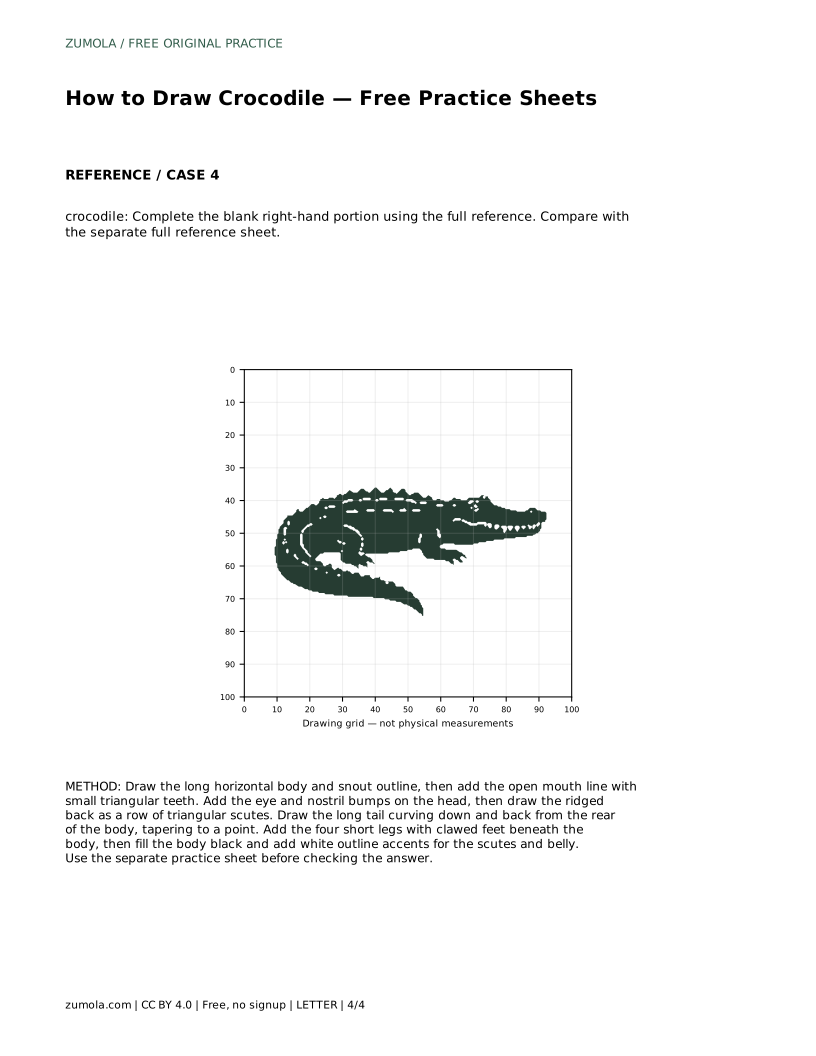
Use the bounding frame and center guide on the practice sheet to place the silhouette before adding detail. The frame helps you judge how much of the page the body should occupy; the center guide helps you keep the snout and tail on a sensible horizontal axis. If you are copying onto a blank grid, match the reference at grid intersections rather than trying to copy every curve freehand.
Place the eye and nostril bumps on the head. These sit high on the skull, which suits an animal that watches from the water surface. Then draw the ridged back as a row of triangular scutes. The scutes should follow the curve of the back and vary slightly in size; a perfectly even row looks mechanical. Keep them on the back, not on the belly.
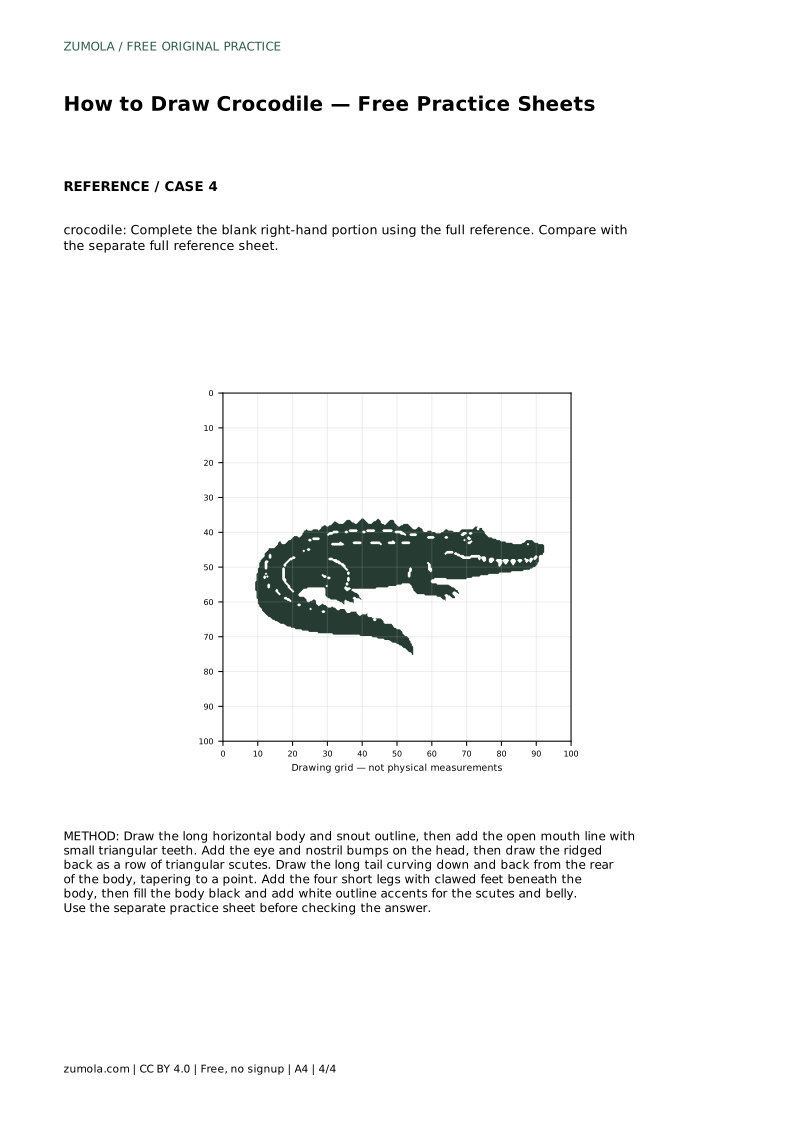
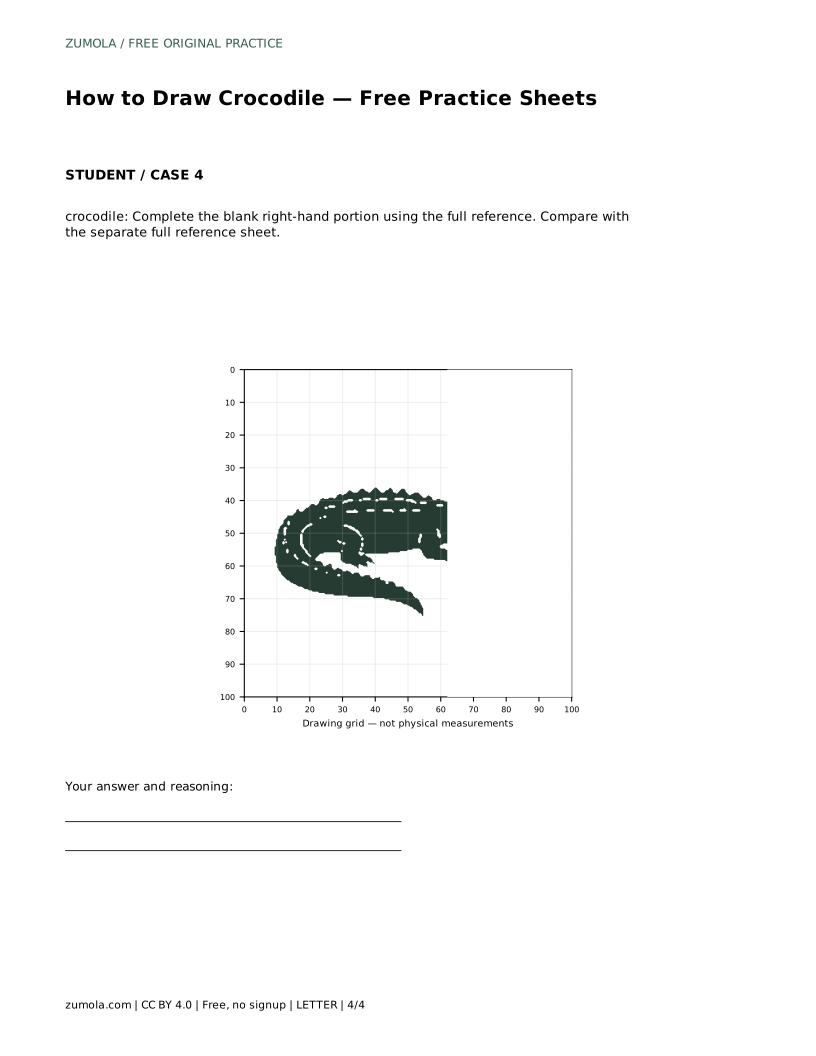
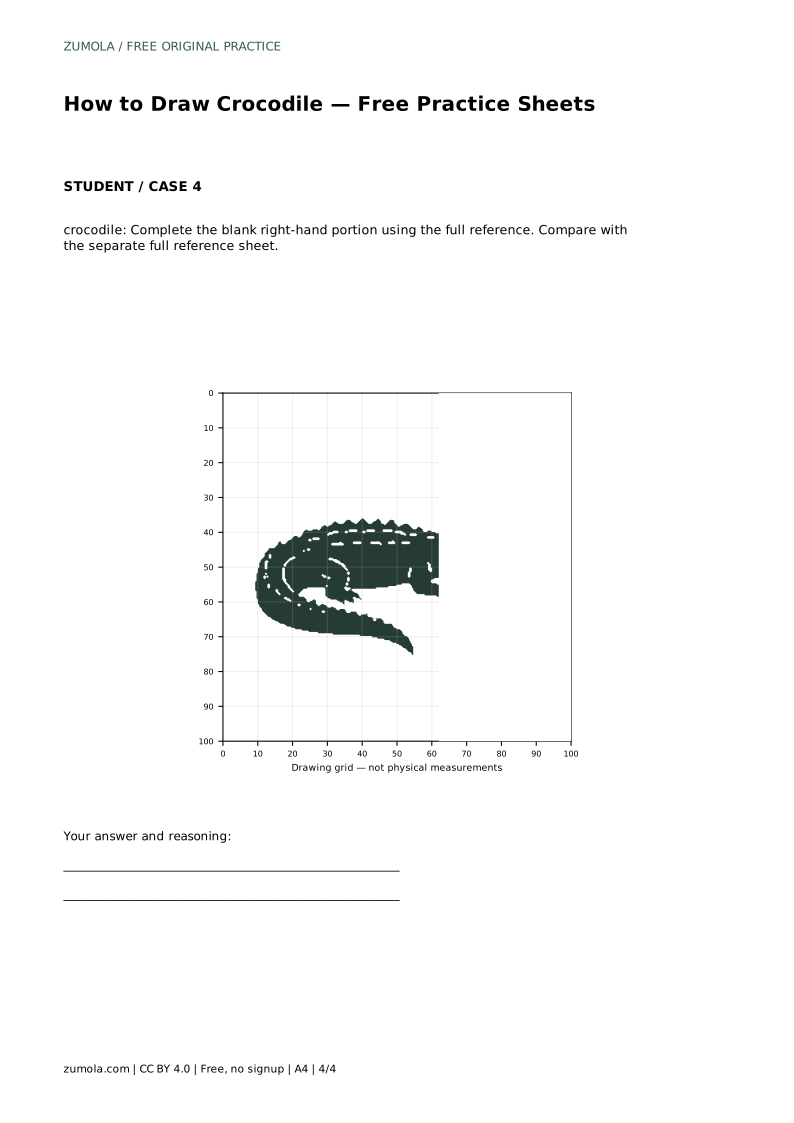
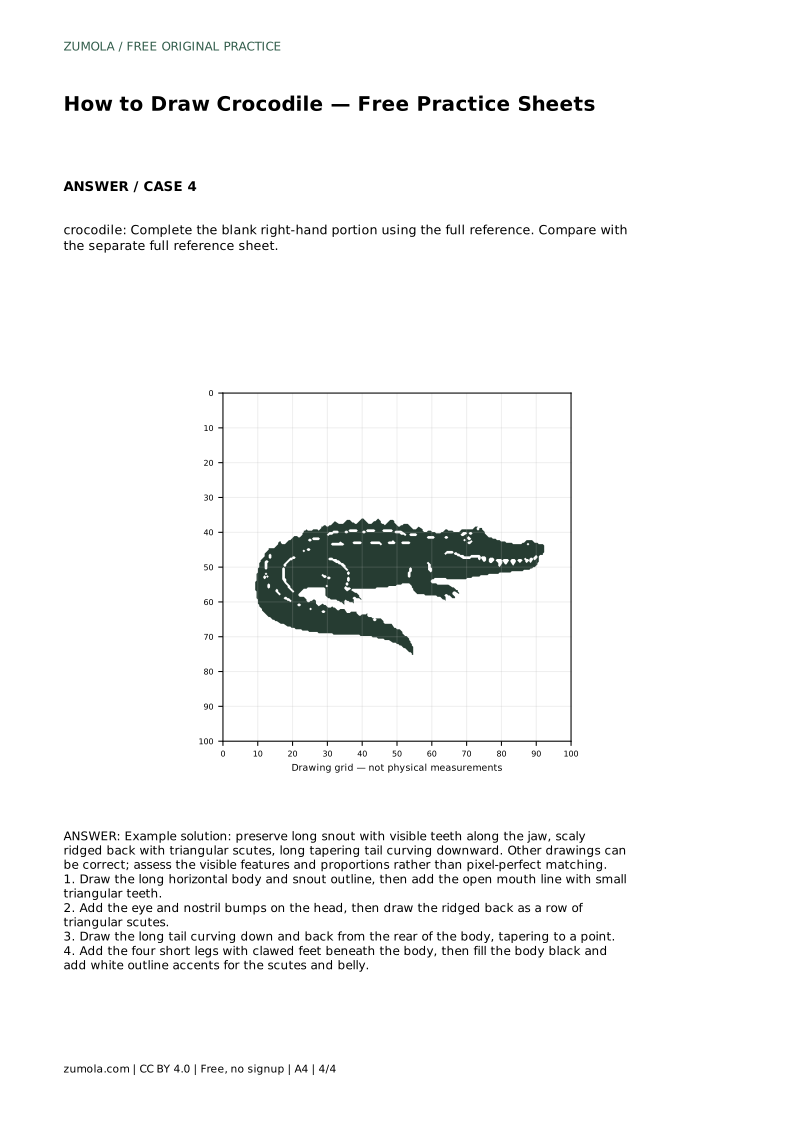
If you are completing the blank right-hand portion of a sheet, use the full reference to judge where the back ridge begins and ends. The ridge should start behind the head and continue toward the tail base without gaps that break the silhouette.
Draw the long tail curving down and back from the rear of the body, tapering to a point. The tail should look heavy at the base and narrow toward the tip. Add the four short legs with clawed feet beneath the body. The legs are short relative to the body length; if they look long, the crocodile will read as a different animal.
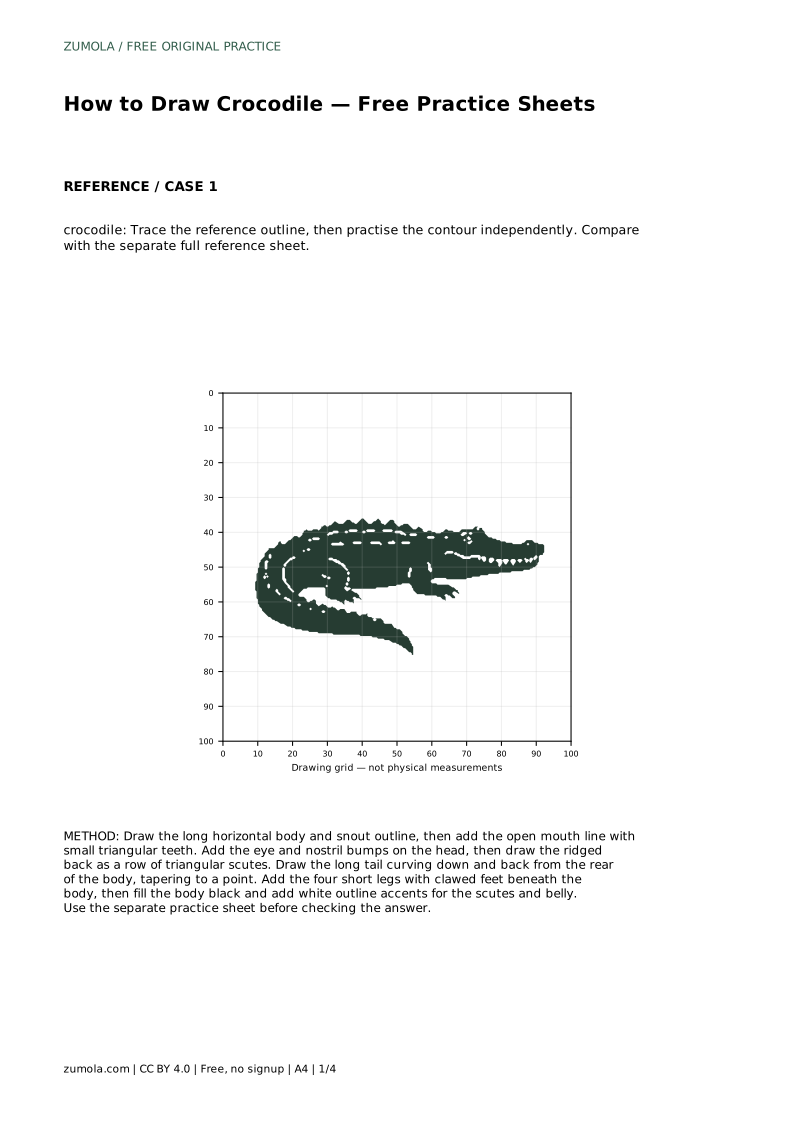
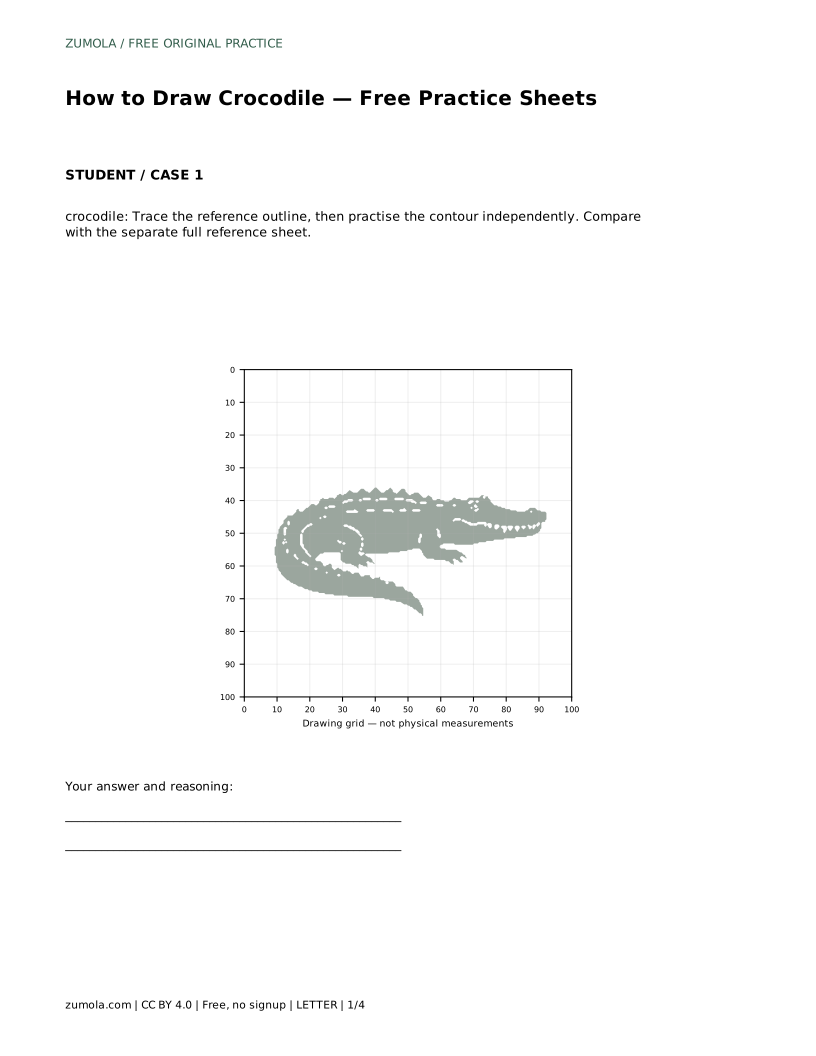
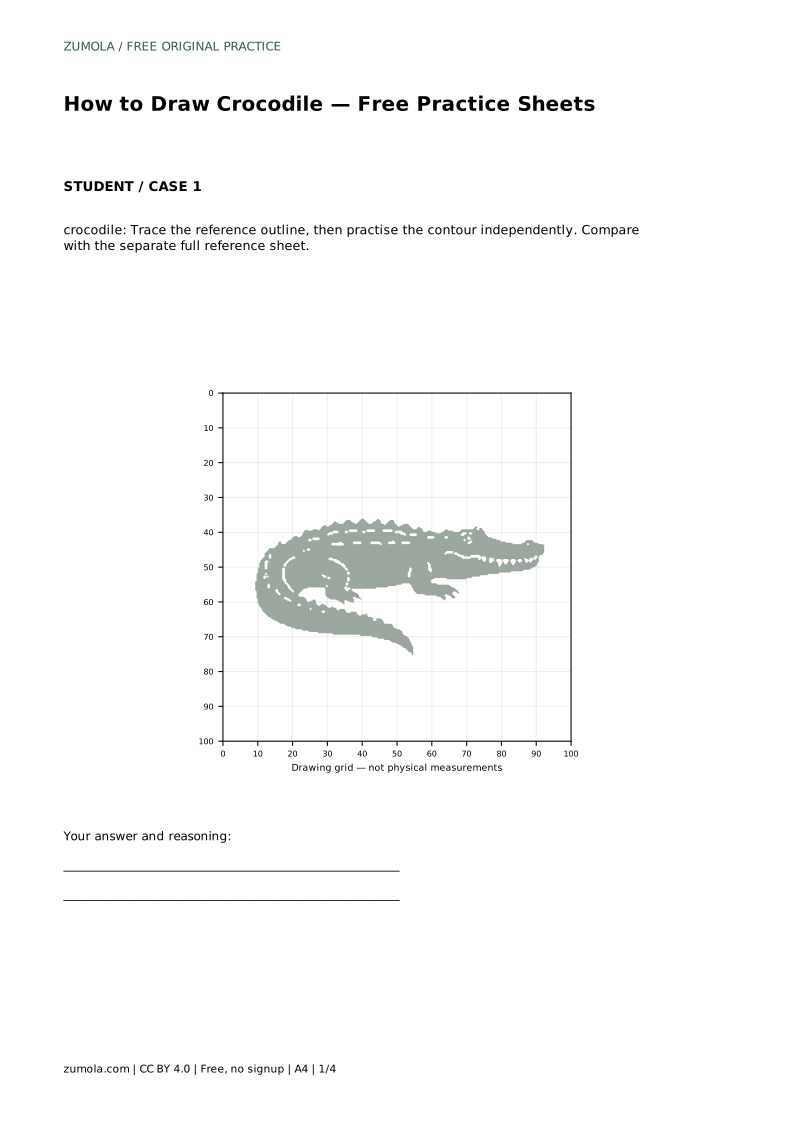
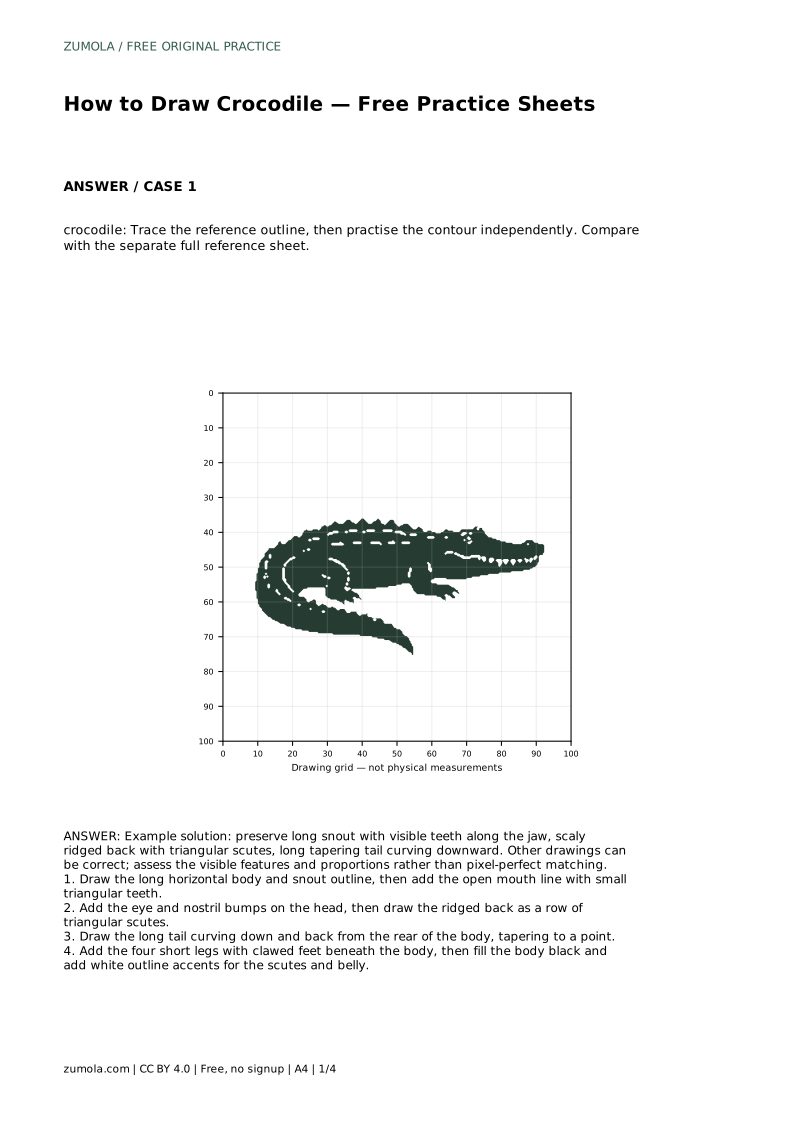
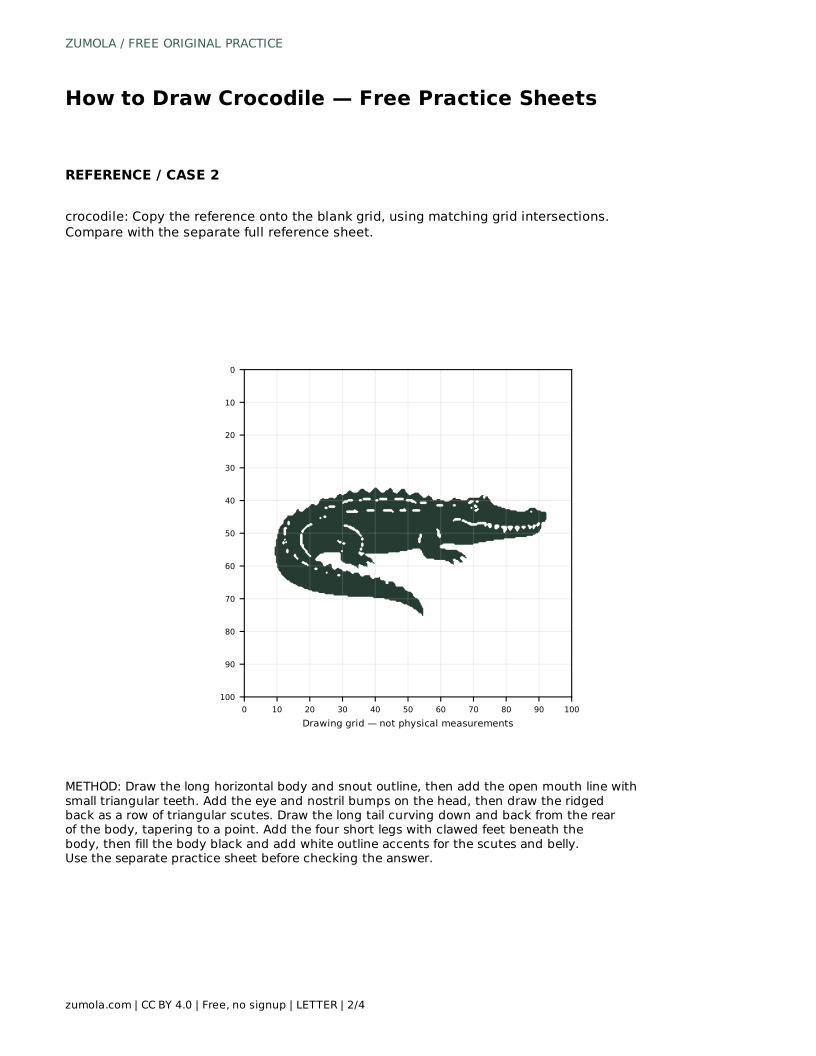
When you trace the reference outline first and then practise the contour independently, compare your freehand contour with the separate full reference sheet. Look for the features that matter most: long snout with visible teeth along the jaw, scaly ridged back with triangular scutes, long tapering tail curving downward. Other drawings can be correct; assess the visible features and proportions rather than pixel-perfect matching.
crocodile: Trace the reference outline, then practise the contour independently. Compare with the separate full reference sheet.
Example solution: preserve long snout with visible teeth along the jaw, scaly ridged back with triangular scutes, long tapering tail curving downward. Other drawings can be correct; assess the visible features and proportions rather than pixel-perfect matching. Draw the long horizontal body and snout outline, then add the open mouth line with small triangular teeth. Add the eye and nostril bumps on the head, then draw the ridged back as a row of triangular scutes. Draw the long tail curving down and back from the rear of the body, tapering to a point. Add the four short legs with clawed feet beneath the body, then fill the body black and add white outline accents for the scutes and belly.
No. Use the reference to check the long snout, visible teeth, ridged back with triangular scutes, tapering tail, and short clawed legs. Other drawings can be correct if those features and proportions are clear.
Either is fine. If the mouth is open, draw small triangular teeth along the jaw. If it is closed, show some lower-jaw teeth as small points along the jaw line.
Start with the body and snout outline, then add the mouth and teeth, the eye and nostril bumps, the back scutes, the tail, and finally the four short legs with clawed feet.
All drawing practice · Free coordinate paper
Original resources · CC BY 4.0 · Free for personal and classroom use with attribution.