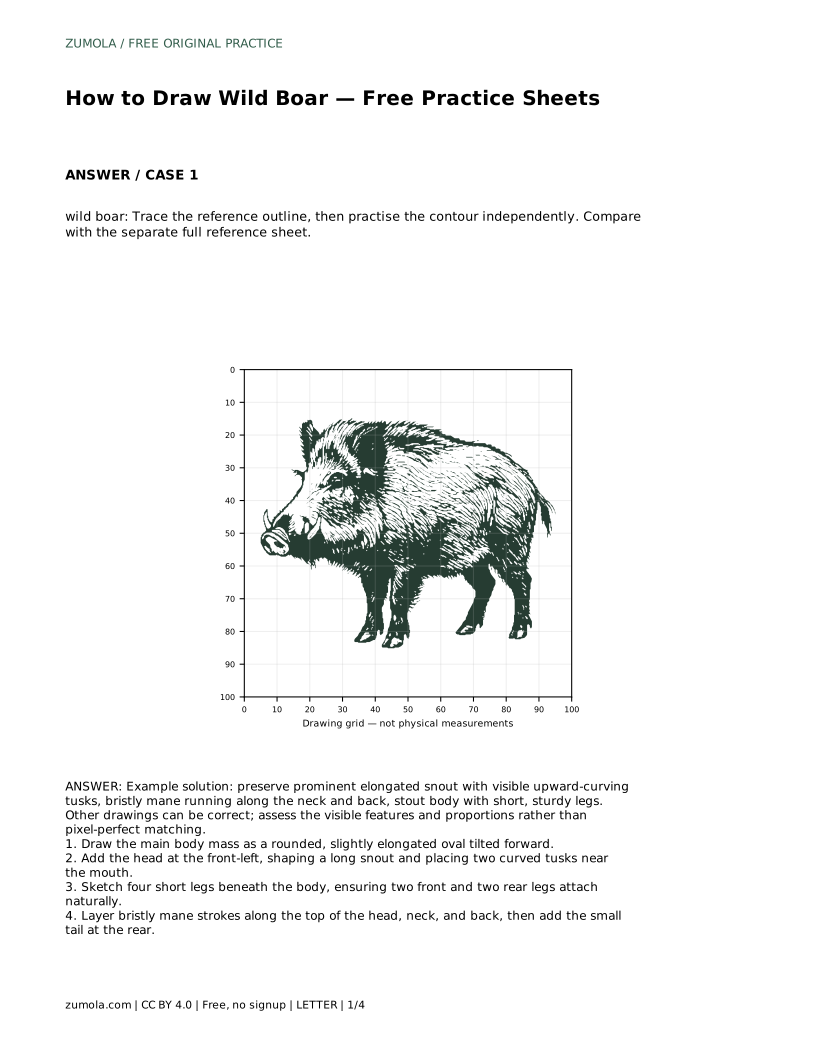
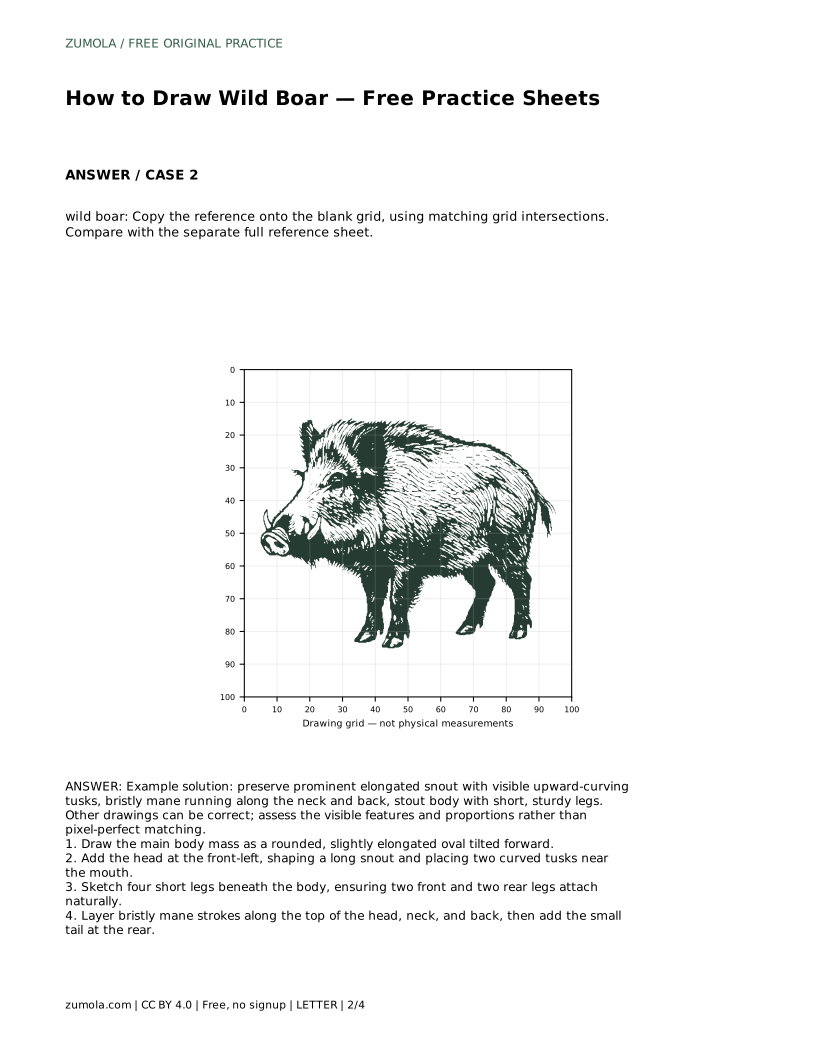
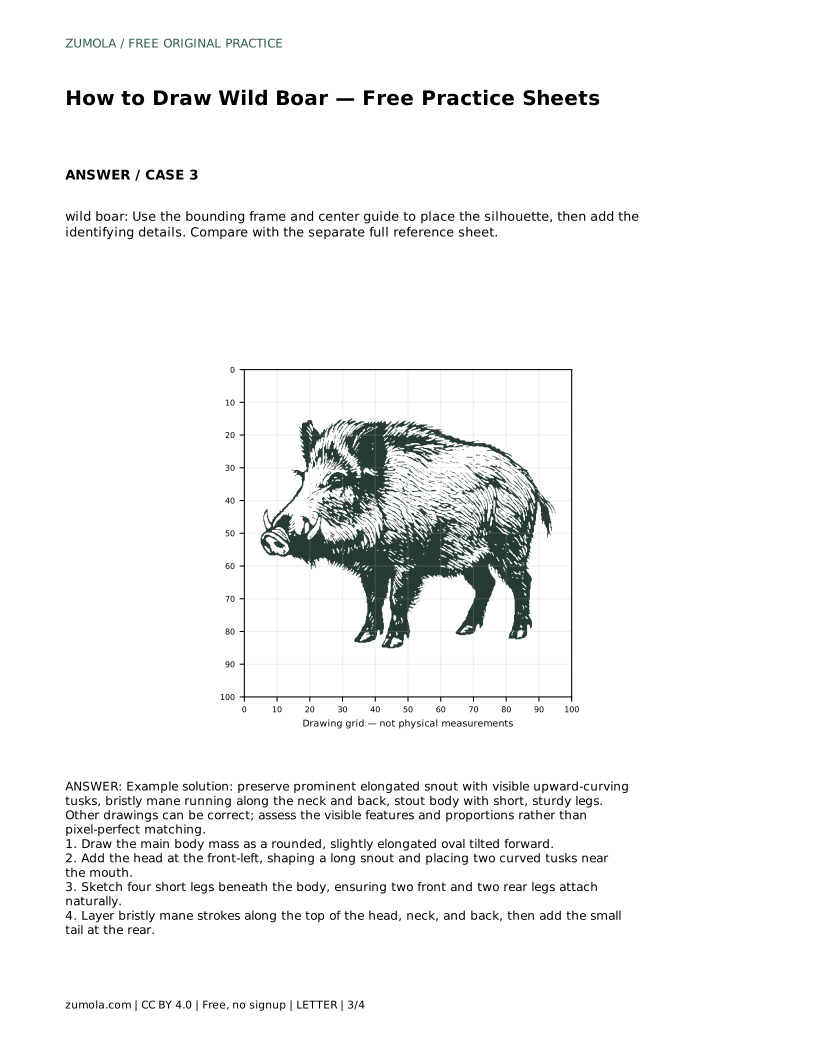
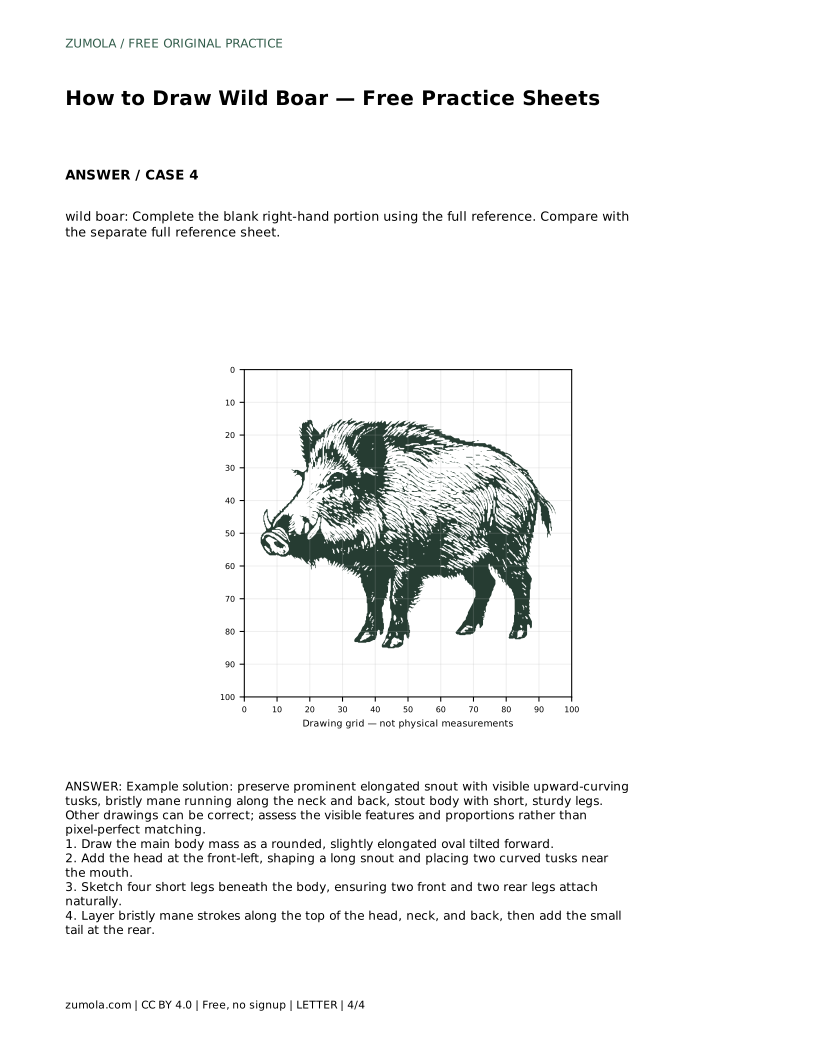
Reference diagrams
LETTER · Download PDF
A4 · Download PDF
Free original resources
Learn to draw a wild boar by building body mass, an elongated snout, curved tusks, a bristly mane, and short sturdy legs. Includes a worked example and rubric.
Four original cases, with reference diagrams, practice sheets and worked answers. Everything is free; no signup required.
LETTER · Download PDF
A4 · Download PDF
LETTER · Download PDF
A4 · Download PDF
LETTER · Download PDF
A4 · Download PDF
Use A4 or US Letter to match your printer. Use the stated values and conditions to solve each exercise; diagrams are not physical measuring rulers.
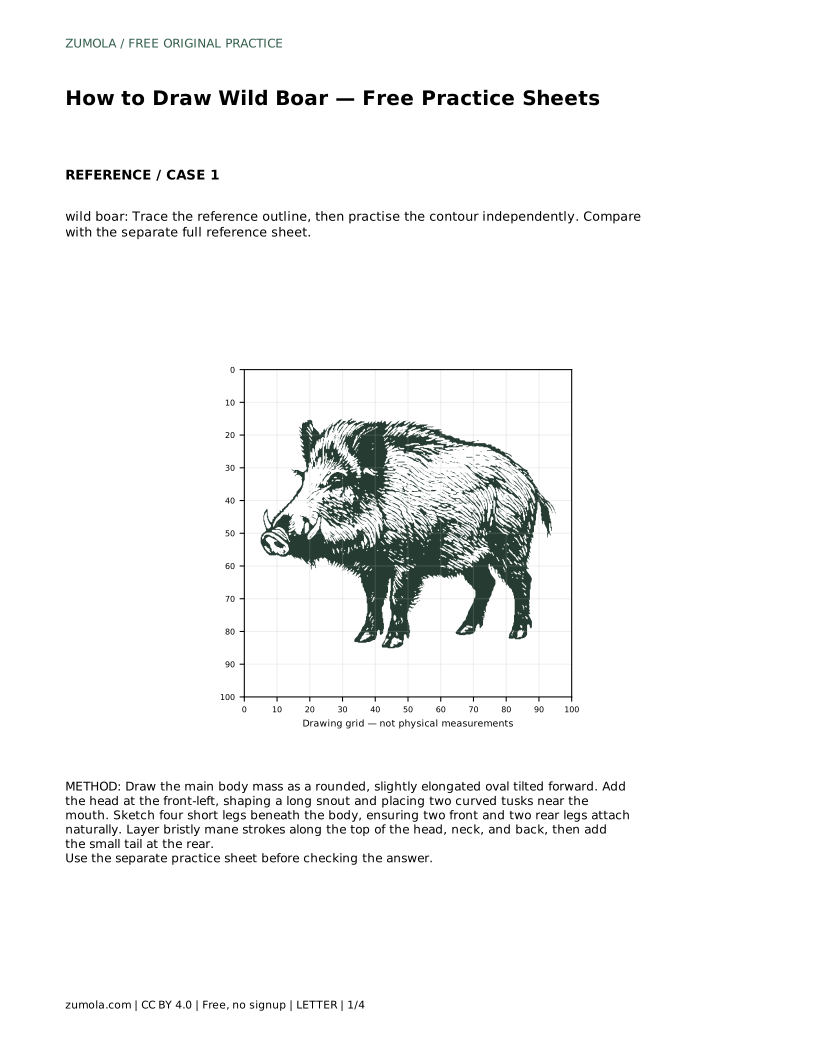
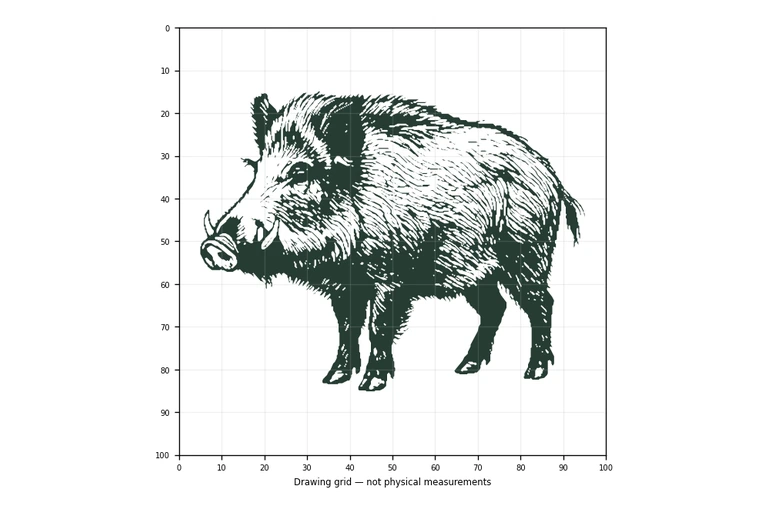
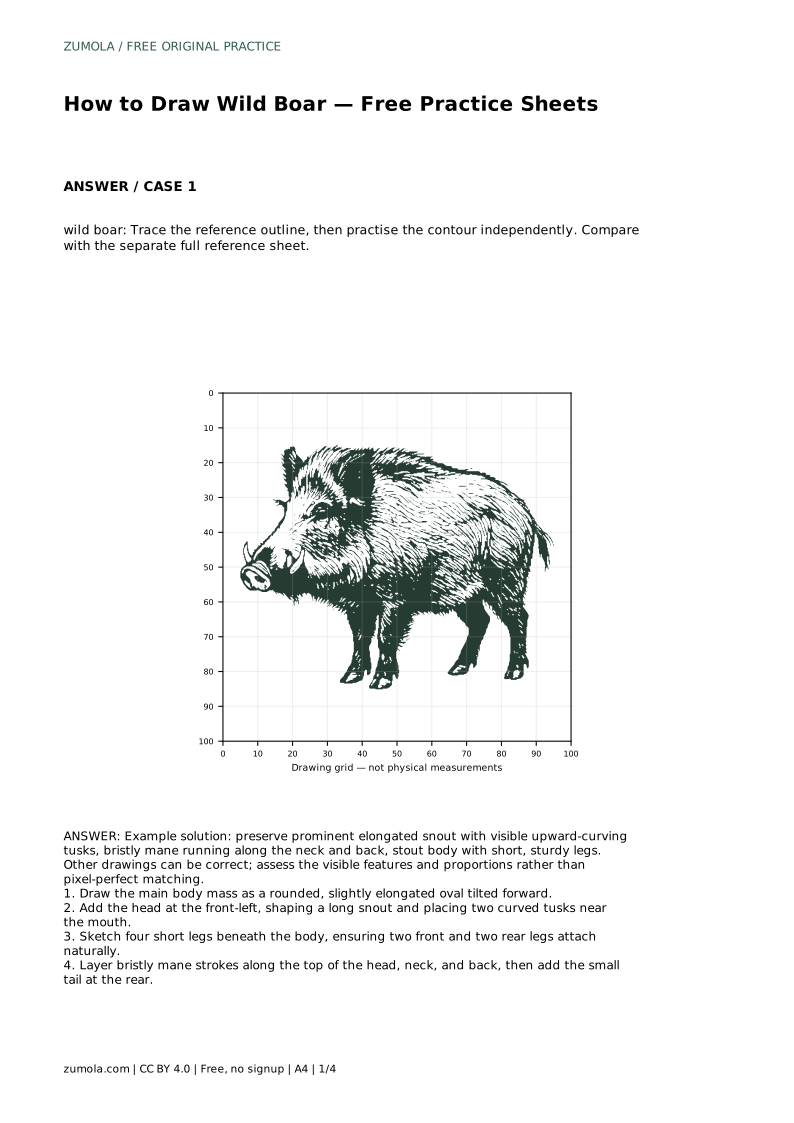
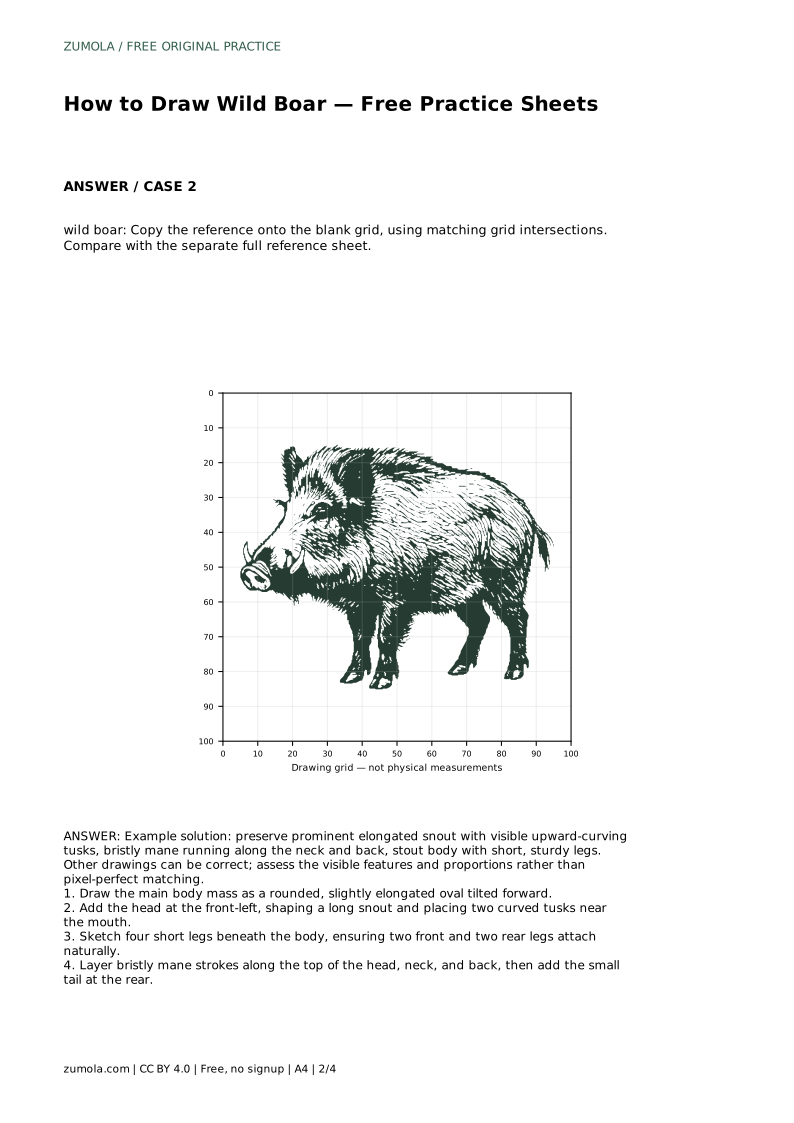
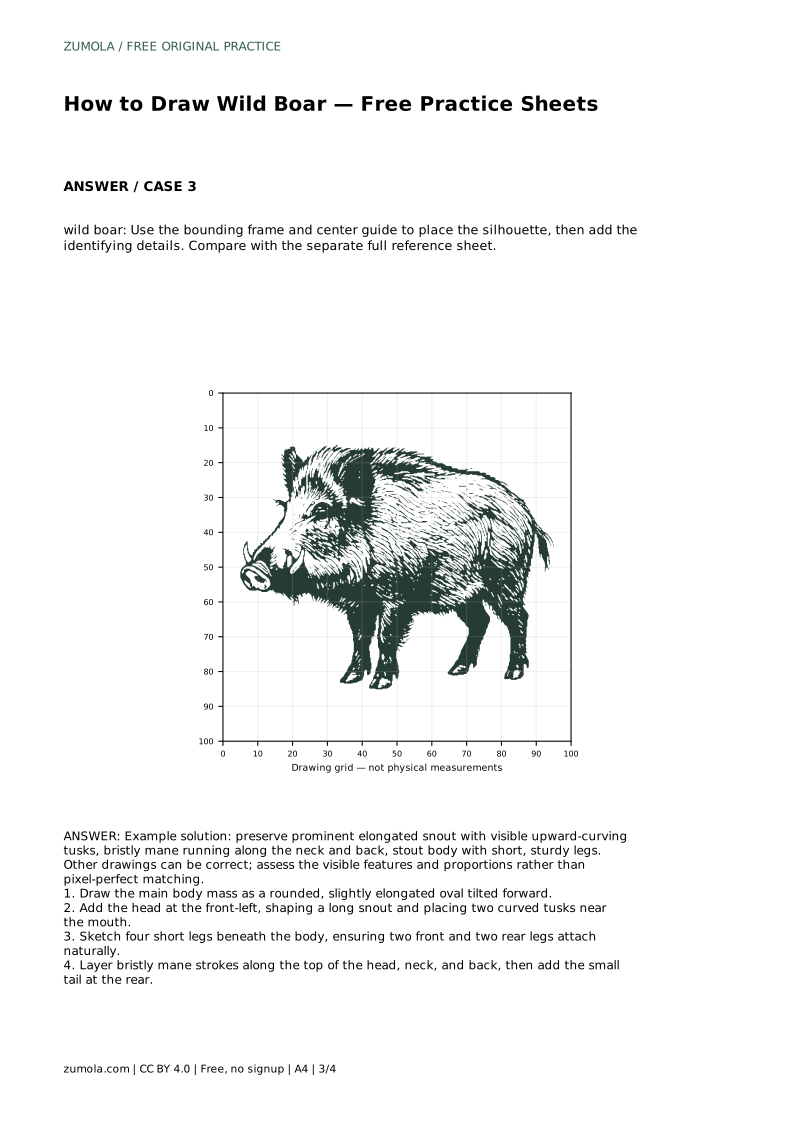
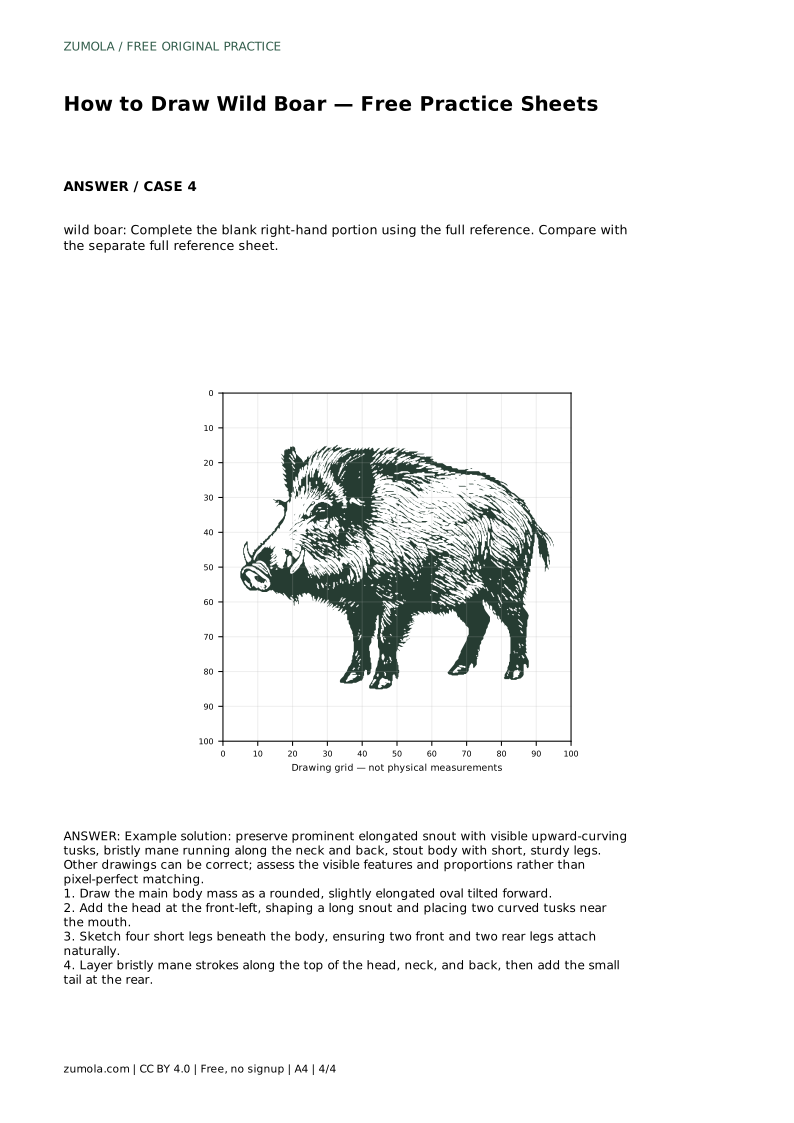
A wild boar drawing depends on a few clear features: a heavy, forward-tilted body, a long snout, upward-curving tusks, a bristly mane along the neck and back, and short, sturdy legs. This page explains how to build those features in order, then how to practise them with tracing, grid, frame, and partial-reference sheets. Because several drawings can be correct, you will assess visible features and proportions rather than pixel-perfect matching.
Begin with the largest shape, not the tusks. Draw a rounded, slightly elongated oval and tilt it forward so the front sits lower than the rear. This tilt gives the boar its heavy, rooting posture. Keep the oval broad rather than thin; a wild boar reads as stout and low to the ground.
Place the head at the front-left of the body mass. Shape a long snout that extends clearly beyond the face, because the elongated snout is the most recognizable part of the silhouette. Keep the head connected to the body through a thick neck rather than a narrow gap. At this stage, avoid fine detail; you are establishing where the major masses sit relative to one another.
Sketch four short legs beneath the body: two front and two rear. Each leg should attach naturally to the underside of the body mass, with the front legs under the shoulder area and the rear legs under the hindquarters. Short, sturdy legs support the low, heavy look; long thin legs make the animal read as a different species.
Place two curved tusks near the mouth, curving upward from the lower jaw area. Keep them visible against the snout rather than hidden inside it. Then layer bristly mane strokes along the top of the head, neck, and back. Use short, slightly irregular strokes that follow the direction of the back, and add a small tail at the rear. The mane should suggest coarse hair without becoming a solid dark band.
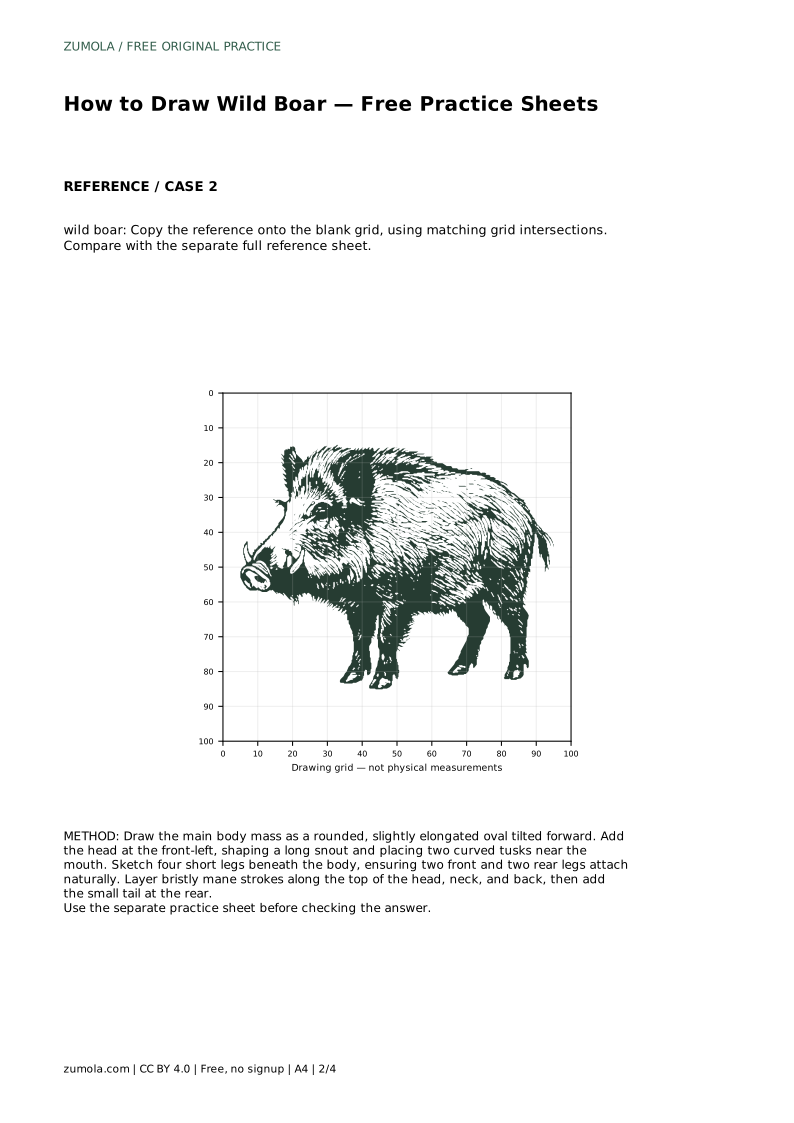
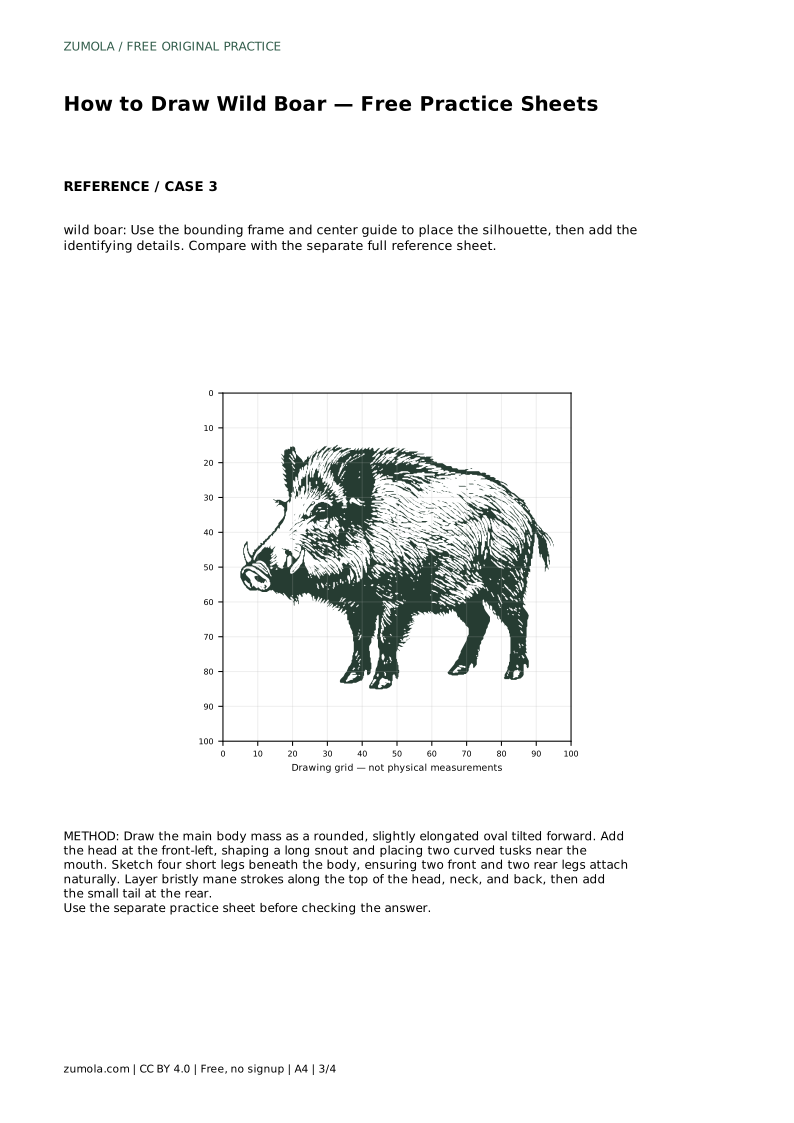
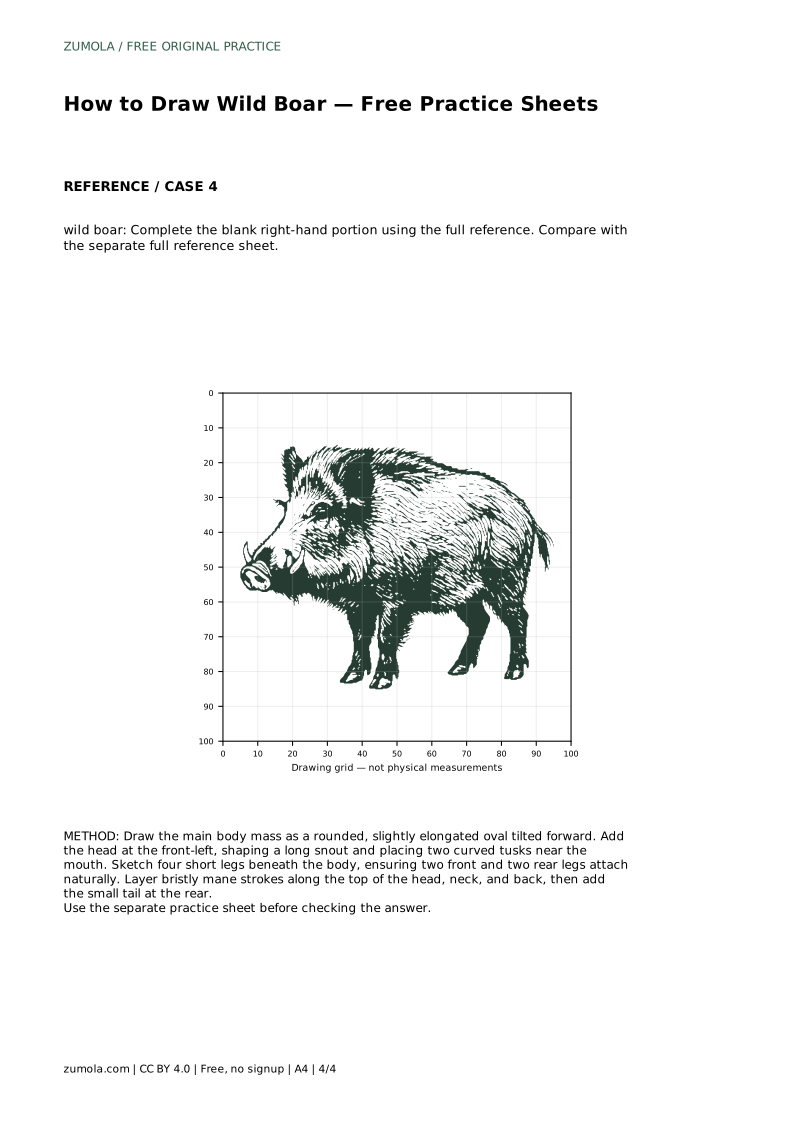
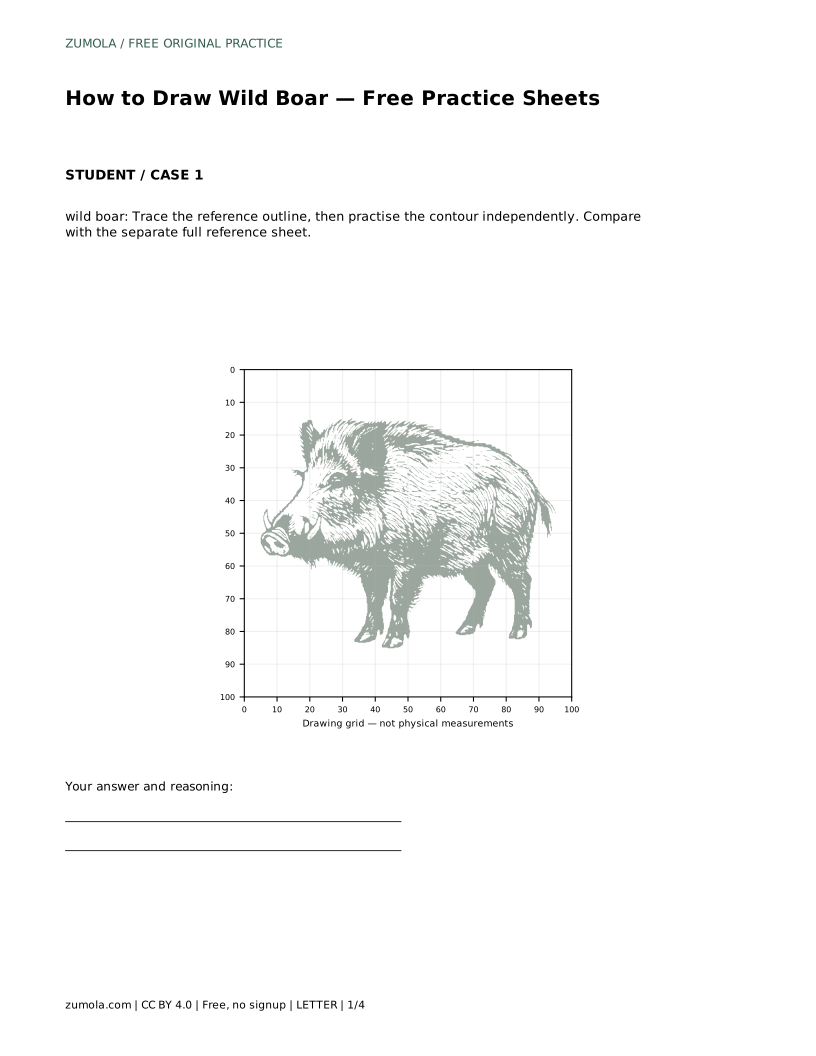
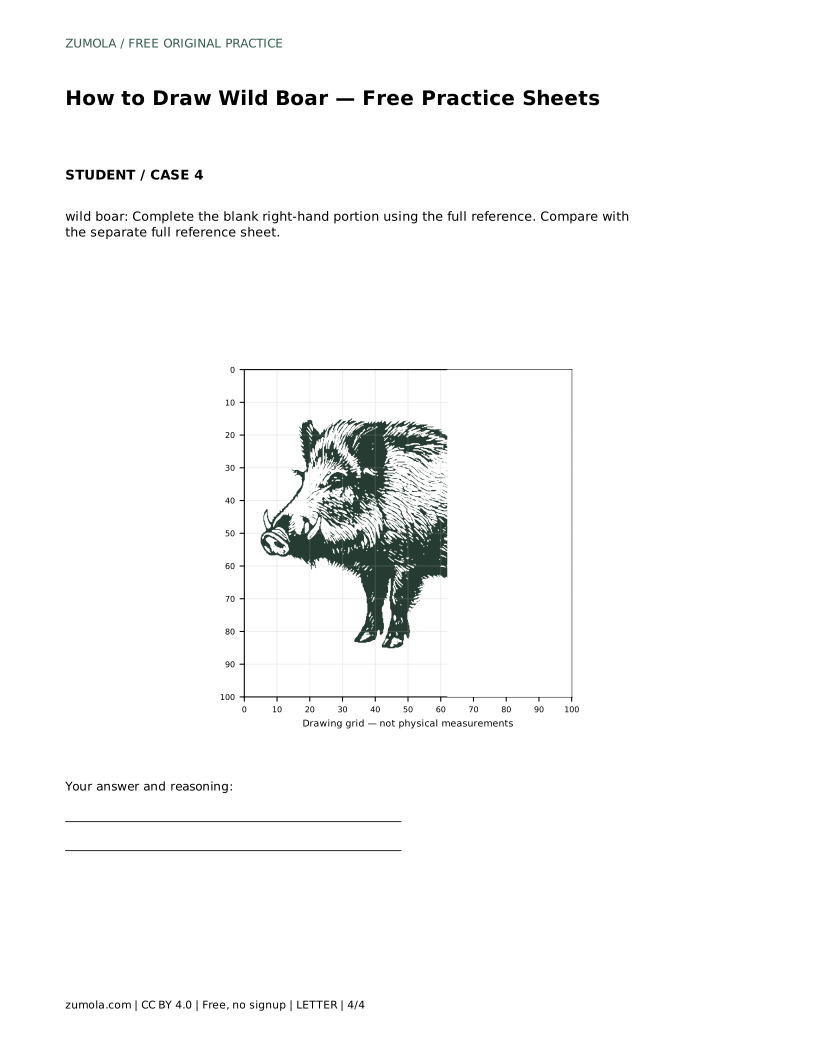
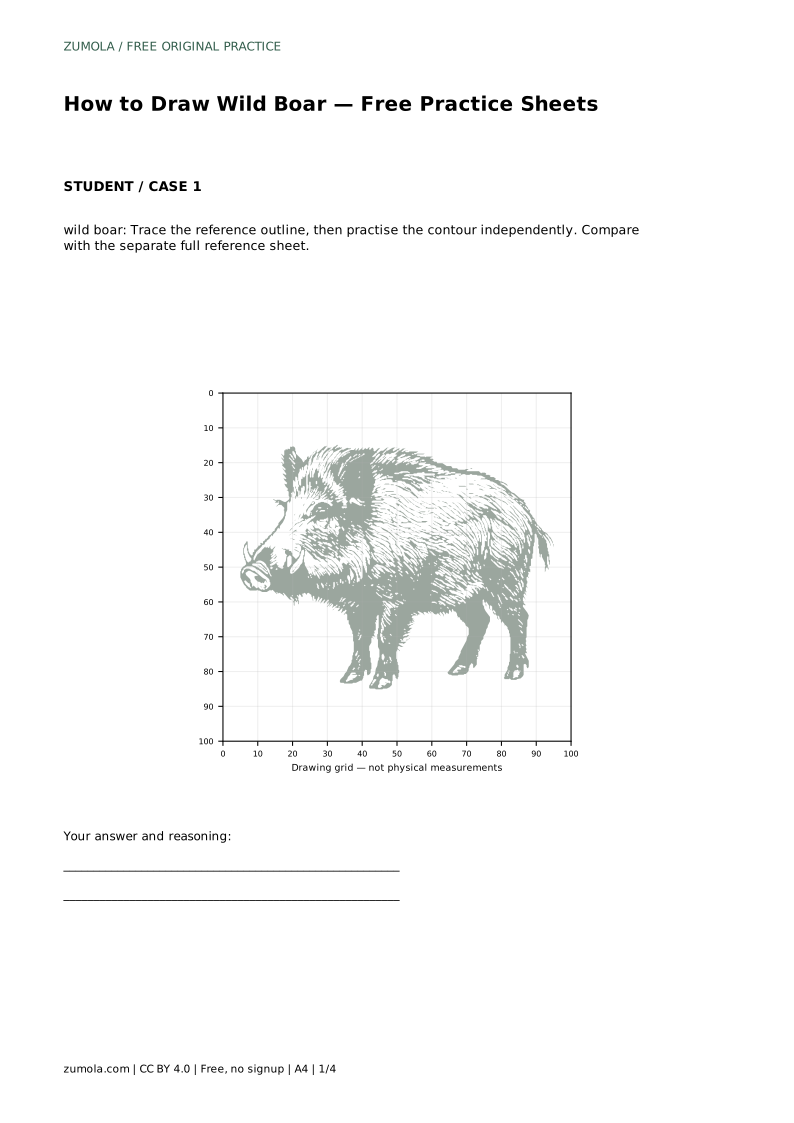
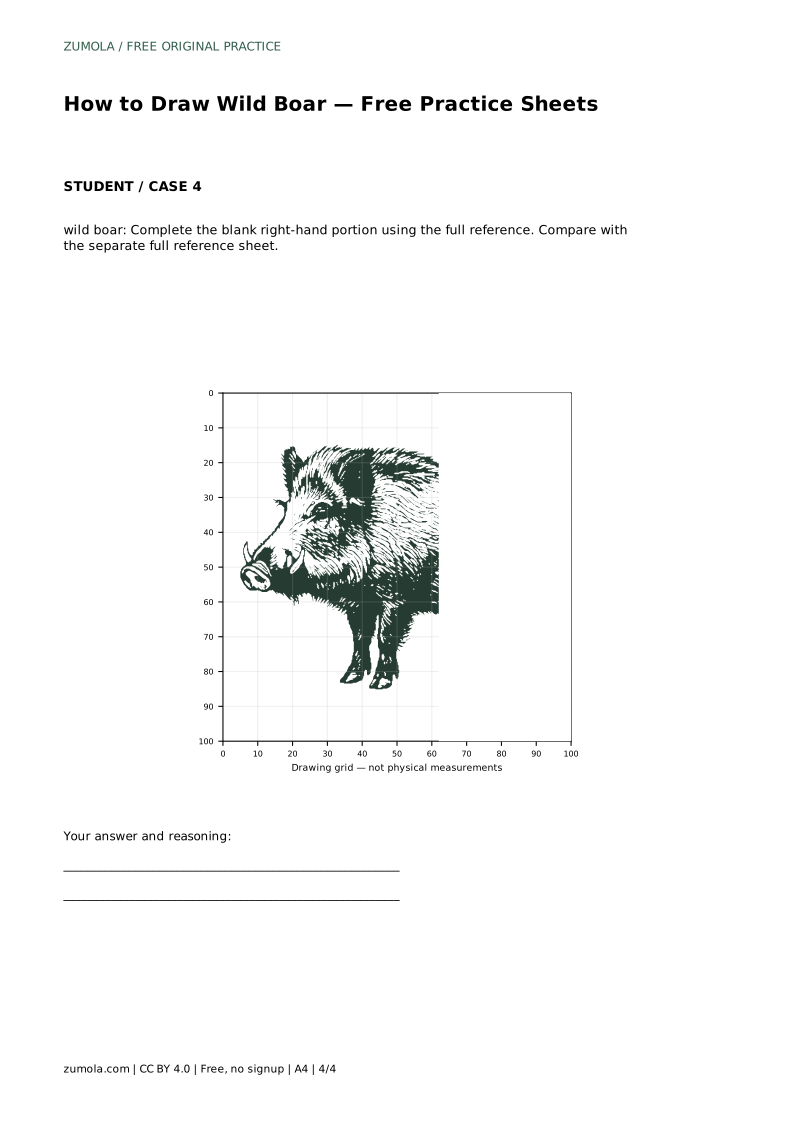
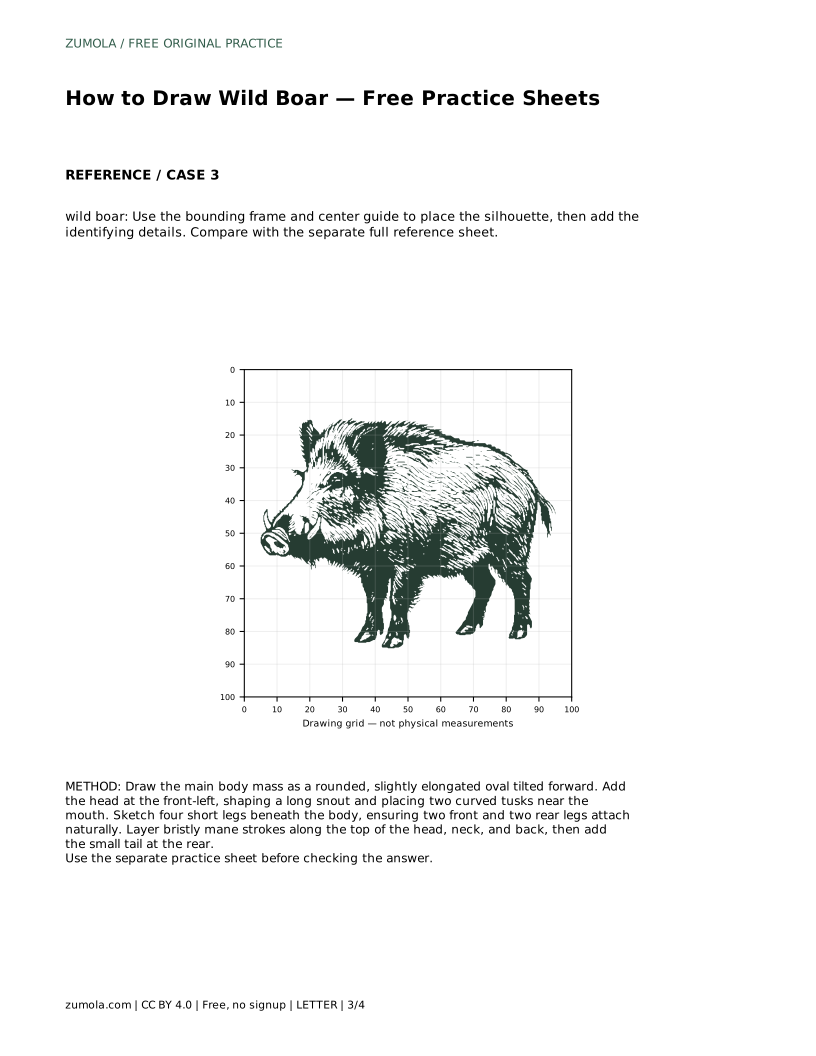
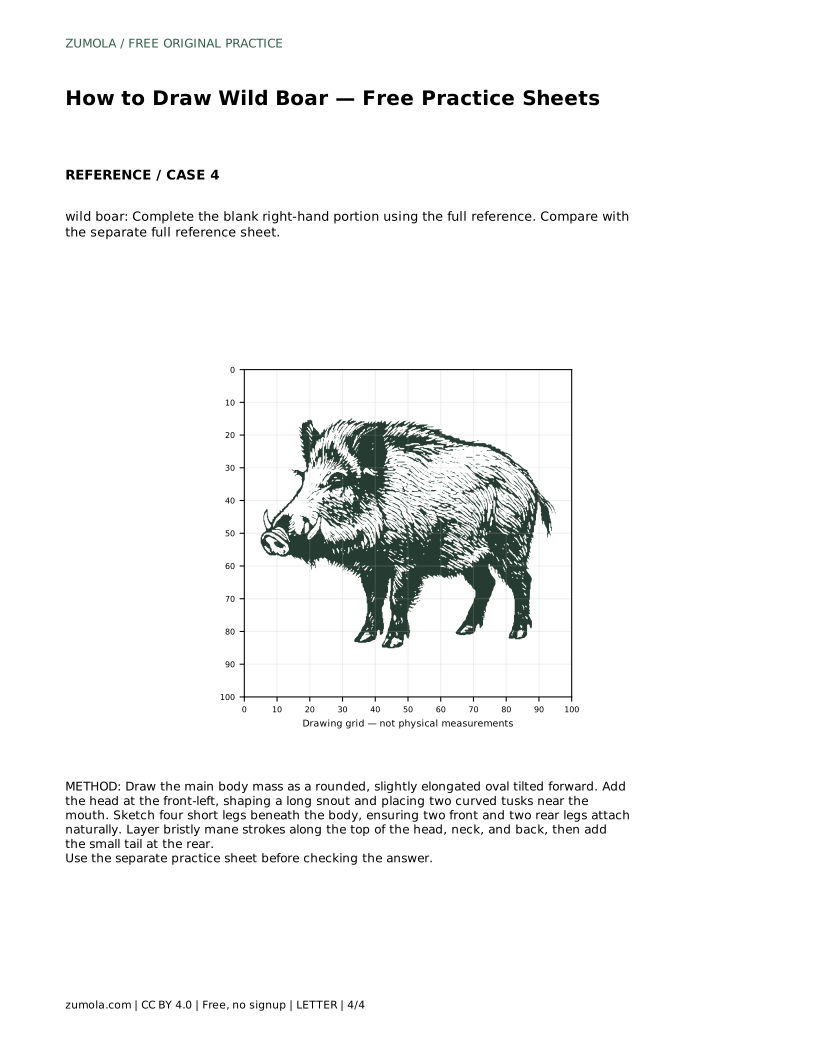
The tracing sheet asks you to follow the reference outline first, then practise the contour independently. The grid sheet asks you to copy the reference onto the blank grid using matching grid intersections. The frame sheet uses a bounding frame and center guide to place the silhouette before adding identifying details. The partial sheet gives you the full reference and asks you to complete the blank right-hand portion. In every case, compare your work with the separate full reference sheet afterward.
When you compare, check the features rather than the exact line. Ask whether the snout is clearly elongated, the tusks curve upward and remain visible, the mane runs along the neck and back, the body is stout, and the legs are short and attached in the right places. Proportions matter more than matching every stroke, since other drawings can be correct.
Most weak boar drawings fail at the silhouette stage, before any detail is added. A thin body, a short snout, or long legs removes the animal's characteristic weight. Fixing the large shapes first is easier than correcting details later. Similarly, tusks drawn too small or tucked against the face disappear at a glance, and a mane drawn as one heavy block loses the bristly texture that makes the back read correctly.
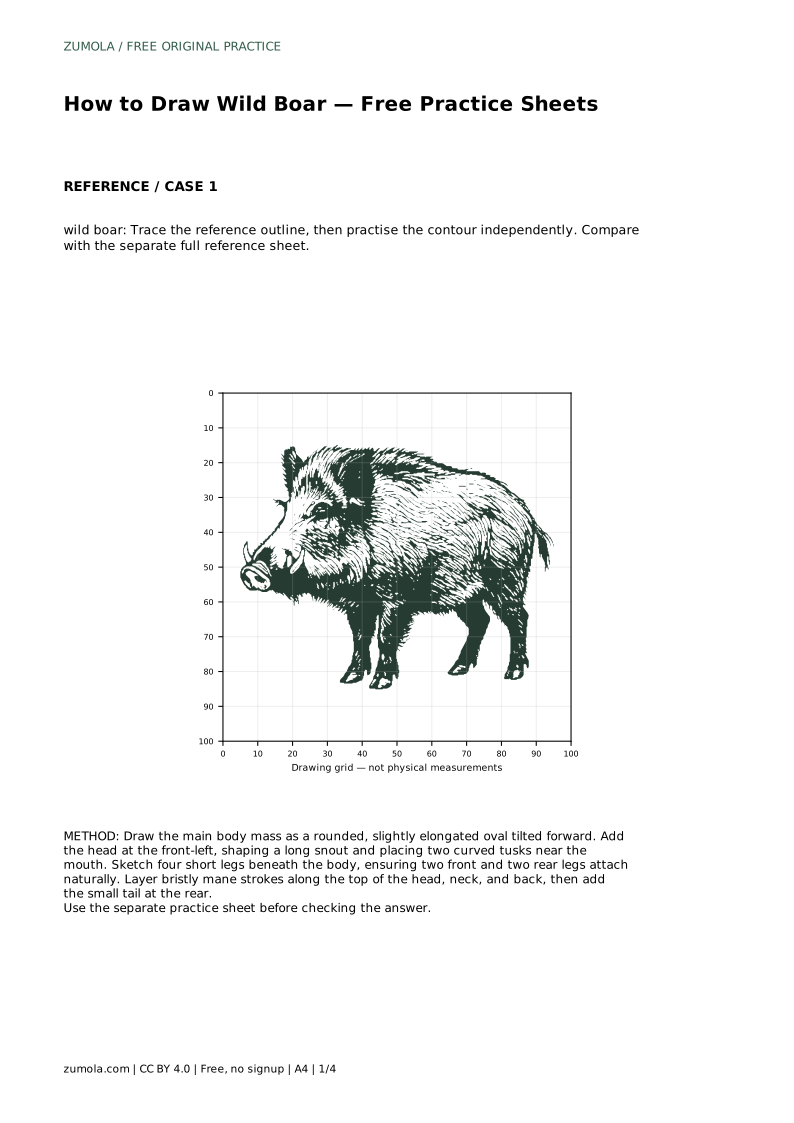
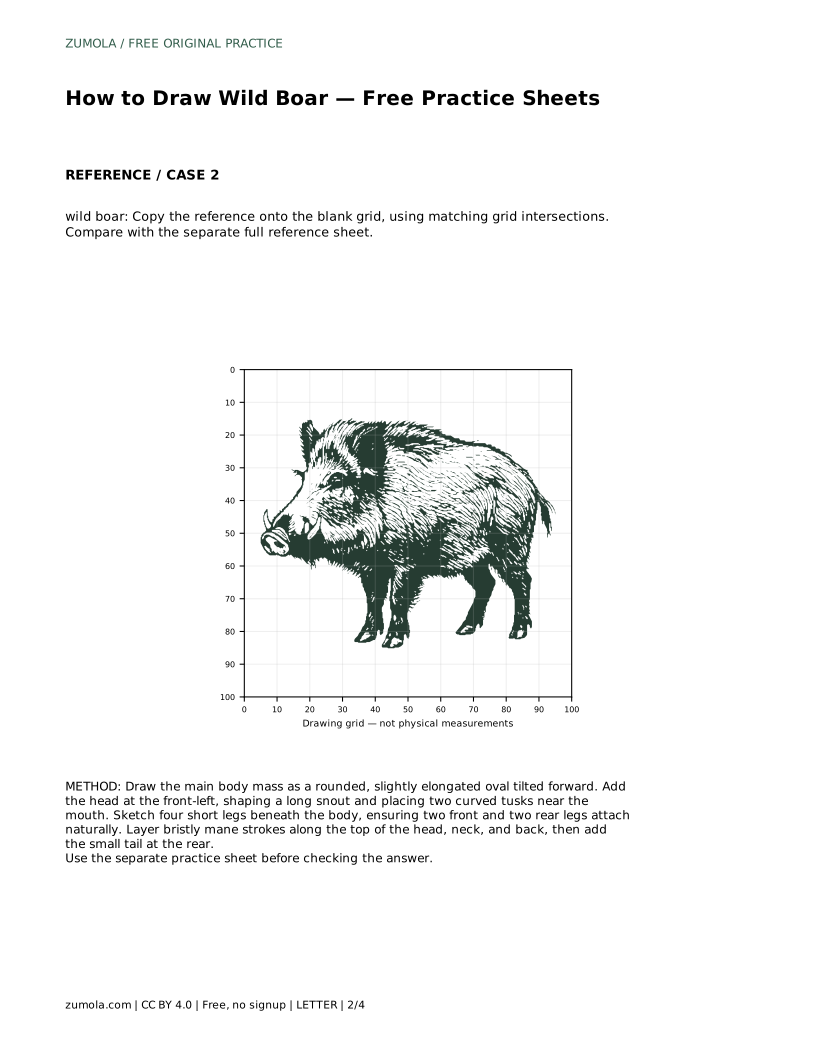
wild boar: Trace the reference outline, then practise the contour independently. Compare with the separate full reference sheet.
Example solution: preserve prominent elongated snout with visible upward-curving tusks, bristly mane running along the neck and back, stout body with short, sturdy legs. Other drawings can be correct; assess the visible features and proportions rather than pixel-perfect matching. Draw the main body mass as a rounded, slightly elongated oval tilted forward. Add the head at the front-left, shaping a long snout and placing two curved tusks near the mouth. Sketch four short legs beneath the body, ensuring two front and two rear legs attach naturally. Layer bristly mane strokes along the top of the head, neck, and back, then add the small tail at the rear.
No. Other drawings can be correct. Assess the visible features and proportions, such as the elongated snout, upward-curving tusks, bristly mane, stout body, and short sturdy legs, rather than pixel-perfect matching.
Start with the tracing sheet: trace the reference outline, then practise the contour independently. Move to the grid, frame, and partial sheets once the basic silhouette feels familiar.
Check that all five key features are present and readable: elongated snout, two visible upward-curving tusks, bristly mane along the neck and back, stout body, and four short legs attached beneath the body. Then compare with the separate full reference sheet.
All drawing practice · Free coordinate paper
Original resources · CC BY 4.0 · Free for personal and classroom use with attribution.