Reference diagrams
LETTER · Download PDF
A4 · Download PDF
Free original resources
Learn to draw a clouded leopard with a stocky body, long curved tail, and cloud-shaped rosettes. Trace, grid, and complete practice sheets support each step.
Four original cases, with reference diagrams, practice sheets and worked answers. Everything is free; no signup required.
LETTER · Download PDF
A4 · Download PDF
LETTER · Download PDF
A4 · Download PDF
LETTER · Download PDF
A4 · Download PDF
Use A4 or US Letter to match your printer. Use the stated values and conditions to solve each exercise; diagrams are not physical measuring rulers.
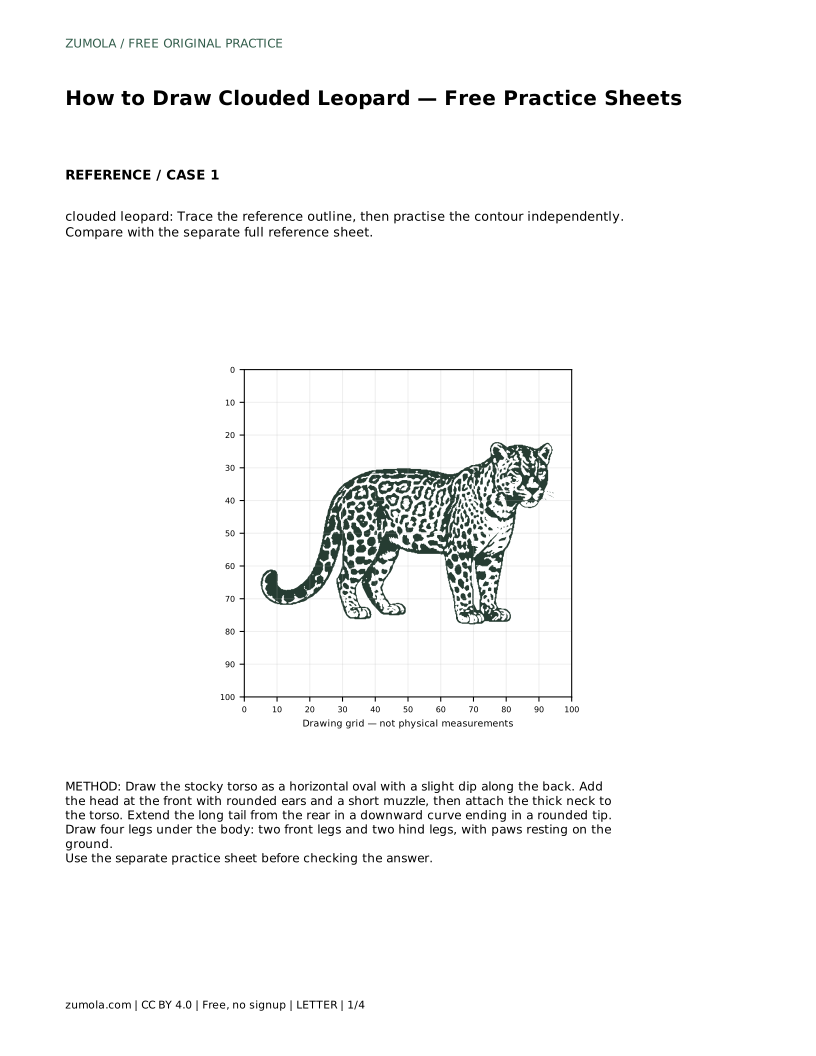
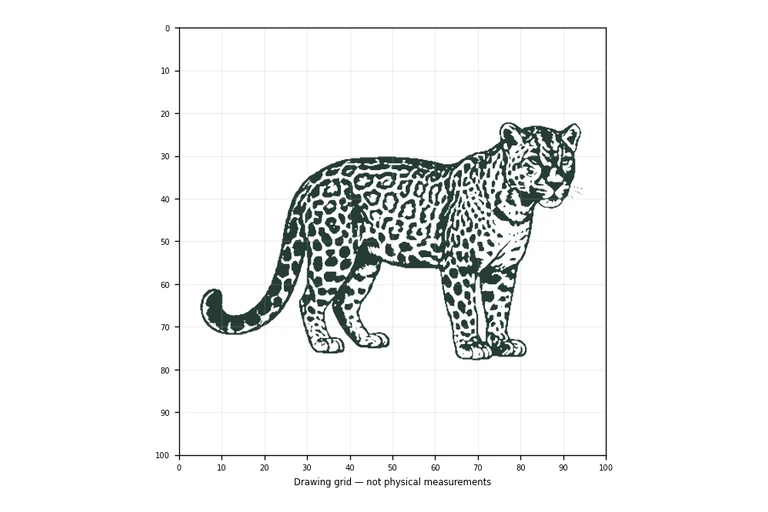
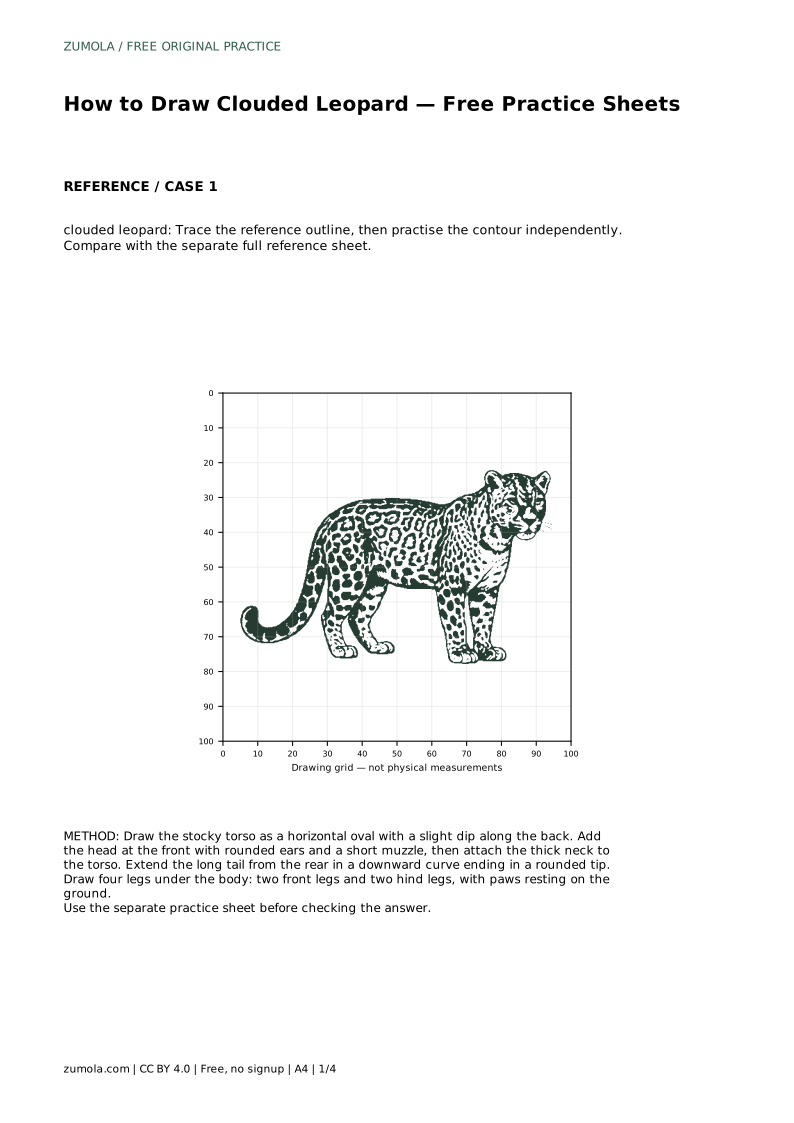
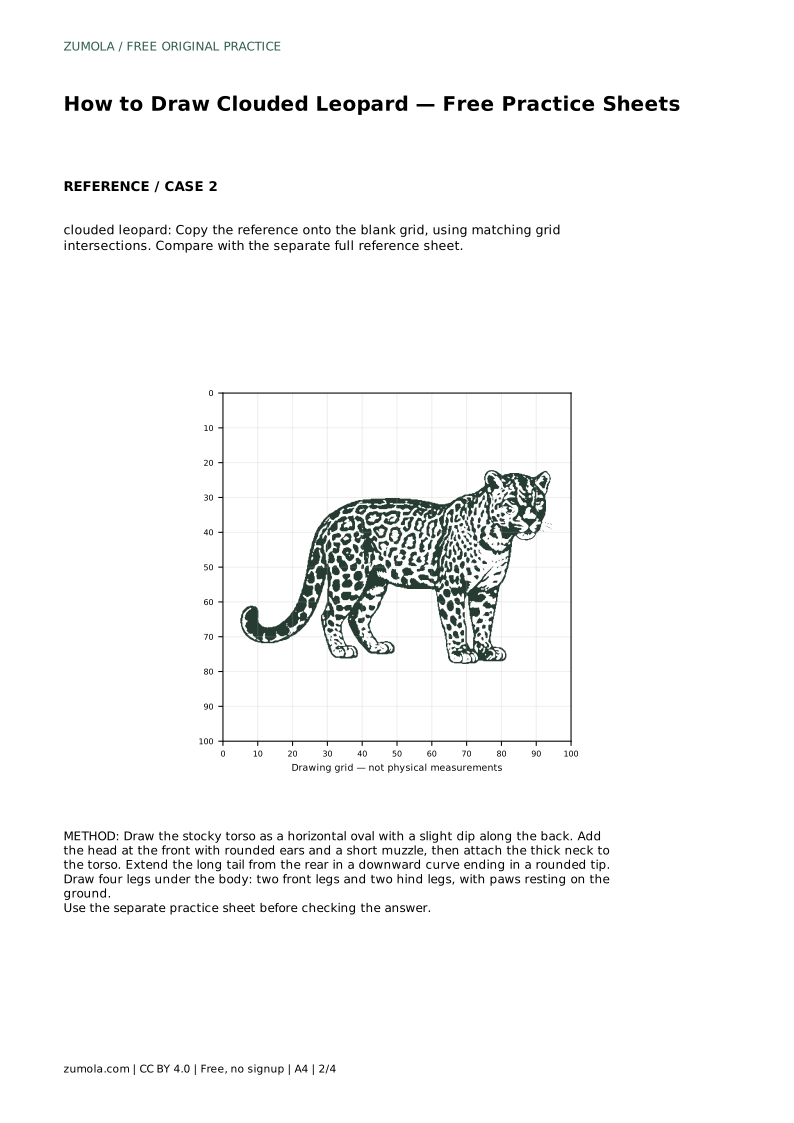
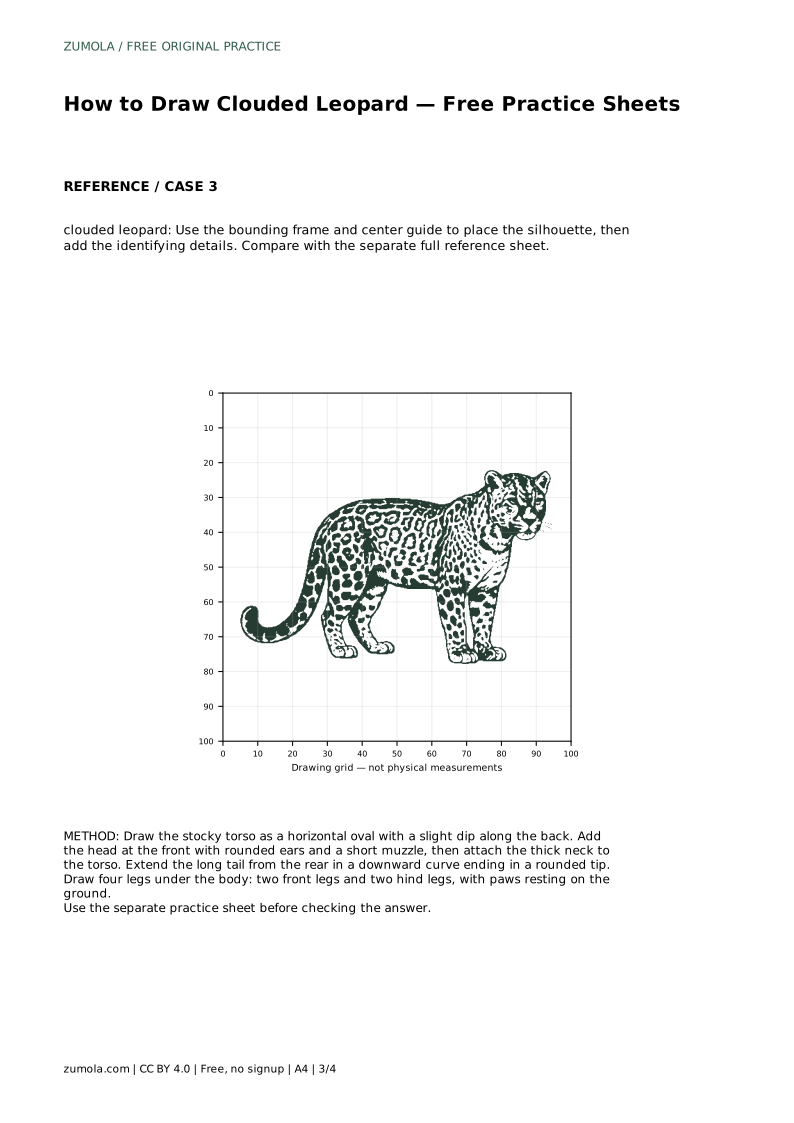
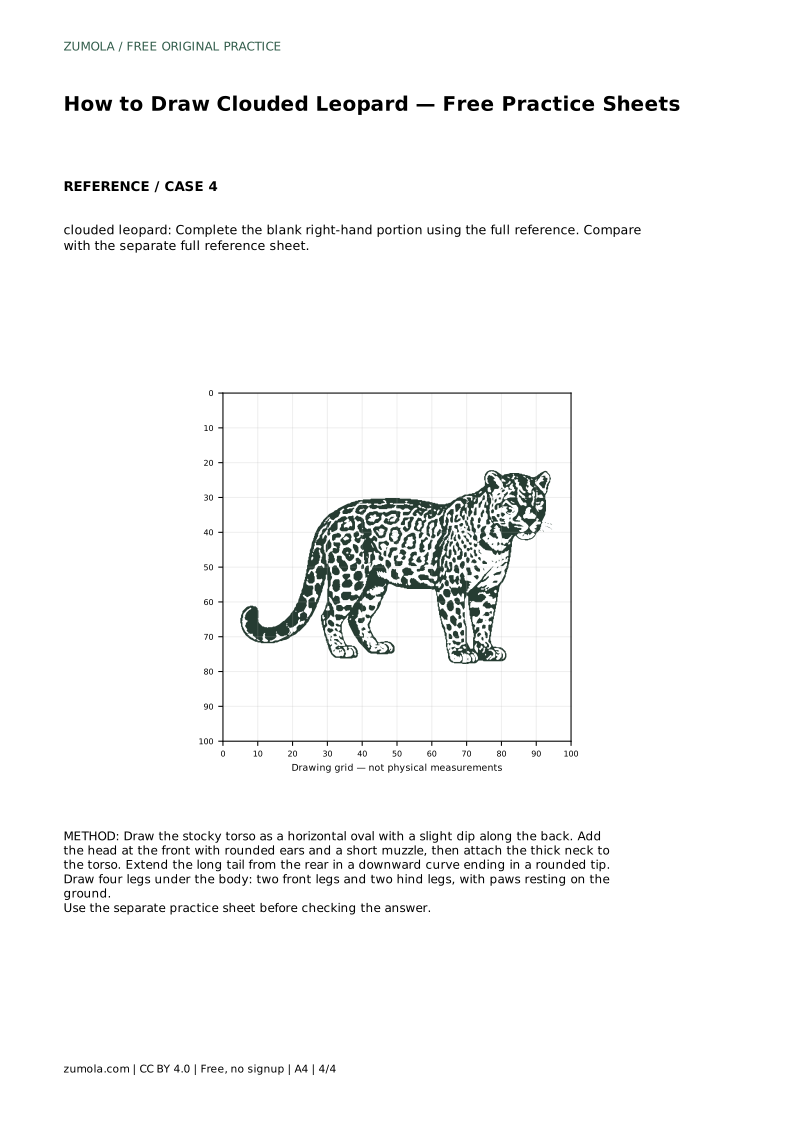
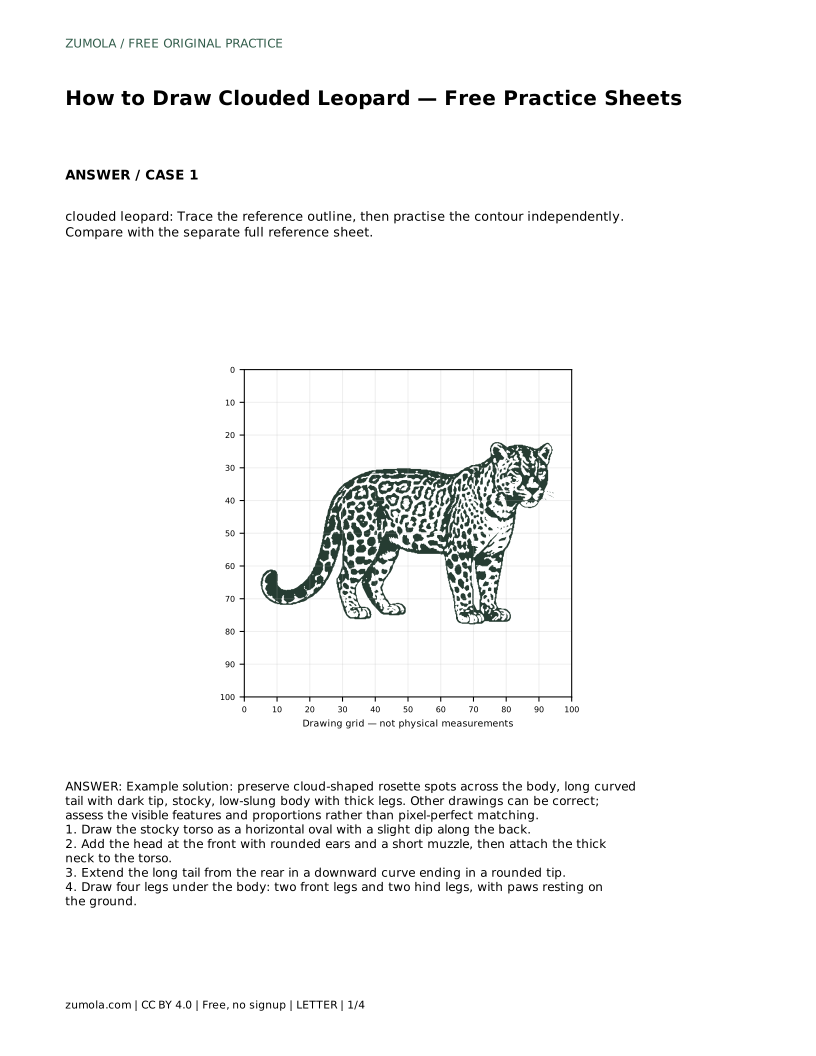
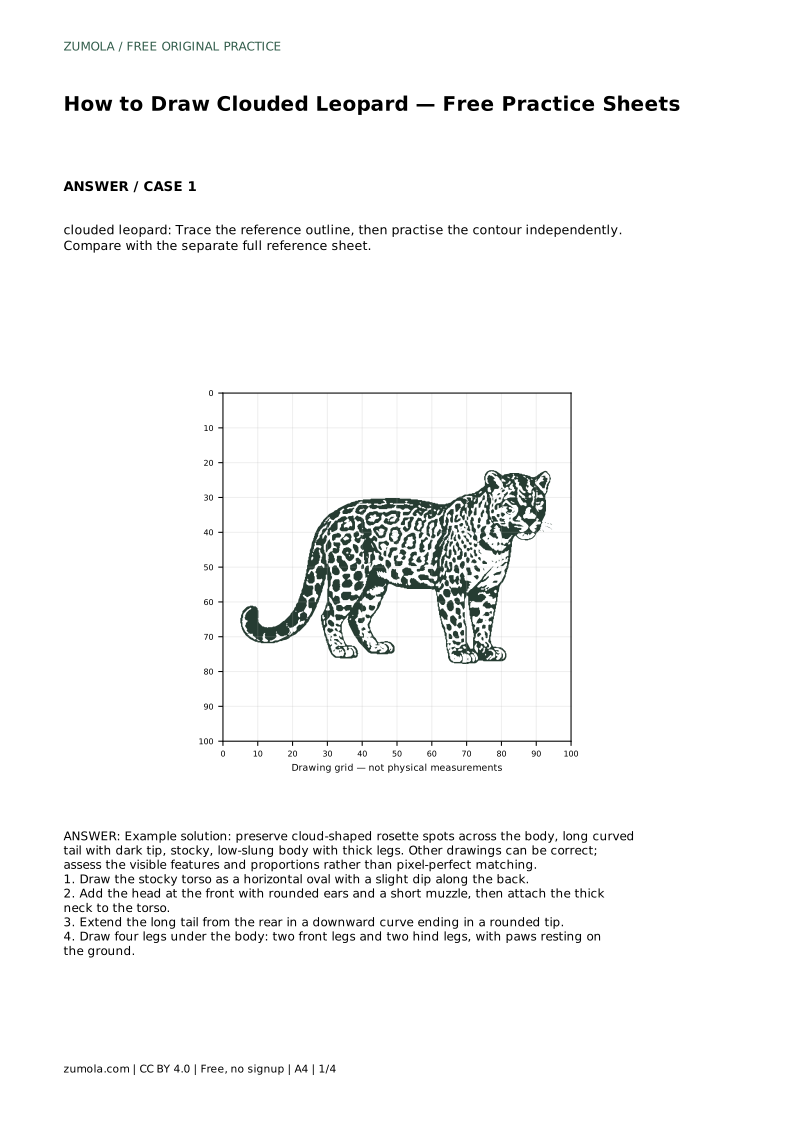
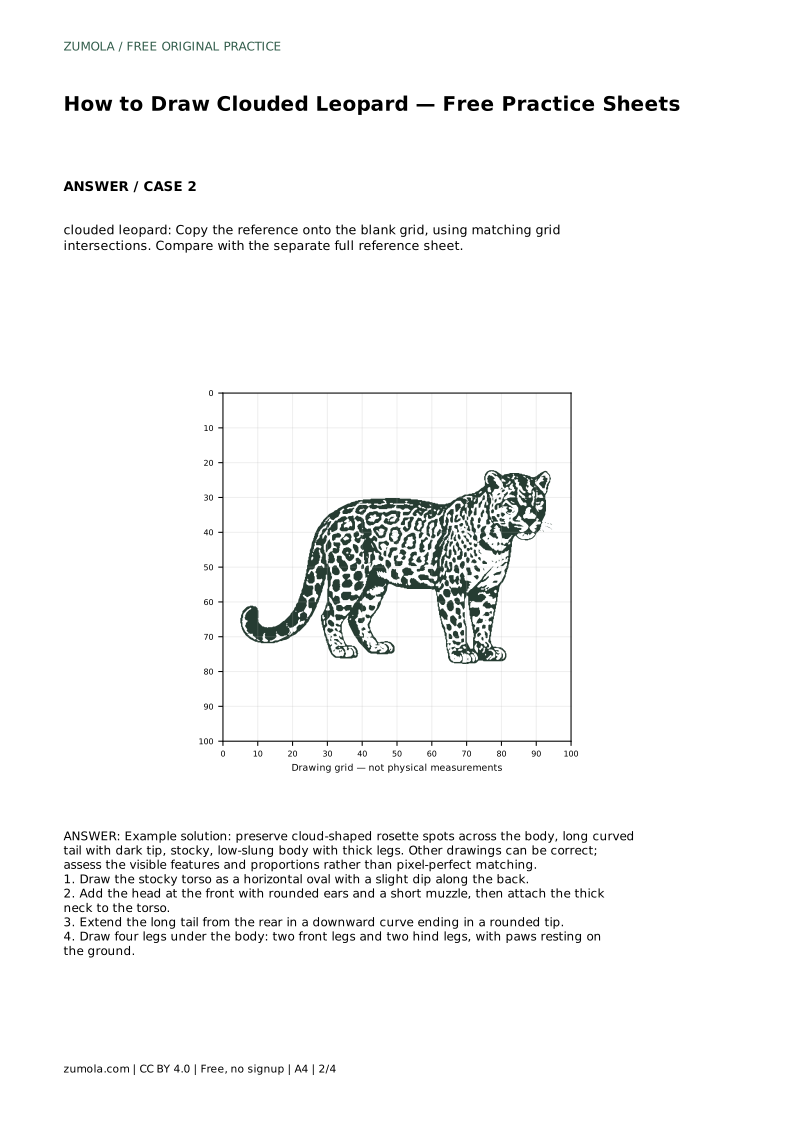
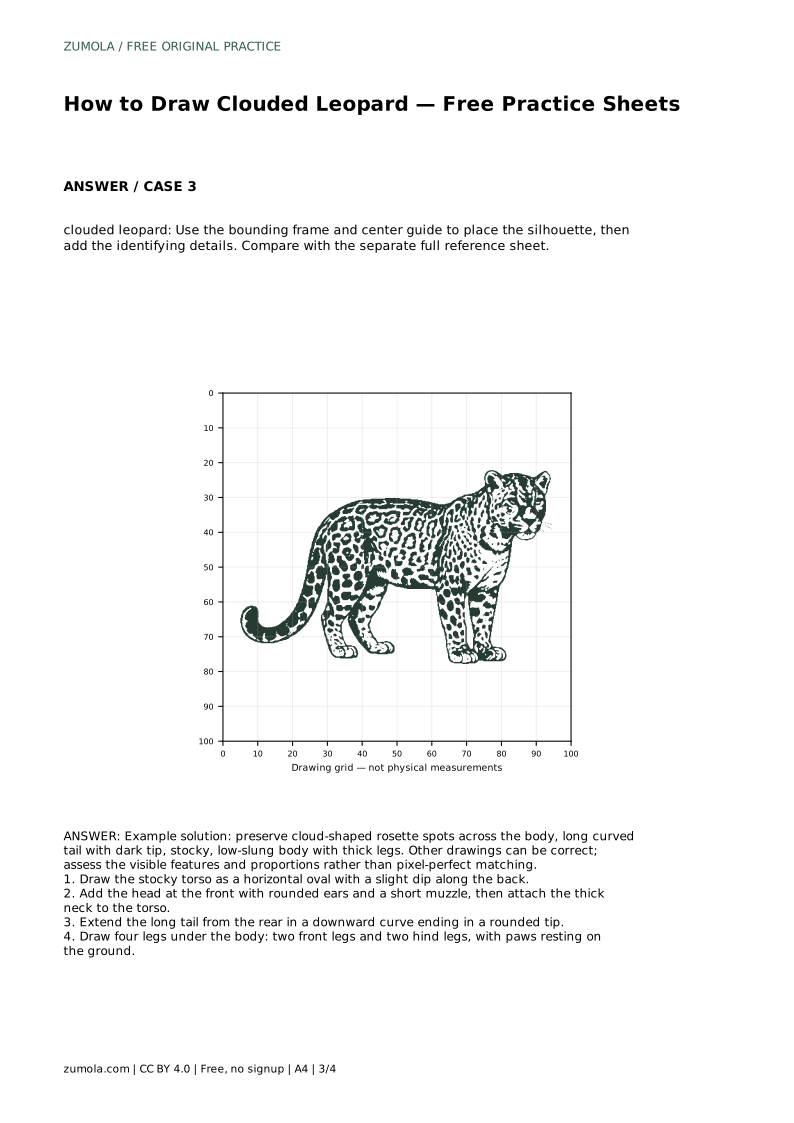
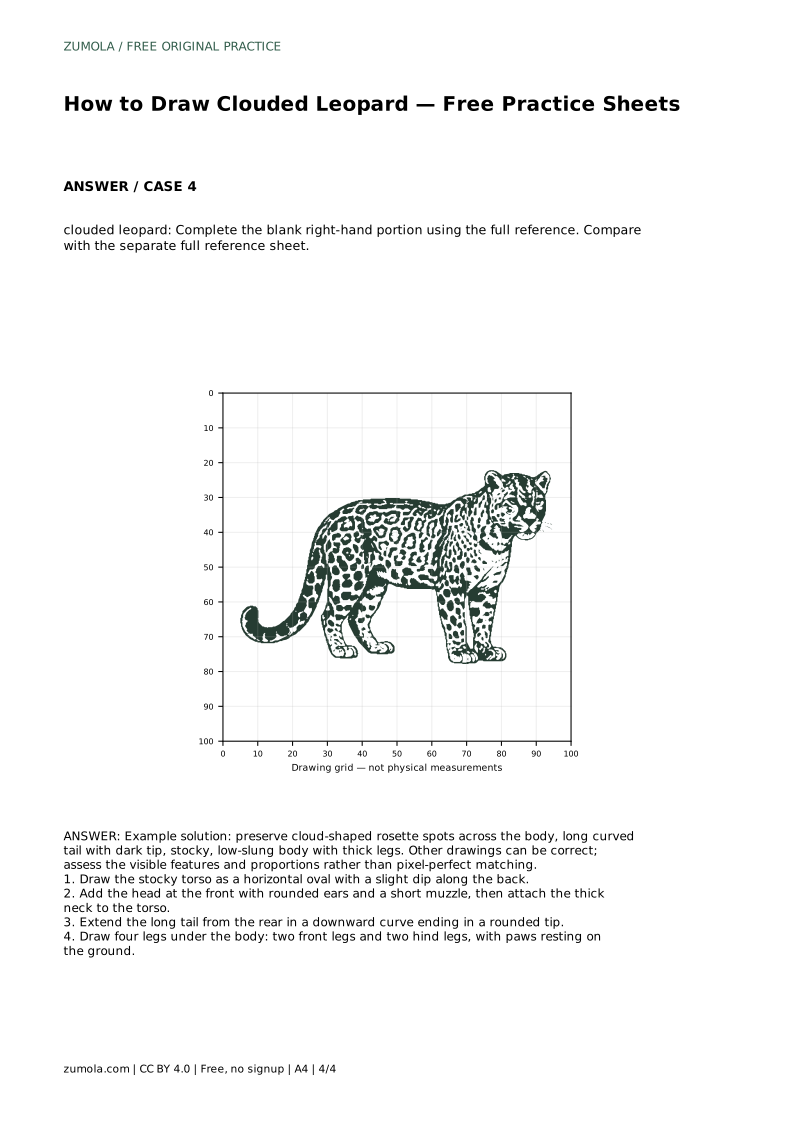
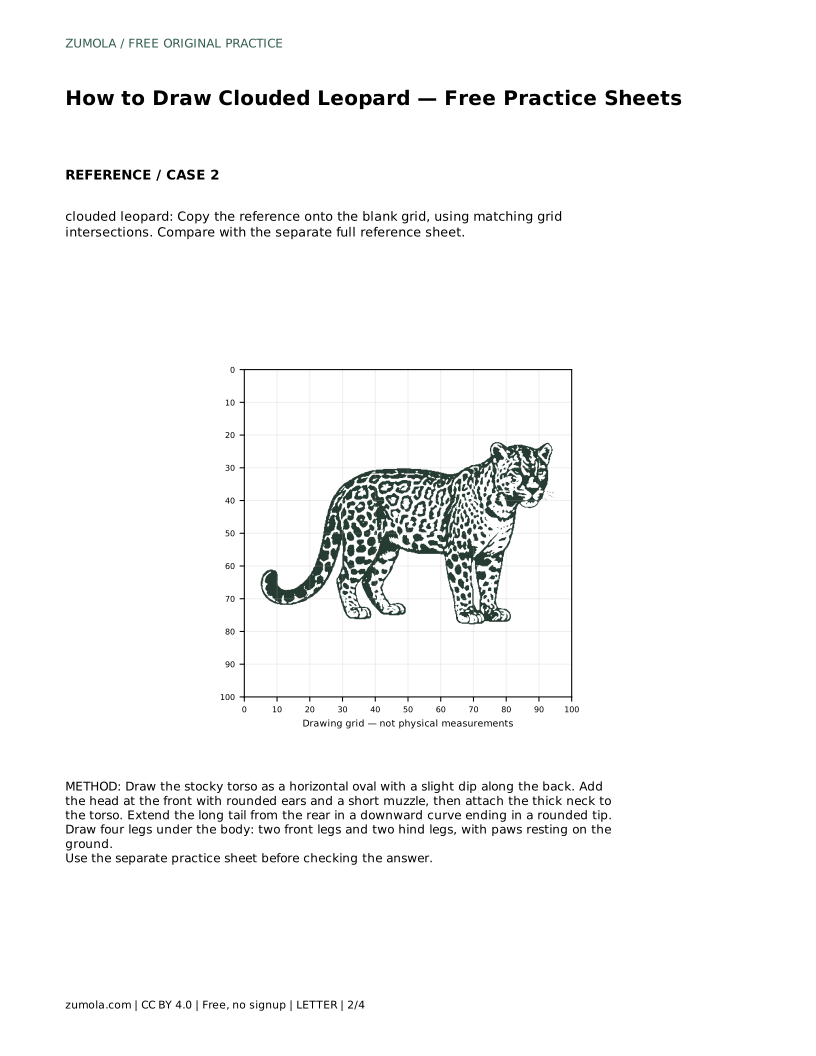
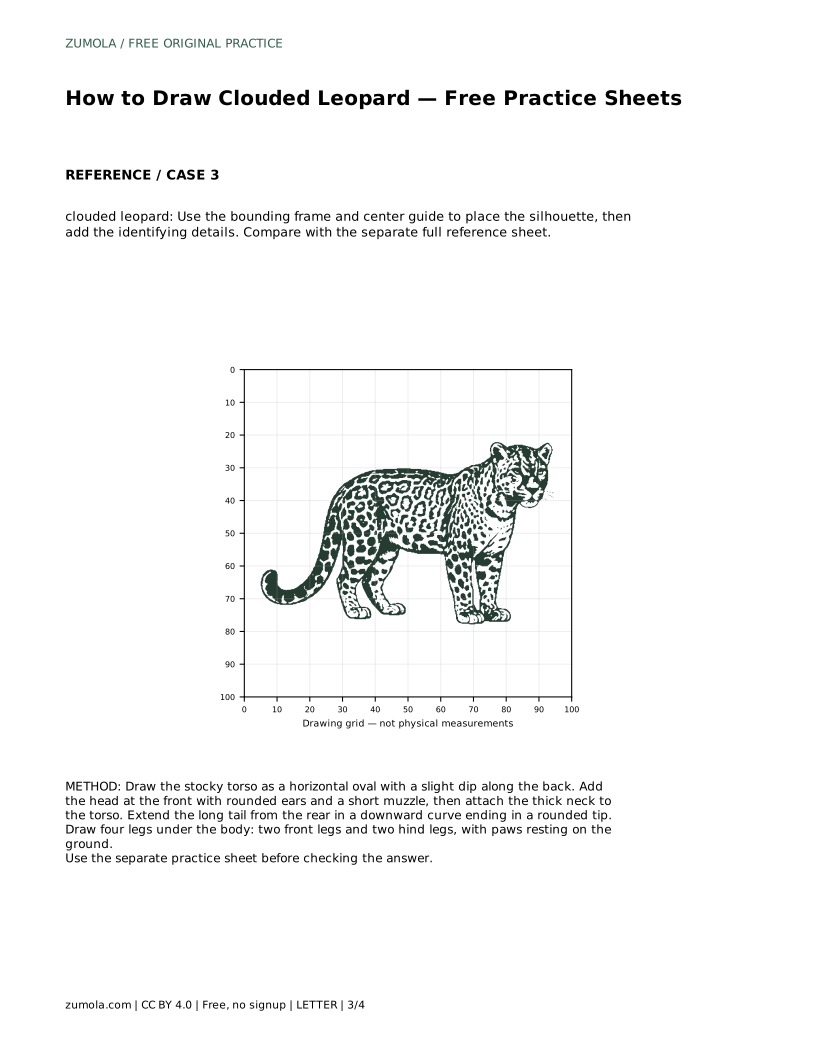
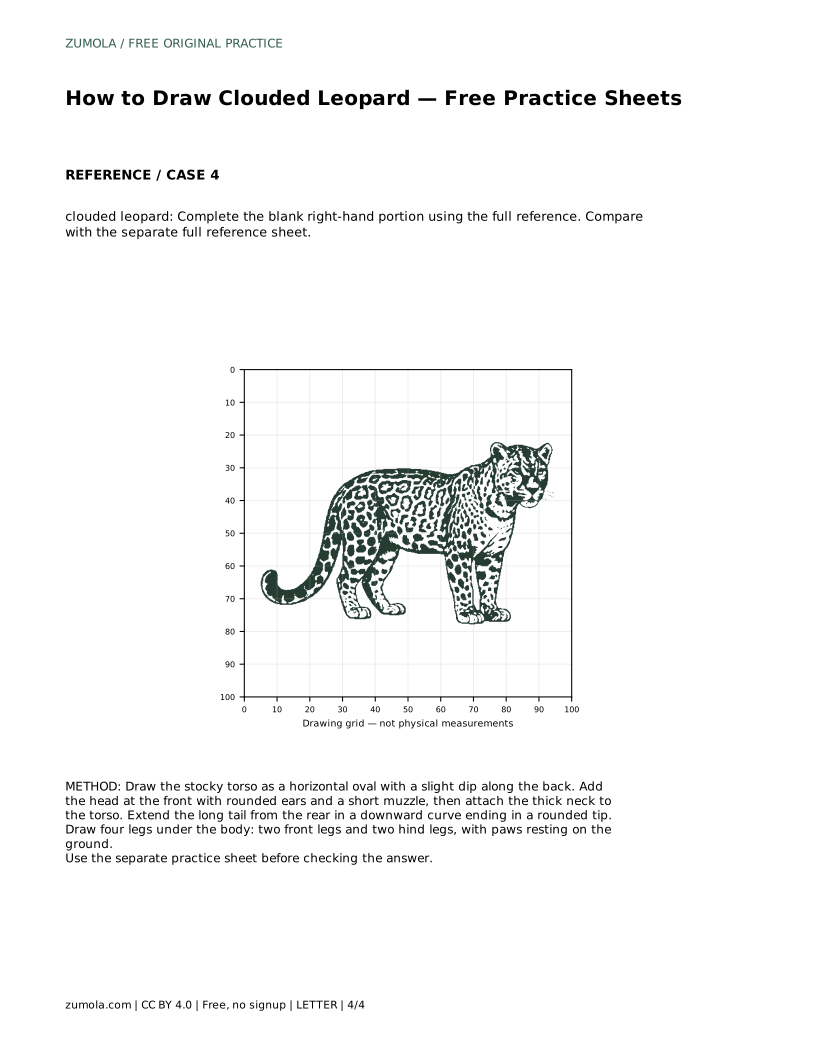
A clouded leopard drawing depends on a few clear features: a low, stocky body, thick legs, a long curved tail with a dark tip, and cloud-shaped rosette spots across the body. This page explains how to build those features in order, then how to use trace, grid, frame, and partial-completion practice sheets to strengthen your control. Each sheet is a different exercise, not a test, and several drawings can all be correct.
Begin with the torso rather than the face. Draw a horizontal oval for the stocky body and give the back a slight dip so it does not read as a perfect ellipse. The clouded leopard sits low, so keep the oval wide and shallow rather than tall.
Place the head at the front of the torso. Use rounded ears and a short muzzle, then attach a thick neck that joins the head to the body without a narrow gap. The neck should look strong enough to support the broad head.
Extend the long tail from the rear of the body in a downward curve, ending in a rounded tip. The tail is a major identifying feature, so give it length and a smooth sweep rather than a short stub.
Draw four legs under the body: two front legs and two hind legs, with paws resting on the ground. Keep the legs thick and the body low. Check that the paws sit on one level line so the animal looks grounded.
The spots are the detail that makes the drawing read as a clouded leopard. Build each rosette as a cloud-shaped patch: a soft, rounded outline with a darker edge and a lighter center. Space them across the torso, legs, and tail rather than clustering them in one area.
Vary the size slightly and follow the curve of the body. Rosettes on the tail should be smaller than those on the torso. Leave the muzzle and the area around the eyes clearer so the face stays readable.
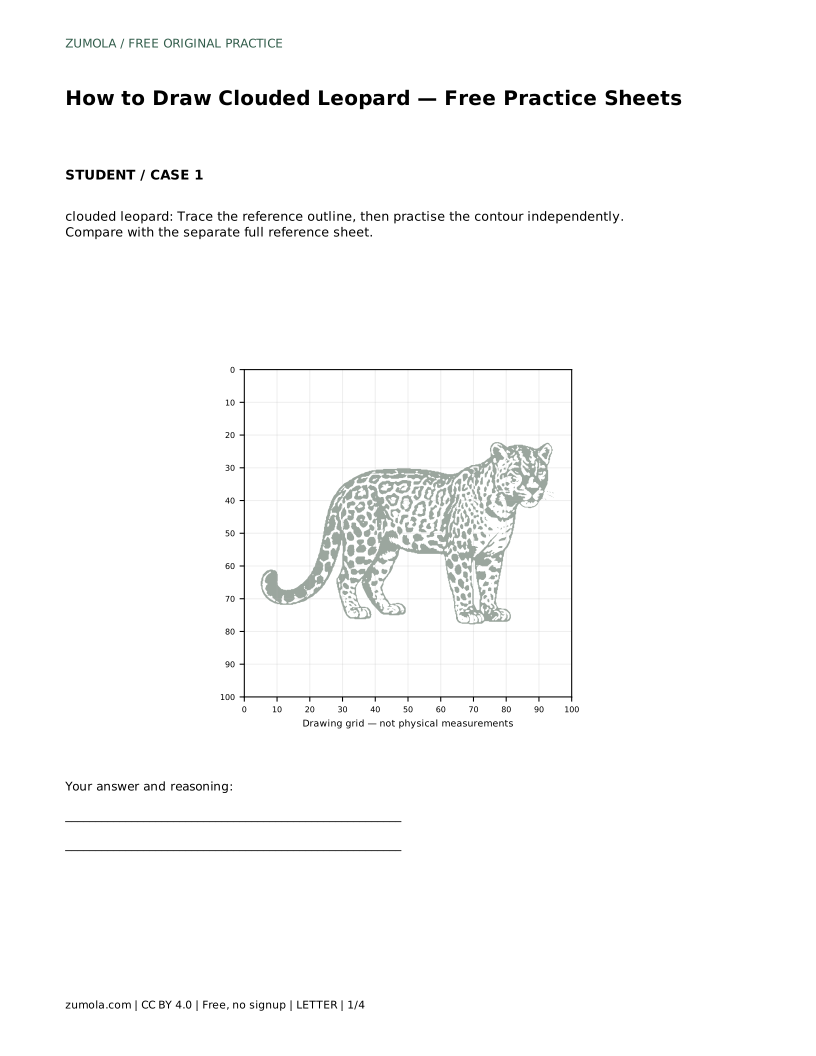
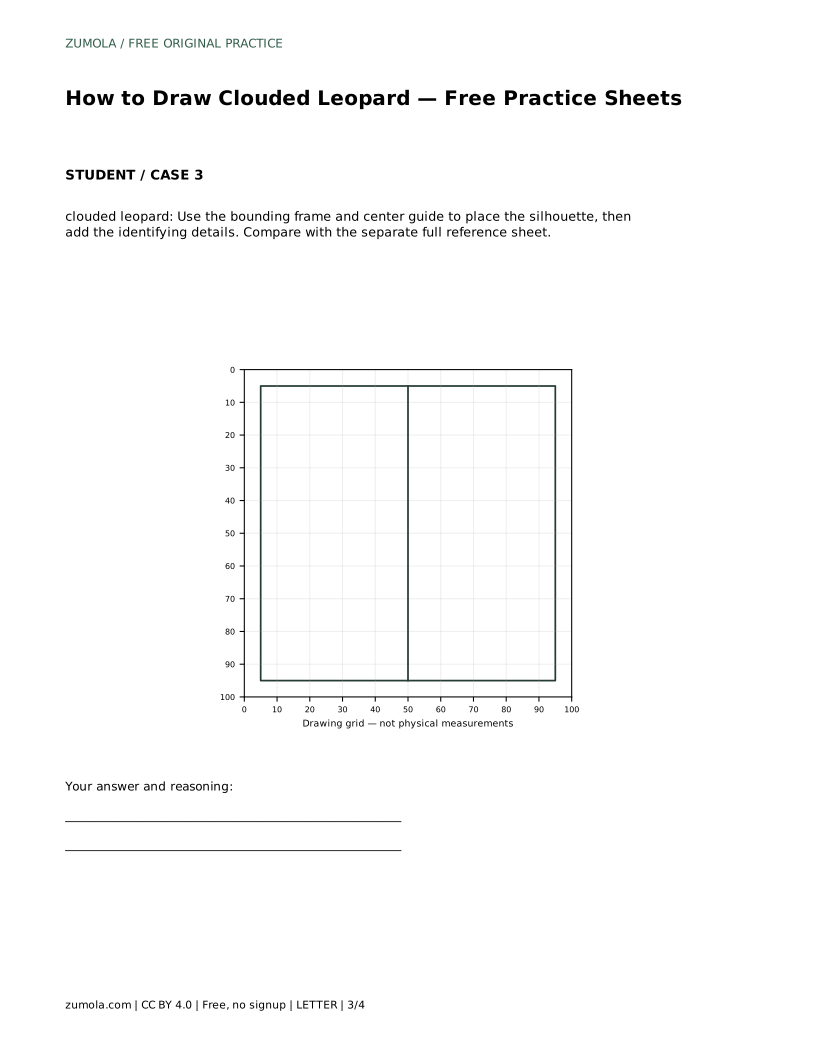
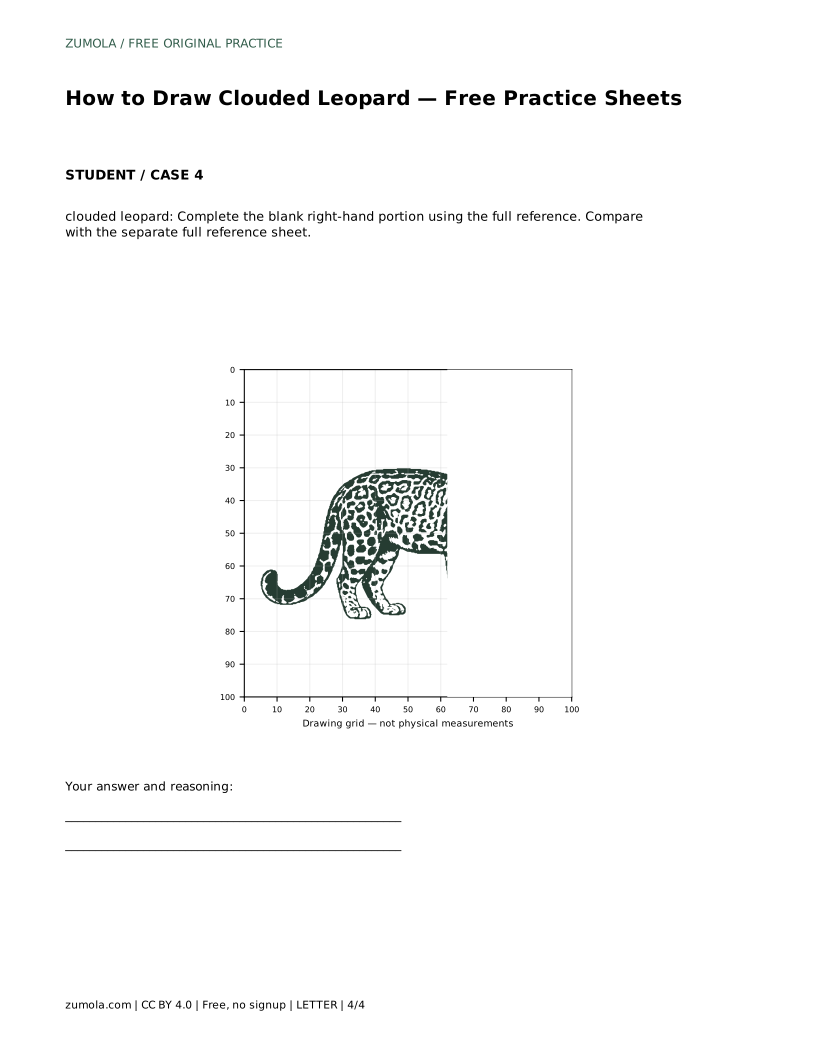
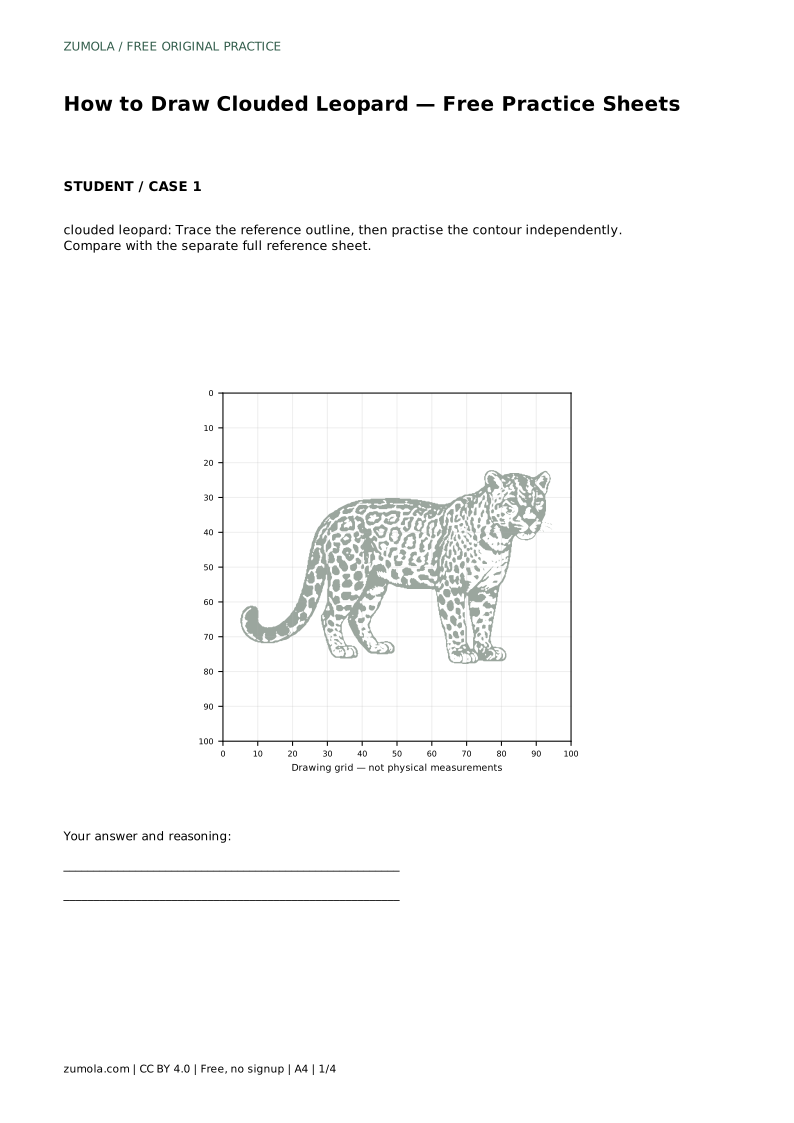
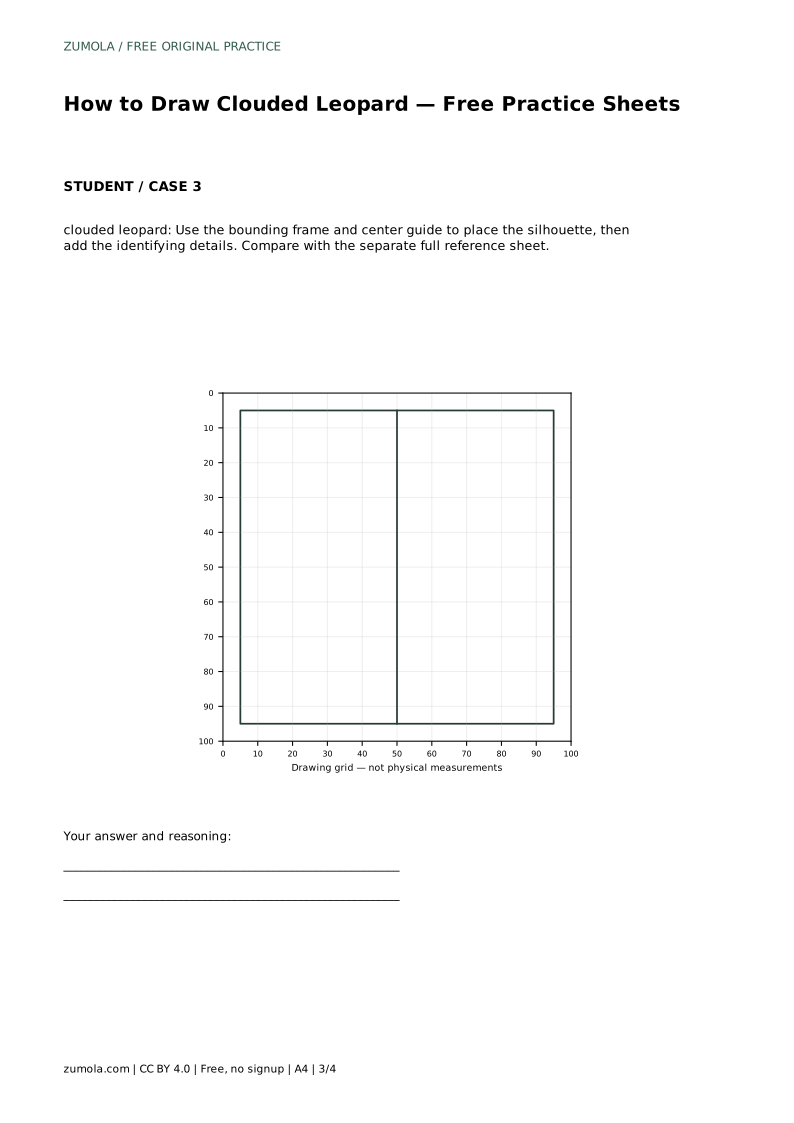
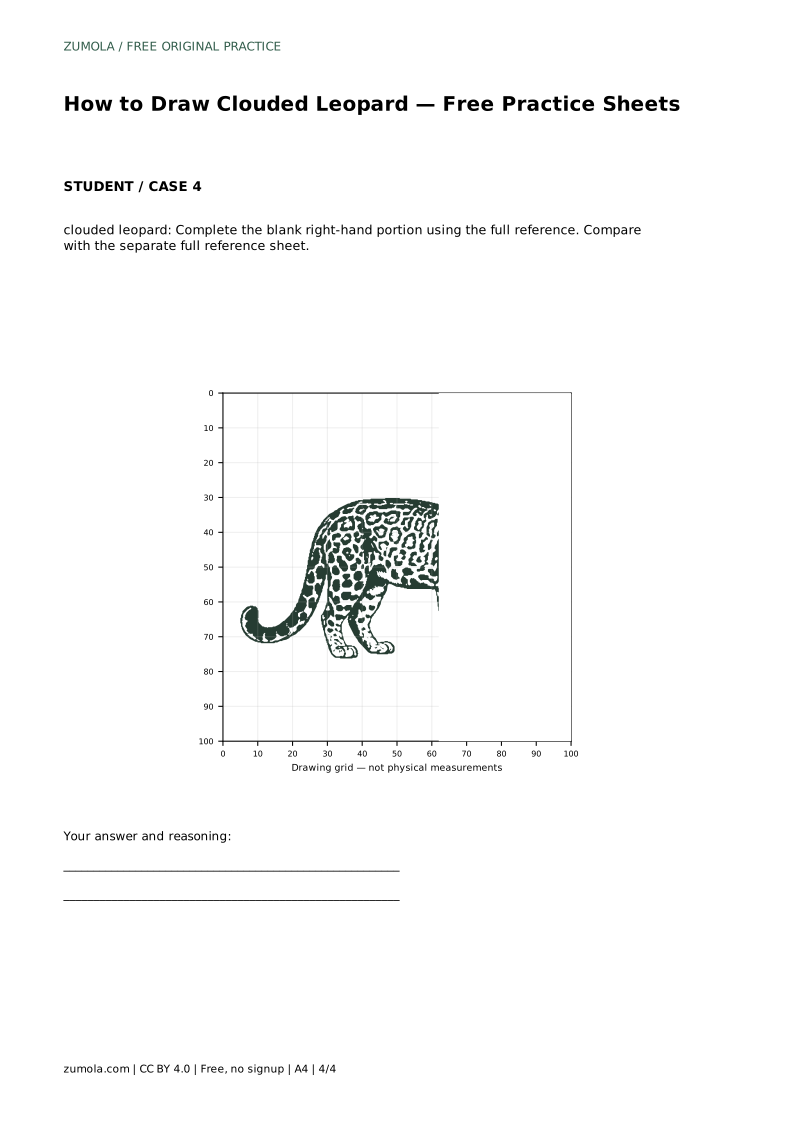
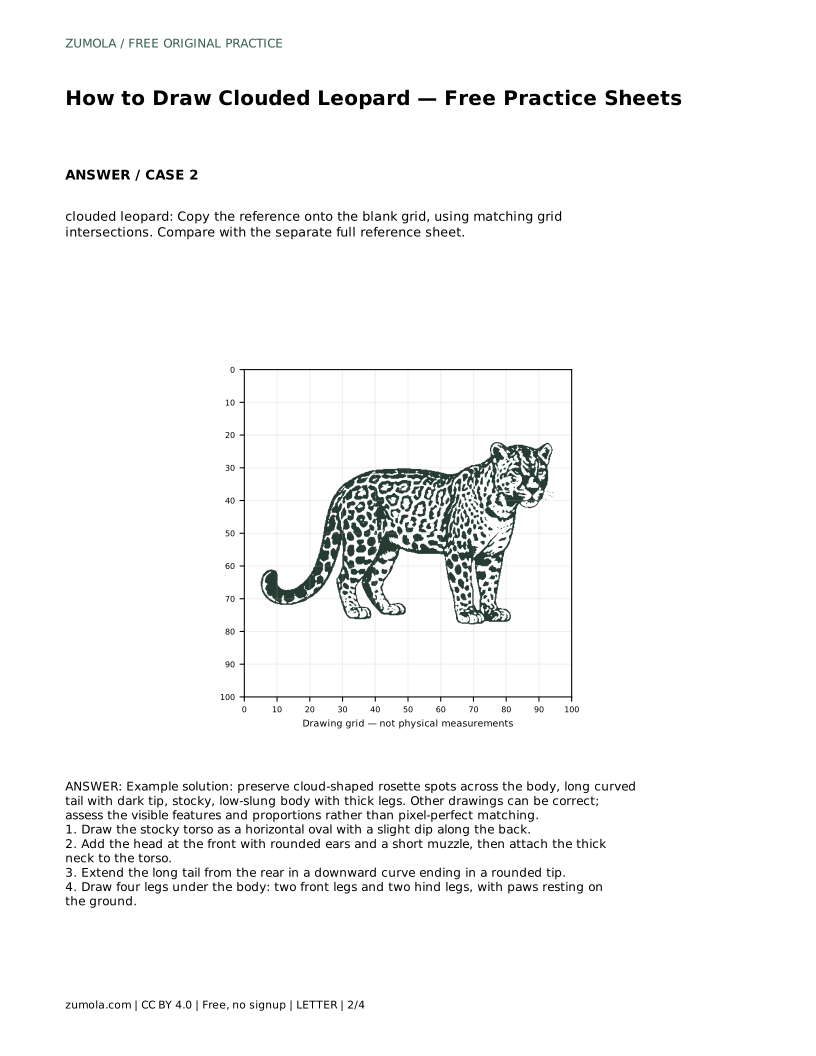
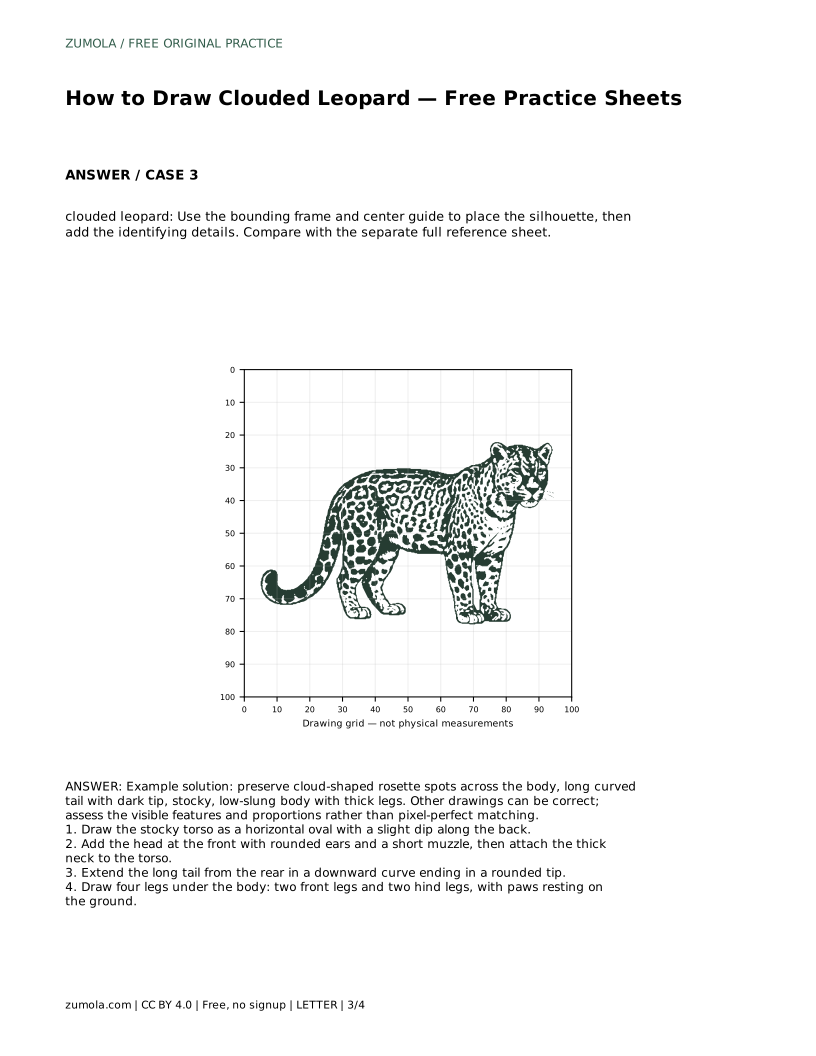
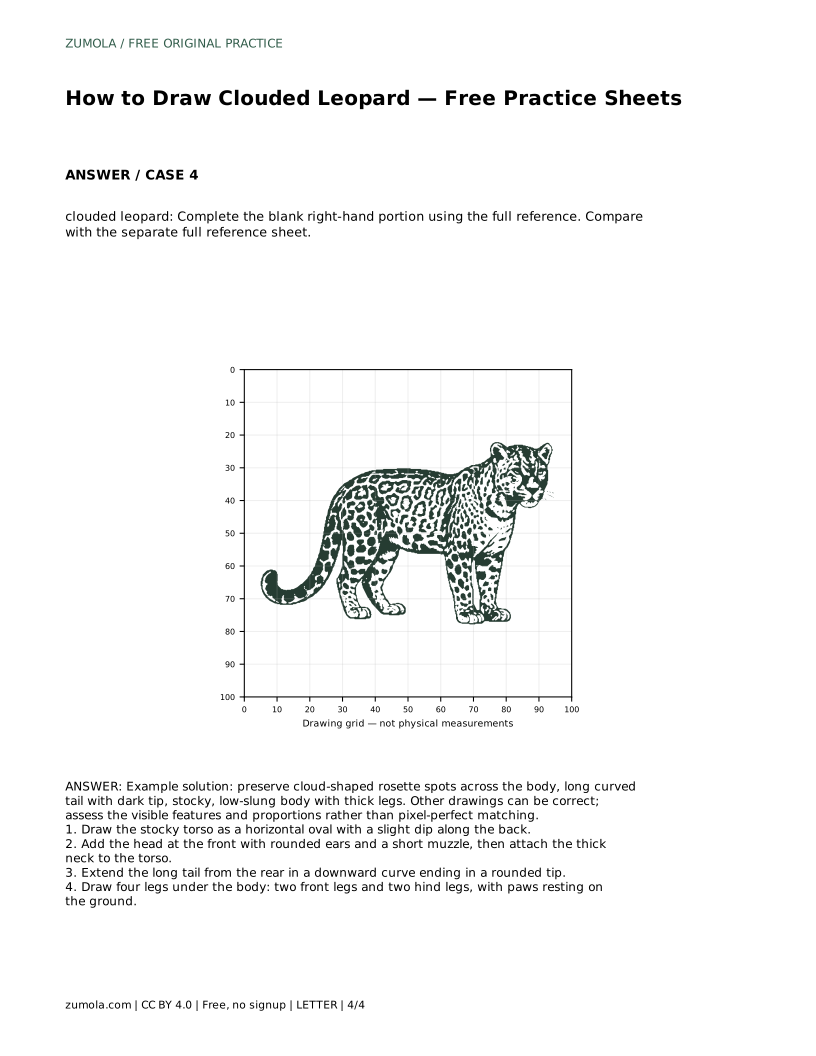
The trace sheet asks you to follow the reference outline first, then repeat the contour without tracing. The grid sheet asks you to copy the reference onto a blank grid using matching intersections. The frame sheet gives a bounding frame and center guide so you can place the silhouette before adding details. The partial sheet leaves the right-hand portion blank for you to complete from the full reference.
After each attempt, compare your drawing with the separate full reference sheet. Look at the body proportions, tail curve, leg thickness, and rosette shapes. Treat differences as information, not failure.
Use a rubric rather than expecting an exact match. A correct drawing shows the stocky, low-slung body, thick legs, long curved tail with a dark tip, and cloud-shaped rosettes. Proportions can vary and still be valid.
Keep the drawing about the animal's visible features, not clinical anatomy. You are capturing shape and pattern, not producing a medical diagram.
clouded leopard: Trace the reference outline, then practise the contour independently. Compare with the separate full reference sheet.
Example solution: preserve cloud-shaped rosette spots across the body, long curved tail with dark tip, stocky, low-slung body with thick legs. Other drawings can be correct; assess the visible features and proportions rather than pixel-perfect matching. Draw the stocky torso as a horizontal oval with a slight dip along the back. Add the head at the front with rounded ears and a short muzzle, then attach the thick neck to the torso. Extend the long tail from the rear in a downward curve ending in a rounded tip. Draw four legs under the body: two front legs and two hind legs, with paws resting on the ground.
No. Several drawings can be correct. Assess the visible features and proportions rather than pixel-perfect matching.
Start with the trace sheet to learn the outline, then move to the grid, frame, and partial sheets as your control improves.
The stocky low body, thick legs, long curved tail with a dark tip, and cloud-shaped rosettes across the body.
All drawing practice · Free coordinate paper
Original resources · CC BY 4.0 · Free for personal and classroom use with attribution.